
Tamiya Kawasaki KZ1300 B
Touring Motorcycle
1/6th Scale


 Page Number
eBay to the rescue!...or to put it another way...
Another From The 'Kit i've always wanted to build' List
Right then, this little turn out as just a personal build.
There's a few reviews out there so i'll not bother with the sprue by sprue thing.
This came out in the way back of 1982 and did I buy one when it was available?
Did I hell as like so here we go.
Then again, back then i'd probably have made a none to wonderful job of it,
how this will turn out remains to be seen.
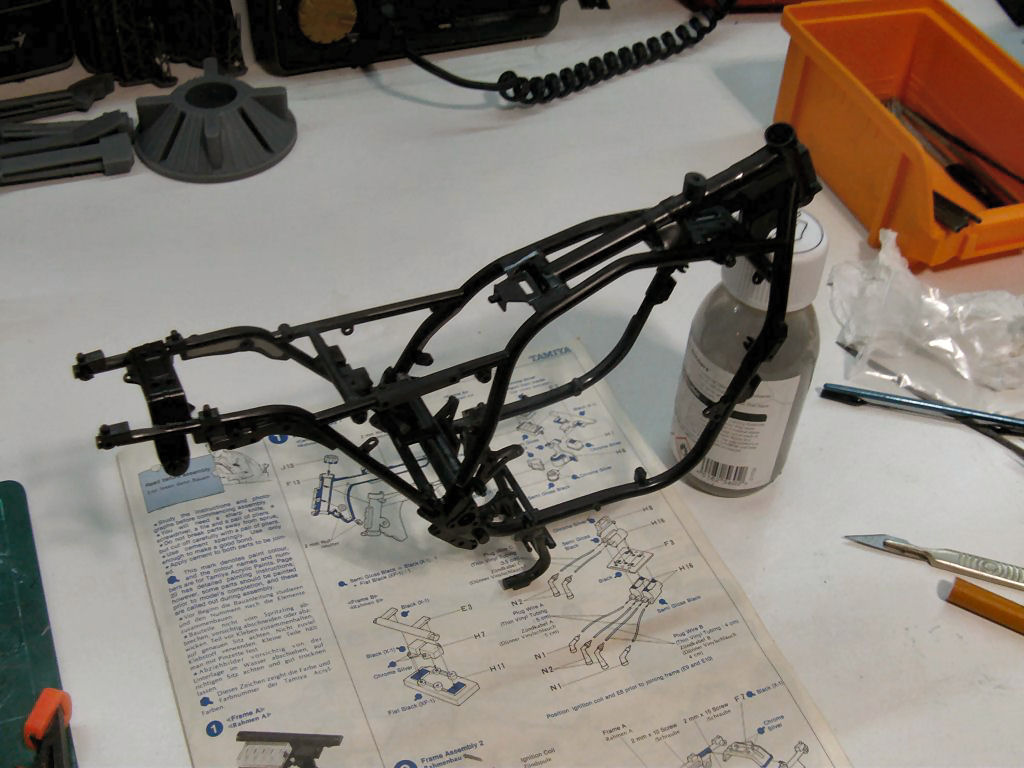
So to begin with, the box of bits that arrived at my door.
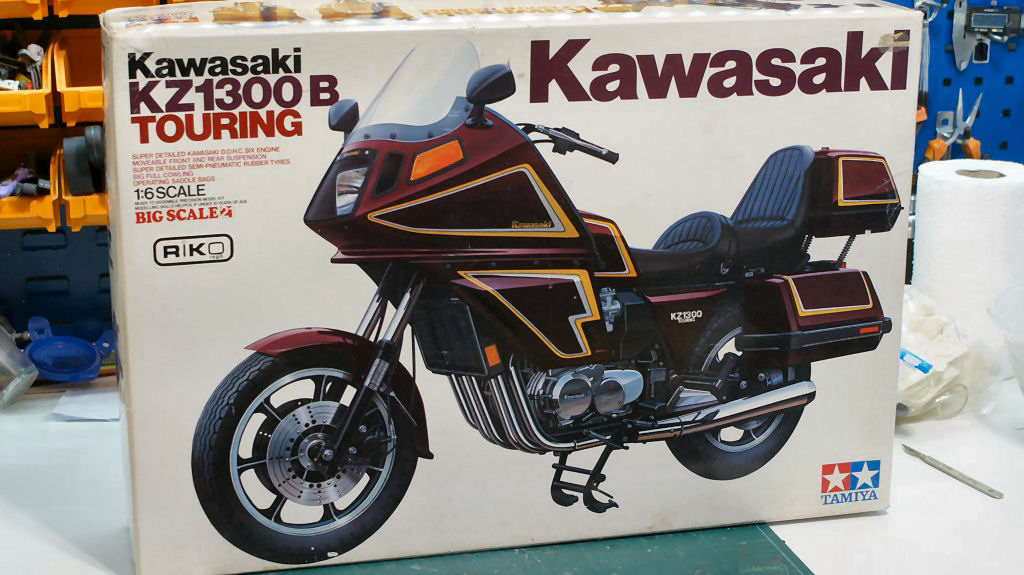
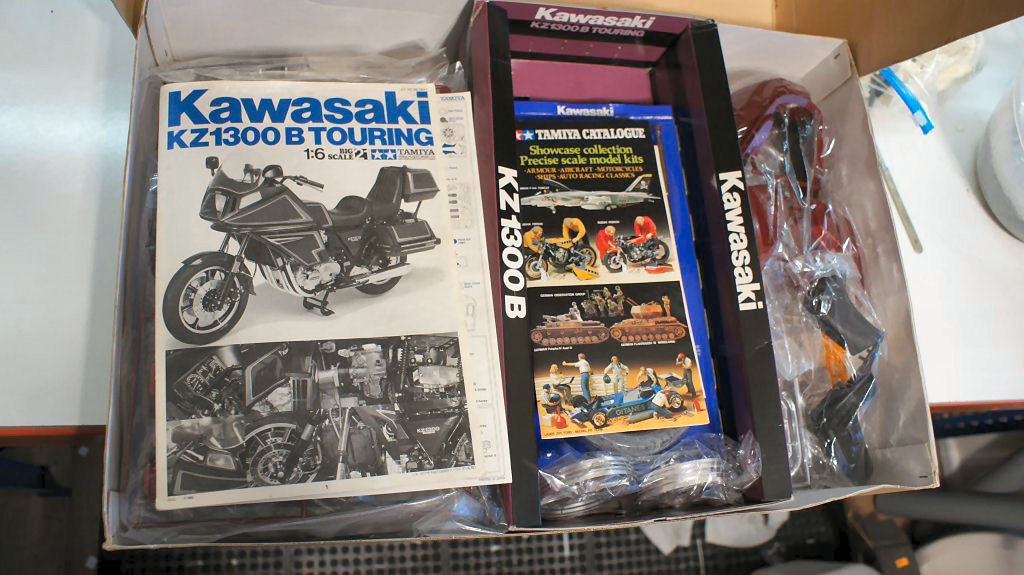
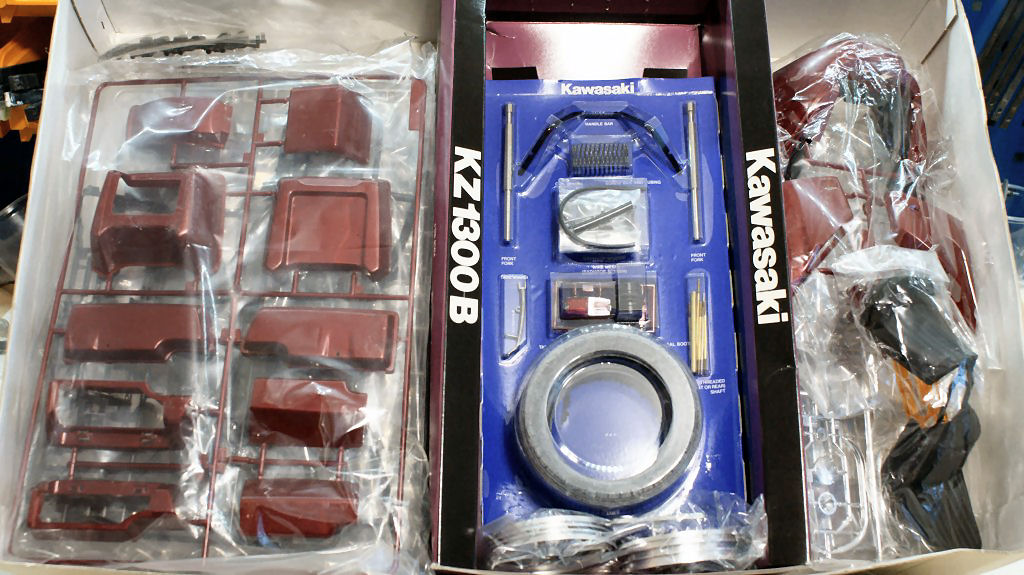
Complete and untouched so all good!
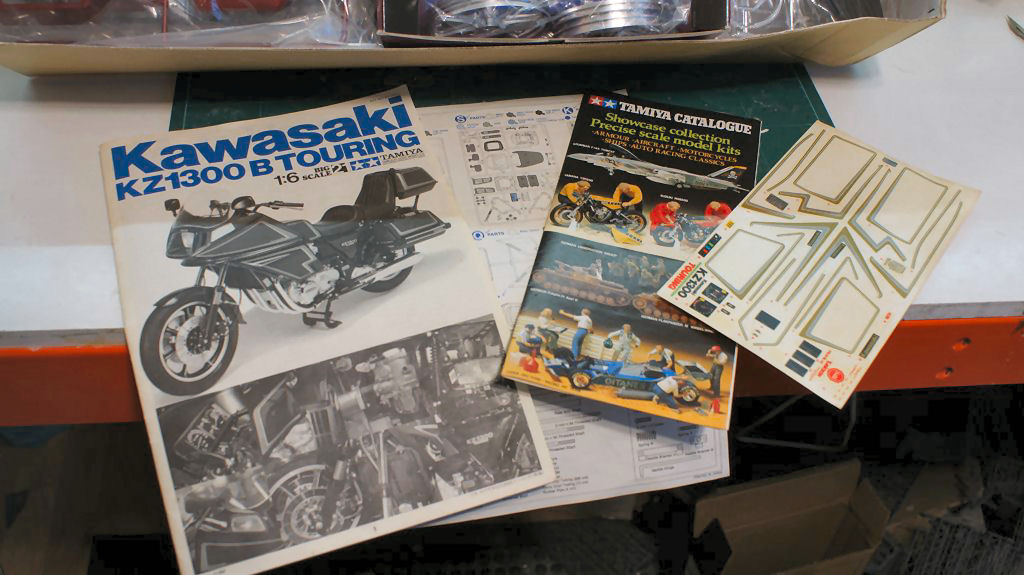
The 39 year old decals will doubtless be a fun gig as Tamiya decals
from the way back were never brilliant but we'll see.
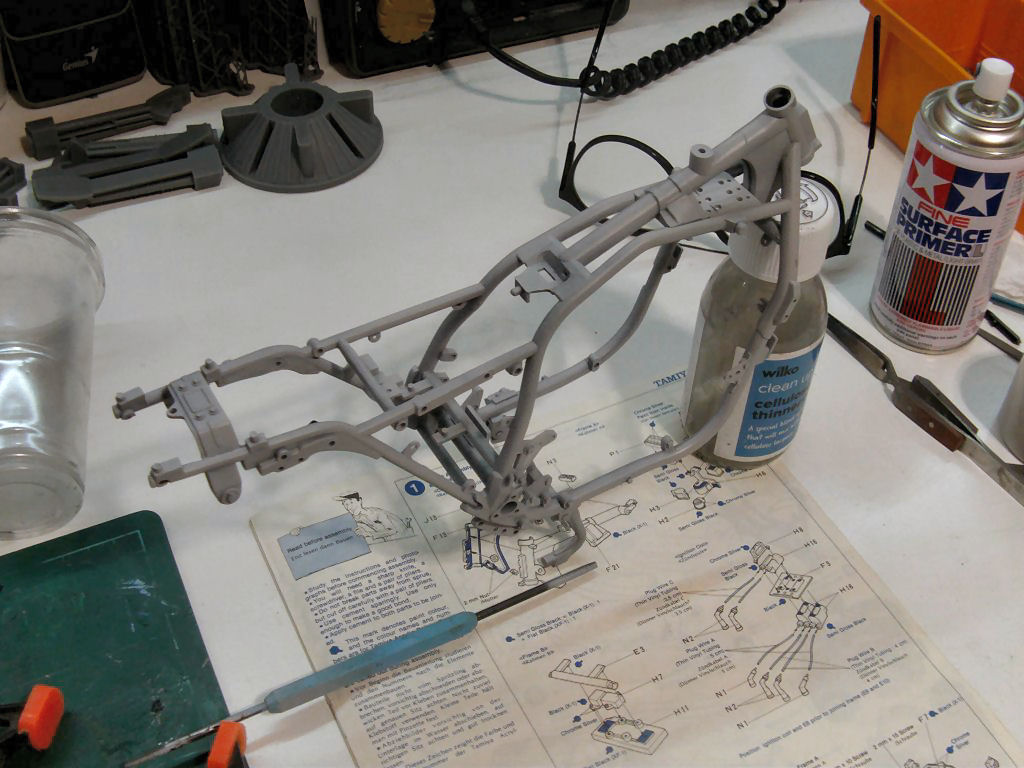
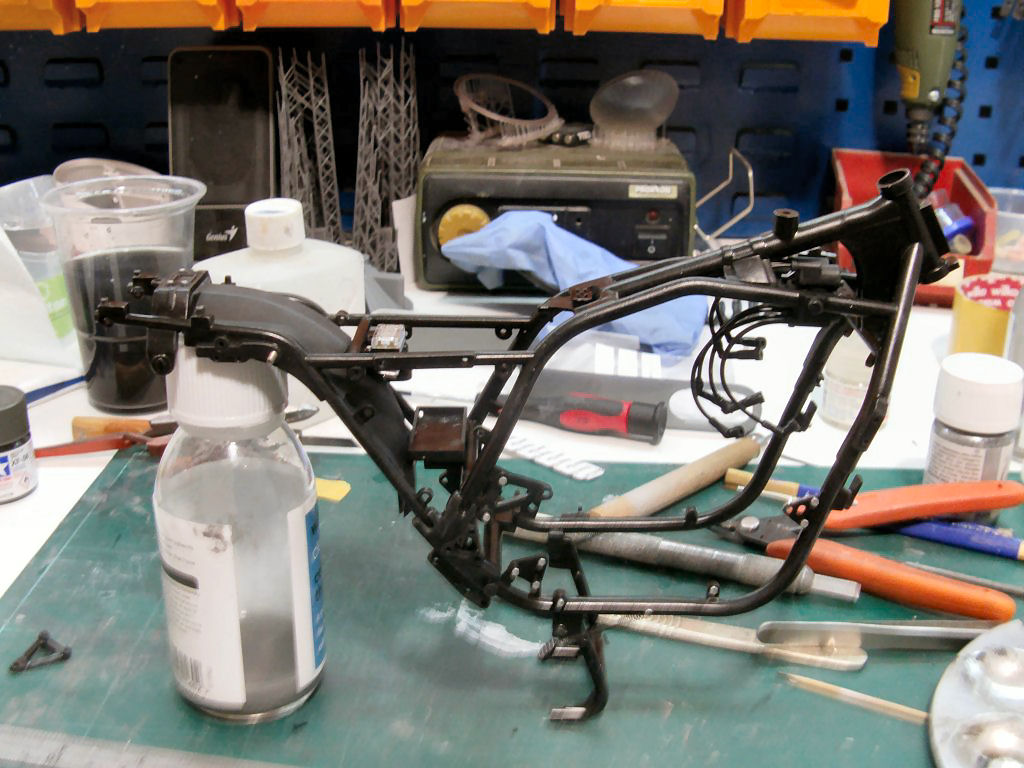
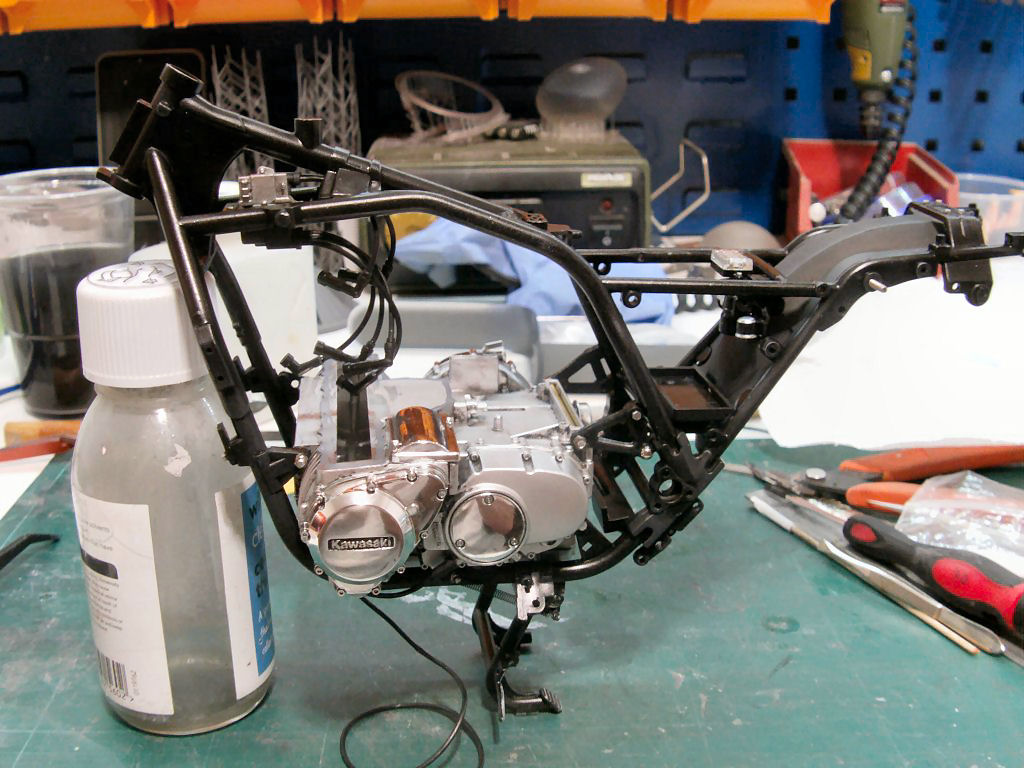
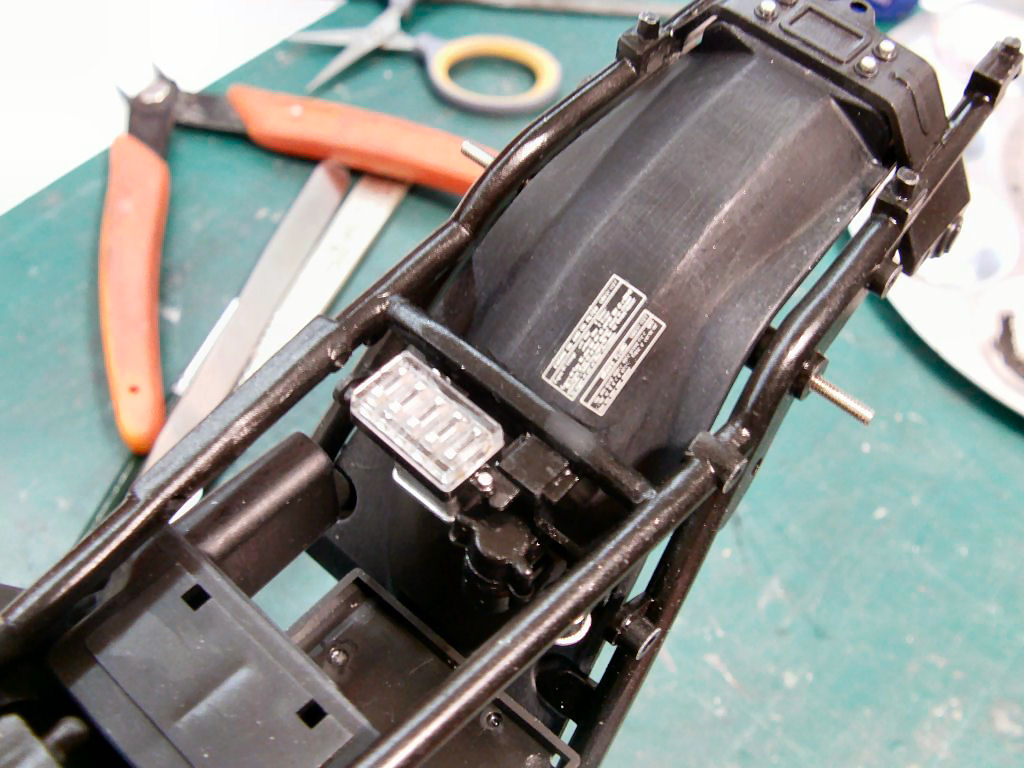
So to begin, assembled the frame after getting shot of all the mould seams and gave it a good scrub down.
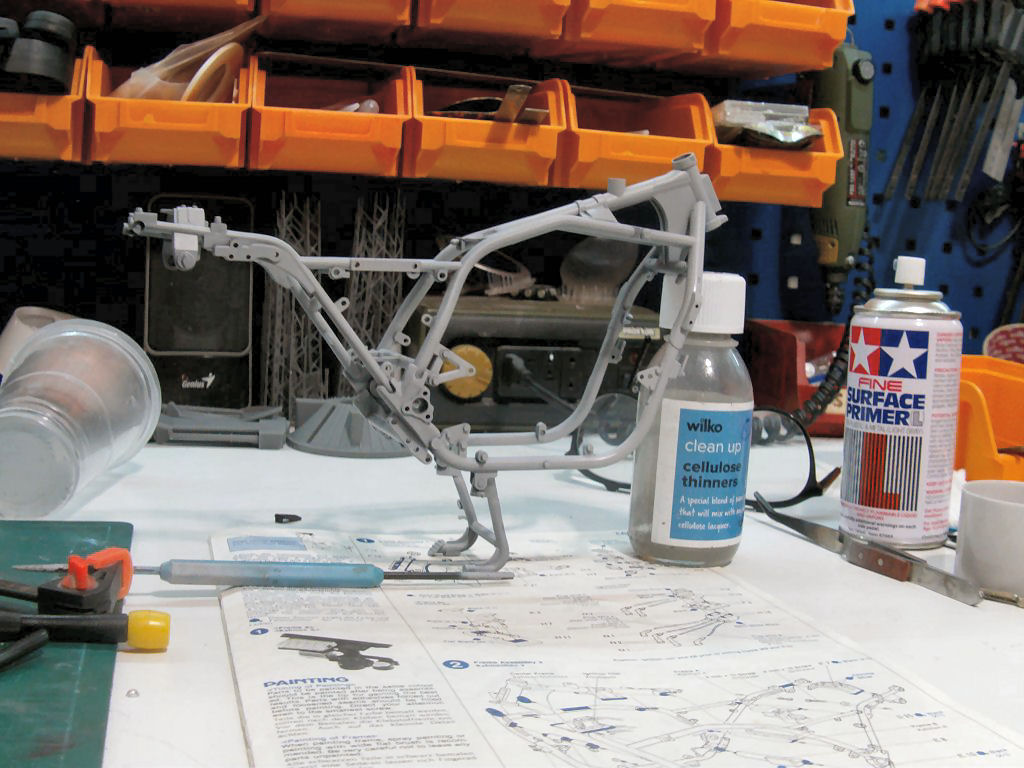
After a dry off, hit it with some Tamiya fine surface grey primer.
After this, I went in with some semi gloss black.
I'm after a slightly used look here, clean but not brand spanking new.
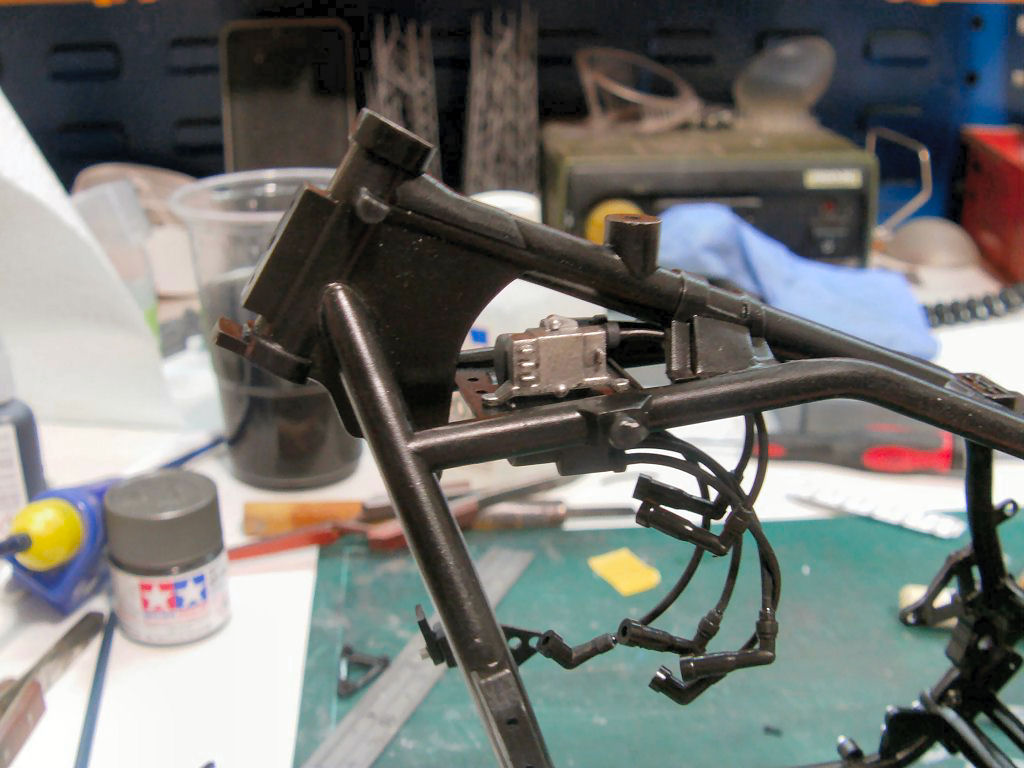
The coil packs and leads assembled, painted and placed.
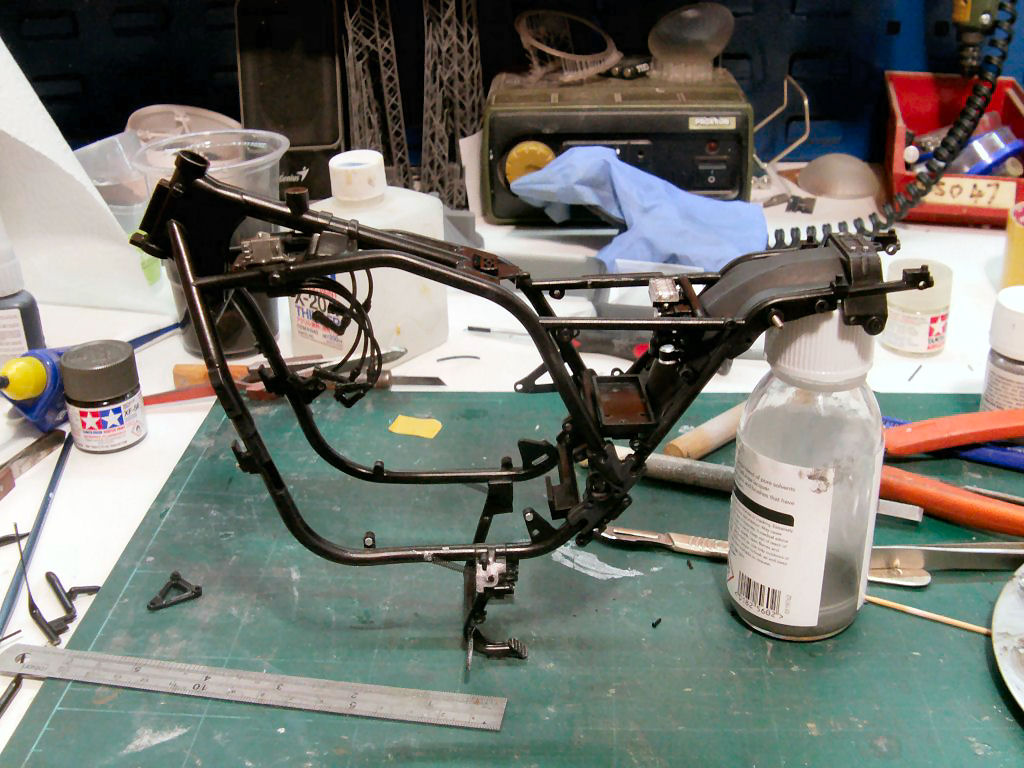
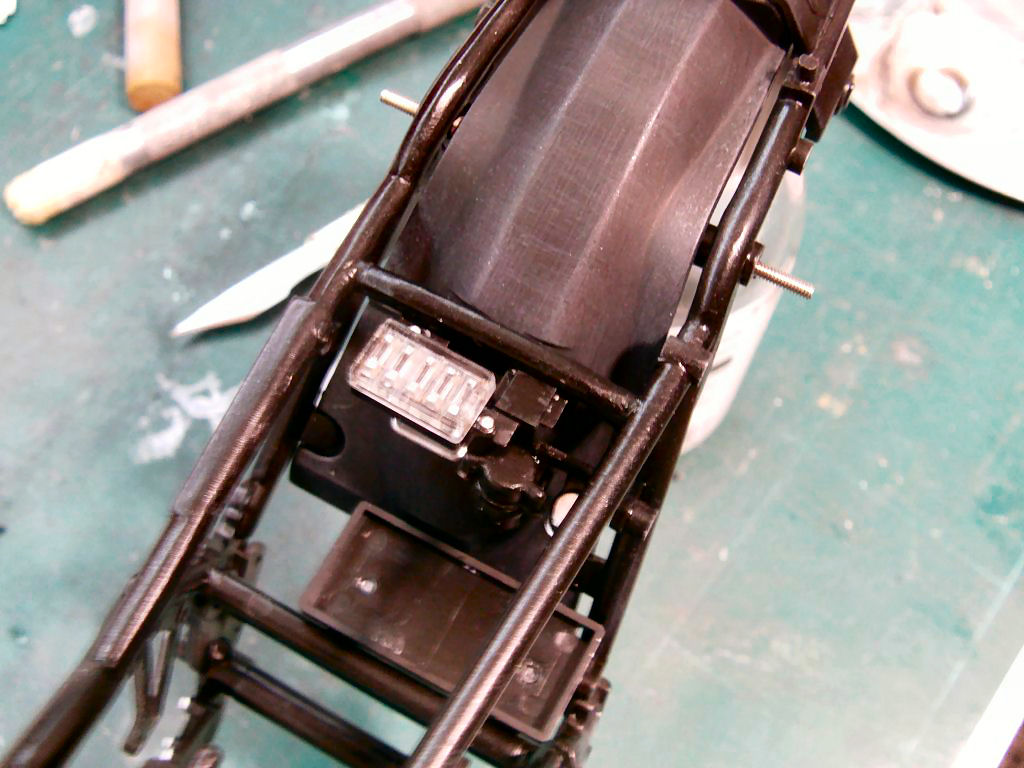
Fuse box painted and installed.
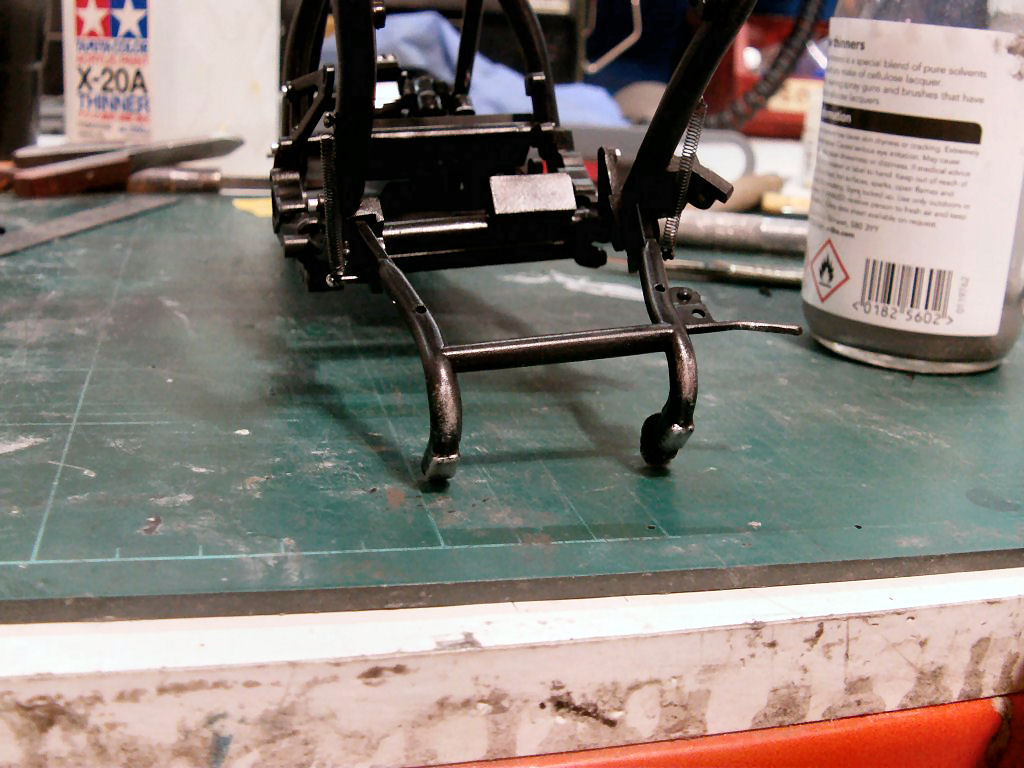
Center stand in place with just a bit of wear showing in hopefully the right places.
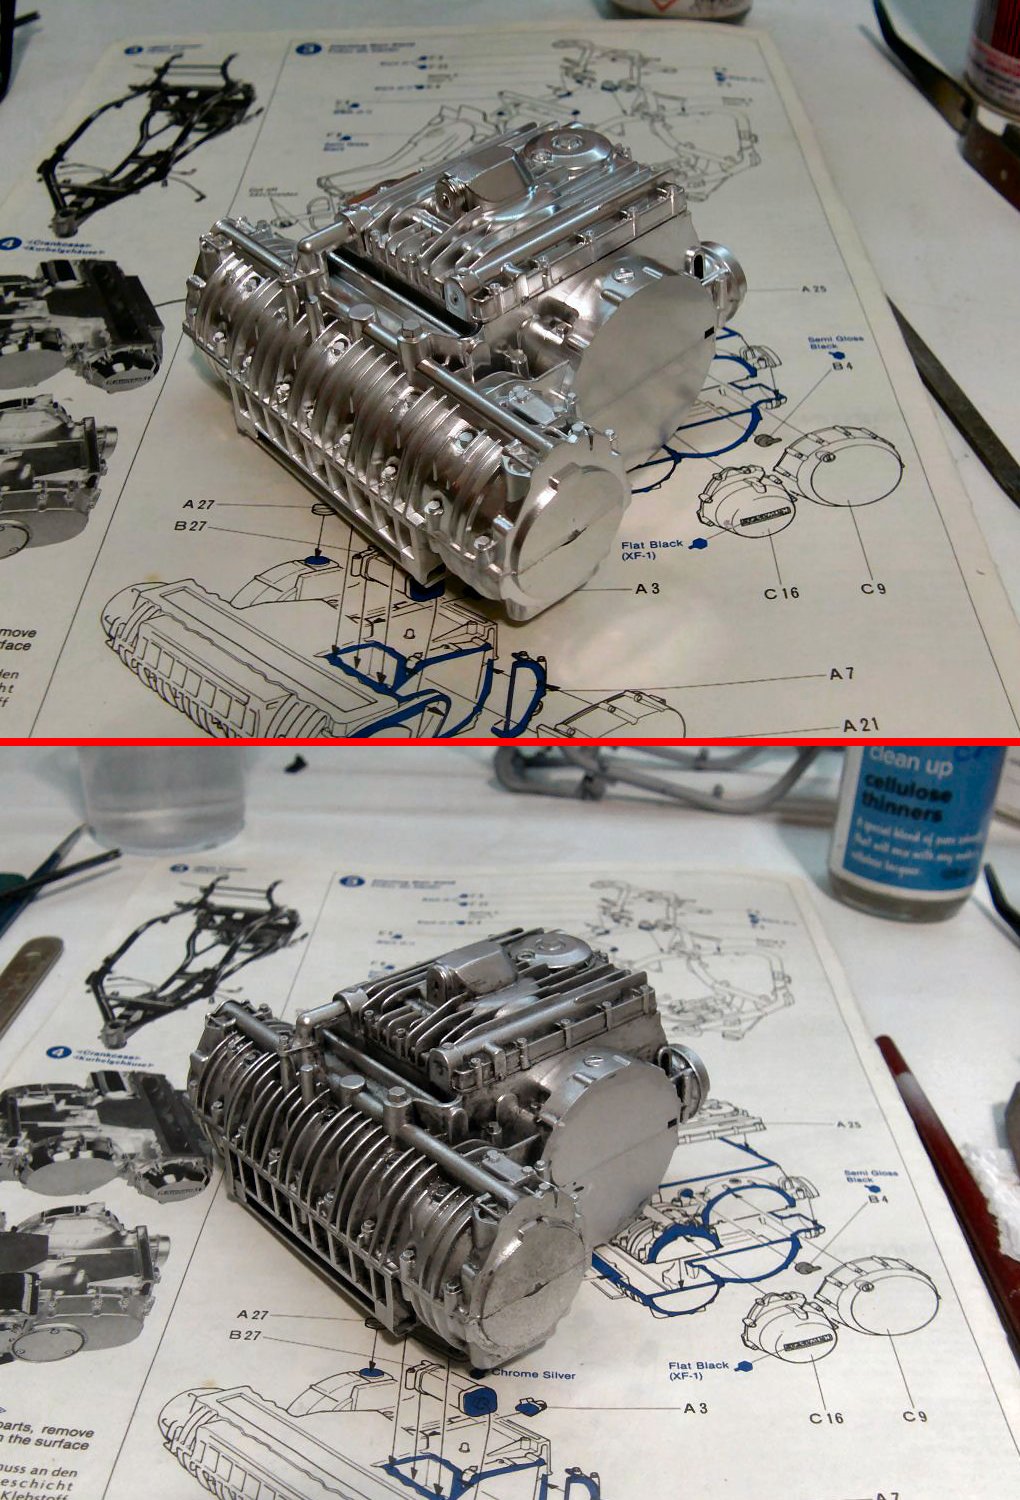
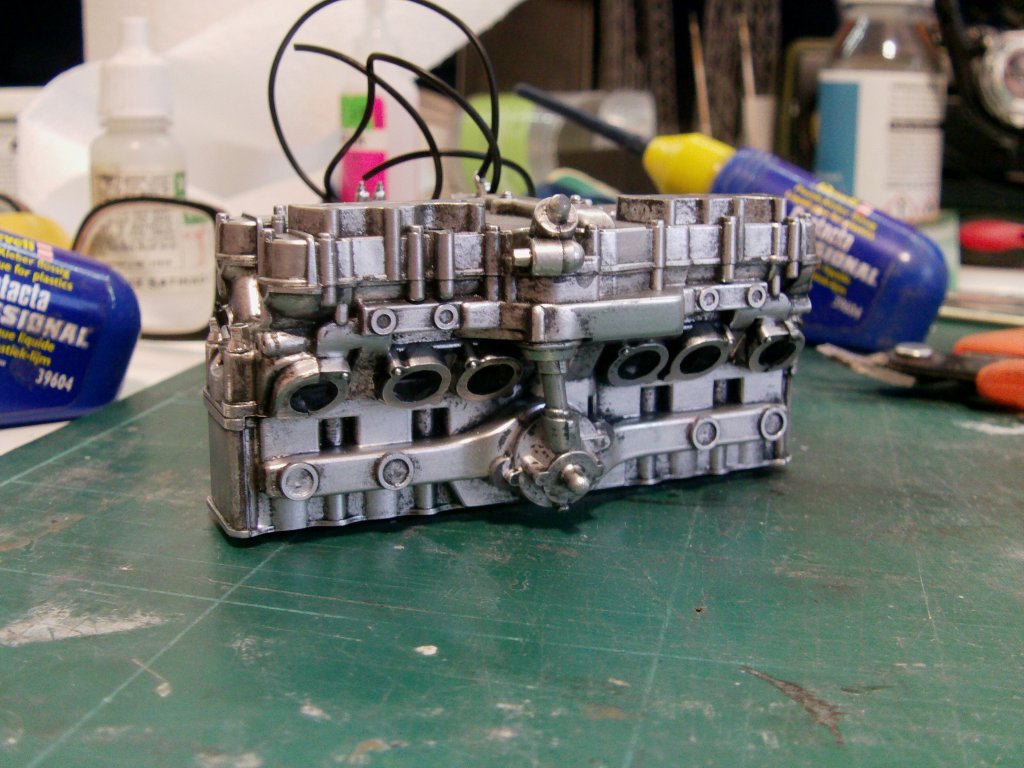
Beginning the engine.
Crank case first, assembled as per the destructions then given the
Flory Models black wash treatment to bring out all the lovely detail.
Simple enough job, brush a coat on and leave to dry,
then in with a slightly damp brush and keep working in over untill
an even coat with the excess in all the crevices.
Sealed with a light coat of rattlecan applied Vallejo satin varnish.
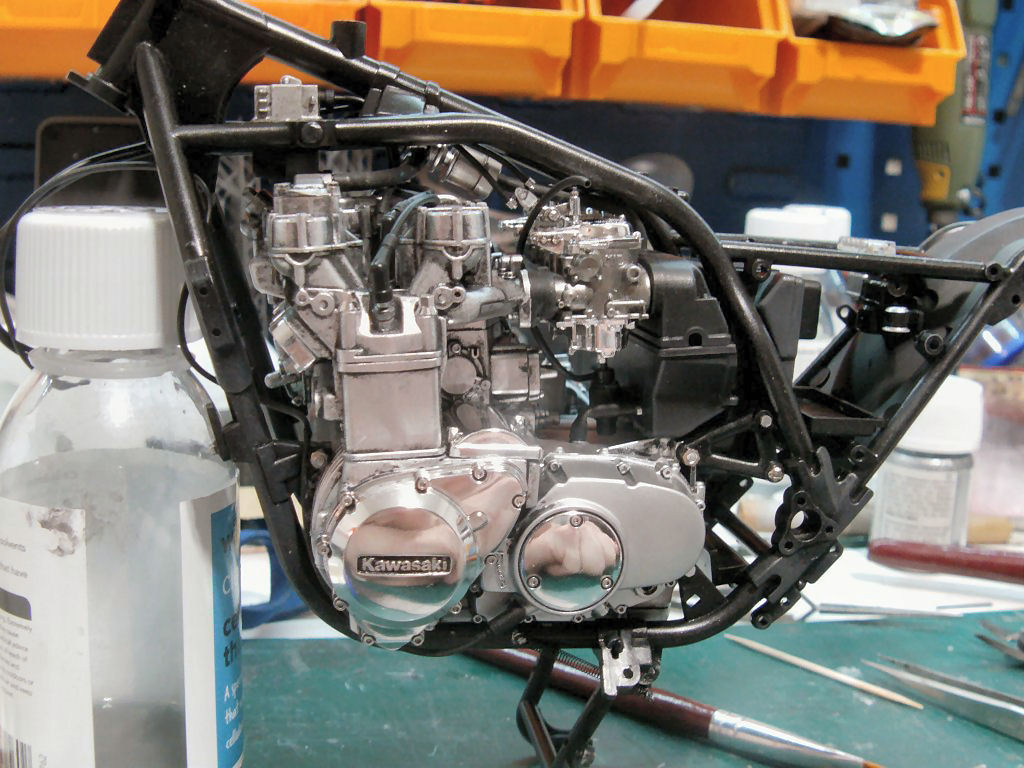
That sorted and in with the chrome parts.
The chrome was perfectly acceptable so didn't bother with the strip and Alclad routine.
Also fitted the clutch cable and did a bit of black wash on the Kawasaki logo.
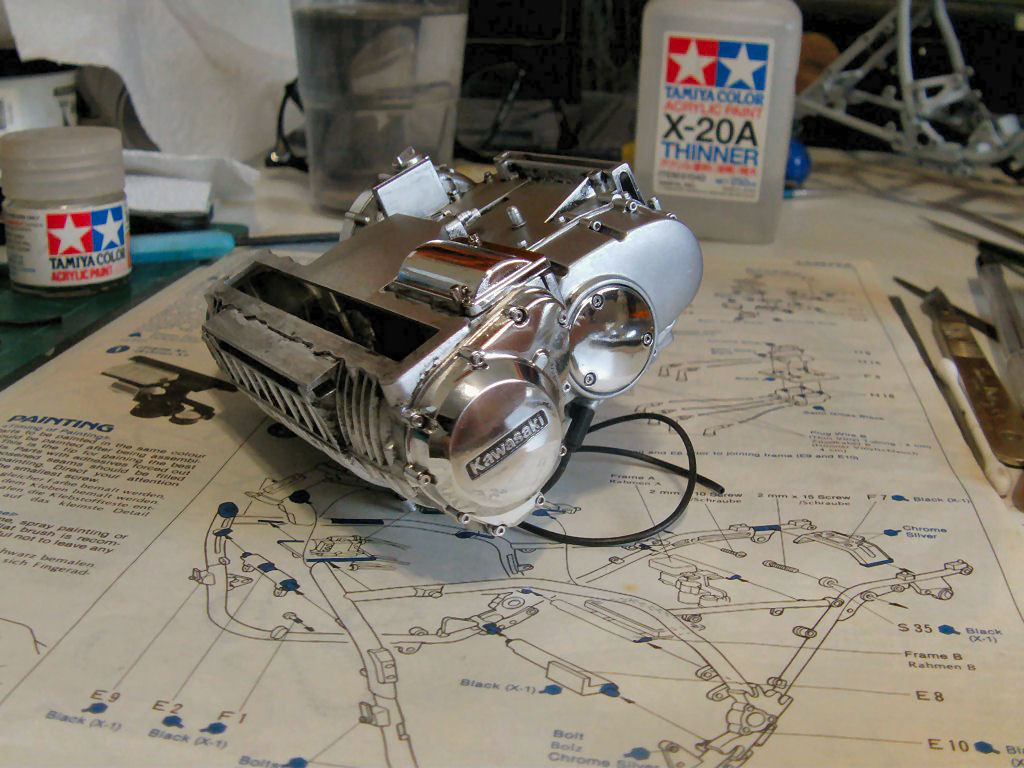
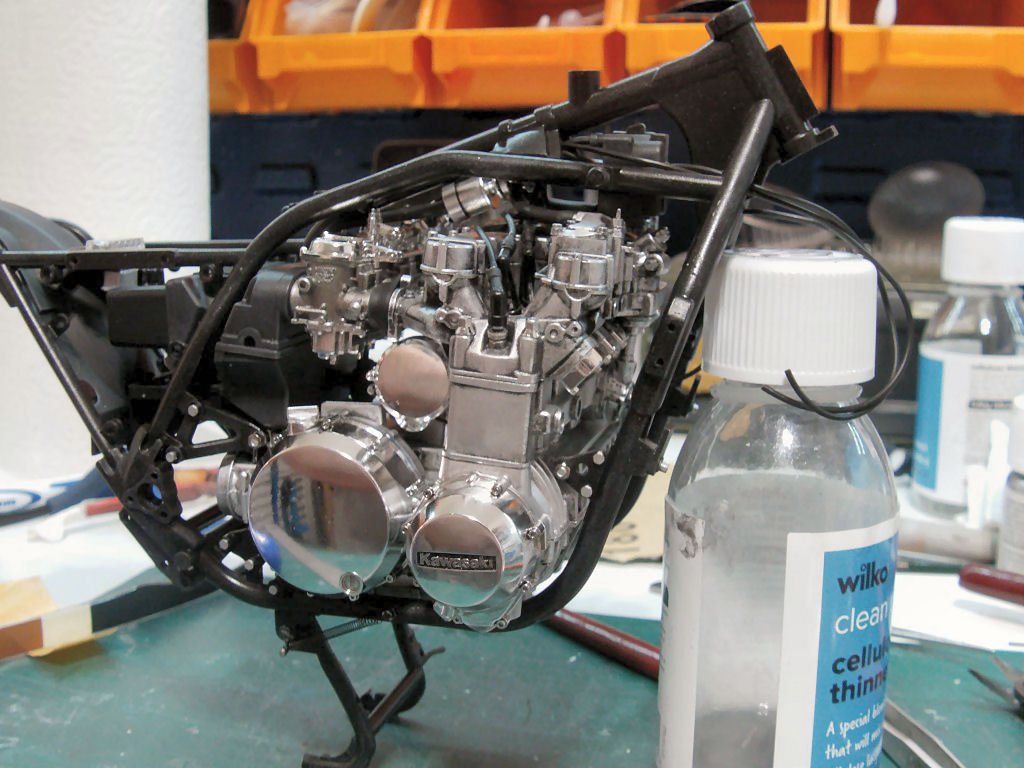
Crank case in position.
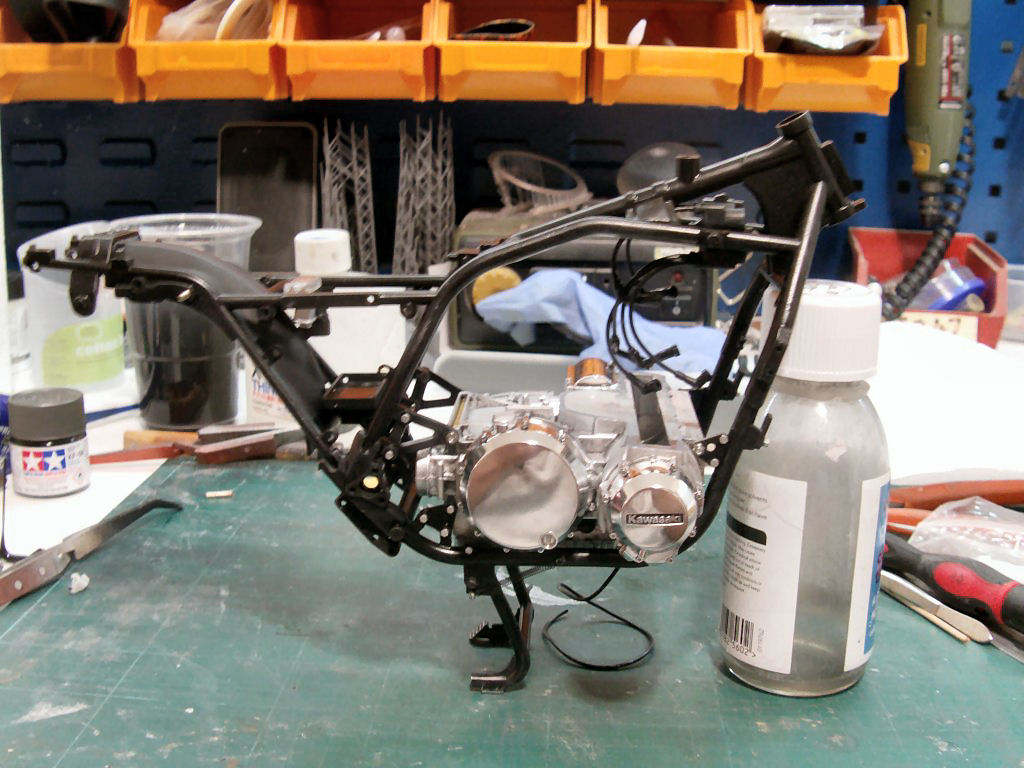
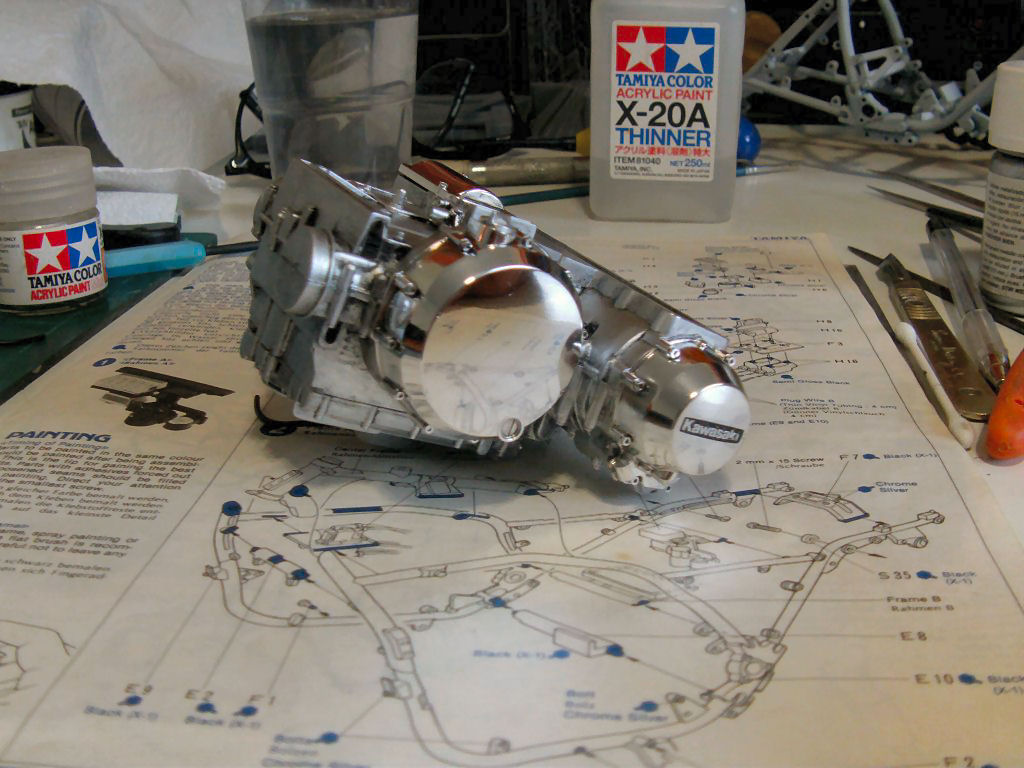
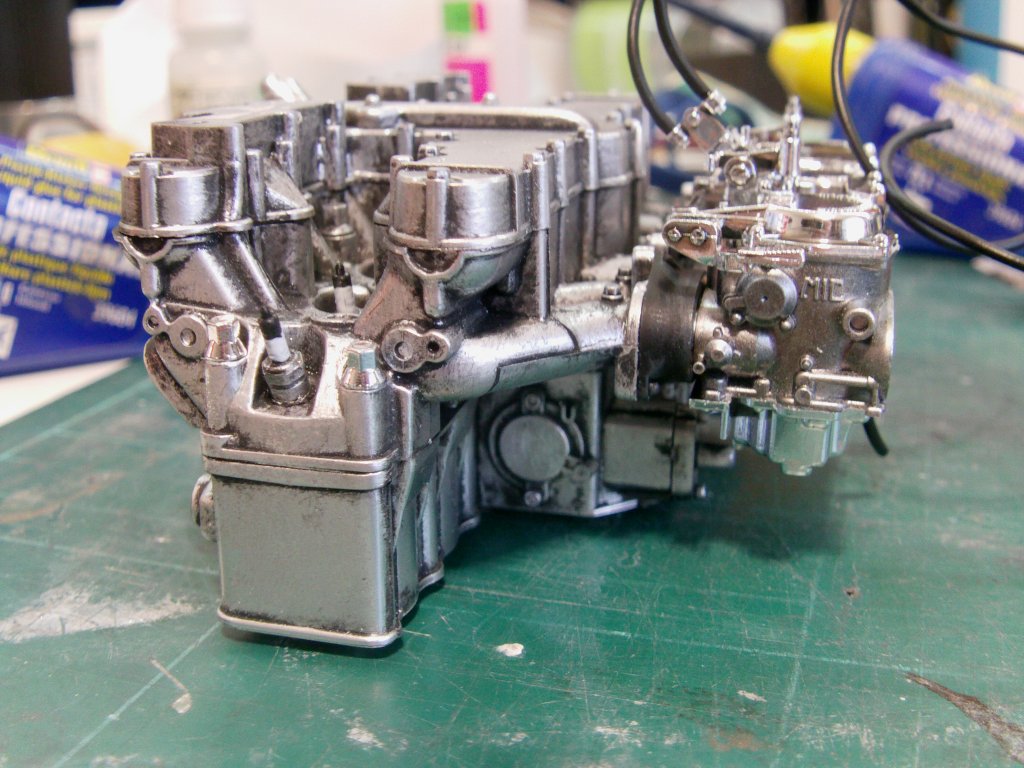
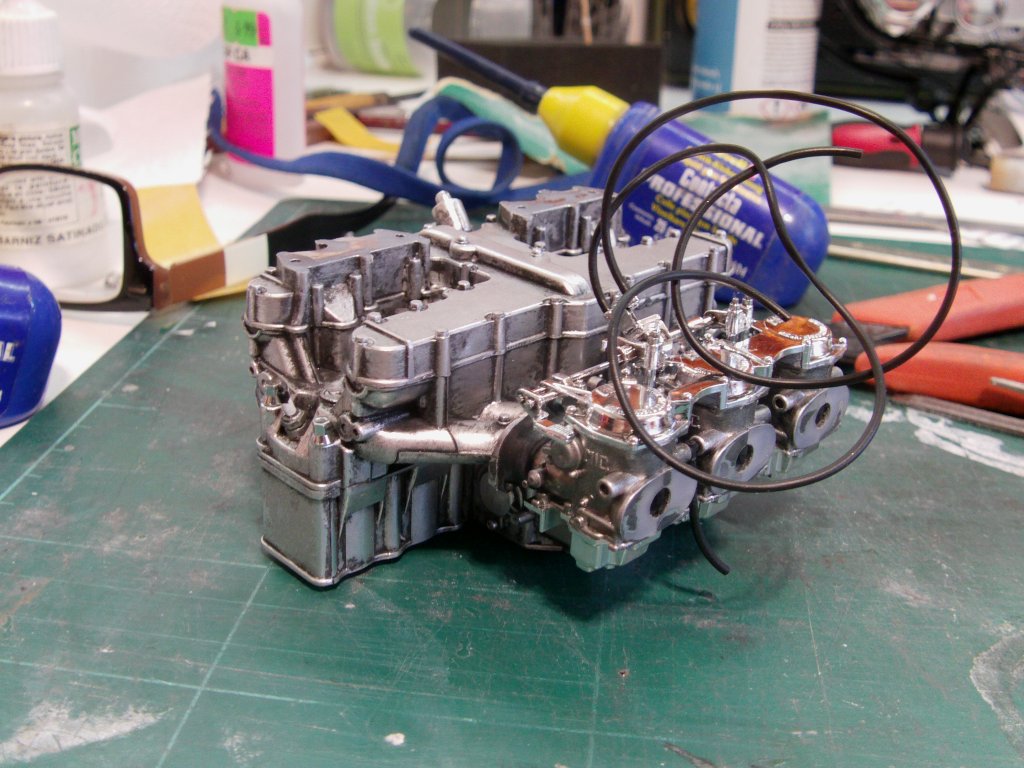
Cylinder block and carburettors up next.
Same dark wash deal with the cylinder block as was done on the crank case,
the carburettors were done in Tamiya metallic grey and dry brushed lightly with Vallejo silver.
A bit of the usual scraping of the chrome parts, glued on and
a touch of Tamiya smoke where required to bring out the detail.
Throttle cables also fitted and spark plugs painted and glued in.
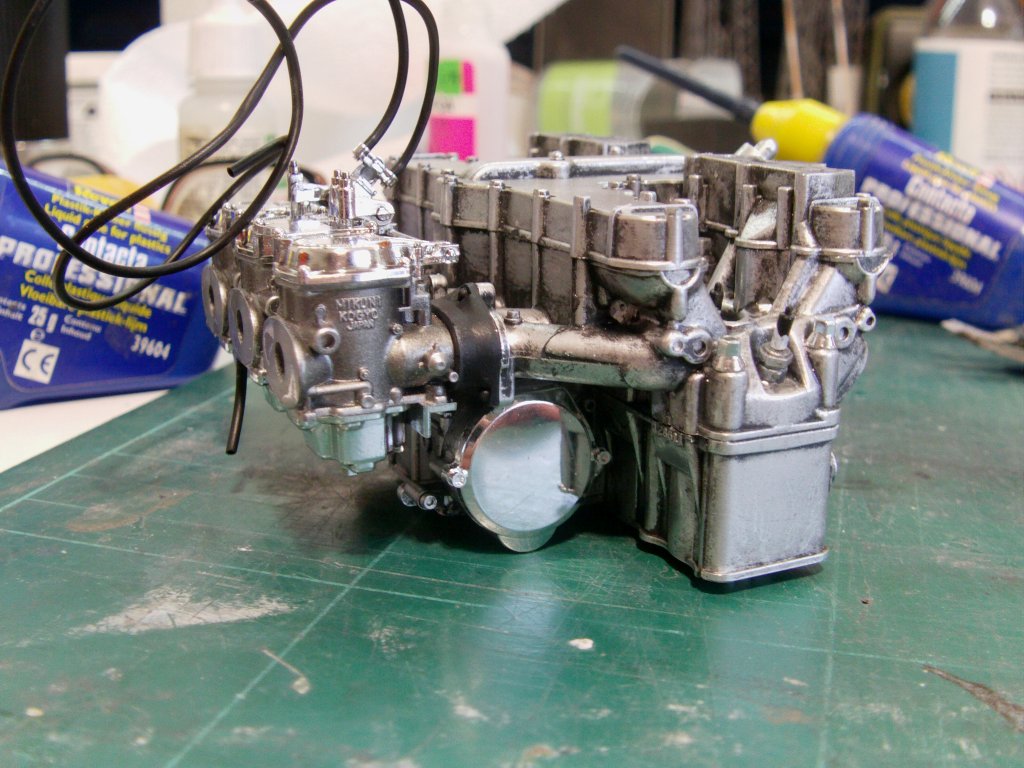
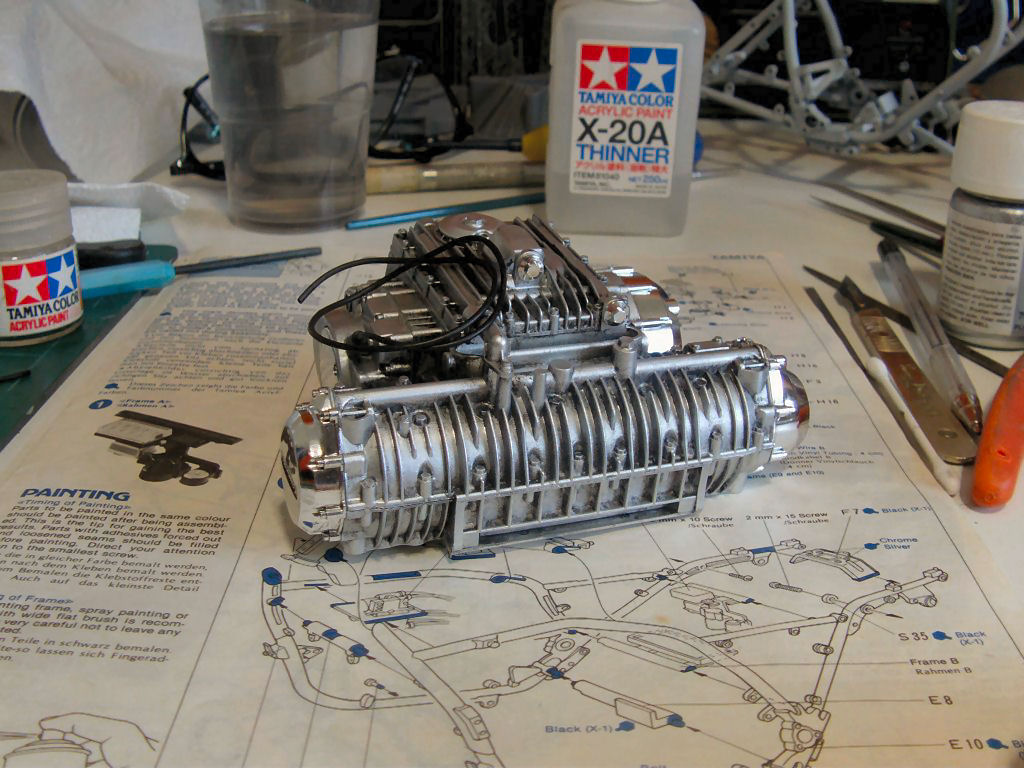
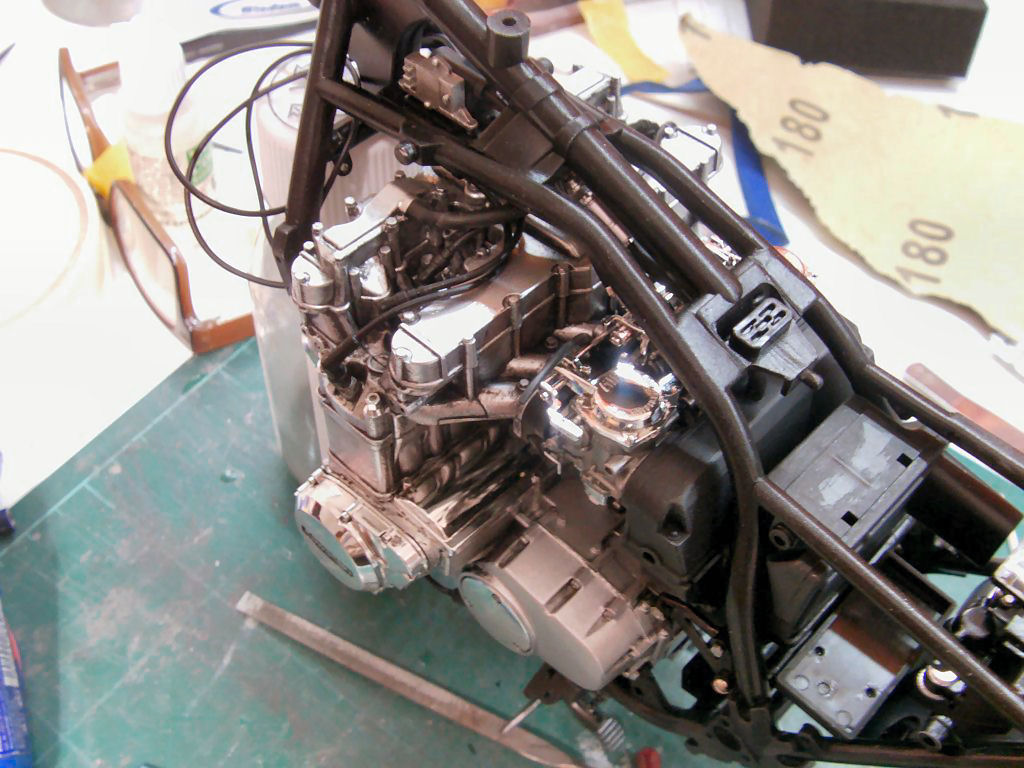
Air cleaner assembled, painted and fitted.
Just Vallejo matt black and a dry brush over in Vallejo German Grey.
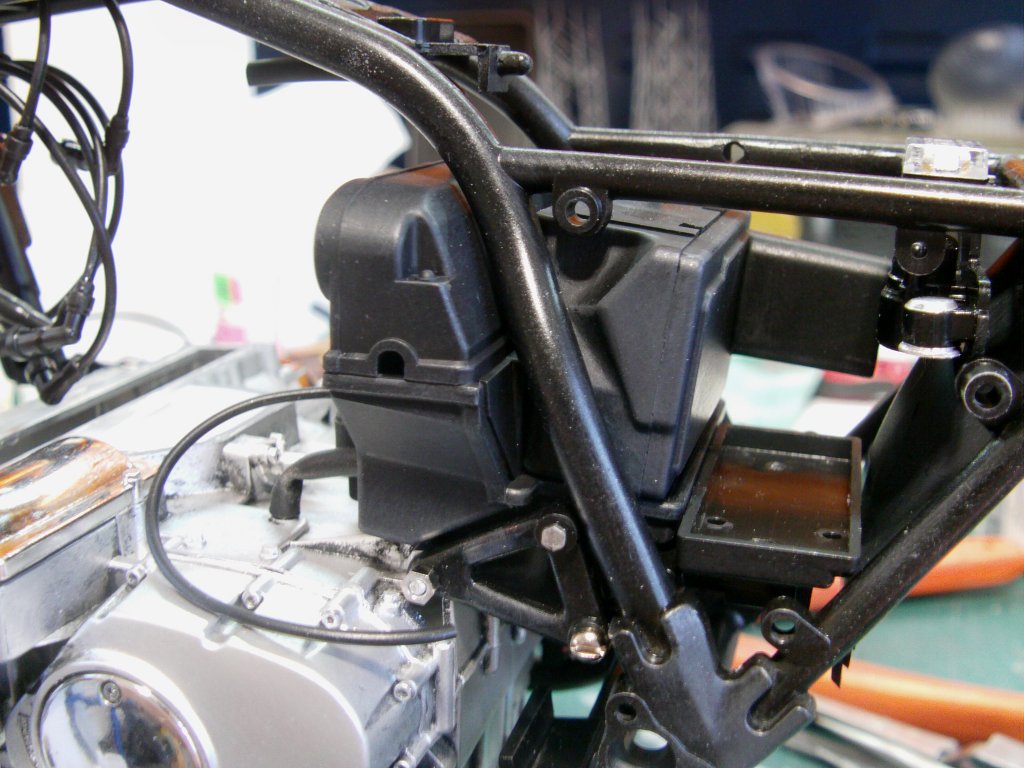
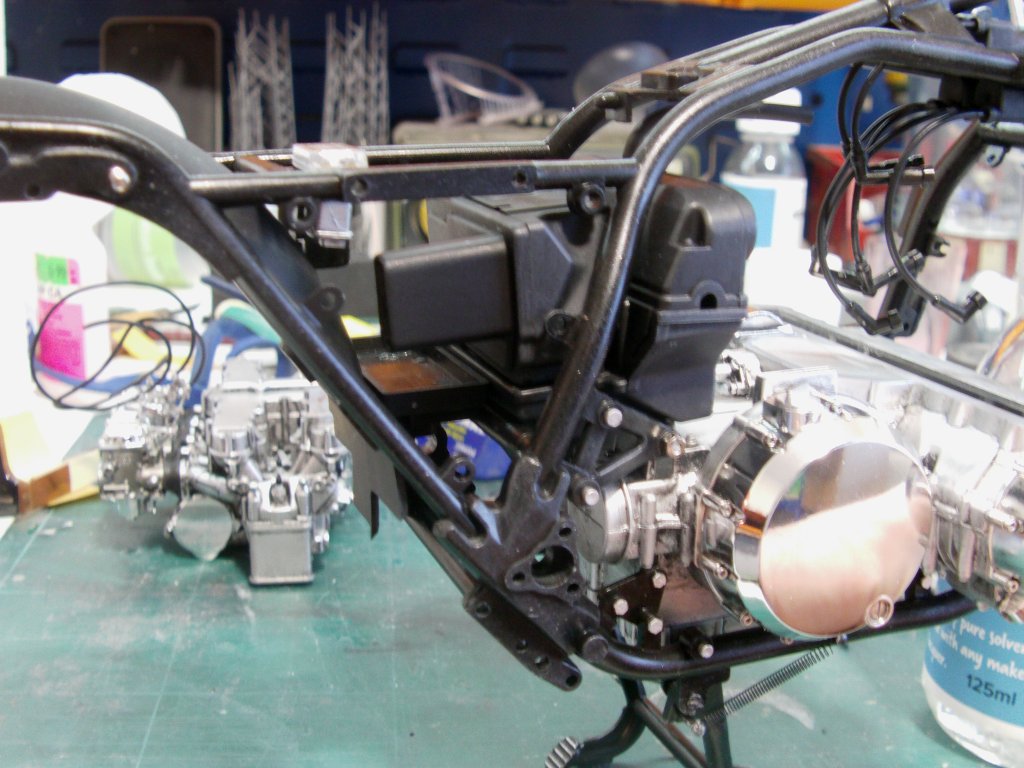
Cylinder and carb lump installed, plug leads and fuel pipe also fitted.
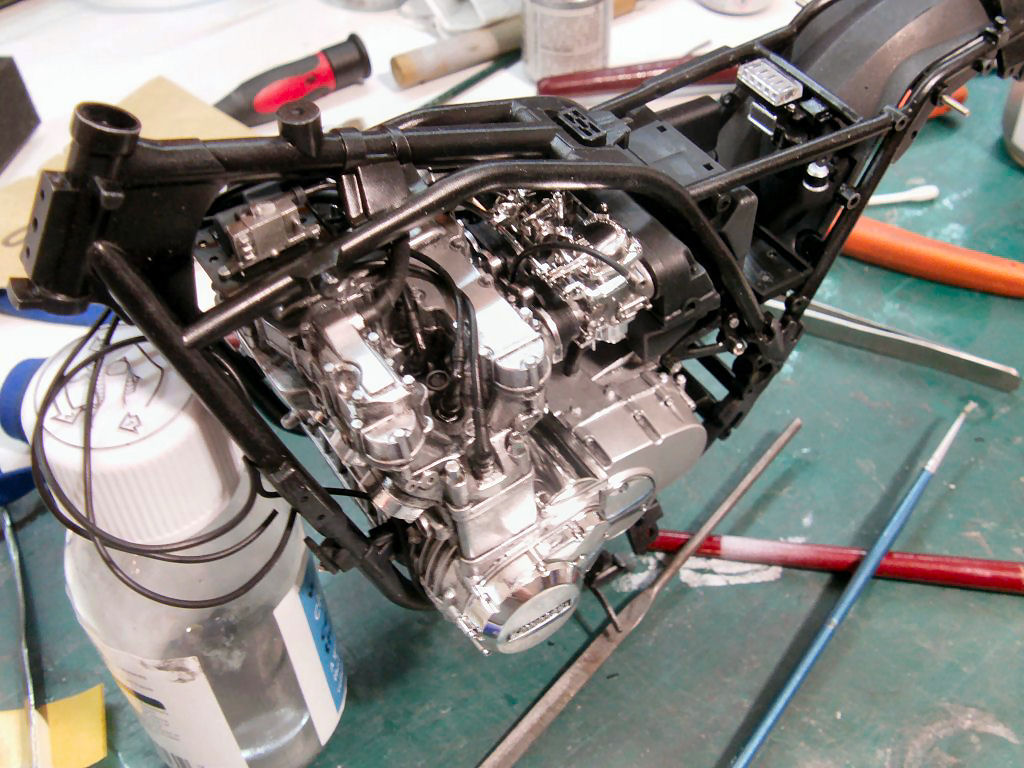
Then came the first tackle with the decal sheet.

Instructions say to soak in tepid water for 10 seconds then slide in to position.
Yeah, like that was going to happen.
Two minutes in warm water and with the finest point tweezers I have,
the decal was carefully peeled off the paper.
In place with the help of my usual 50/50 acrylic gloss varnish and Microsol,
it was a done thing and no silvering.
After a dry off, a brush coat of Army Painter anti-shine matt varnish sealed the deal.
One decal deal down, more than i'd like still to go.
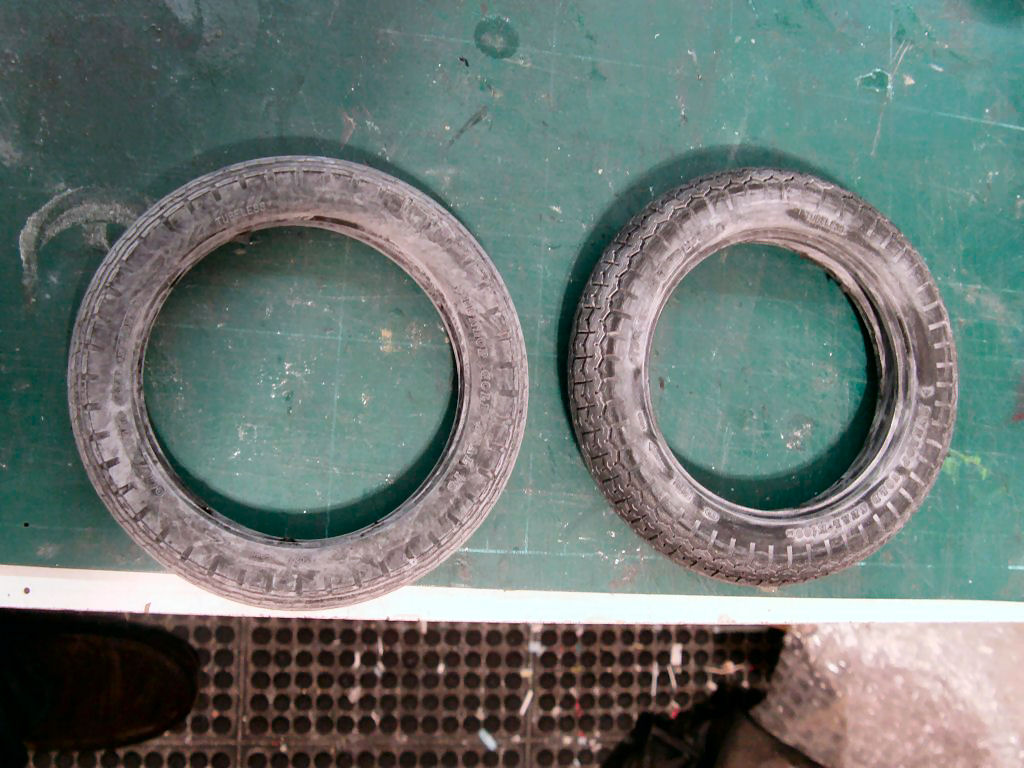
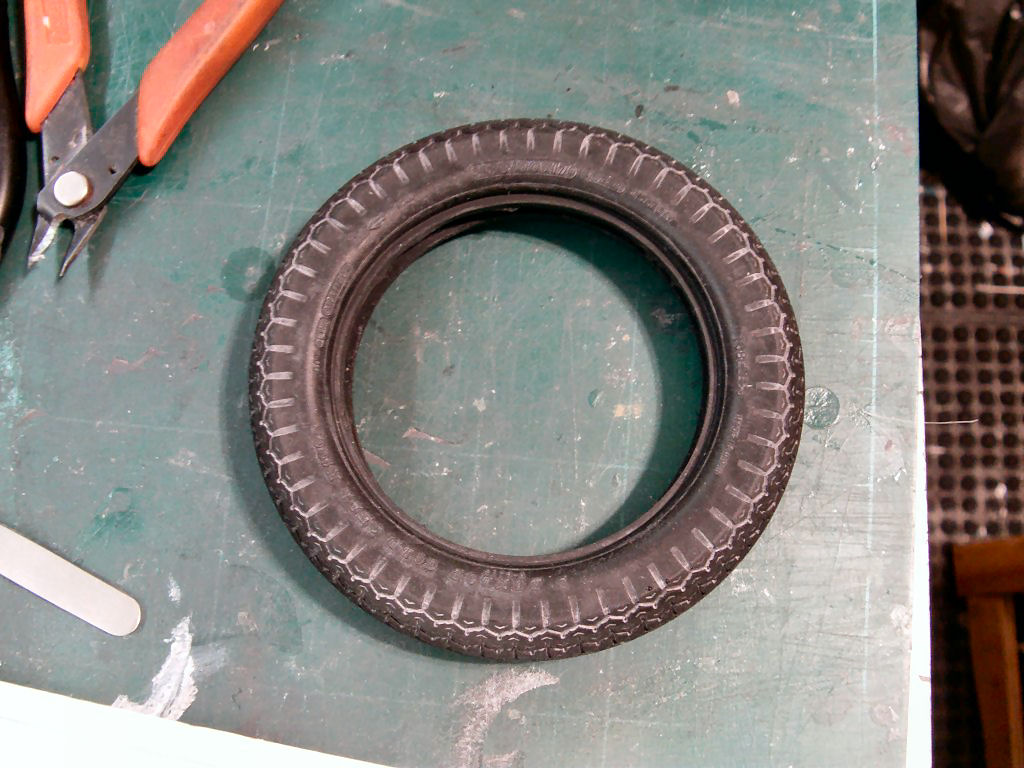
On to the rear tyre now.
Both the real rubber tyres had plenty of chalk powder on them which turned out to be a benefit.
This would help with showing up the tread and side wall markings so that just got a light
going over with an old tooth brush.
As noted before, I wanted a used look so fitted the tyre to the wheel and with the help of a nut and bolt assembly,
fixed it in the chuck of my cordless drill.
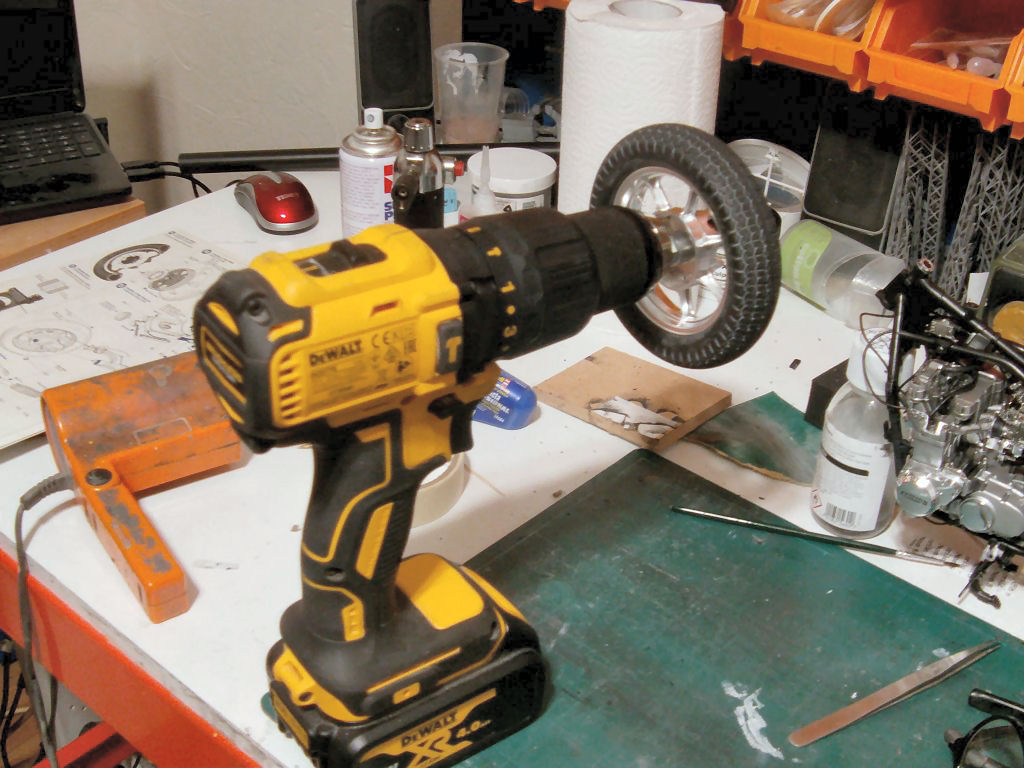
Spun that up at full revs in the low gear setting and gently apply a piece of 180 grit paper,
used dry to take the middle seam down with a stop to check about every 5 seconds or so.
Once happy, using some 240 grit wet & dry paper with plenty of water to
smooth things out but not going over the whole tread.
I left alone the very outer edge of the tread untill the last and a single light run over.
The results are a the side walls remain as moulded but a nice matt finish on the tread but the
most apparent wear where the rubber meets the road so to speak.
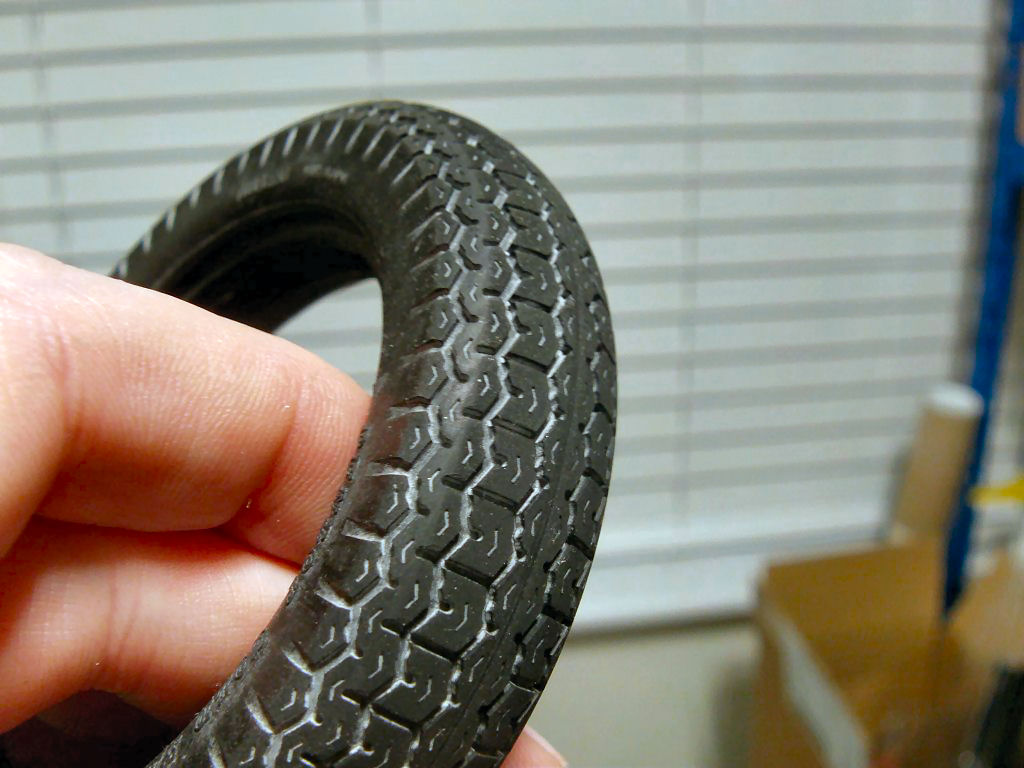

Lovely!
Onward to the next page for more fun and games then.
Page Number