
Motorcycle Girl 3D Print/Scratchbuilt
Conversion and Sculpt
1/6th Scale

 Page Number
It seemed like a good idea at the time...
Still Is As Far As I'm Concerned.
Whatho folks! A quickish kinda deal here.
I decided that this beastie needed a figure to go with it...
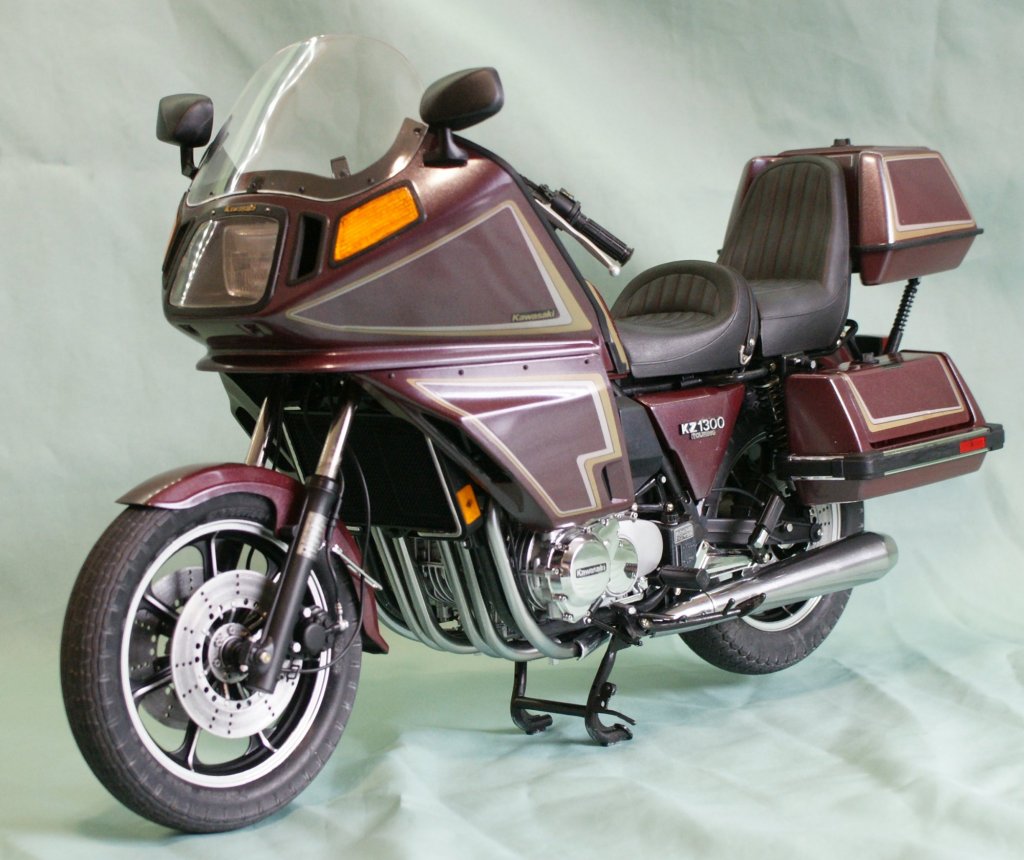
So with that in mind, a printed mesh mashup was called for.
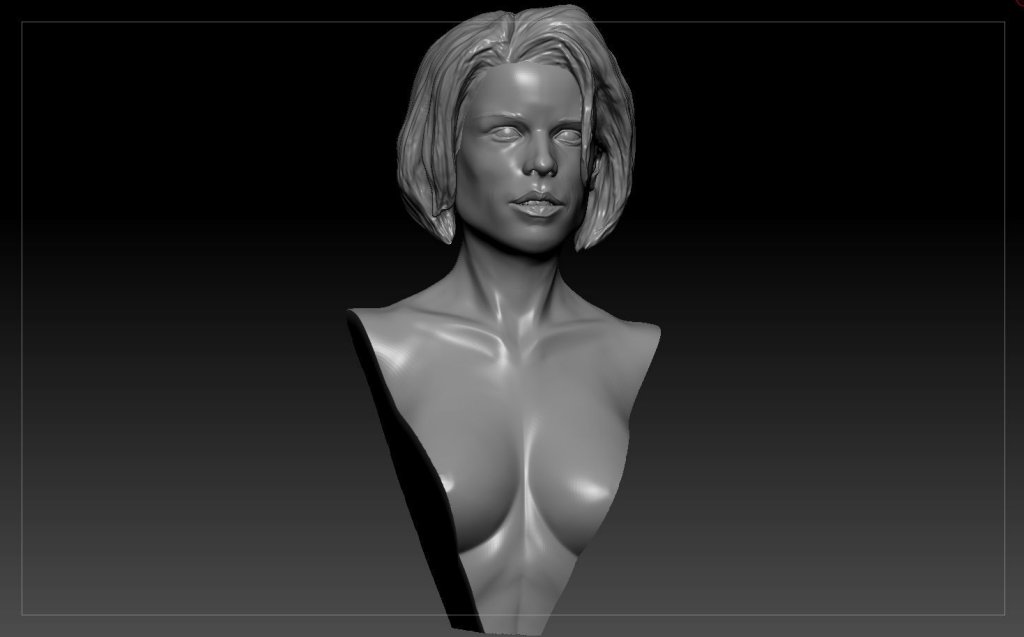
So the head of of this mesh.
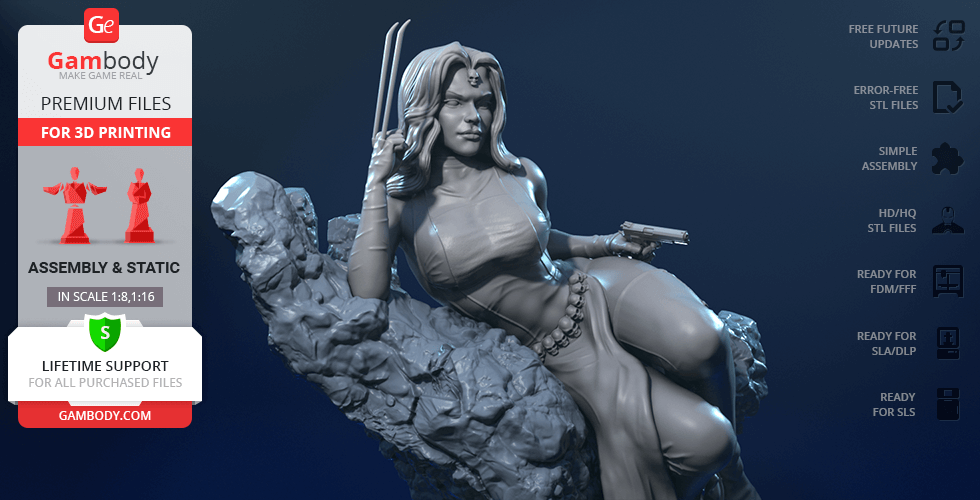
The arms, alternate hands, arms and boots from this one.
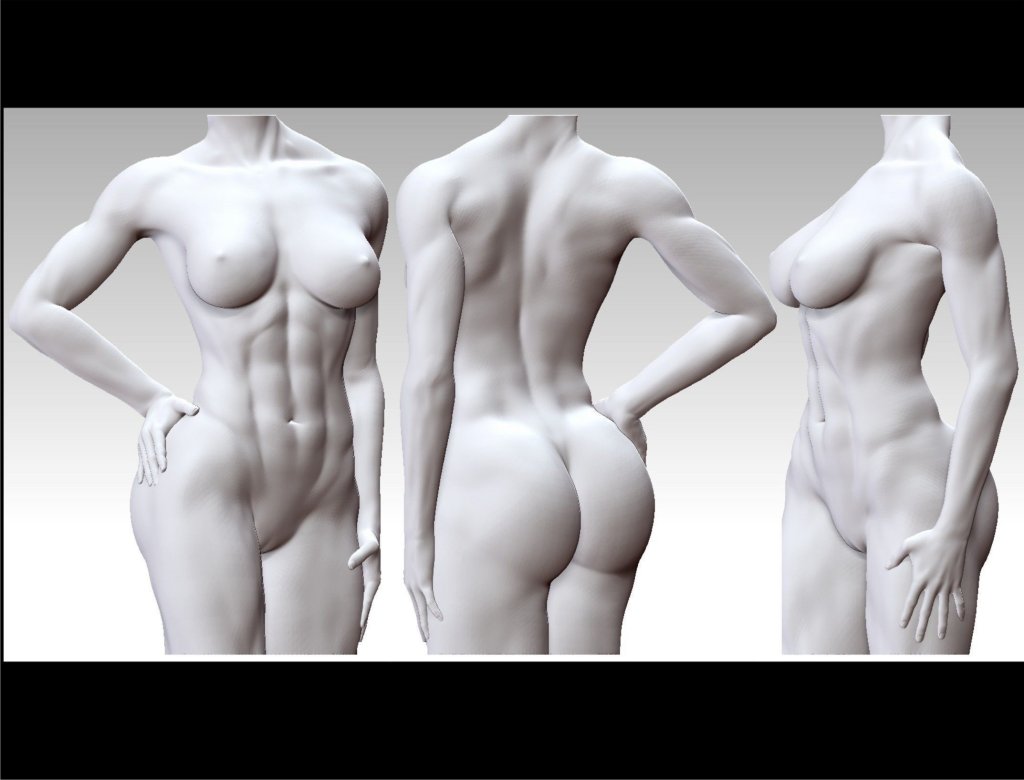
And this torso mesh.
So that lot got printed as is and then the fun began.
Arms/hands printed and slightly modified as was required.
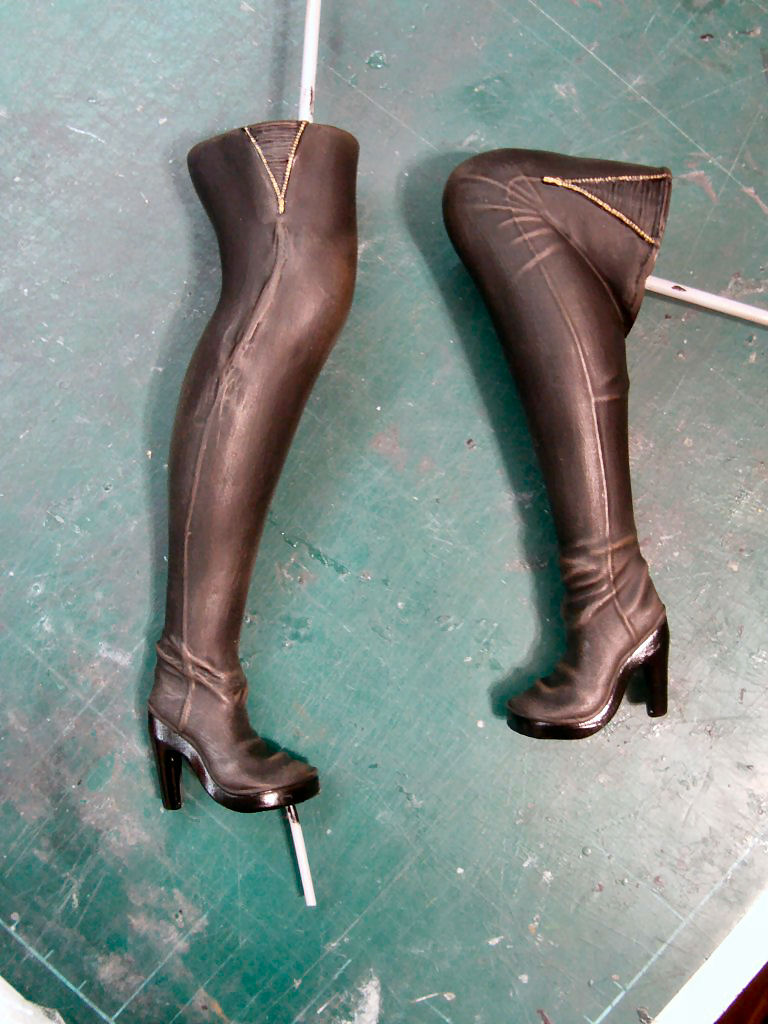
Boots also as they were both bent at the knee but I needed one of them straight.
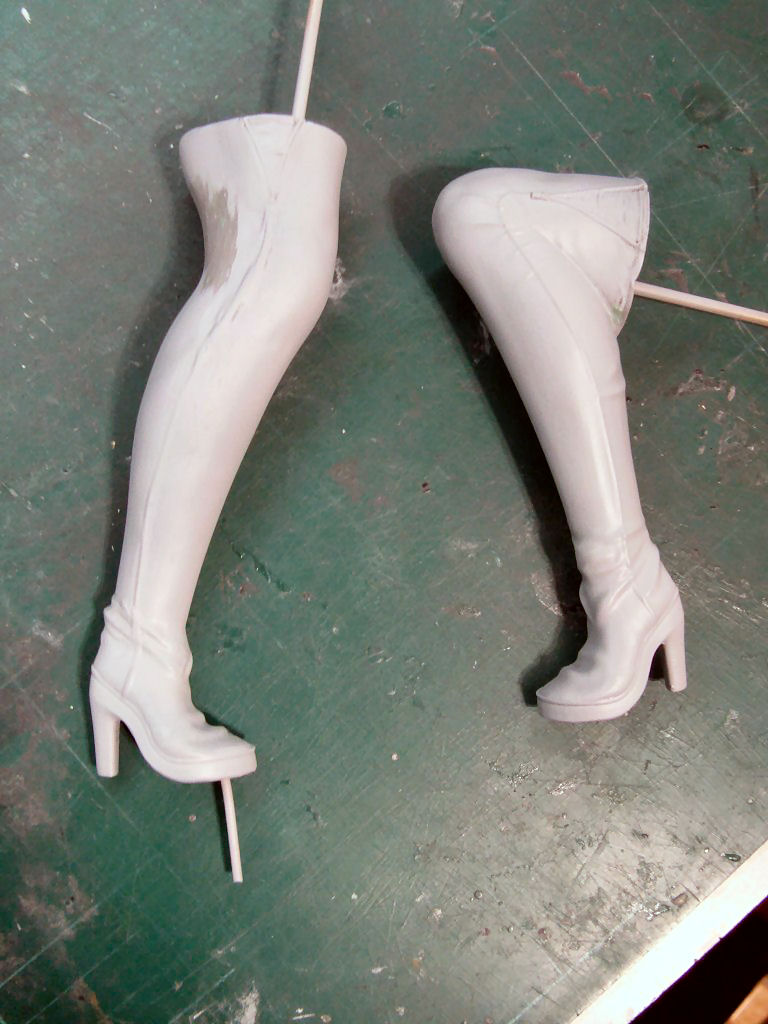
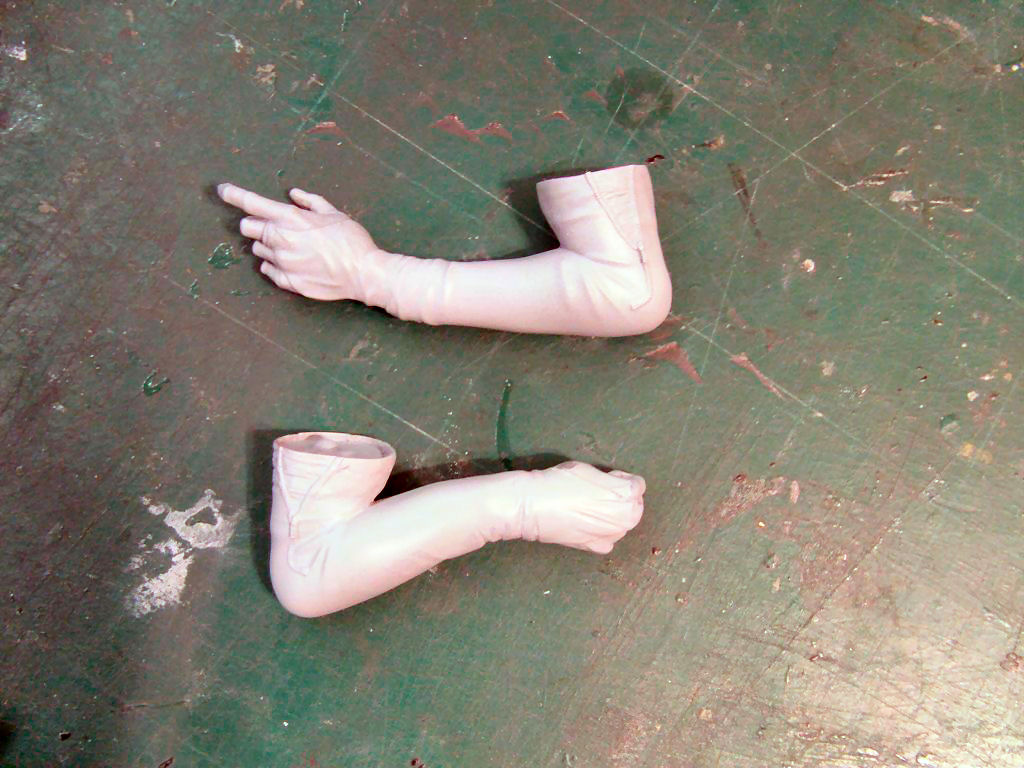
Now I didn't take any pics of the torso as is or the mods done as these
would have to appear on message boards and Facebook, and we know some folks can be a bit touchy about things.
Suffice to say the arms got removed and one leg bent
at the hip with much Aves Apoxie Sculpt filling in the holes.
Here's the head sculpt printed.
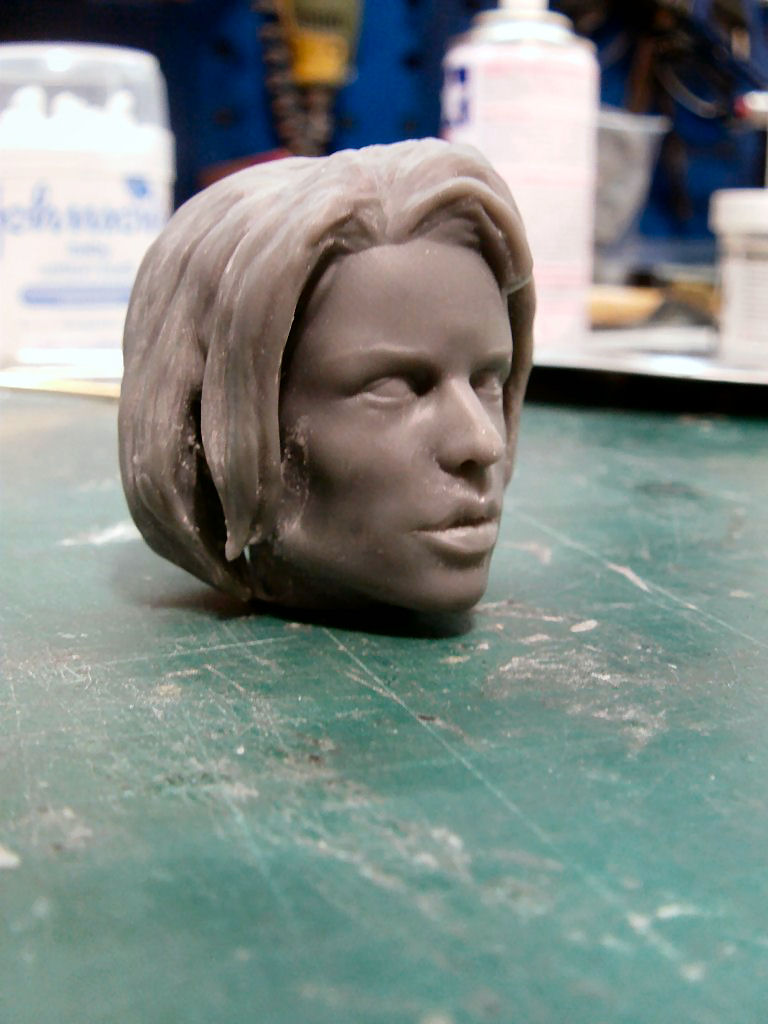
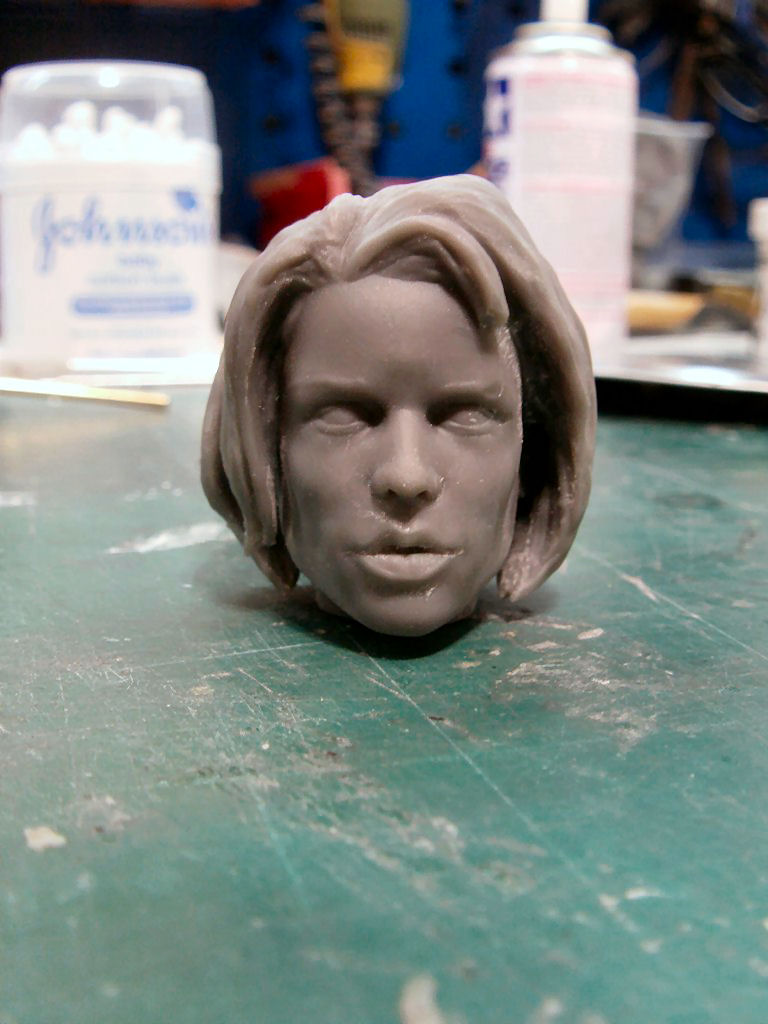
Now the lock of hair going down the left side of the face was mostly removed in prep for an upcoming addition.
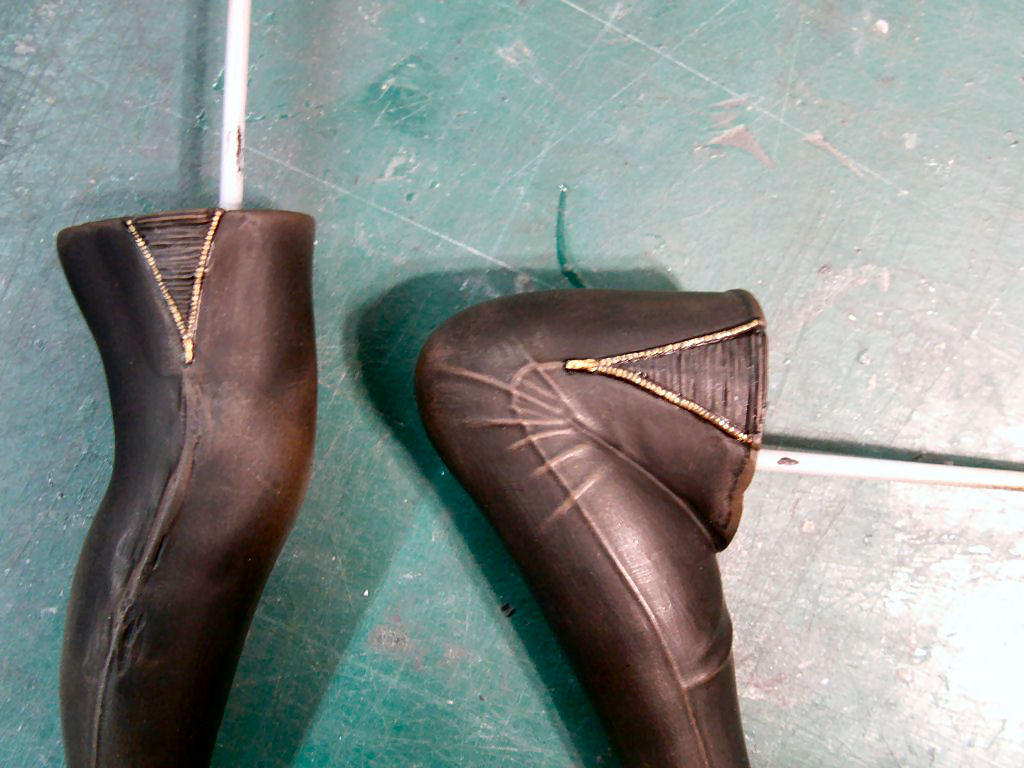
Once the boots were set, paint work happened to them.
Vallejo matt black with a burnt umber dry brush with a final going over with dry brushed flat earth.
Side zippers picked out in rich gold.
Then came the question of clothing.
Already decided she should have denim shorts and a crop top leather jacket because why not.
Now we get to a little bit of a twist in the tale.
My hands are none too steady and I do like sharp lines between flesh and clothing.
Painting such things can be a chore and mistakes when the brush wanders are a bloody nuisance.
So me being me, let's do things differently with separate clothing parts.
The torso was brushed over with pva mould release that usually gets used for fibreglass moulding.
Just brush on, let dry, do what needs be done and then get some water on it and the PVA dissolves.
Same kinda deal except using Aves in this instance to sculpt directly on to the figure.
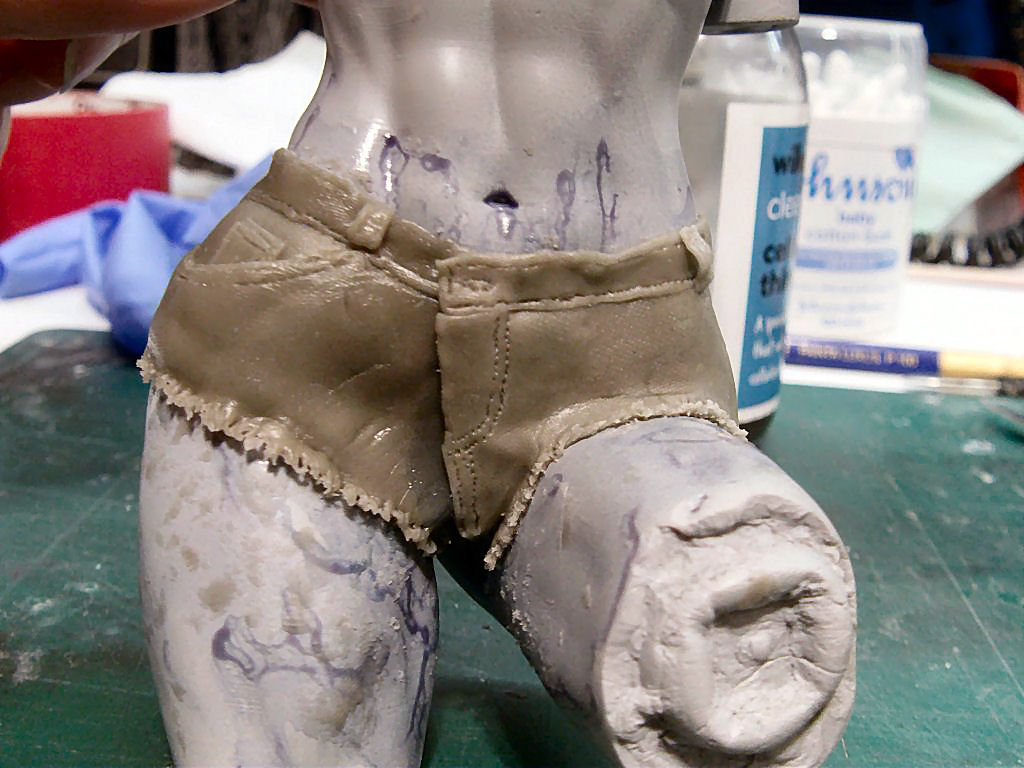
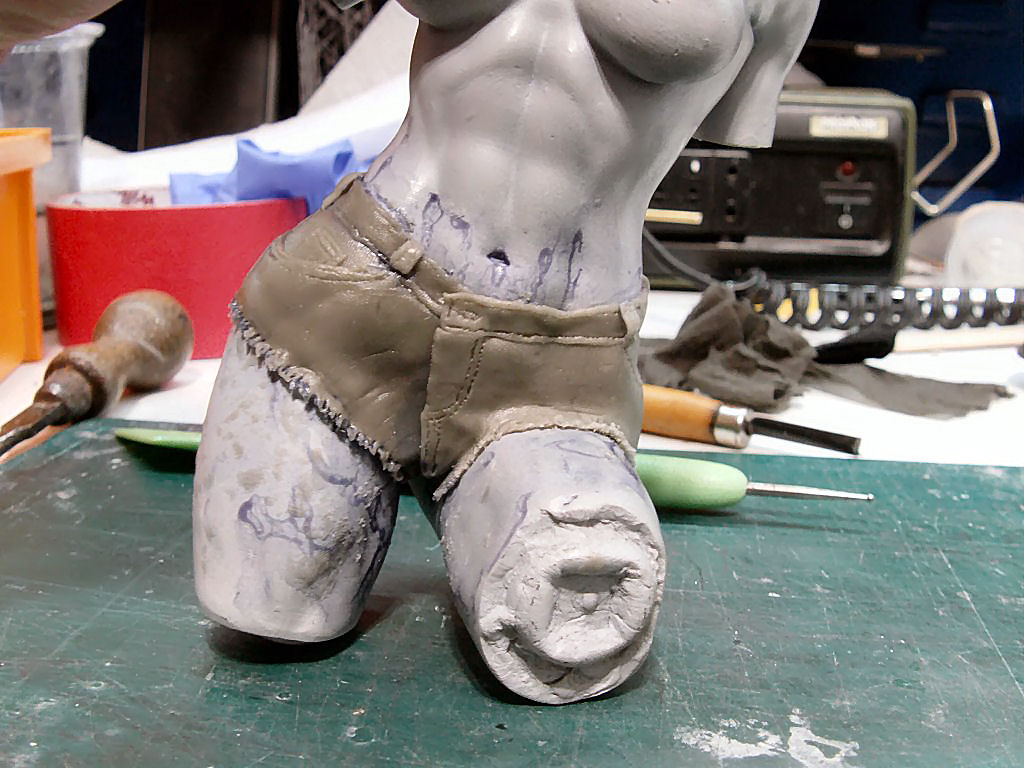
So started with the shorts.
Doing them in four pieces with release agent on the joins so I could get them apart, paint and put back.
v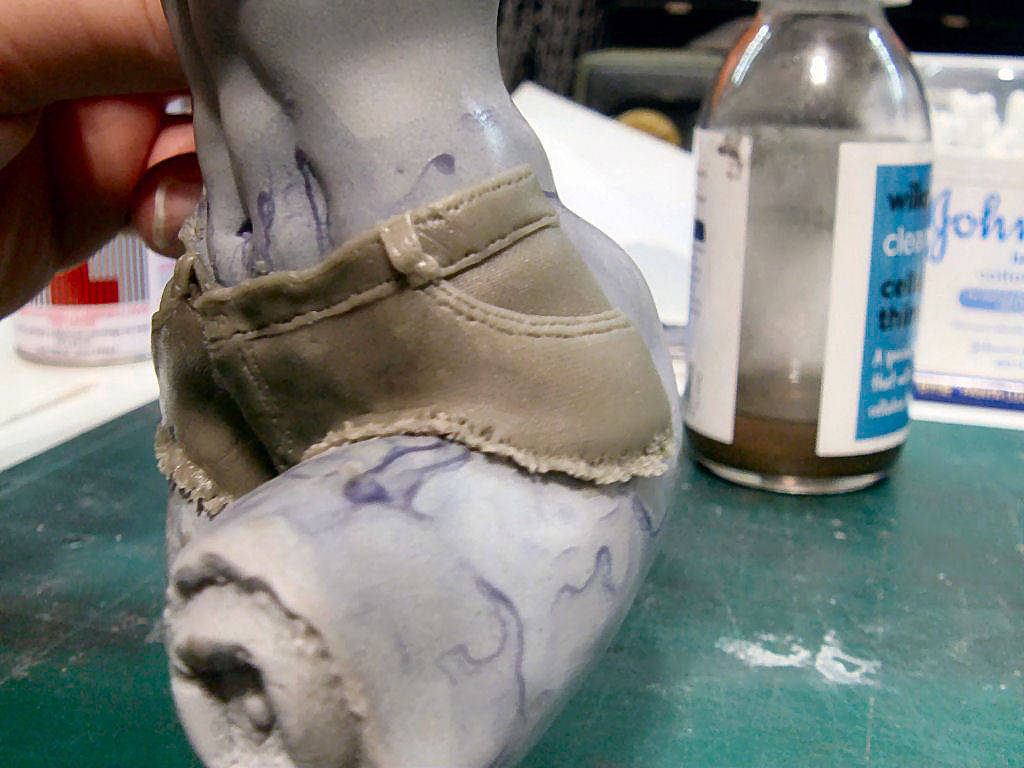
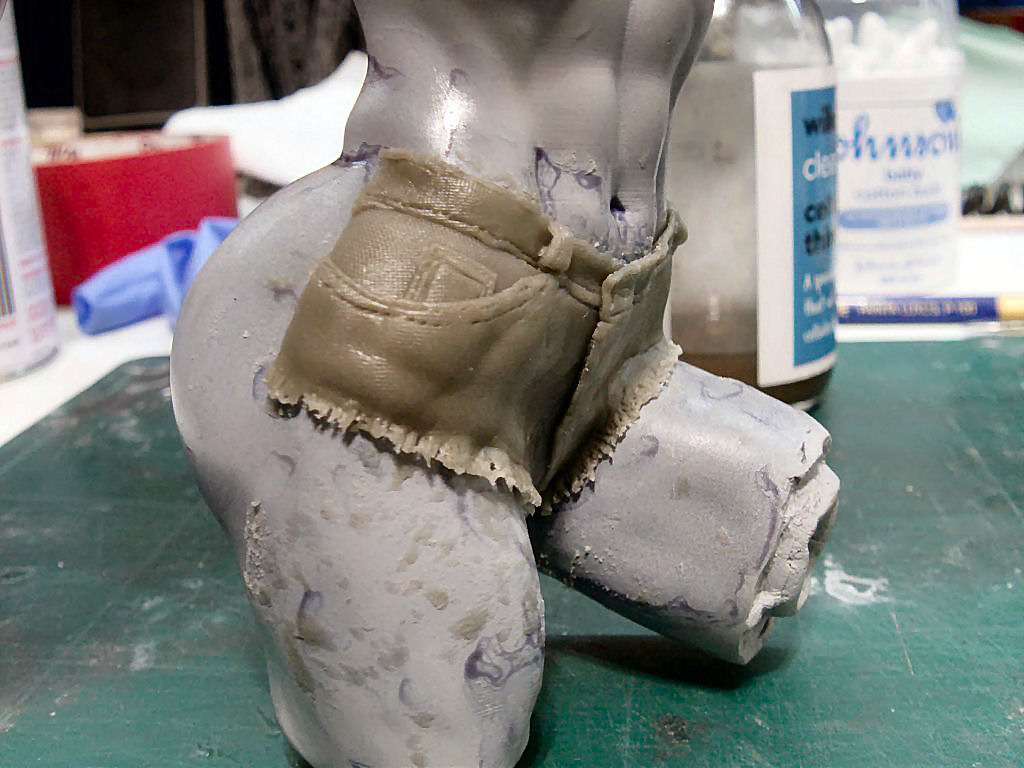
Each part was sculpted,
then had a fine weave material gently pressed on
and cured to final hardness.
The back parts also done.
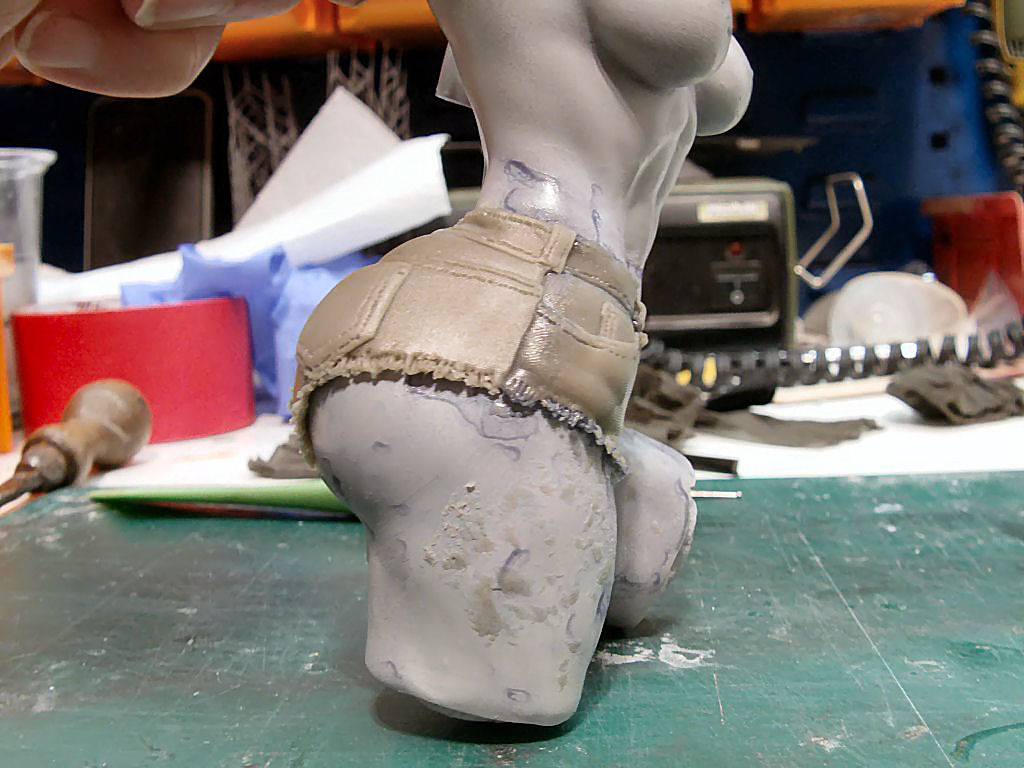
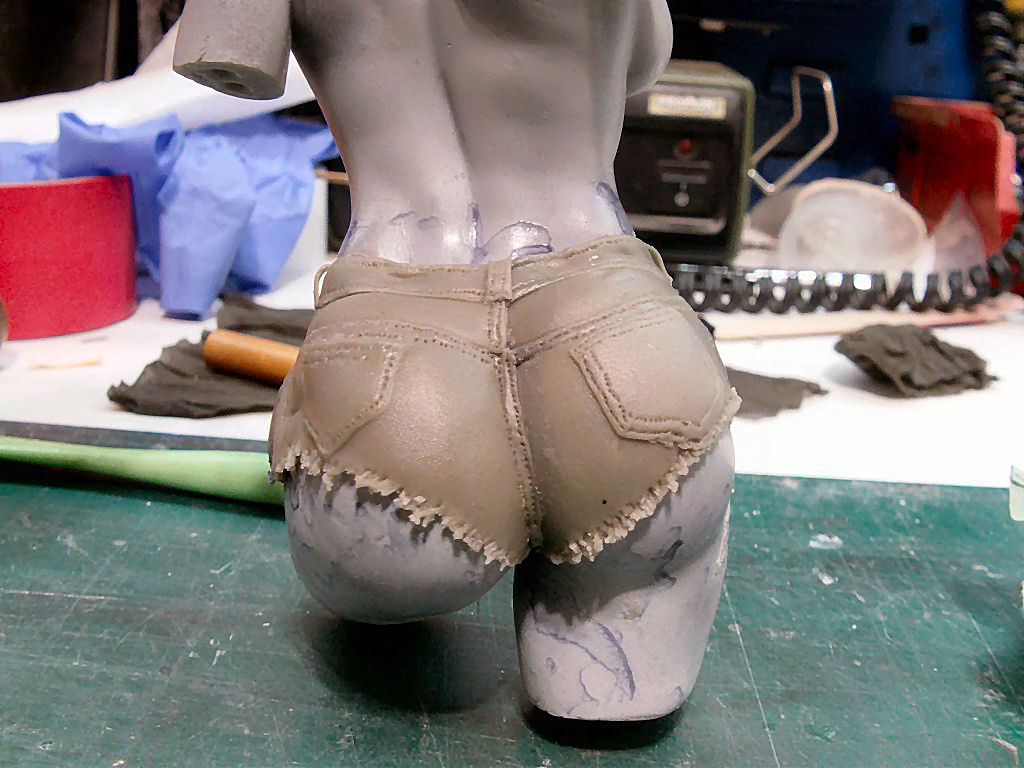
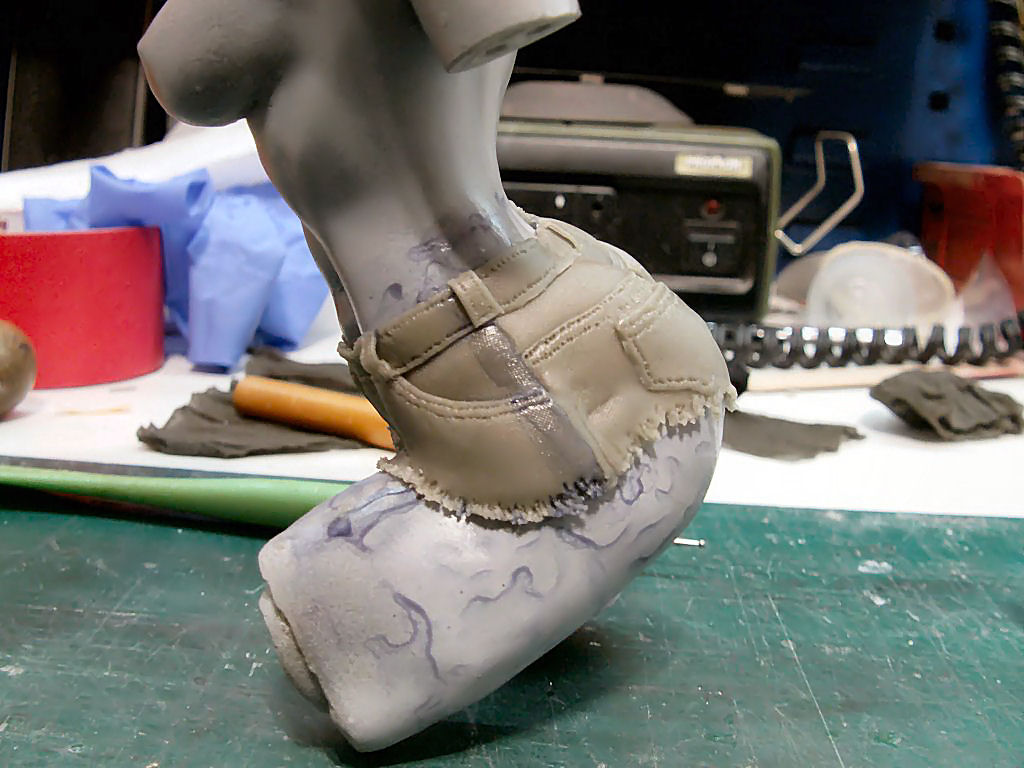
All good there, a bit of a soak in warm water and with some gentle leverage, the pieces were removed.
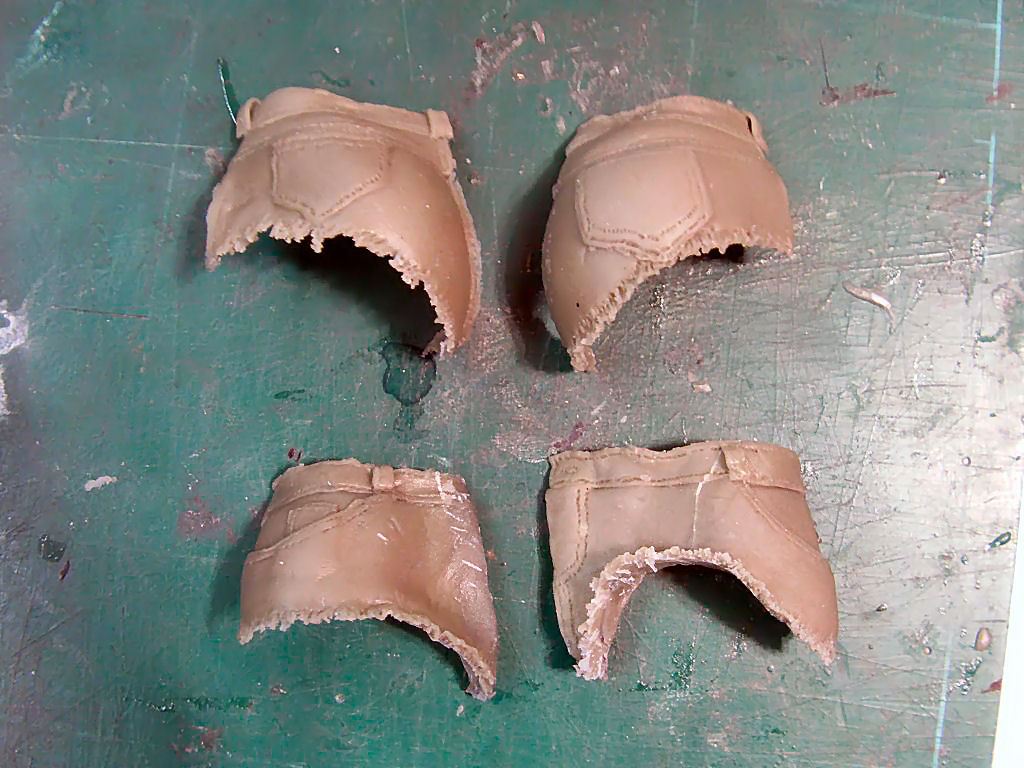
One hurdle done with, on the the next!
The crop top jacket was the tackled.
To save problems, I went with a sleeveless one.
Sculpted with Aves again and done in three pieces.
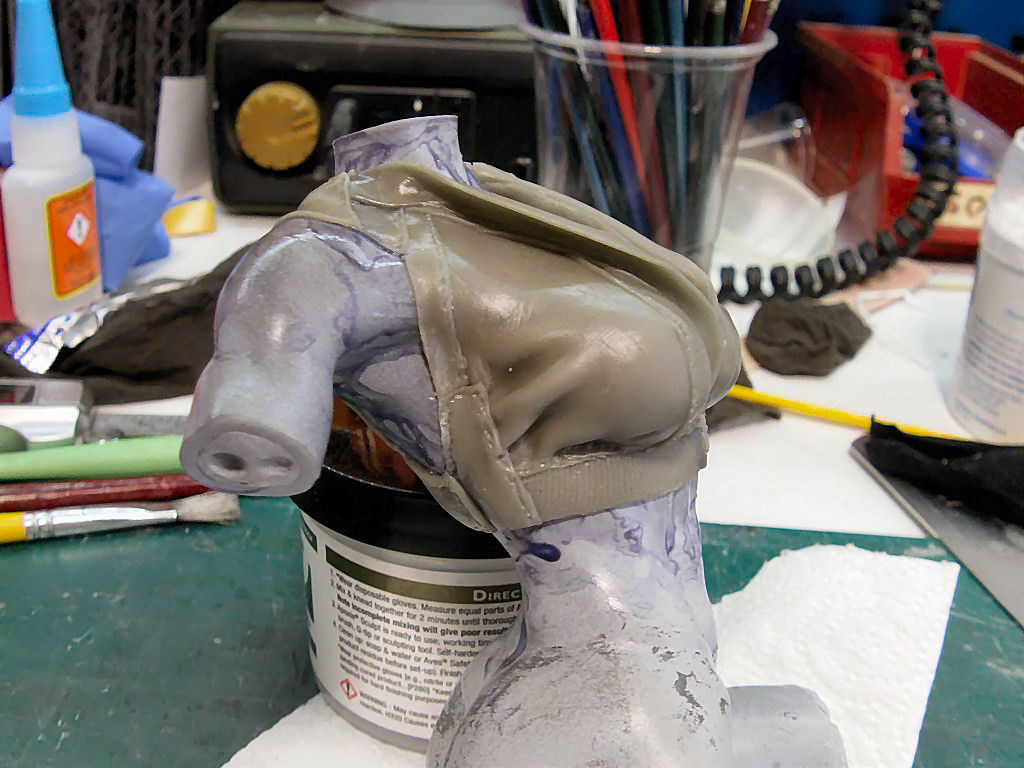
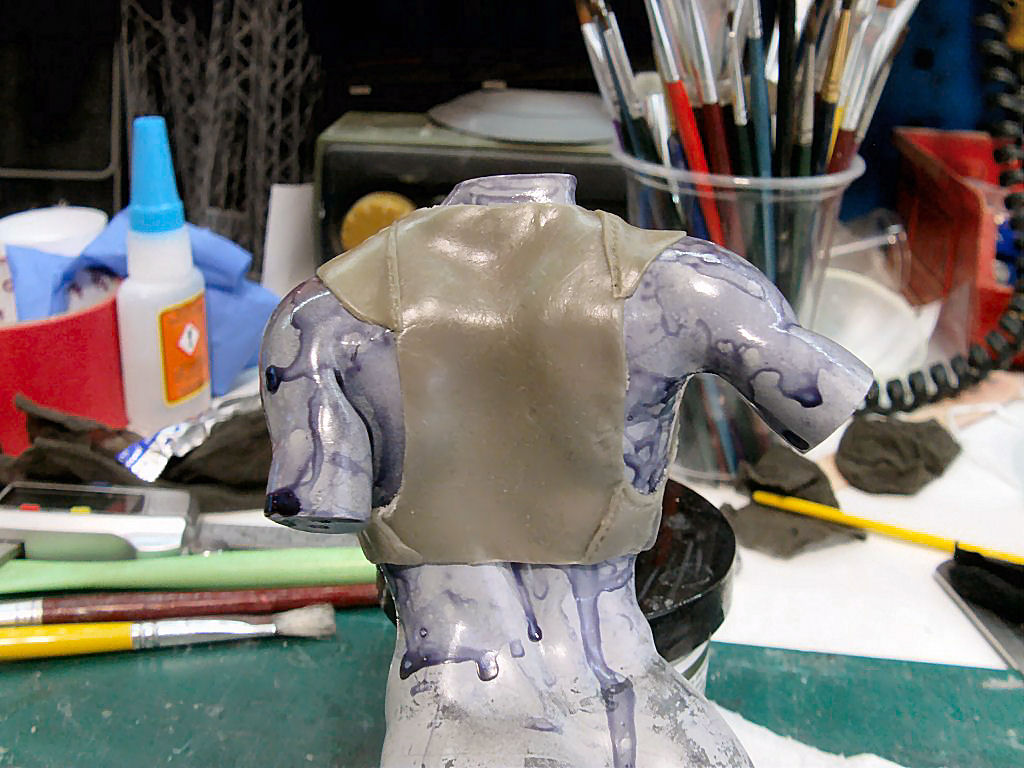
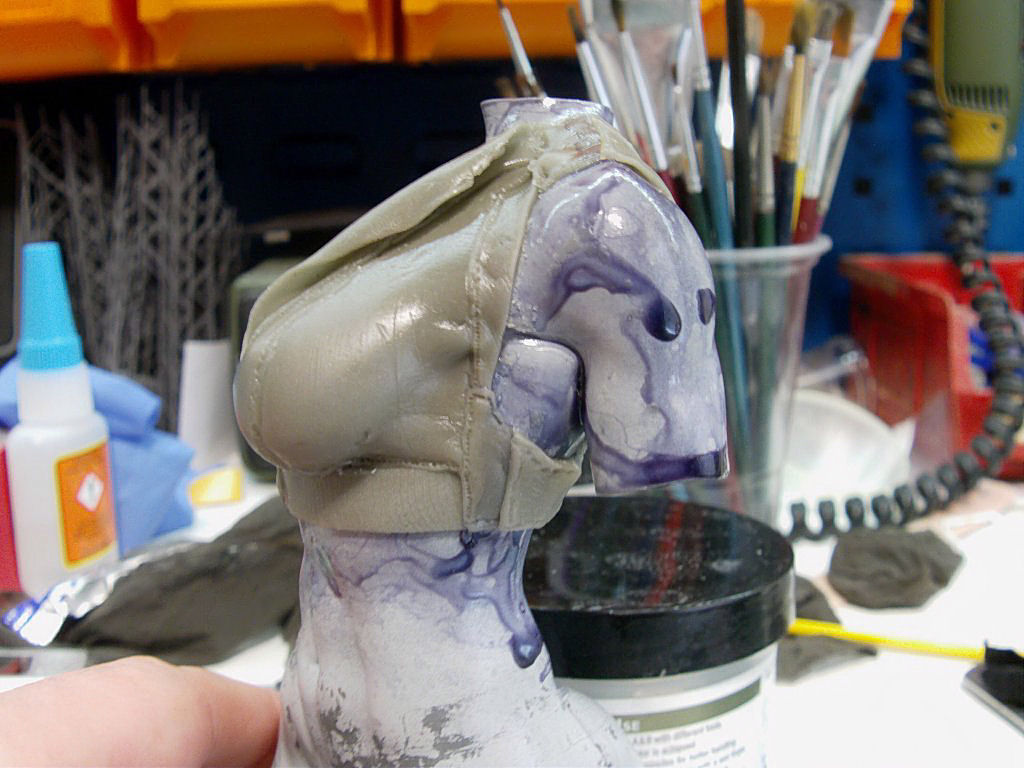
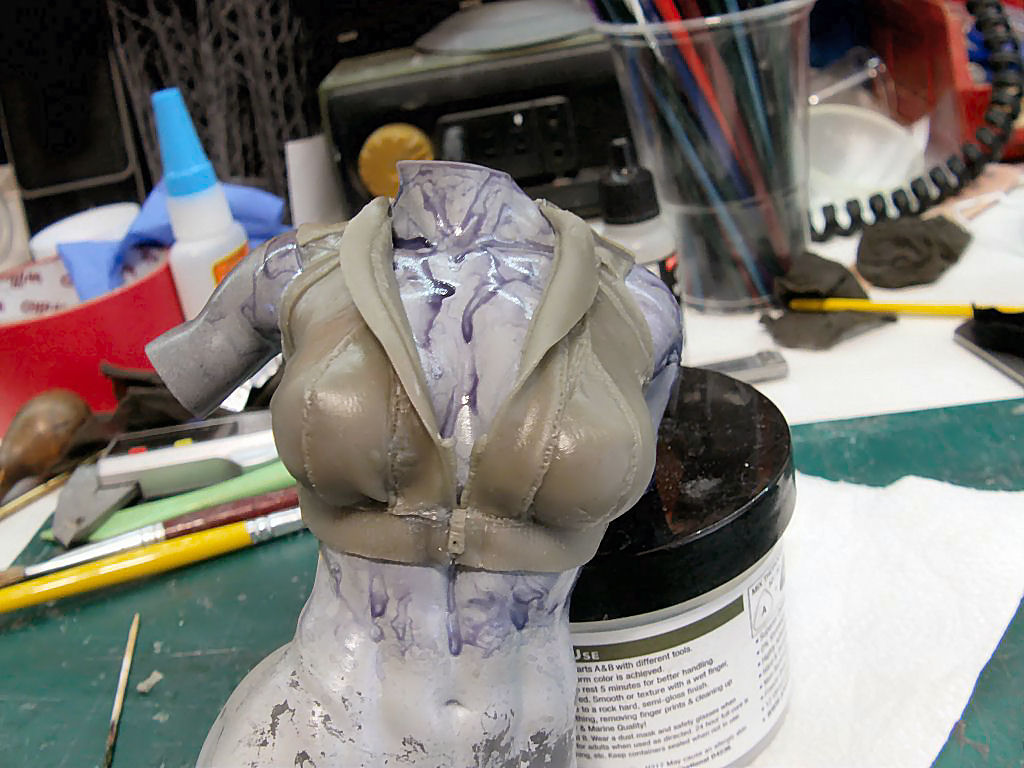
Same water dissolve and parts release deal.
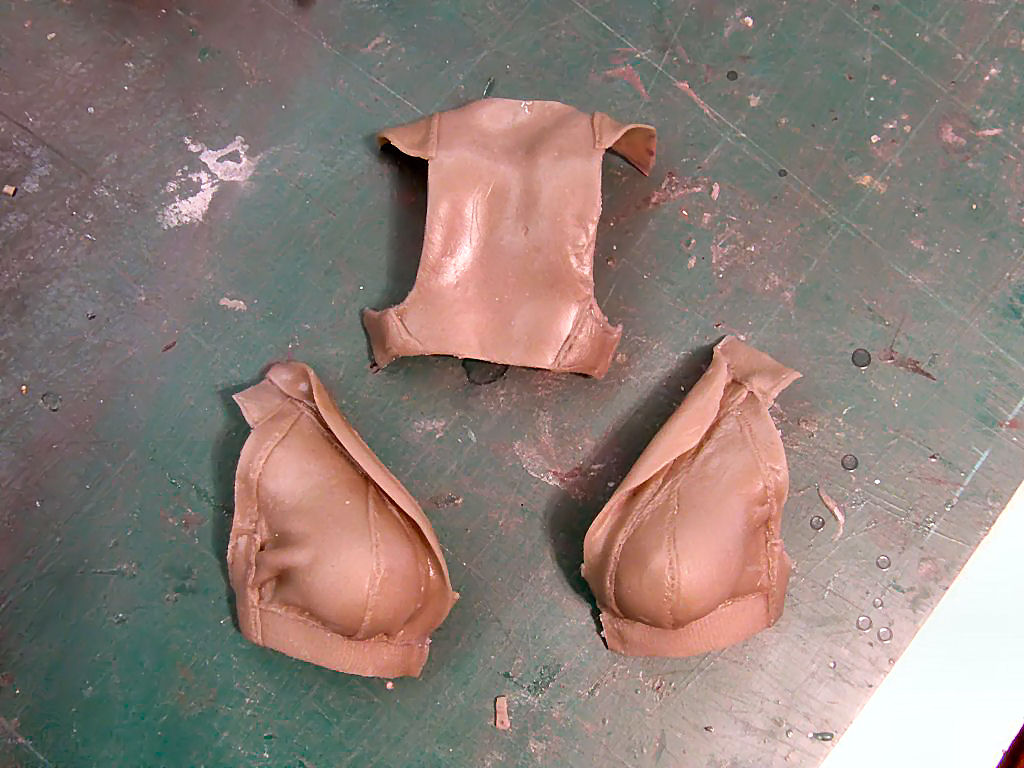
All good and just a smidgen of edge clean up made them ready for painting.
After a good clean up on the torso, the head was next up but first some additional detailing.
Now she just had to have some shades so a very quick mesh whipped up and printed in clear.
A dab of paint here and there got what one was after.
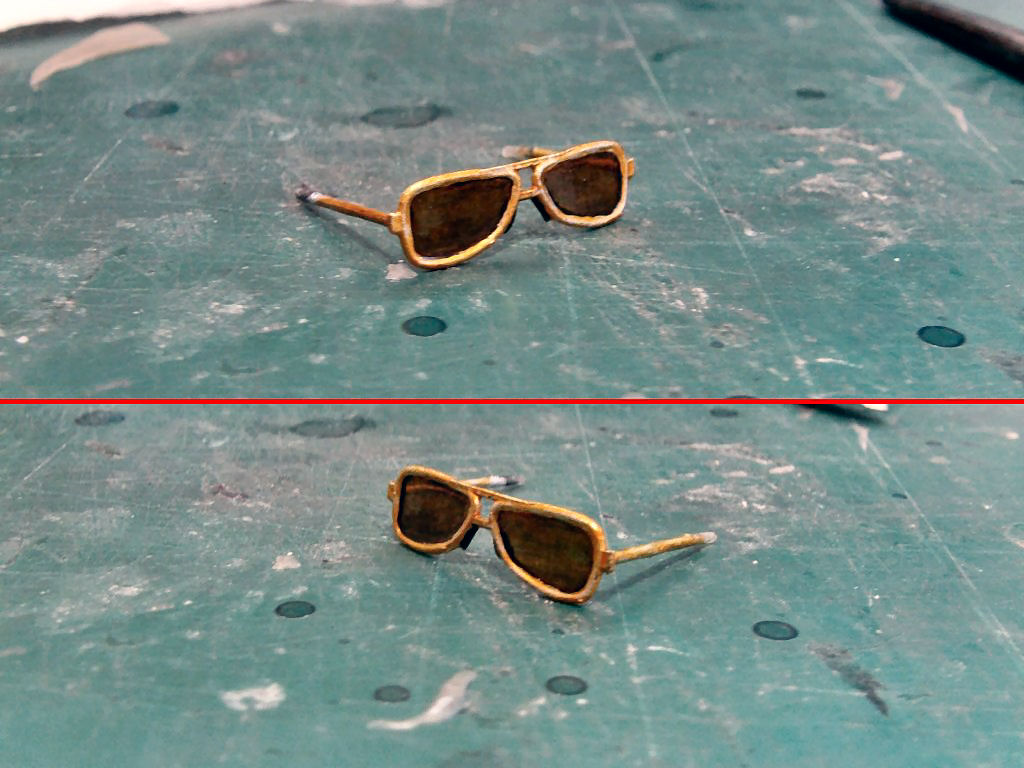
And yep, you can see through them.
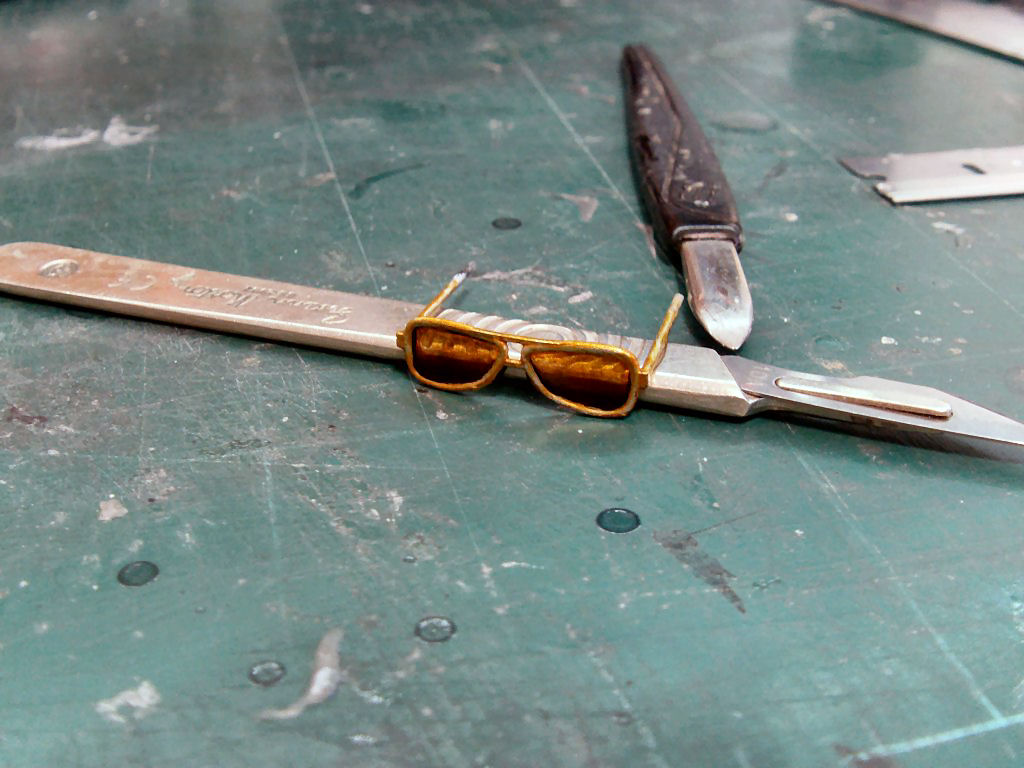
Intention here is to have the head inclined and her looking over the top of the shades.
Something like this.
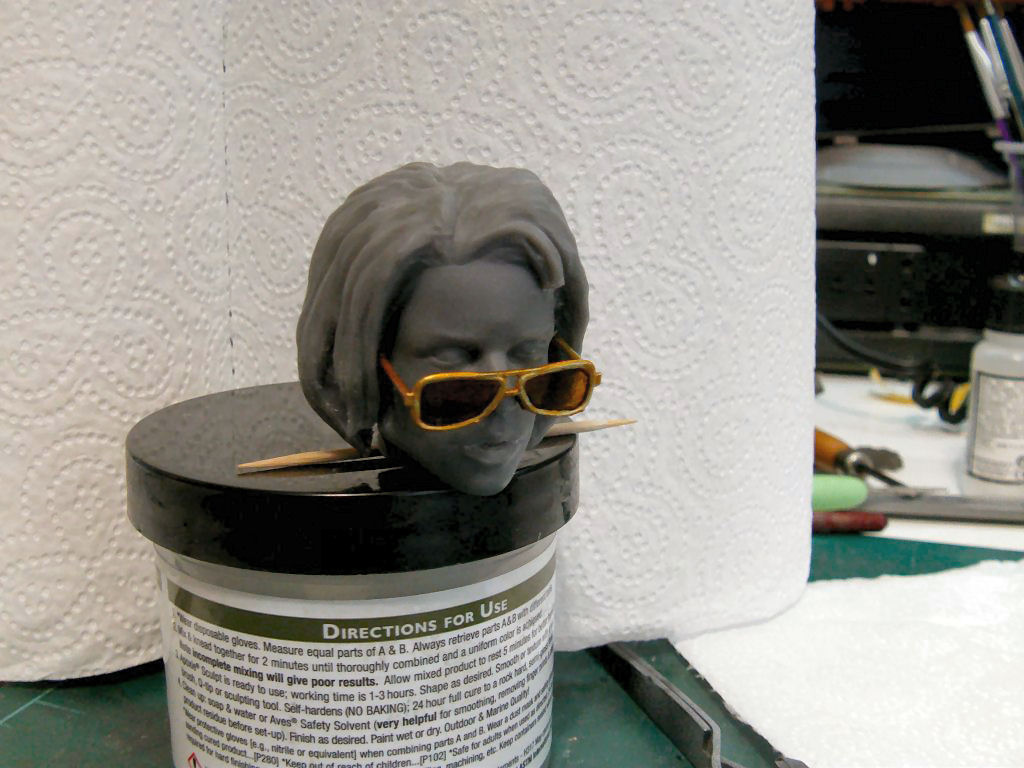
So head attached and the neck seam cleaned up.
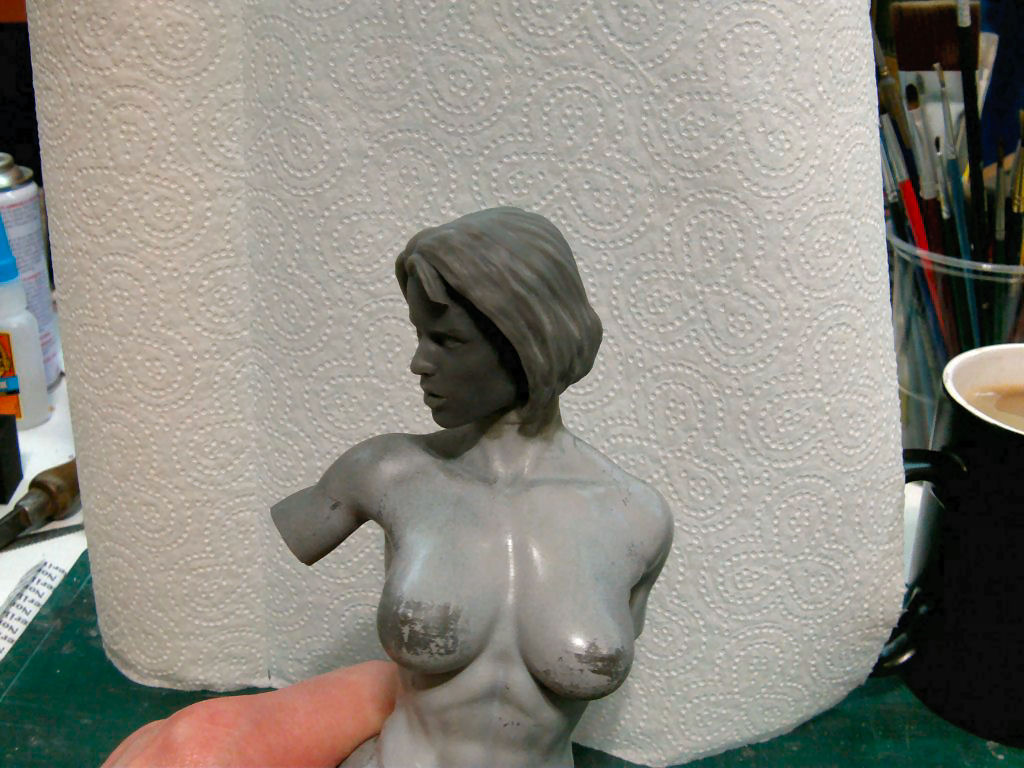
Time for a sort of a dry fit look see.
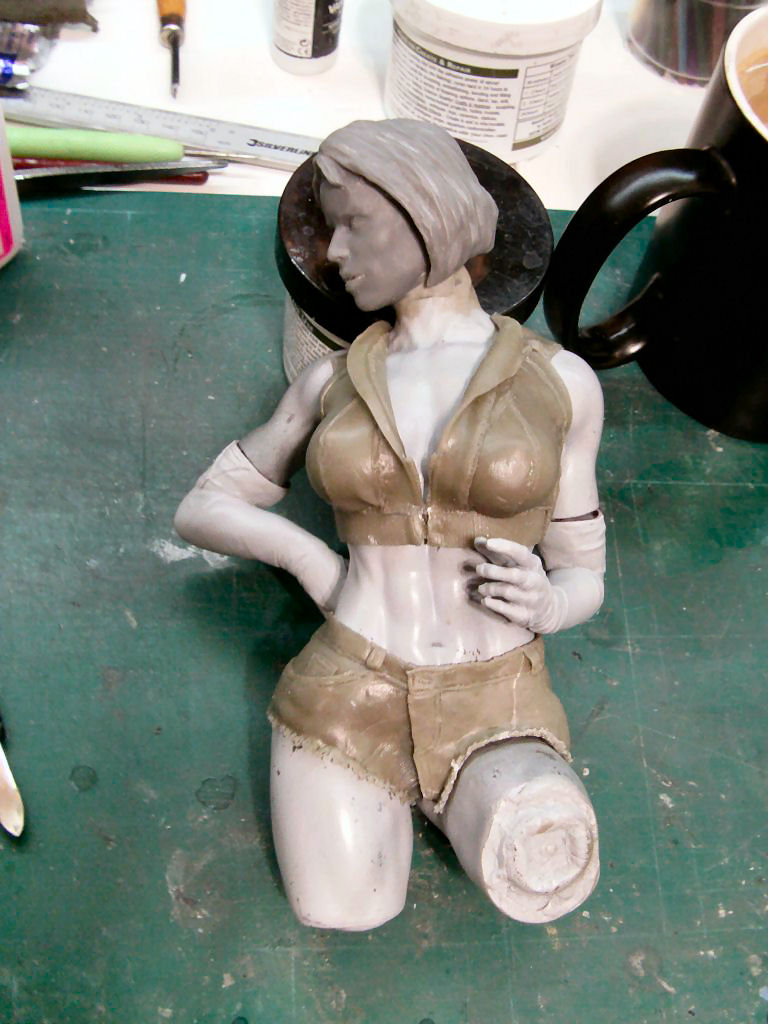
Yep, liking what I see so onward to the next page we do go!

 Page Number


