
Motorcycle Girl 3D Print/Scratchbuilt
Conversion and Sculpt
1/6th Scale

 Page Number
It is said that beauty is only skin deep.
Could Be True But I'll Do What I Can With Paint.
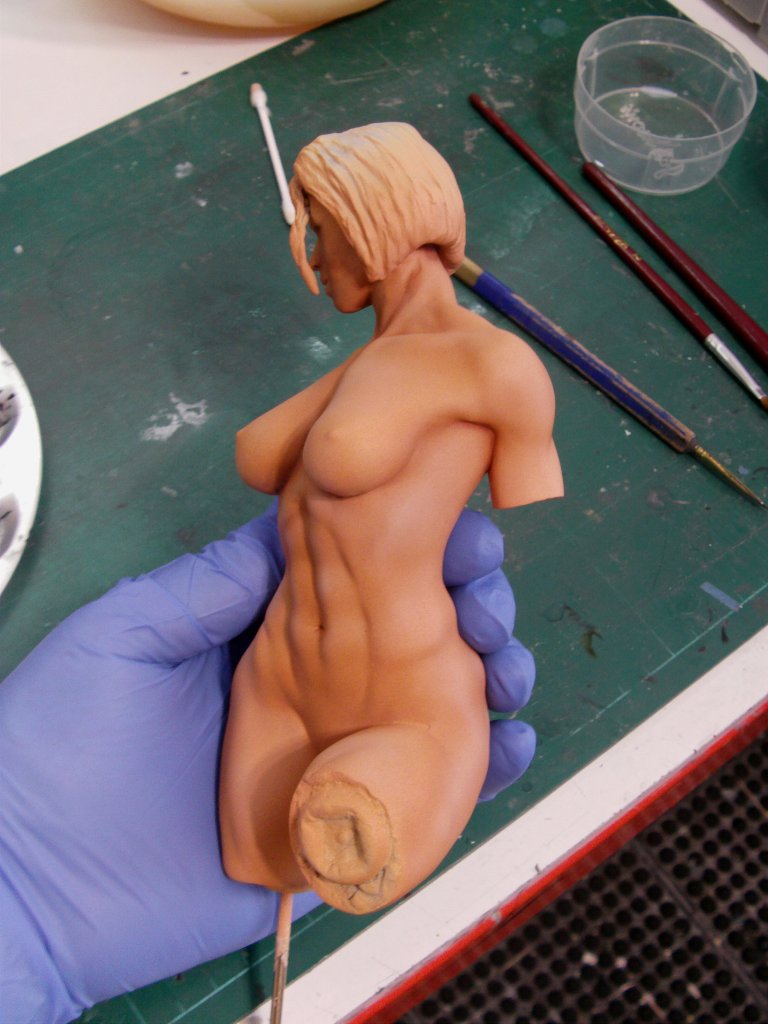
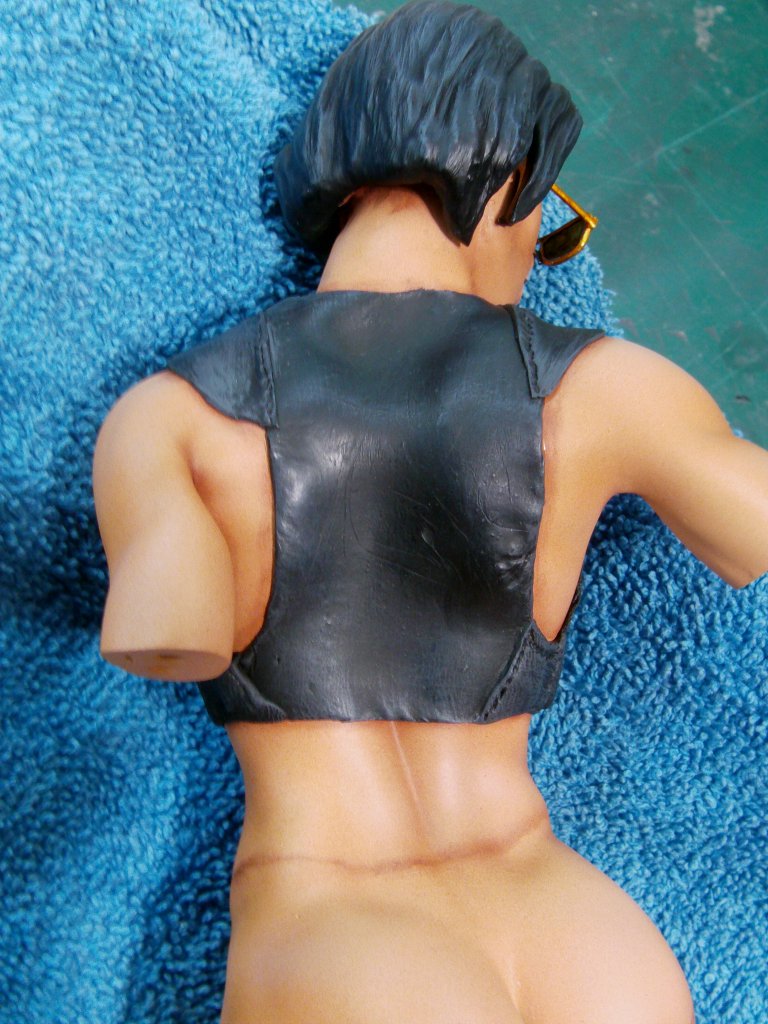
And that's the deal here, the flesh tones.
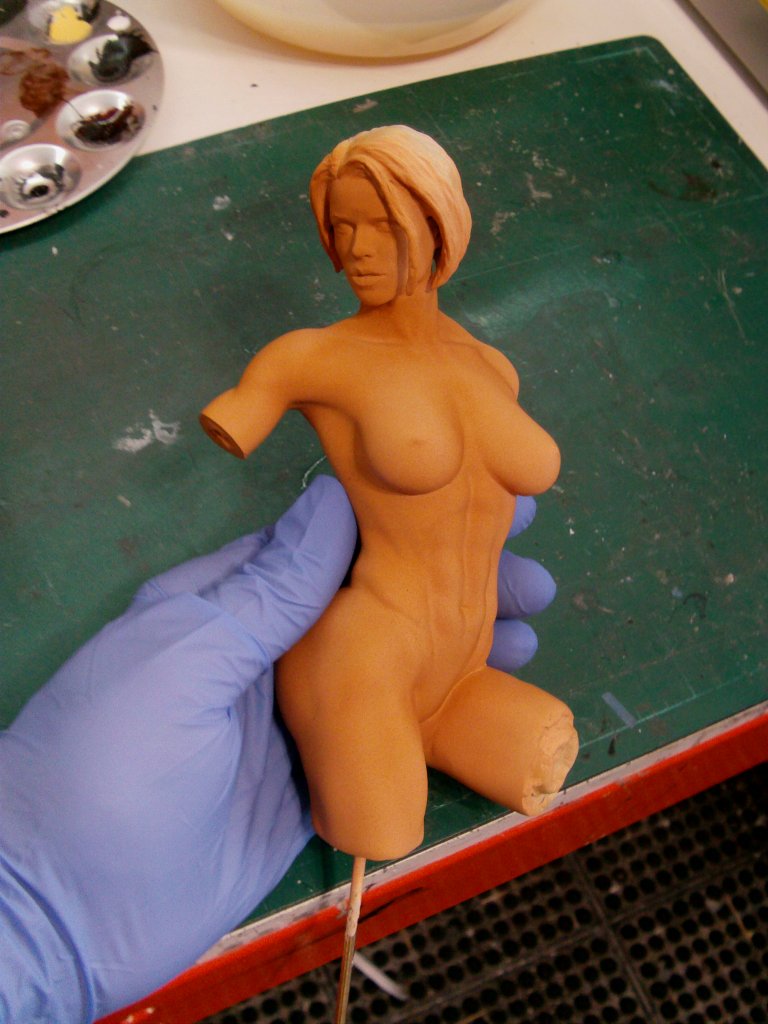
The hair bit that will drape over the frame of the shades built up with some Aves around a thin bit of wire.
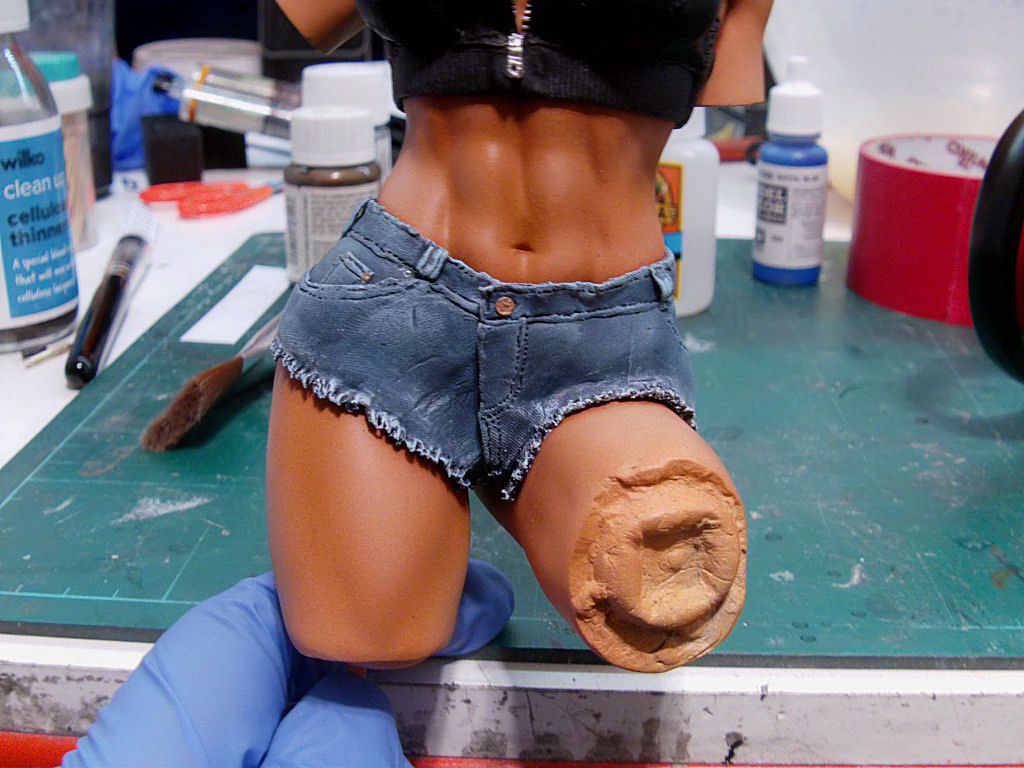
Trying something new with the flesh, going for a tanned effect with no idea if it's going to work.
So nothing unusual there then but let's have a go anyway.
Started with Tamiya rattle can flesh then over the top with Vallejo Sepia Tone wash airbrush applied.
From there, some lighter airbrush shading with Vallejo Elf Skintone.
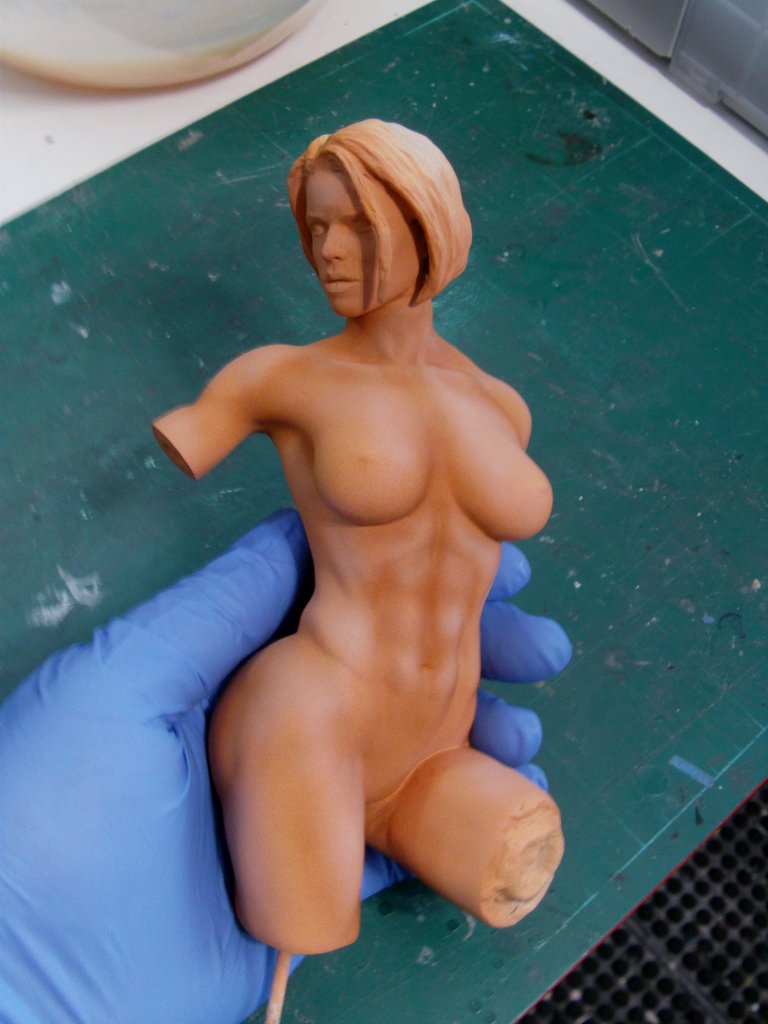
After which came the ground pastel chalks followed by some sepia tone touch up work.
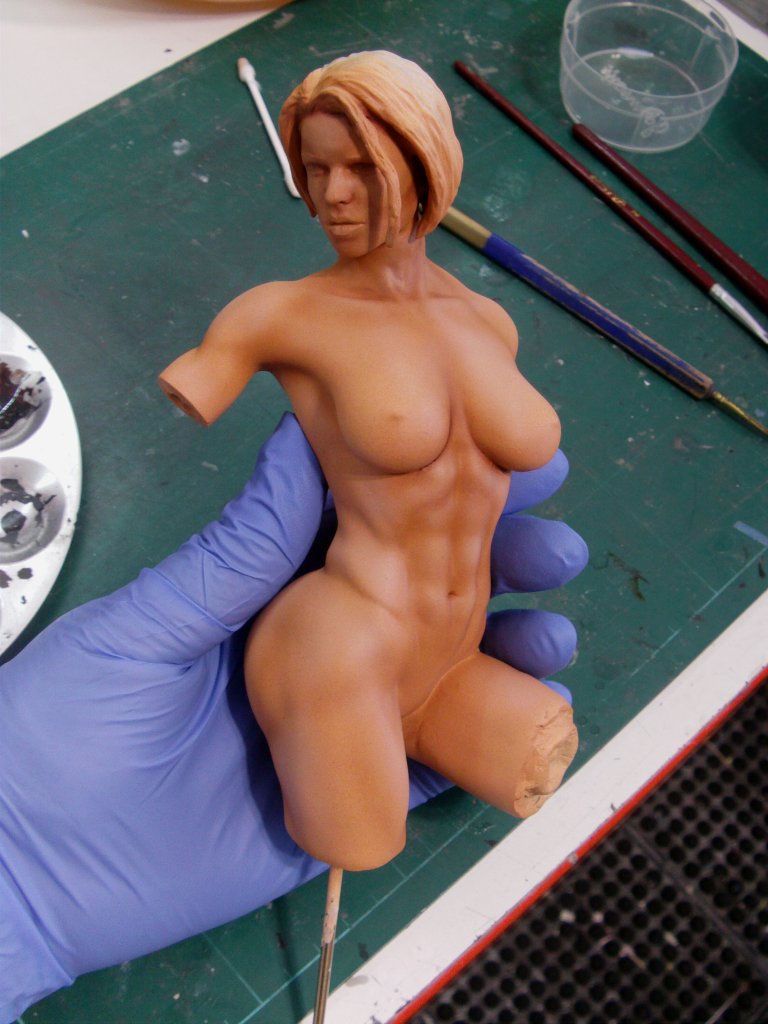
Not looking to far off what I was going for.
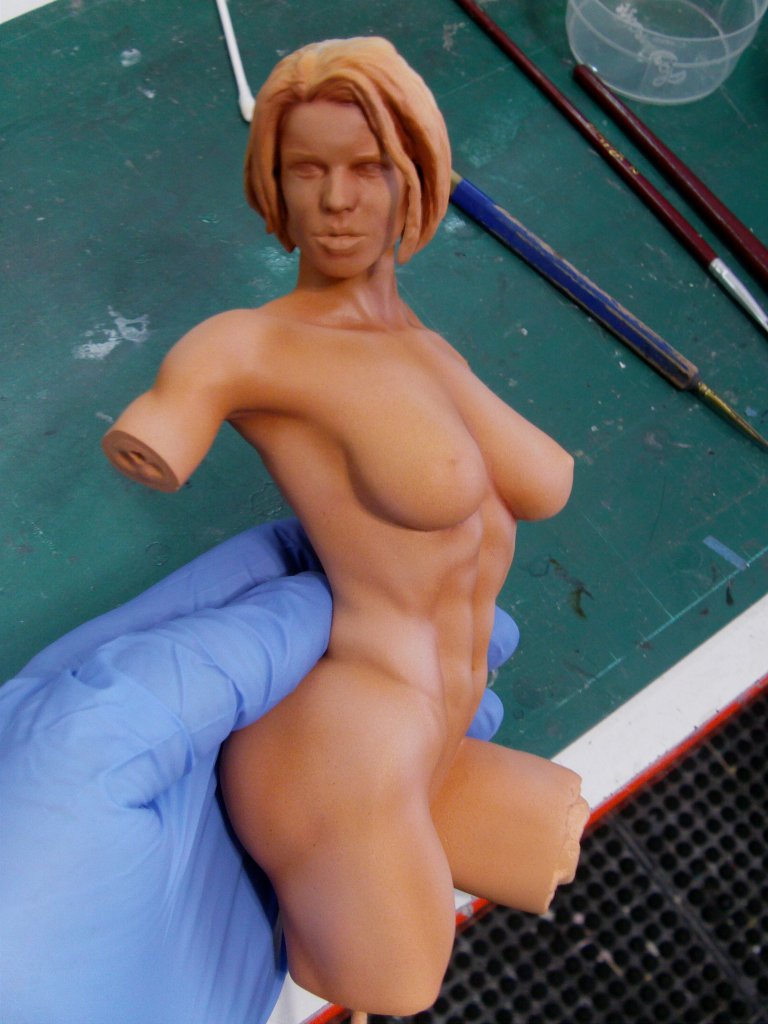
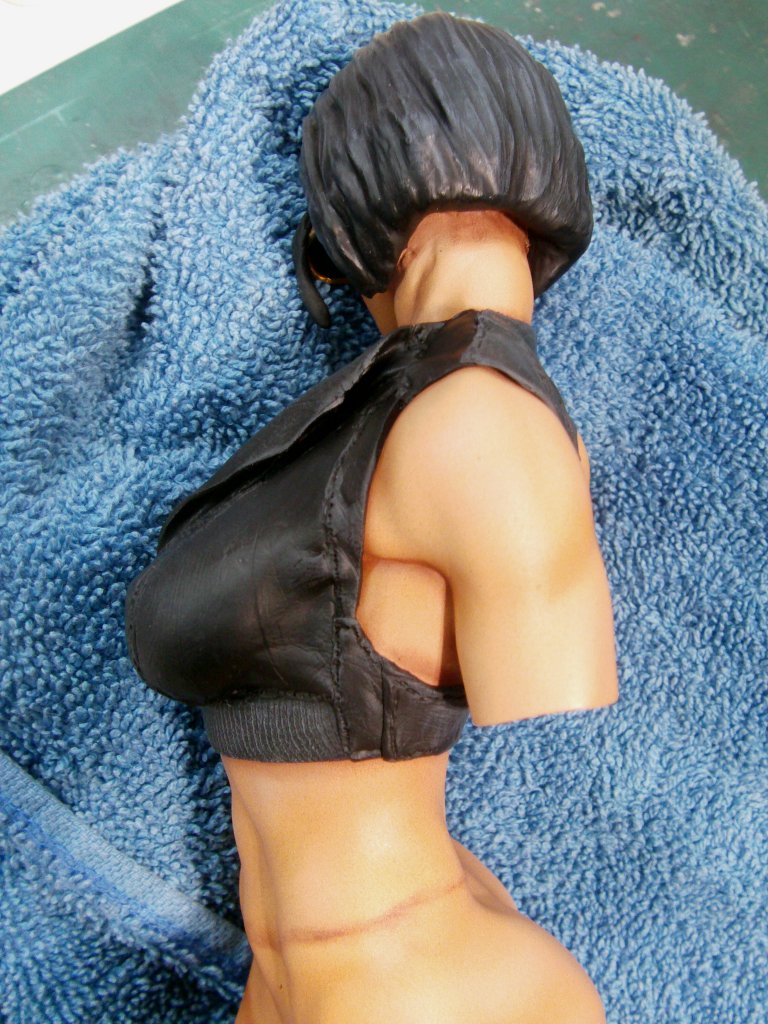
The clothing shell parts were dry fitted on the figure to get the edge shade and sealed.
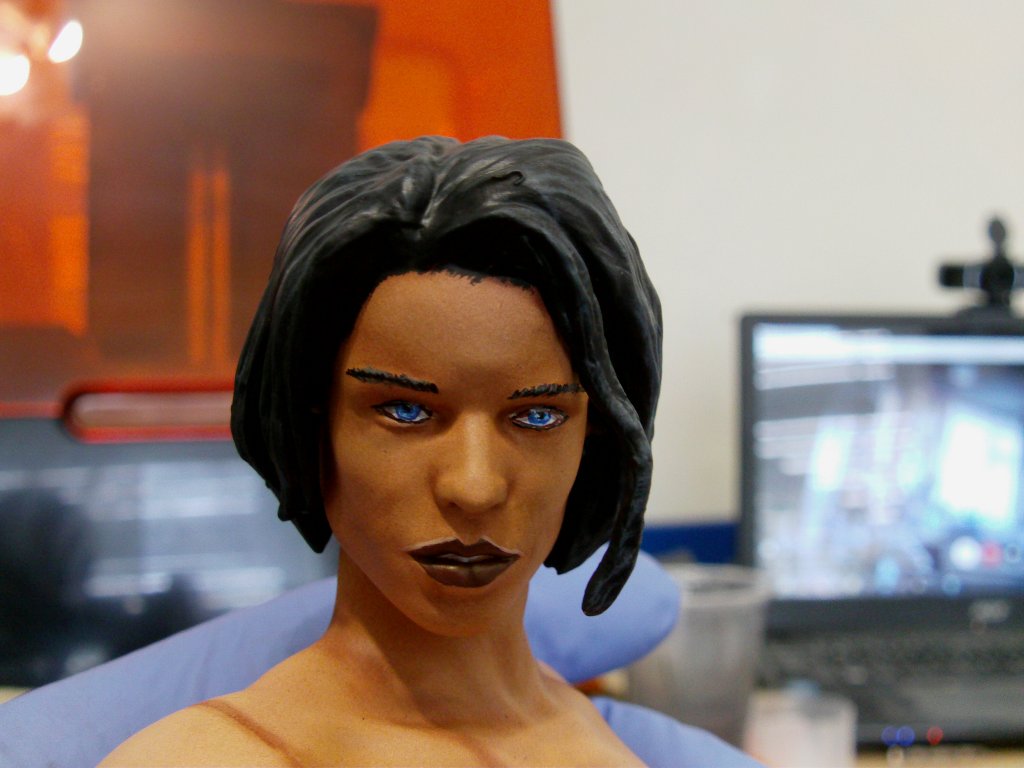
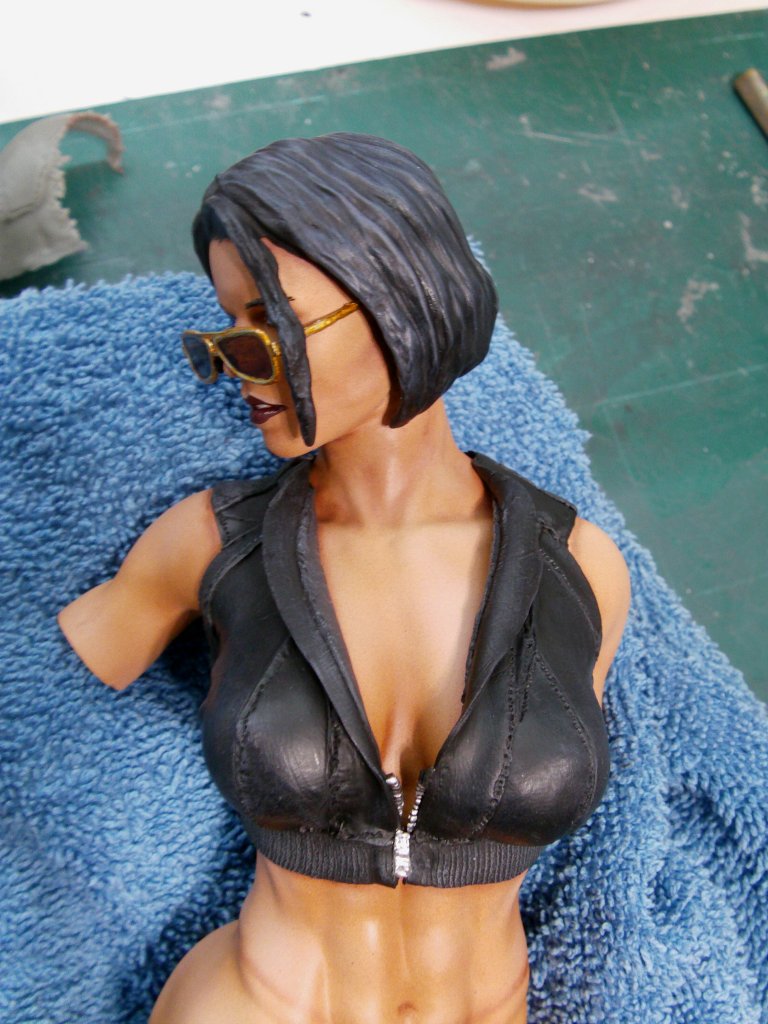
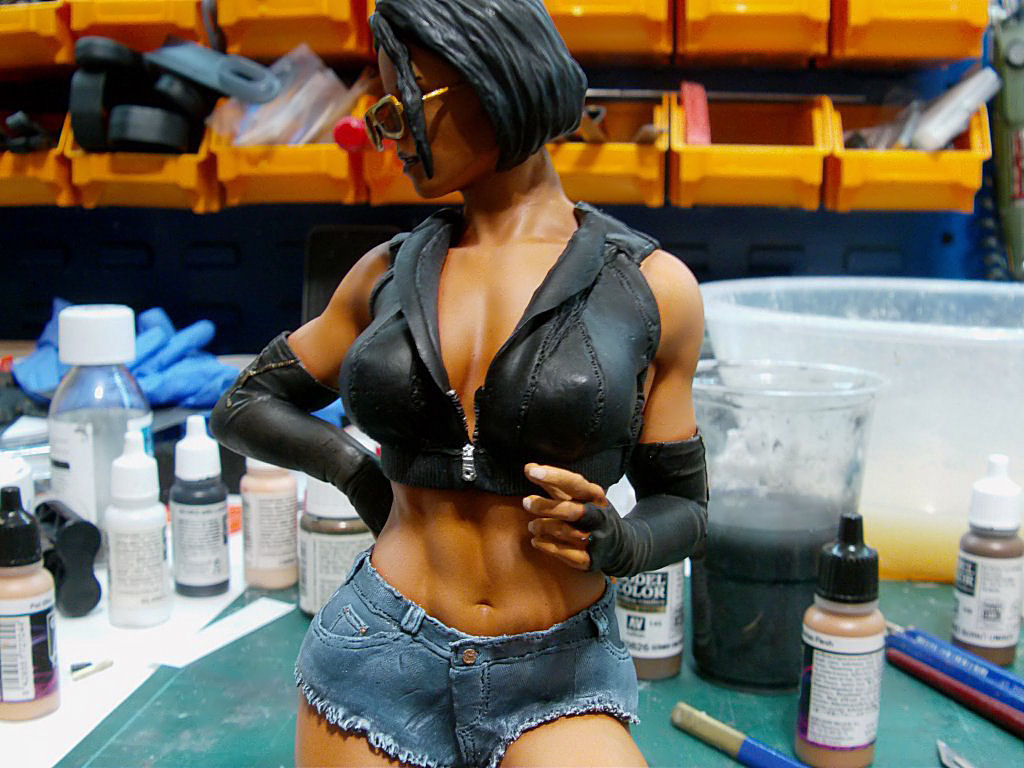
Then came the make or break bit for me with figures, the face paint.
Vallejo acrylics brush applied where required and going for a smidgen of impact,
so blue eyes it will have to be.
Going with black hair so matt black with medium and light grey dry brush highlights.
The result...
And the shades fitted.
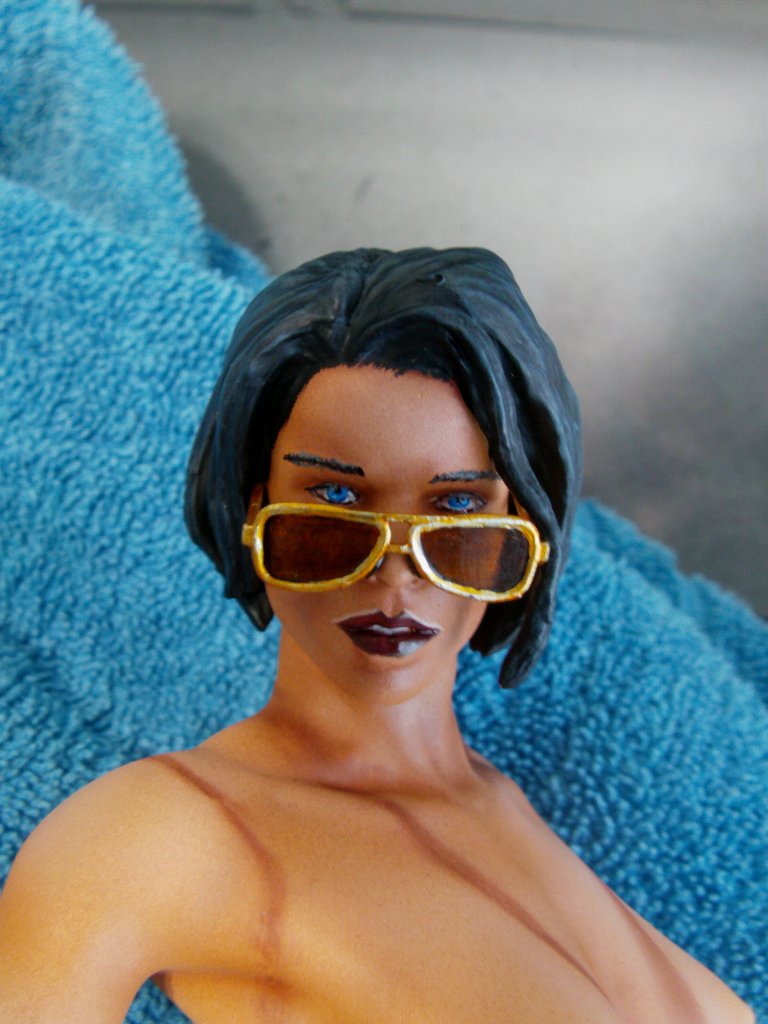
Like this, liking it a lot!
Onward!
Jacket shells painted.
Just semi gloss black with a smidge of german grey dry brushing,
silver for the front zipper bits.
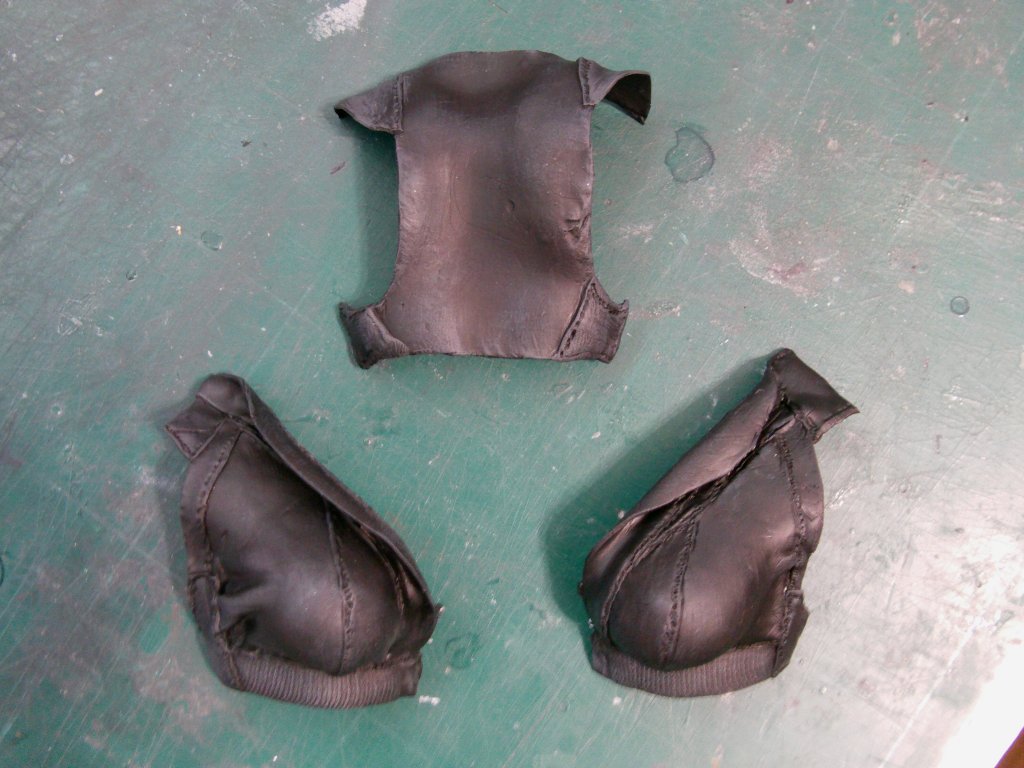
Some paint removal where required and a few drops of epoxy stay put ya bugger gunk applied where appropriate.
Shells placed on

Nice and crisp fit so all good!
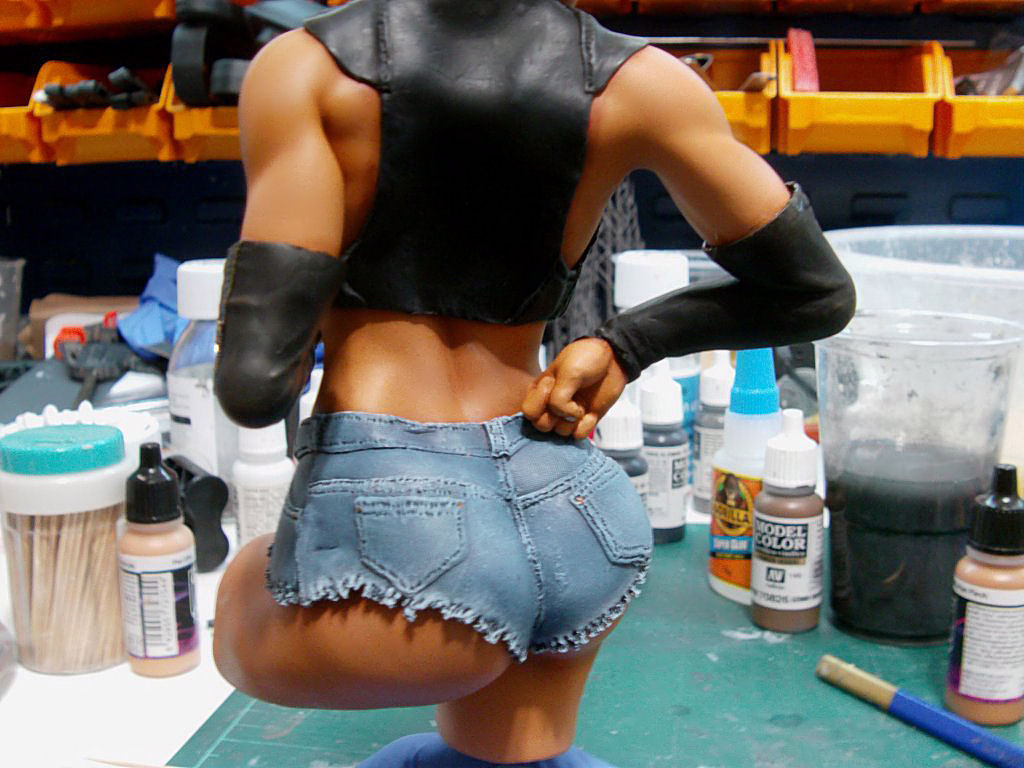
Shorts got the paint treatment, Vallejo royal blue with matt black base and dry brushed up with Andrea blue and white mix.
Final going over with cold white where needed.
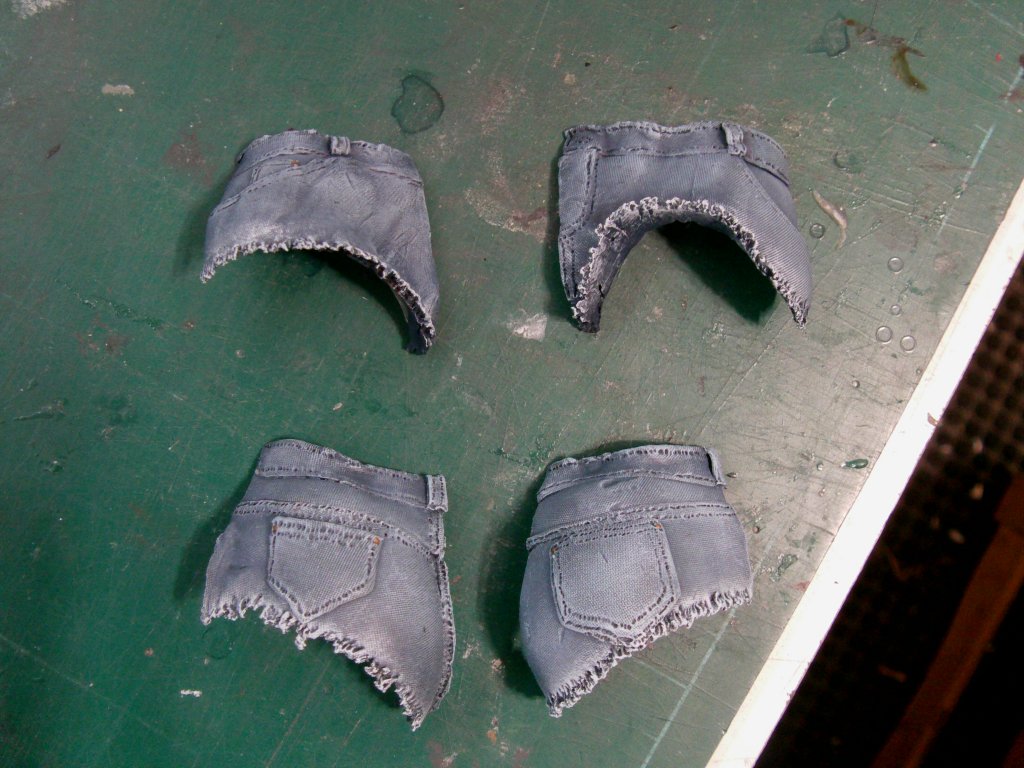
A few drops of red gold where the studs are usually found
and a disc of styrene for the front button, again done with red gold.
And parts fitted!
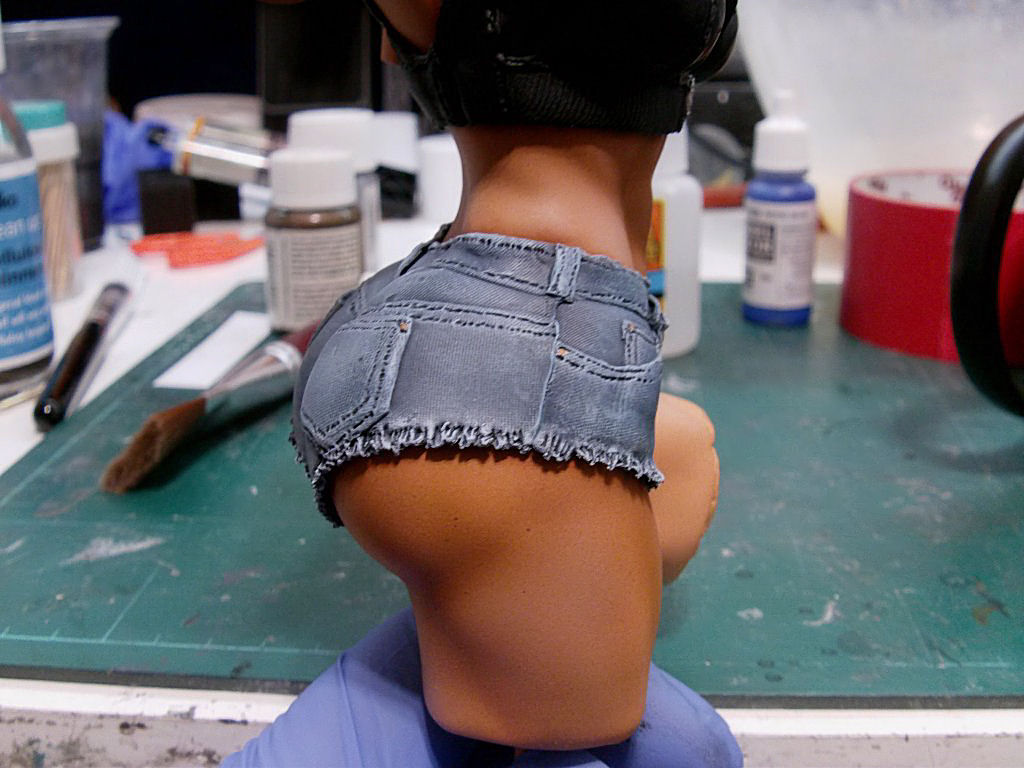
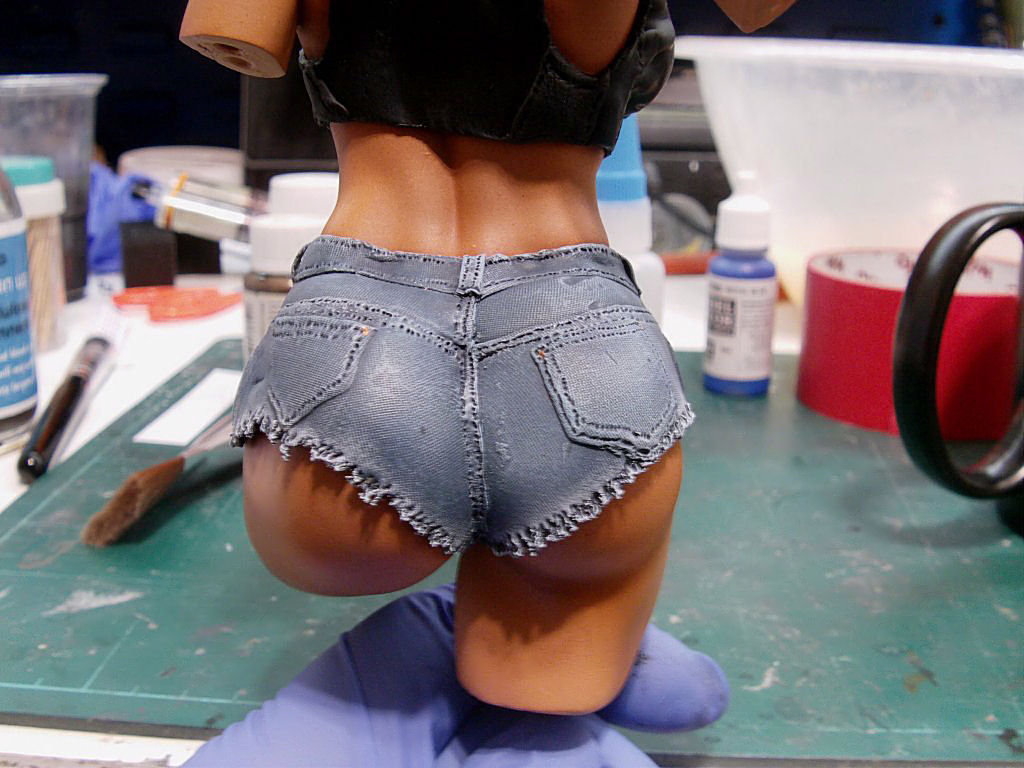
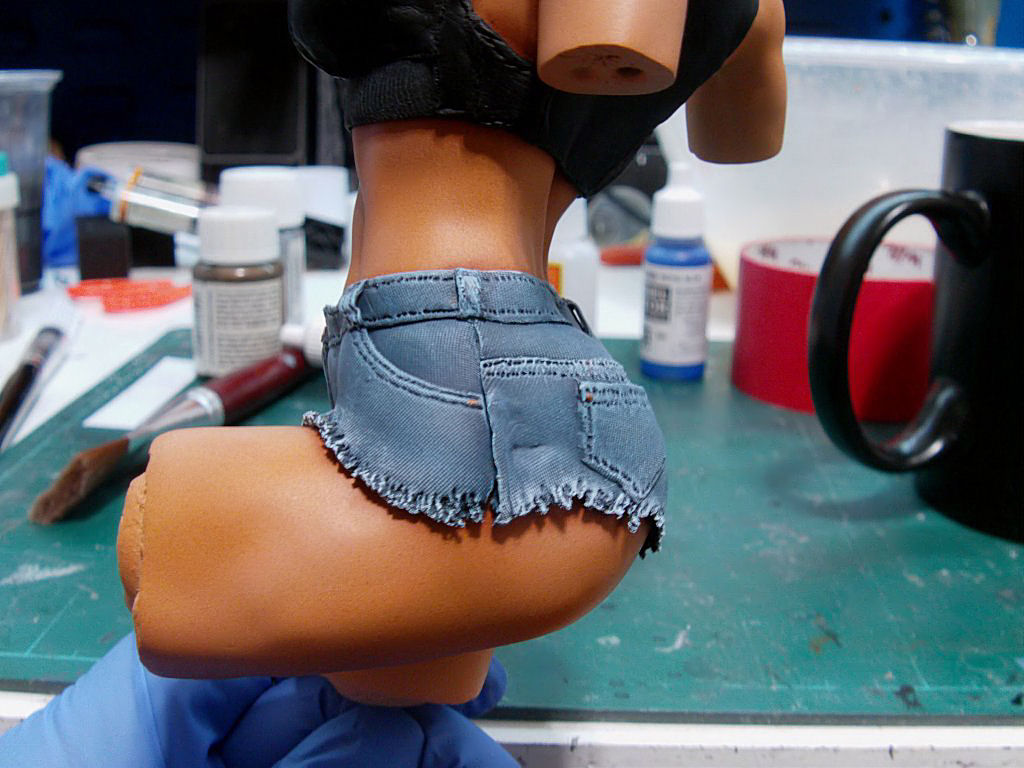
Nice!
Arms up next and paintwork done in short order with acrylics.
Leather effect and zippers done in the same manner as the boots.
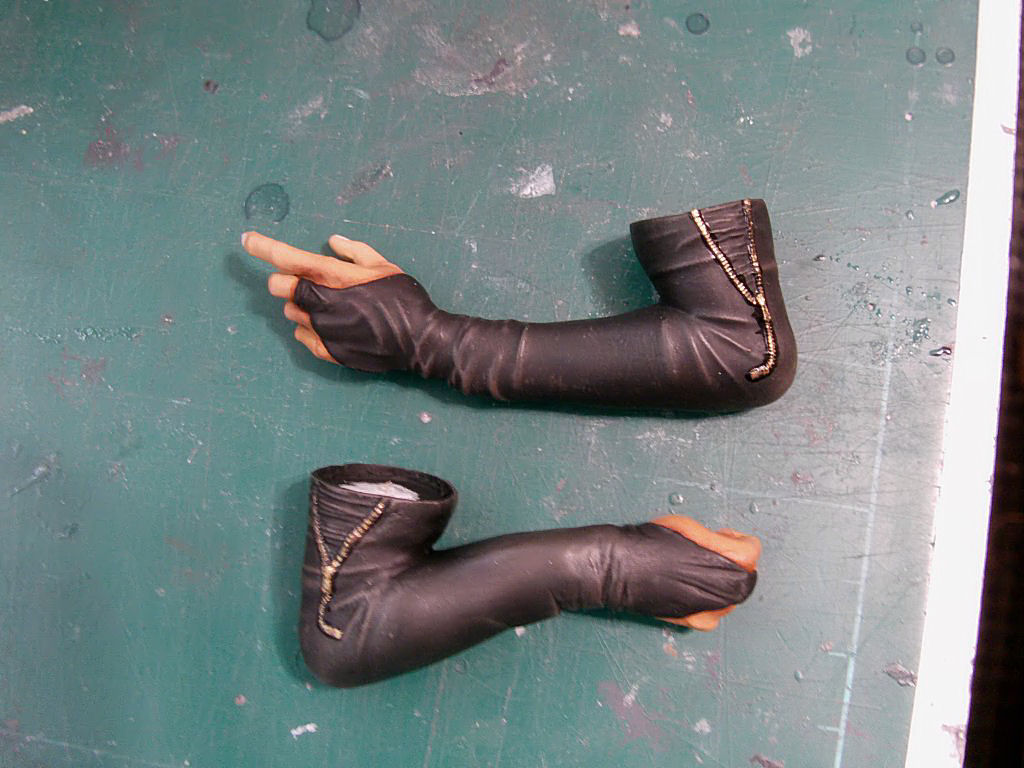
Arms in position.
Sweet!
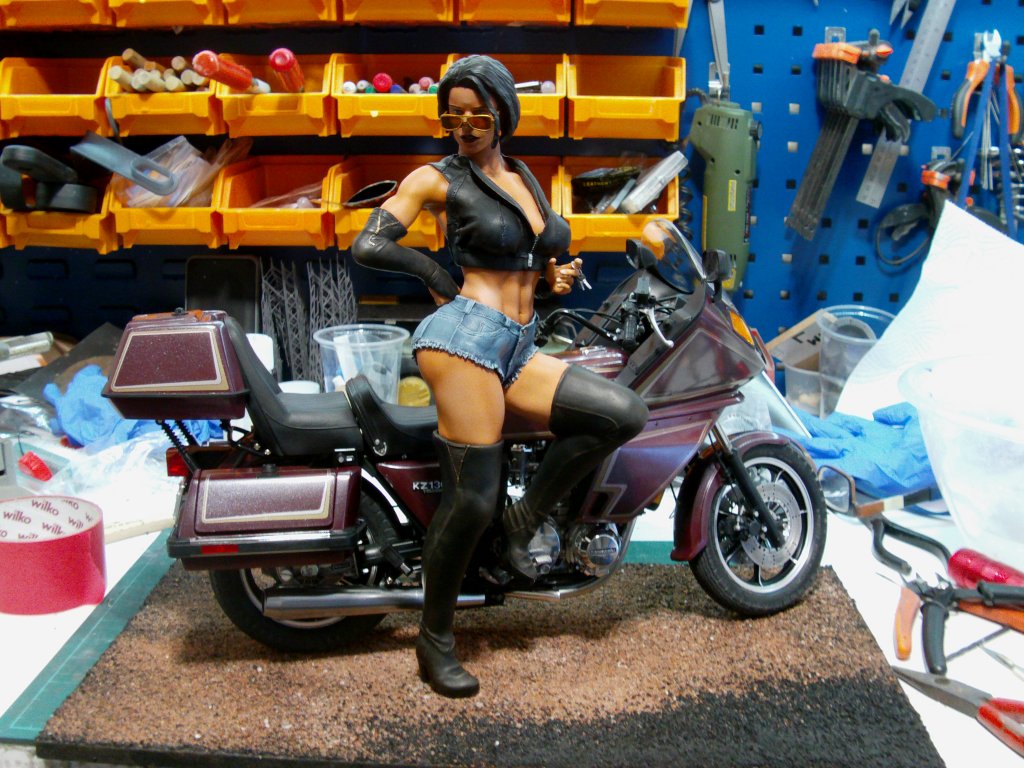
Boots attached.
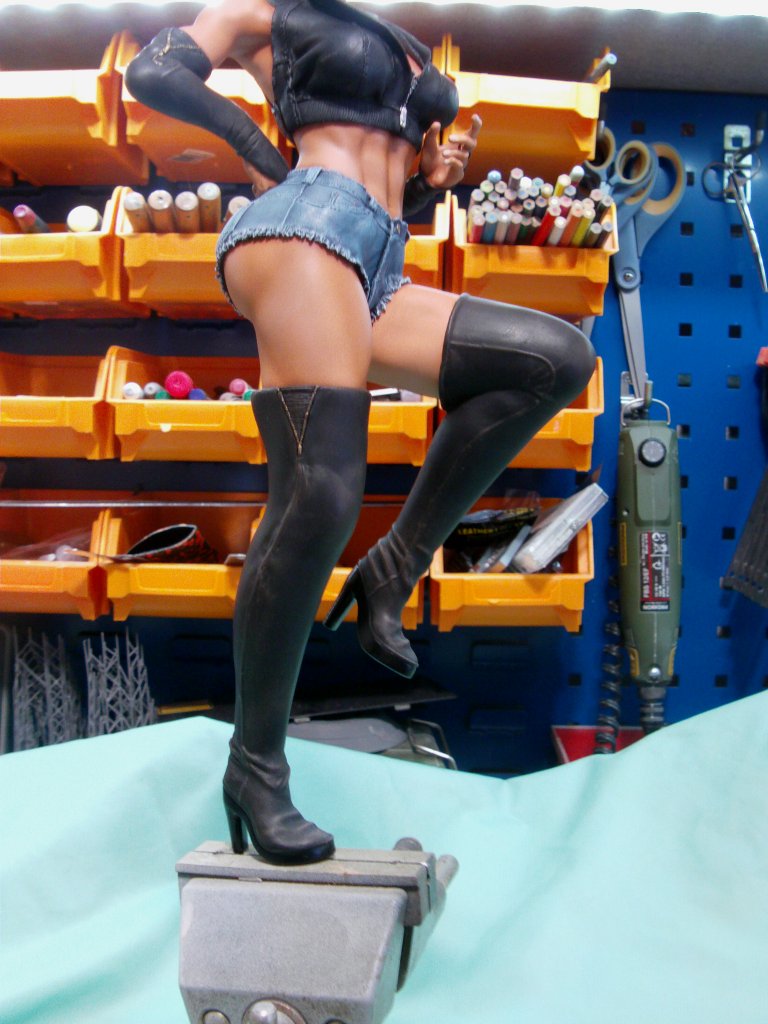
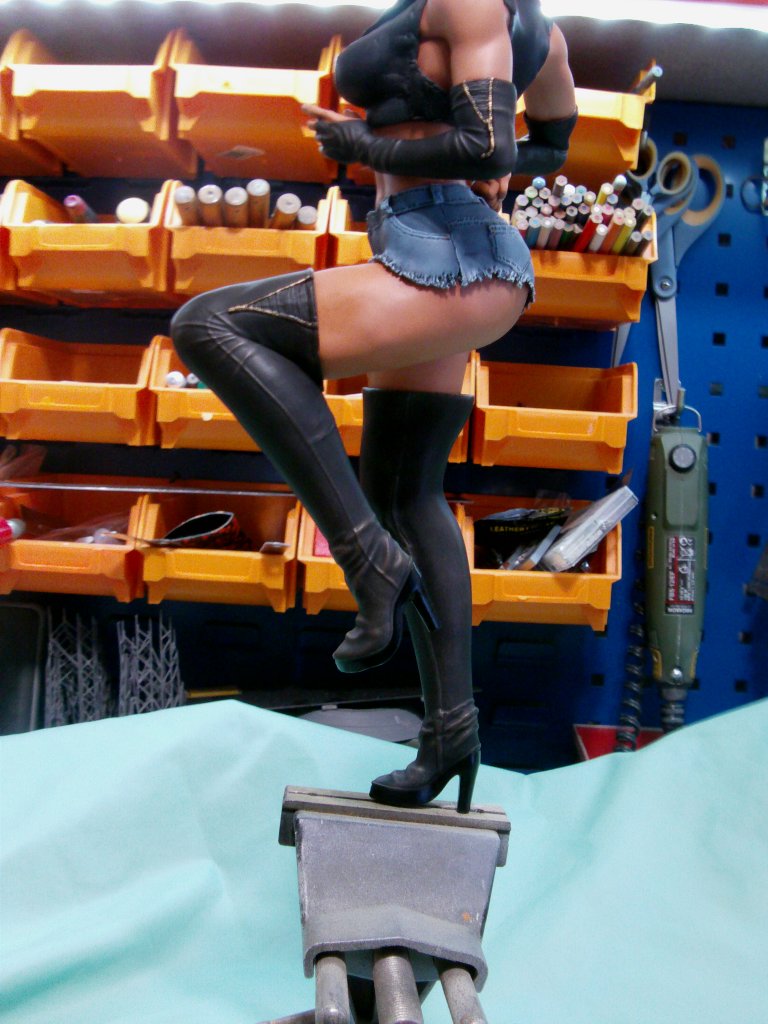
Oh yeah!
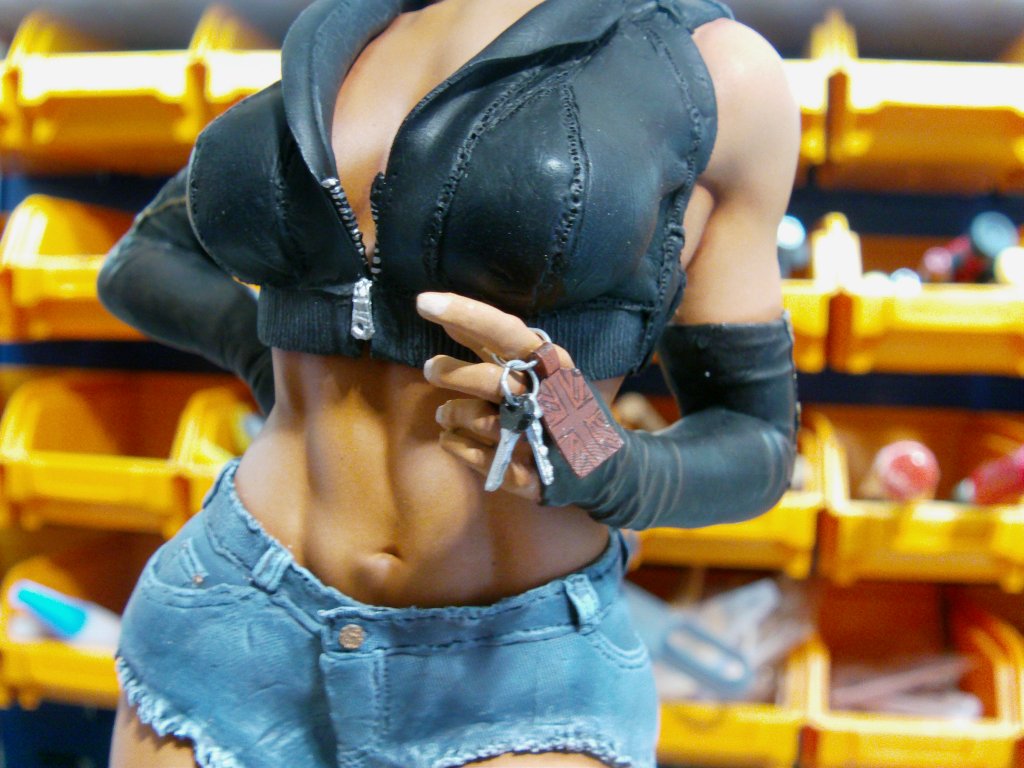
A finishing touch.
Whipped up a quick couple of meshes and printed a couple of keys and a leather fob.
Some thin wire got bent up, keys painted, fob likewise and all brought together.
Nothing spectacular for the base.
Just a slab of MDF and whatever scenic materials and anything else I had to hand.
So a bit rough and basic...like the builder.
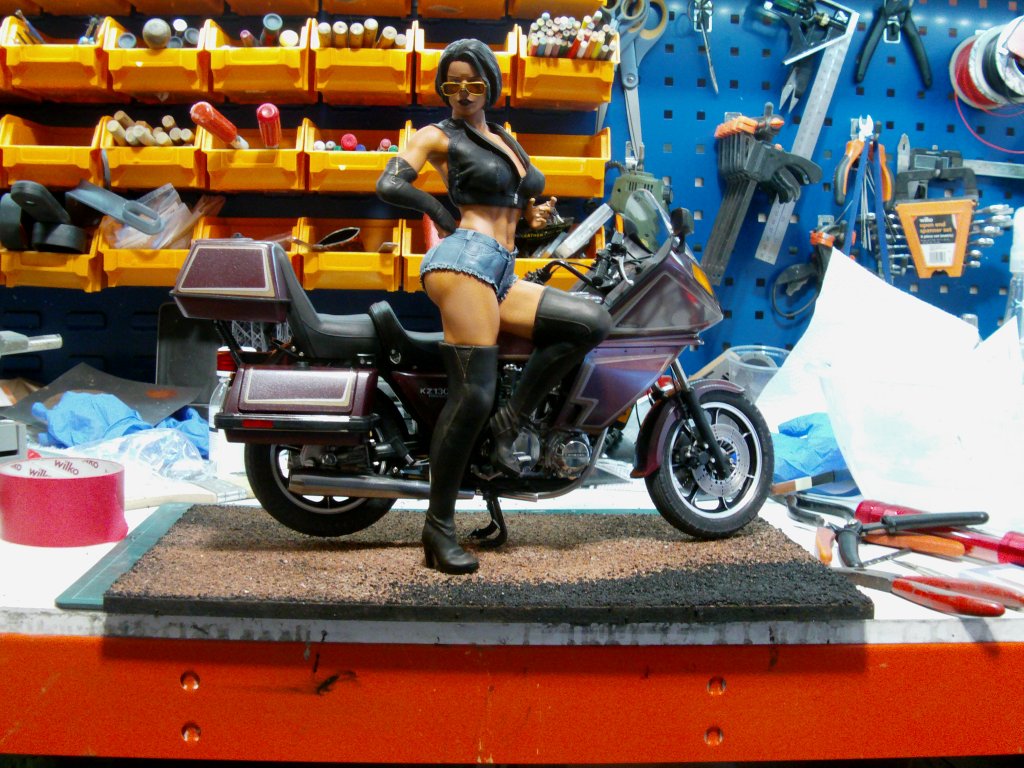
Hole drilled for the bit of brass rod on her boot sole and then place the girl and her ride.
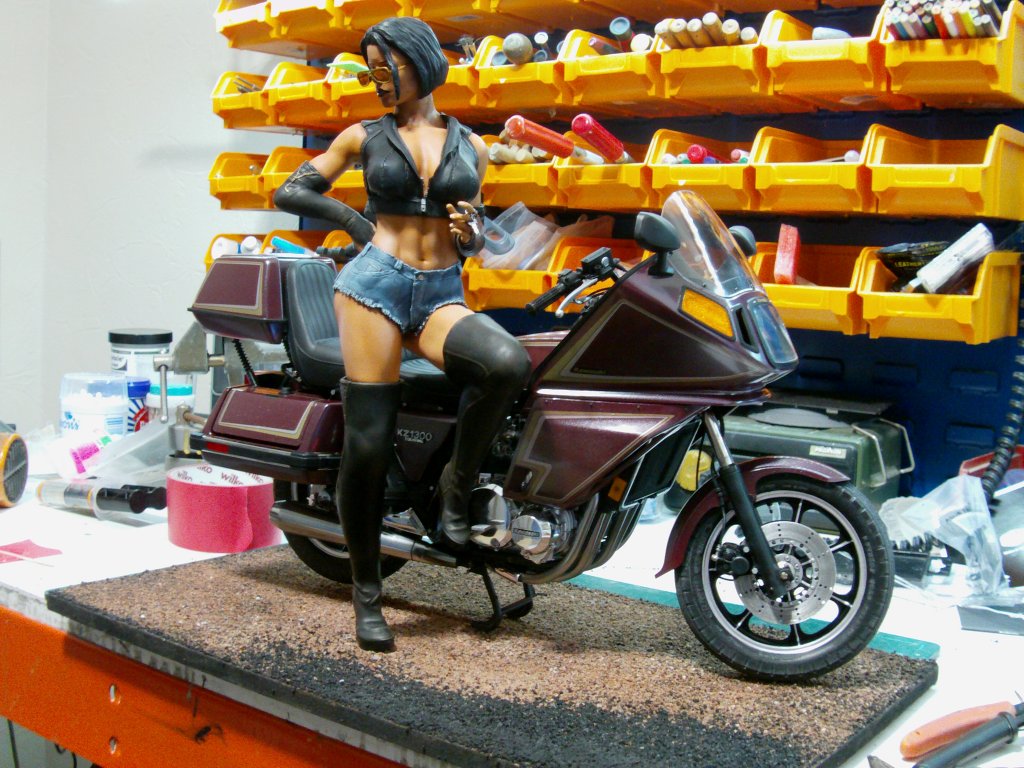
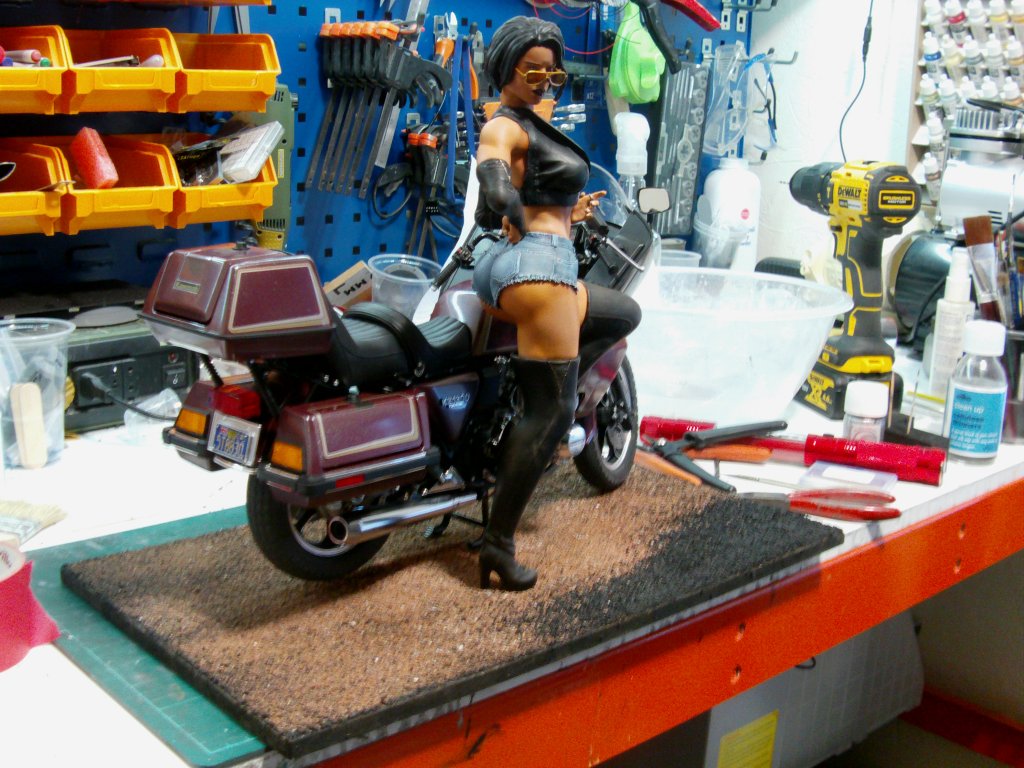
Looks good on the center stand and likewise good on the side stand...
Result!
And that's that!
Gallery proper can be found by hitting the picture button thing below.

Well the Kawasaki no longer feels lonely and I am very happy with
how she turned out so high fives all round,
that's me done here.
Hope you enjoyed this little spin round the Hellhole.
Take good care of yaselves, stay safe and go easy out there now.
Page Number