
Moebius Models Moonbus From
2001 A Space Odyssey
1/55th Scale


 Page Number
A smidgen of styrene sheet, a short shuffle grinding/sanding dance....
And A Few Bent Bits O' Brass In There Too
Welcome back all.
Some interior tarting up to get sorted
'fore paintwork starts so let's have at it!
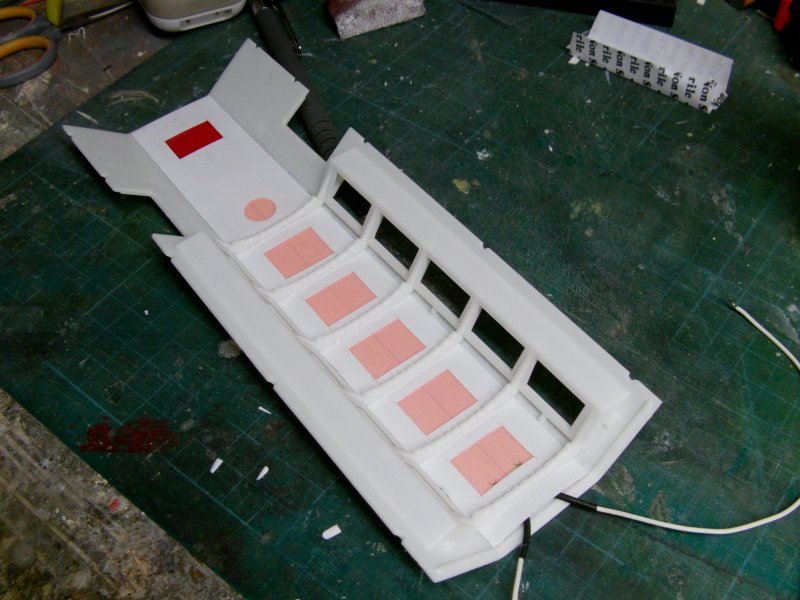
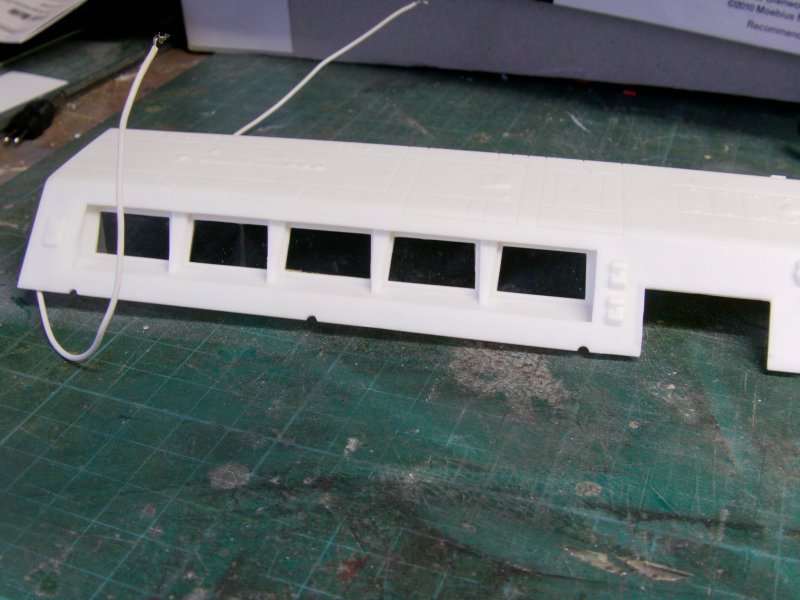
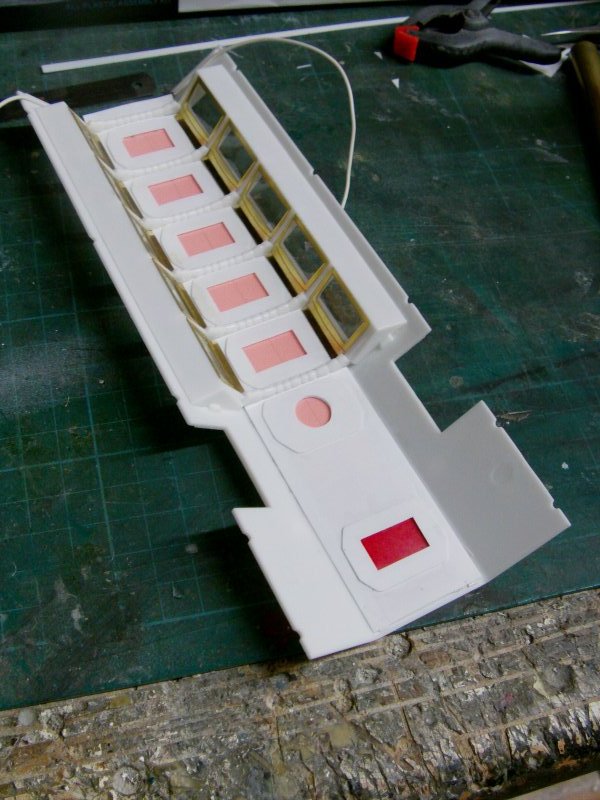
First up, the light sheet strip for the interior lighting
so some removal of some not required lumps and bumps.
This be the part...
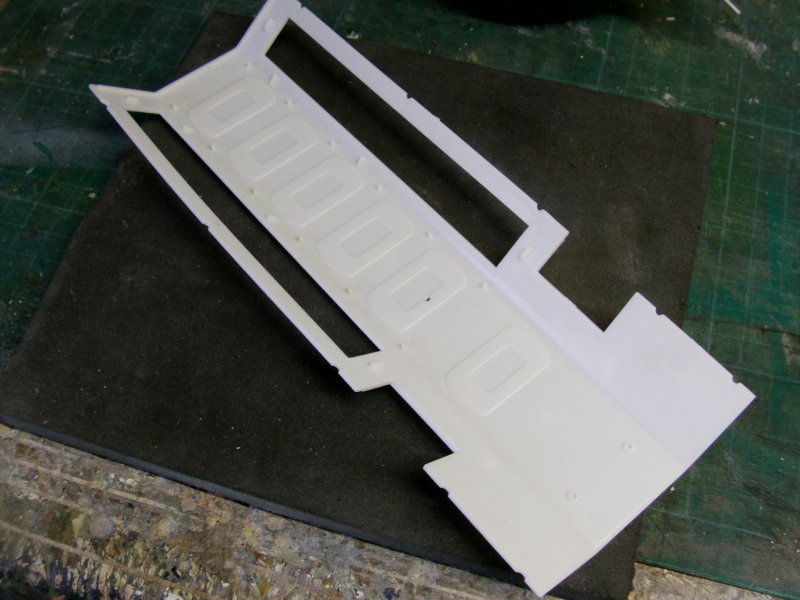
Some drill assisted grinding and sanding violence later it was done.
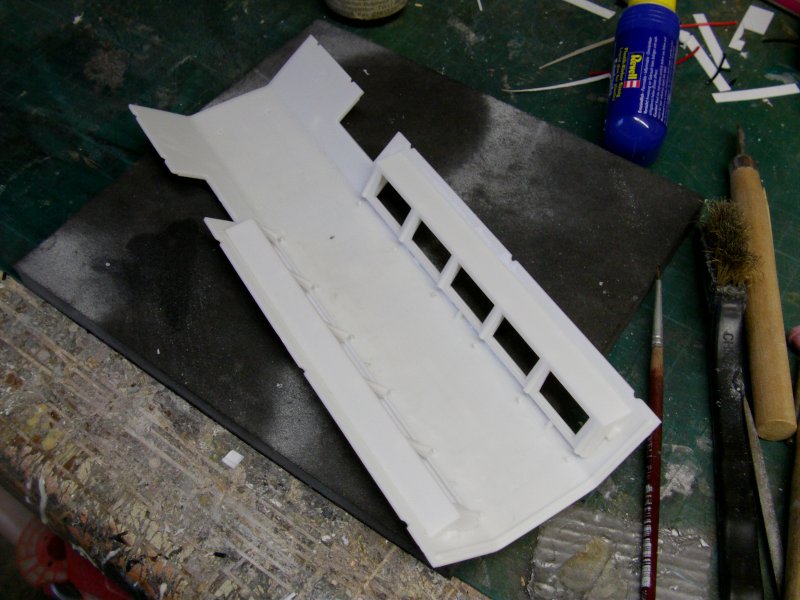
And the side window parts attached.
With the able assistance of a strip of double sided mega sticky tape,
the light sheet doobrie firkin was made to stay put
with a vengeance.

That bit duly kicked in to touch, on with the rest.
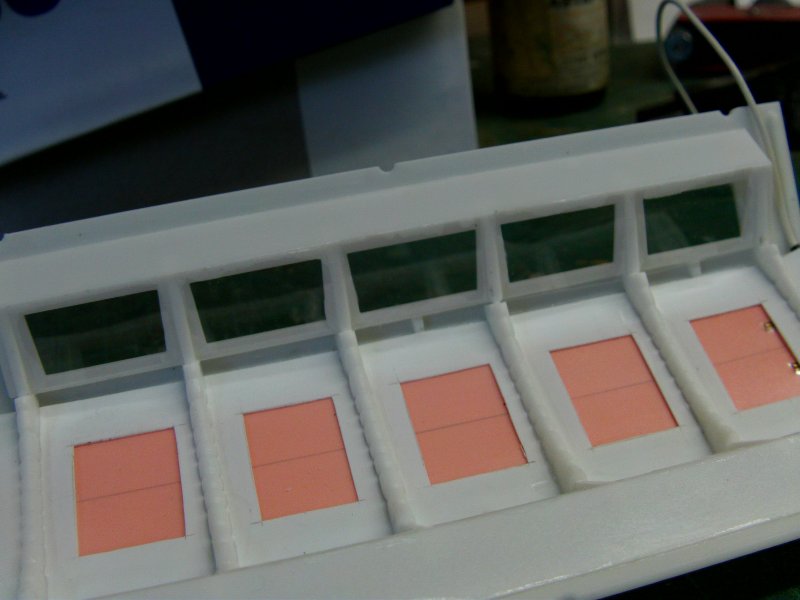
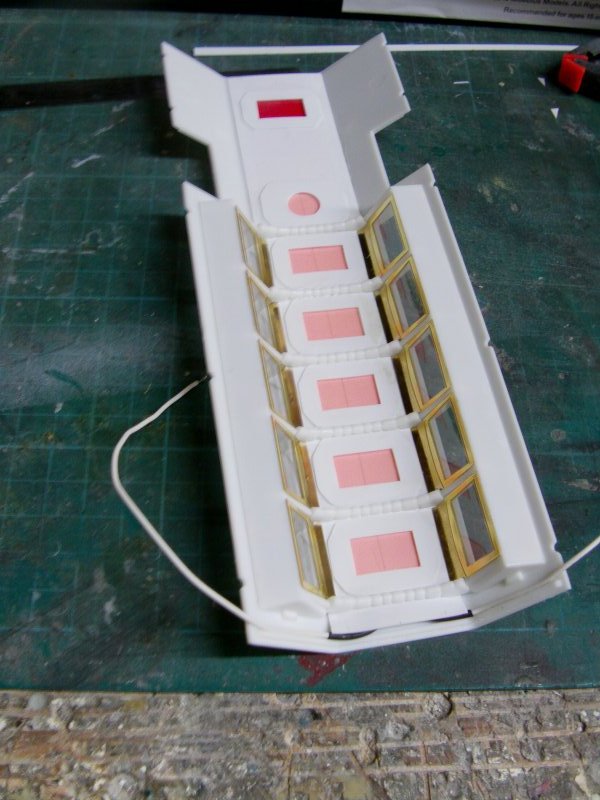
Some 10thou styrene sheet was measured out and hacked up a good 'un
to make the ceiling lighting thing a bit more tidy.
The stock ceiling cross pieces also installed with only a very slight
trim up required so all good so far.
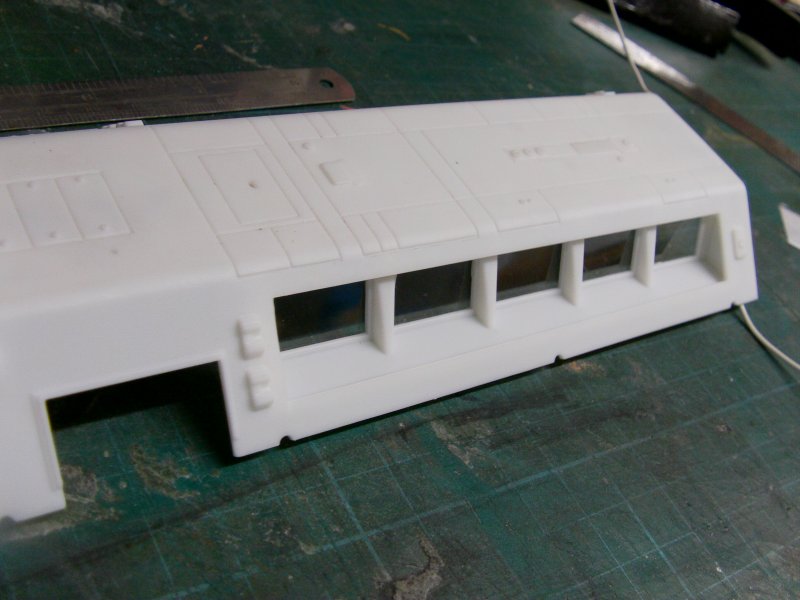
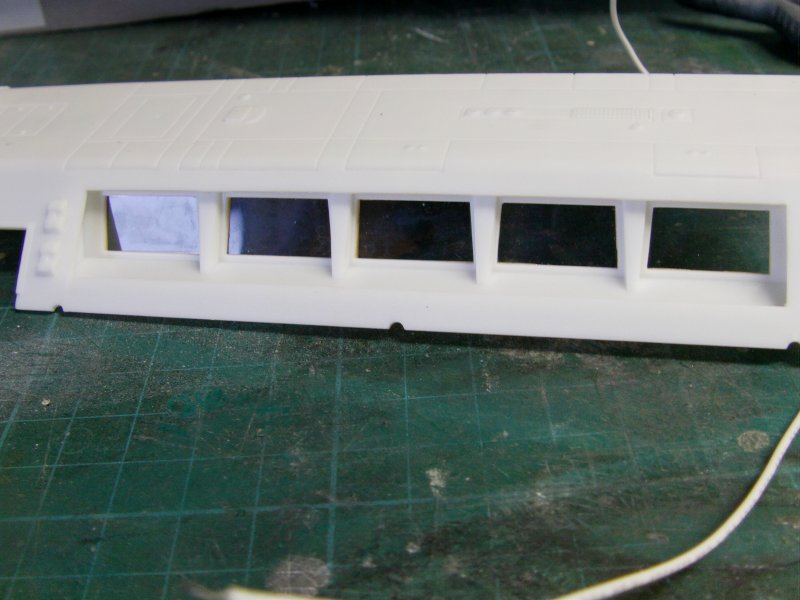
Now then, in a slight change to the advertised program,
some glazing was requested by the client so off we go.
The stock clear parts while, crisply moulded
were nothing to write home about in the clarity dept.
More than a few distortions/magnifying glass like effects here and there
so some 5thou clear styrene was shown a scalpel and chopper,
a dab of the 'stick it in with gusto' liquid and 'twas a done thingy.
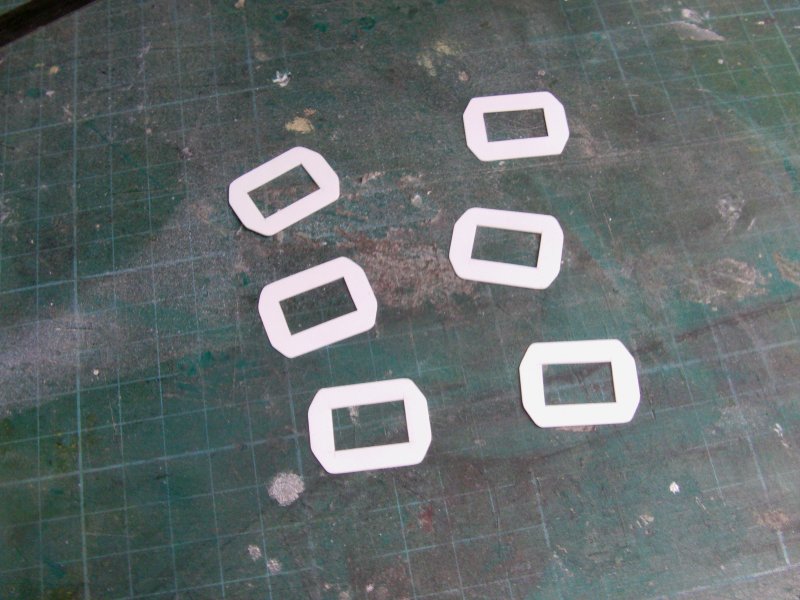
Now for the brass work whathaveyou.
The Paragrafix fret was freed from it's packaging and one did set to work.
The parts for the interior window frames were removed from said fret,
trimmed up and installed.
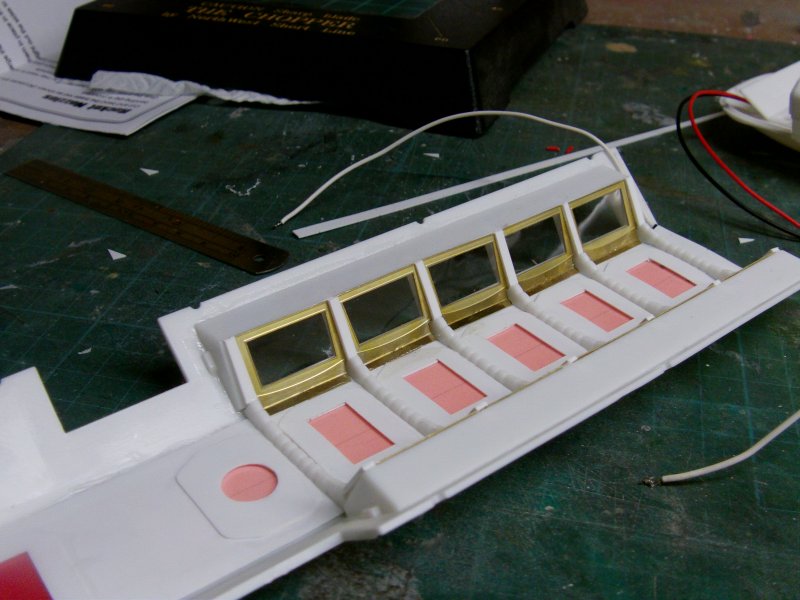
Well after a fashion as the ceiling lighting and associated
sodding about meant that these bits no longer fitted as they are intended to
by the manufacturer of said brass photo etch goodness.
A bit of scoring and bending soon sorted that problem out though.

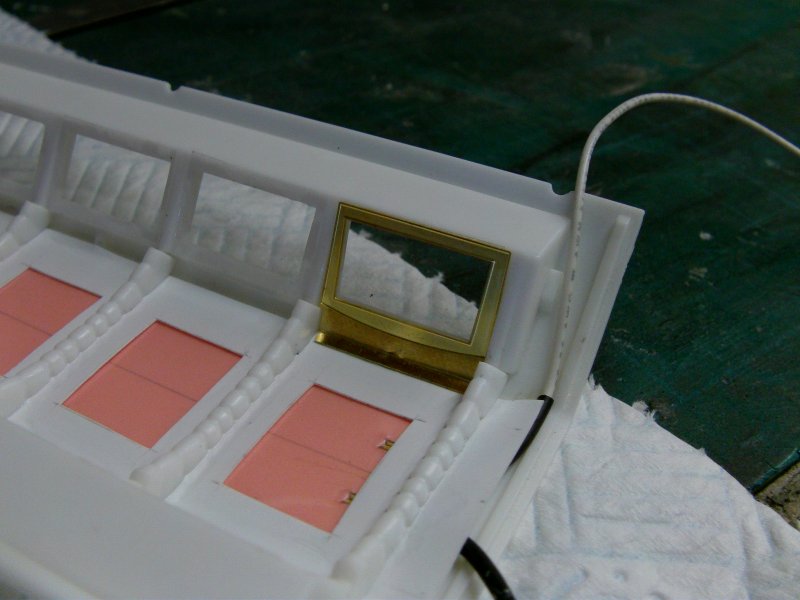
Sweet.
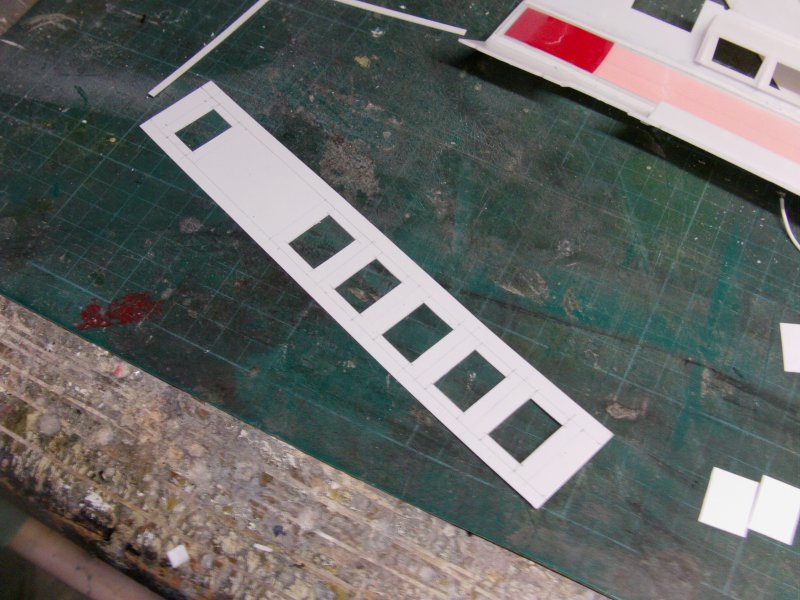
And the same silliness was expanded upon for the rest of the windows.
Like so...
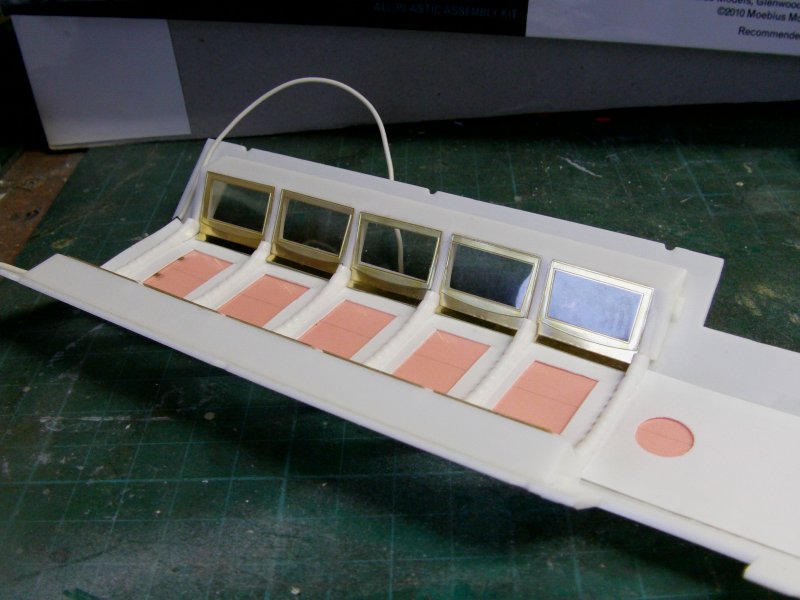
Sharp and clean, me likey!
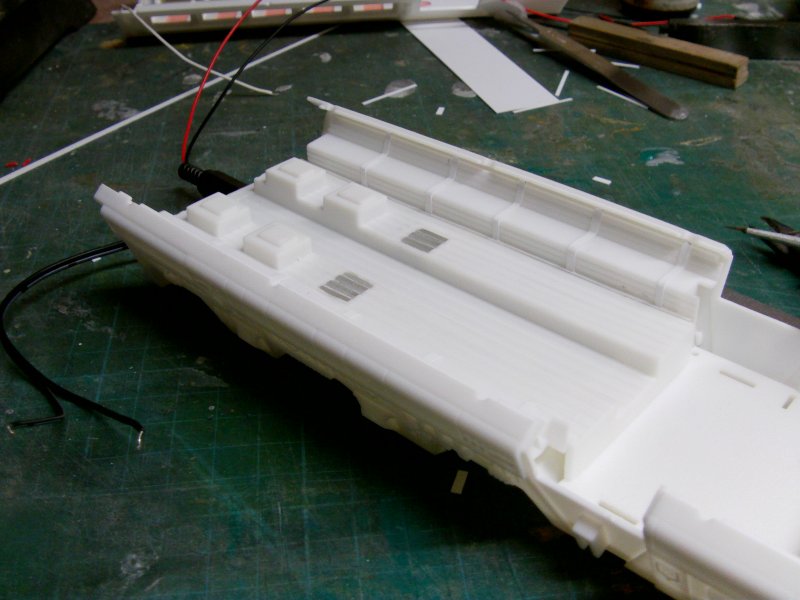
So last bits of buggering about for the ceiling lighting tidying up thing.
Some more 10thou slicey, dicey, oncey, twicey and sorted.
With a bit of glue action of course.
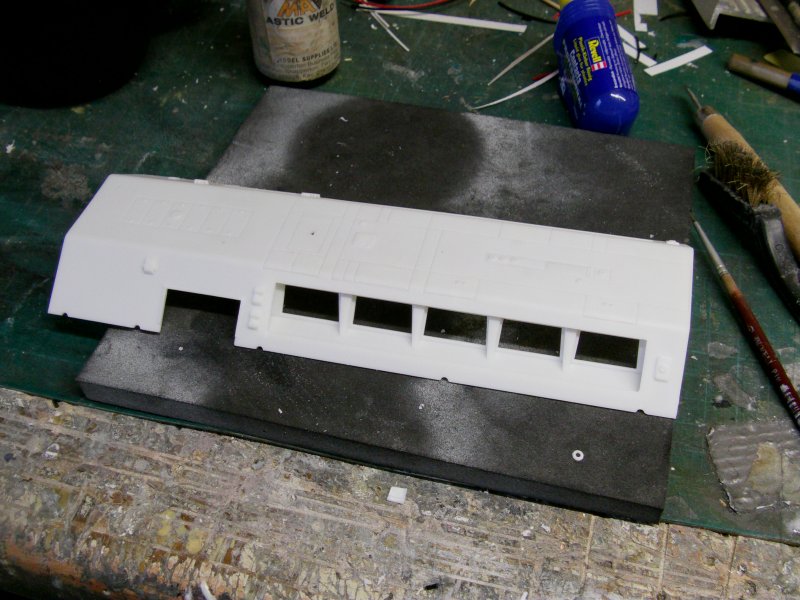
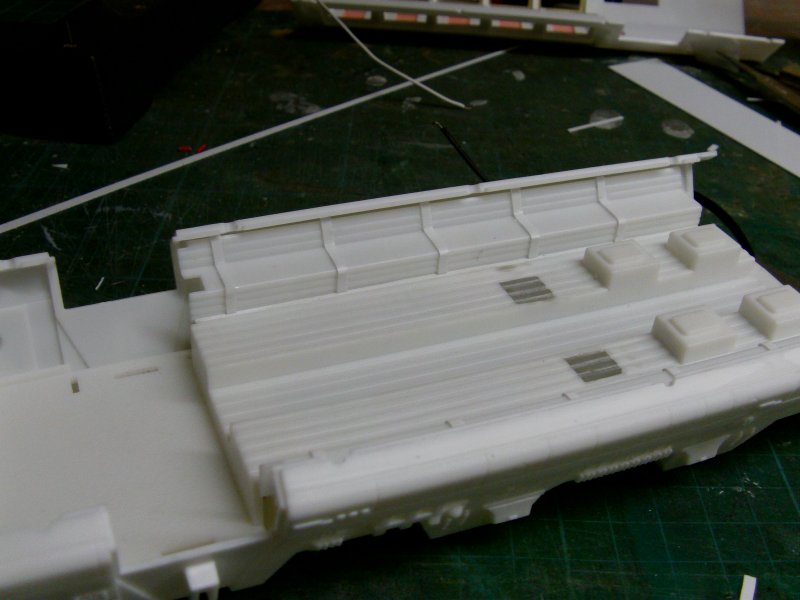
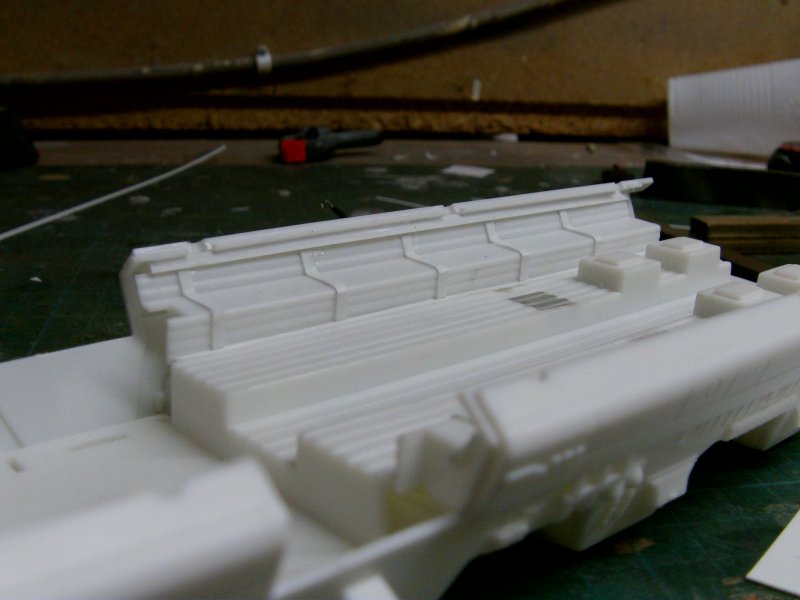
And some sliced up styrene to beef up the bits in between the windows.
And finally...some more styrene attached to the interior side parts to represent
some kind of bulkhead/formers along the said parts
as this seems to be present in some form on the interior film set
but not in the kit.
Then again the kit interior doesn't really fully
match the film set anyway but what the hell.
And that's all she wrote for this update,
a sorta serious amount of paint will be flung in all directions
in the next update so by all means, join me for some airbrush assisted mayhem...
And I guarantee there will be some...
next time gang!
You merry mob go easy out there now.
Page Number