
Moebius Models Moonbus From
2001 A Space Odyssey
1/55th Scale


 Page Number
Mk 31 modeling slippers on...
Time For Another Slice O' The Moonbus Mambo
Welcome Back all!
Time for a bit of the resin upgrade uproar now.
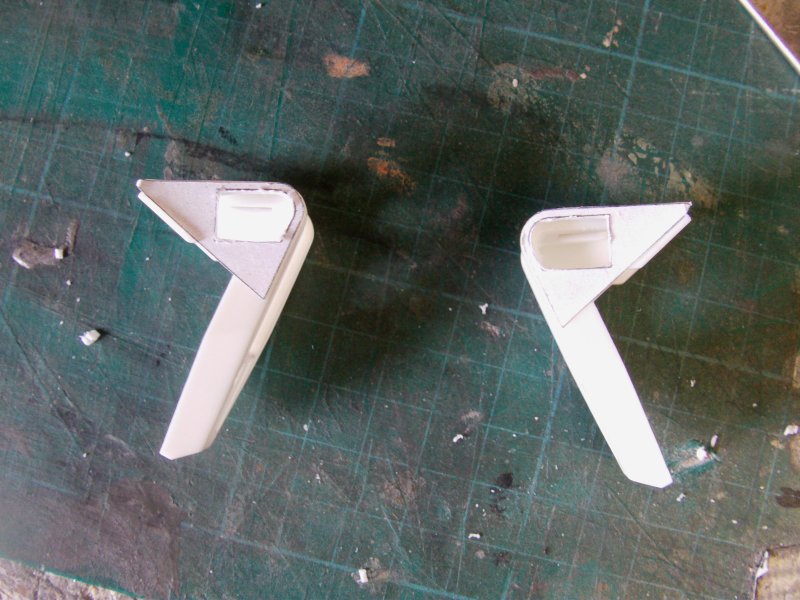
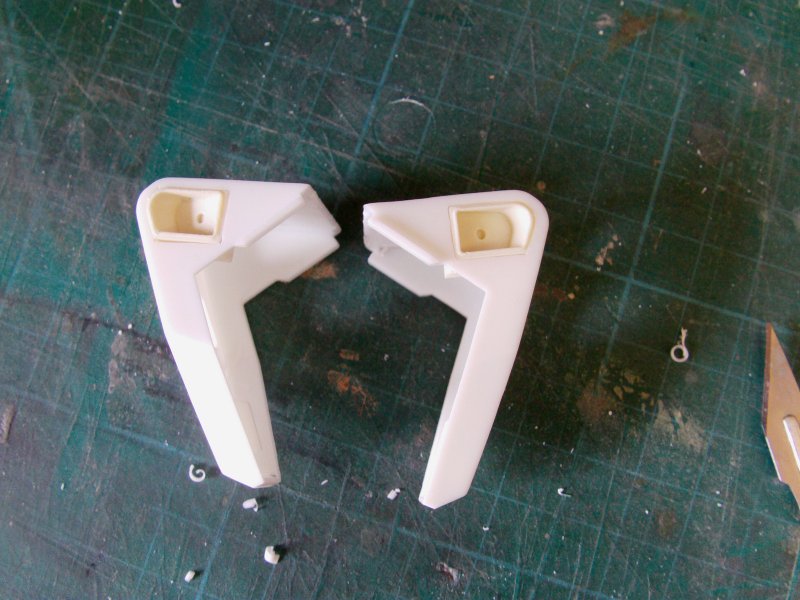
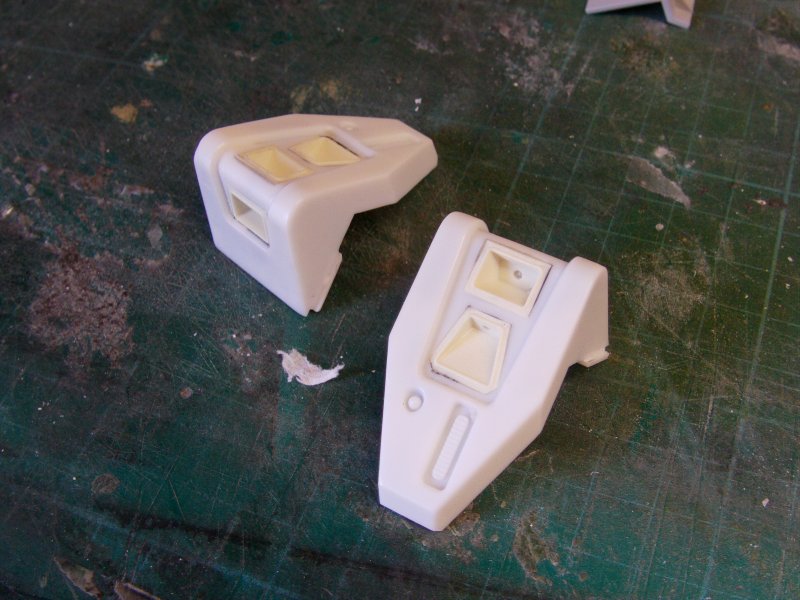
Now the two pod like things that sticketh out
from either side are some manner of maneuvering thruster packs.
Said kit plastic parts look something like this...
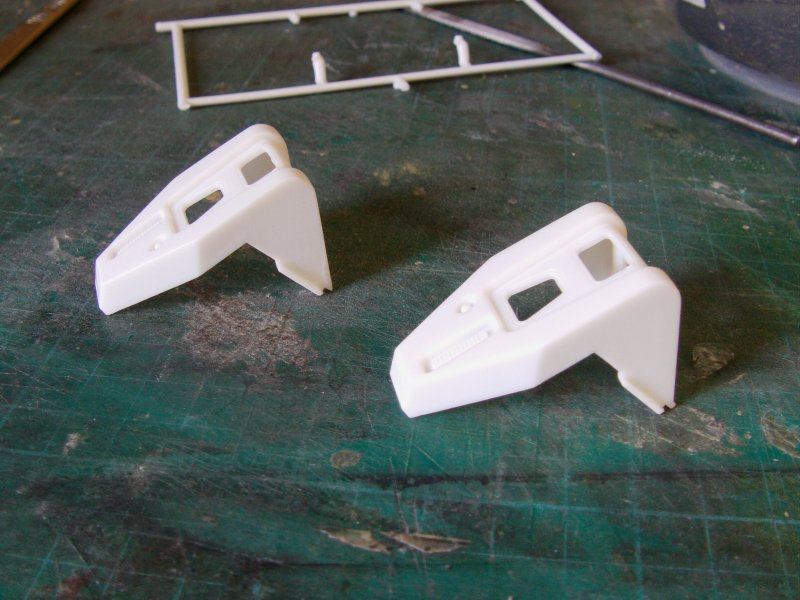
So as you can see, no thrusters, just empty holes.
In fact it's lacking a hole on the forward sides.
So this got sorted with the Paragrafix resin upgrade parts.
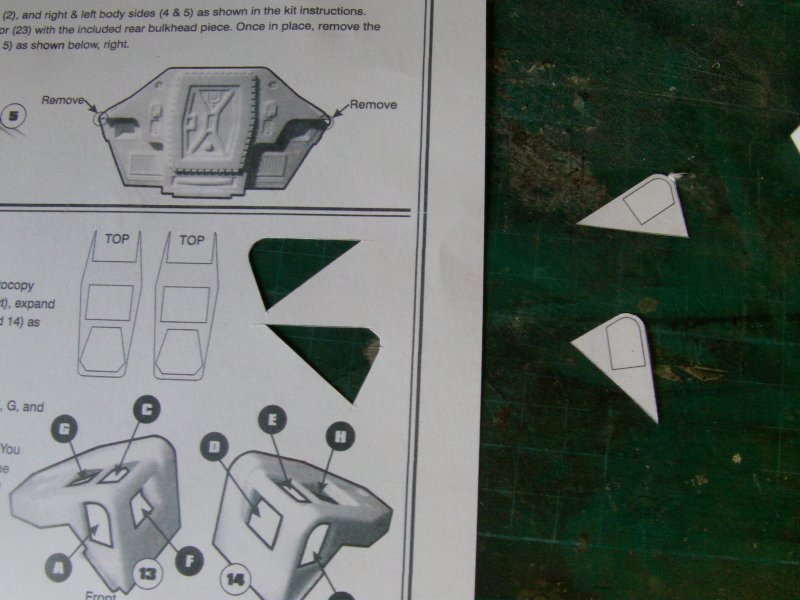
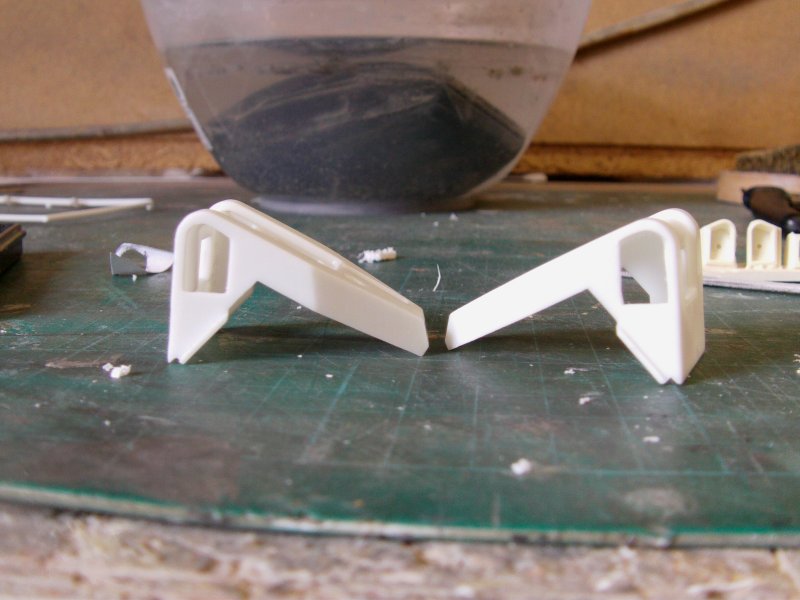
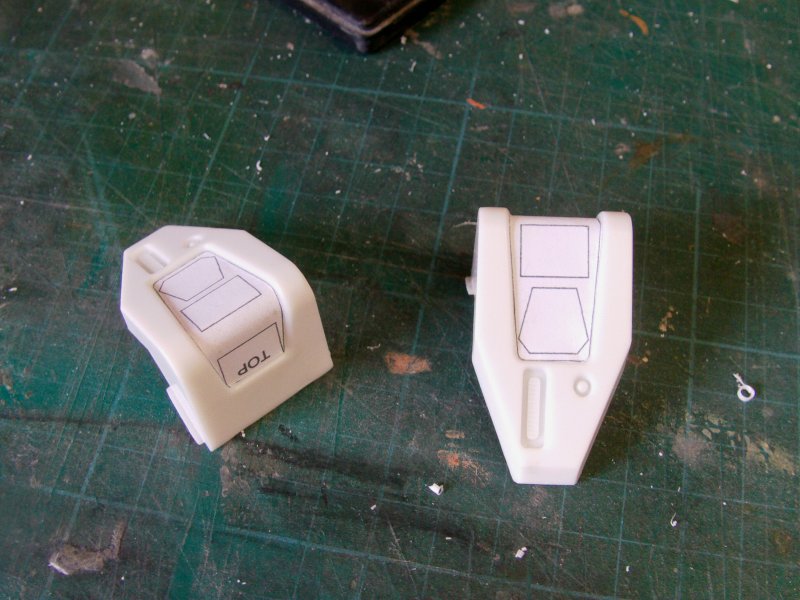
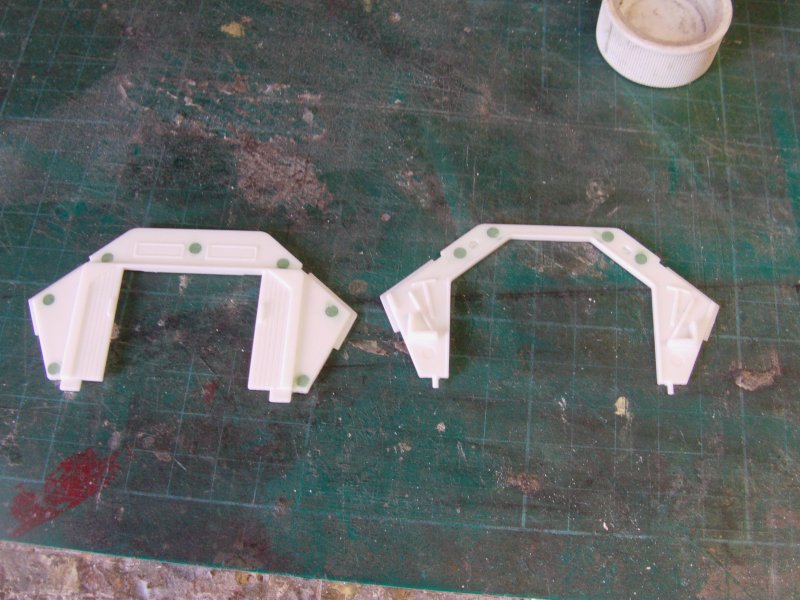
Afore we get to that though, the Paragrafix photo etch
set also notes that some of the surface detail has to be removed.
Some short ribbing like things on the top.
the offending bits look like this...
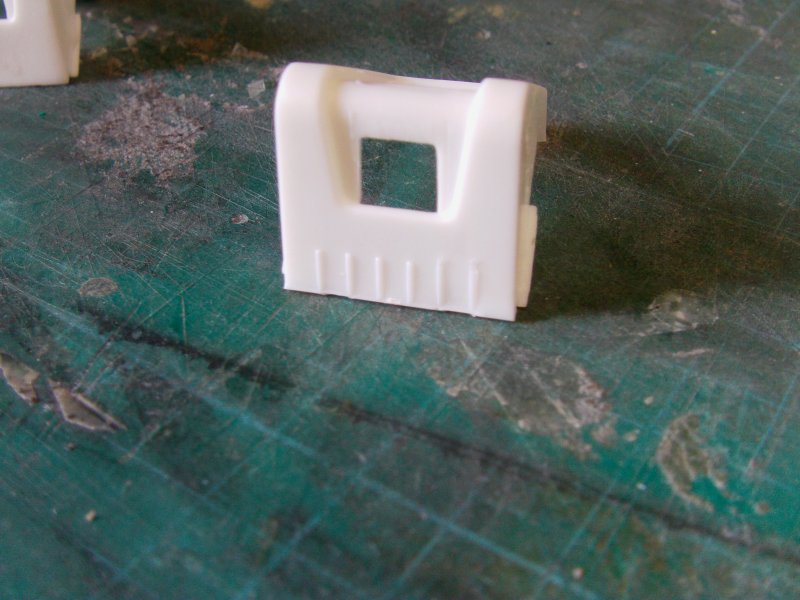
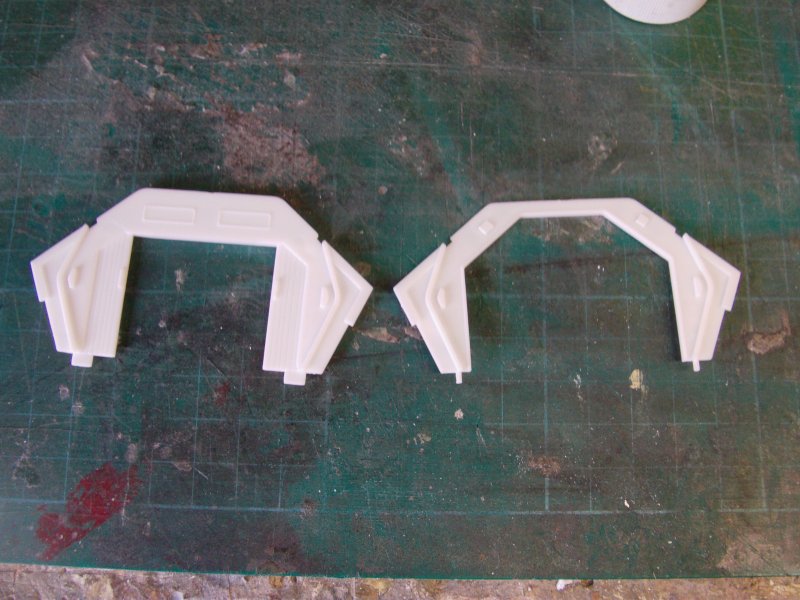
600 grit wet n' dry, a smidgen of elbow grease and
they be made to bugger off sharpish like!
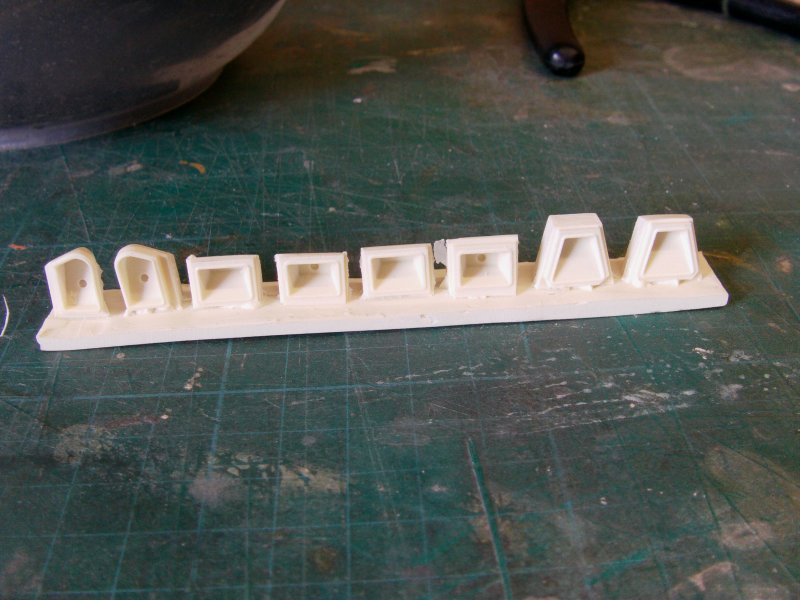
So to the resin lumps larking about.
The resin thrusters are larger in size
than the existing holes but not a problem
as the thoughtful mob at Paragrafix provided templates on the instructions
for placing and size.
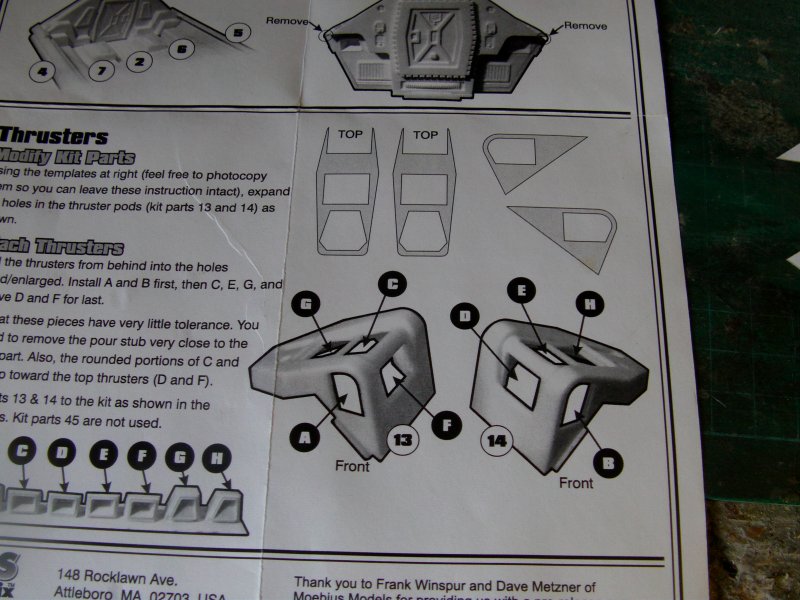
As the destructions state, "feel free to photocopy etc"
Which is exactly what one did.
And then sliced up the copy for the templates.
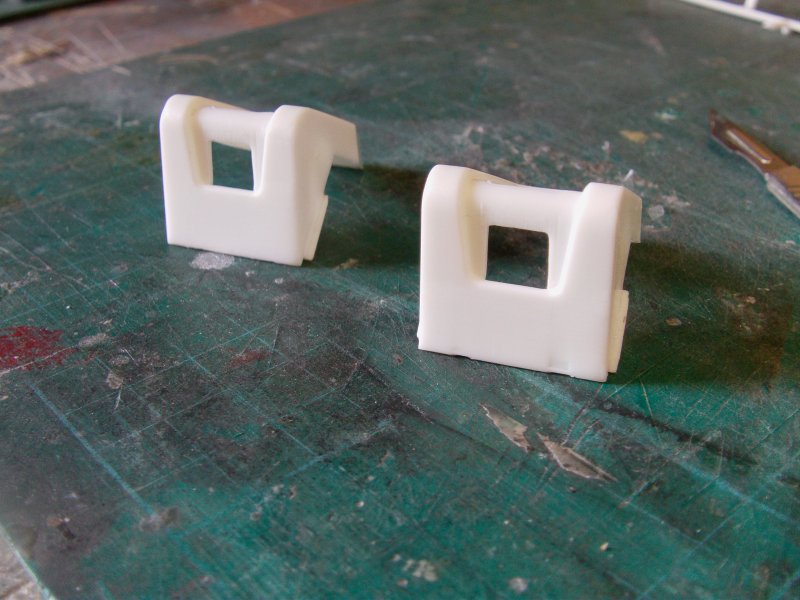
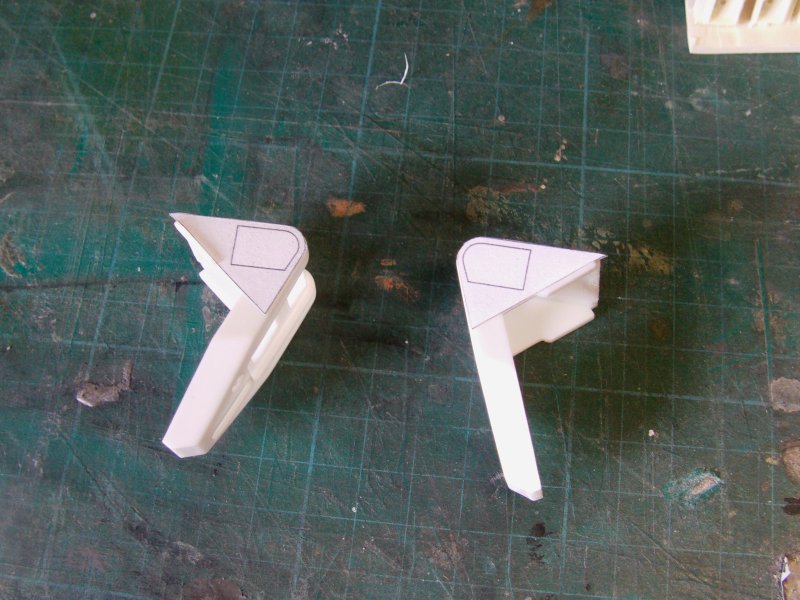
The single thrusters on the front facing surfaces up first.
Simple enough deal, cut out templates,
hit them with some photo mount spray glue and
apply in more or less the right place.
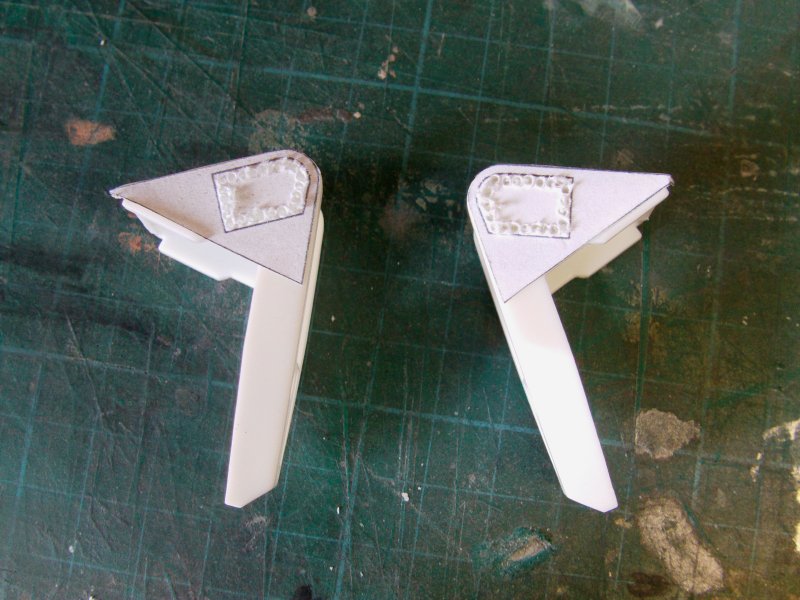
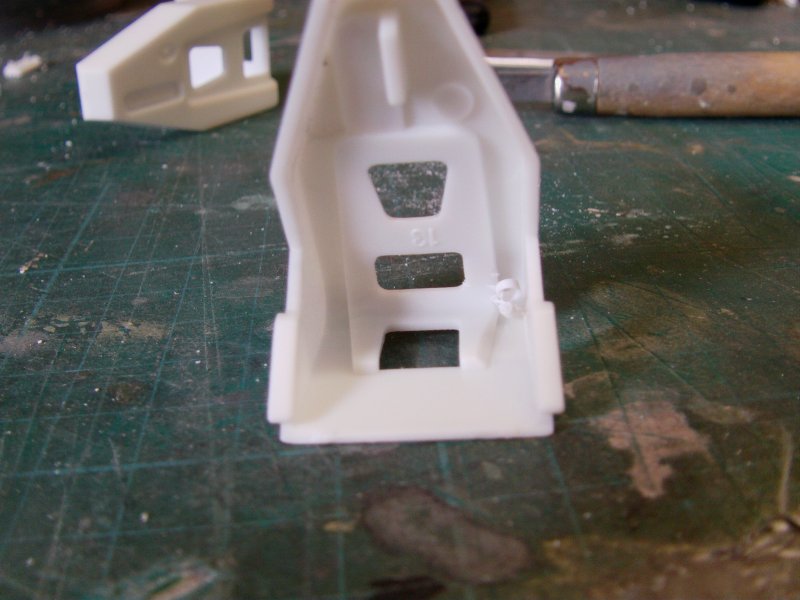
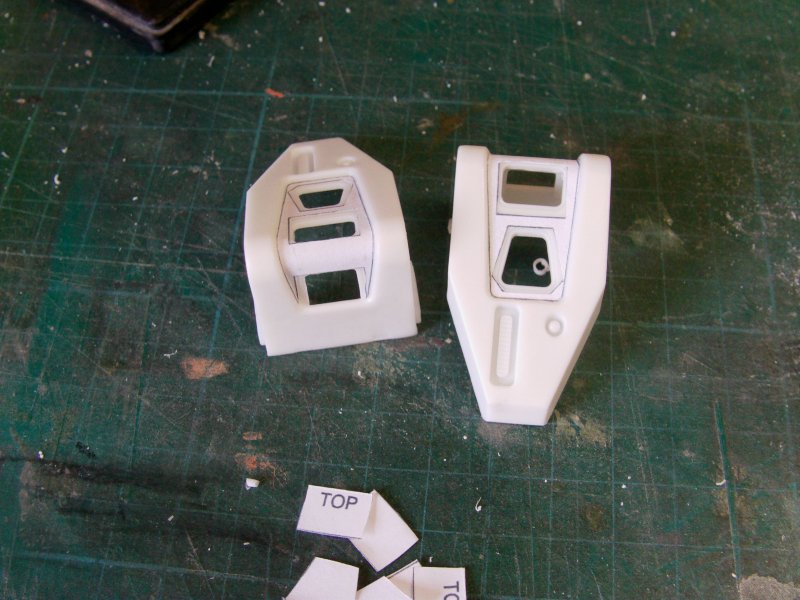
From the , I drilled a line of holes close to the inside of the line.
Then working around with fresh blade in
the scalpel handle untill it fell out.
Once sorted, a little bit of trimming up and remove the paper.
A wipe over with alcohol to remove any glue residue.
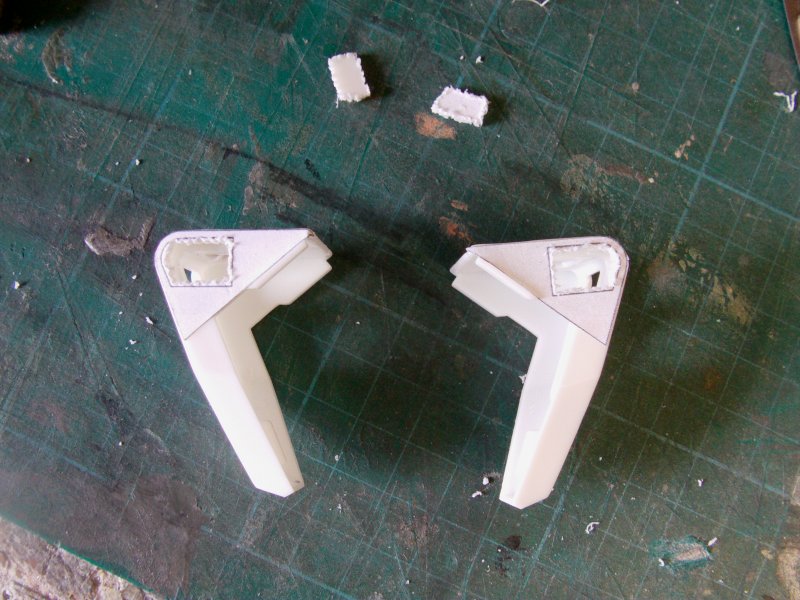
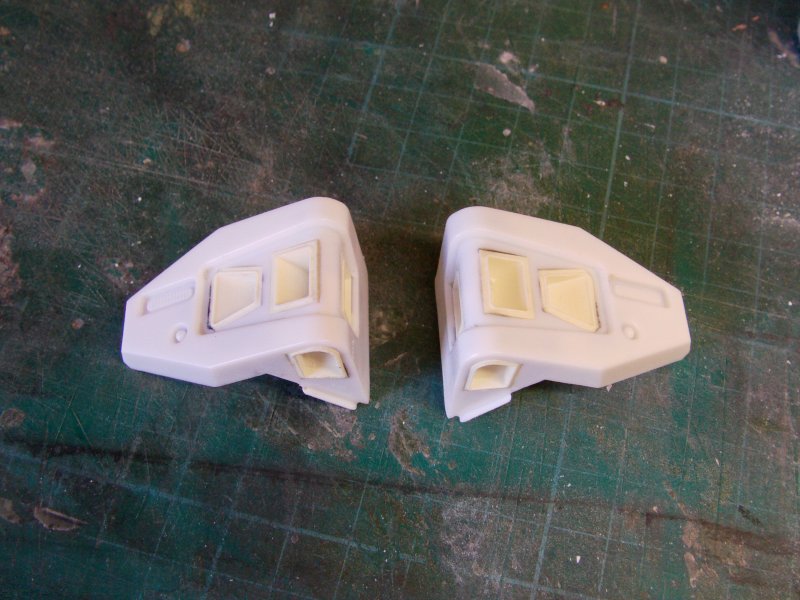
The two resin parts removed from the
pour stub via some razor saw violence and test fitted.
A wee bit more trimming of the kit parts to make 'em fit snug.
A little bit to the interior to ensure they went in
and it was a done thing.
They stayed in without glue so a decent fit.
They then got removed and put aside so the rest of the
holes could get the enlargement treatment.
Pretty much the same kind of template thing.
Photo copy hacked up, glued on then bit to be removed trimmed out.
After which, more sawing, more test fitting,
a bit more trimming and finally all glued up in the
order the instructions suggest.
Which is important believe me!
Cyano to tack in place,
followed but a dab or several of the epoxy stay put gunk.
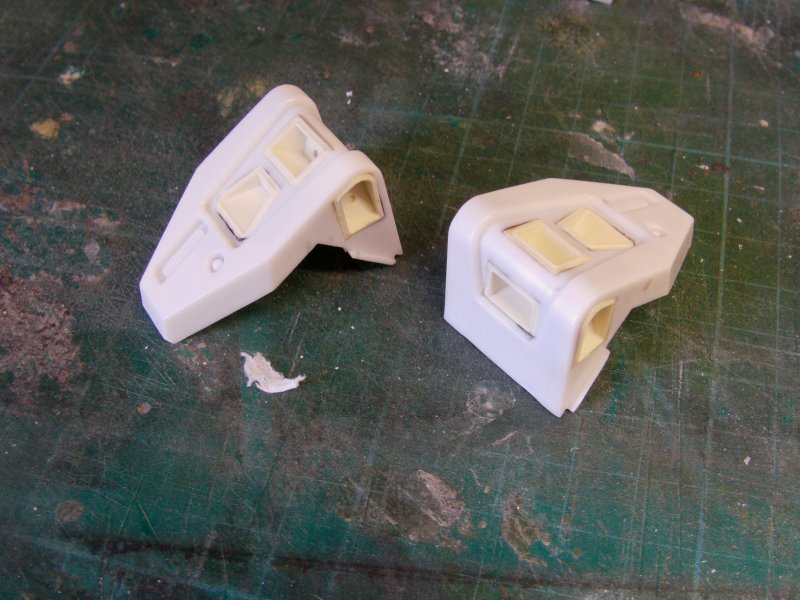
Only a tiny dab of Aves just to make good any gaps and 'twas all a super thingy.
Back to the main part of the build then.
Interior bulkheads cleaned up and set in their proper place.
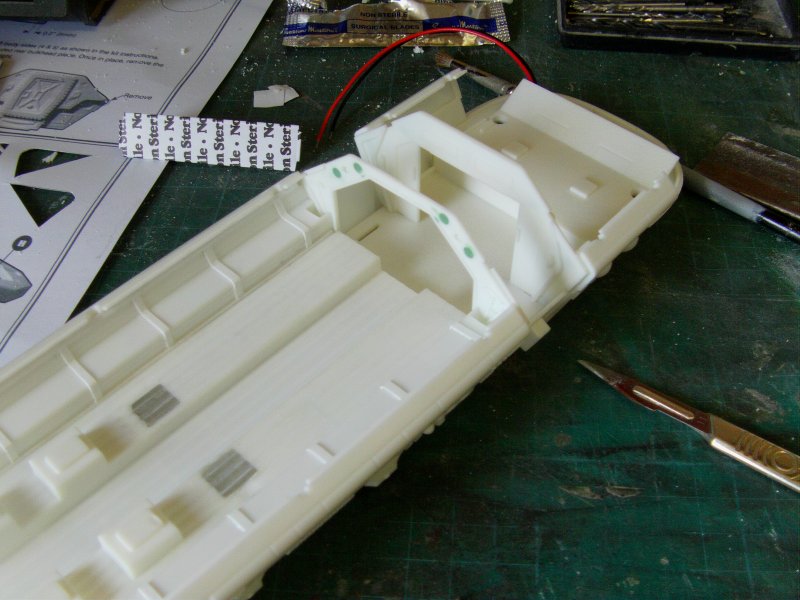
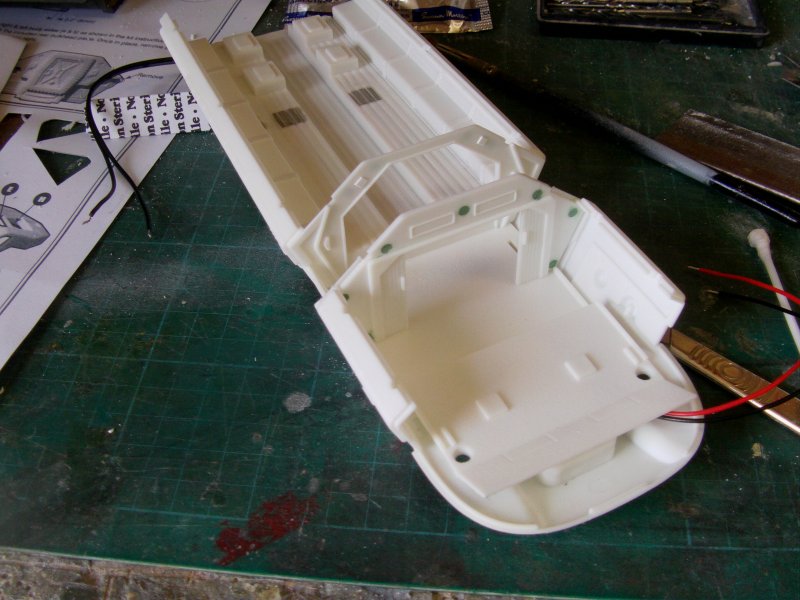
All that settled and sorted, on to the interior paintwork!
Details of which you'll find on the next page
my friends and friendettes.
Onward to page five with you and
one will see you merry mob there.
Page Number