
Moebius Models Moonbus From
2001 A Space Odyssey
1/55th Scale


 Page Number
Out with the lash...
And Lash That Cargo Down!
Greetings all!
Right then, time for a bit more of this.
Not going for absolute screen accurate on the interior as I think
i've said before.
More a make it look good so here we do go.
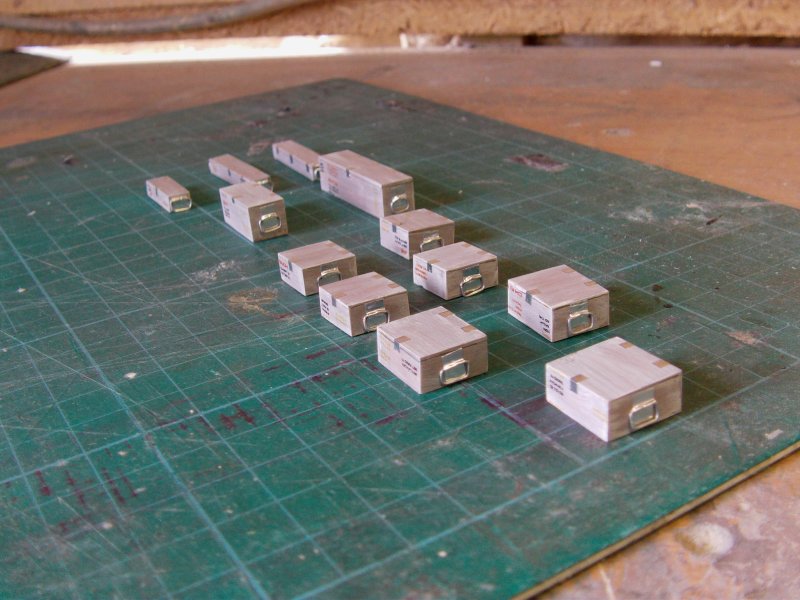
So the resin nuggets that would stand in for the
transport boxes/crates were brought out of hiding.
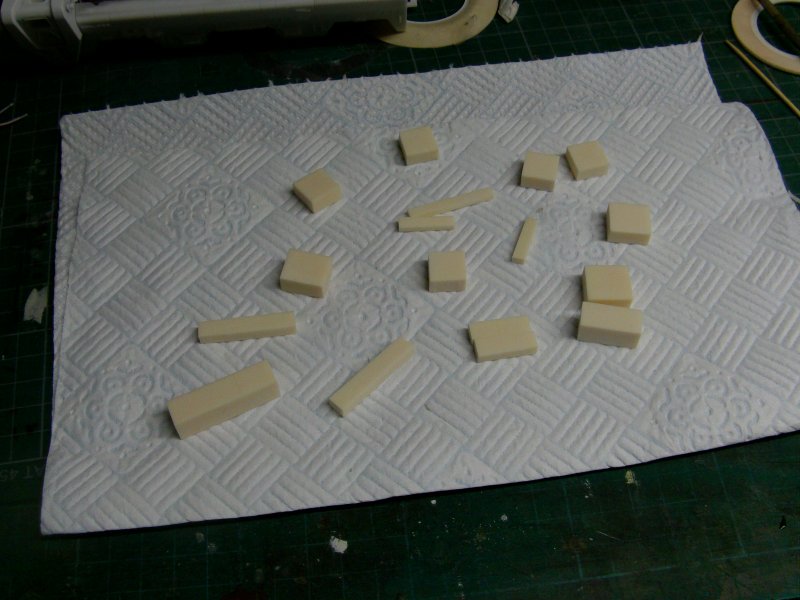
After a bit of test stacking, the ones that would fit the bill were
selected and given another clean then painted.
Keeping it simple as the ones on screen seemed to me to be
just plywood boxes which is more than good enough for me.
So a lick of mid brown with a drybrush over of light beige.
All Vallejo acrylics mixed up on the fly for this turnout.
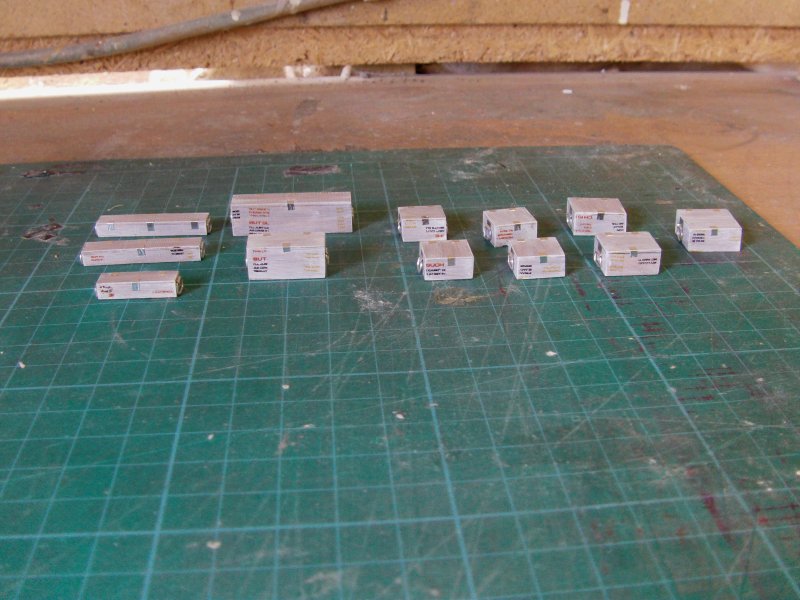
Once sorted and all paint dry,
some self adhesive aluminium foil tape for the hinges and front lock things.
Now the ones in the movie seemed to have handles each end.
Some 15amp fuse wire wrapped around a small nugget of resin
and then the loops just cut and slid off the resin.
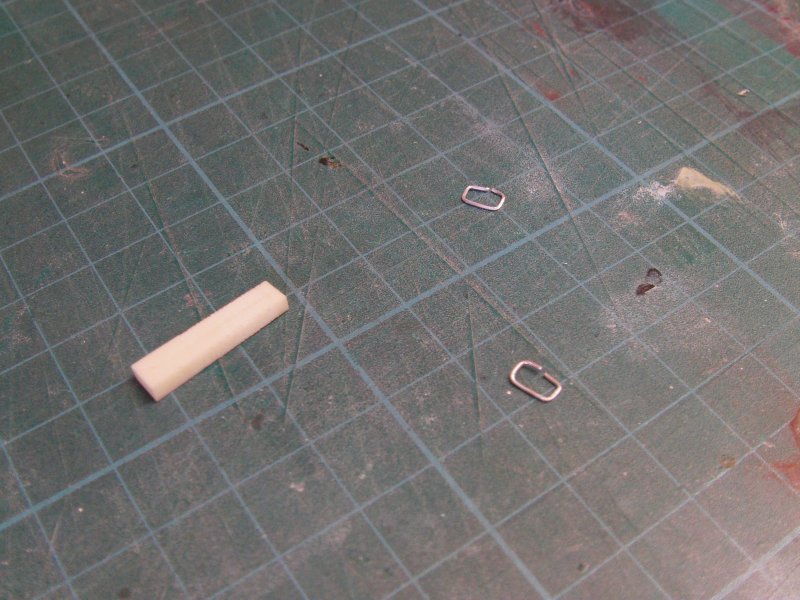
12 boxes required 24 loops so that was sorted and then attached with the same aluminium tape.
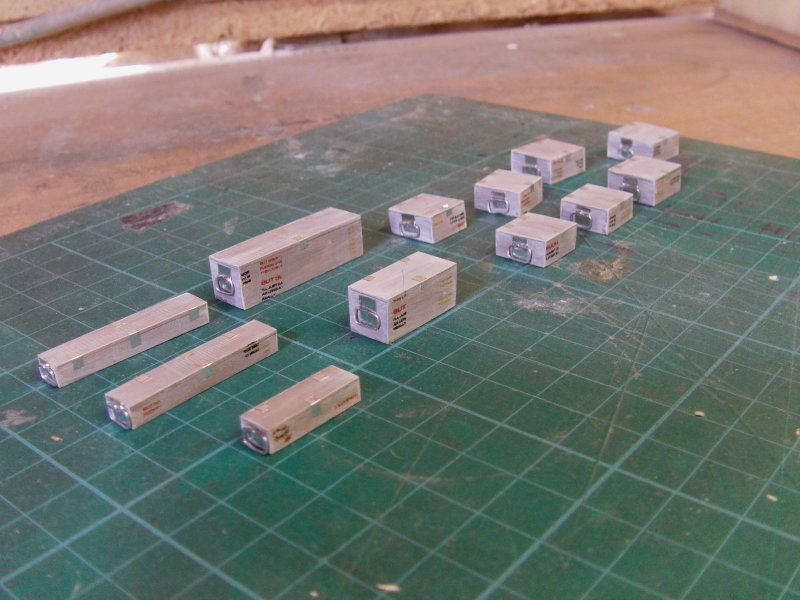
Some custom dry rubdown stenciling completed that job.
I put handle loops on all of them as I wasn't sure of the order they would get
stacked so just covering all bases there.
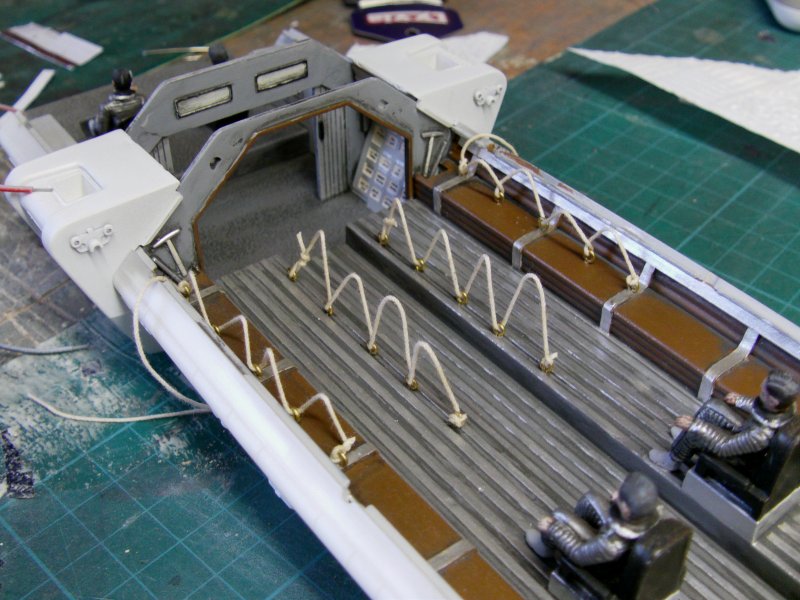
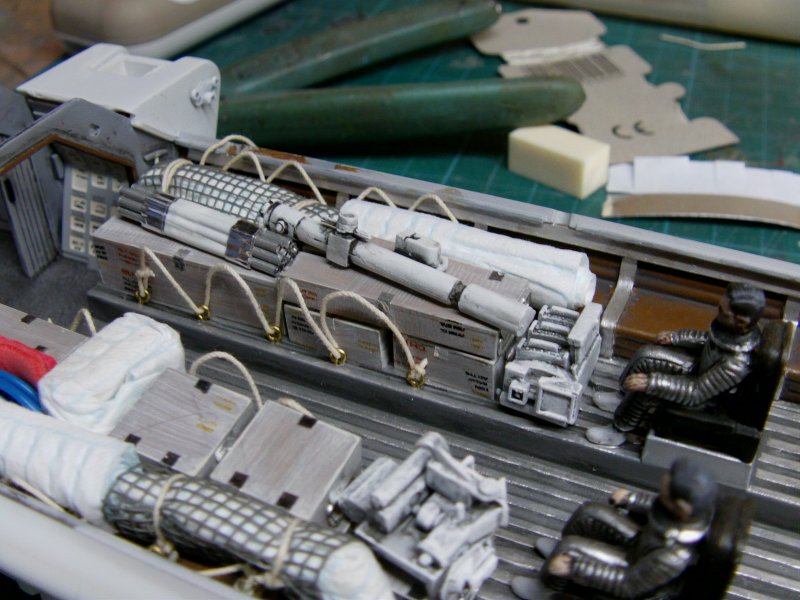
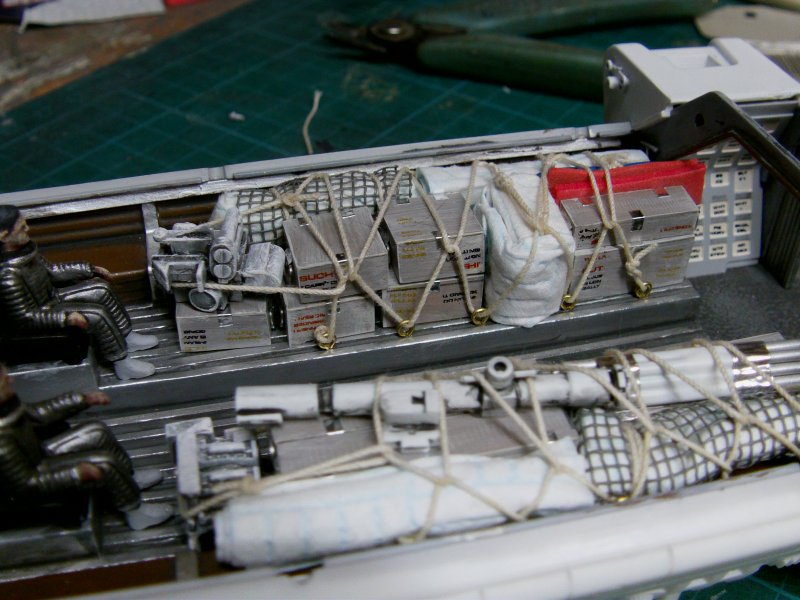
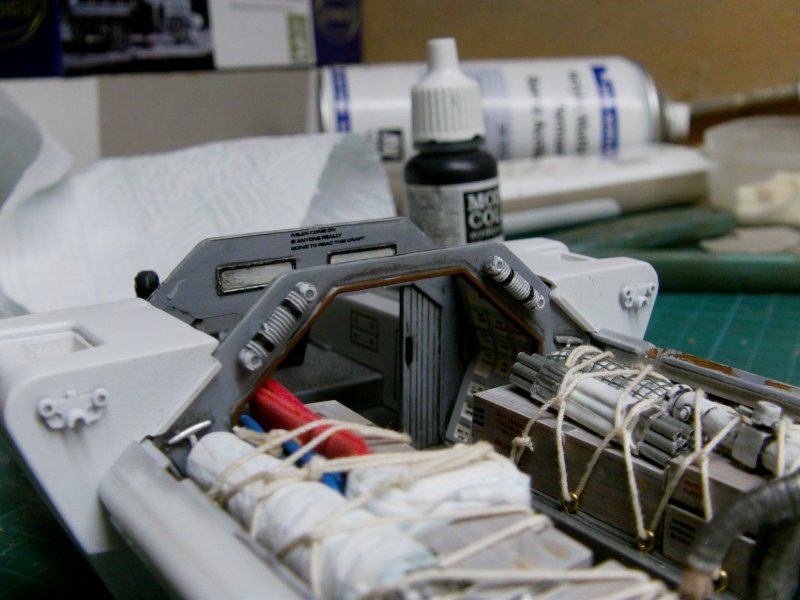
So to the cargo lashing down lark.
Some lengths if hefty wire laid across the interior left to right
then some thread from the ship building spares was threaded through
the installed brass loops and over the wire.
Ends secured with scenic glue and allowed to dry.
I left a fair bit of thread left on one end to do the final tie up.
The wires removed.
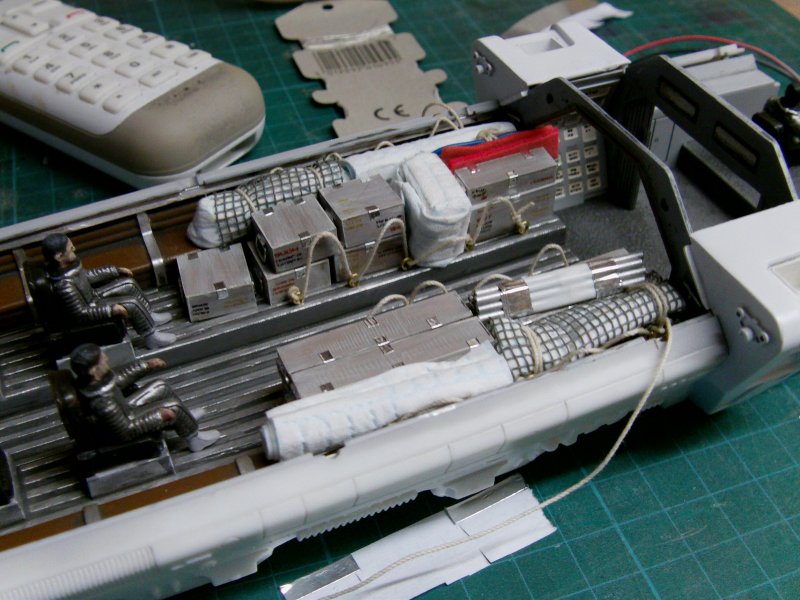
Crates secured with 5 min epoxy stay put ya bugger gunk and it was all good.
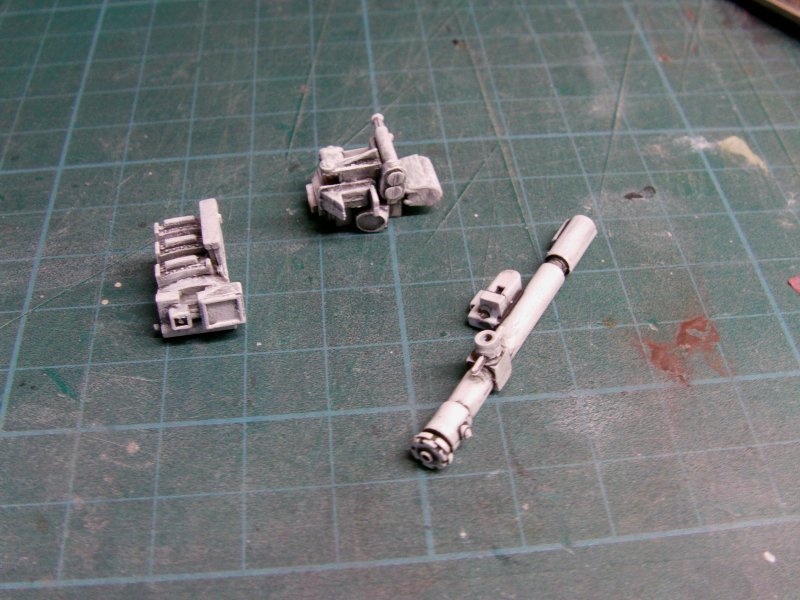
Some additional stuff was thrown in.
Nothing special, just a coil of 7/0.2 wire,
a couple of small bits of foam,
A stack of short length of alloy tube,
some kitchen cloth either wrapped around a resin nugget or just
rolled up with some mesh...or not and glued in to place.
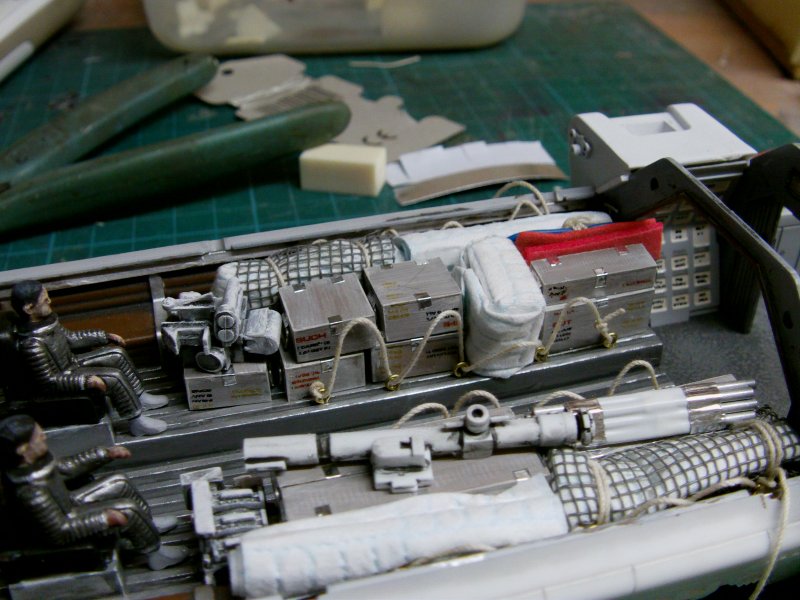
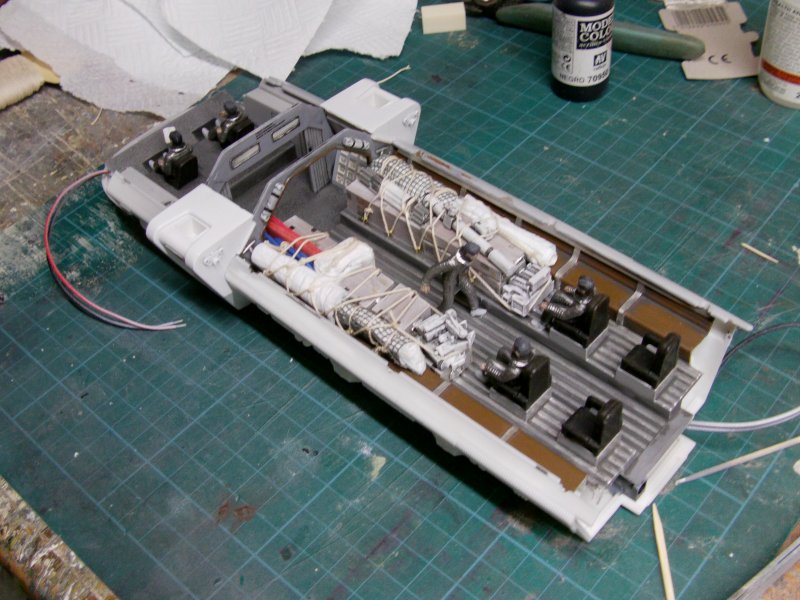
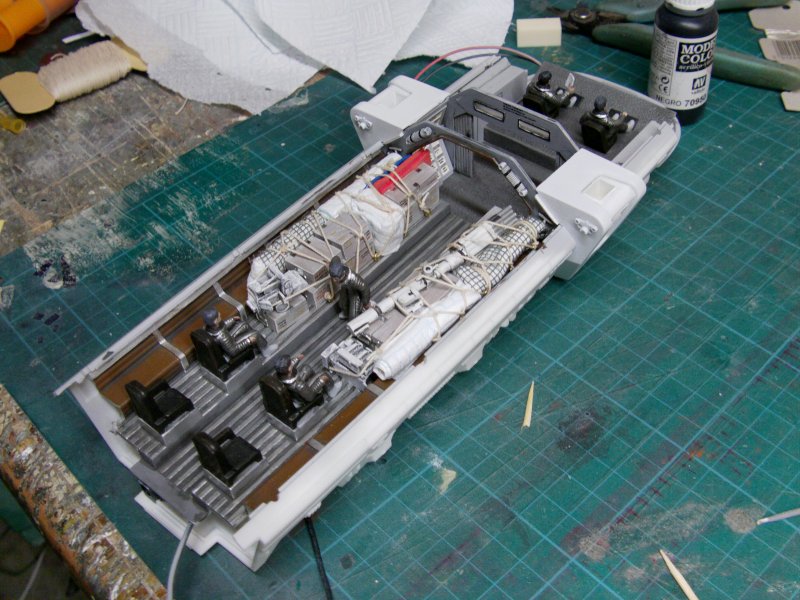
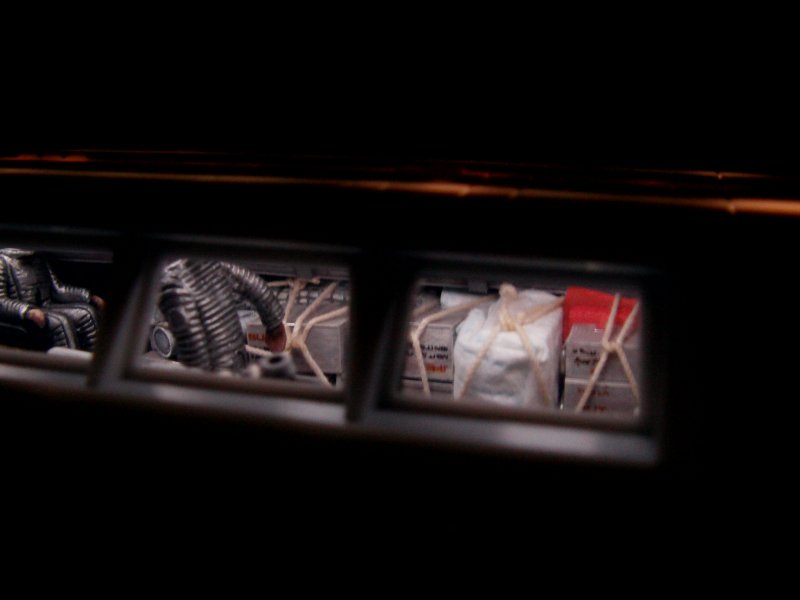
The result of that hoo-ha...
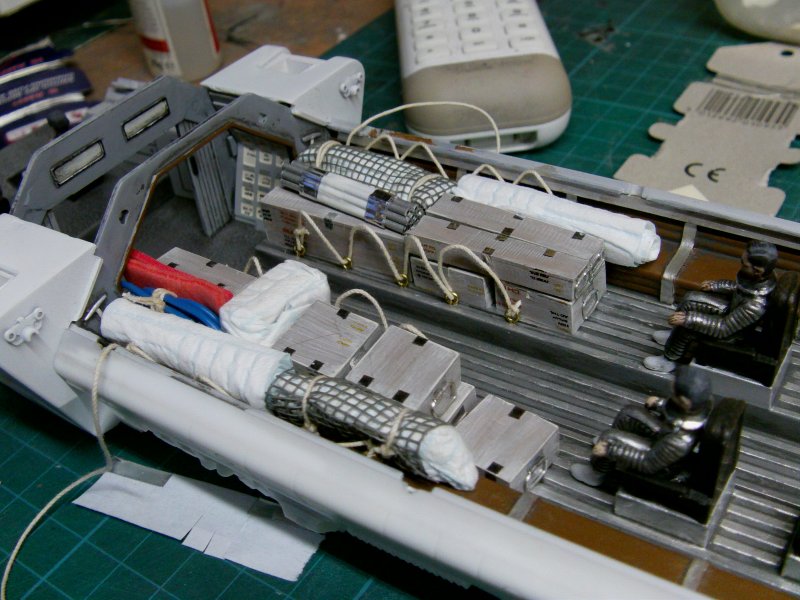
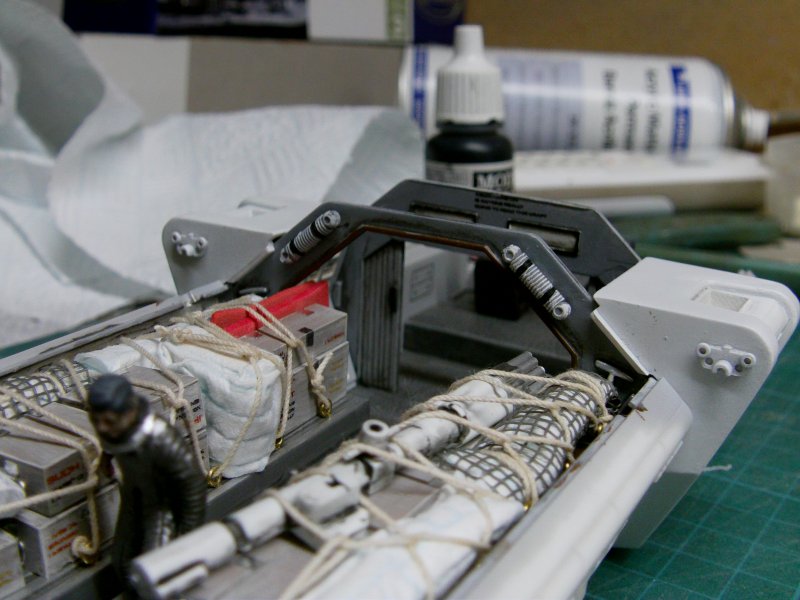
Some last greeblie bits got thrown at it.
Digging in to the greeblie pots and bins,
some small parts got selected and stuck together.
A bit of paint, some shading and dry brushing get's these...
And a dab of the epoxy got them sorted.
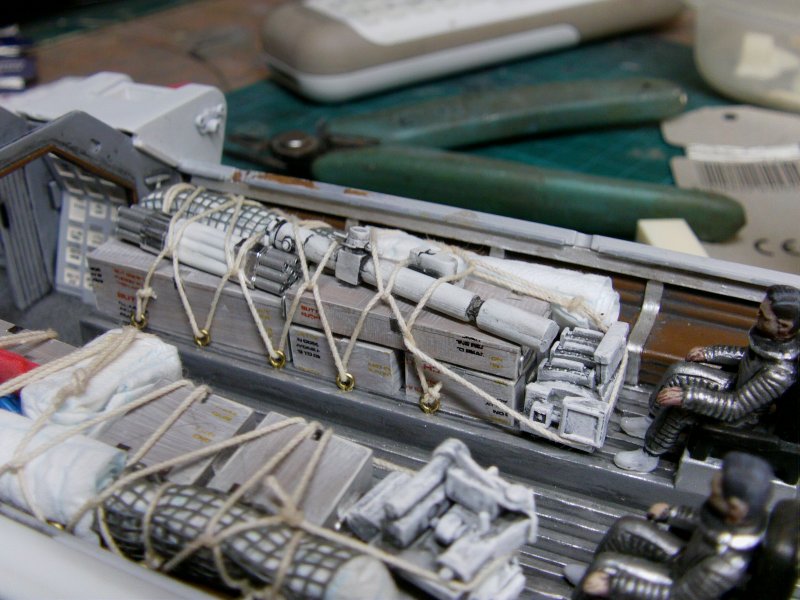
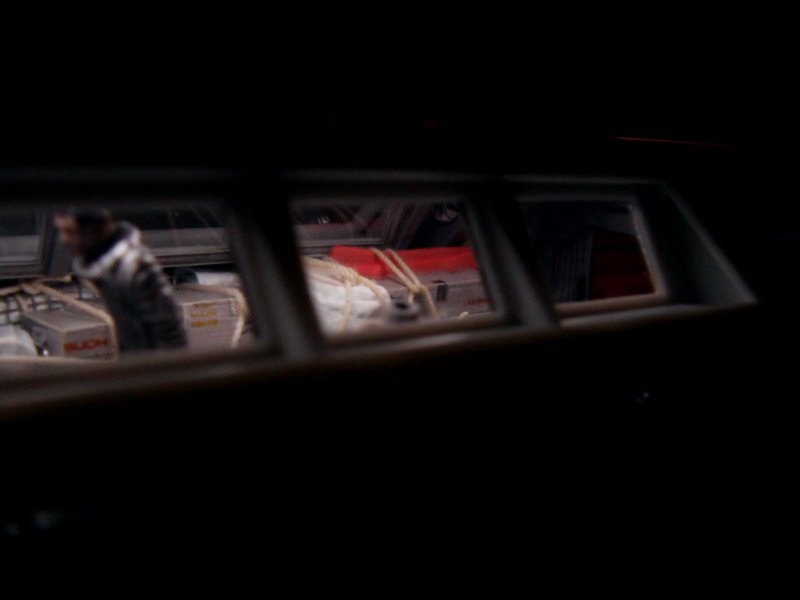
Finally, pick up the long ends of thread and tie all down.
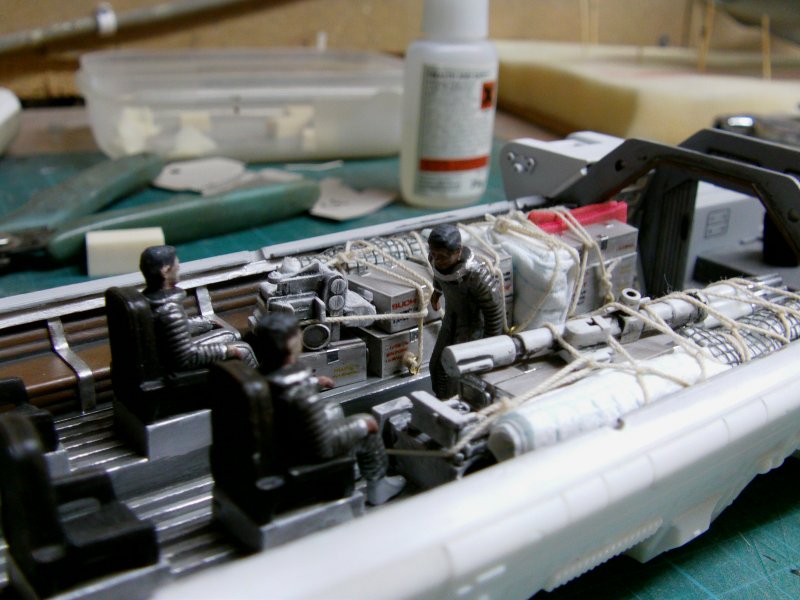
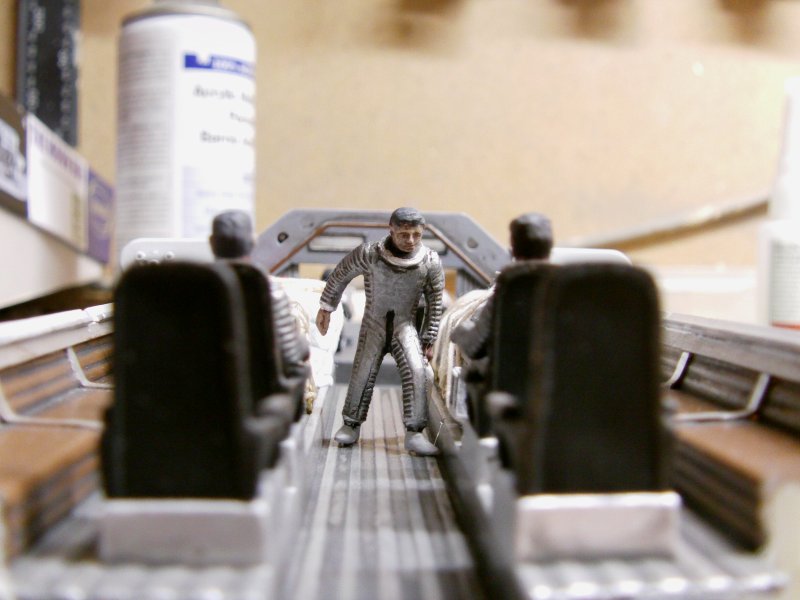
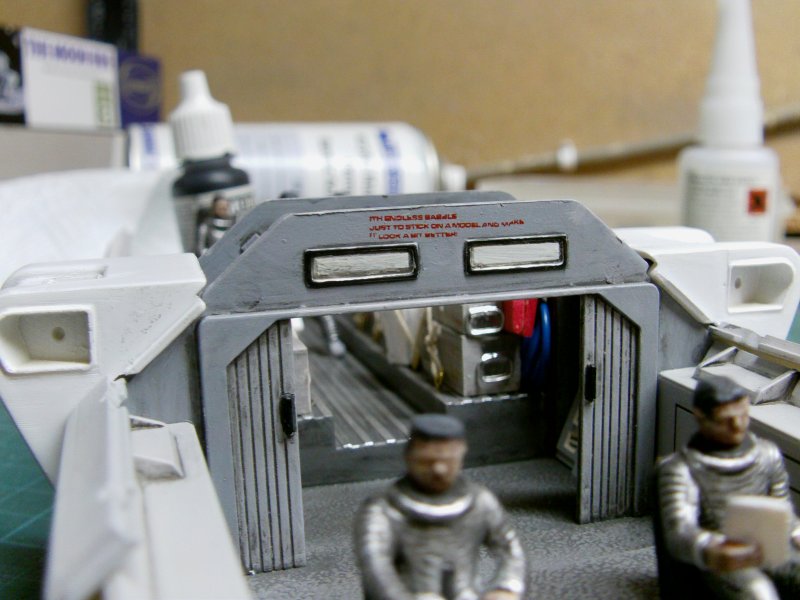
So then, next bit was to secure the fella on his feet in to place.
A thin steel pin glued in to the hole that used to
take the cocktail stick end he was on when being painted,
a hole of appropriate size drilled in the deck and more 5 min epoxy got him sorted out.
And then by way of some grey and white drybrush and a drip of black and glue,
the rope bundles on the bulkhead were a done deal thing.
Oh and some stenciling wordy stuff on the forward bulkhead to finish off
just for the hell of it like.
So a quick lighting test for the passenger compartment.
First lot taken in the hellhole in the dark.
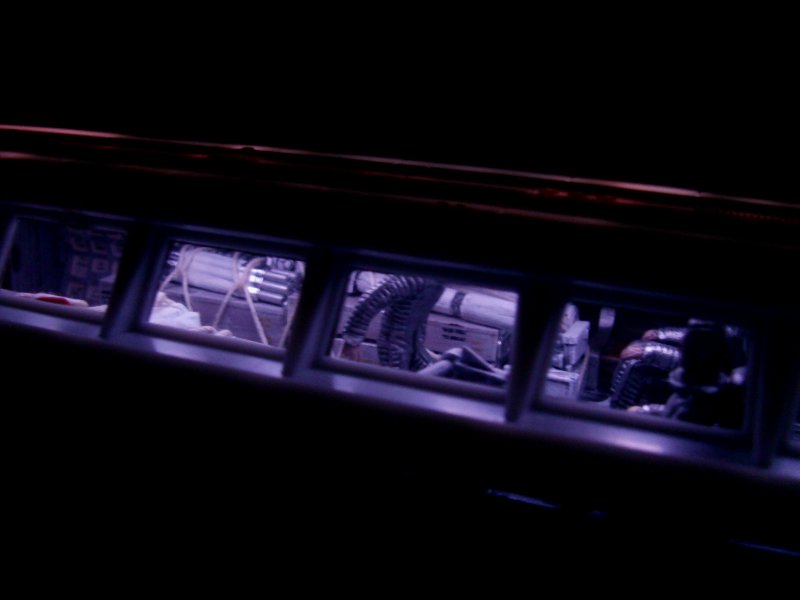
Ok, pretty good but remember,
this was taken in a dark workshop so the camera automatically over exposes the shot.
The next lot were taken indoors in ordinary room lighting and
gives a decent idea of how it looks to the naked eye.
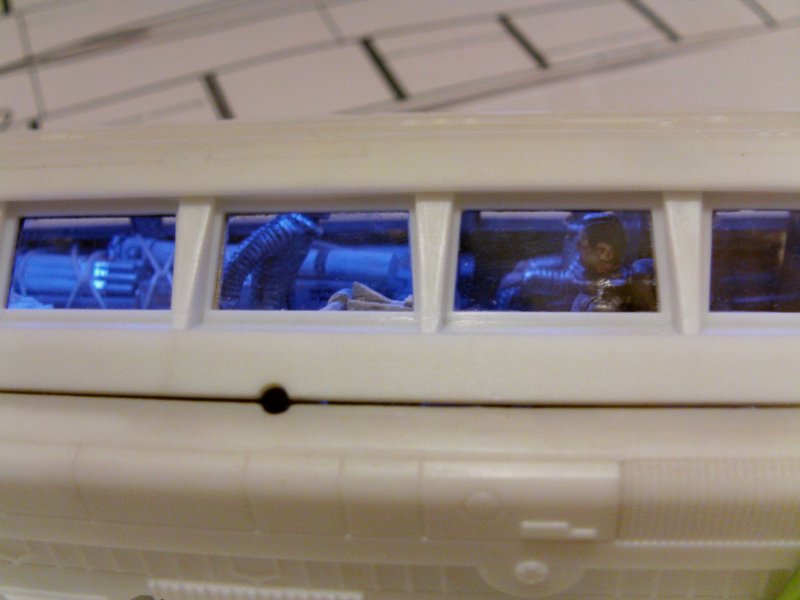
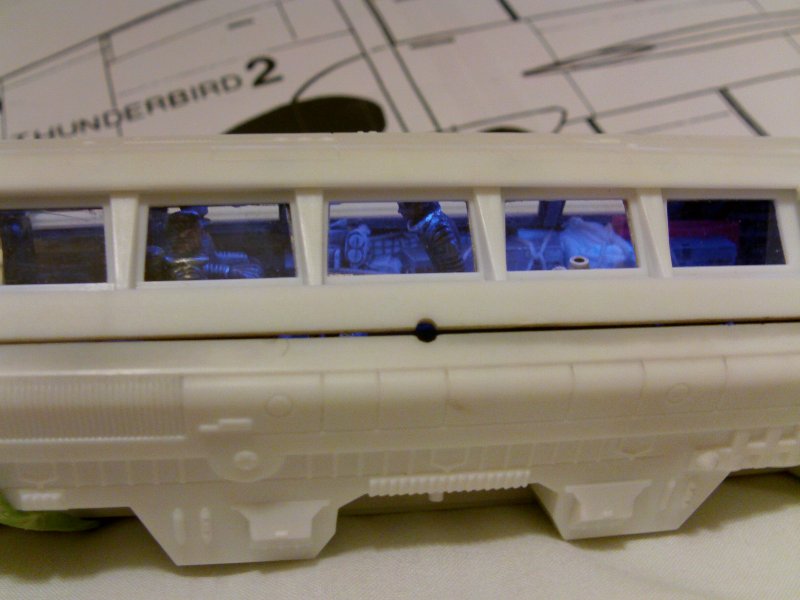
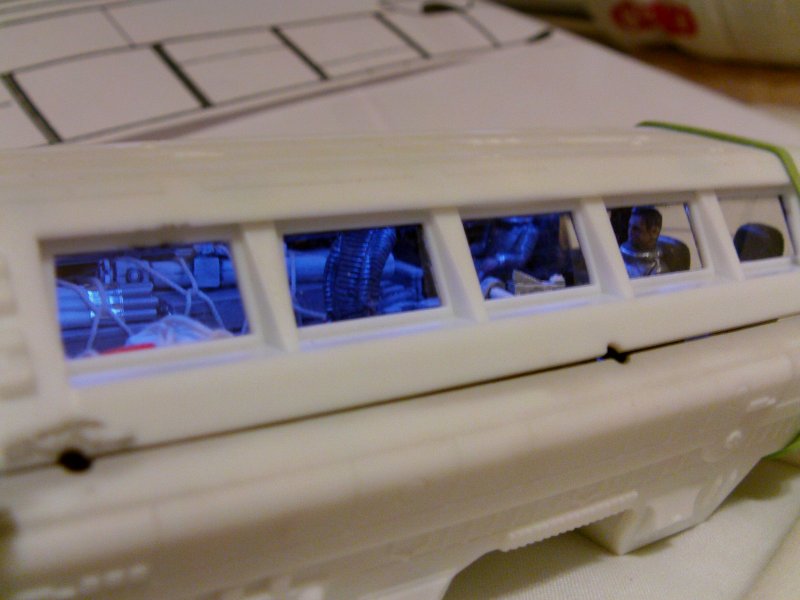
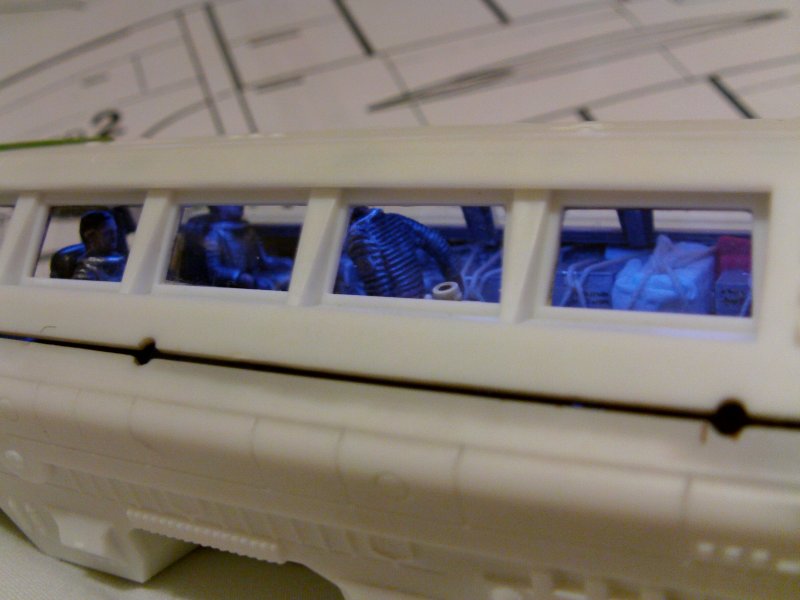
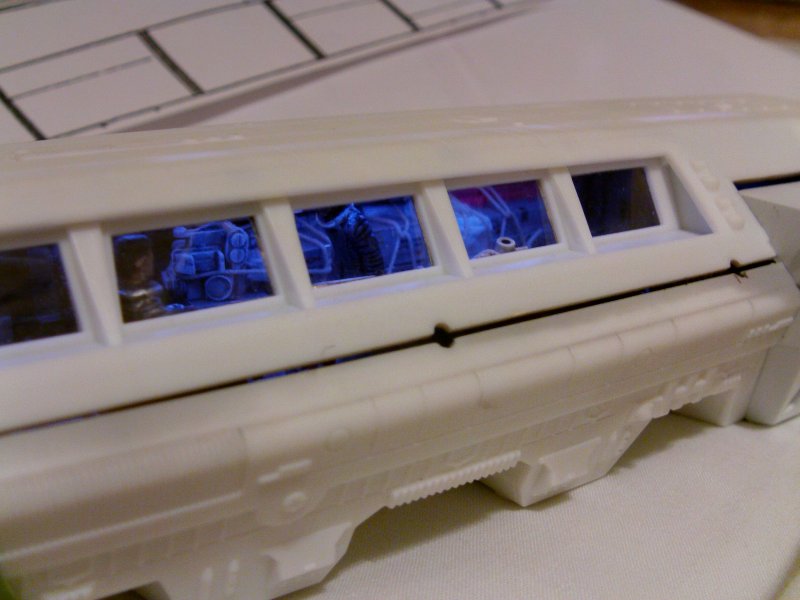
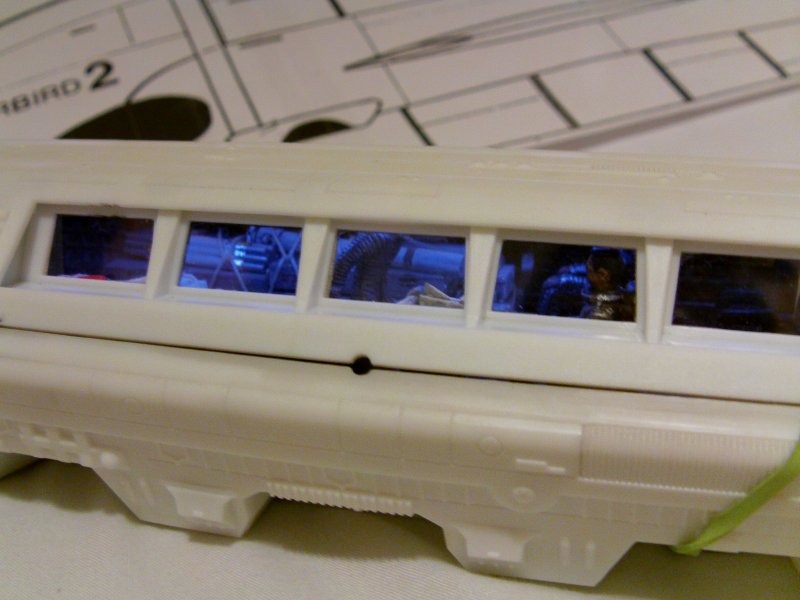
A definite subdued level and bluish hue to the lighting which I think is about right.
The red lighting in the cockpit is way too low
so this will be boosted by a red LED mounted in the front.
That's for next update where hopefully we will also get in to
the final bits of the main bulk assembly
and taking a long hard look at the landing gear...
may even build and paint it too.
Take care untill then and go easy out there gang!
Page Number