
Moebius Models Moonbus From
2001 A Space Odyssey
1/55th Scale


 Page Number
Back again...
And Still Banging Bits Together!
Welcome back to the penultimate update all!
Yes, just this one and one more for the finish.
And happy i'll be when we get there.
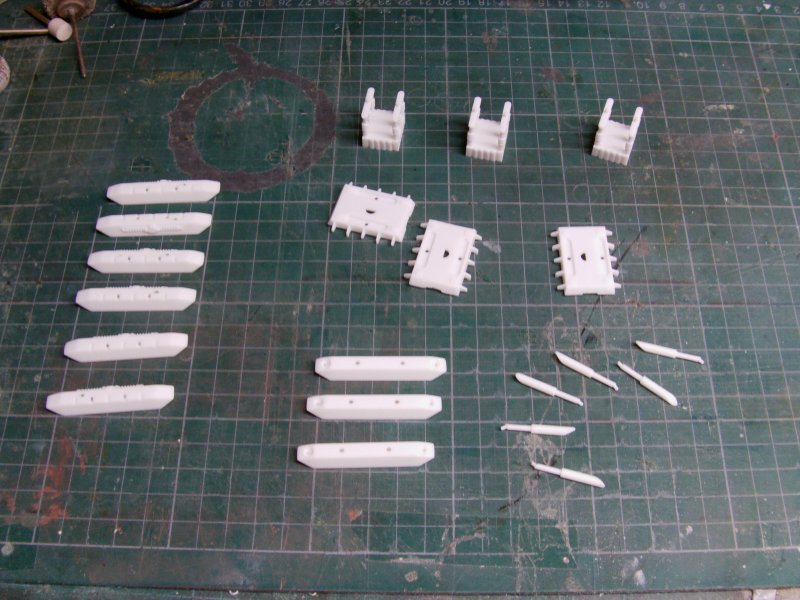
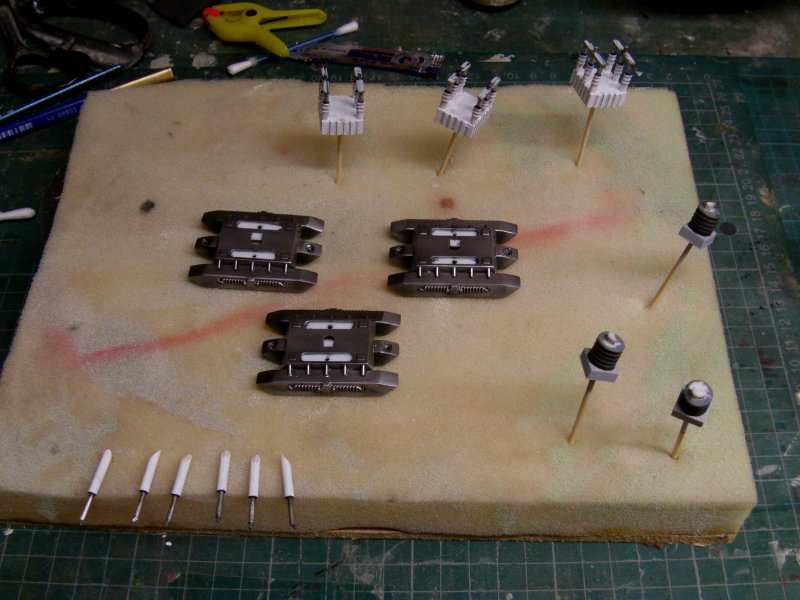
So outward and onward to the landing gear greeblies.
So parts removes from sprues, some glued together, some filed down to loose the moulding seams
and some glued together and sanded the living daylights out of
to get shot of glue seams and they were indeedly done.
The main parts...
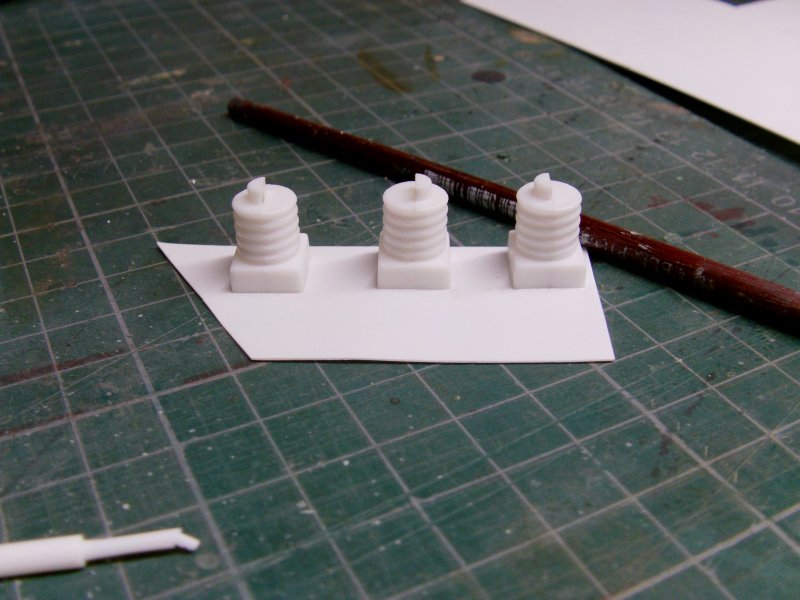
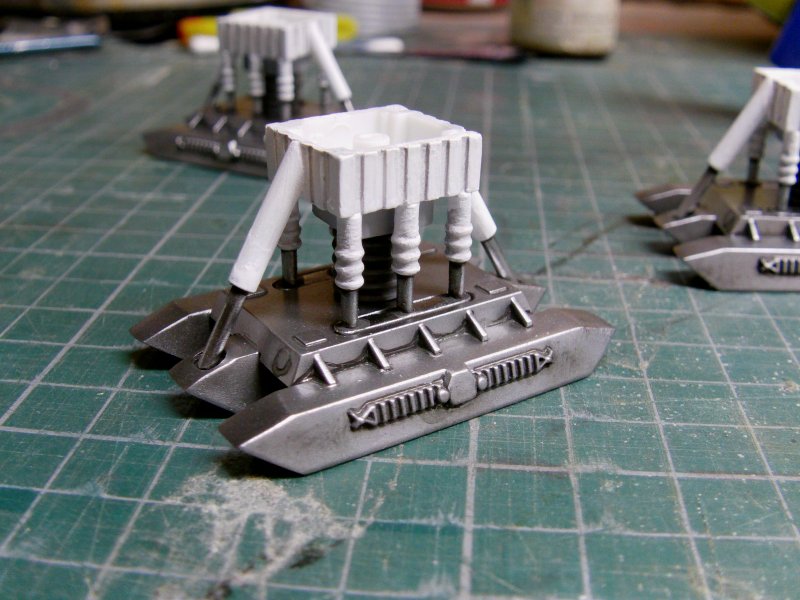
The large center spring looking things got the tops squared off and that involved
removing some plastic and since they are supposed to fit snugly top and bottom,
they got glued to some 10thou styrene sheet.
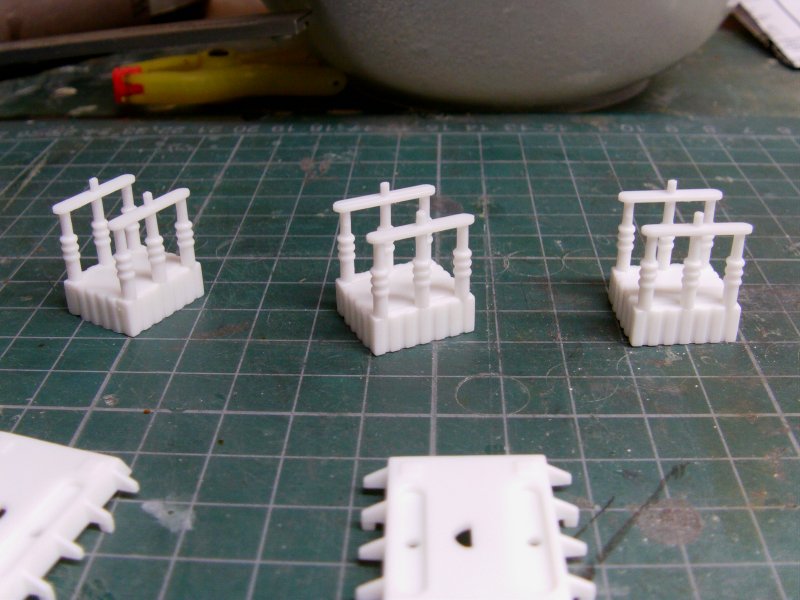
Support shocks cleaned up and the foot pads assembled.

The foot pads got a coat of Vallejo acrylic gloss black and then hit with Alclad Aluminium.
A touch of dark wash just to punch up the details.

A very light airbrush lick of acrylic matt to give the weathering powder something to stick to
and a bit of dirt got lobbed on.
Not too much as the client want's this to still look used but fairly clean.

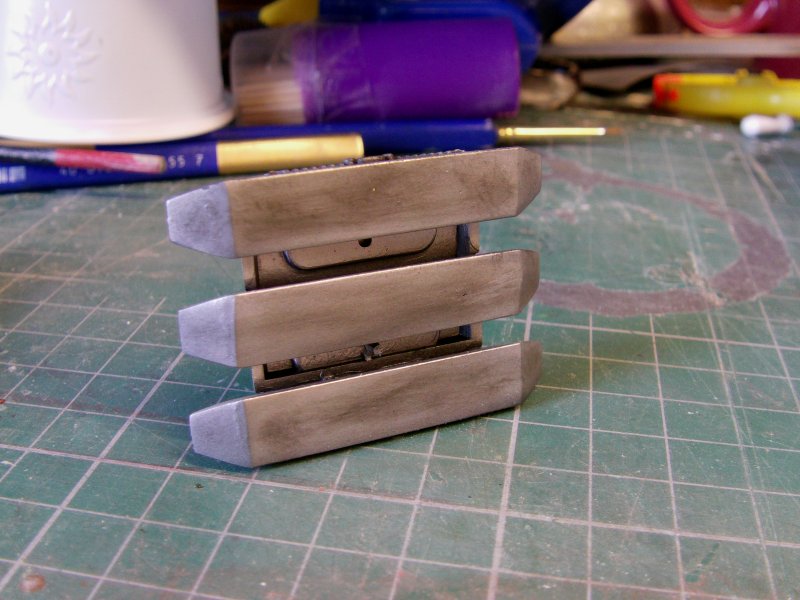
So all parts painted, masking for bits to glue together removed
and just a bit of shading here and there.
And all assembled...
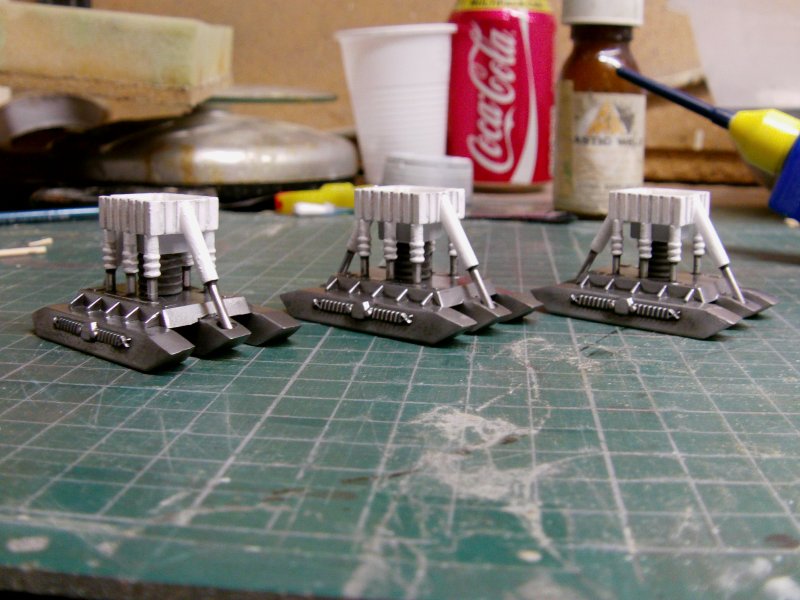

And none too shabby they look too methinks!
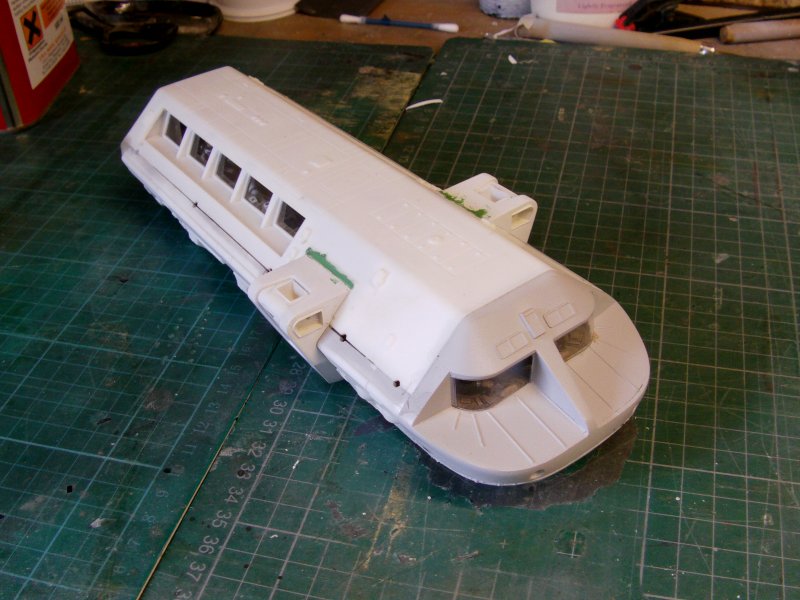
So back to the main even as it were.
Top bit glued on and resin rear plate with the epoxy stay put stuff applied.
A few clamps and left the hell alone.
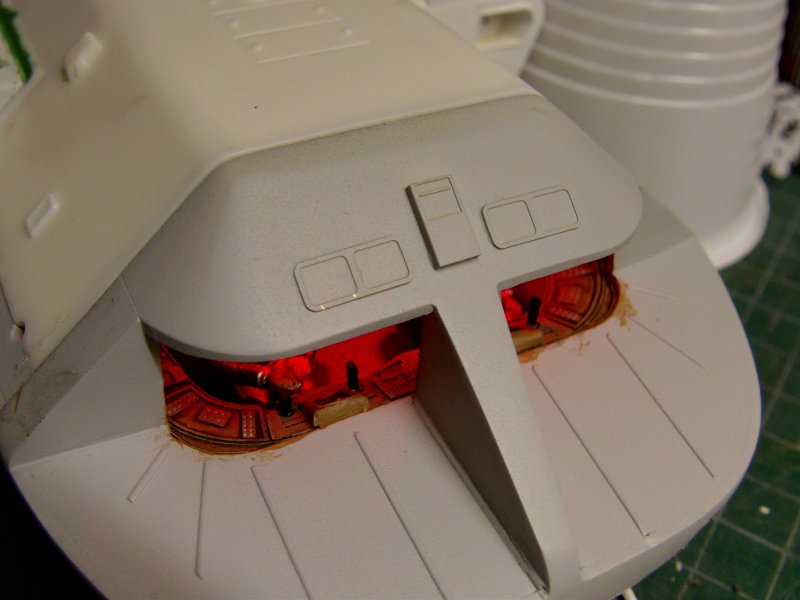
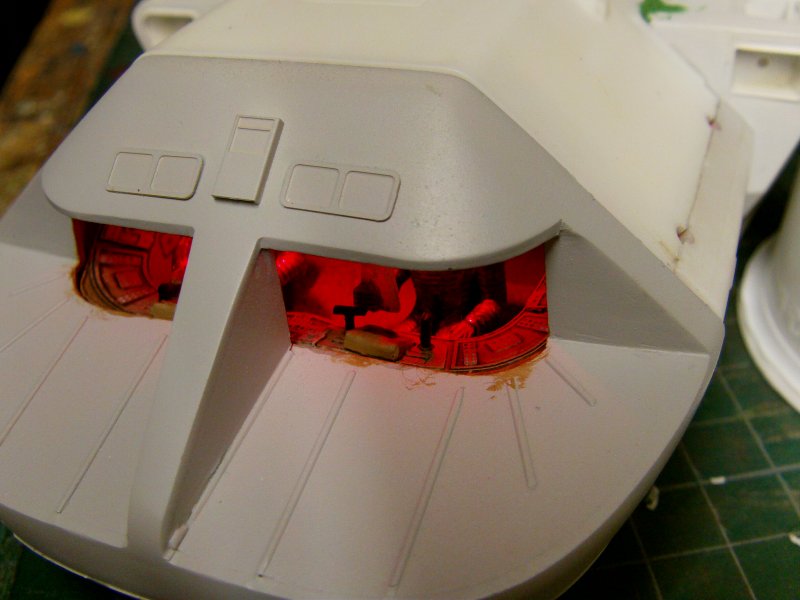
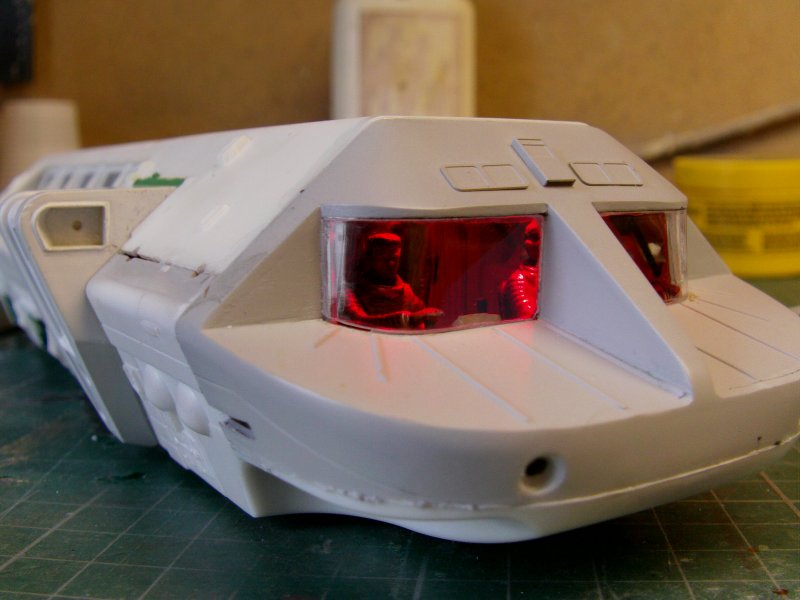
The small hole bottom left of the rear door is the charging socket for the internal battery.
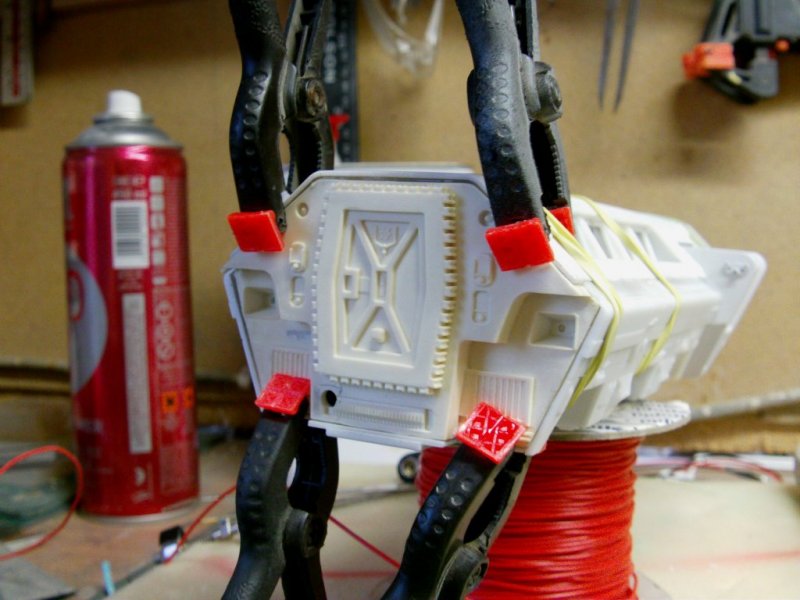
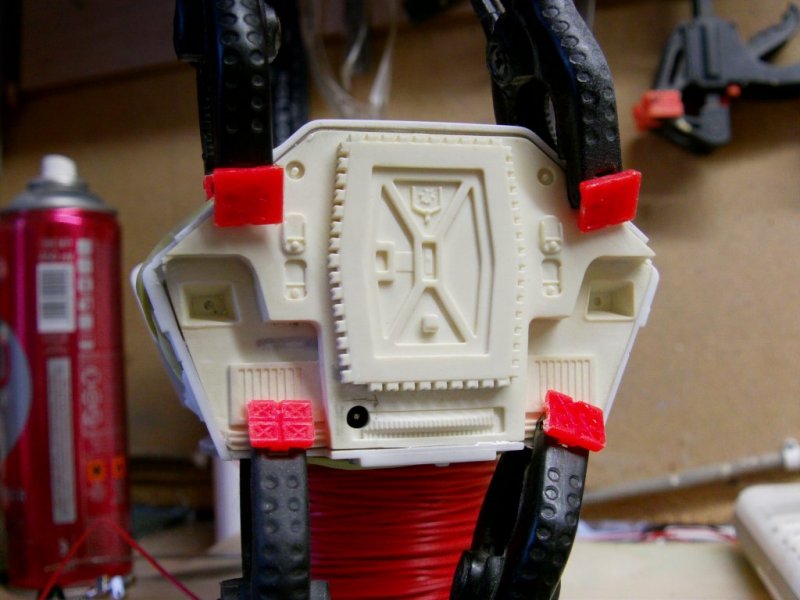
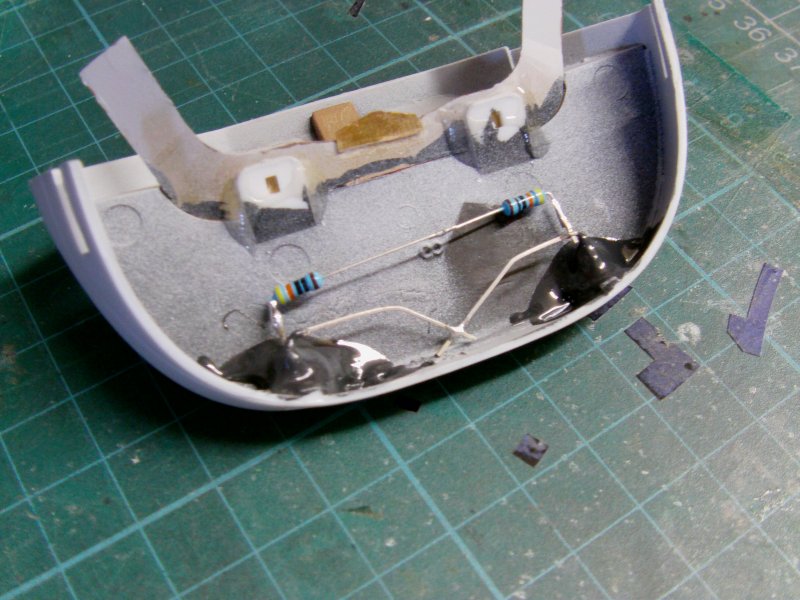
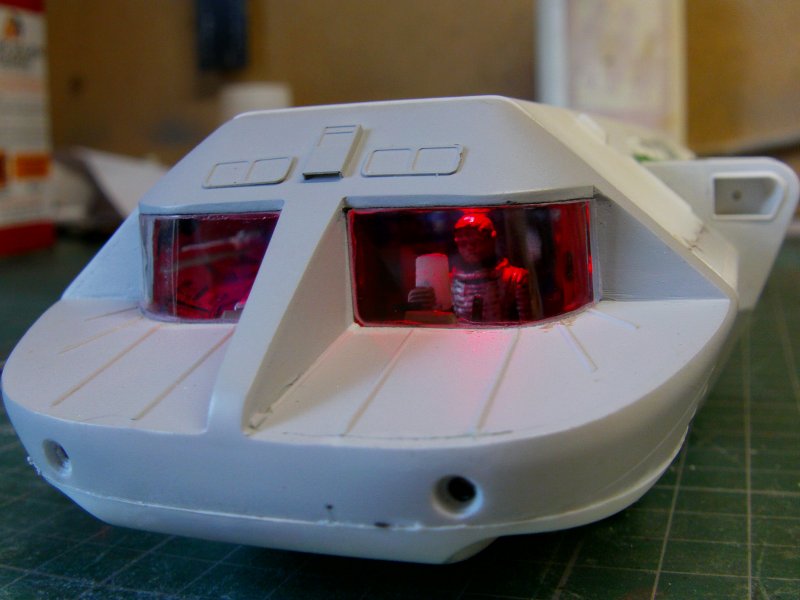
A bit of surgical like fiddling and some spur wiring run up to fit
a couple of red LED's in the front to sort that lighting thing.
My camera really doesn't like red lights what so bloody ever.

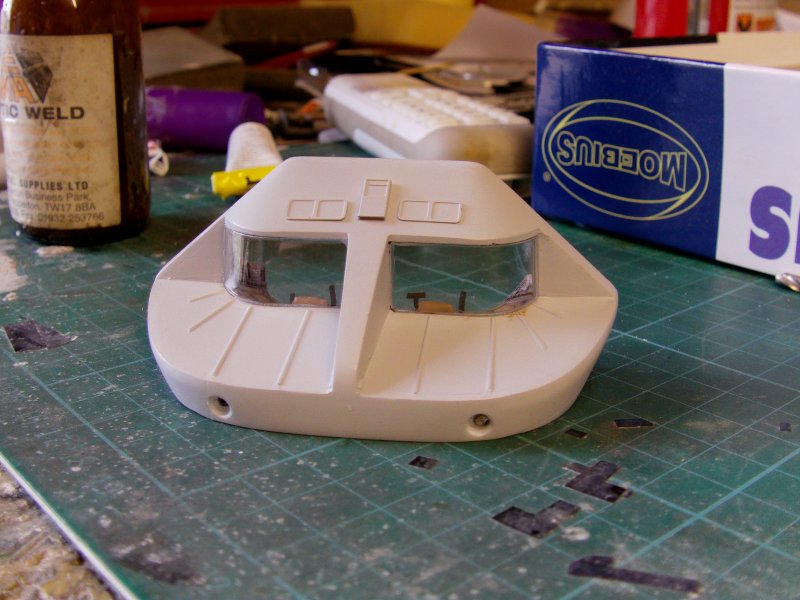
So some work on the front end now.
Some sanding to get shot of the details above the front windows and between the forward lights.
This got replaced above the windows by stuff from the Paragrafix PE sheet.
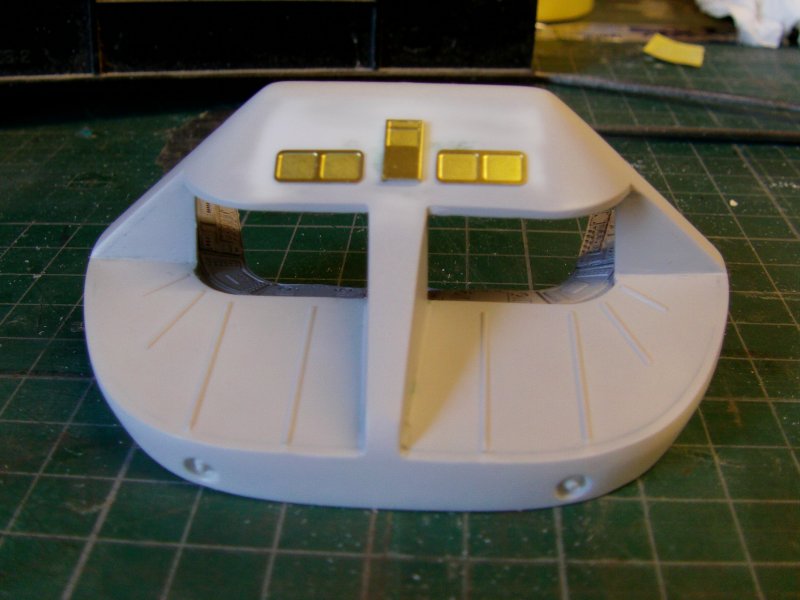
Now one hiccup.
For reasons unknown, the front instrument panel had gone walkabout so a replacement required.
A quick bit of DIY photo etch brass and it was sorted.
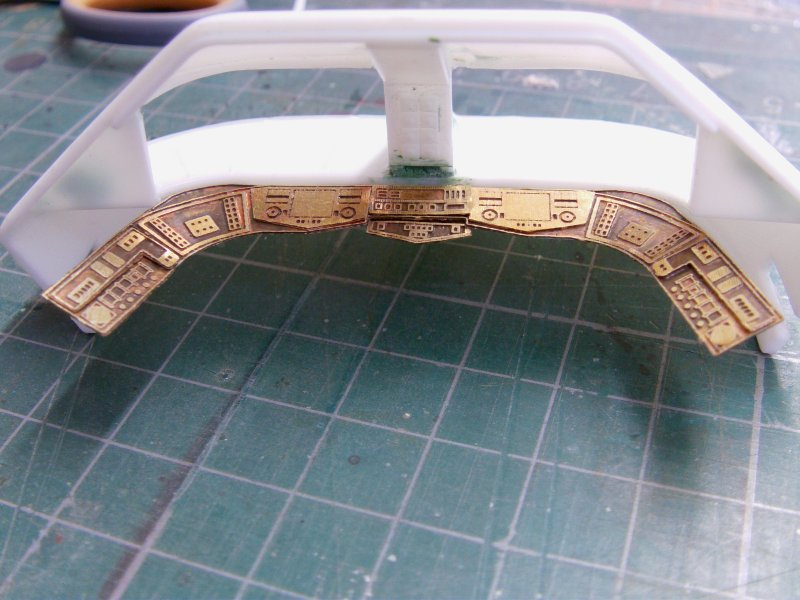
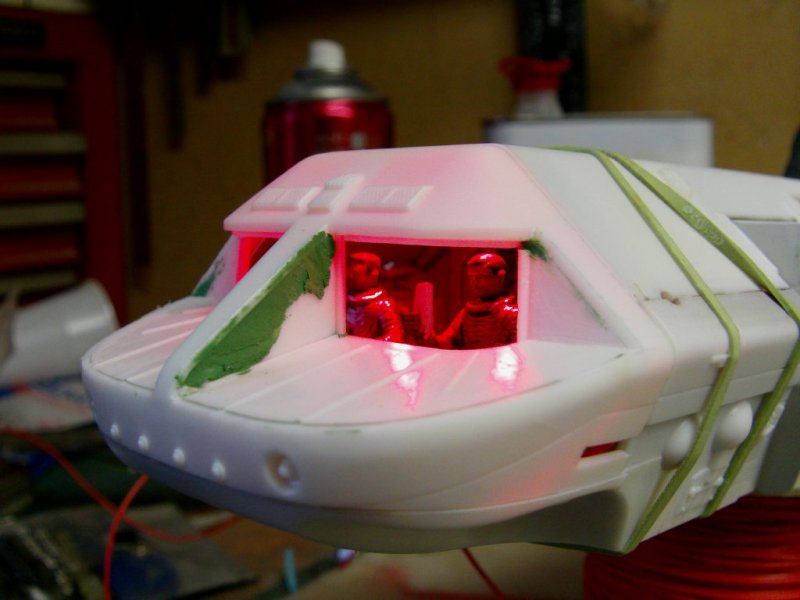
Interior with some more PE details from the Paragrafix set.
They won't be seen easily but why the hell not I say.
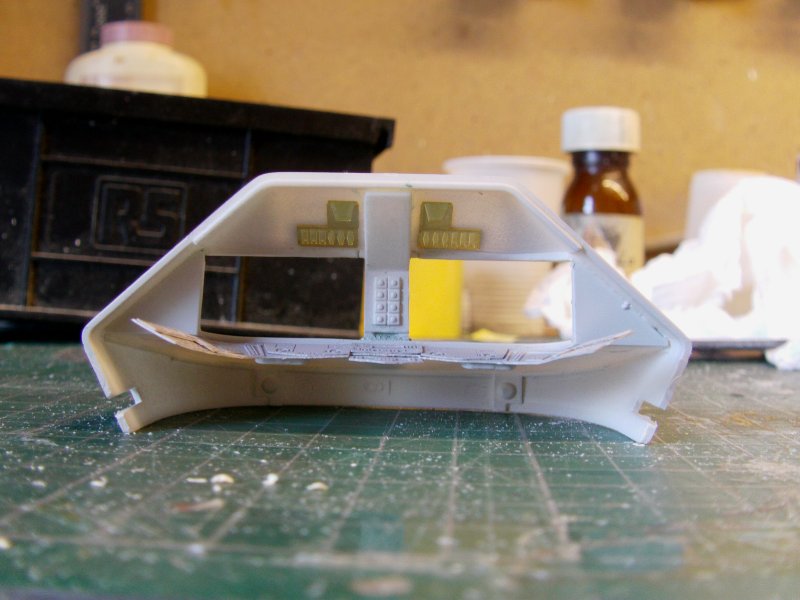
Front interior stuff with a bit of extra detailing and all painted up.
And a quick lighting test as usual.
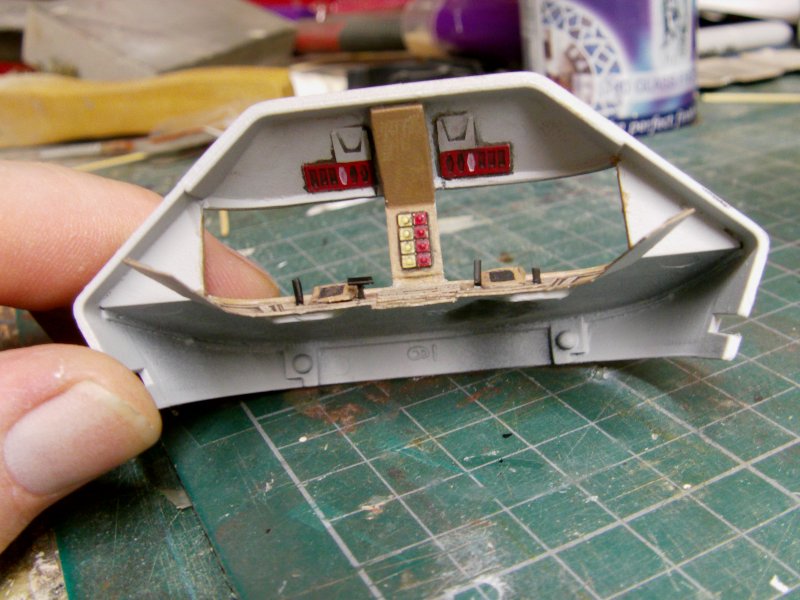
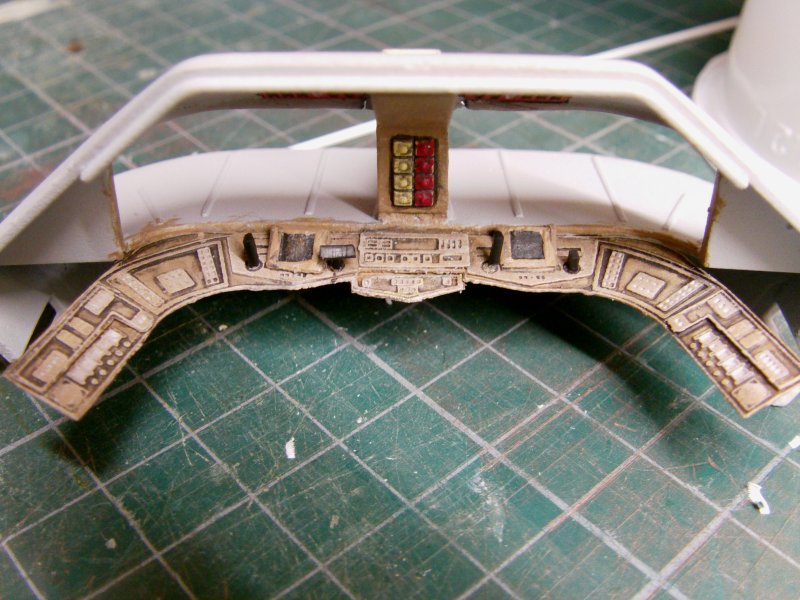
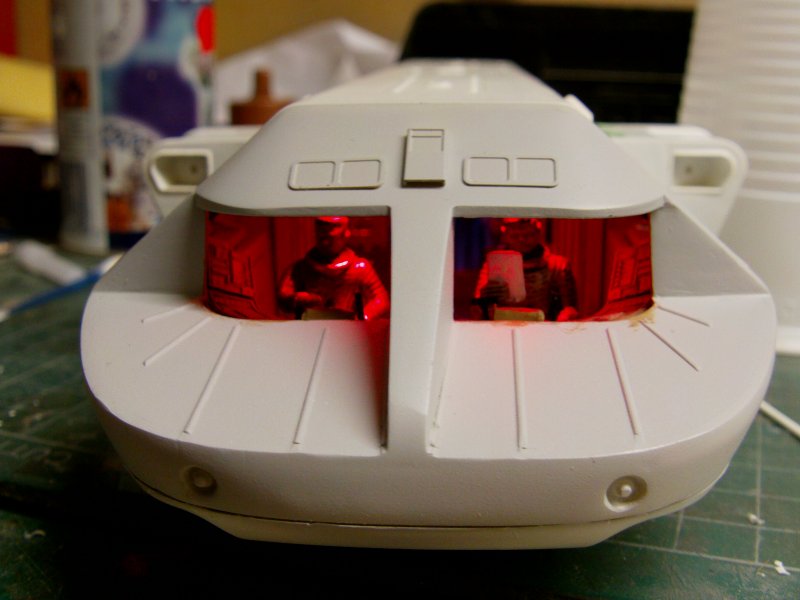
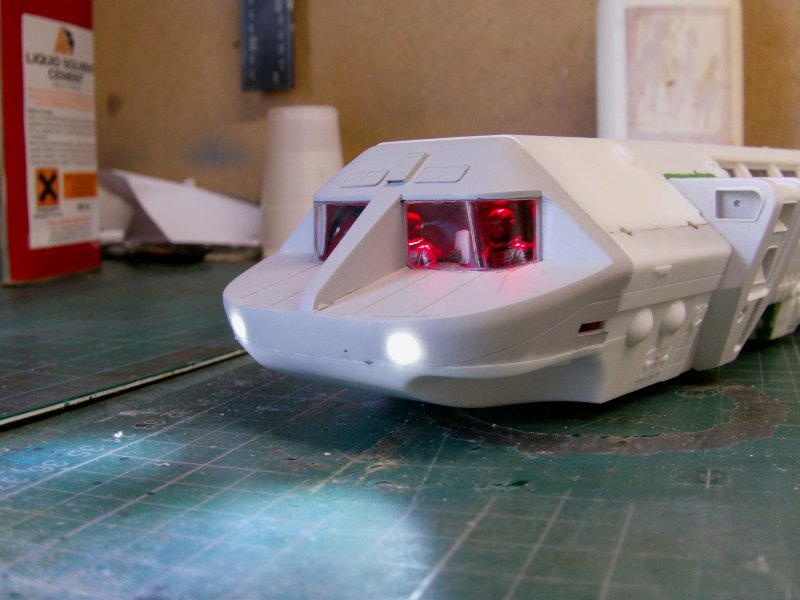
Looks the part so on to the front spotlights.
Yeah I know they were never seen on in the film but a little extra thrown at it does no harm.
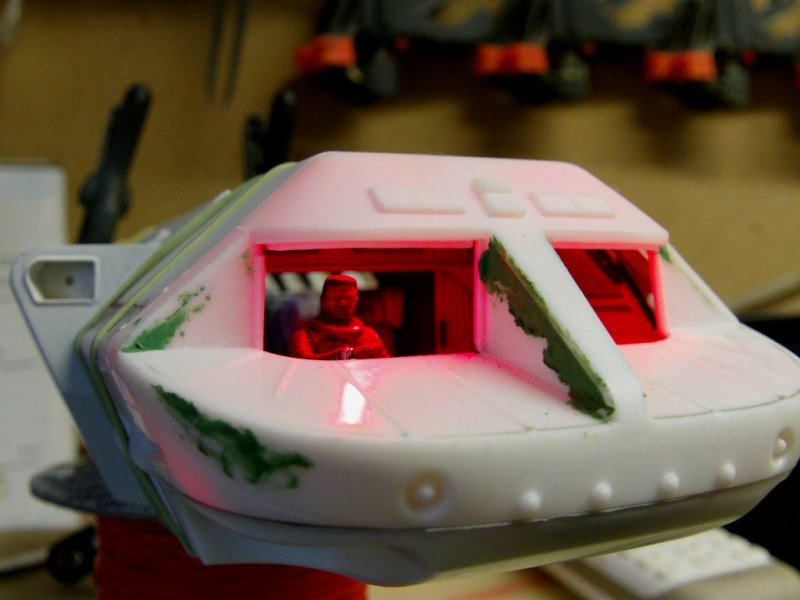
So holes drilled out and fitted up with twin white LED's and a quick look see.

Well that worked out...
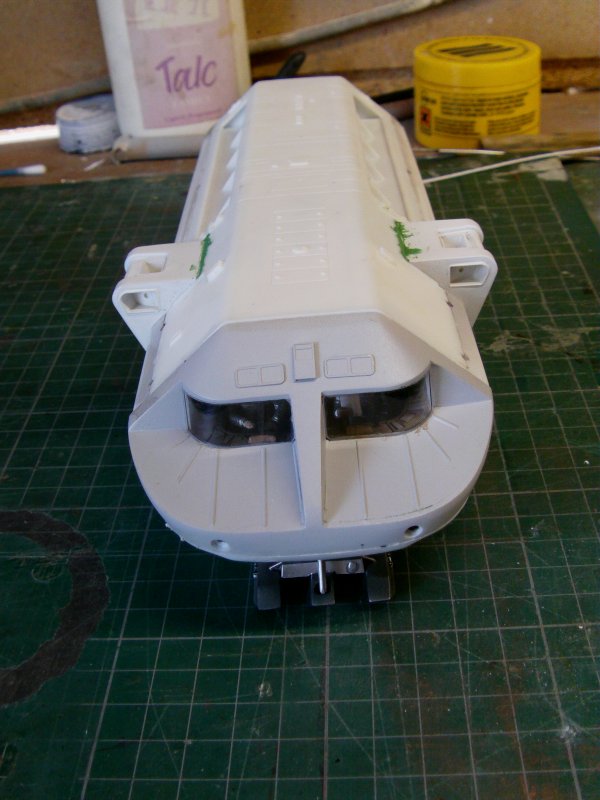
The front windows needed some work.
Good enough for viewing anything close to the other side but more than and inch away,
and it starts to get a bit distorted as the clear parts aren't truly even in thickness.
Some polishing lark later got something a bit better though not totally brilliant.
Windows installed so sorted.
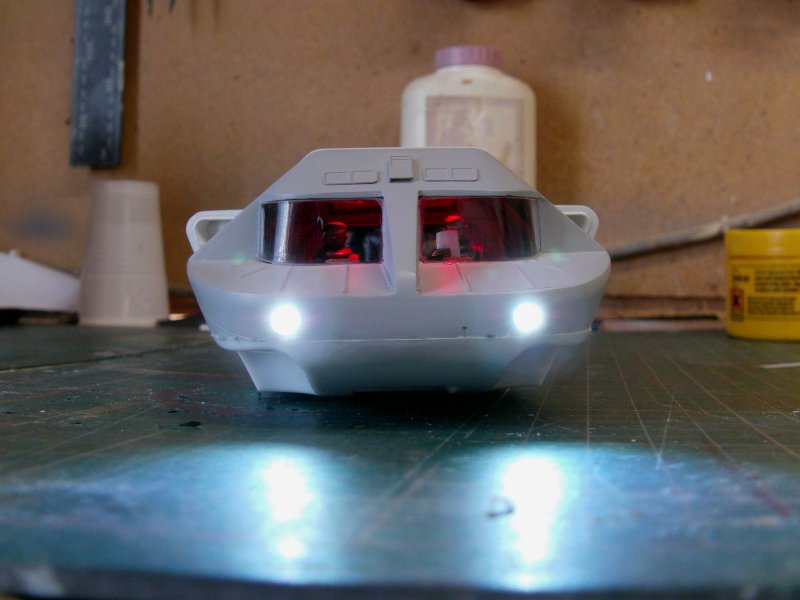
Wiring to forward spotlights joined up without fuss and nose part secured where it should be.
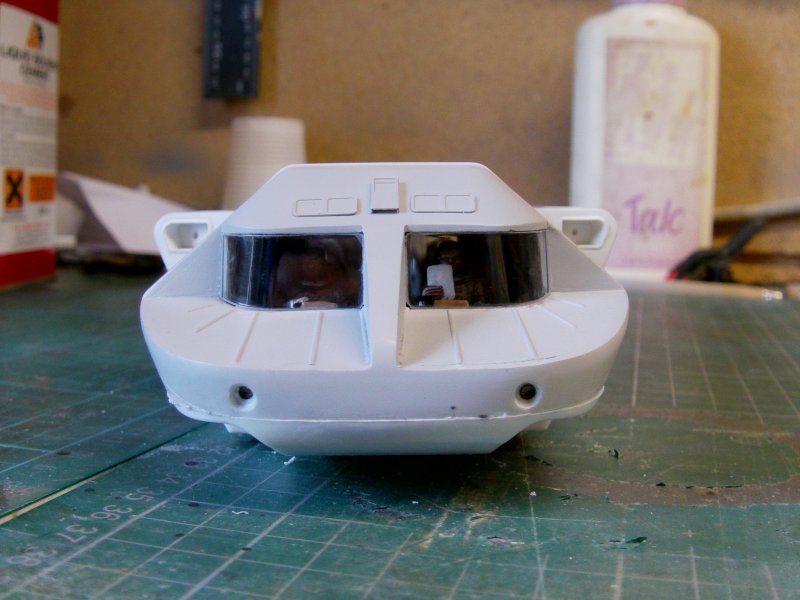
And the usual lighting check...
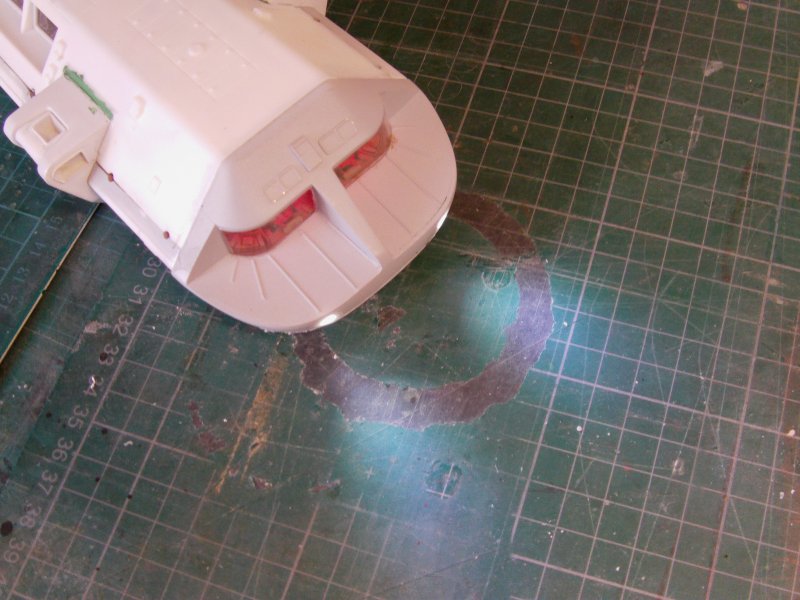
Lastly for this update, a dry fit of the landing gear and look over.
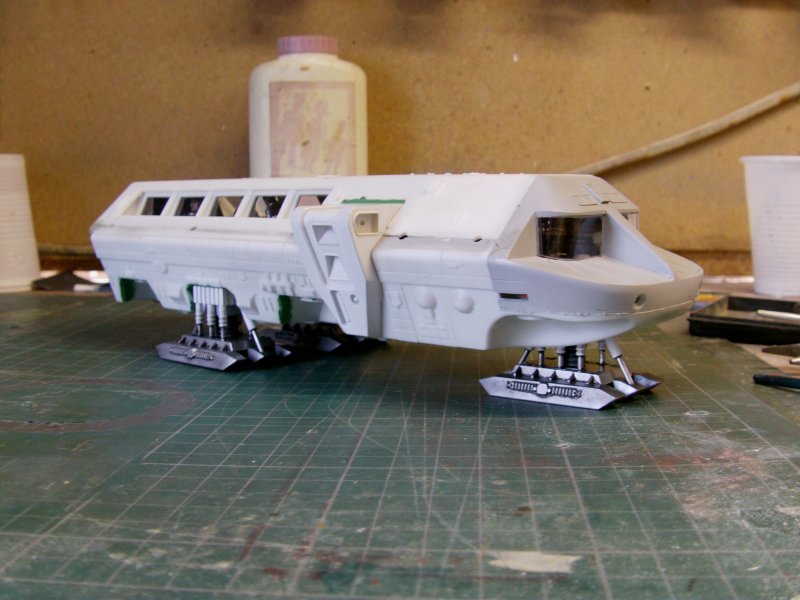

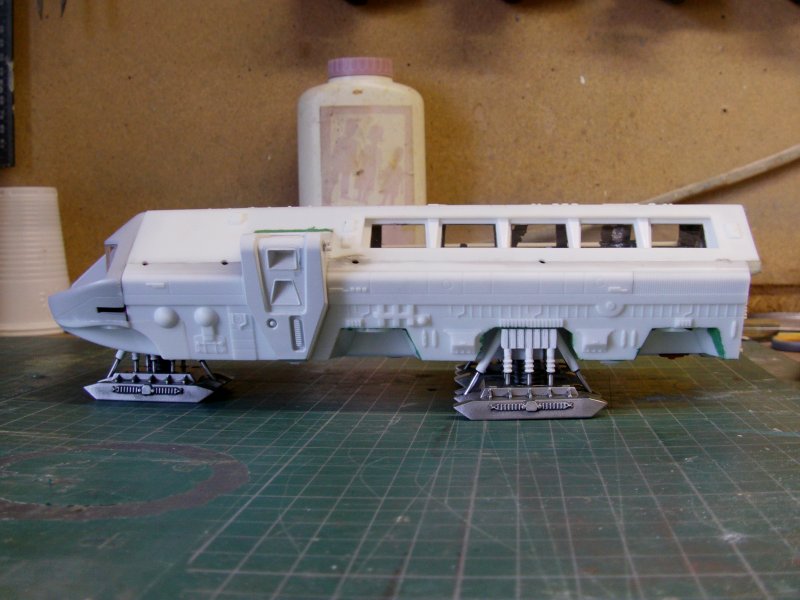
So then, next up will be the overall clean up of surface nasties and errors etc.
Then final detail parts applied, the underside engine bells to be finished and painted,
then paintwork, weathering/shading, decals such as they are, final assembly and finish!
Oh yes!!
See thee next time and go easy out there you merry mob.
Page Number