
Moebius Models Moonbus From
2001 A Space Odyssey
1/55th Scale


 Page Number
Time to get my act together
As It's The Final Act For This Lark!
Welcome back to this long running saga that's run for way longer than it should.
Ok, time for the big get together so let's be about it.
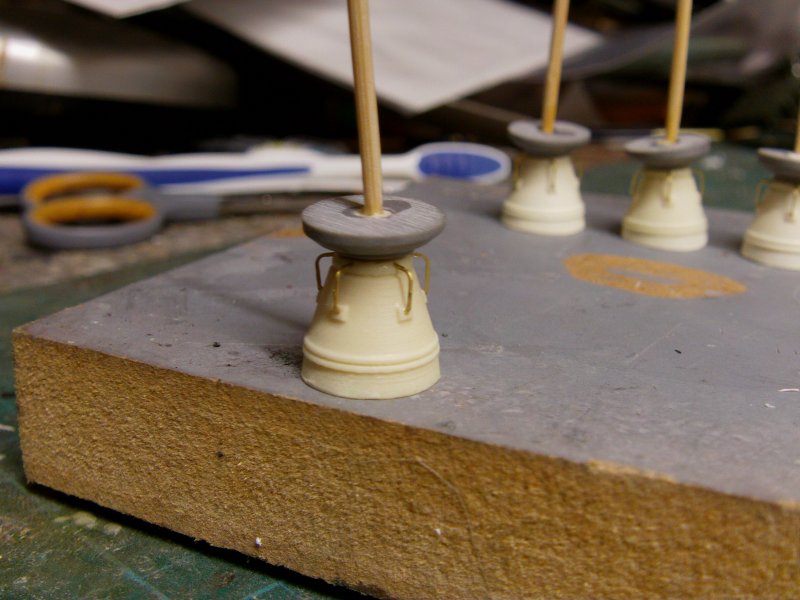
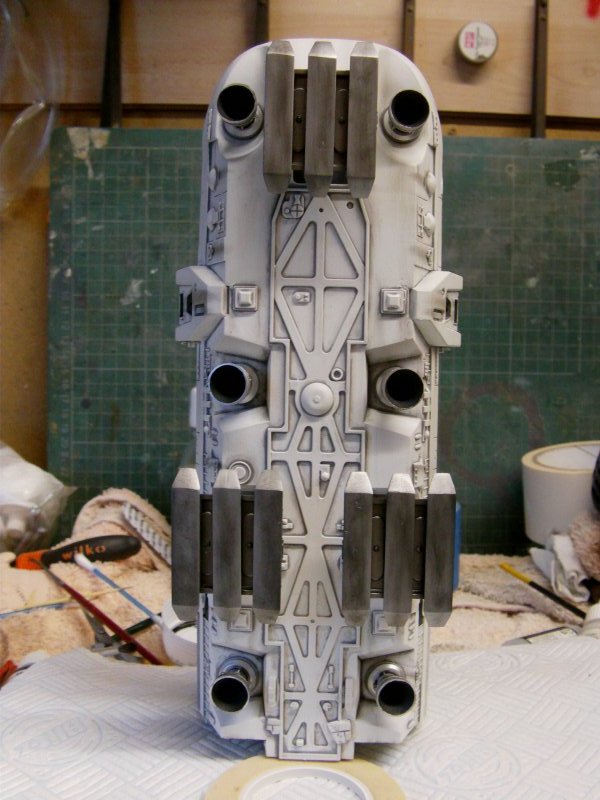
First up, the engine bells.
Rescued from their hidey hole, a smidgen of final cleanup and
piping from the ParaGrafix PE set duly applied and the gimbal mounts glued on.

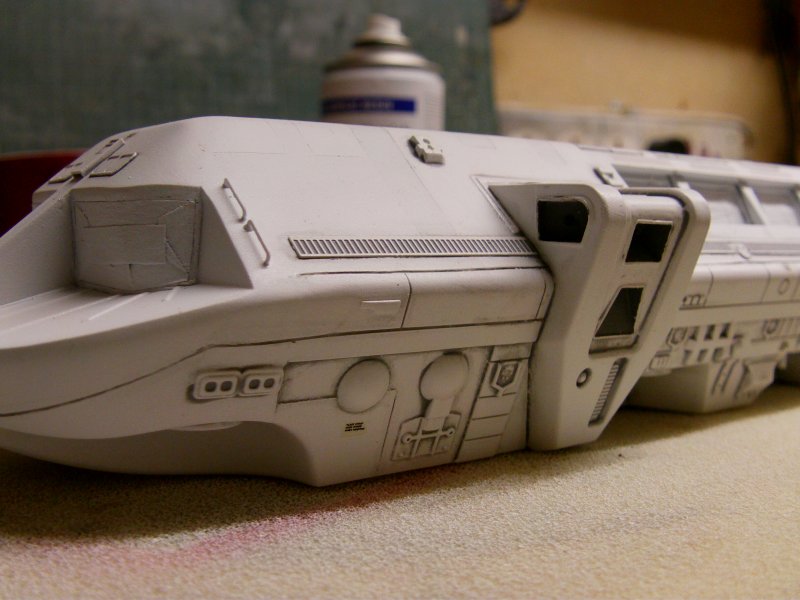
Then came much sanding of the main lump and all required photo etch stuck more or less where it should be.
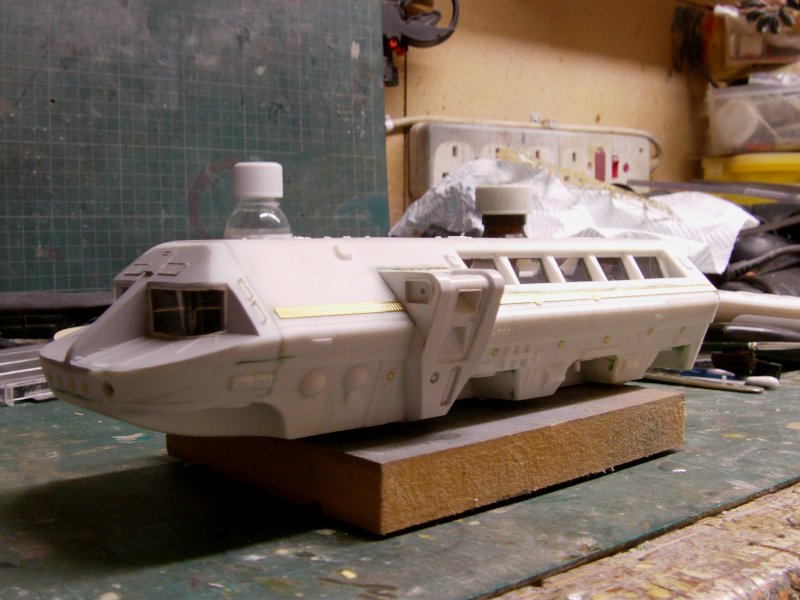
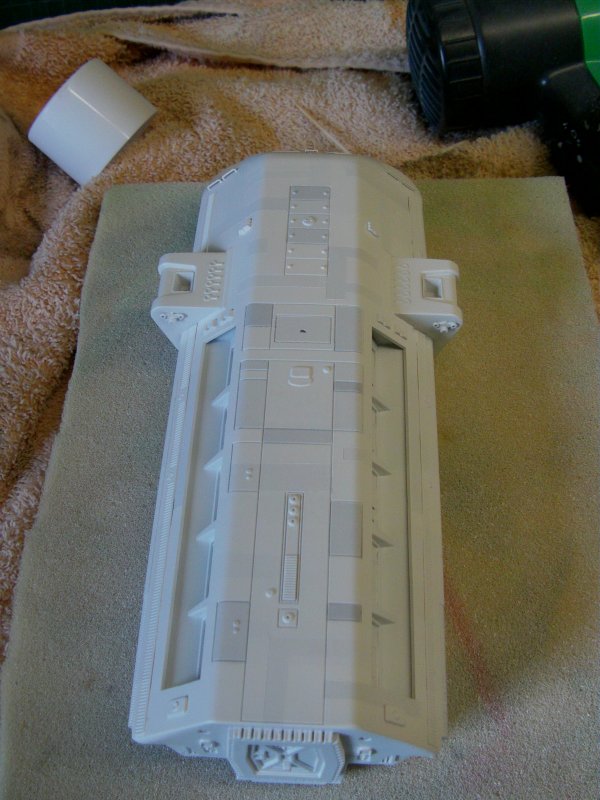
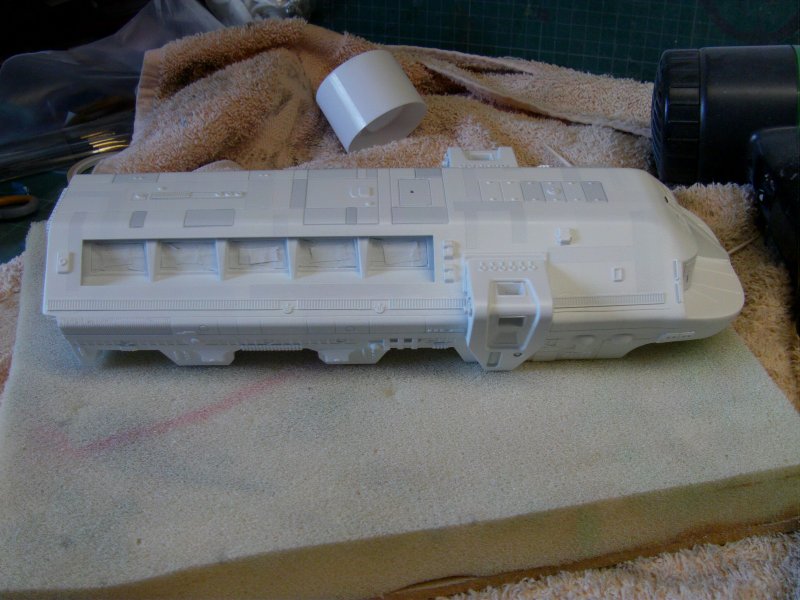
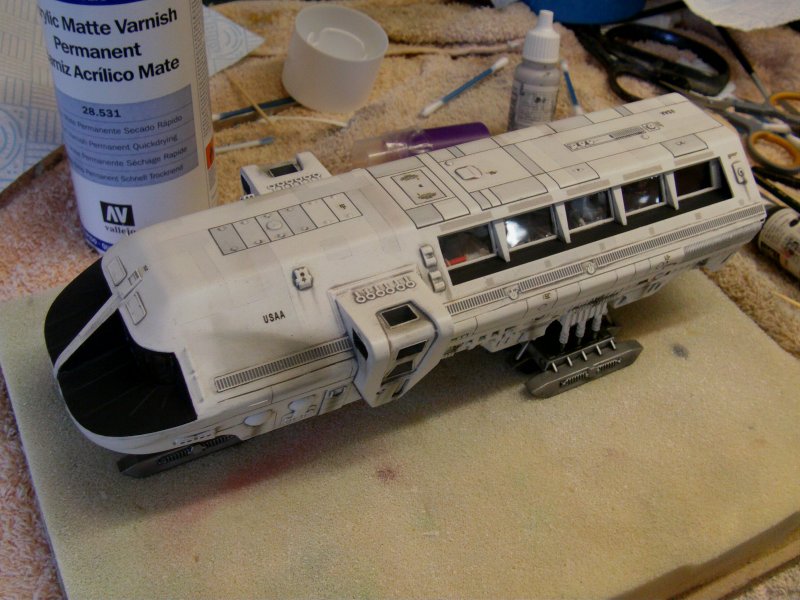
That lot sorted, on to the main paint affair.
Tamiya light grey primer with just a single coat of Tamiya primer white.
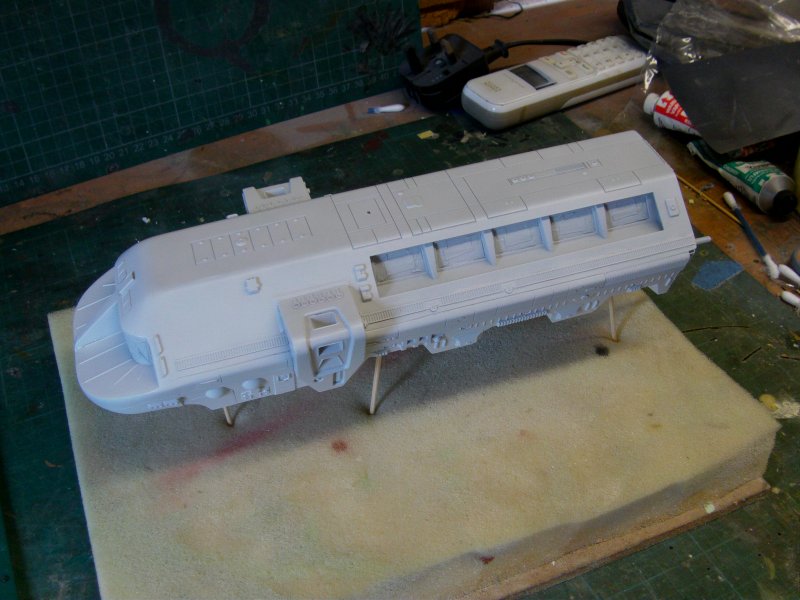

Now it all looks nice and white but don't let that fool you.
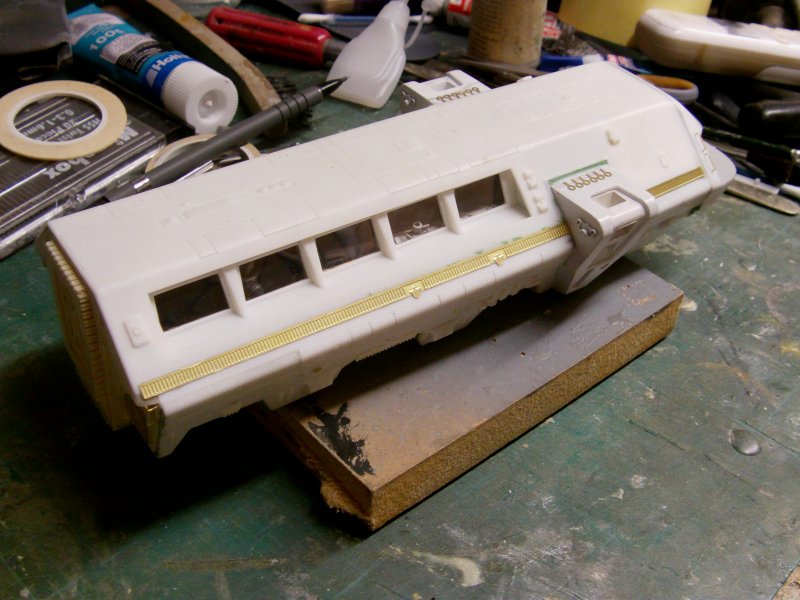
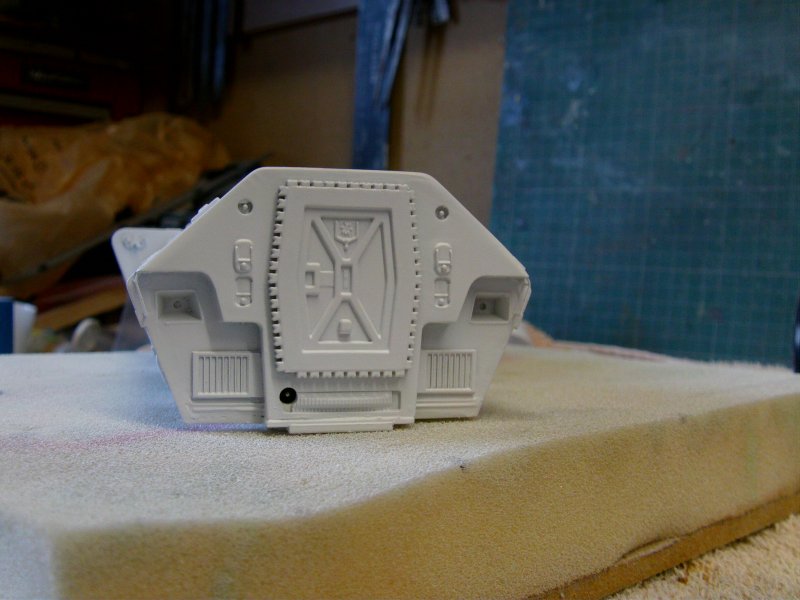
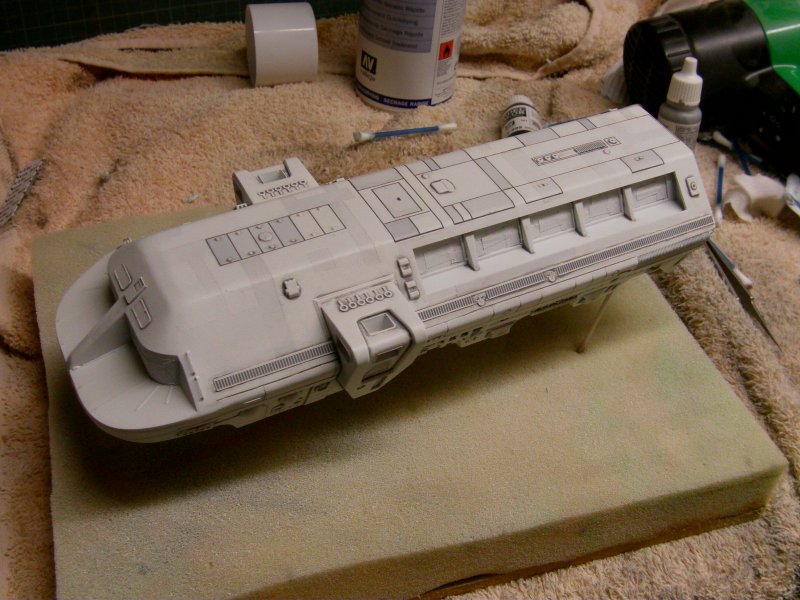
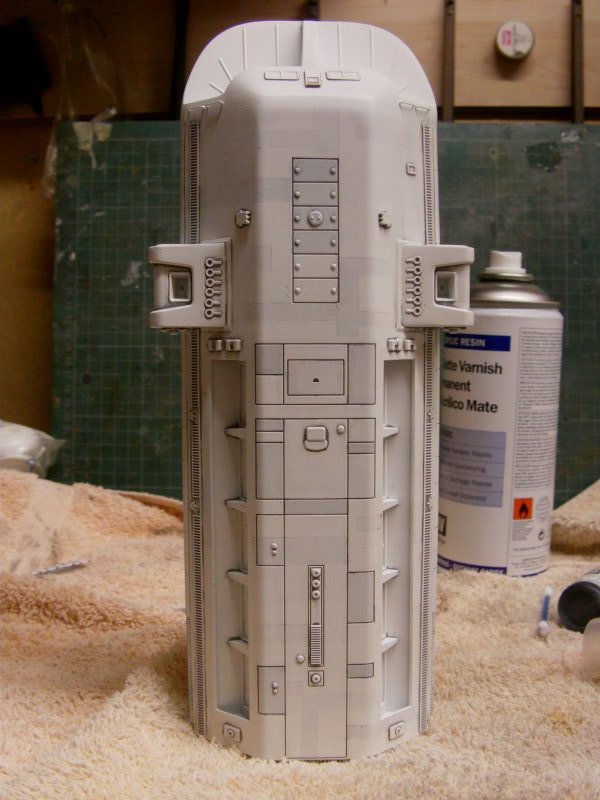
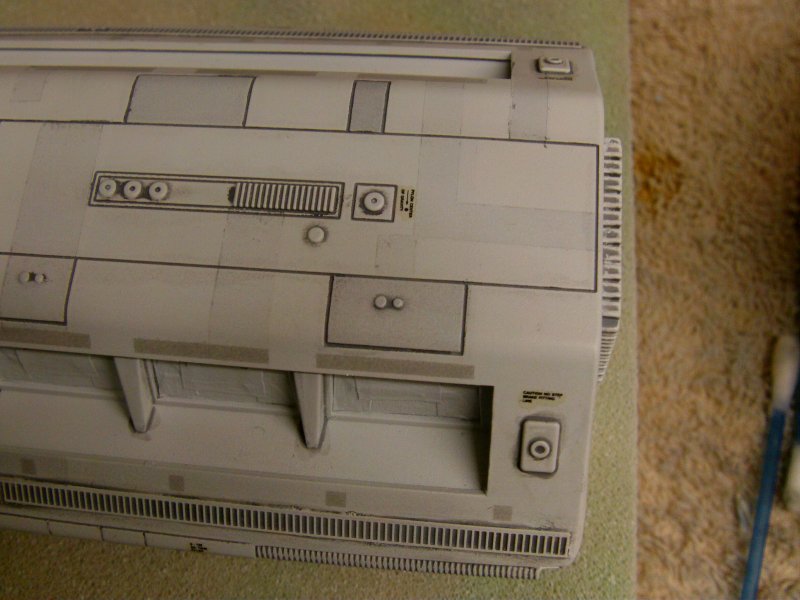
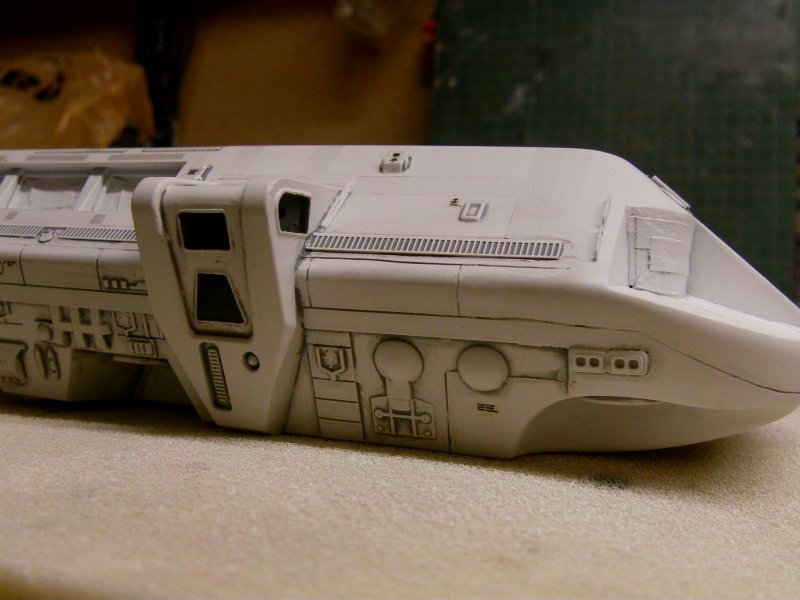
The paneling job next and falling
back on something i've done once or twice before, it went like this...
Apply masking to certain panels,
single coat of white,
apply more masking,
another coat and repeat about 7 times.
Remove all masking and this is what ya get.
About what one had in mind and be dammed if it didn't actually work!
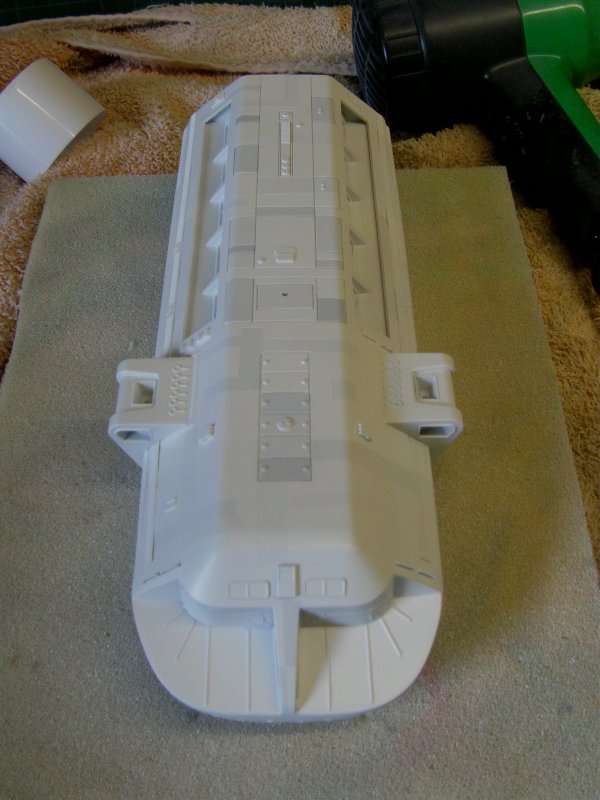
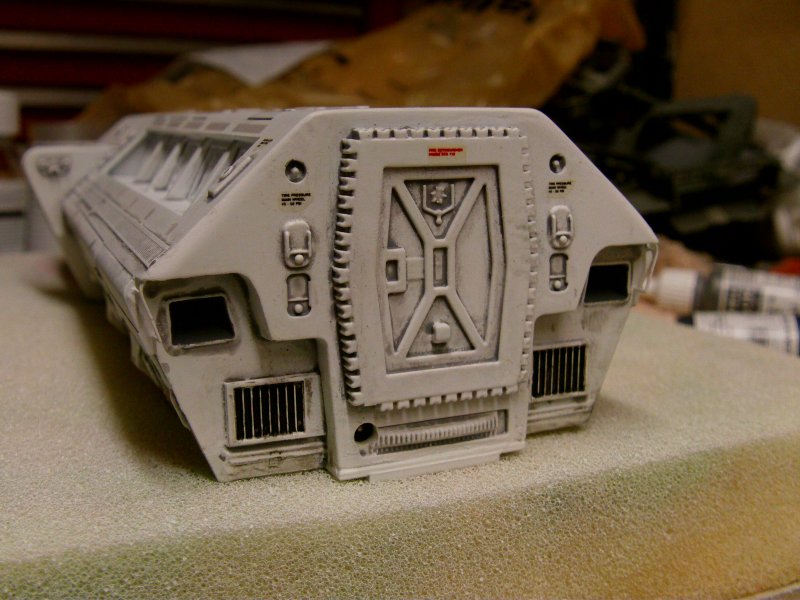
So from there, in with a rattle can of Vallejo acrylic matt varnish
for a single coat and then once all nice and dry
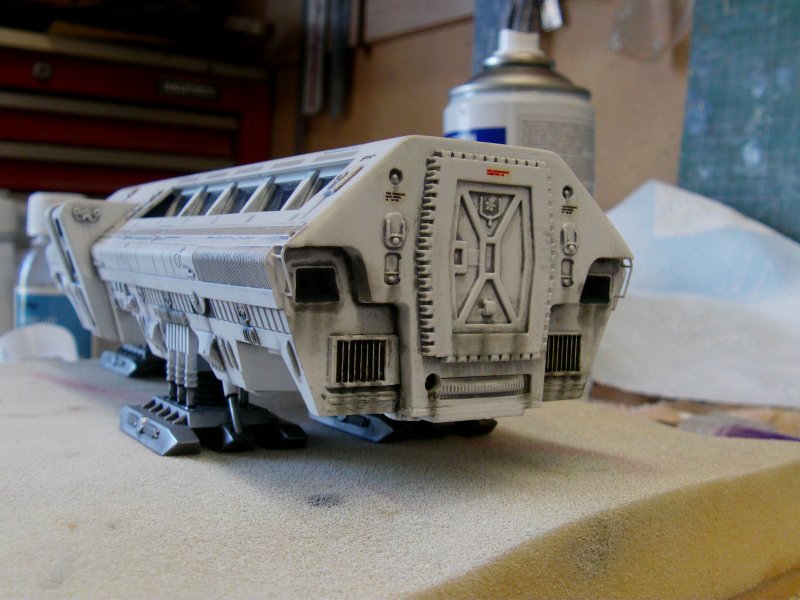
get stuck in with the concrete and dark dirt weathering wash.
Let dry and clean up, varnish coat to seal.
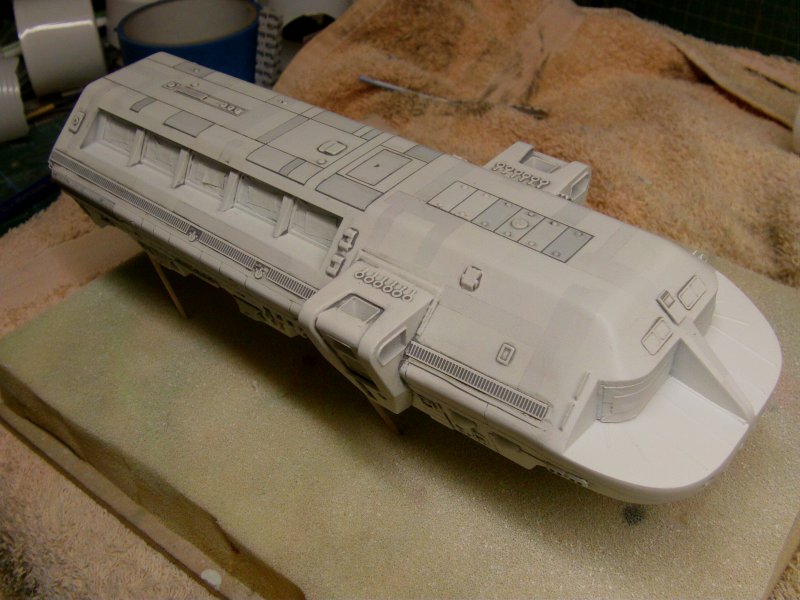
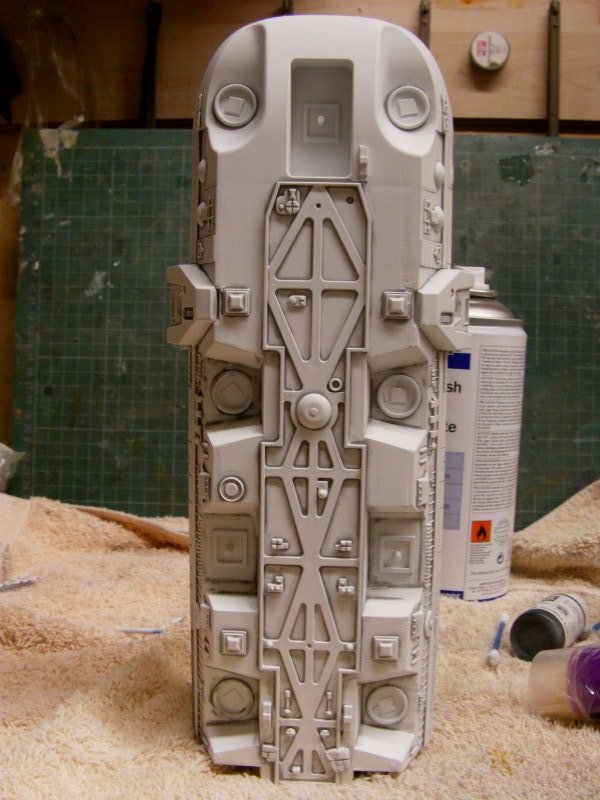
And none too shabby methinks so onward!
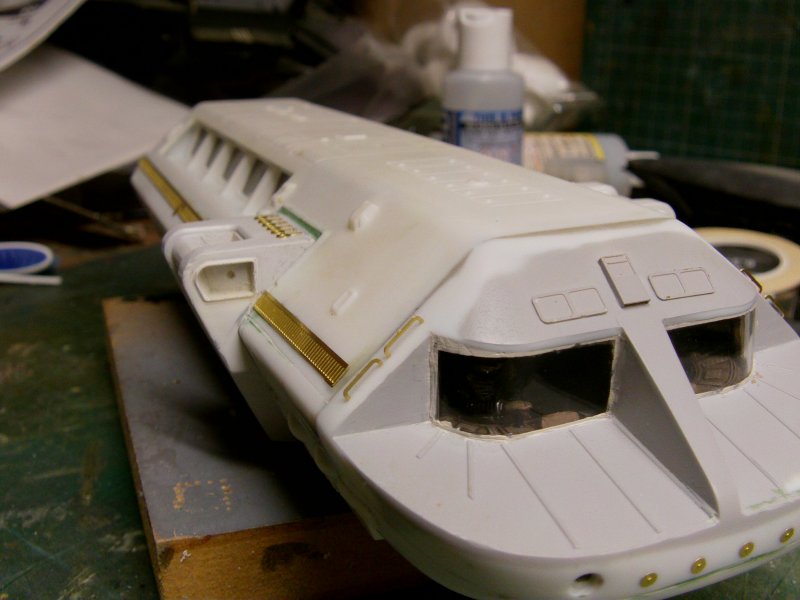
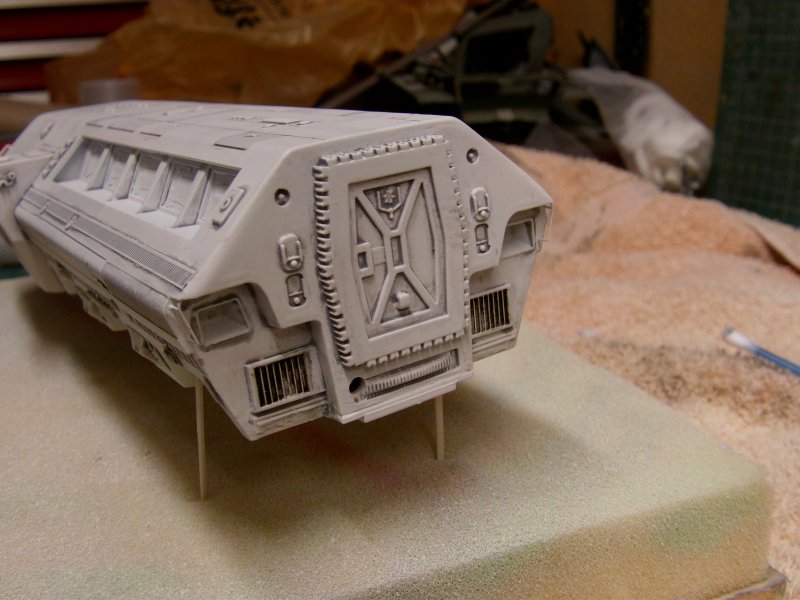
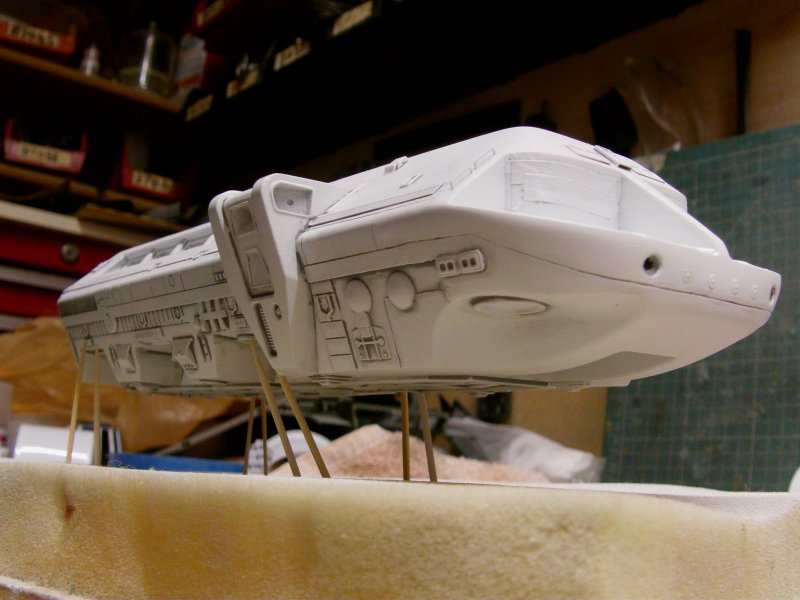
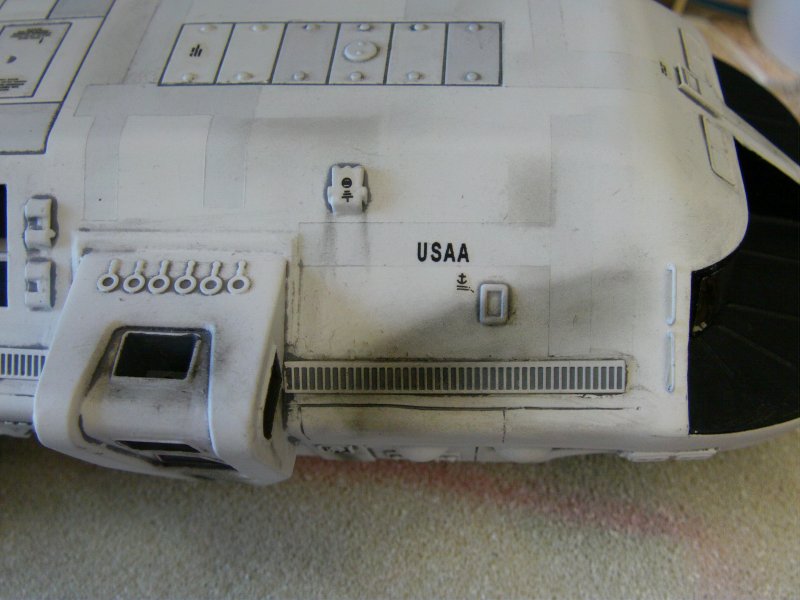
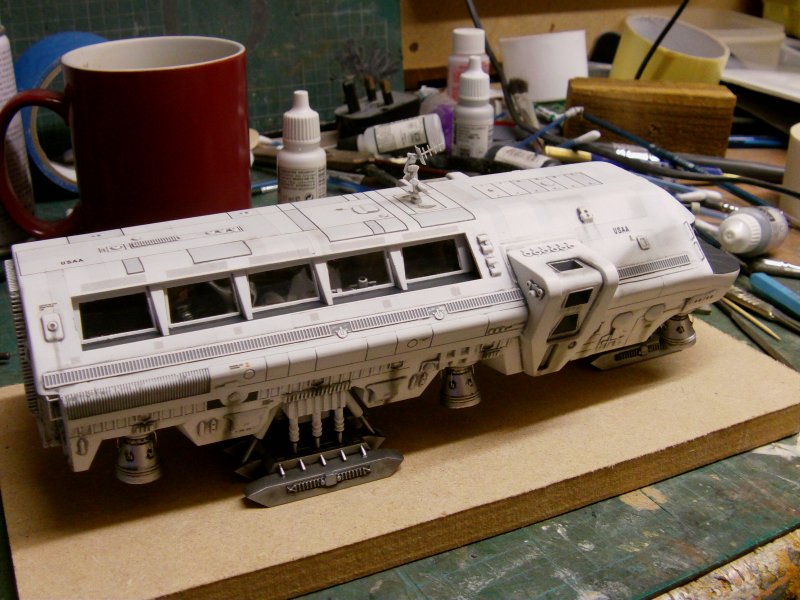
The one thing that's always stuck in my mind from
the way back when is that small details do matter.
In this case with what could pass for a functional vehicle, those little bits of stenciling/wording blocks
are a bit of a must, at least from my perspective.
Whether the original model had them or not is another matter but the client didn't specify screen accuracy
so that's good enough for me and saved some aggro in having to modify the kit too much on the outside.
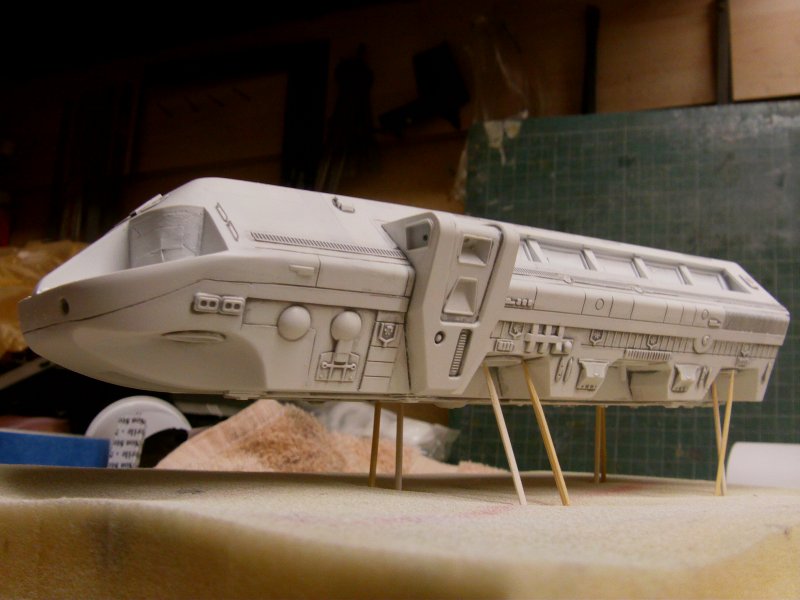
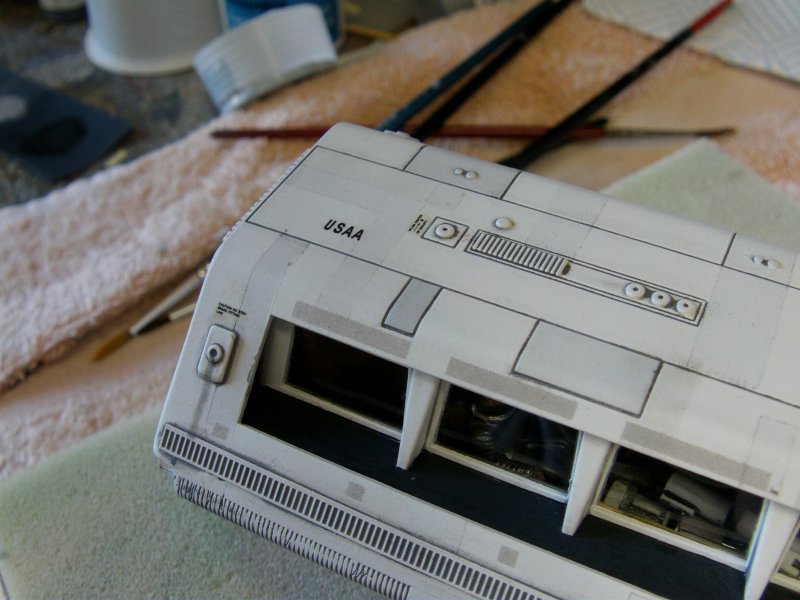
So the scrap decals bin got a sort through and after a little while of 'Yeah, that lot will do'
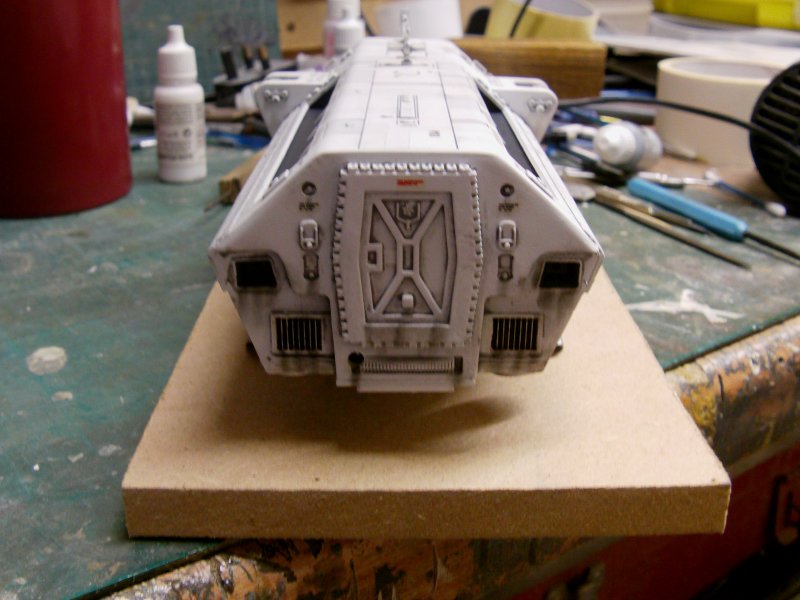
and some slicing, soaking, microsol action
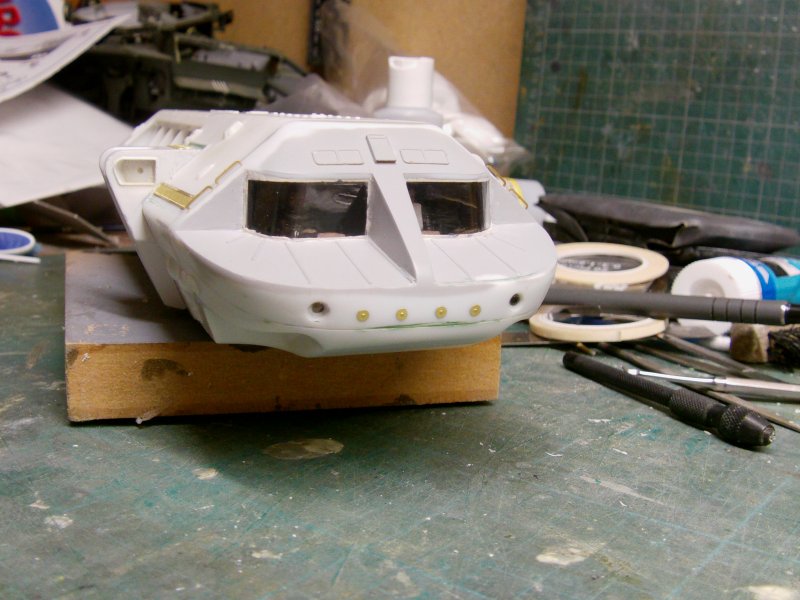
and a dab of paint to the reaction control thrusters, we got this.
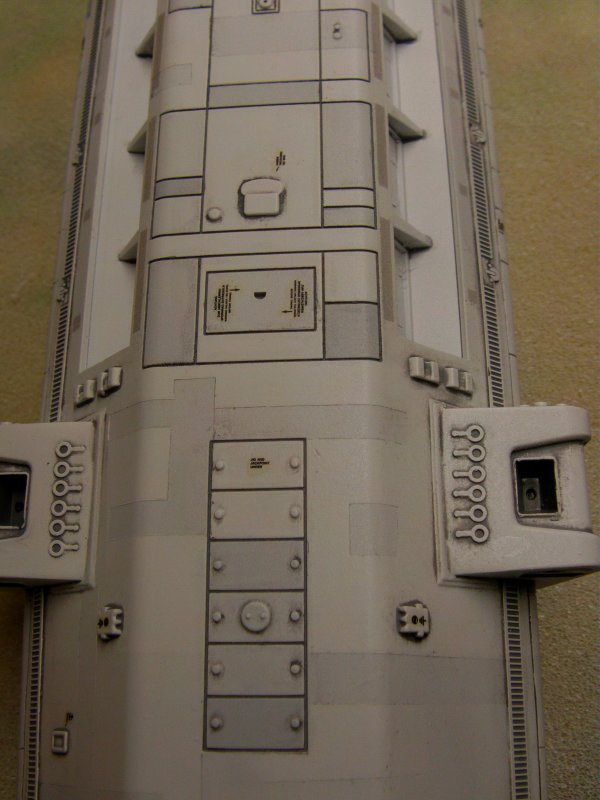
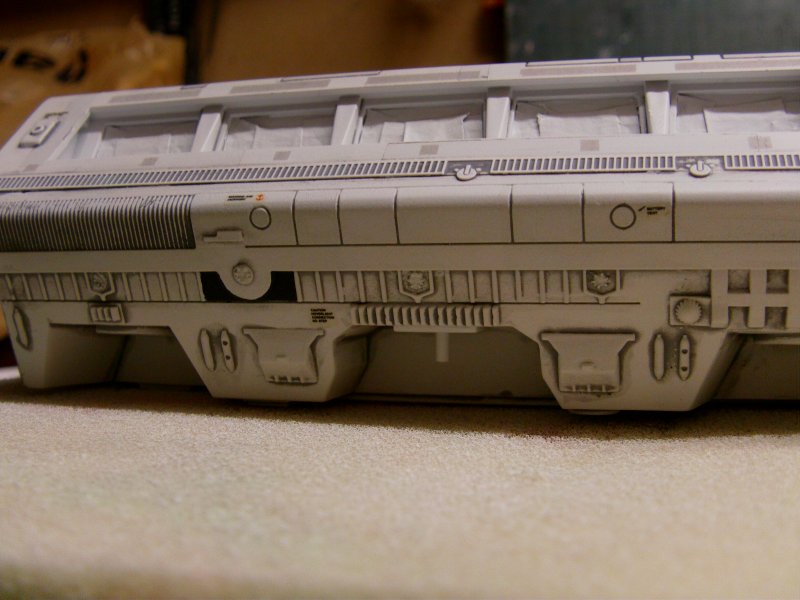

Aye, that's the stuff!
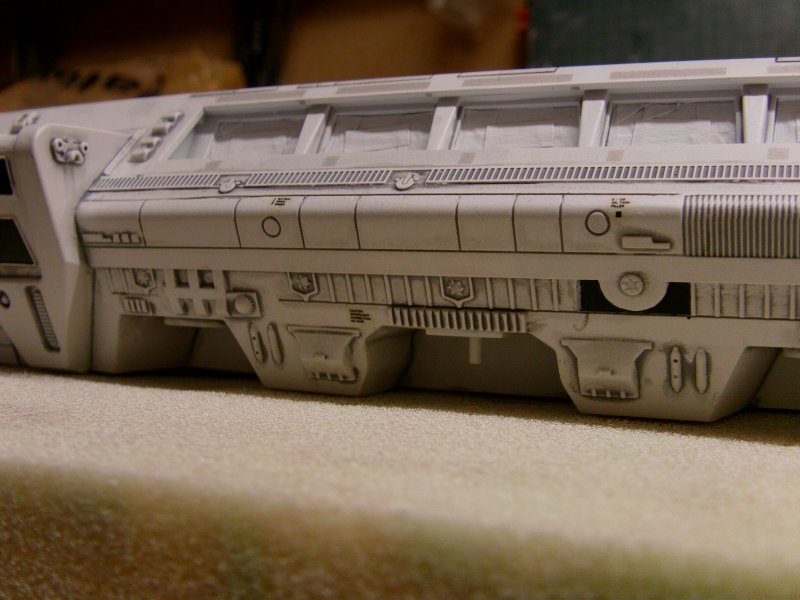
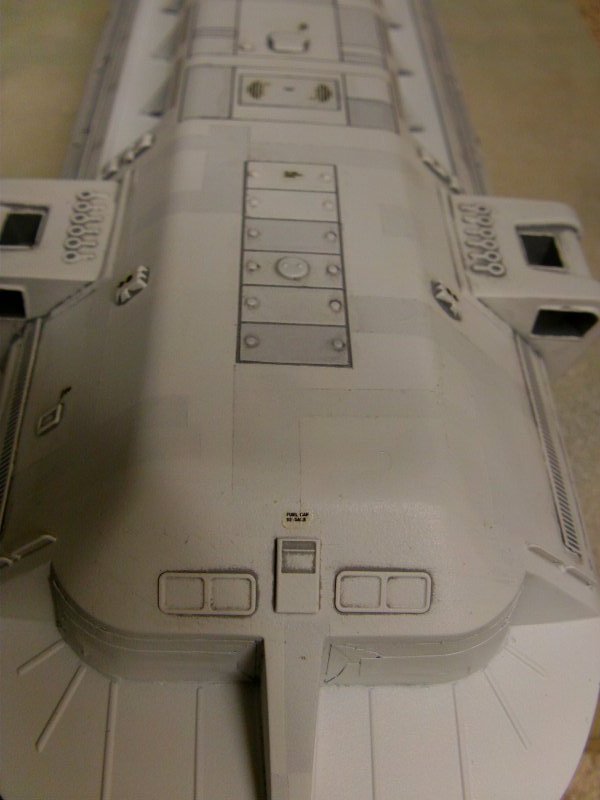
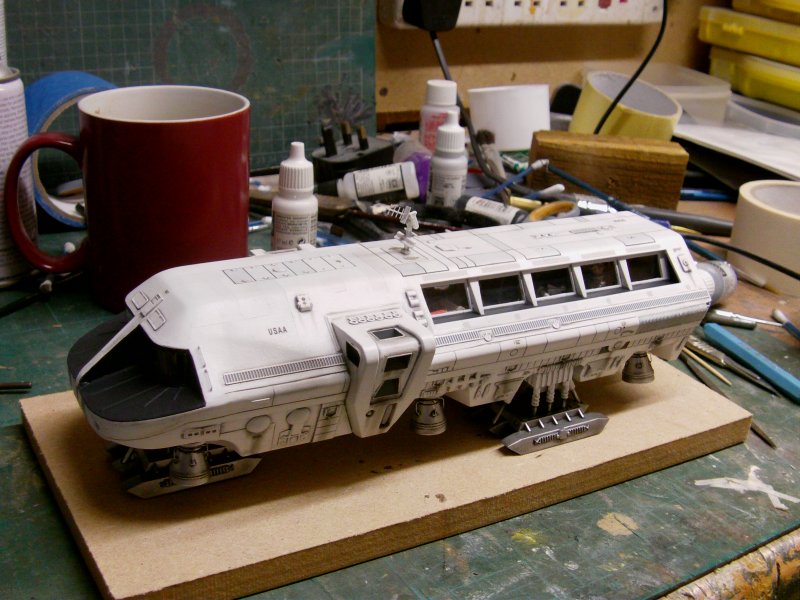
I had to print out some fresh USAA markings as the kit
supplied ones were about two and a half times the size required and the wrong font.
This was done and those applied, a bit of drying time later followed by couple of varnish coats and it was weathering time.
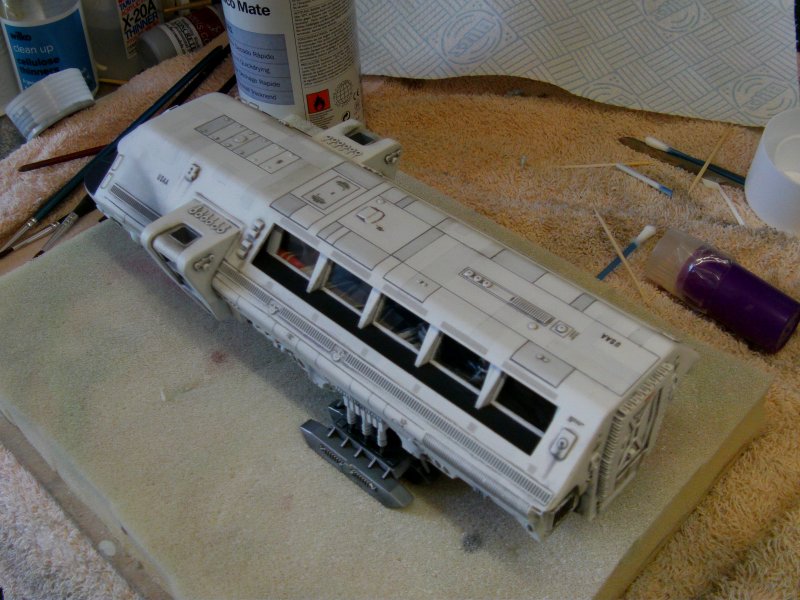
The whole deal accomplished with ground pastel chalks, varnish sealed.
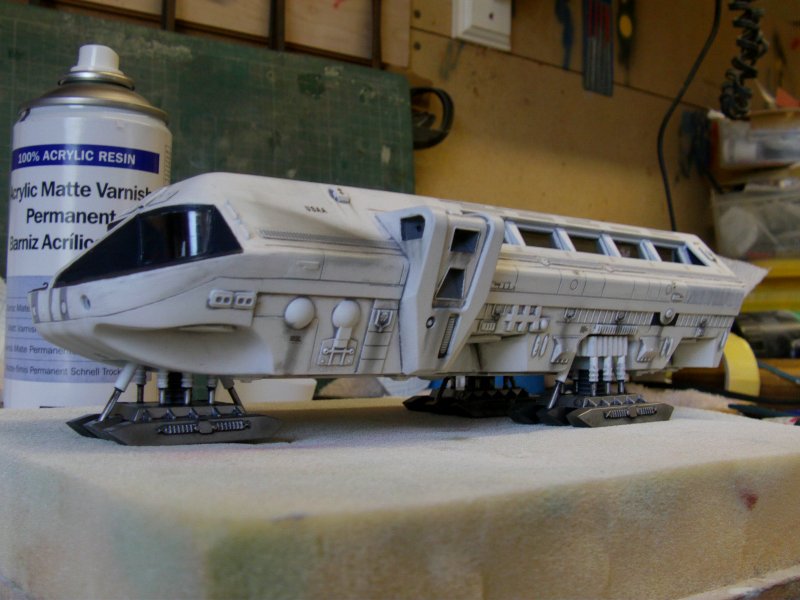
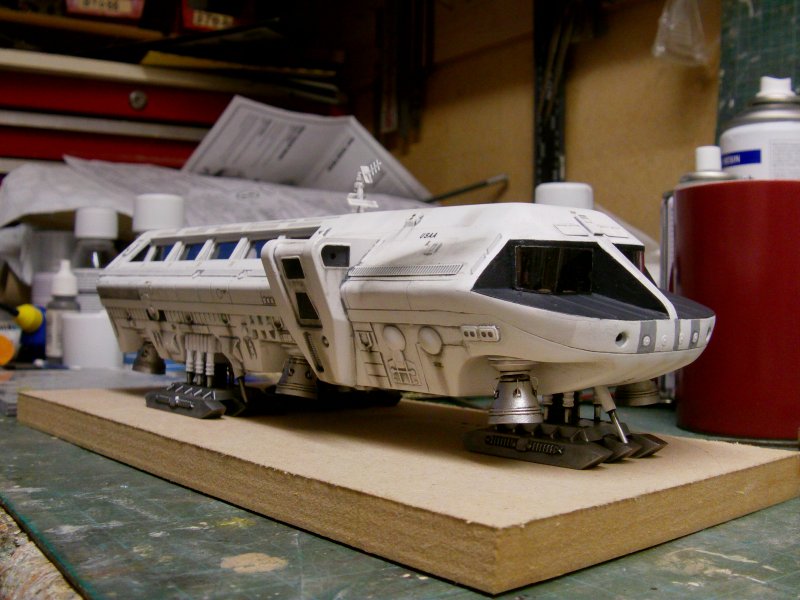
Anti glare panels painted on, all varnished yet again and window masking removed.
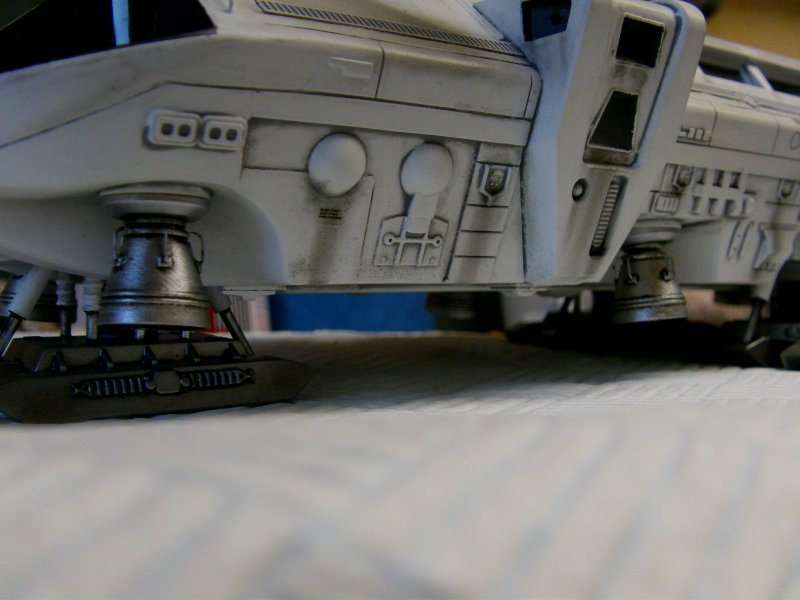
Lastly, landing gear fitted.
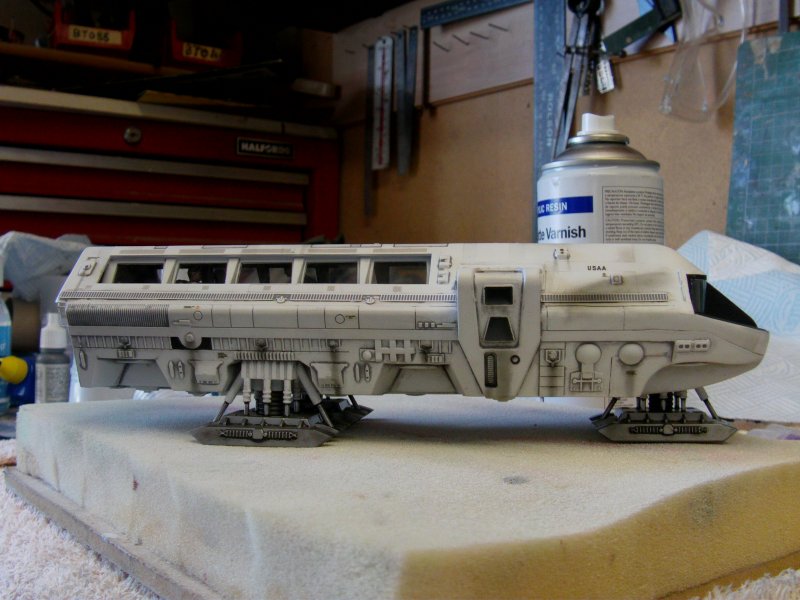
The engine bells got a coat of acrylic gloss black, followed by some Alclad II lacquer.
Half chrome and half aluminium mixed and airbrushed on.
Some dark dirt wash just to punch up the details a little bit then
sealed with Vallejo acrylic satin varnish via dat airbrush thing.

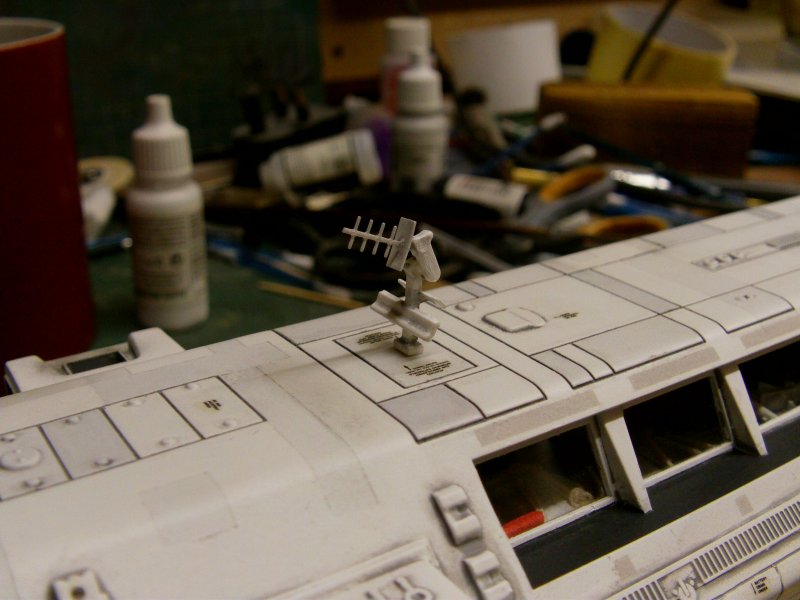
And last but by no means least, the top antenna which was the stock part base
with ParaGrafix photo etch top sticky up at an angle bit.
A dab or three of paint and shade then stuck where about's it should be.
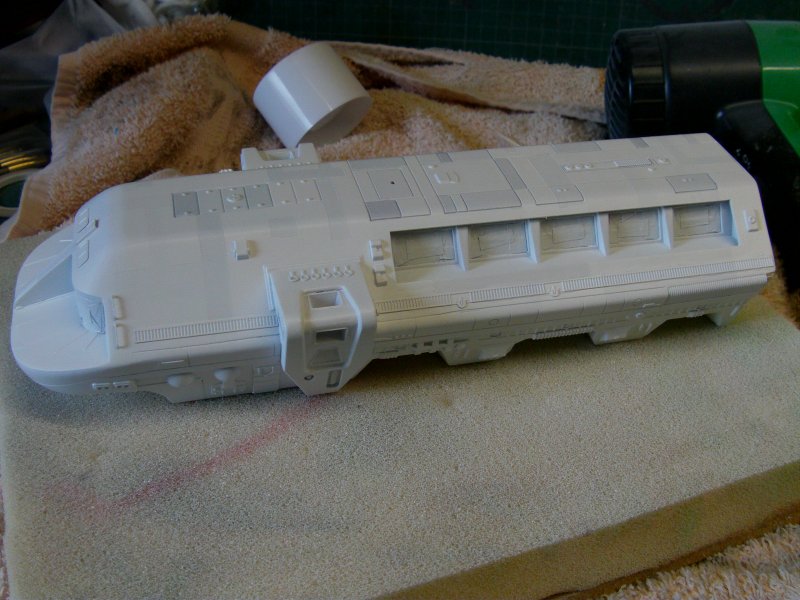
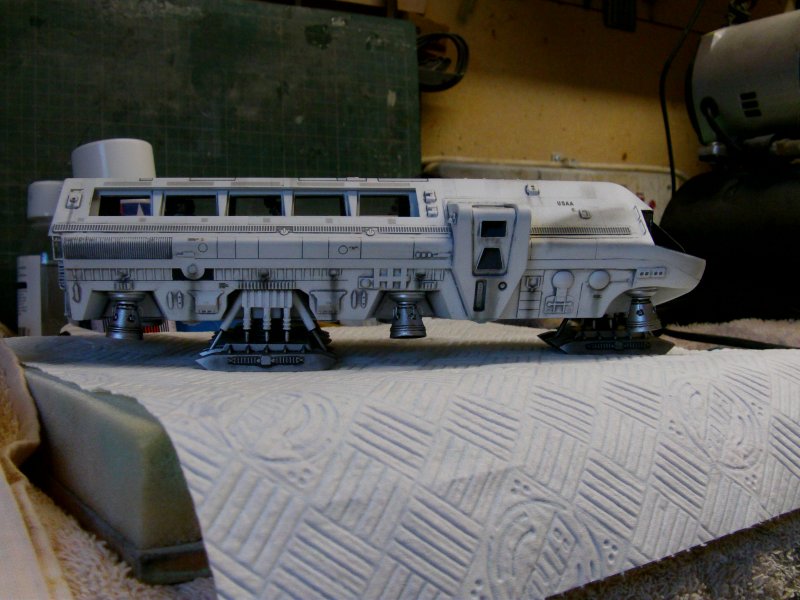
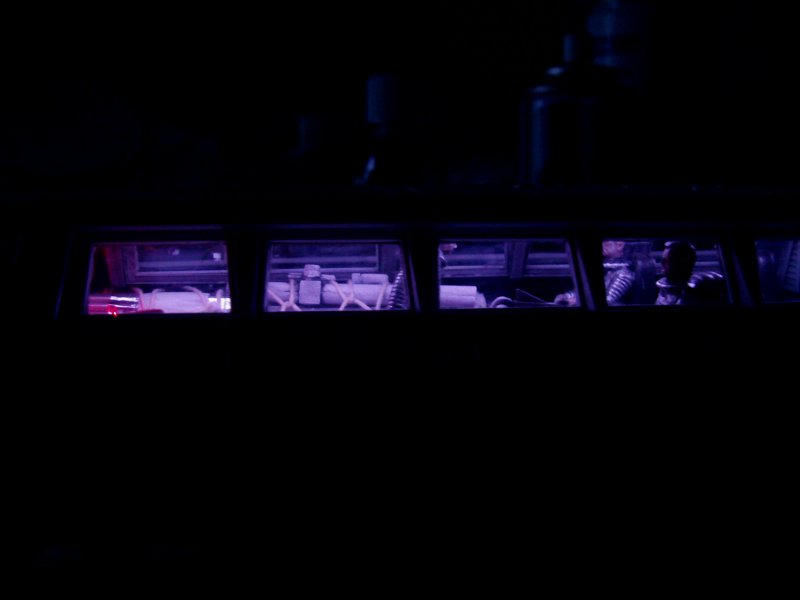
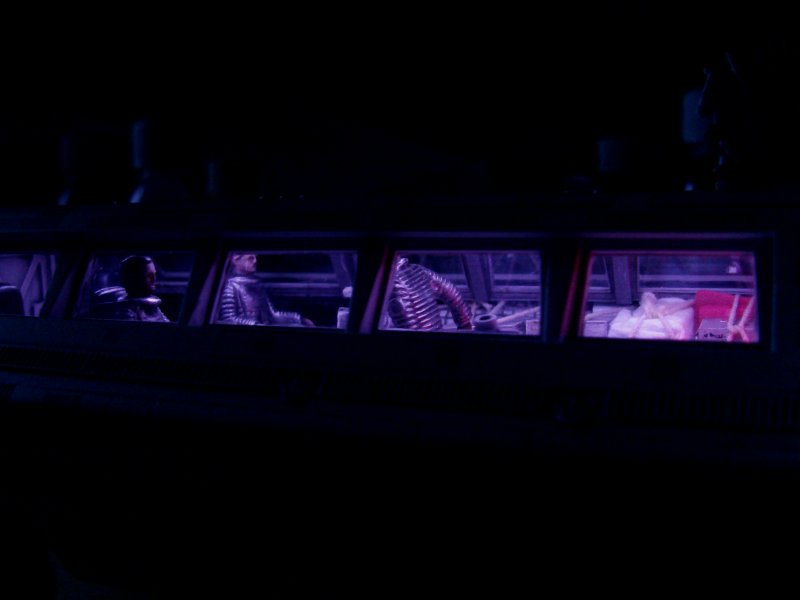
A final look about as it's pretty much a done deal!
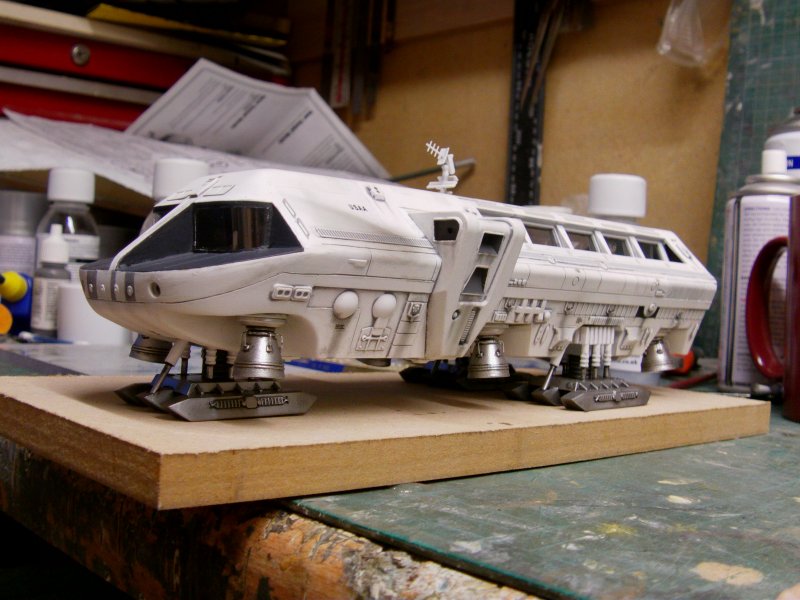
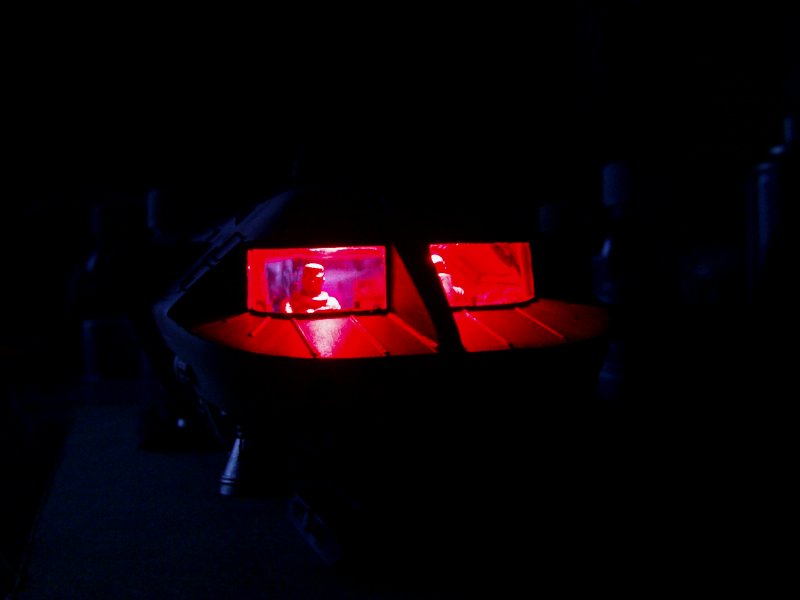
And yes, all the lighting is still okedoke and my camera still hates red lights.
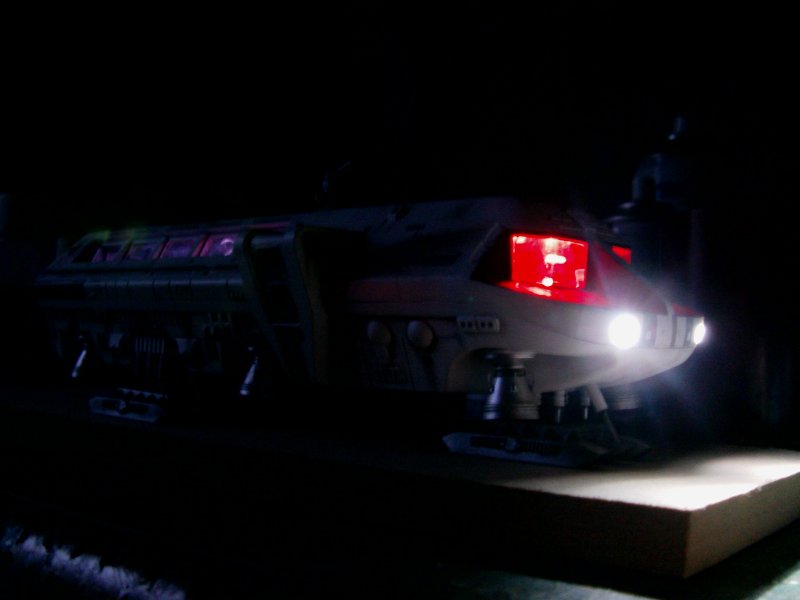
And apart from one or two tiny adjustments to the paint and other things here and there,
it's sorted and i'm fairly pleased with the outcome.
Gallery proper link pic thingy below.

And that's that from this turn out.
See thee around the Hellhole when the next round of hoo-ha with something completely different gets posted.
You lot go seriously easy out there now!
Page Number