
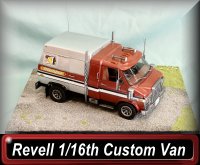
Revell Movin' Out 'Big Rig' Style Chevy Van
1/16th Scale


 Page Number
We're in to double figures...
So Lets Get The Final Update Started...
With A Couple Of Figures!
This is it gang, the last one!
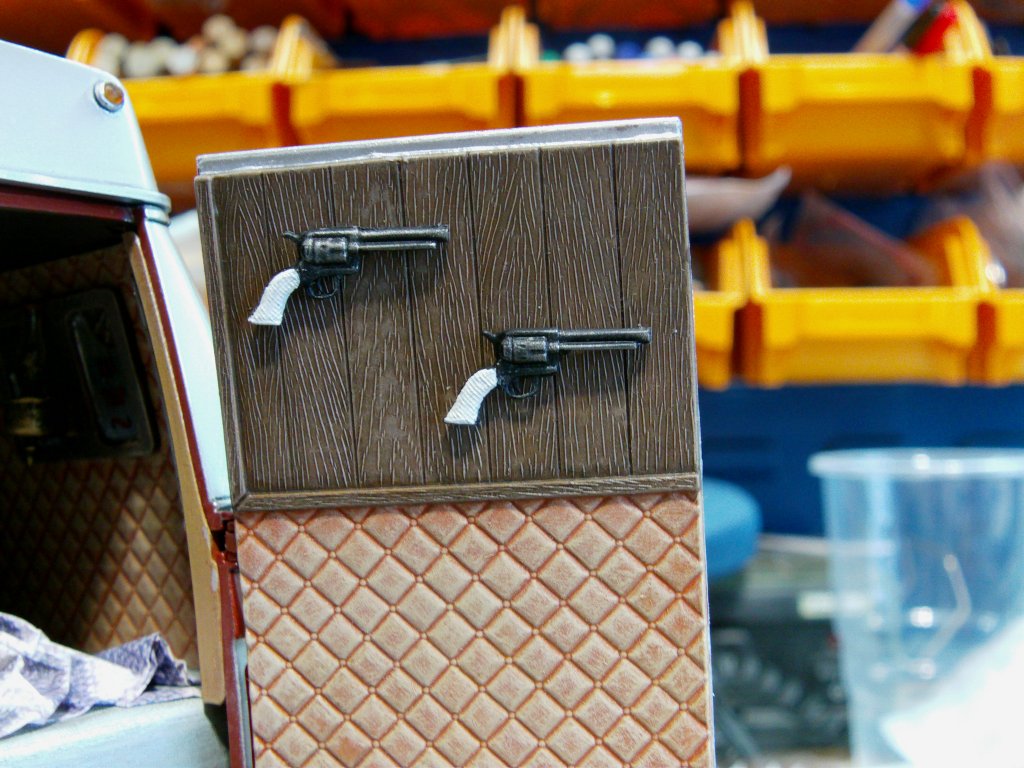
Took care of the printed figures,
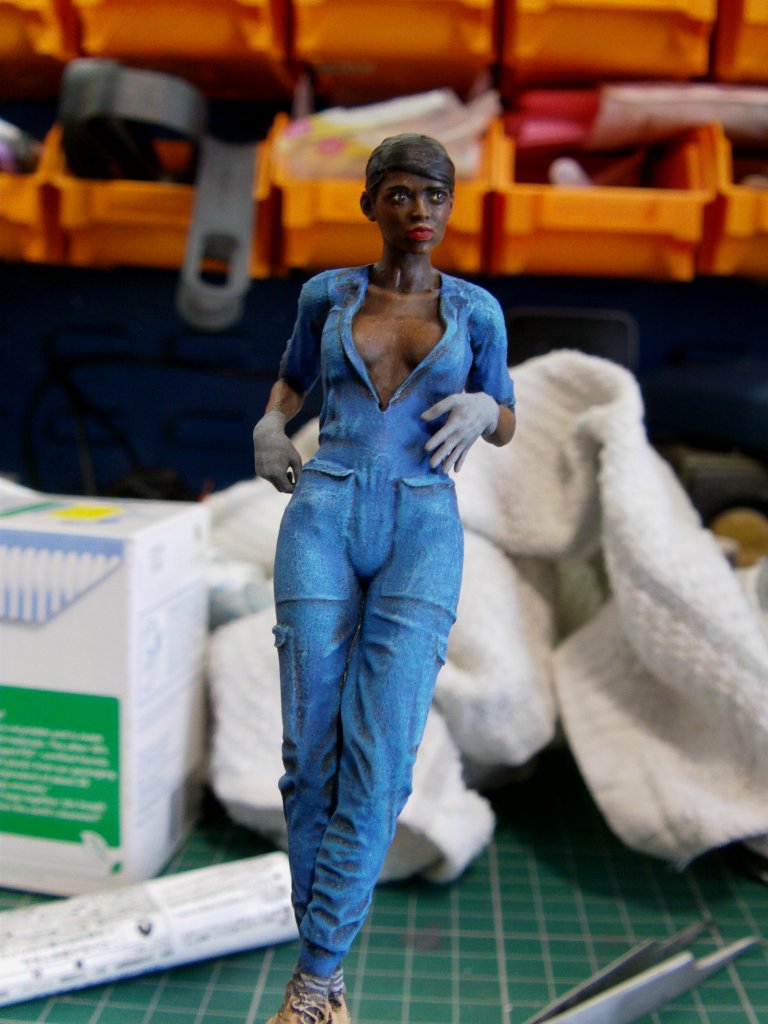
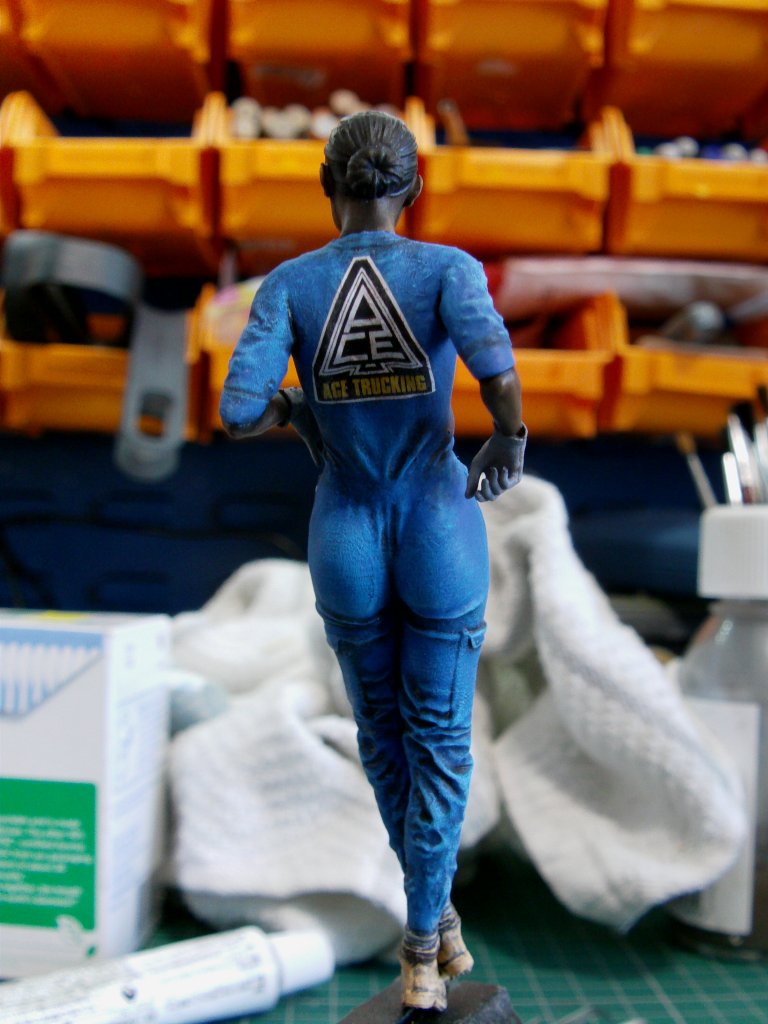
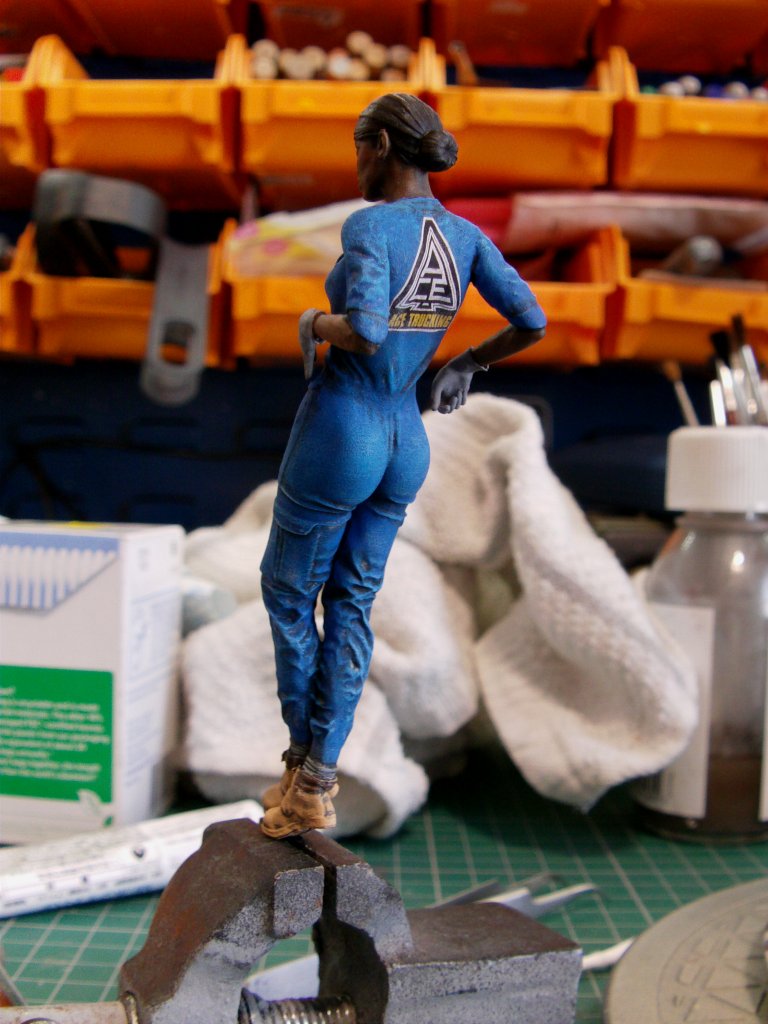
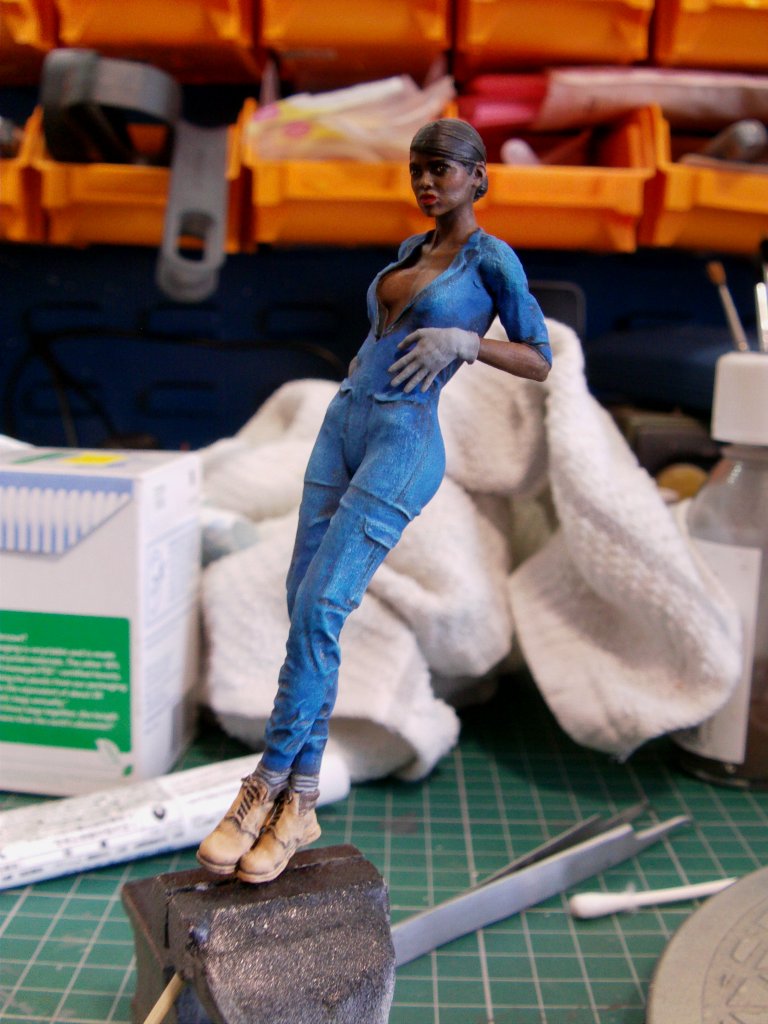
First one is the lass that will be leaning against the van.
All Vallejo paints for the colours except for some Tamiya black panel line accent wash.
Skin tones with a burnt umber base and worked up with the same and a drop or two of standard flesh tone.
Coveralls in royal blue, black washed and then drybrushed up with andrea blue and sky blue.
The 'Ace Trucking' logo on the back is a nod to the story of 'Ace Trucking Co. Any space, any time' in the old 2000AD weekly comic I was fond of.

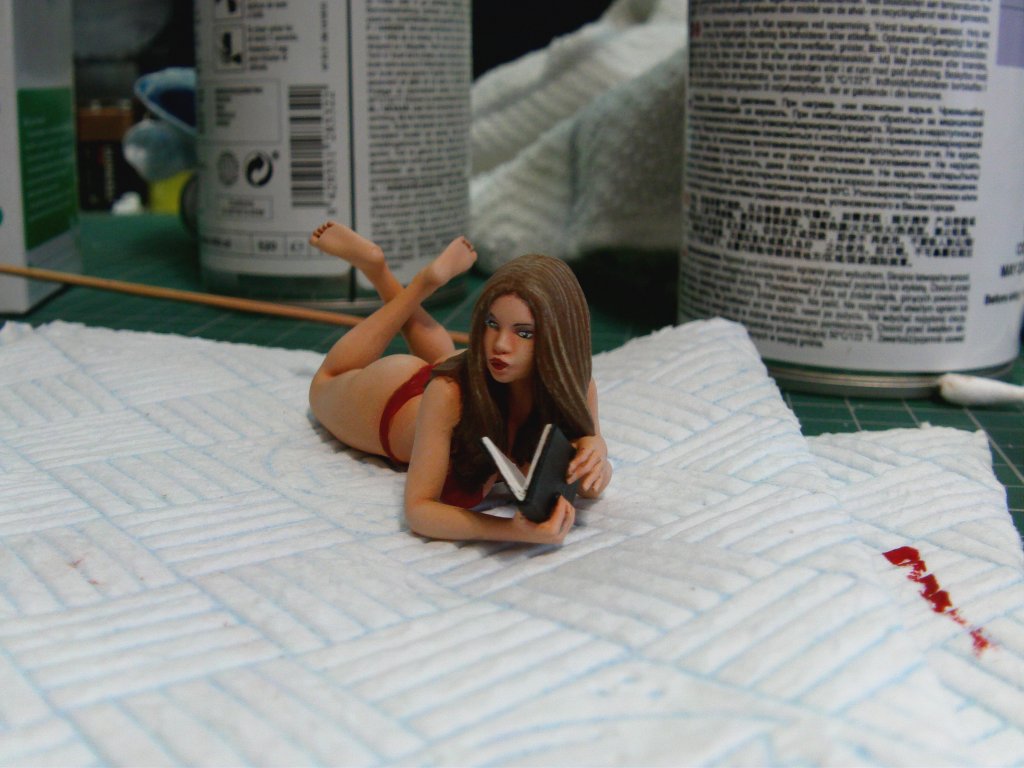
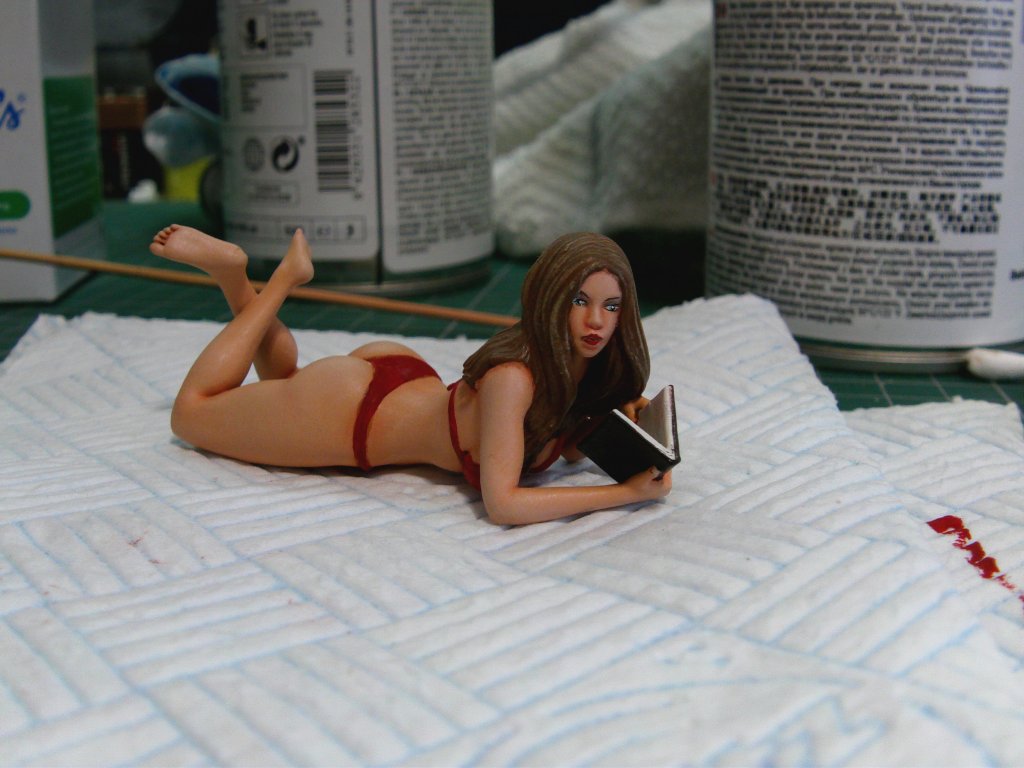
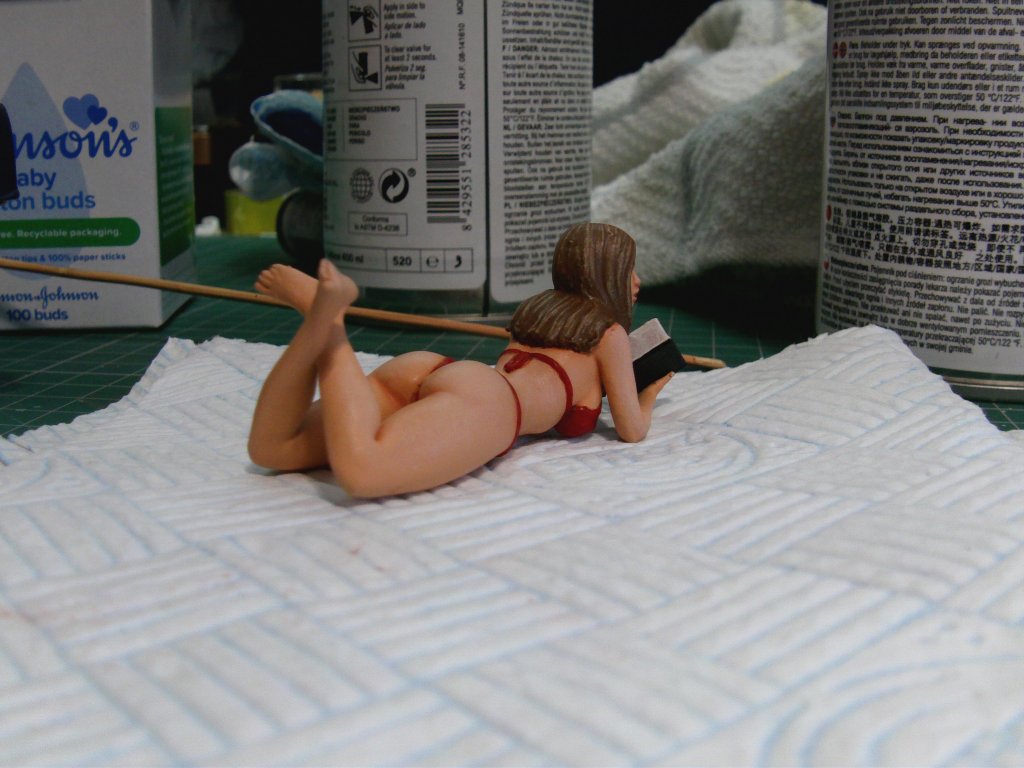
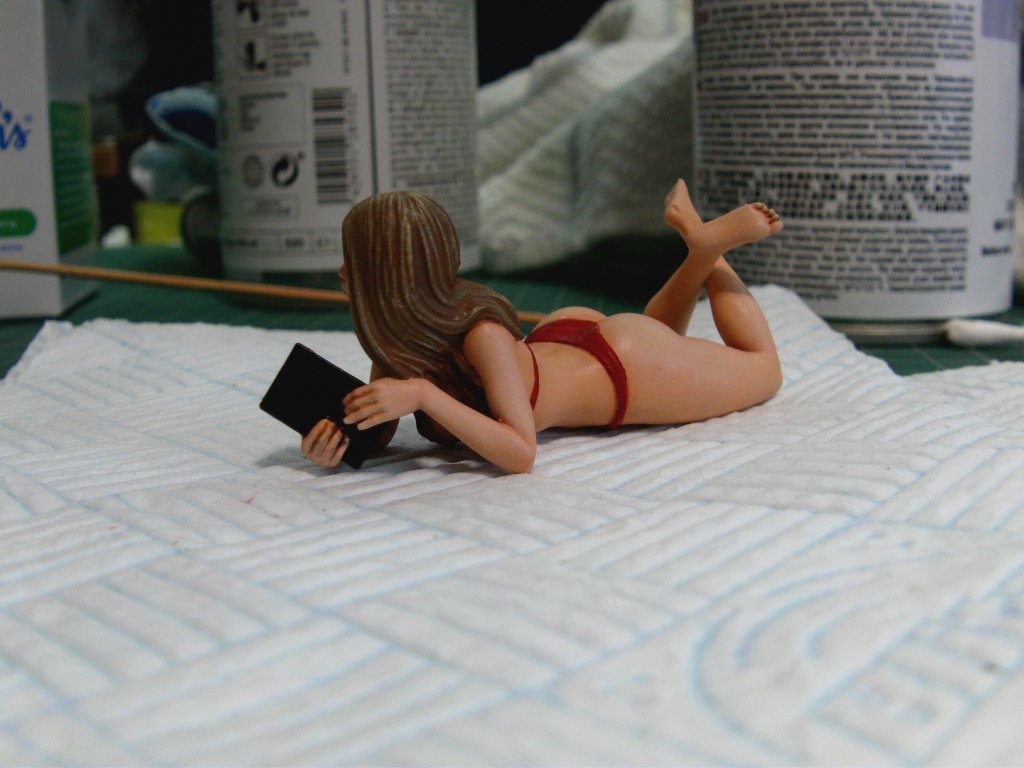
Bikini girl also sorted.
Tamiya rattlecan flesh base, pastel chalks for shading, drybrush using Vallejo air light flesh.
The rest of the paint was Vallejo along with Gunze Sangyo carmine red for the bikini.

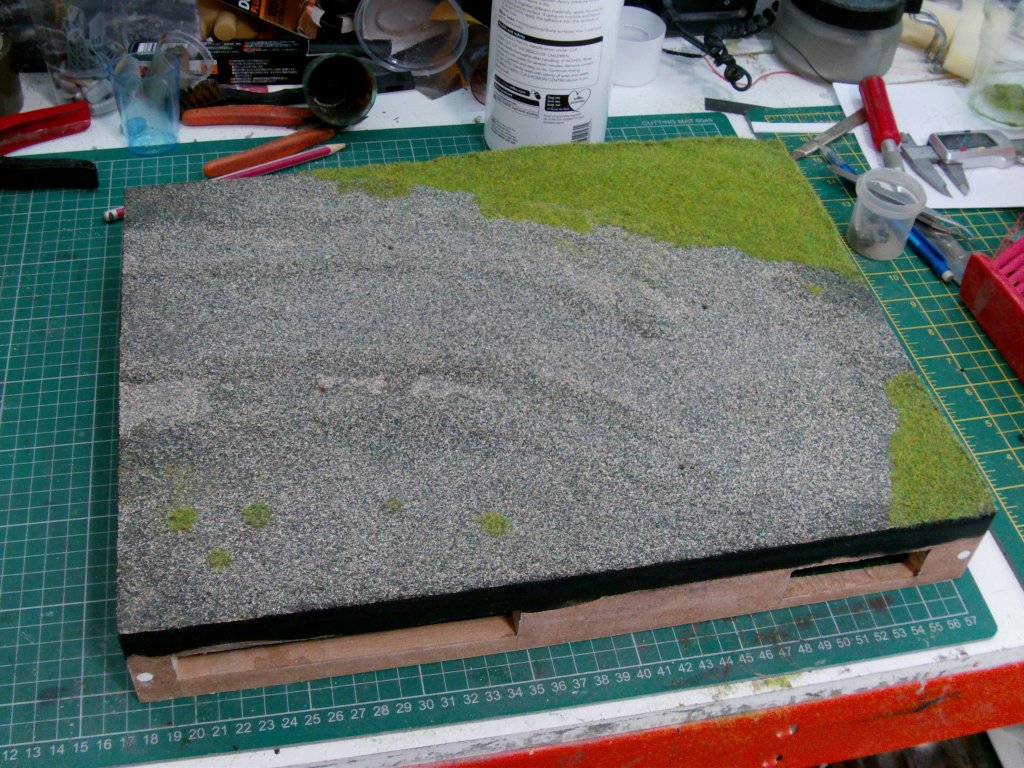
That bit done and dusted, base work time.
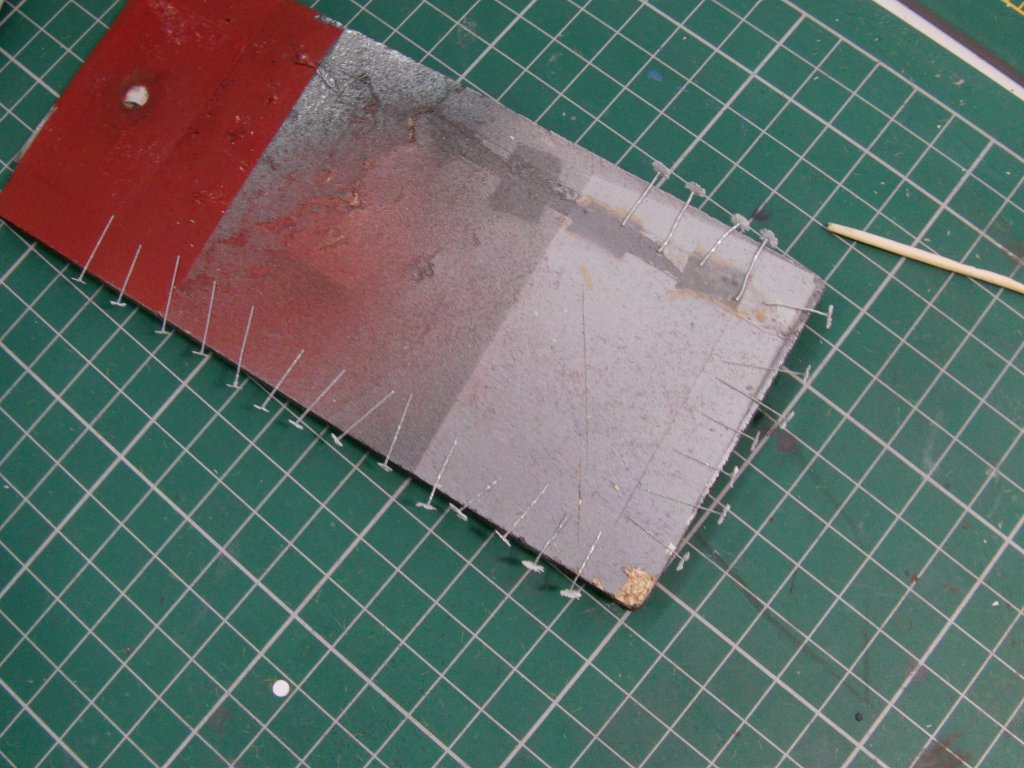
Keeping it simple, 12mm MDF sliced up and then nailed back together in a different form.
Some drilling, filling and sanding got the box required,
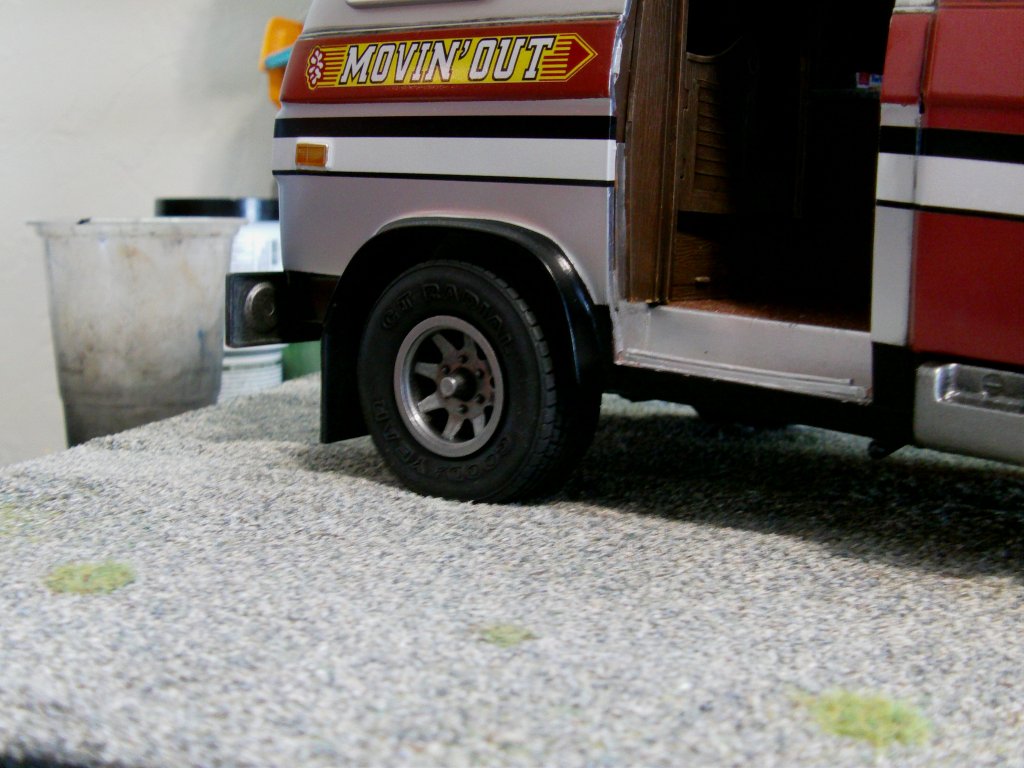
some no-brand ground scatter got from a local war gaming shop was laid down and
also got a first use with one of those static grass things.
Idea is that you lay down the glue and load this hand held thing up with whatever grass you want to use.
Looks like this...

Use a pin in the clip on the end of the lead to make contact with the wet glue, switch on then sprinkle away.
The grass fibers end up static charged and stand up straight in the glue.
So much fiddling about and a bit of messy work but it was sorted.
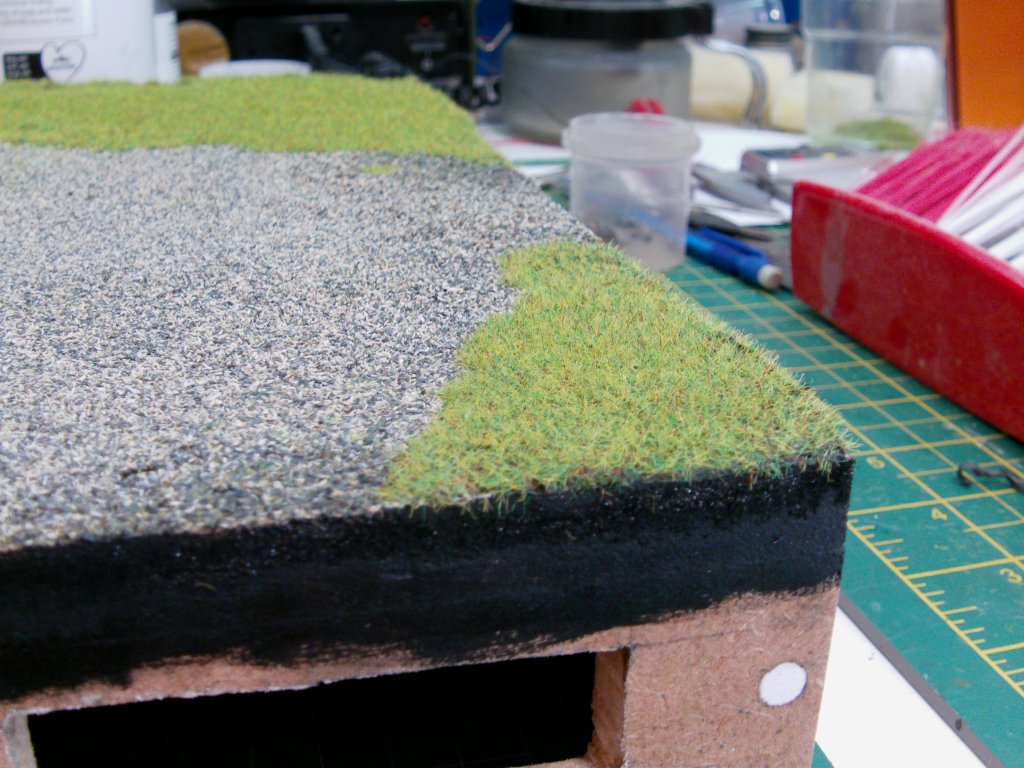
Looks the part so excellent and onward!
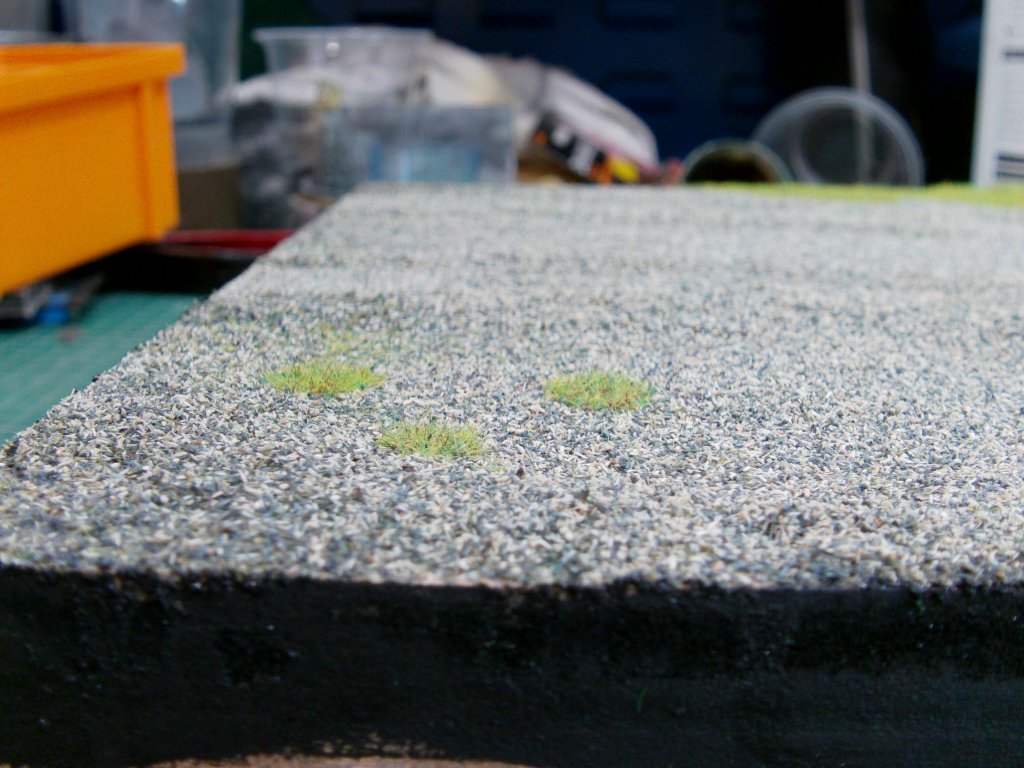
When the base work was done, I had a feeling it needed just a little something extra.
Something to get a sorta summertime vibe going...
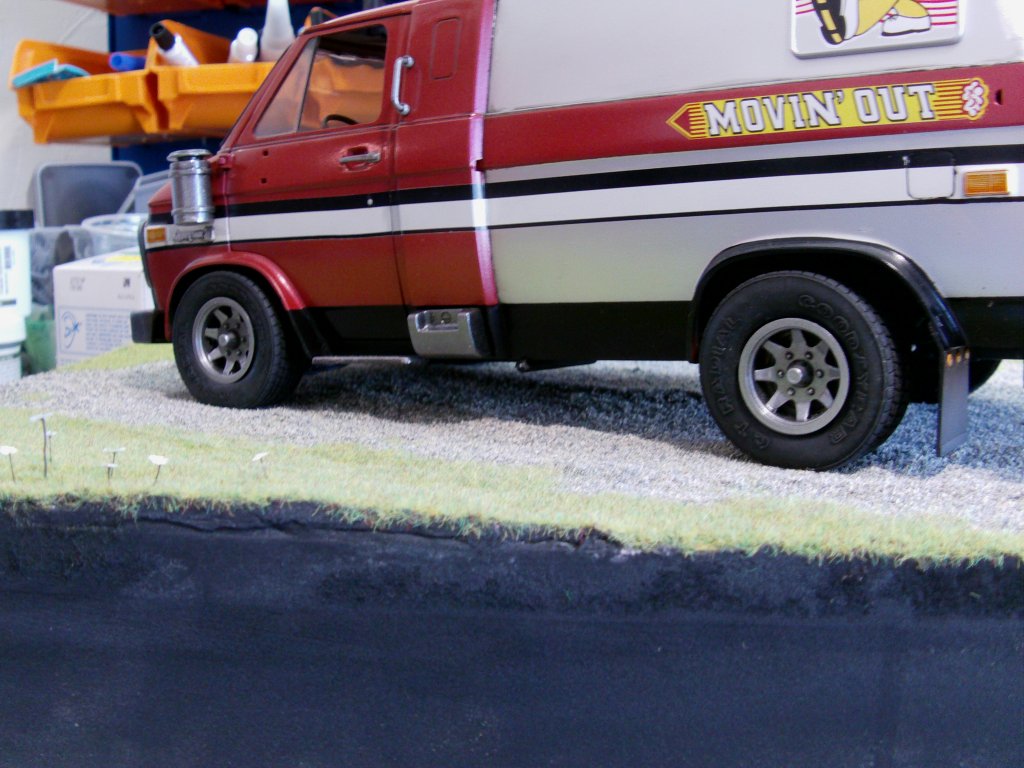
DAISIES
Yeah, that the answer...
A hole punch and some ordinary copier paper got a disc.
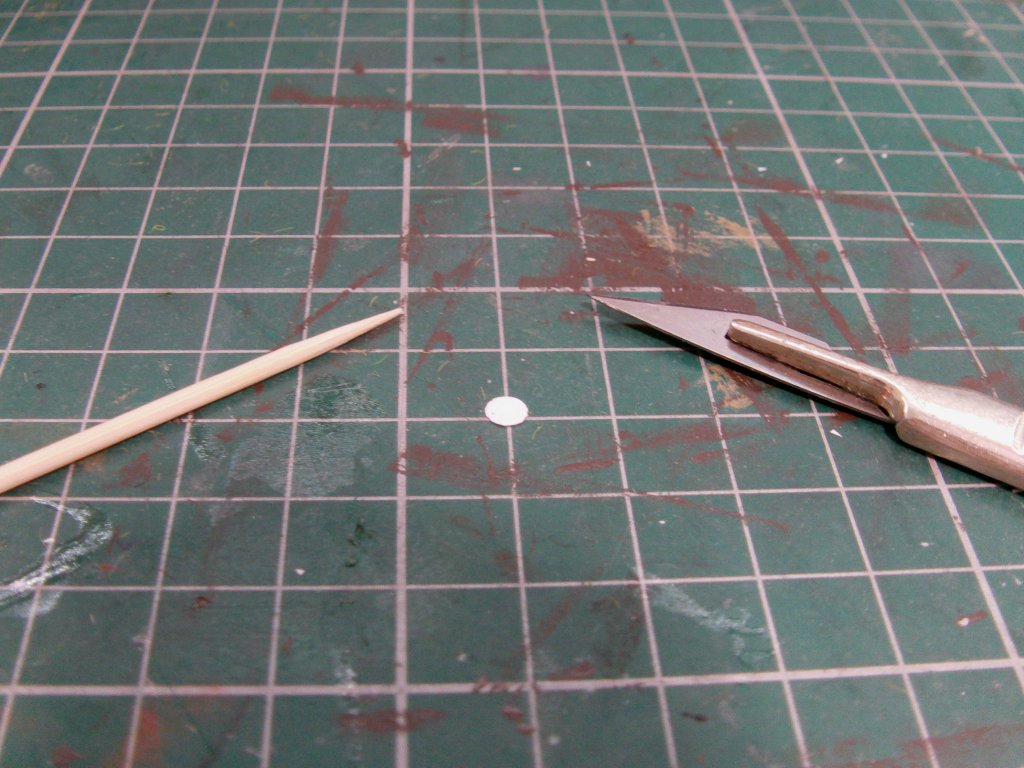
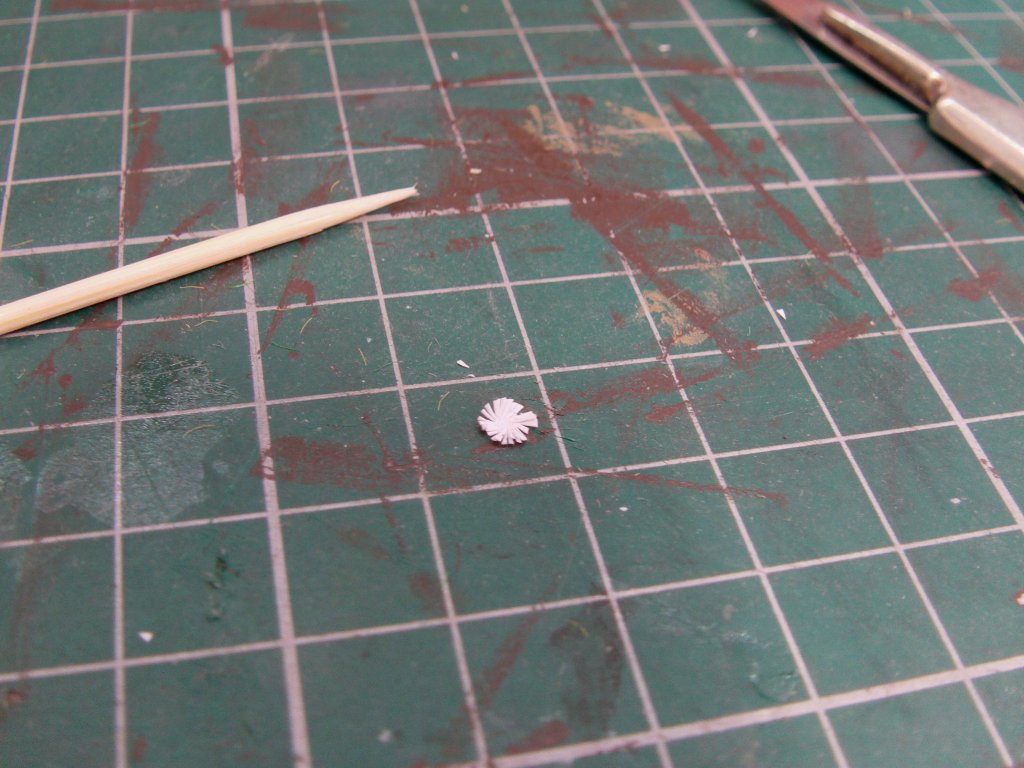
Using the tooth pick to hold it down and the scalpel to merrily slice away gets a start.
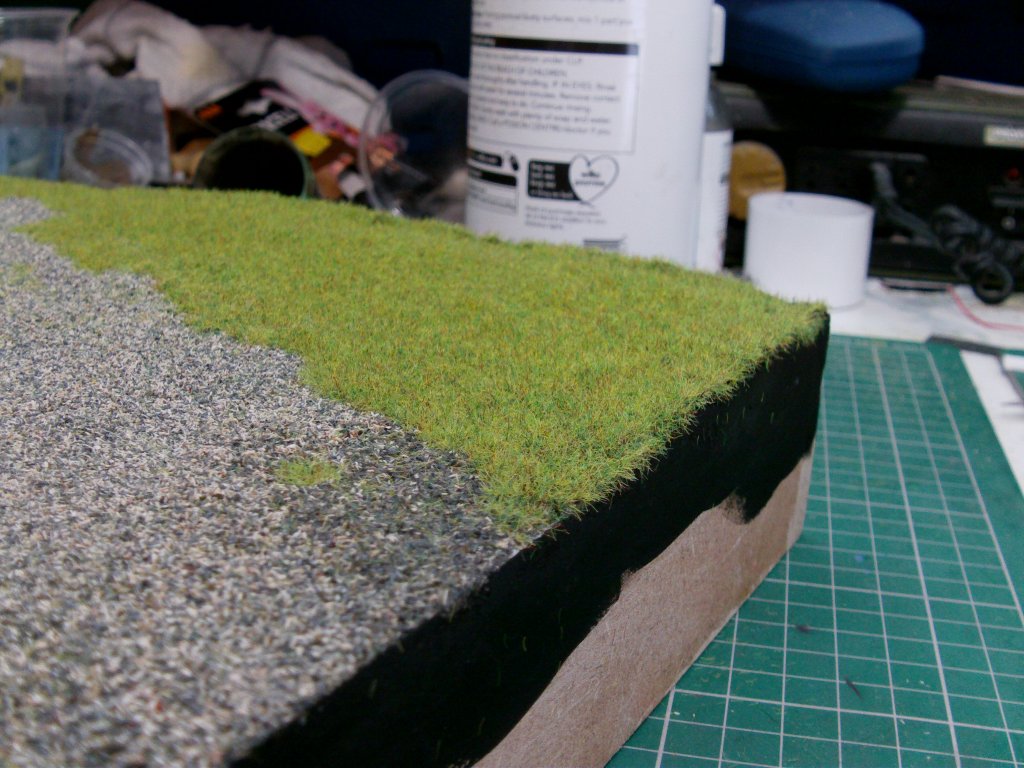
Several more of differing size added to the lot.
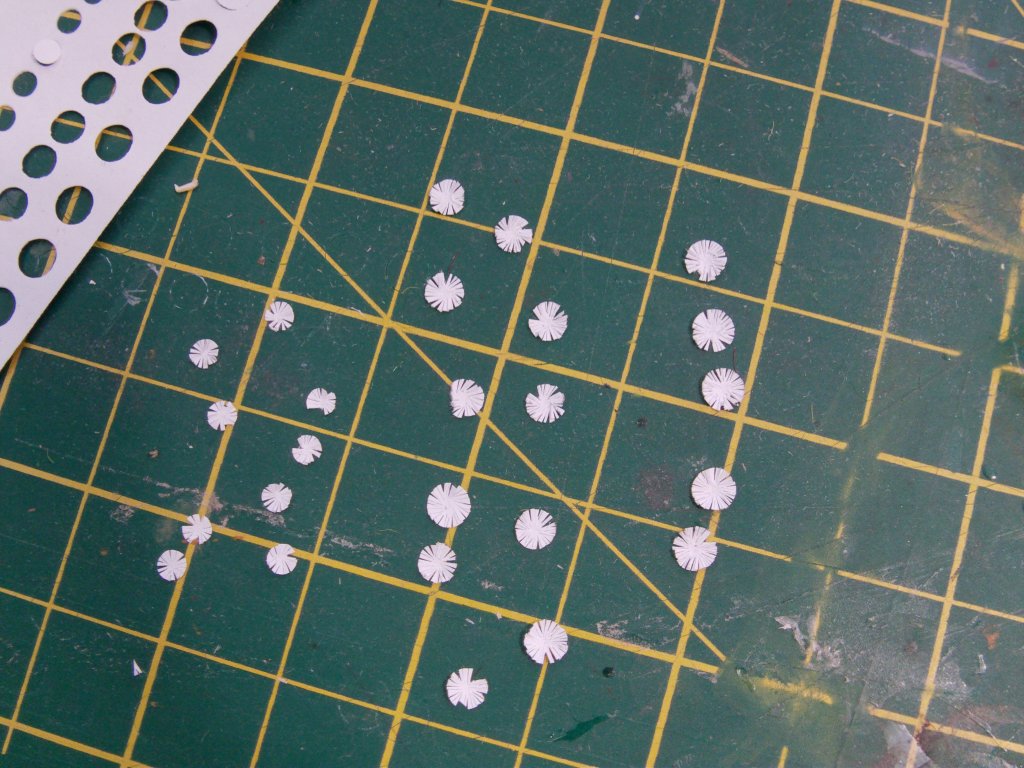
Some mild steel wire,
mucho tiny drops of super glue,
a few dabs of paint/shade and I got what I wanted.
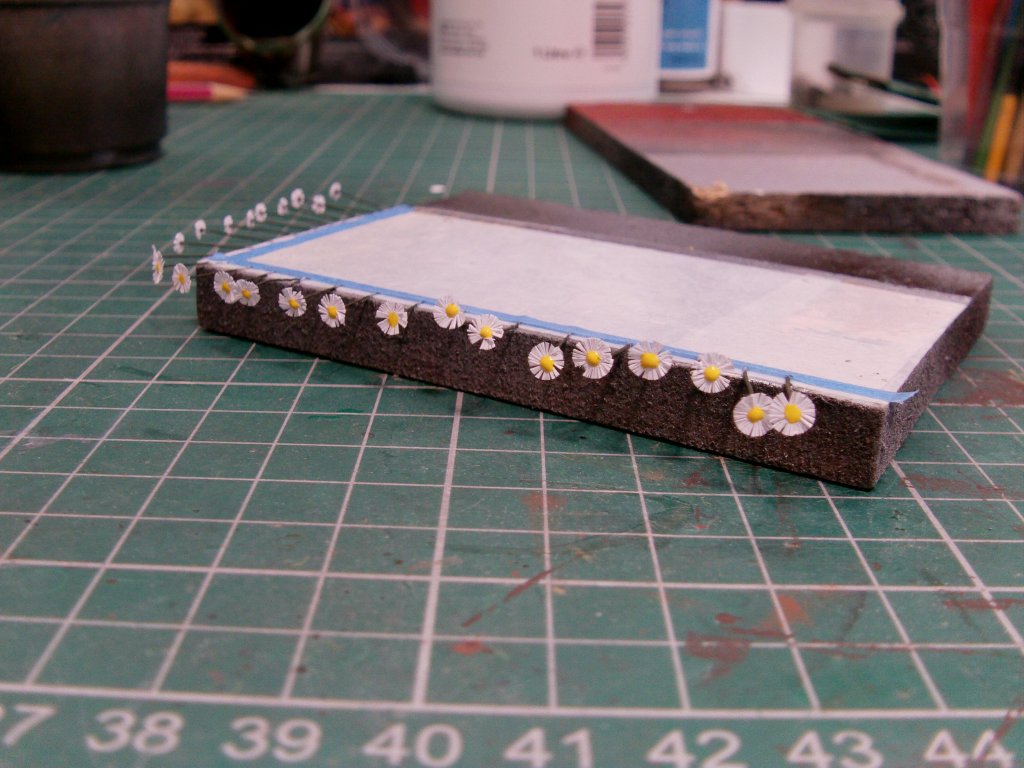
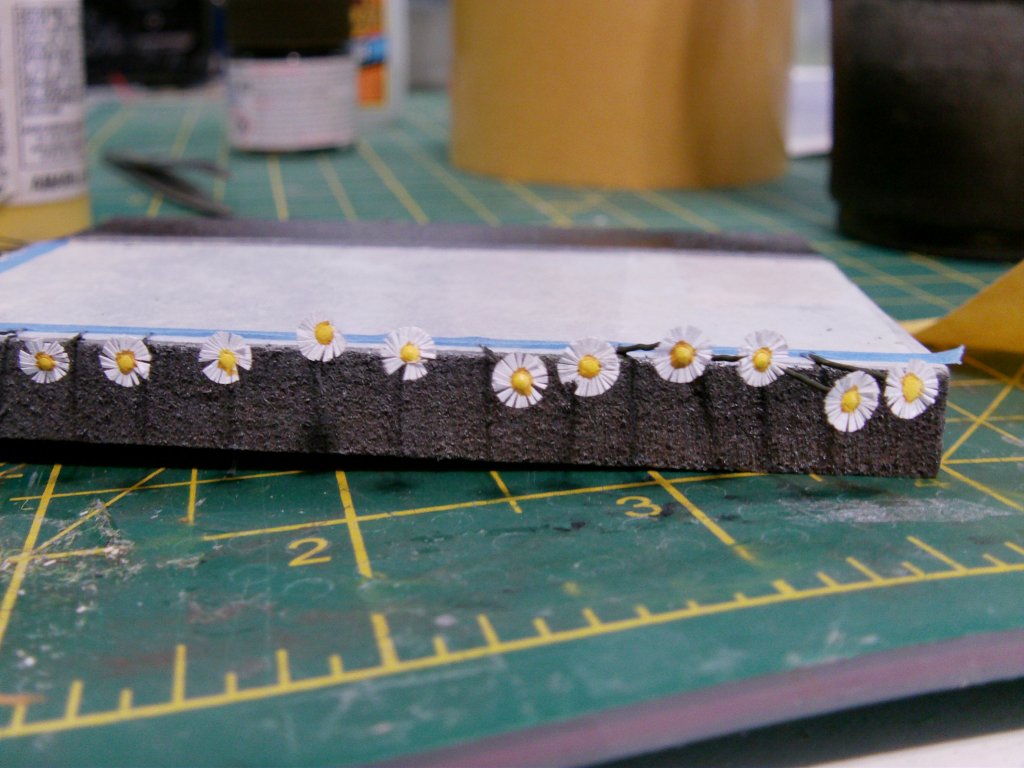
Some wire slicing and dipping in to a drop of PVA glue got them in place.
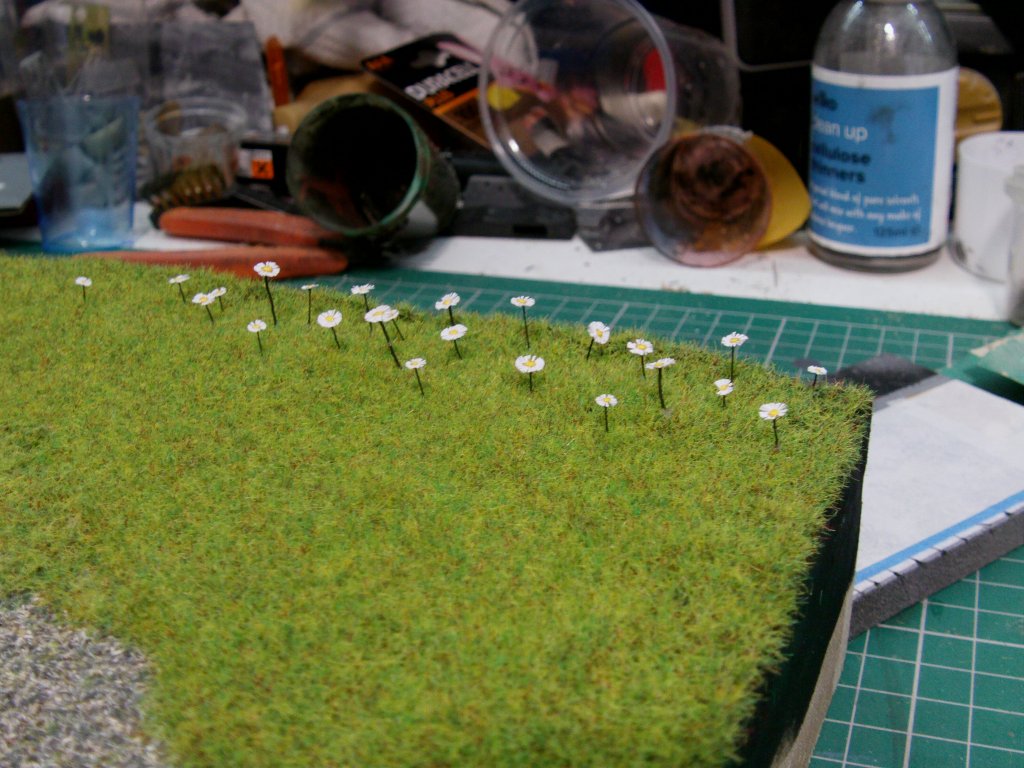
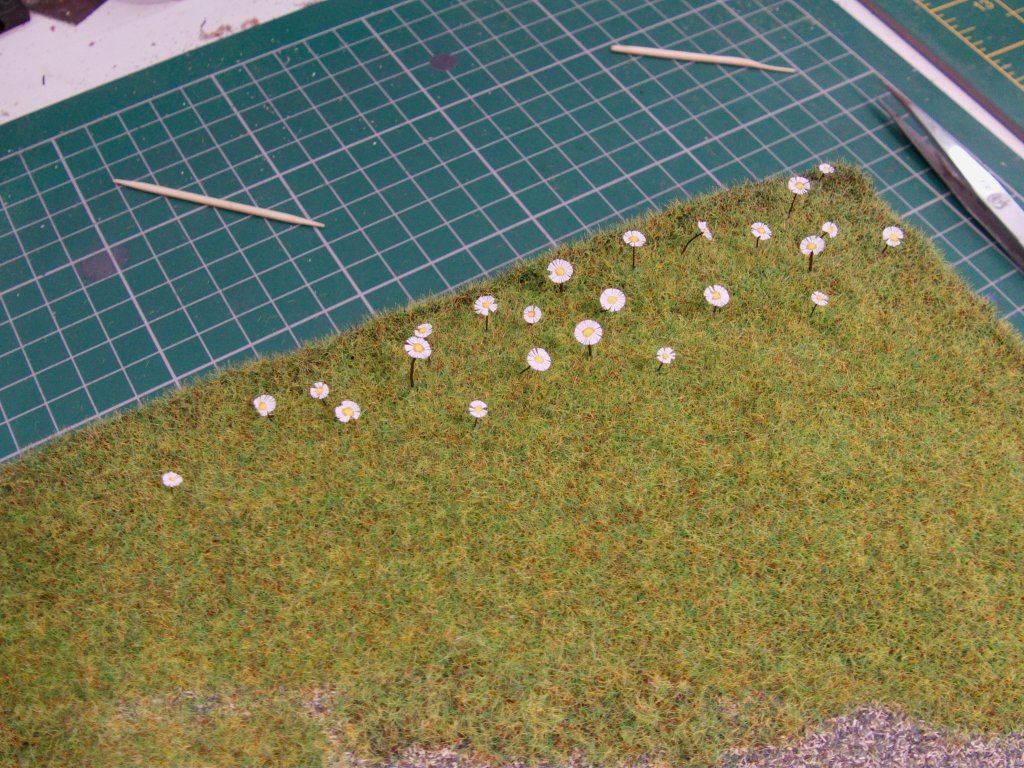
Sorted!
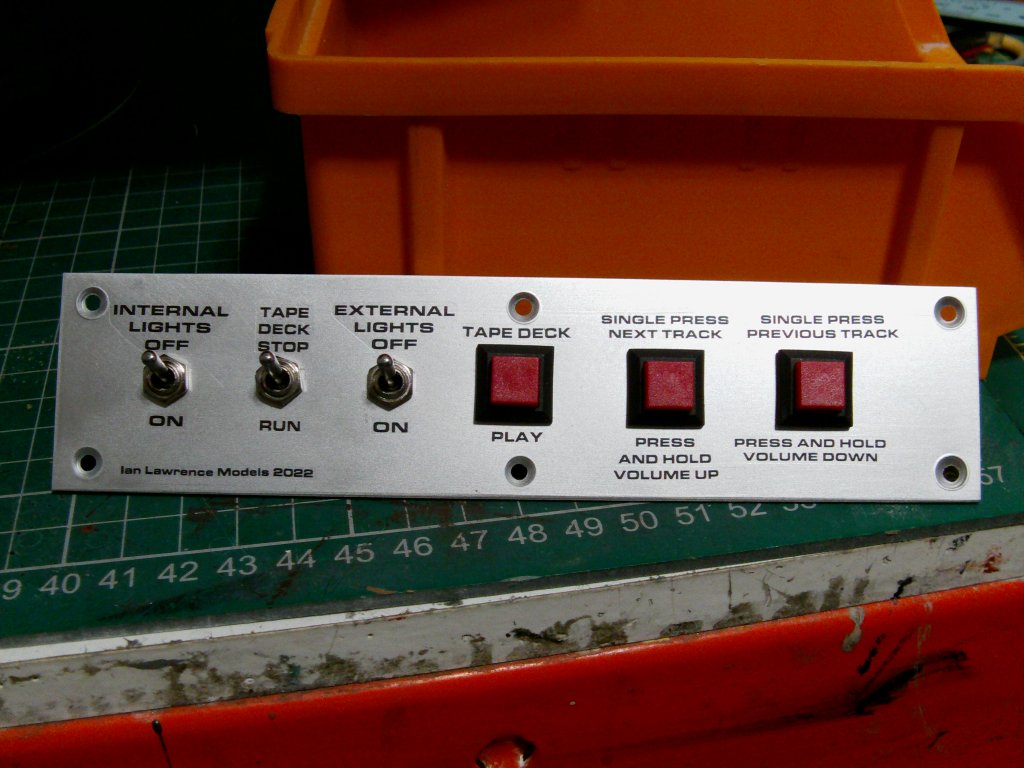
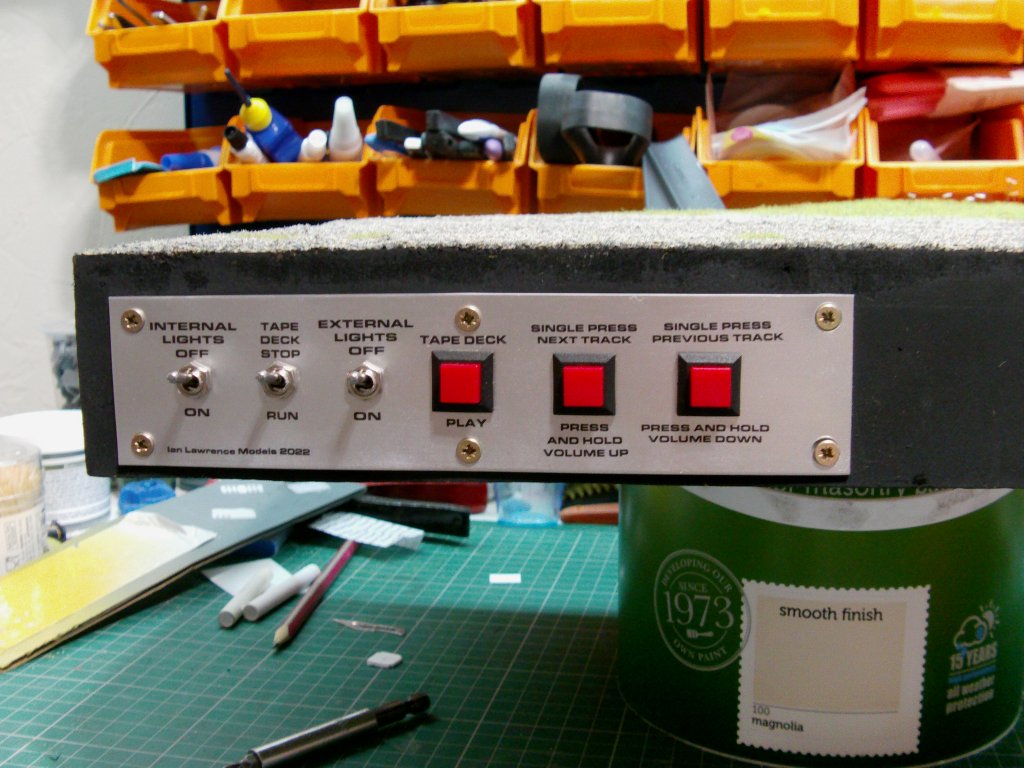
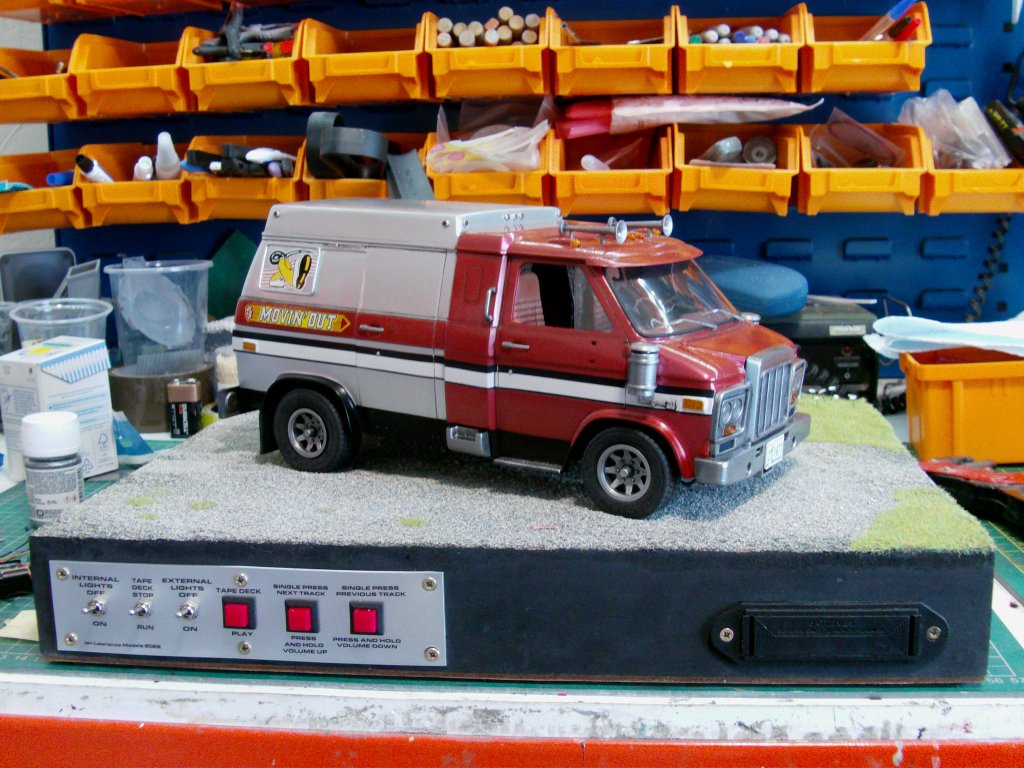
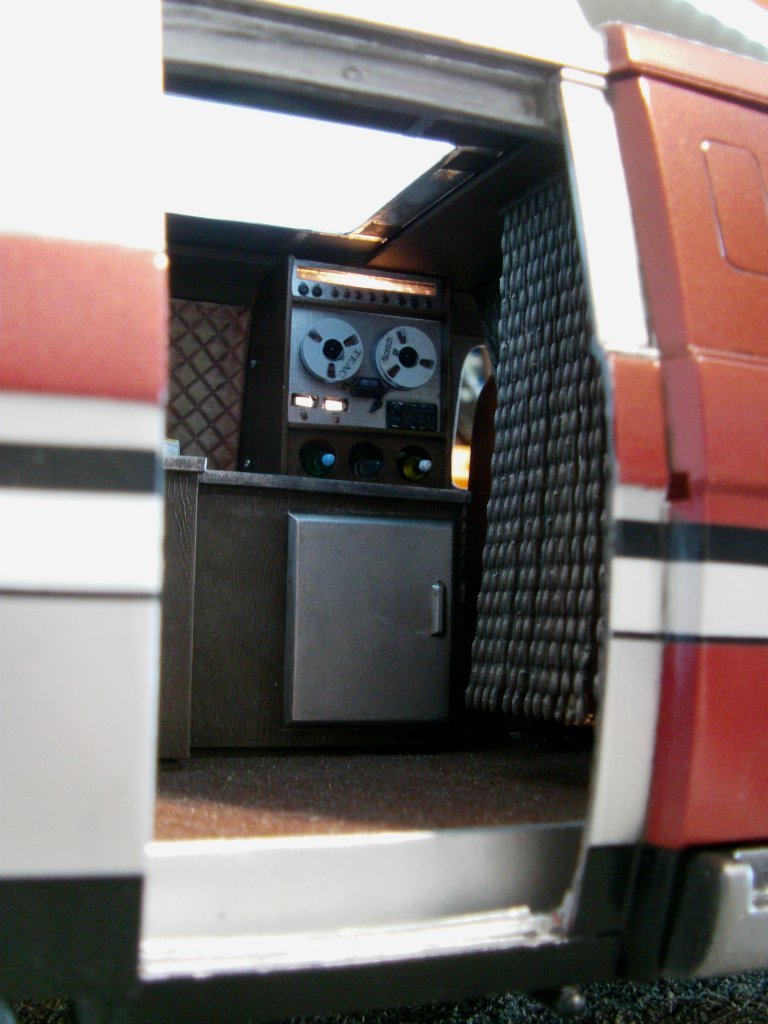
Switch plate now.
2mm styrene, Tamiya rattlecan silver and some DIY waterslides got the job done.
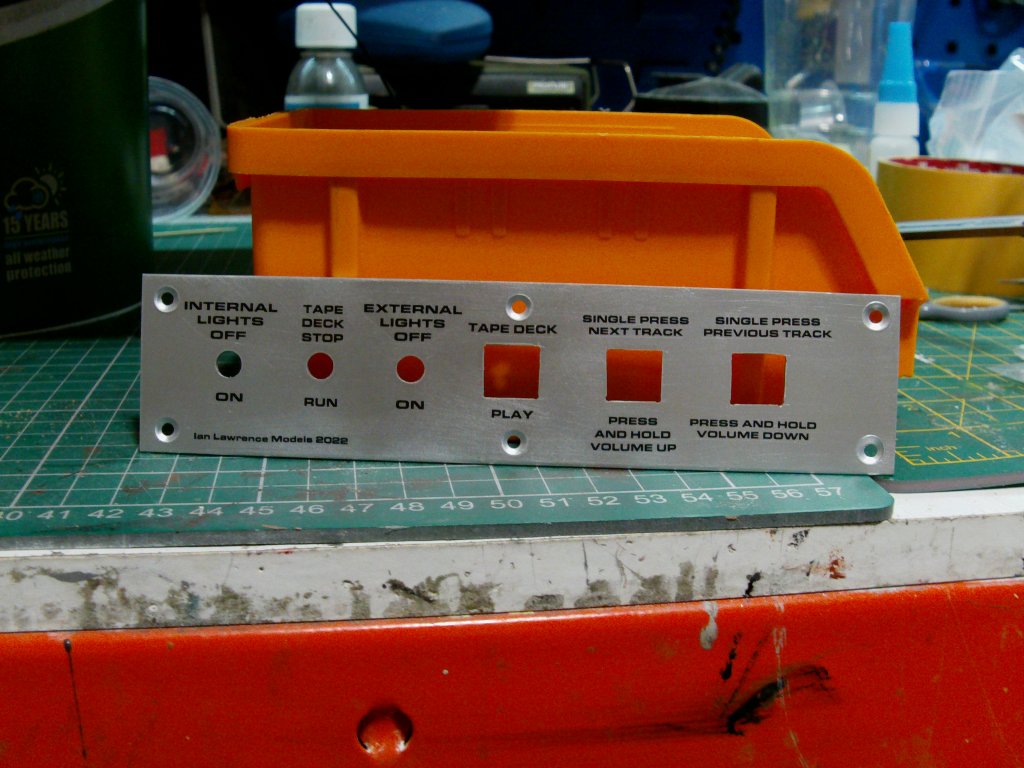
Switches fitted, in place and battery box drawer likewise.
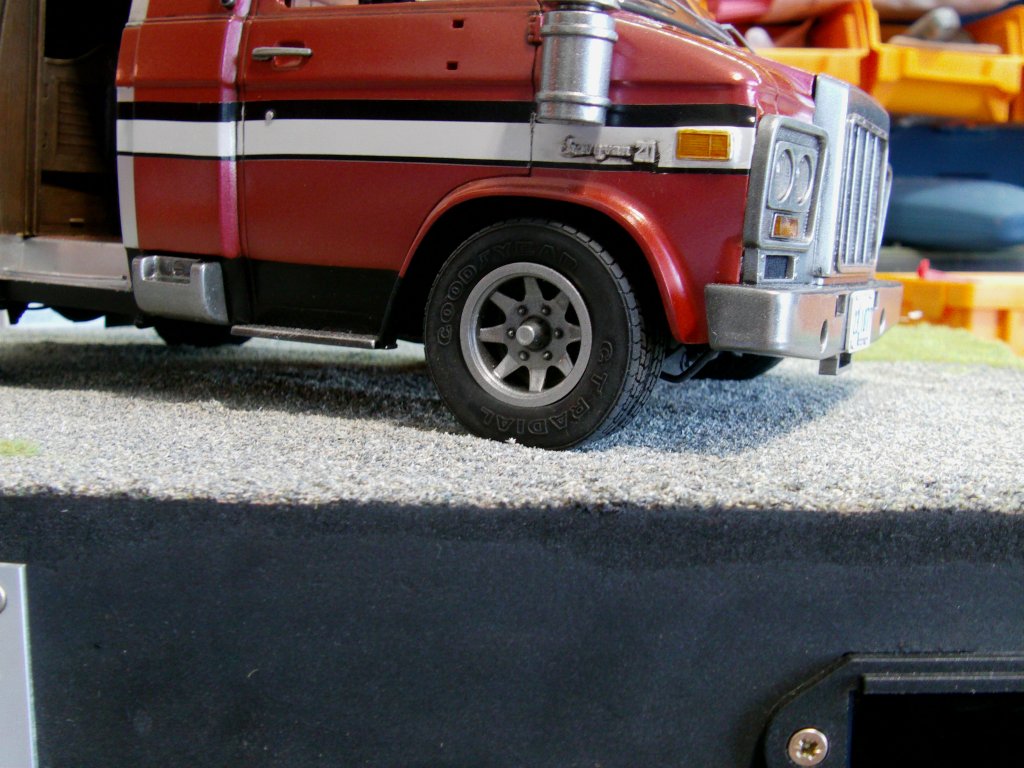
Van attached to base, tyre flatteners did their job.
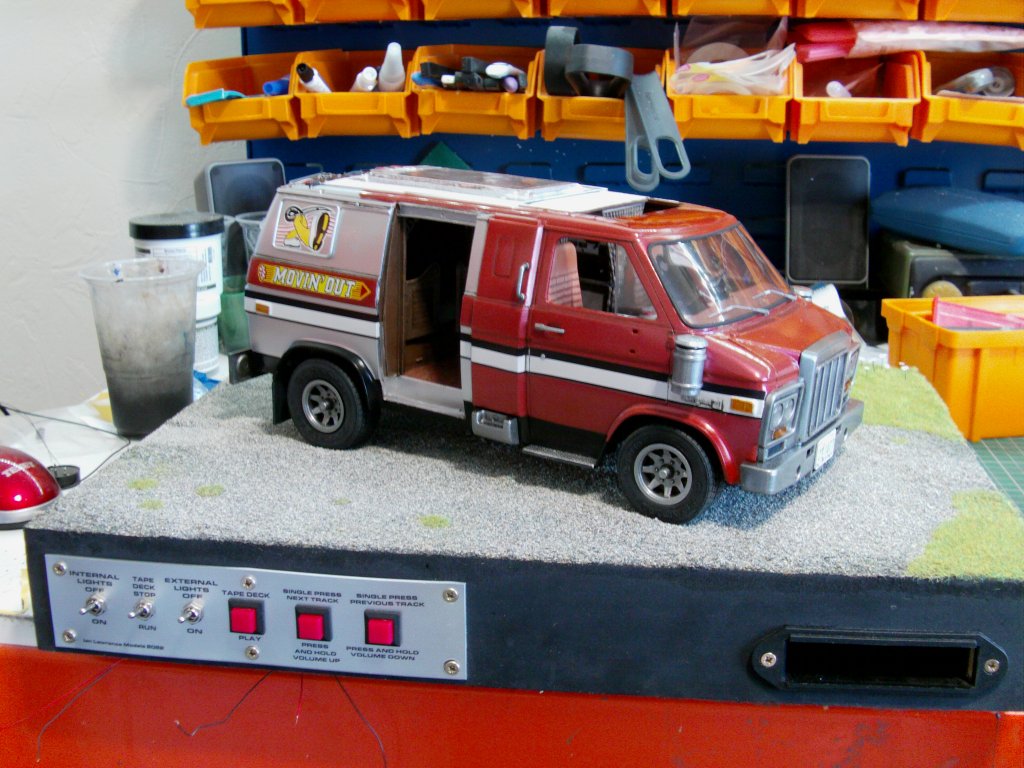
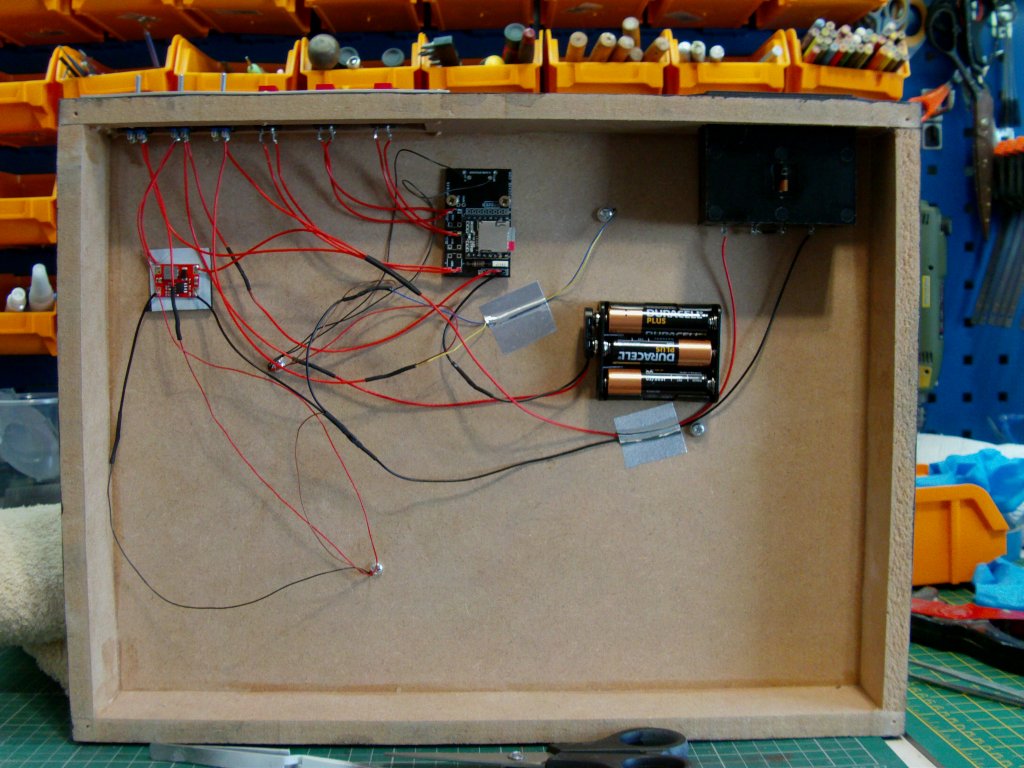
Wired up.
Had to use a double supply as couldn't find a voltage dropping buck for the MP3 player.
Also will admit I couldn't be bothered to get the components to make one so it is what it is and I shall live with it.
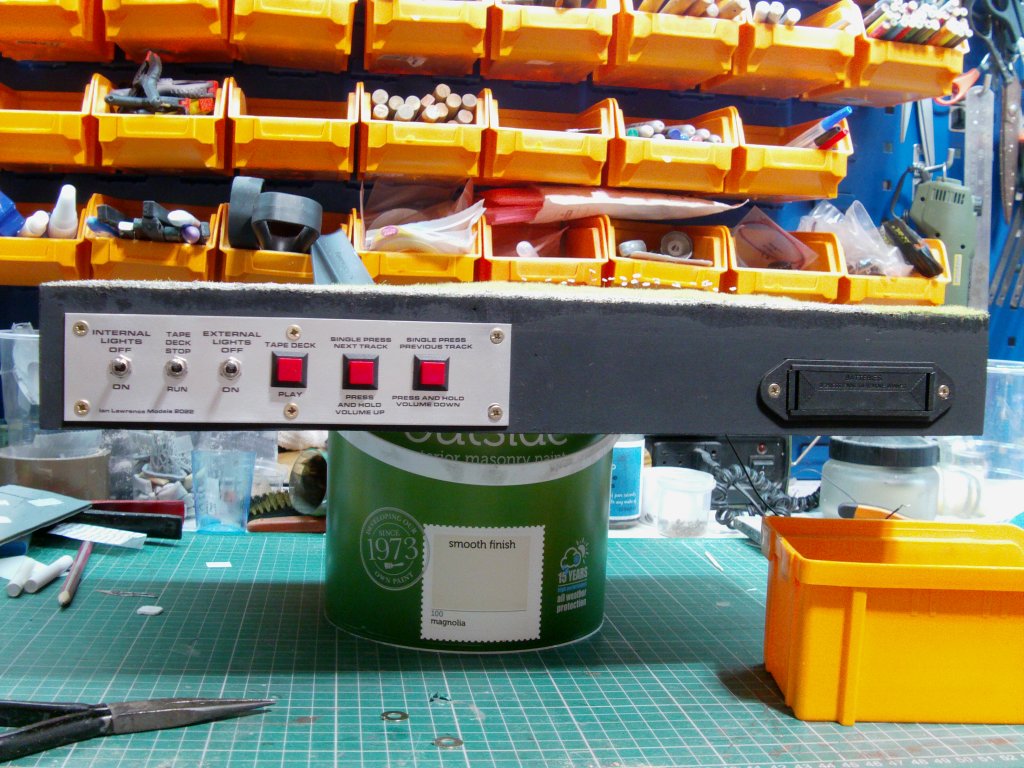
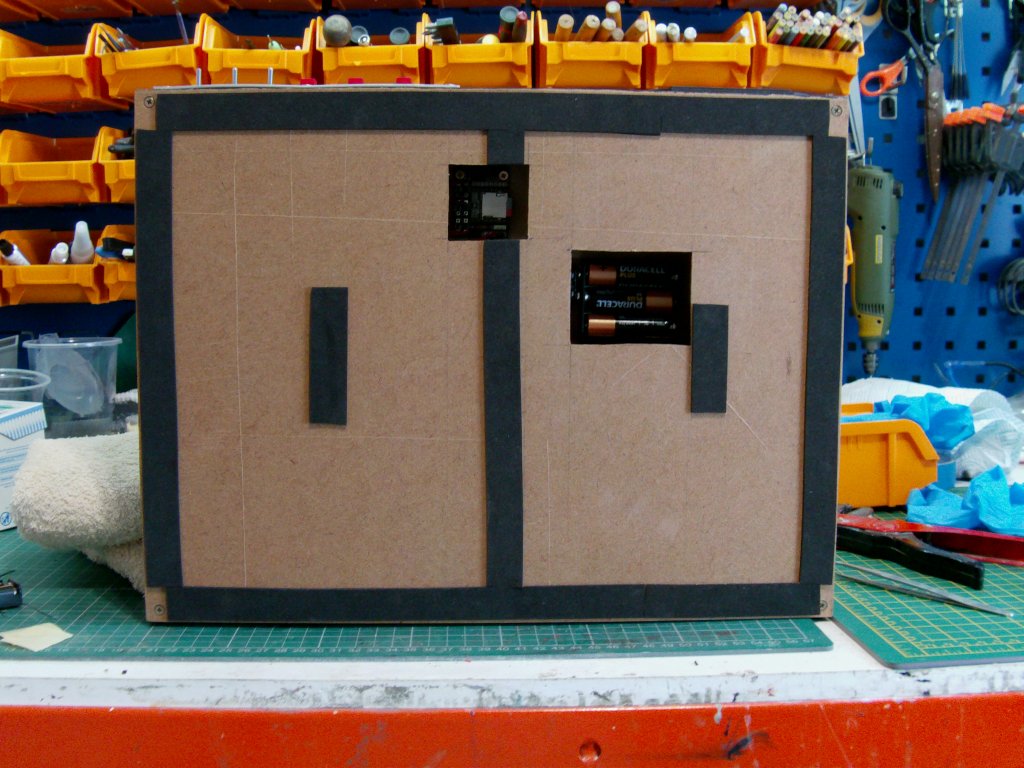
Bottom plate sorted, 3mm hardboard with 3mm neoprene foam to stop it sliding about on my glass shelves
when I have a play with the switches which is guaranteed to happen.
Cutouts for the MP3 players batteries and so I can get to the micro-SD card to change the play list should I wish...
and I probably will.
Roof wired up and fitted.
Light test look see as one does.
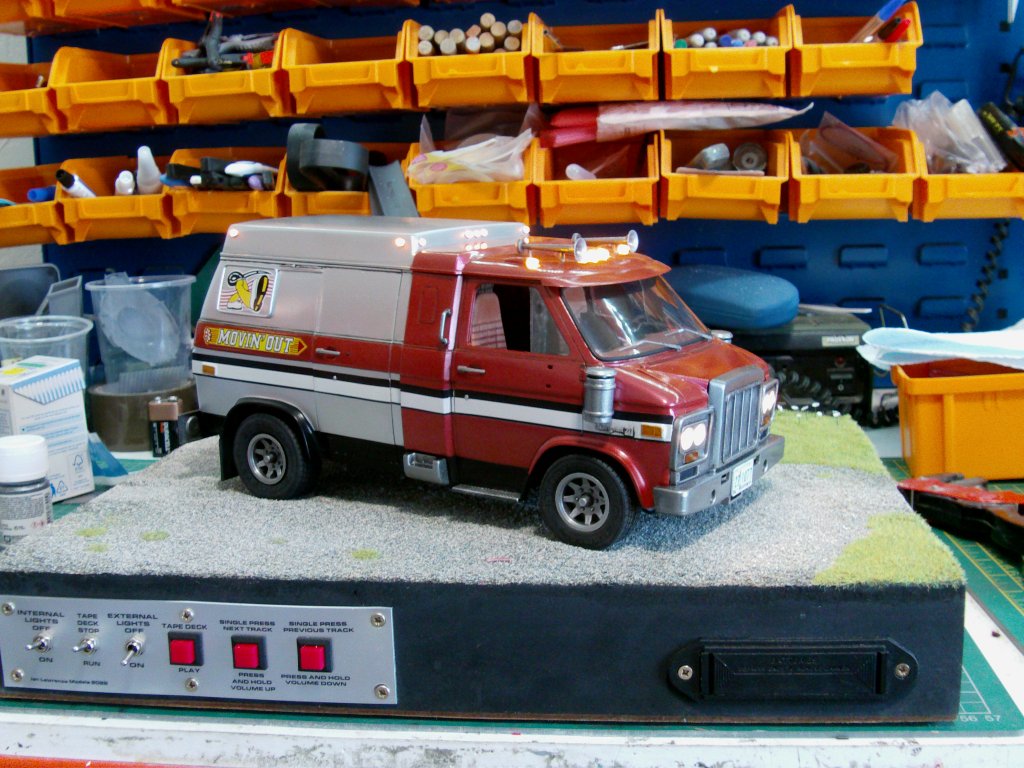
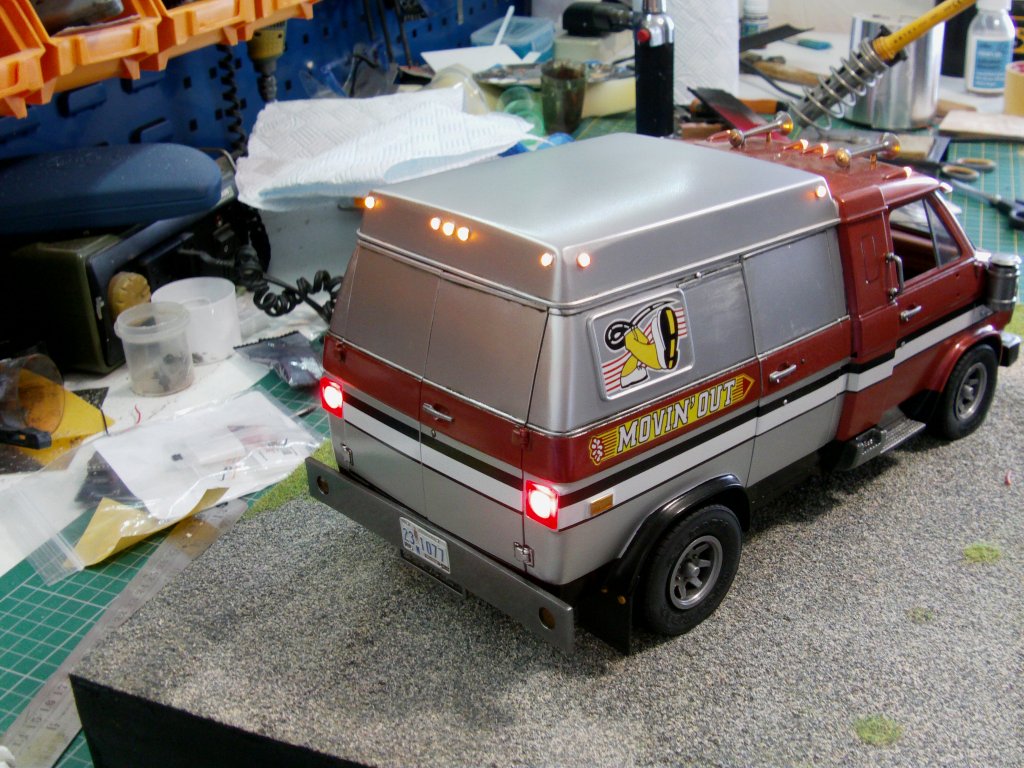
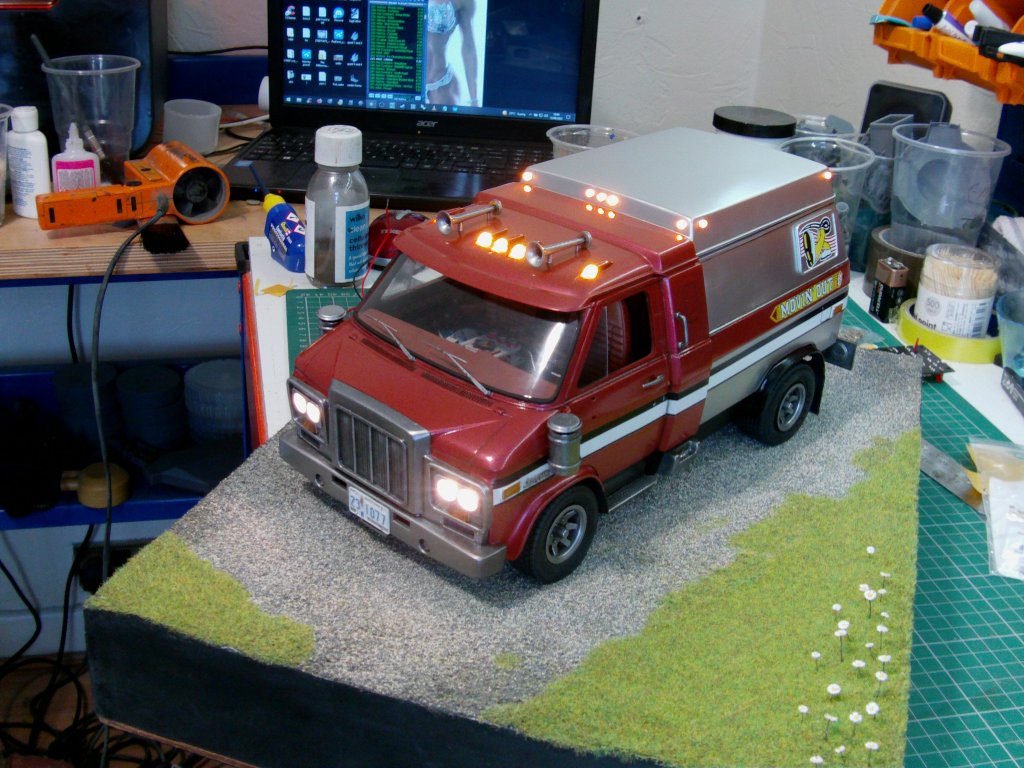

Side mirrors, exhaust stacks and large antenna in place.
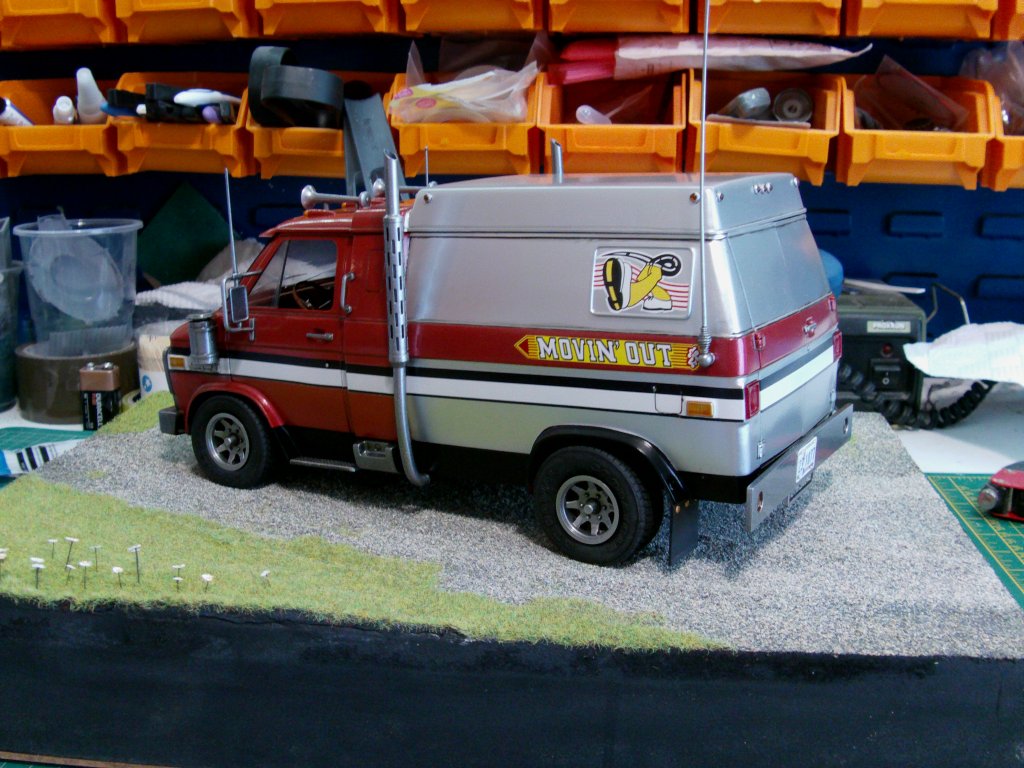

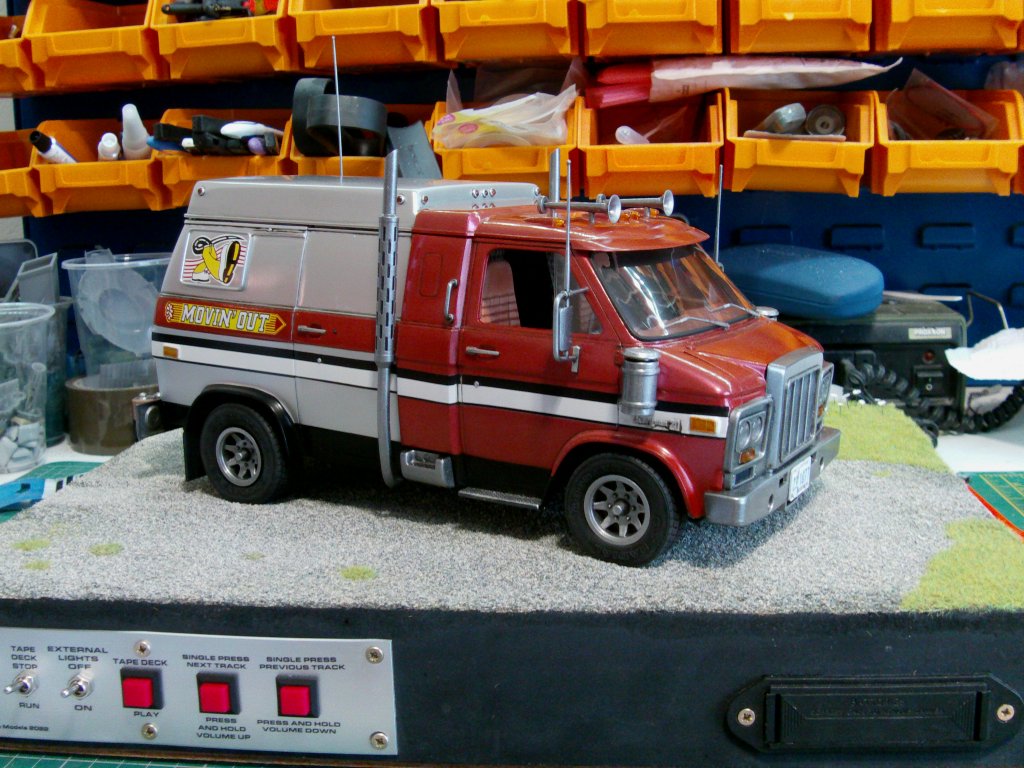
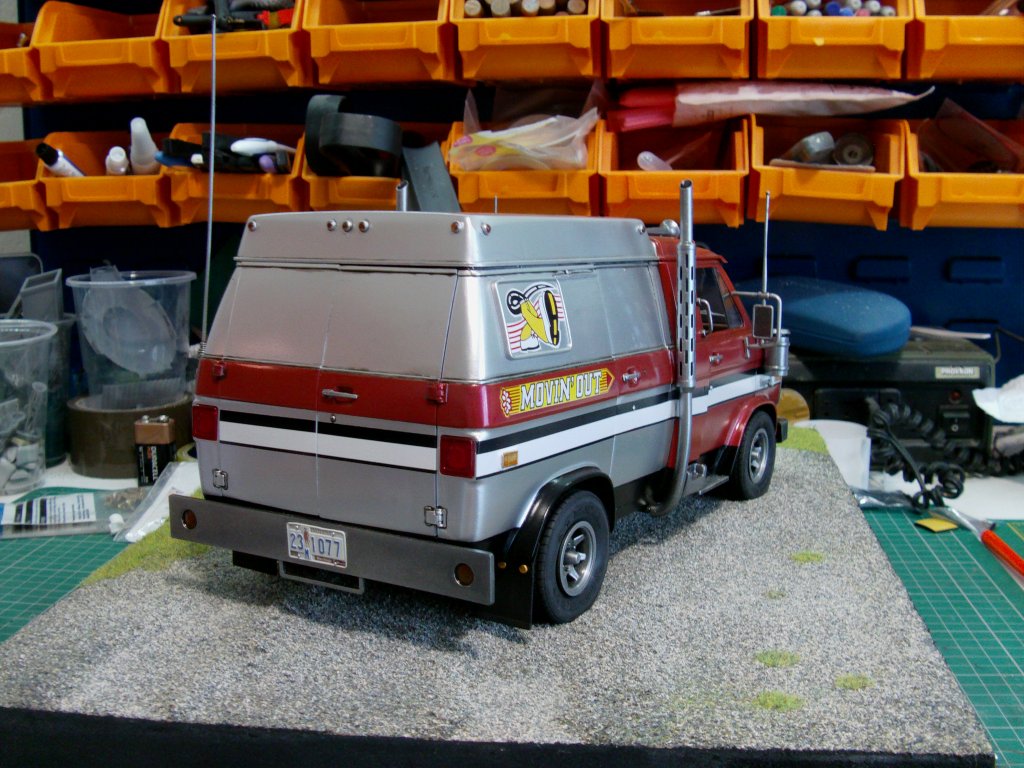
The very last parts to be attached.
And that's it for the build!
Calling this a double anniversary thing.
First, crossing this off the 'Made a bloody mess of the first build years ago, try to do better this time' list
and methinks I may have got a bit closer to what I originally wanted.
Second, this year of 2022 marks 50 years since I built my first injection moulded kit.
For the trivia dept, it was the Airfix 1/72nd Bolton Paul Defiant,
bagged kit in black plastic with the instructions stapled to the top of the bag.
Hope you've enjoyed the ride along on thus build, gallery proper to come as soon as i've sorted it.
Photo gallery proper can be viewed by hitting the piccie button thing below.
Look after yaselves out there now people!
Page Number