
Revell Movin' Out 'Big Rig' Style Chevy Van
1/16th Scale


 Page Number
Alterations, additions...
And All Other Kinds Of Fun Stuff!
Welcome back one and all!
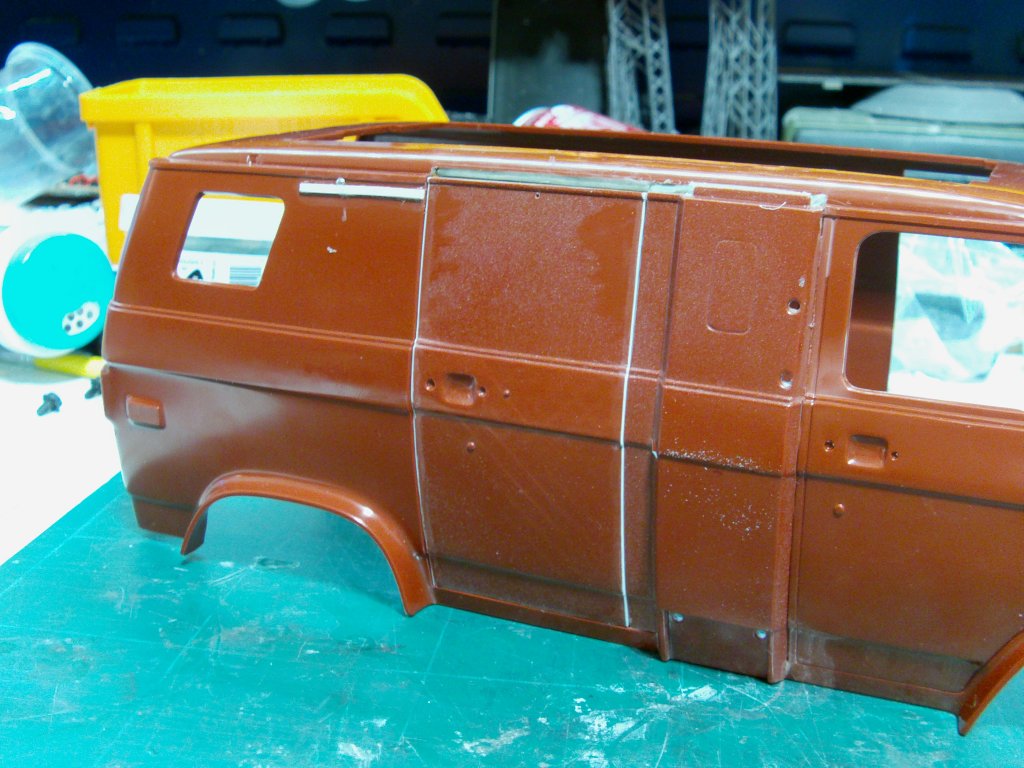
Ok, having a little leap back in to this beastie and to begin with, a little bit of door rework.
Now then, the side of the van opens to see the interior but it's a whole side panel and the exhaust stack.
Going by the box art, it's this whole bit removed to see the interior.
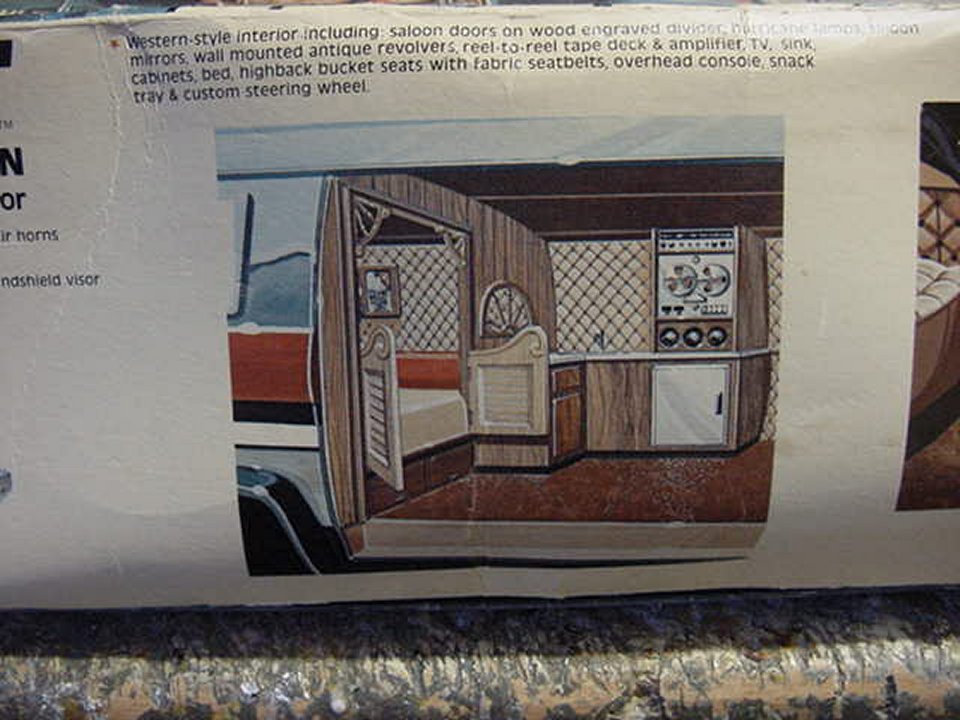
Well that's ok in some ways but I wanted something a little more realistic.
Both in looks and practicality for display.
The side panel got split and since the exhaust stack is in the way, hinges were out.
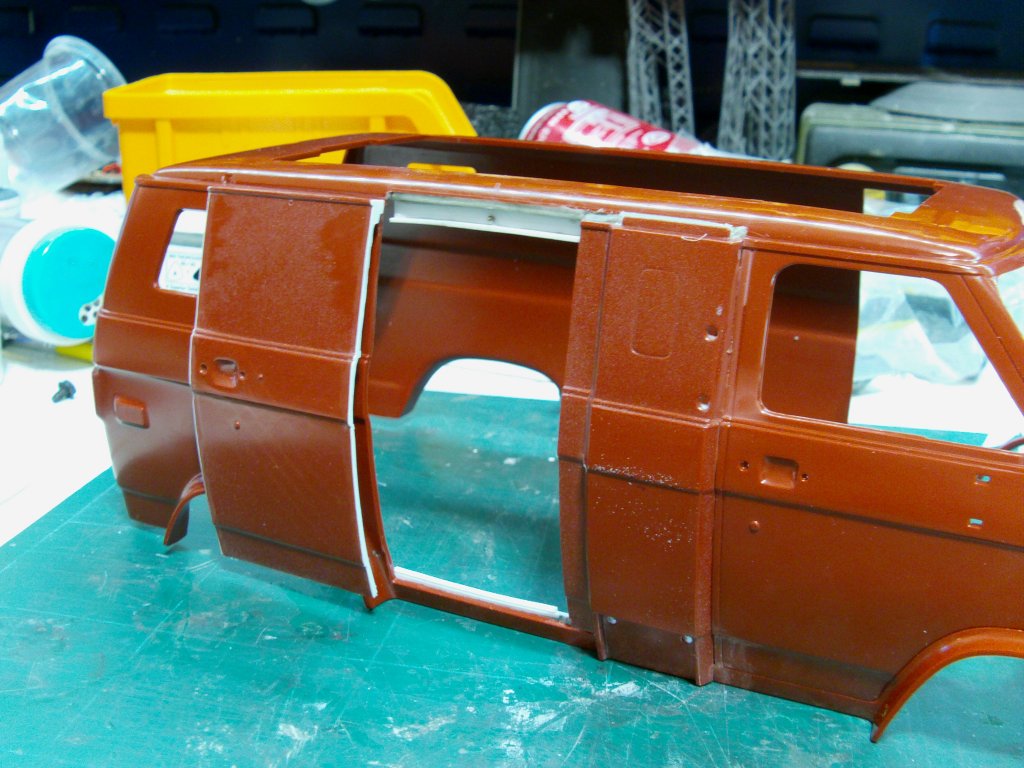
So a sort of fake sliding door idea came to mind.
A couple of tiny magnets, a couple of steel pin heads, a styrene shim or several
and it was as sorted as it's going to get.
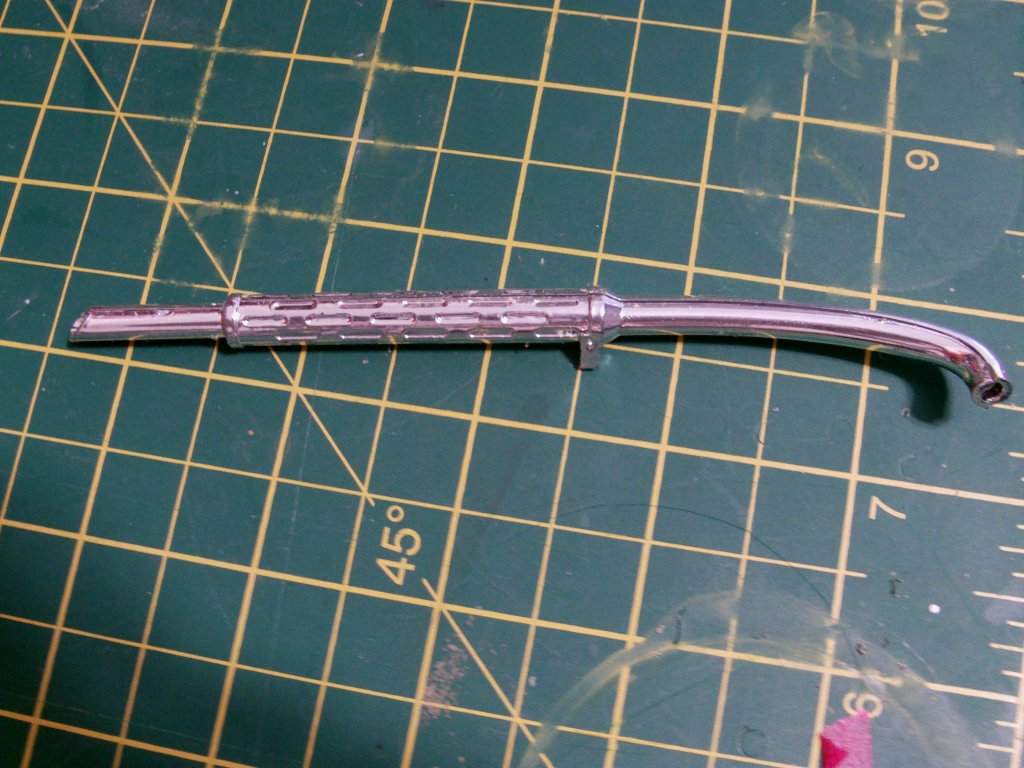
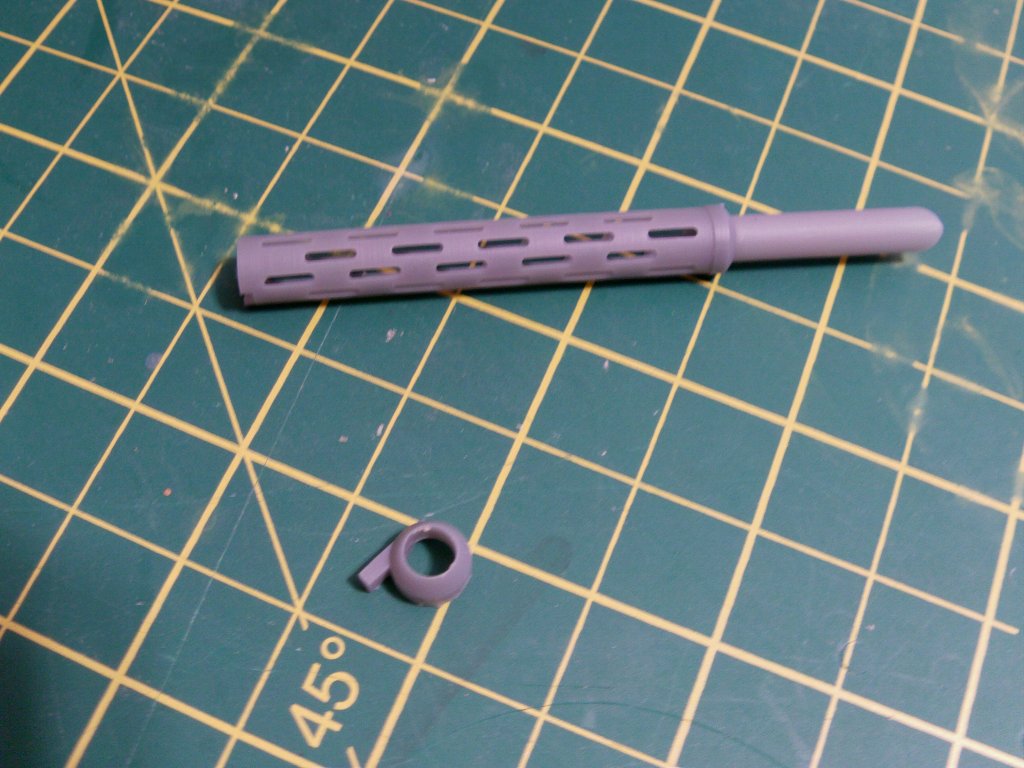
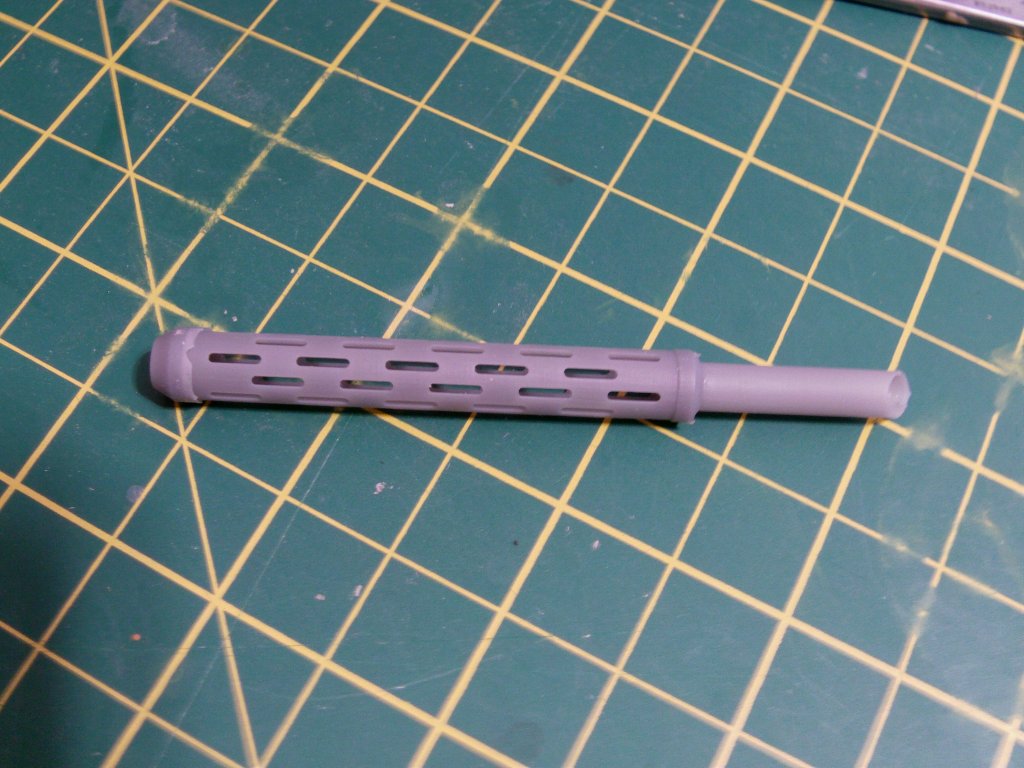
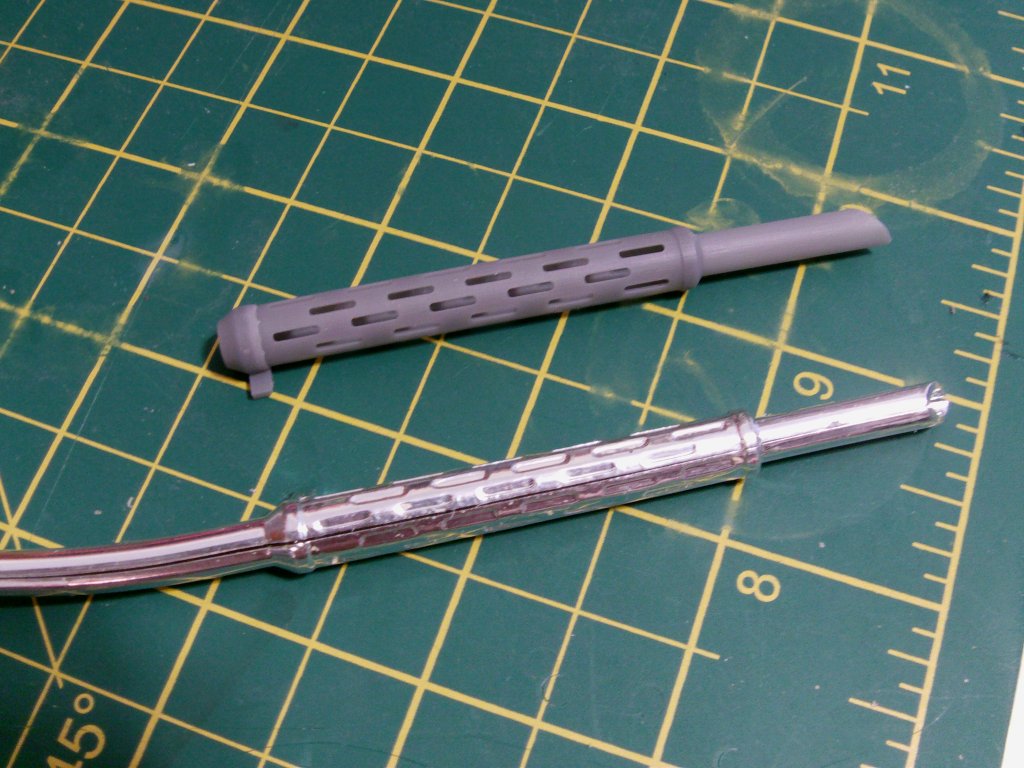
Speaking of exhaust stacks, they needed a looking at.
As stock parts go they are fine but a little extra required here for my purposes.
The stock parts.
So normally I would imagine, just a dab of black paint in the recesses and done.
Not on my watch methinks!
Polygon punching time!
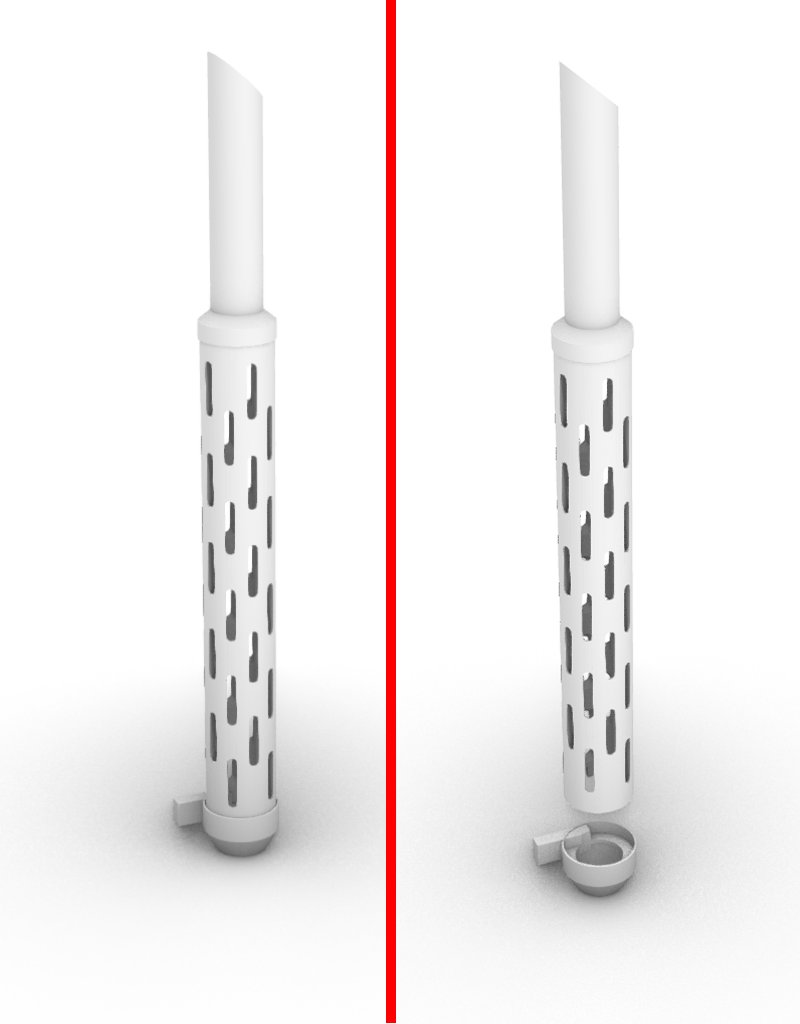
A few test prints later and the results as follows...
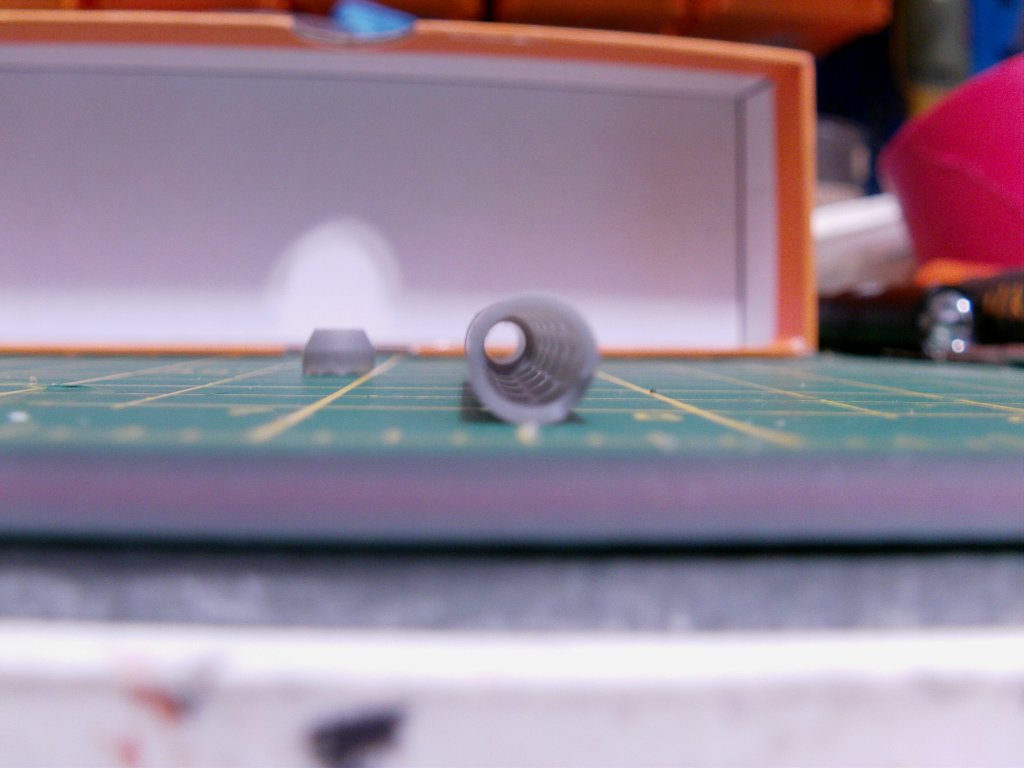
Somewhat better.
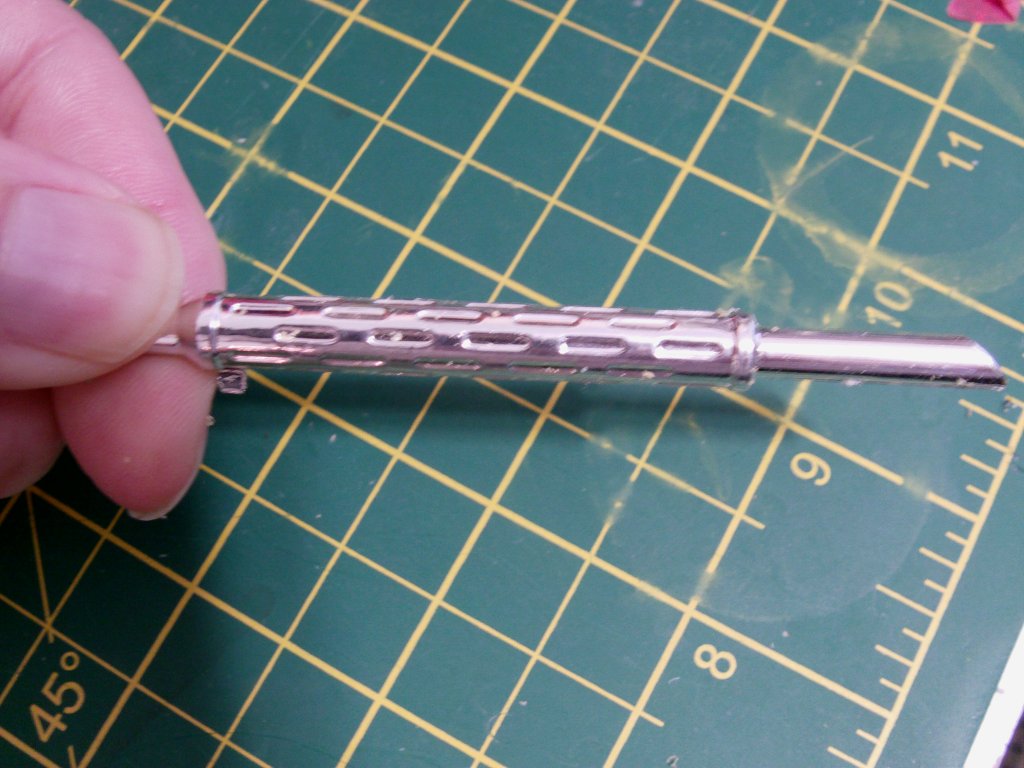
Some Alclad chrome and a bit of 4mm diameter aluminium tube up the middle should have it sorted.
A bit of a comparison shots thing in position.
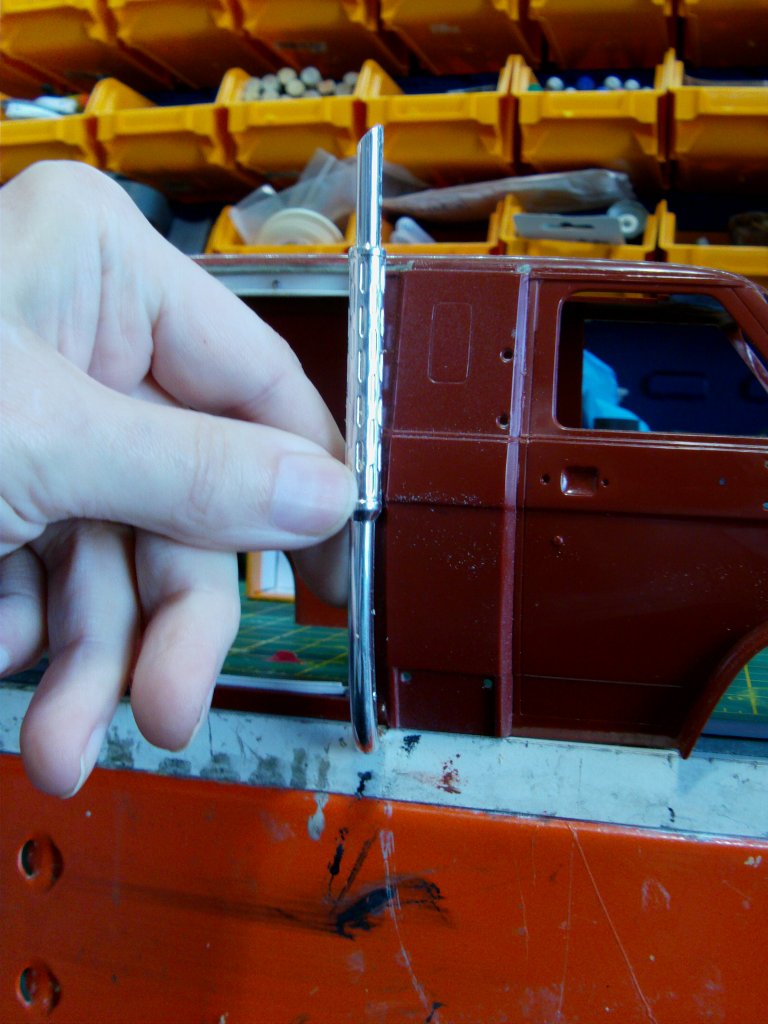

Yeah, think i can work with that.
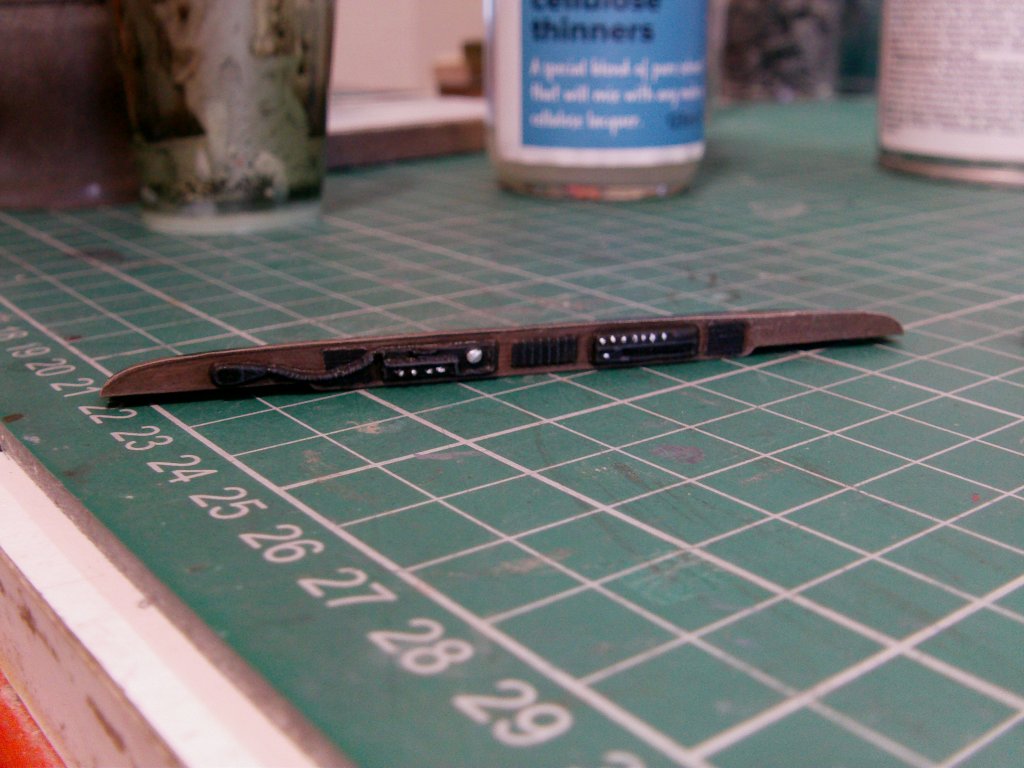
Interior panel work next up and one addition I want to make.
Bought in an MP3 player kit, comes as a bunch of components and a boards.
A little solder slinging later get's this.
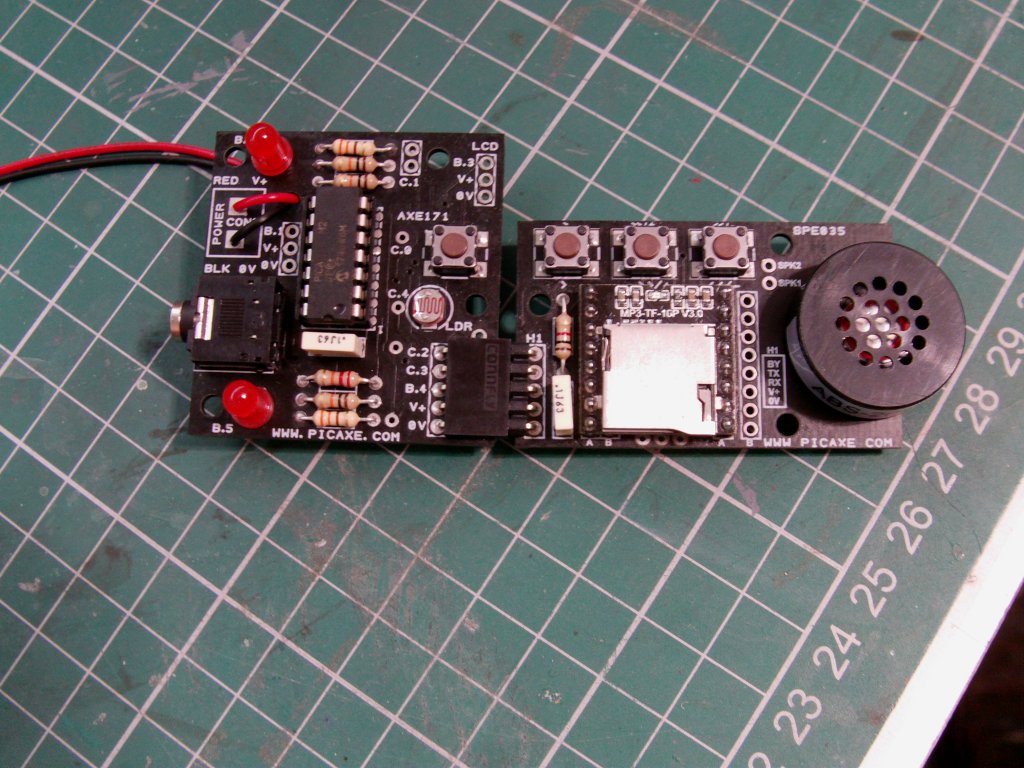
I got two and this is the test one to get an idea of what it is capable of.
Simply put, load the music files on to a micro SD card, hit the buttons and music is had.
My intention is to hook this up to the reel to reel tape deck, board in the base and speaker under the bed in the back.
Hit the switch, tape deck will do it's thing and music will play...
I hope.
But onward with the panels!
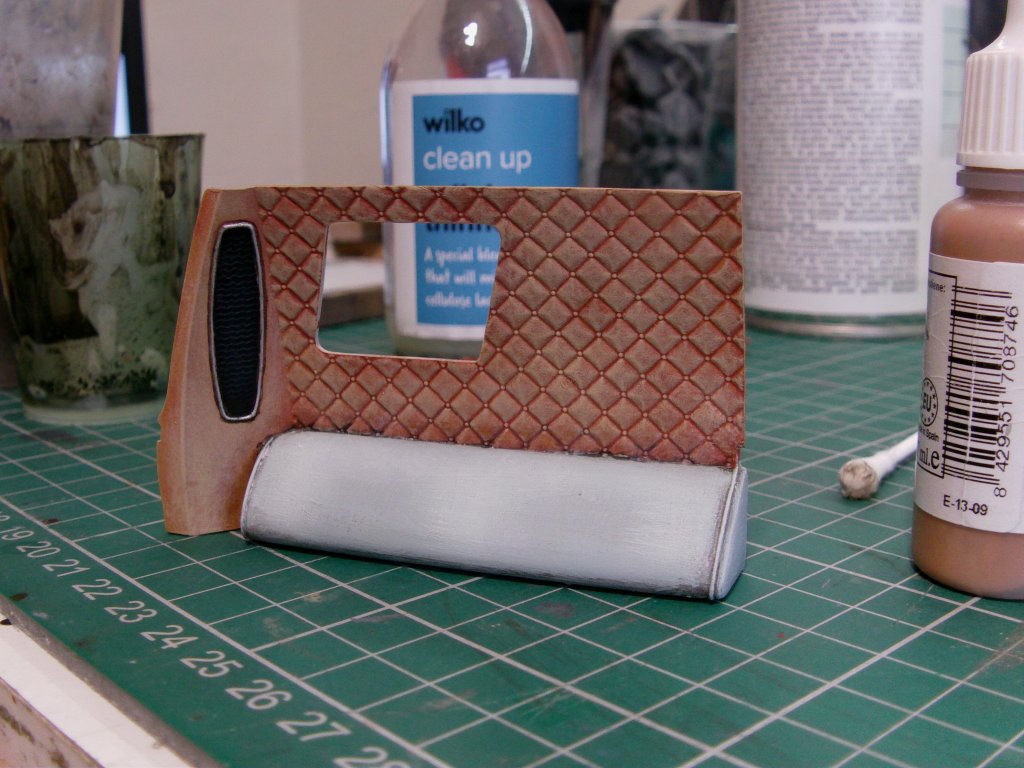
Rear and sliding door insides painted up.

Likewise for the dividing wall between the kitchen and bed area parts.
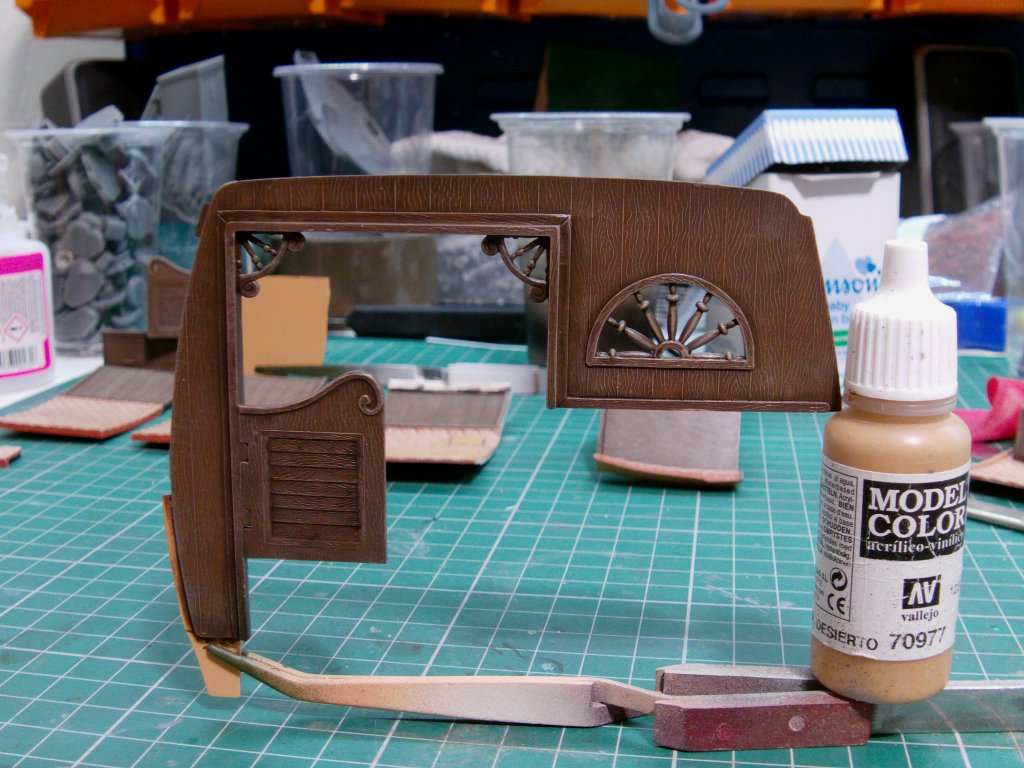
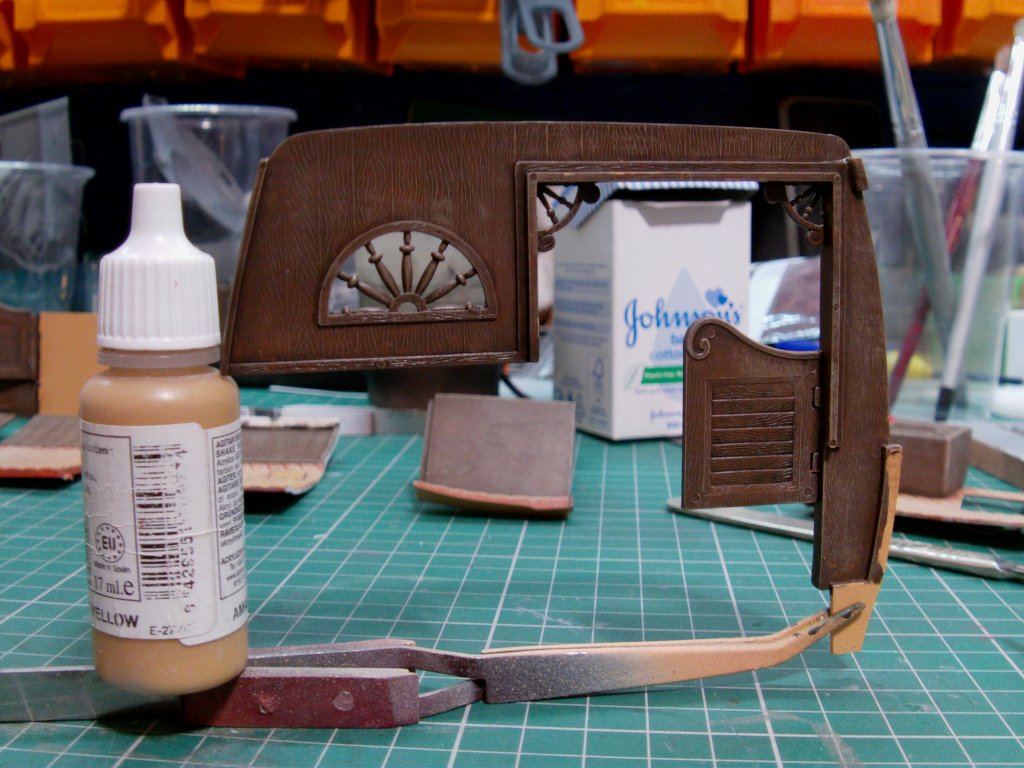
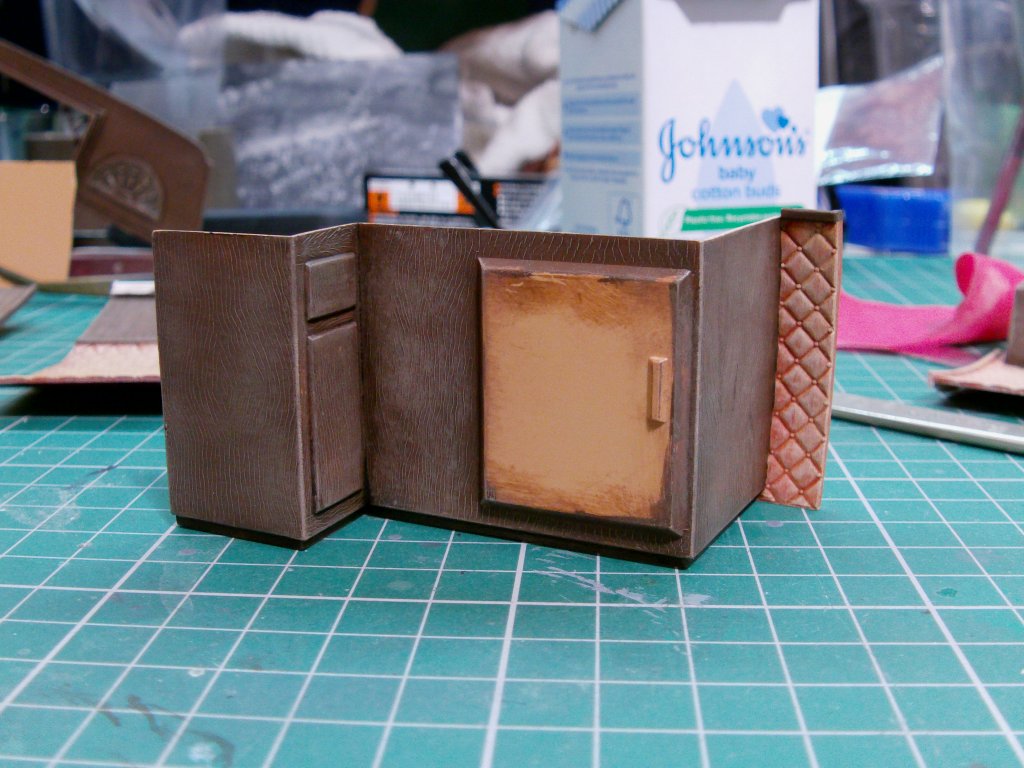
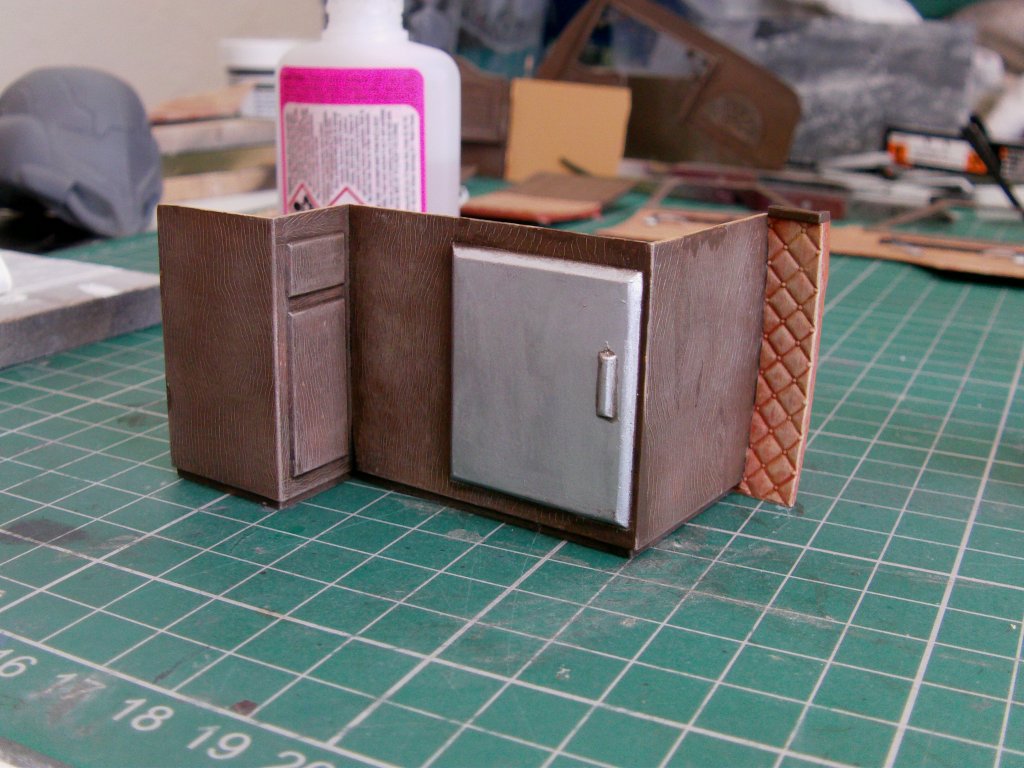
A little look see as to how it goes together.
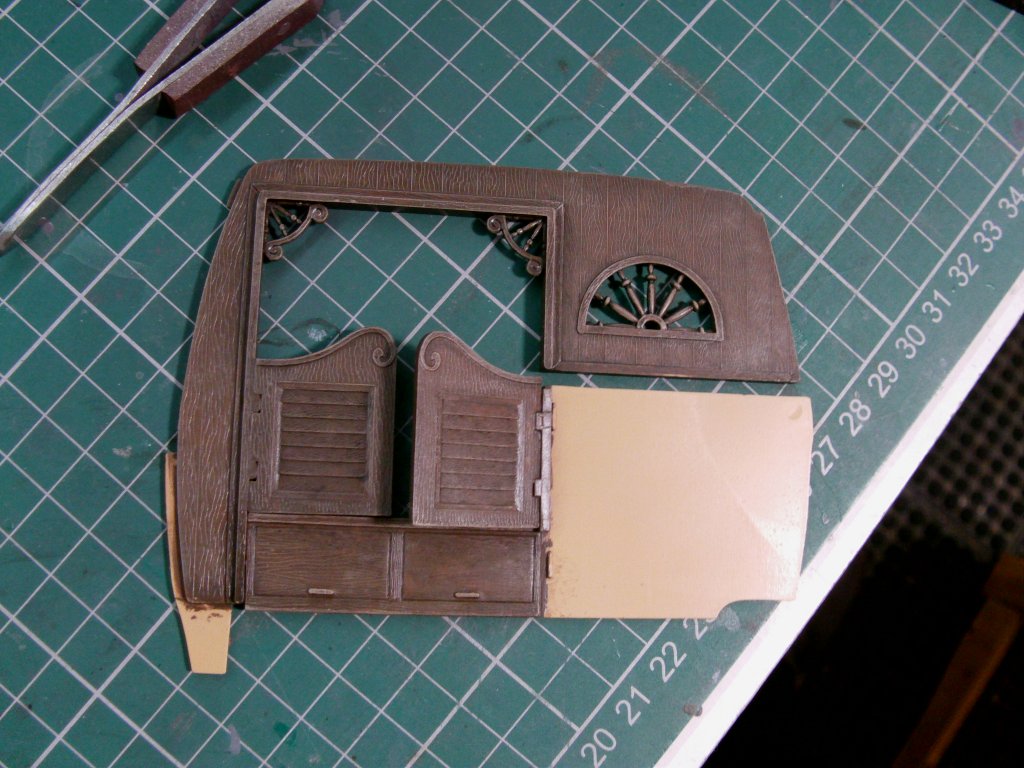
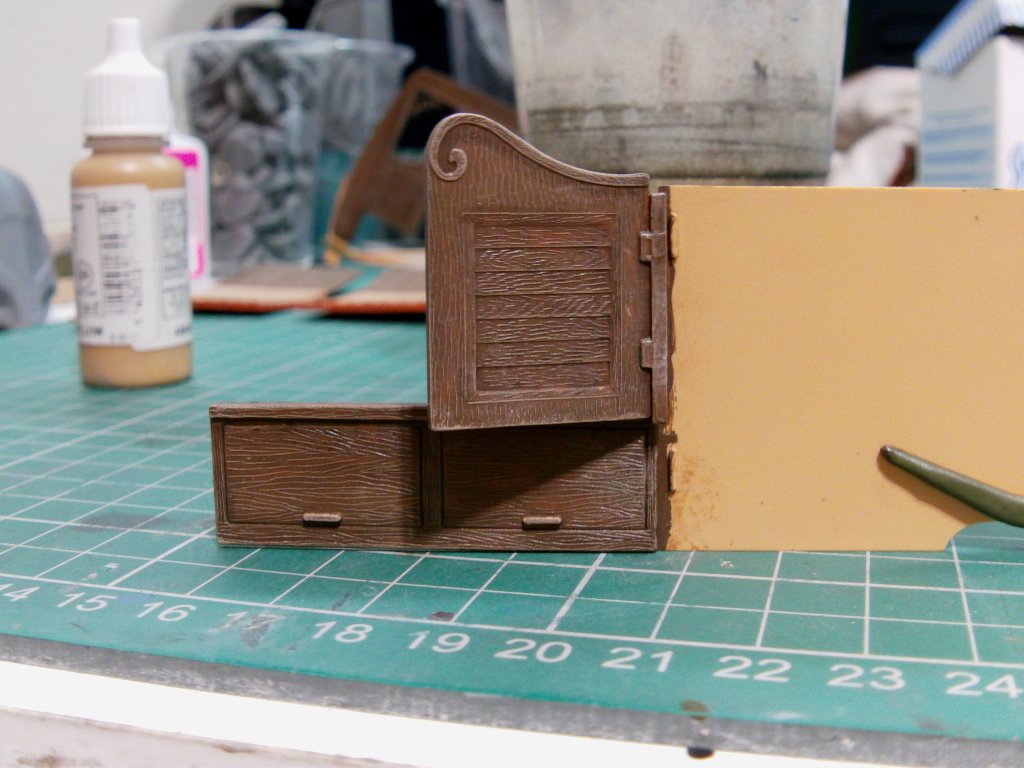
The counter bit woodwork with the fridge door.
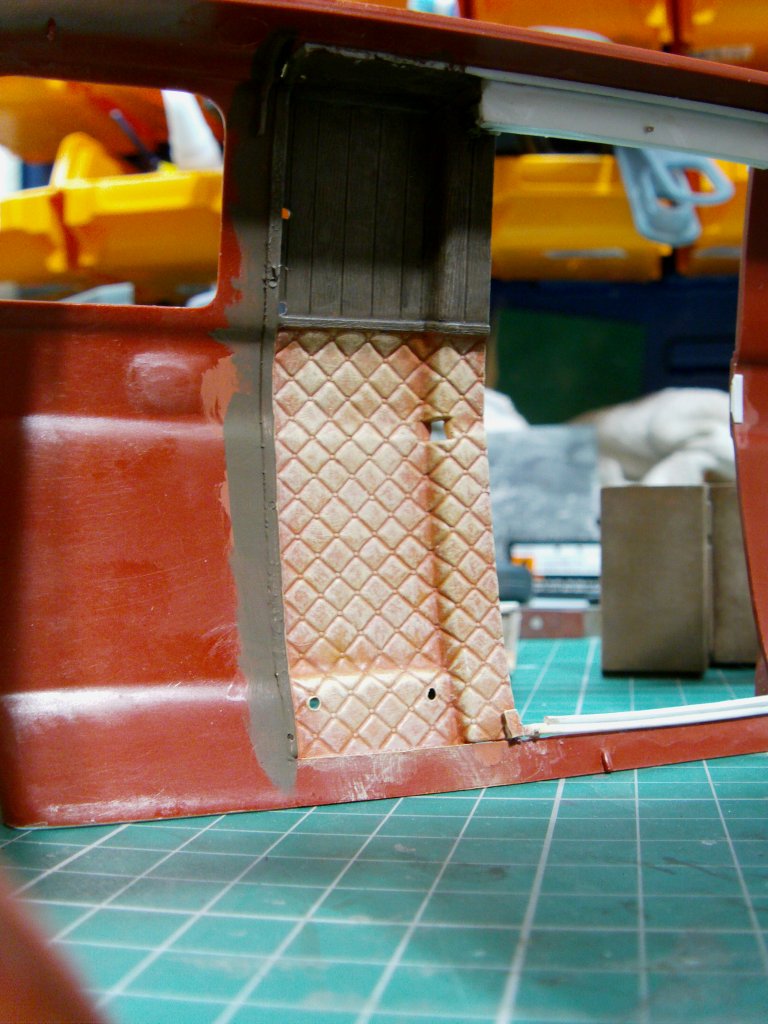
The inside body panel next to the sliding door part.
Front door panels done.
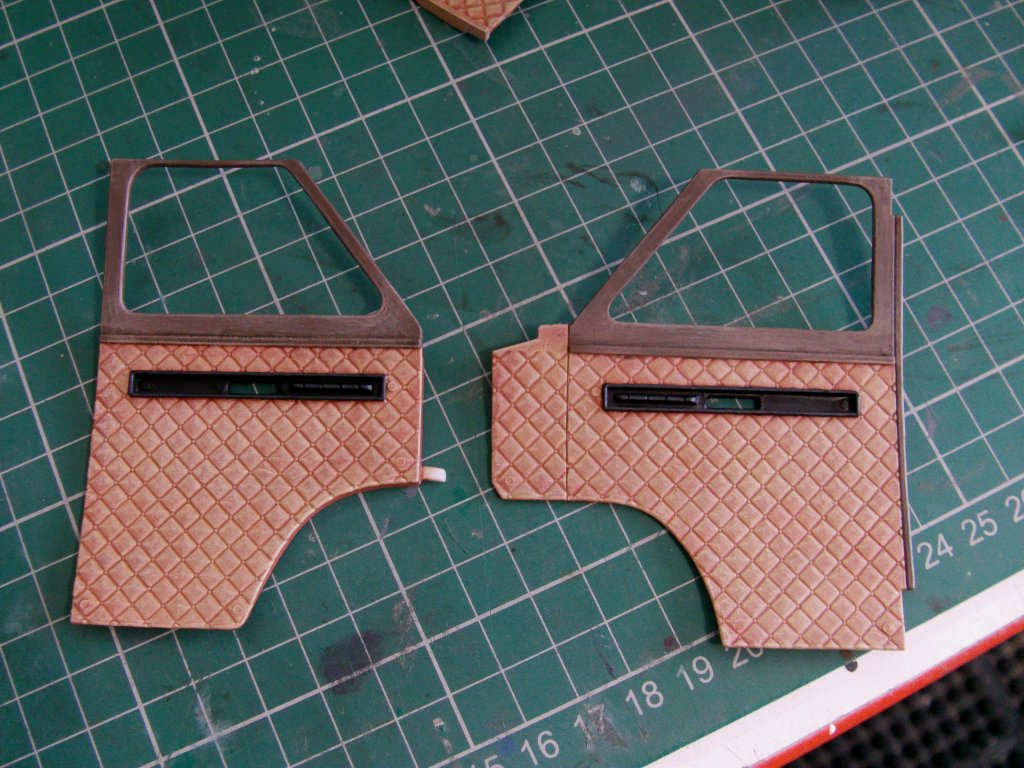
Now to me, they look ok but a bit blank so to speak.
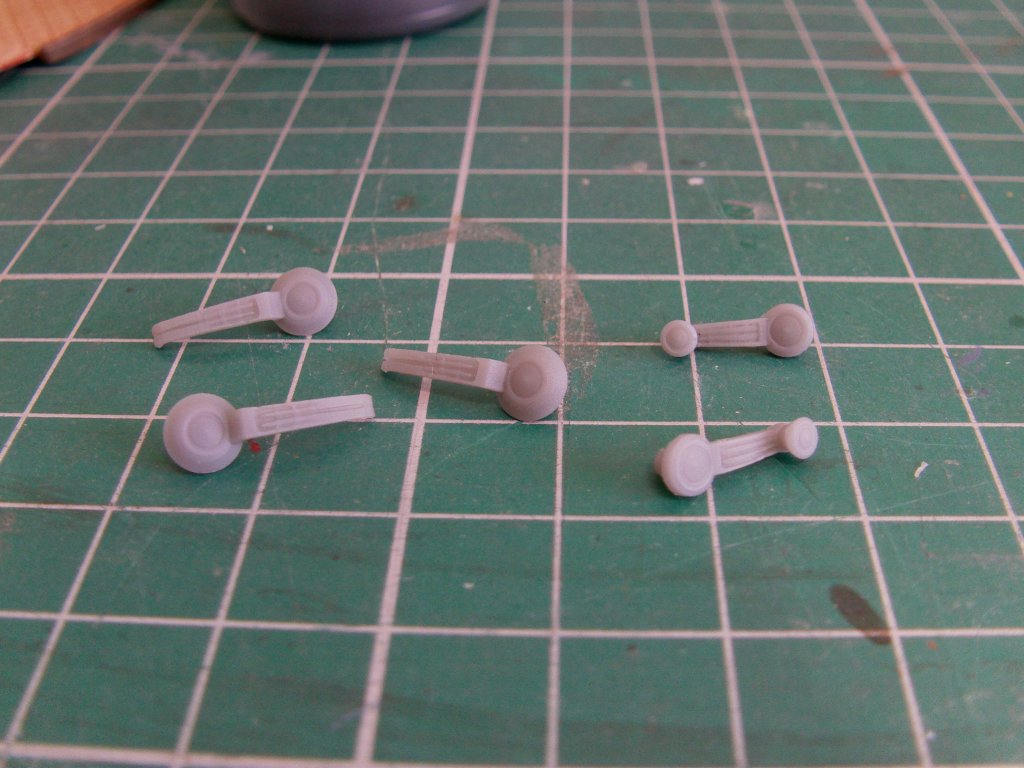
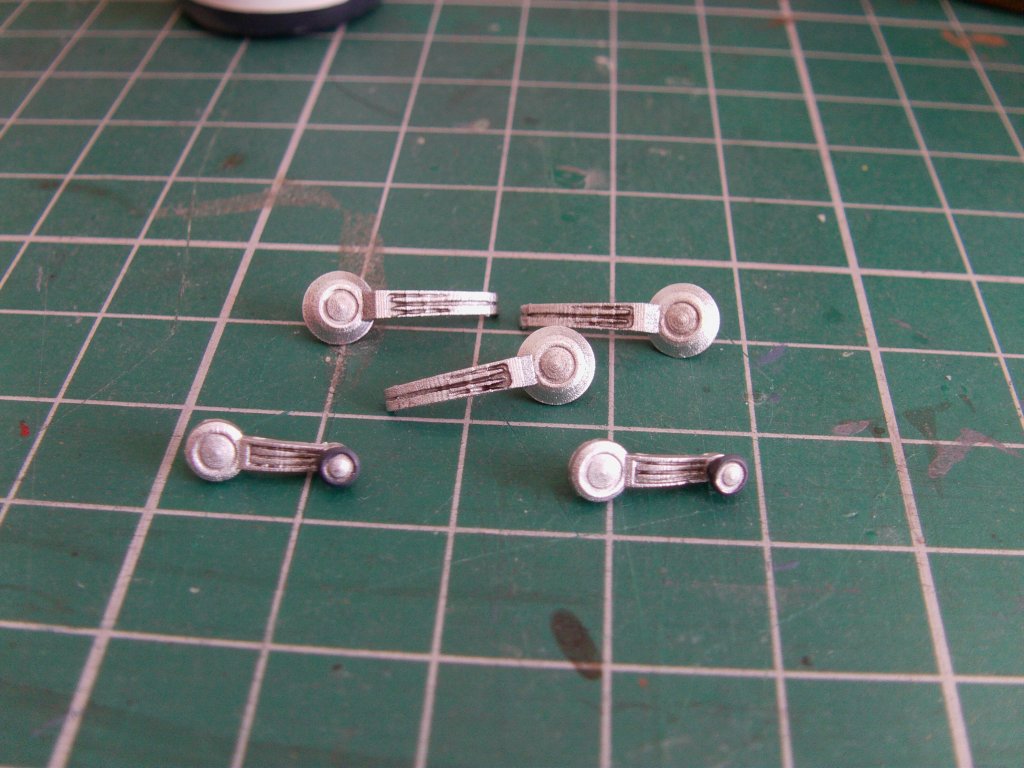
Some small research and a bit of polygon punching later got interior door and window crank handles printed.
Some Tamiya silver, thinned Tamiya smoke and a dab of paint got it done.
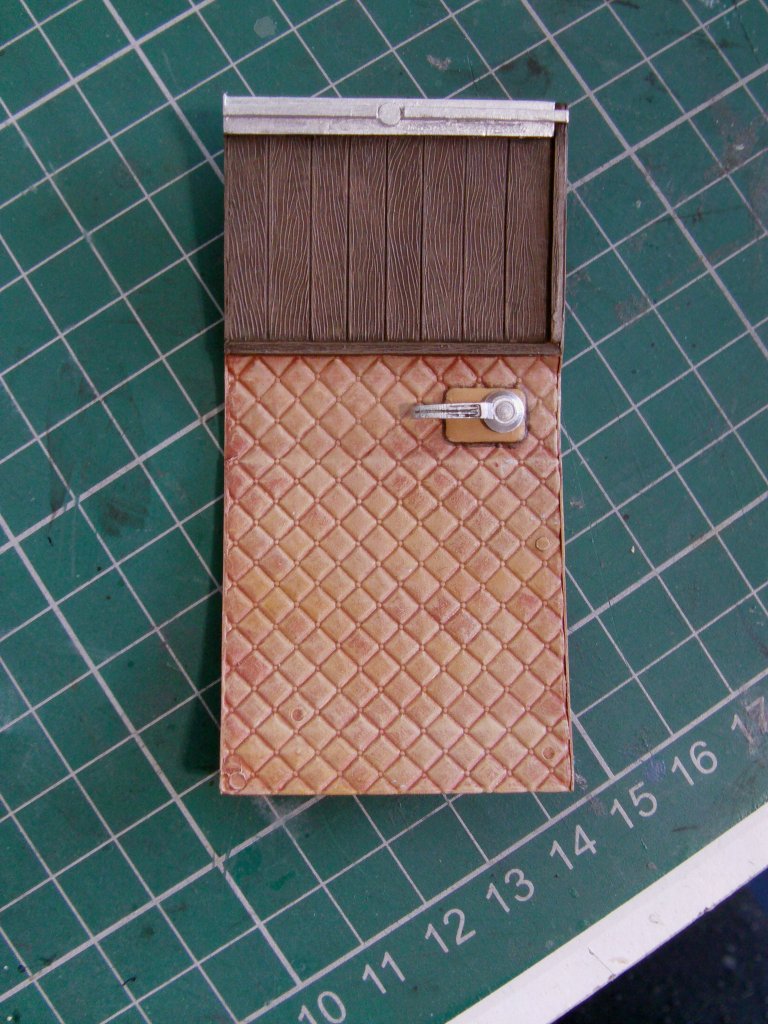
A few holes drilled and in place on the doors and a handle for the sliding one.
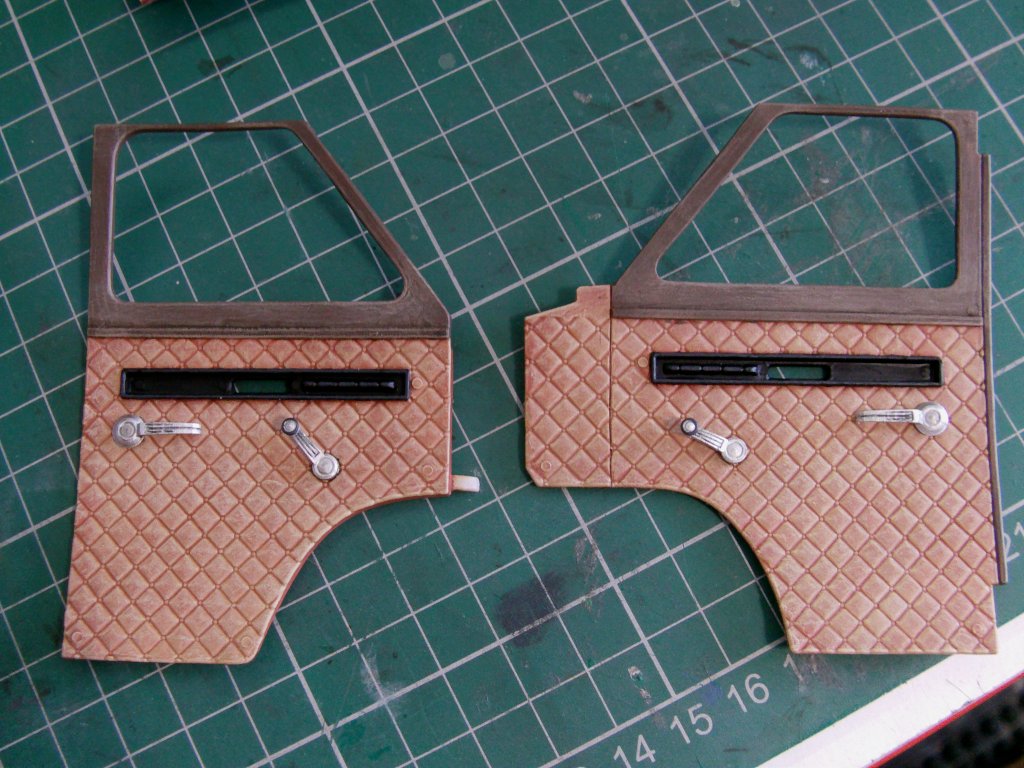
Are they accurate in placement?
No idea but they look nice so that'll do for me!
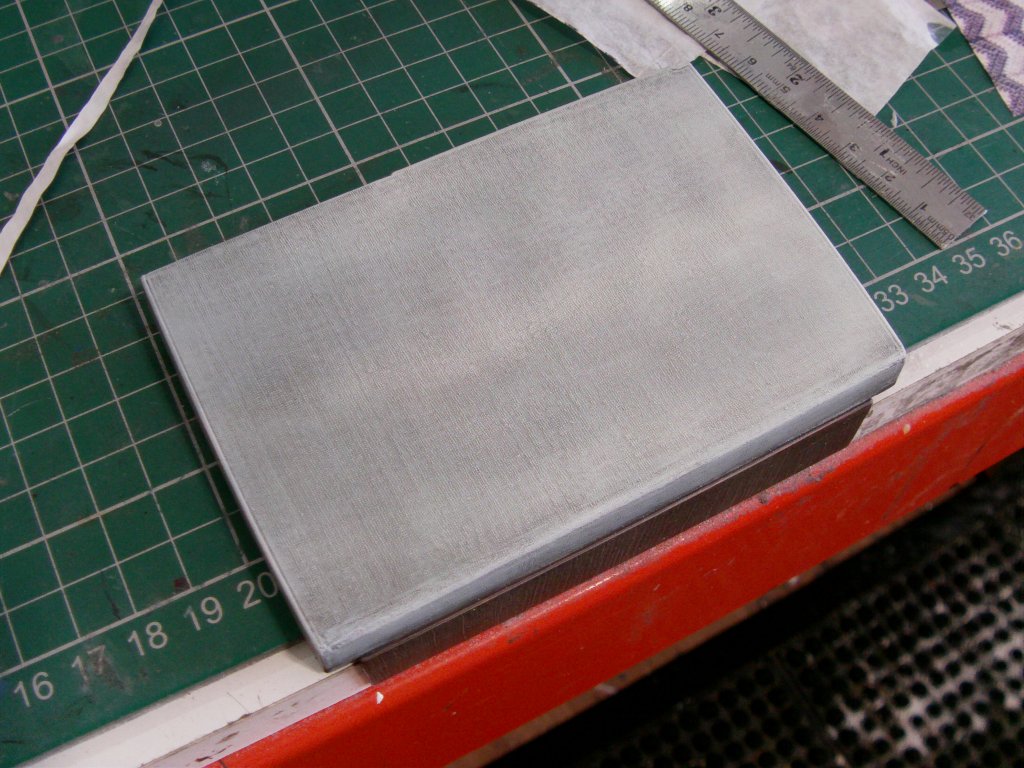
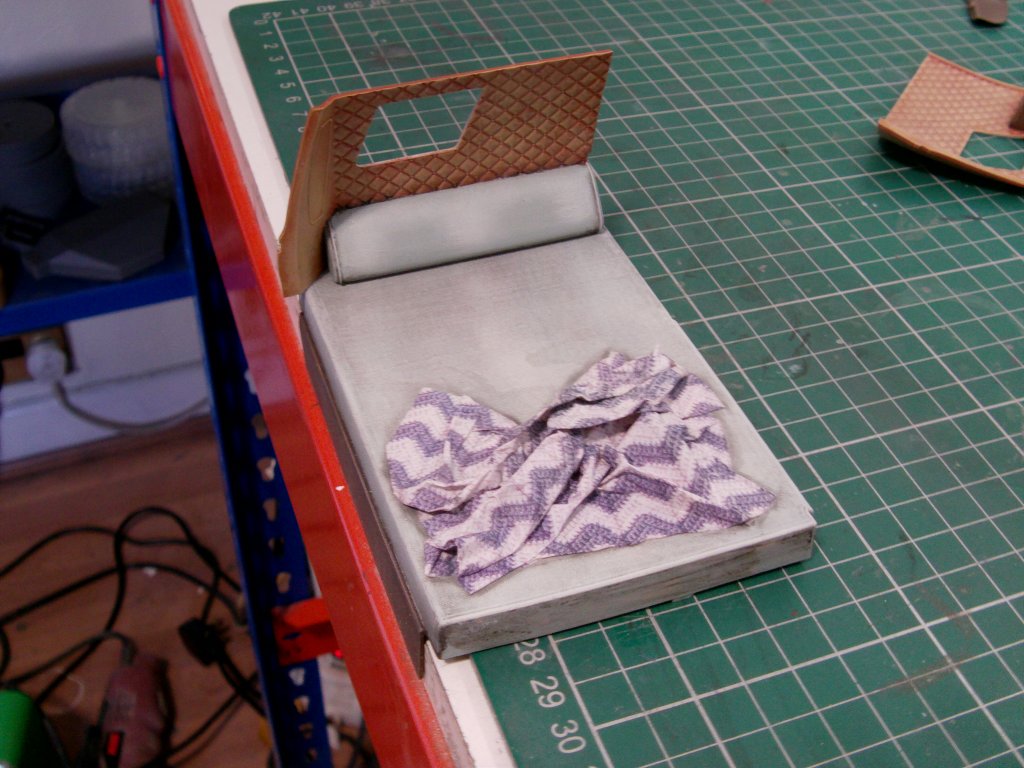
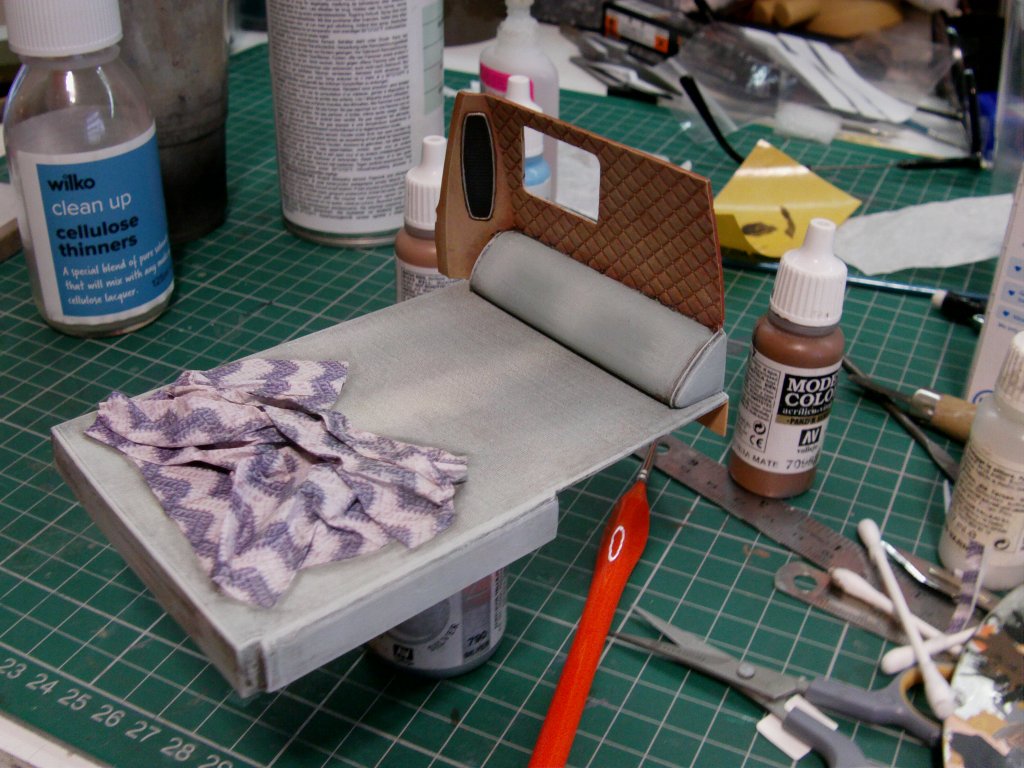
Onward with the bed area.
Now I want a used/lived in look for this rather than the pristine show van thing.
The bed base has some rather nice relief so some
furious drybrushing later brought that out to my satisfaction.

A blanket was in order and tried an idea firmly in the
'No idea if this will work but let's give a try anyway' category.
Went online to find a decent image of a woven blanket.
Found one and did a little copy/paste/clean up work to make a decal.
Said decal then laid on to some tissue paper with plenty of scenic glue which is a very thin PVA type of thing.
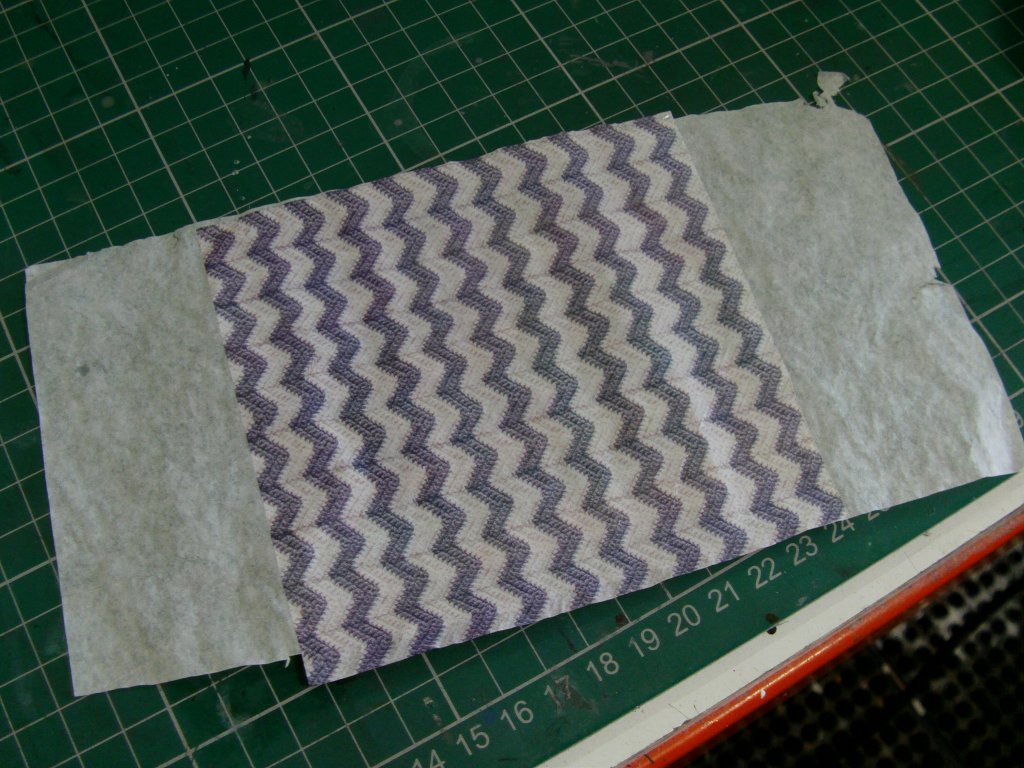
Once all dry, trimmed and then re-saturated with the glue and crumpled up to give it the kicked off/pushed aside look.
Some shoving and creasing here and there got it done.
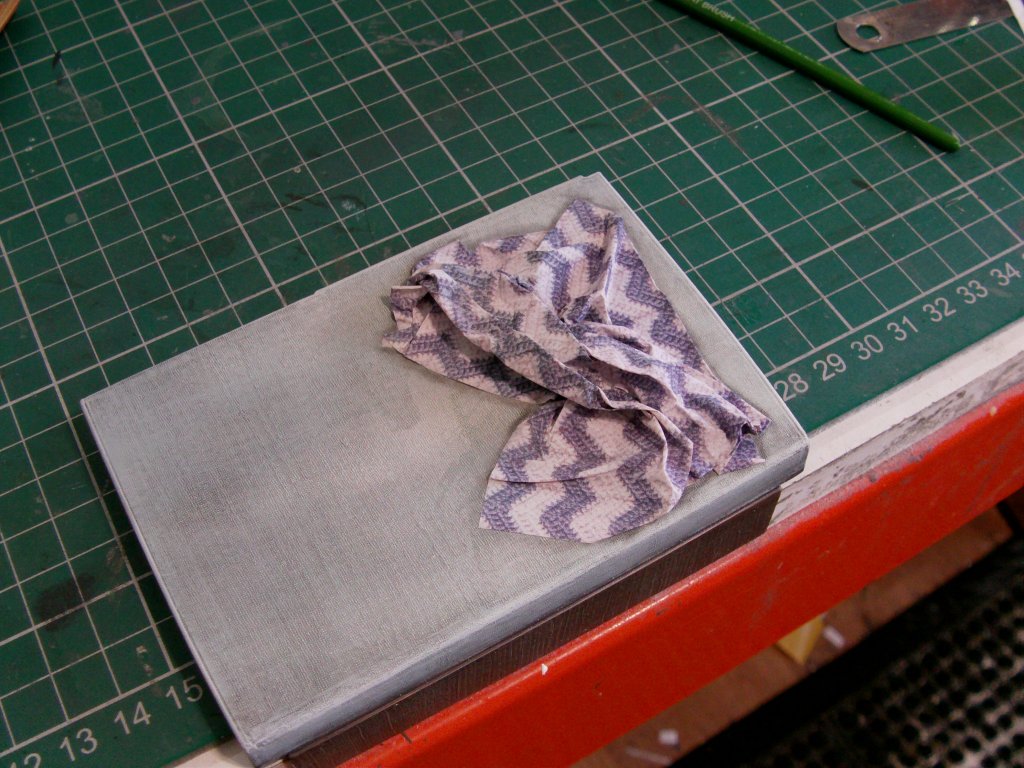
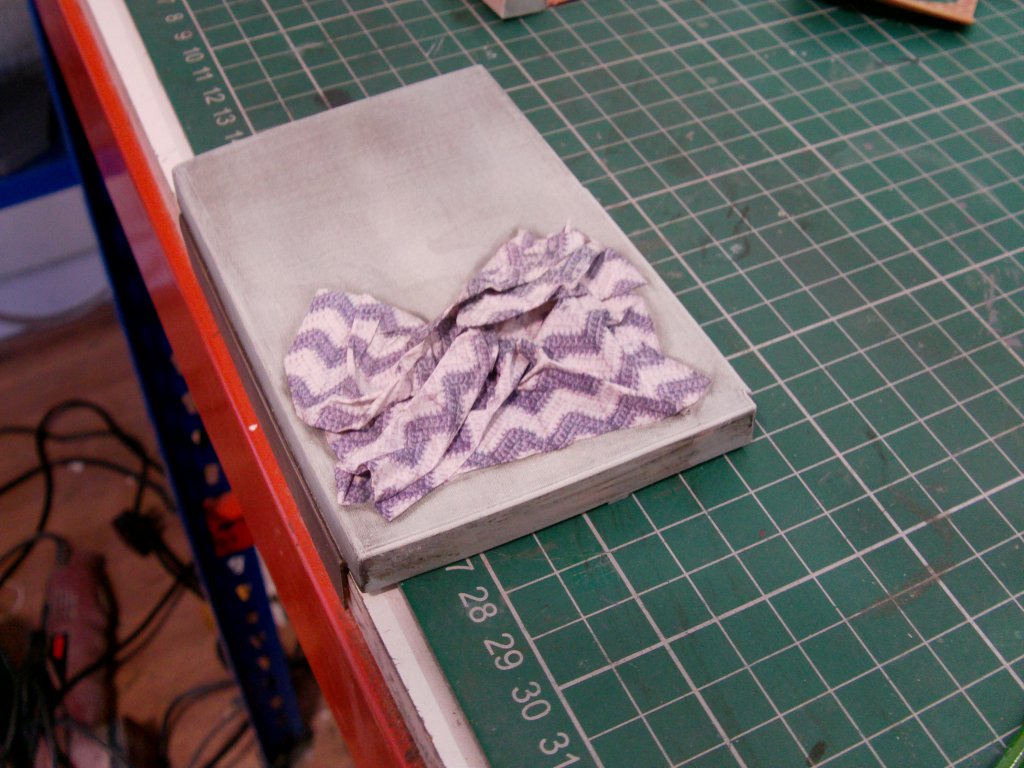
Yeah, about what I was after.
A quick look see with the not quite finished side wall.
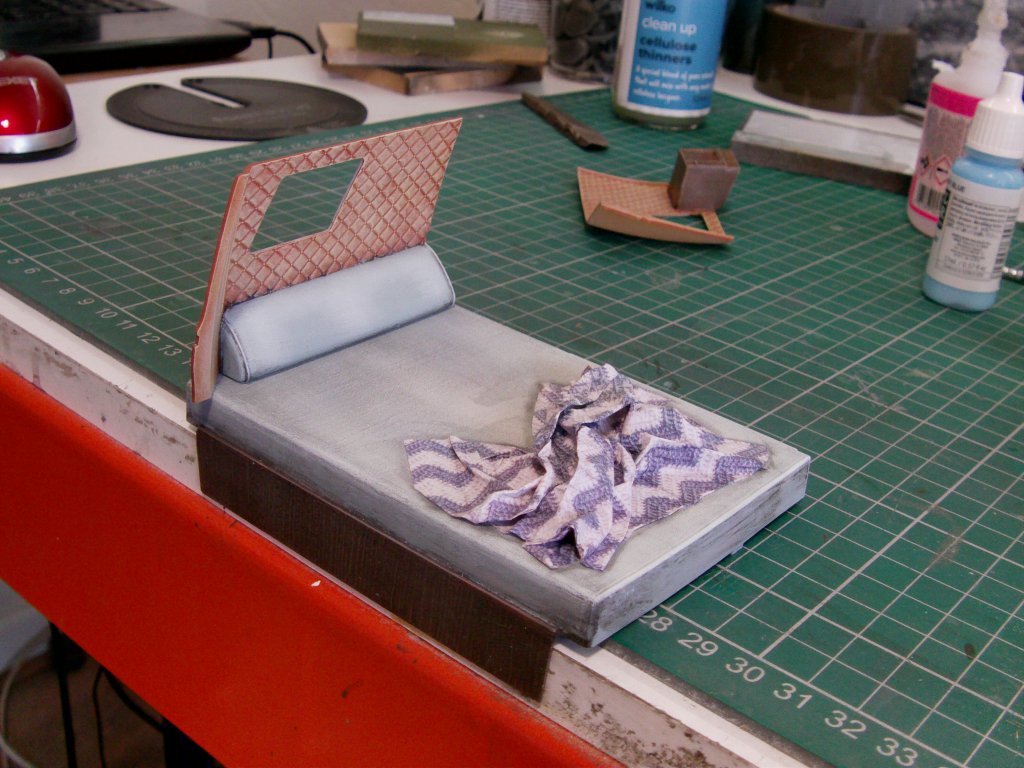
A bit of cleaning up to get shot for the glue splash marks and finish the paintwork on the wall panel.
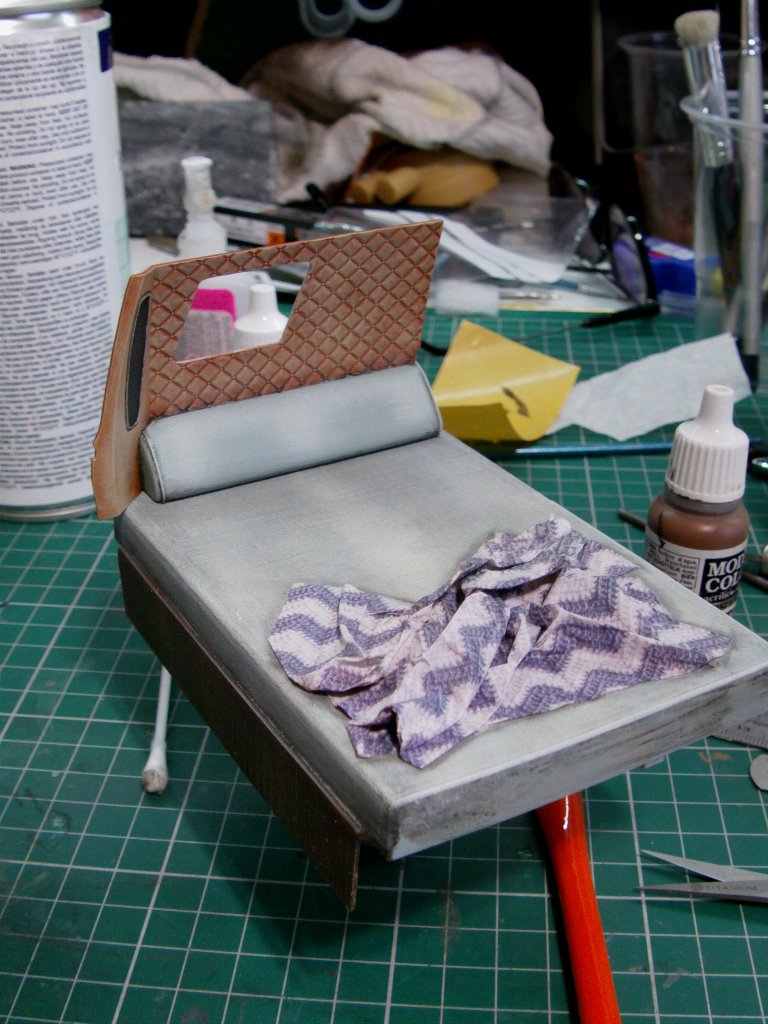
Aye, that'll about do it.
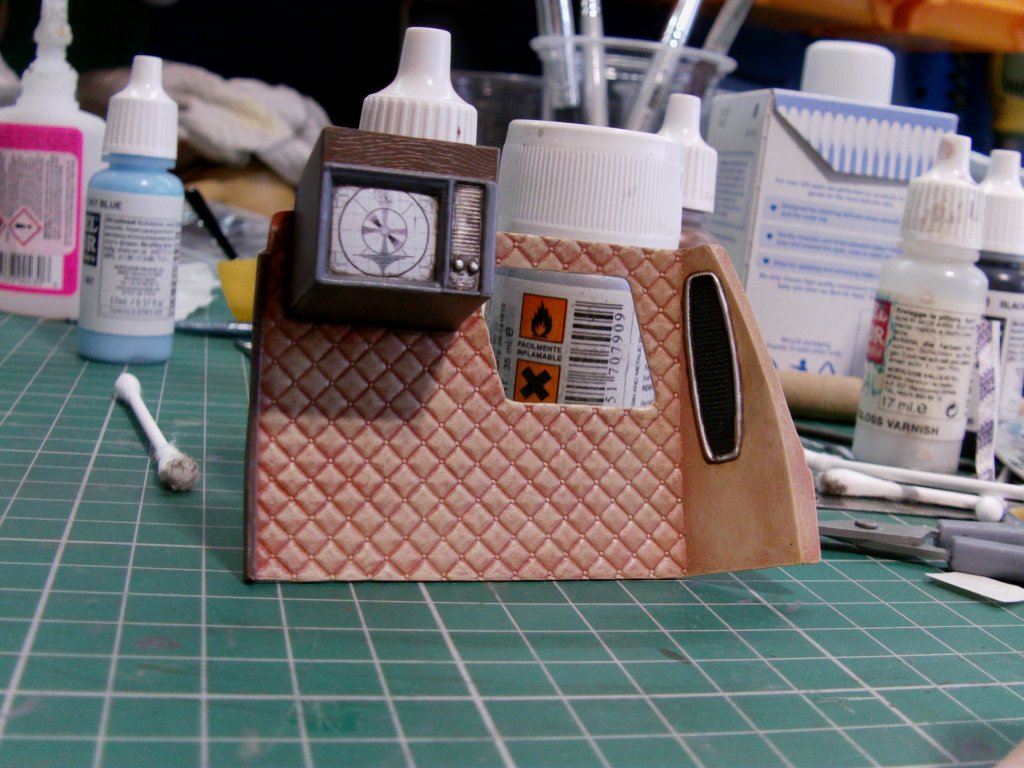
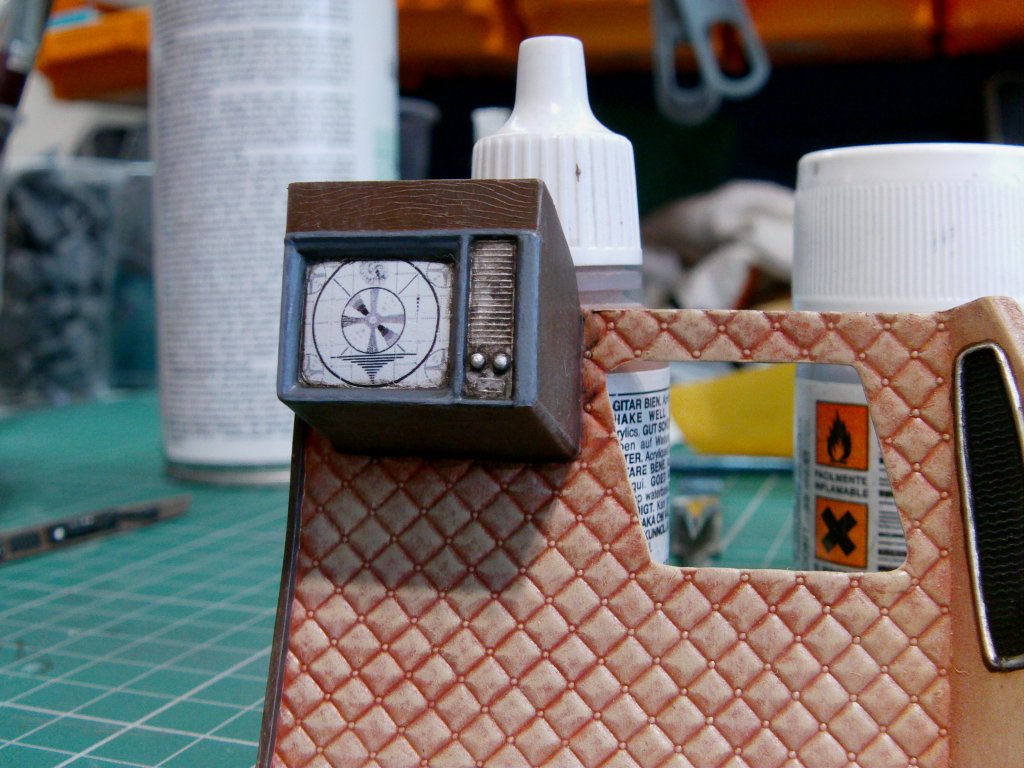
Opposite side wall done.
Just went with a decal for the TV screen rather than the lighting thing to make my life a bit easier.
The overhead console for the driver/passenger bit painted up.
And that's the story so far for this update my friends!
More to come so untill then, you goodly gang go easy out there now.
Page Number