
Revell Movin' Out 'Big Rig' Style Chevy Van
1/16th Scale


 Page Number
More bits...
So More Putting Together.
Whatho all!
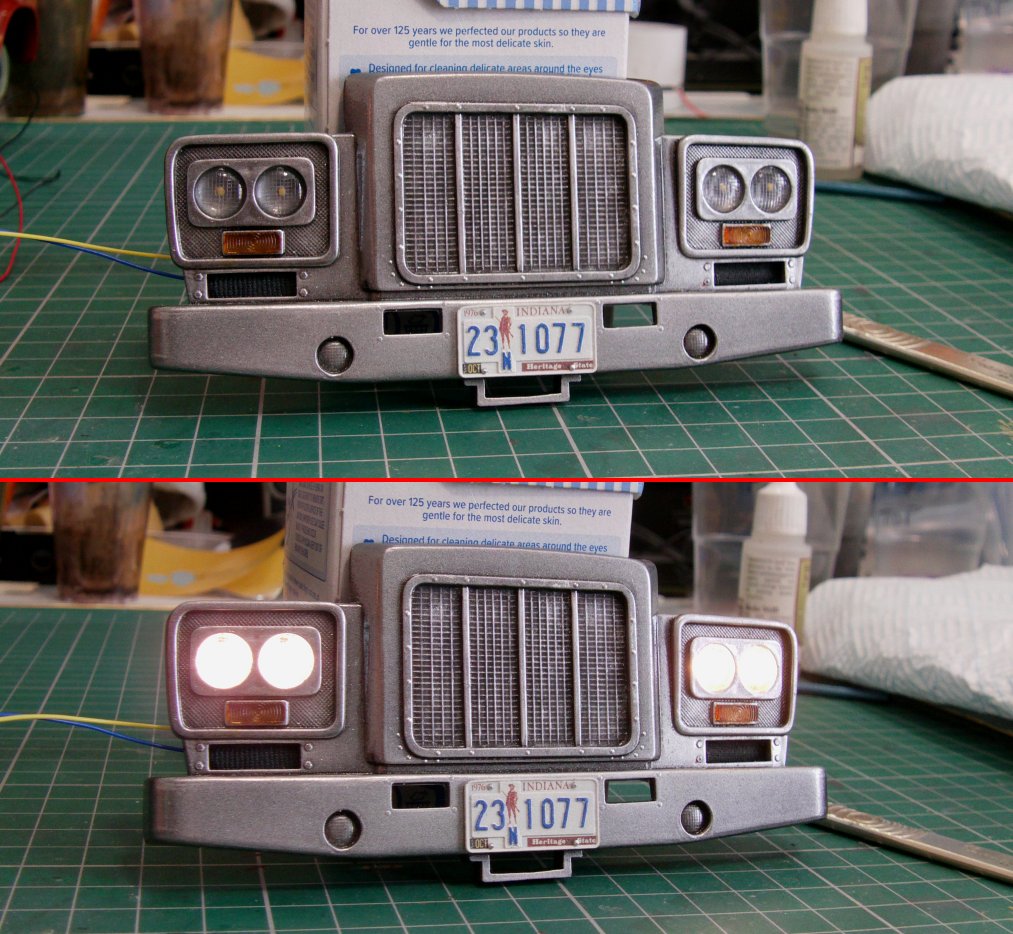
Onward we go and headlight LEDs resistored up, wired up and tested.
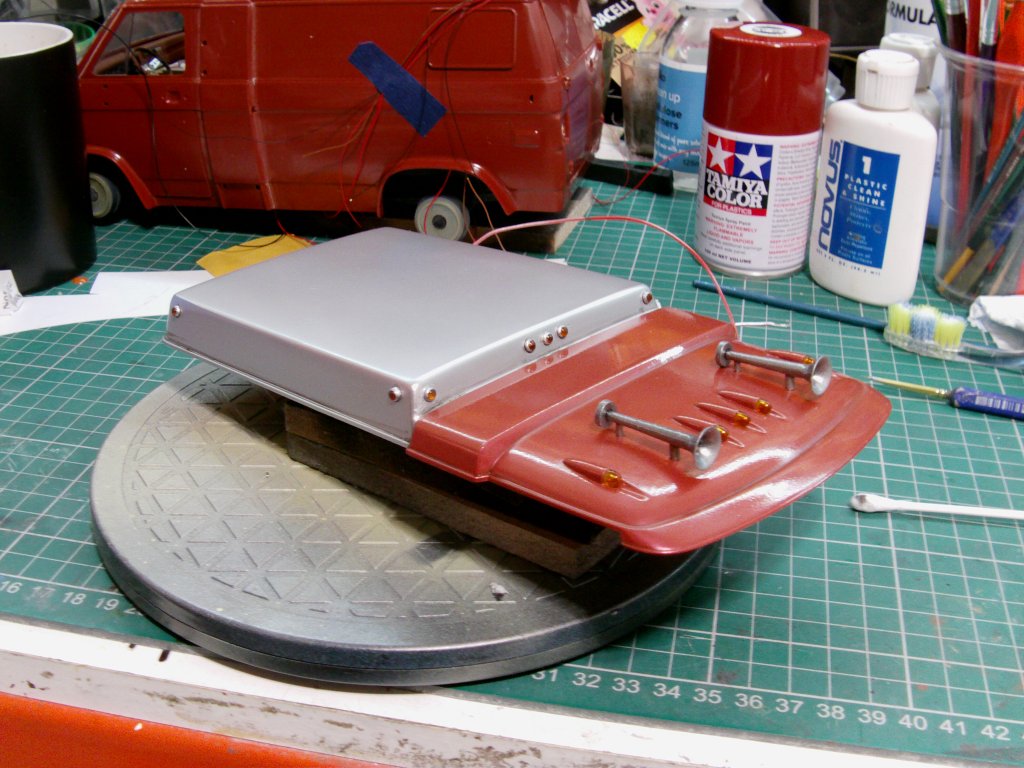
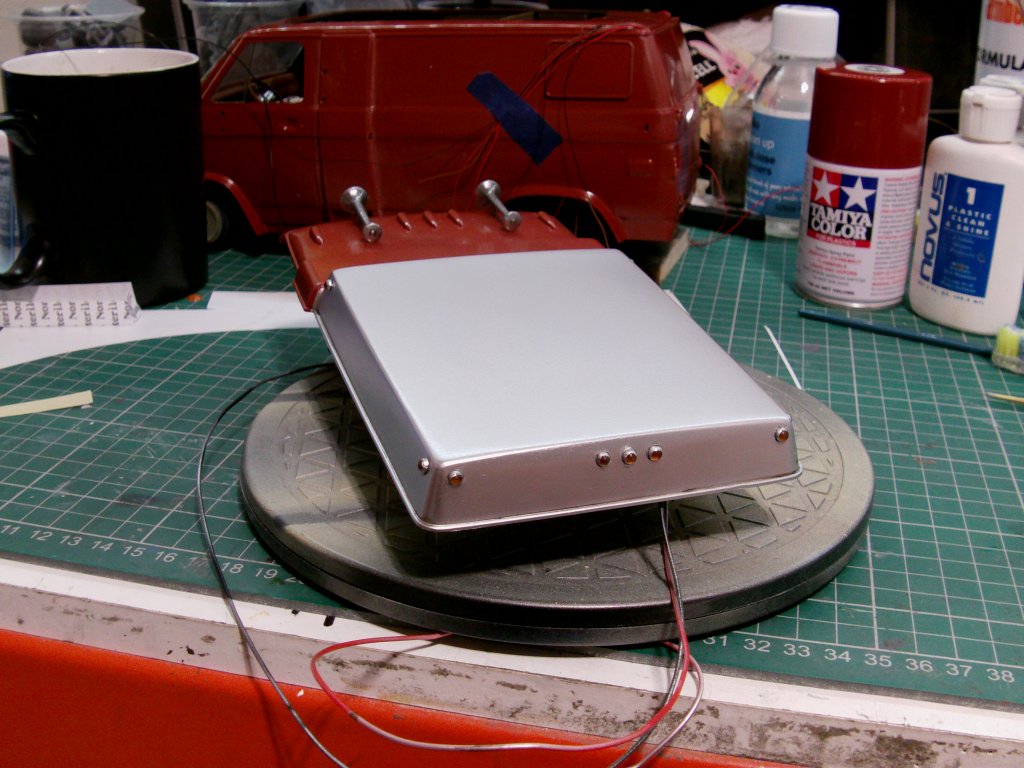
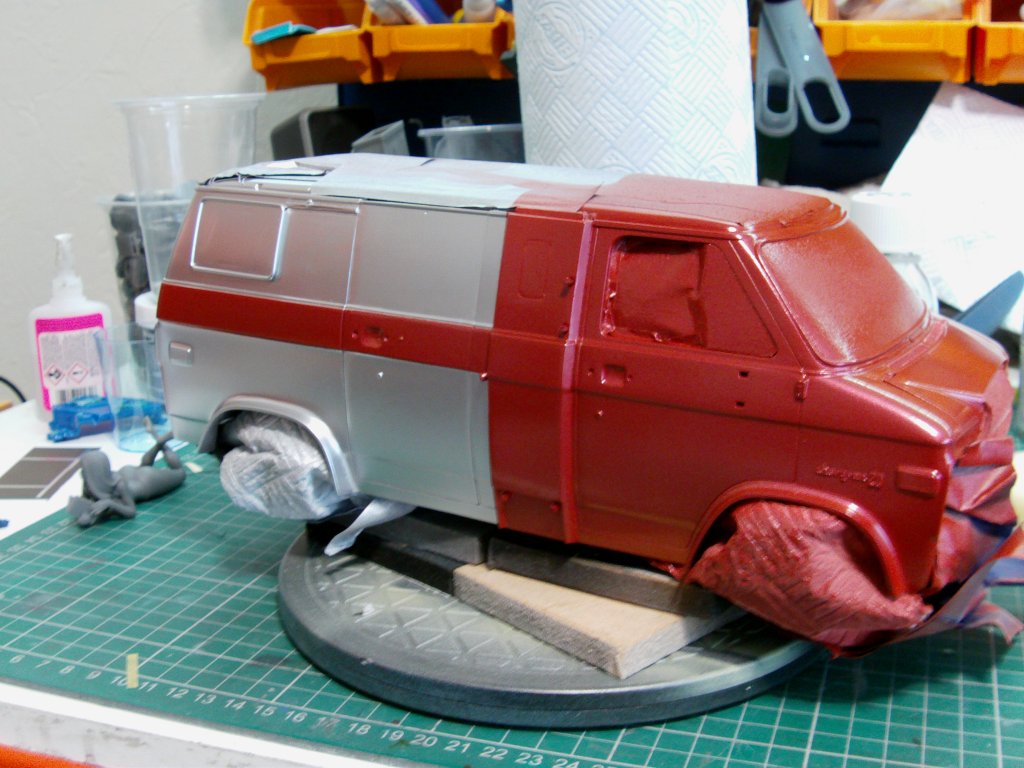
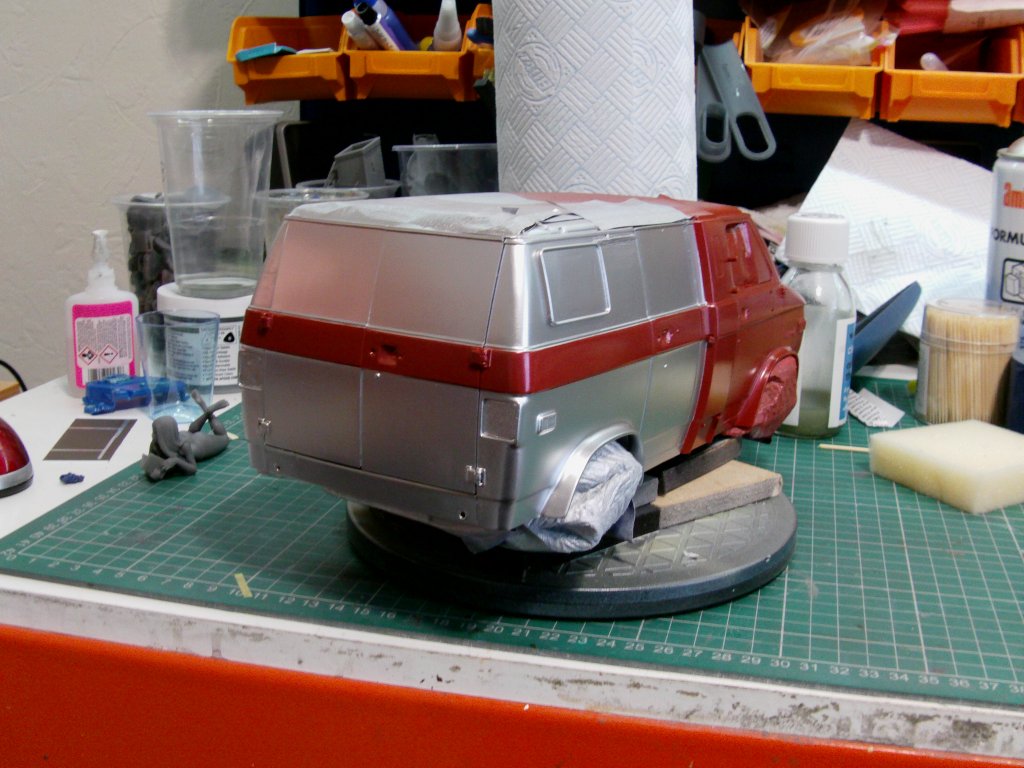
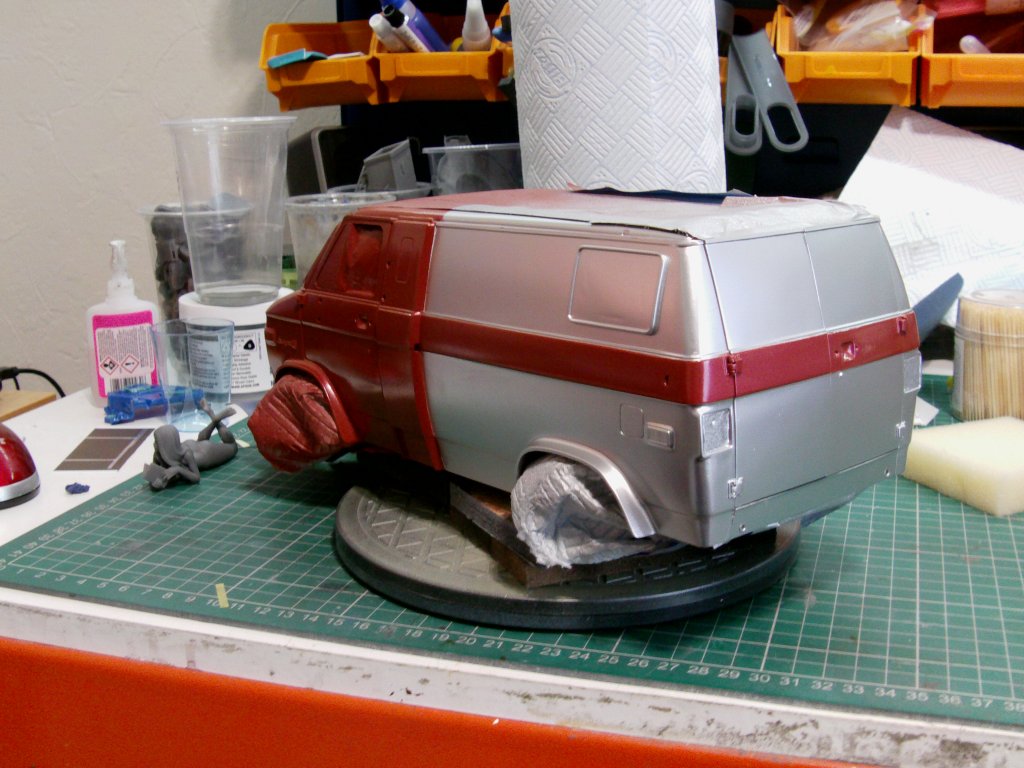
Roof paintwork sorted out.
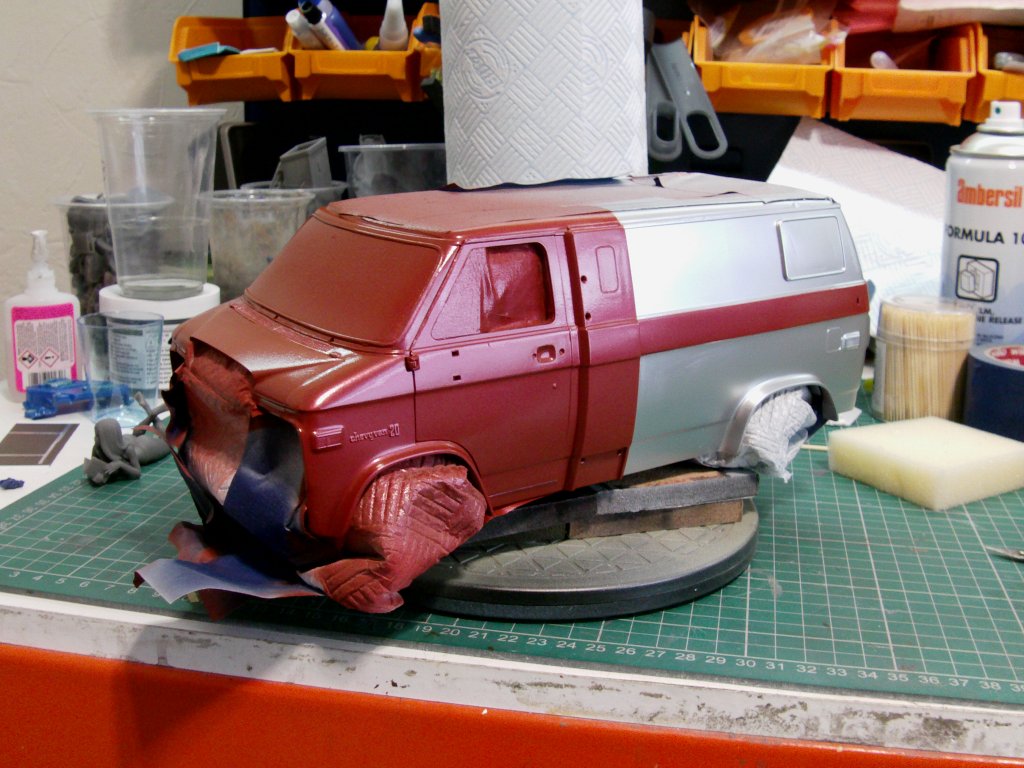
Tamiya rattle can silver for the back, dull red for the front.
Front end got six airbrush coats of red pearlescent lacquer then the whole lot got four coats of Alclad Aqua Gloss.
I was waiting on a pack of orange lenses to arrive but there seems
to be a delay so went ahead and did them myself.
3D printed blank pushed in to Blu-Tack, UV curing resin dripped in,
Cured, pulled, cleaned up and painted.
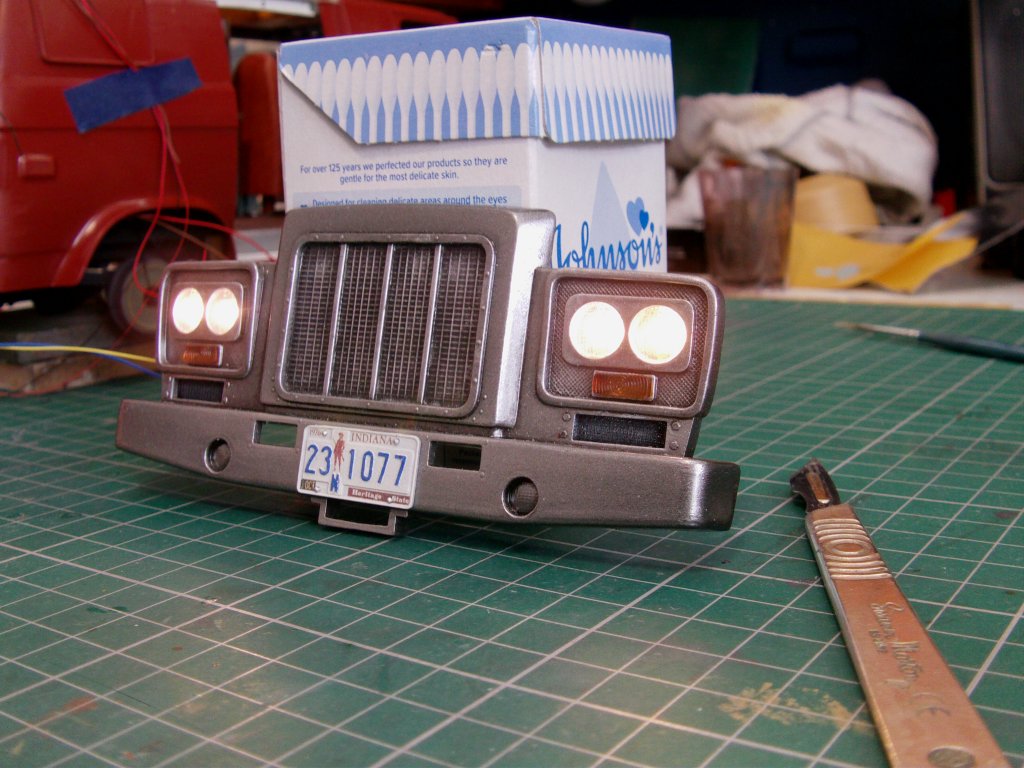
Stock covers for the front lights given a couple of coats of Tamiya clear orange and installed.
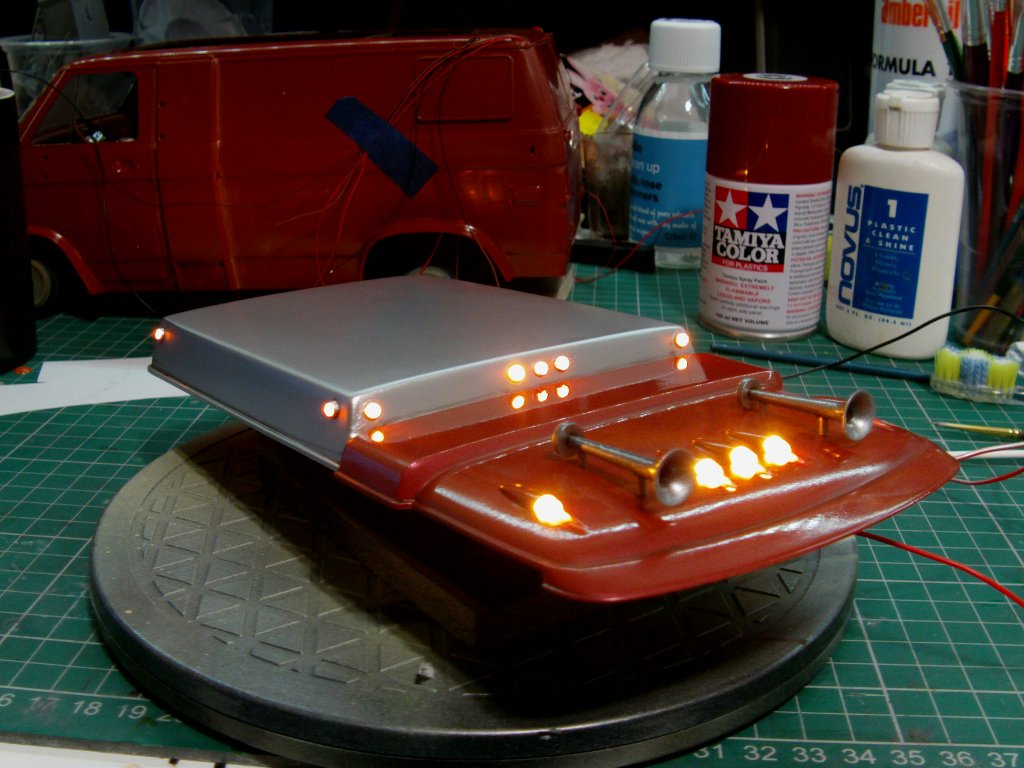
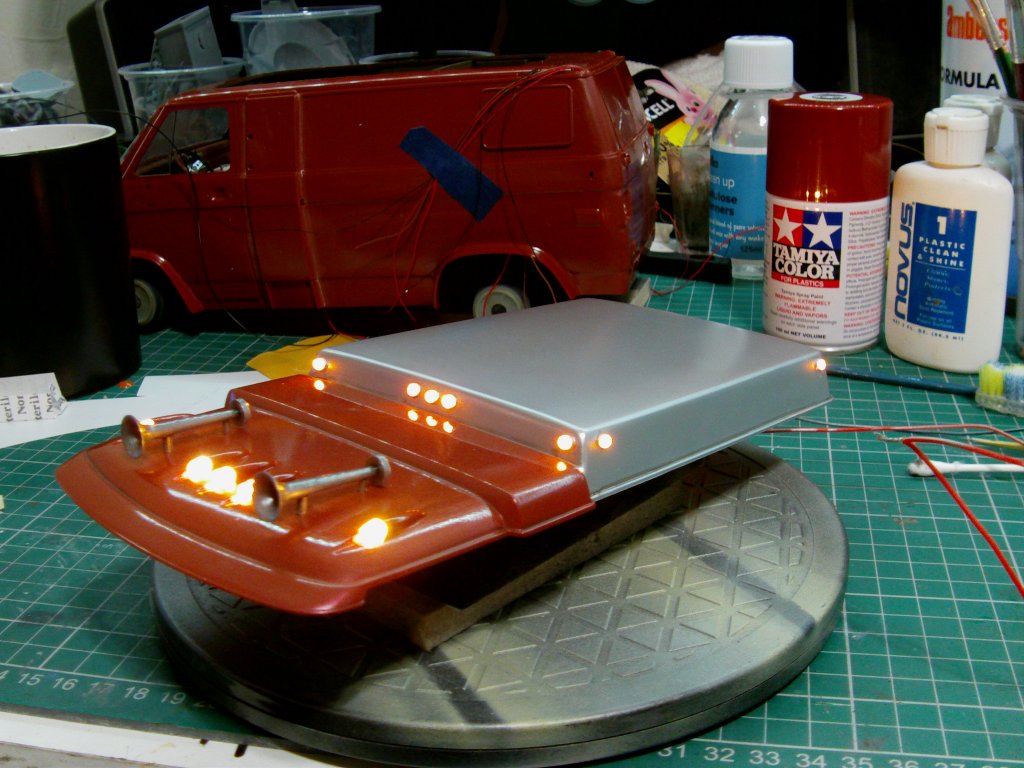
Other lenses likewise and air horns fitted.

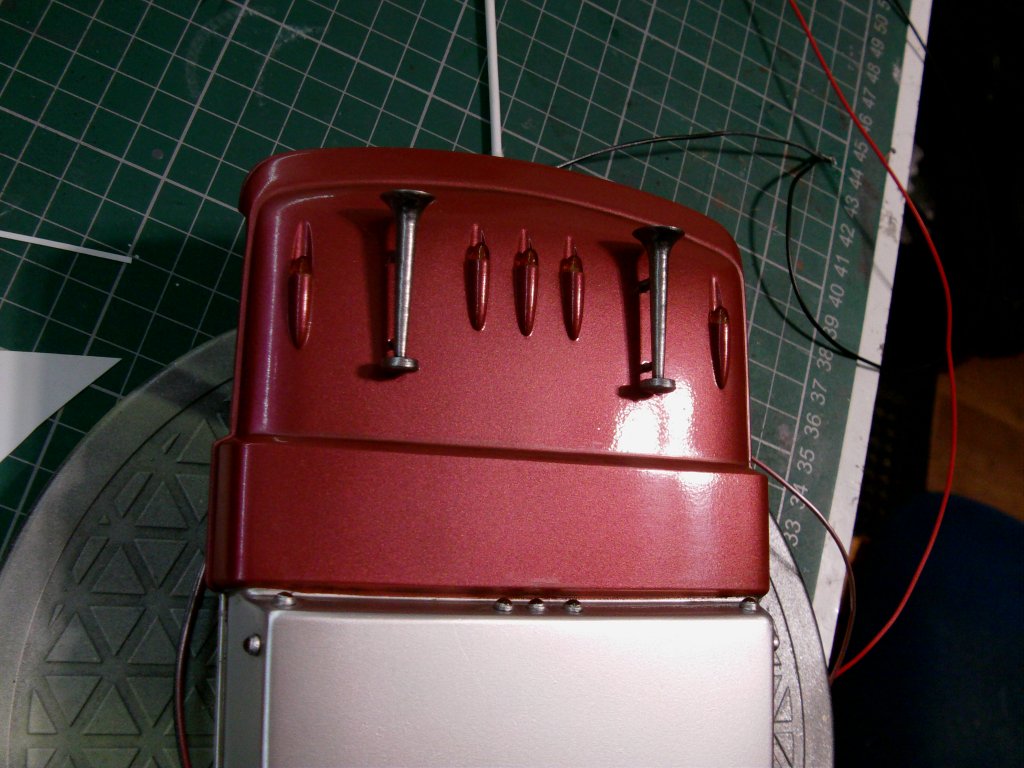
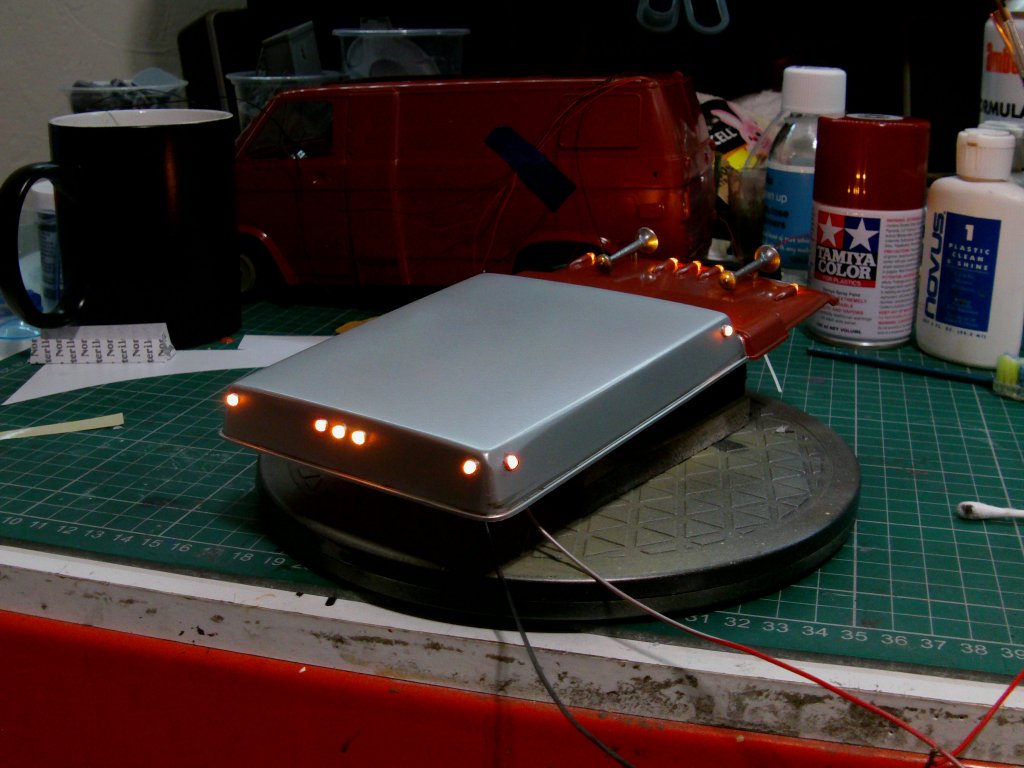
The inevitable lights on look see.
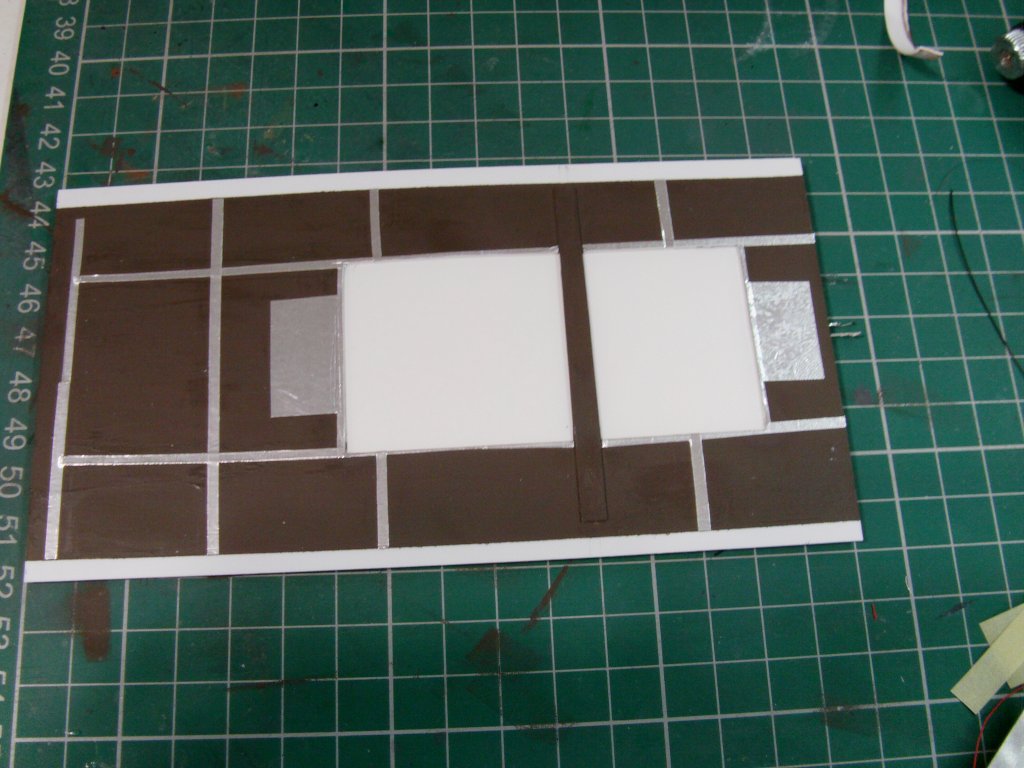
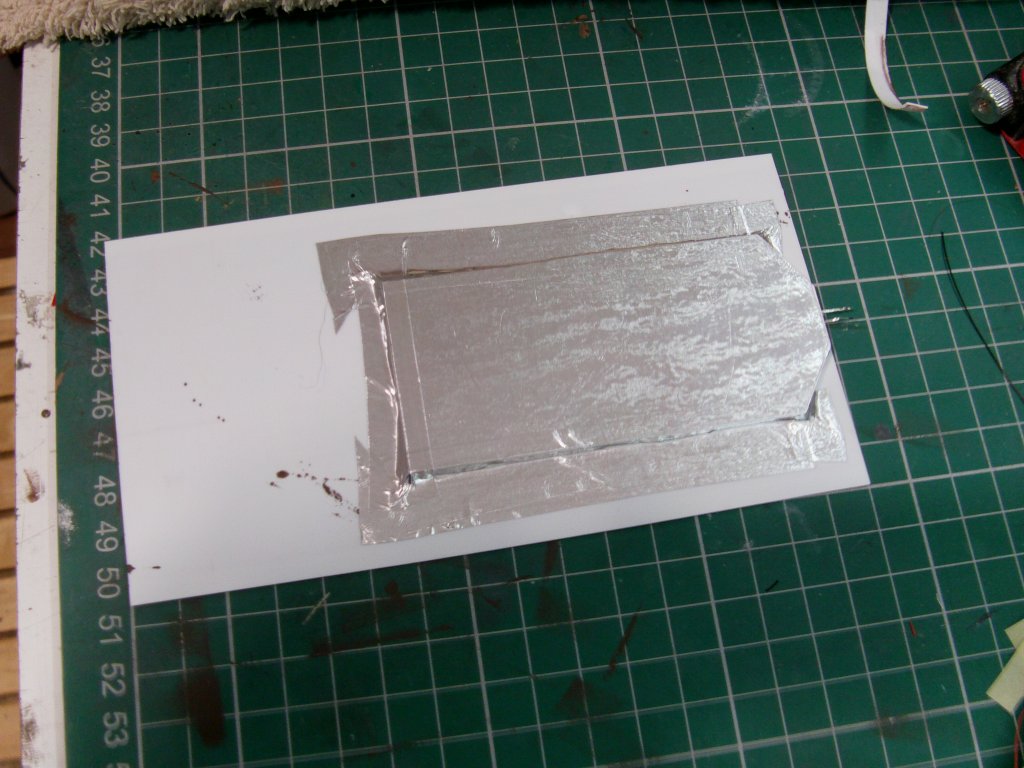
Speaking of lights, the interior needed a bit of that.
Ceiling panel done and fitted with a single LED back light module.
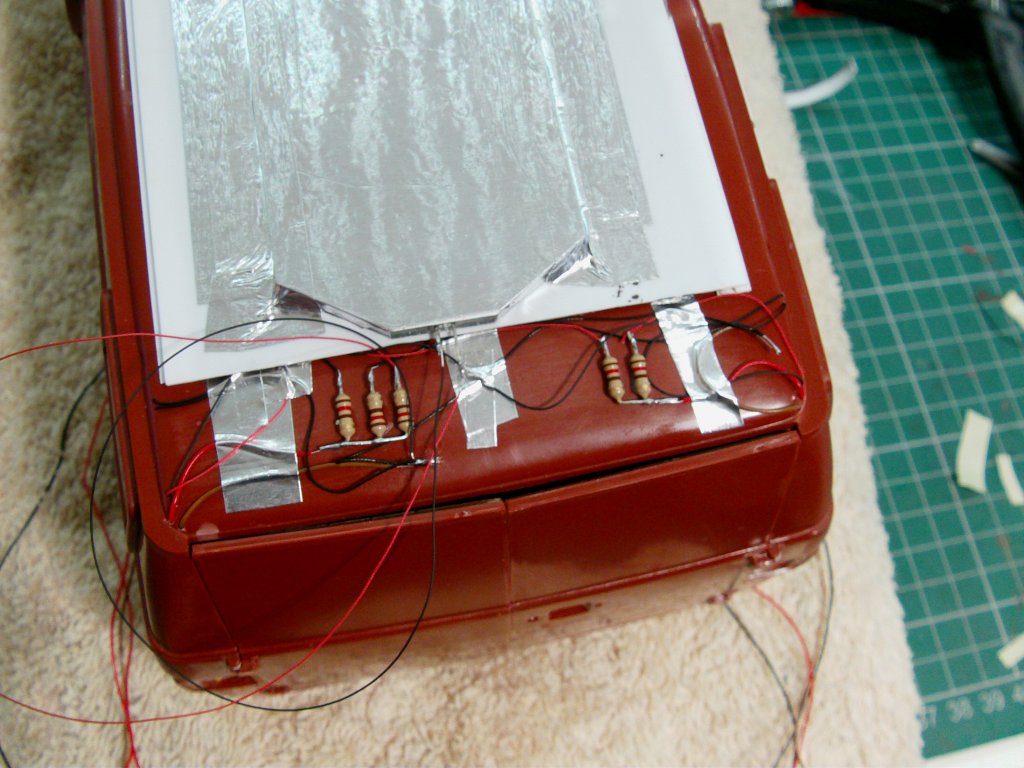
Resistors set in.
The three will run the light panel and hurricane lamps,
the two will run the rear lights and be tied to the roof marker lights circuit.
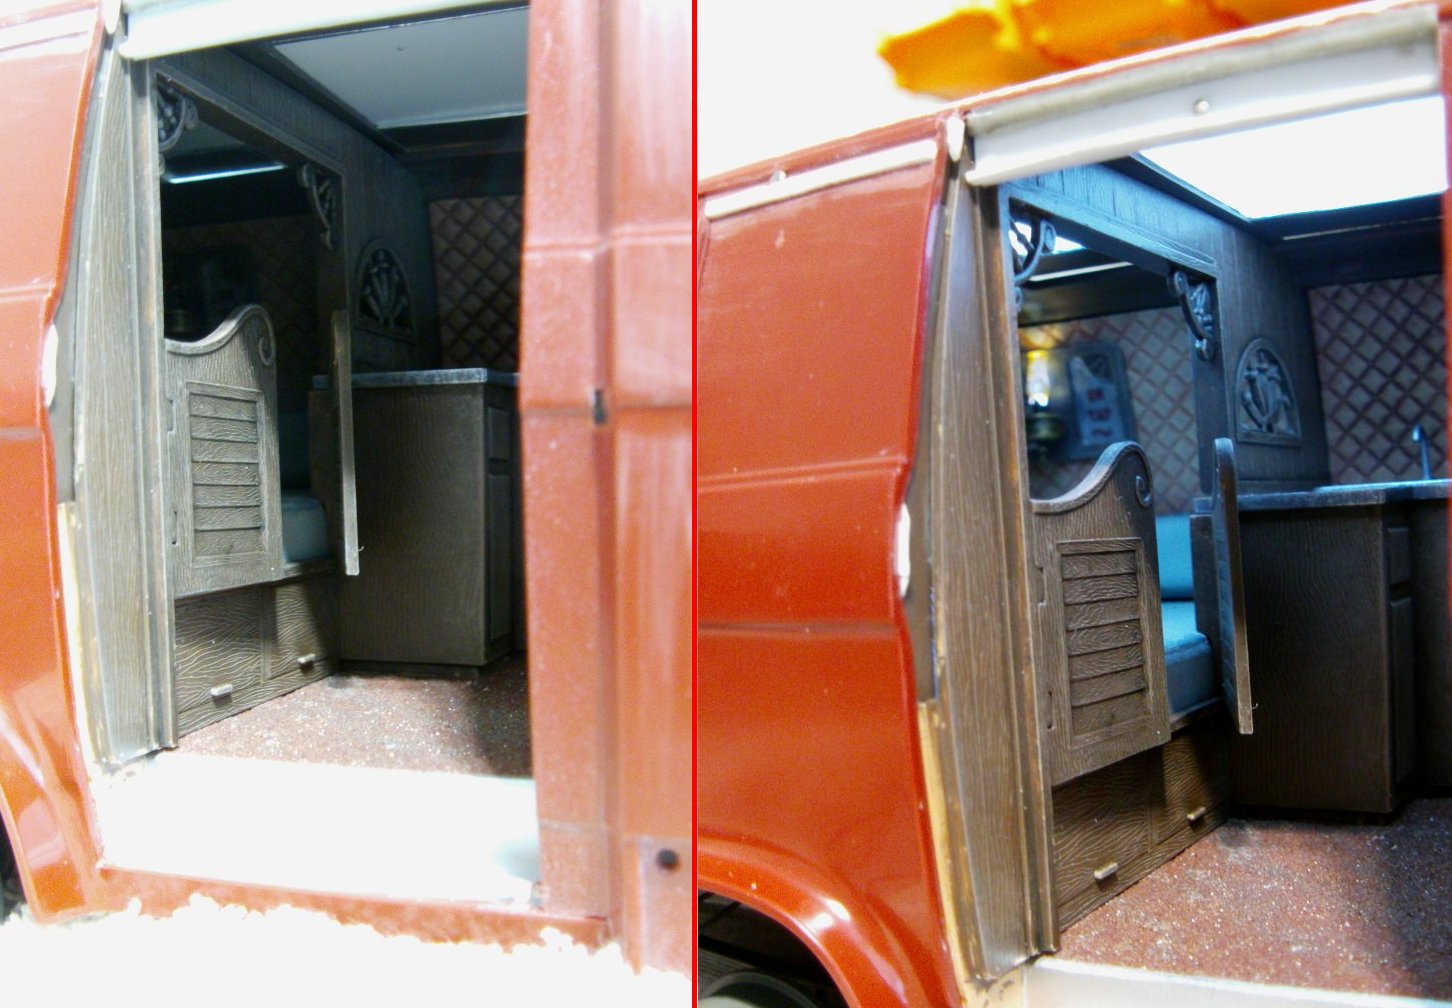
The dry fit lights off/on test pic of course.
Needed a bit more work so to make it look like fluorescent strip lighting,
A smudged pencil line and a going over with some airbrushed Tamiya clear yellow.
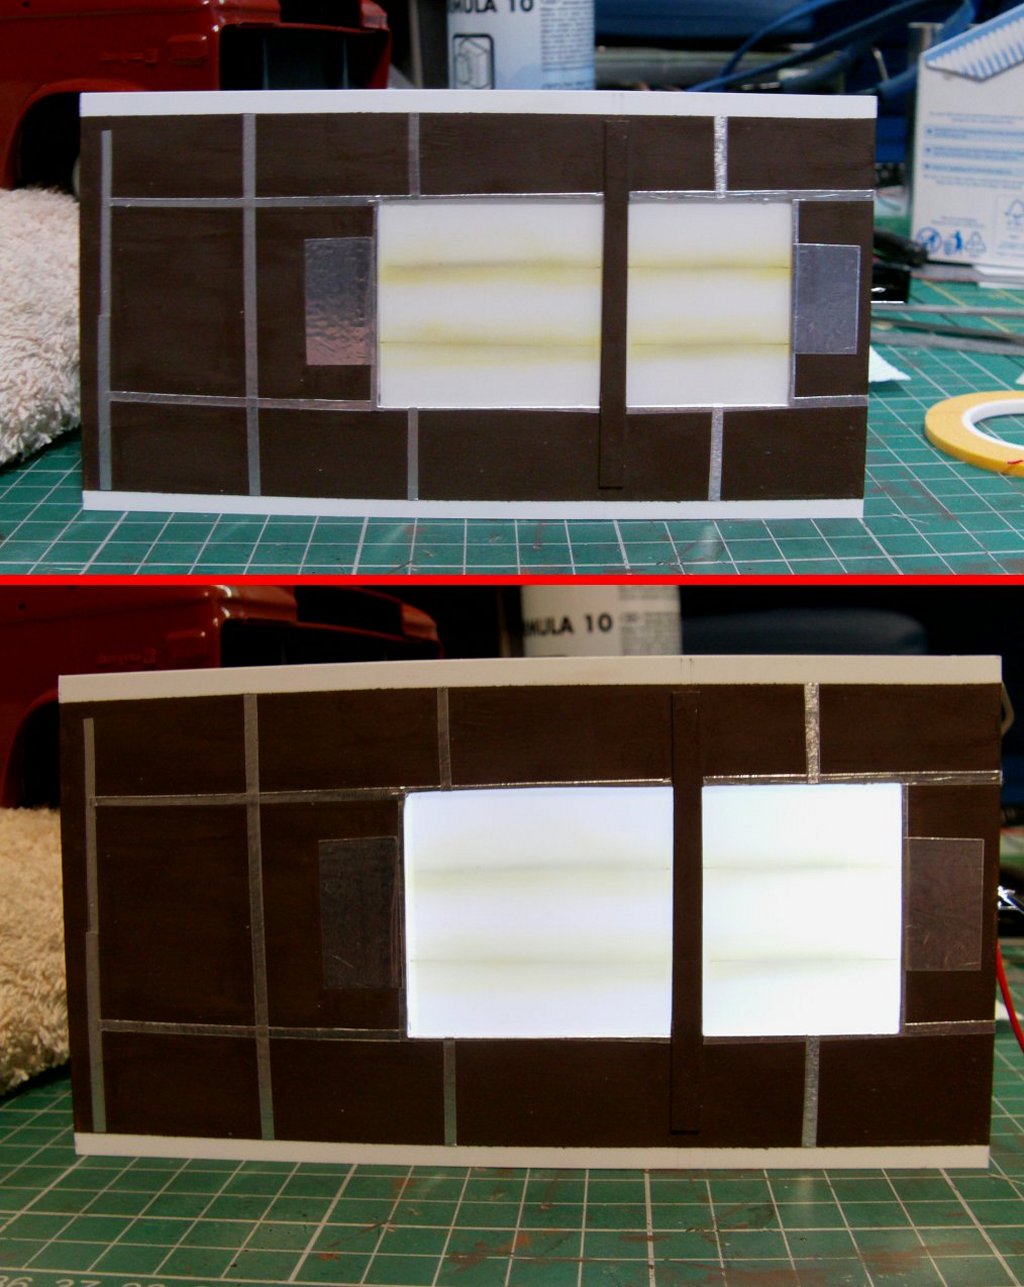
Aye, that works!
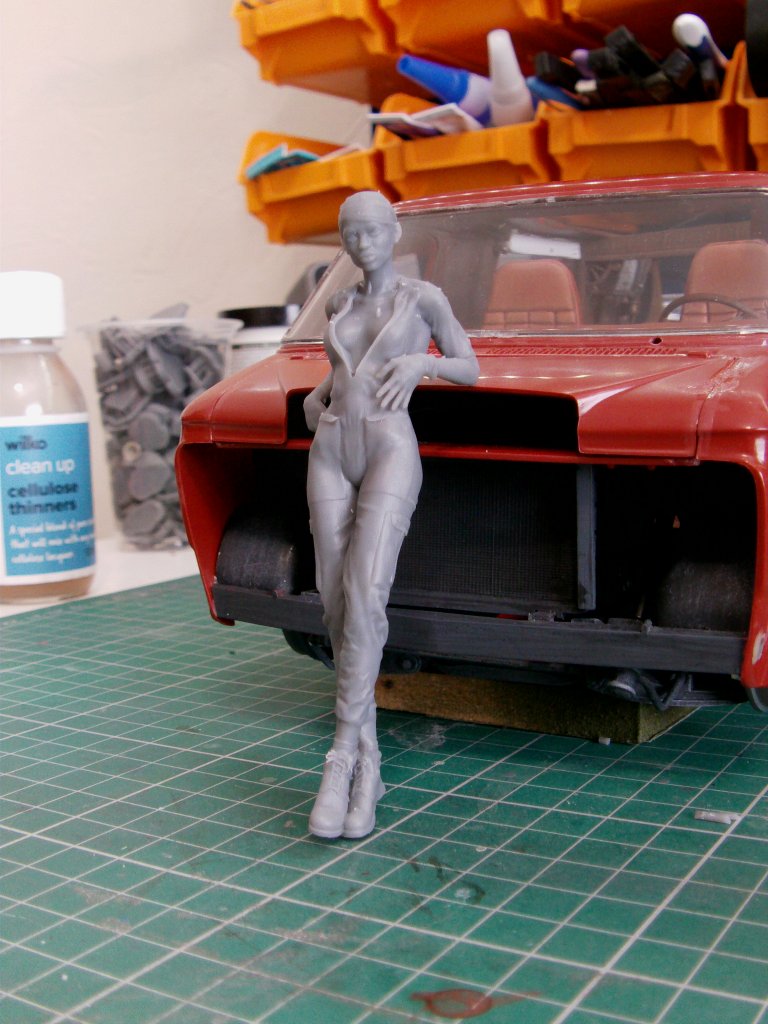
A couple of 3D printed additions bought off CGTrader also got a looking at.
After a bit of scaling and print pandemonium, done and just removed from the support material.
Clean up and paint will come later,
here's one...
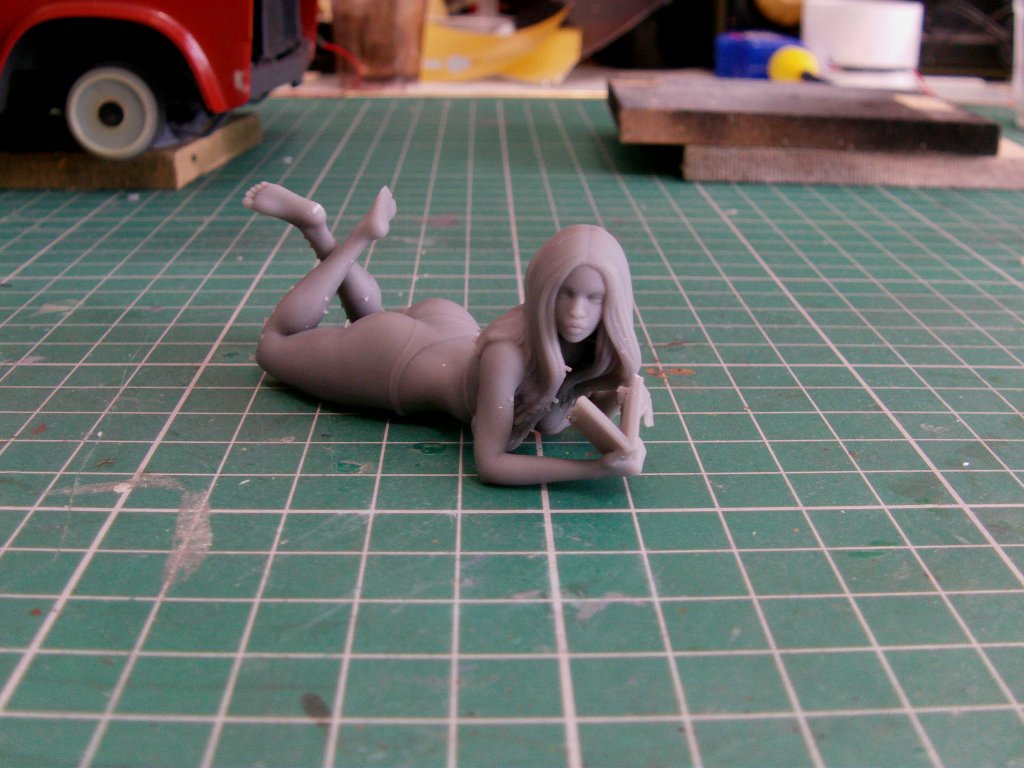
And she will go just nicely on the bed in the van.
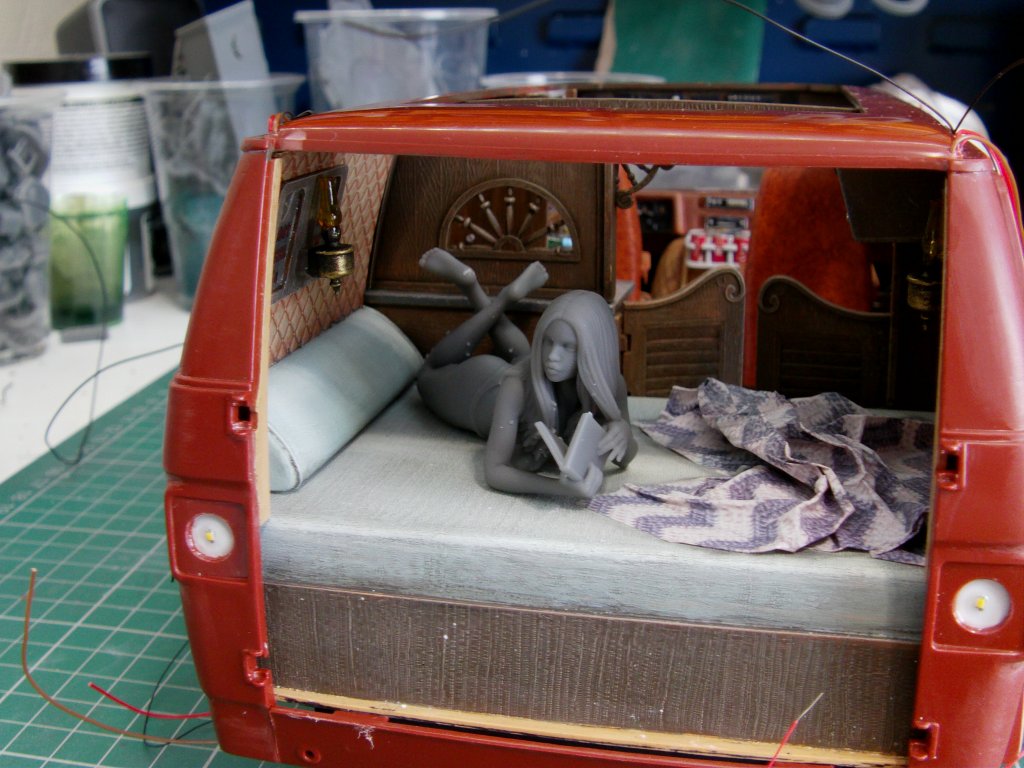
Works for me and so does she.
So main exterior paint now.
Same silver/dull red/pearl deal and a some masking here and there.
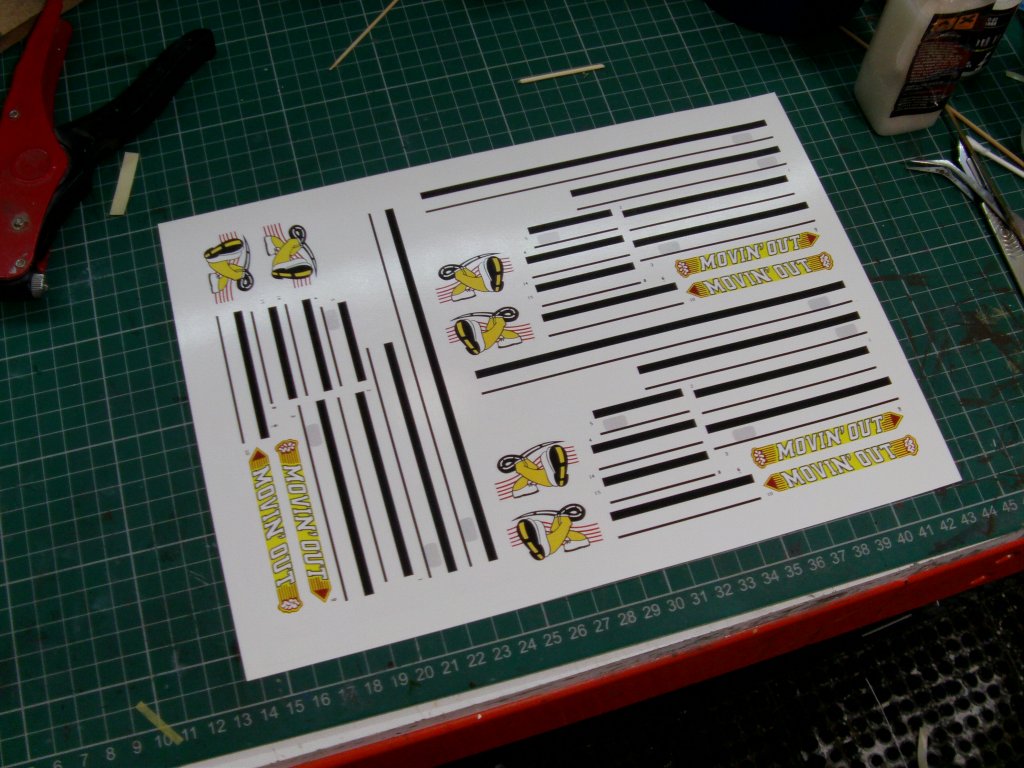
So to the decal thing.
Well my heroism has it's limits and 45 year old decal sheets are a bit beyond that.
Original scanned, redrawn and laser printed on to white decal paper.
More fun to be had on the next update page so off ya go!
Page Number