
Fantastic Plastic Battlestar Pegasus
1/3700th Scale


 Page Number
And so we begin at the back...
With Some Back End Stuff!
Greetings folks and folkettes.
Well first round of silliness begins here and we're off...
Engines first up and these be they.
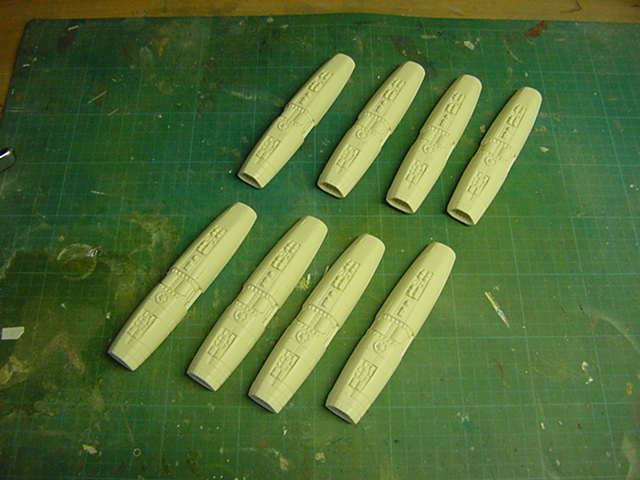
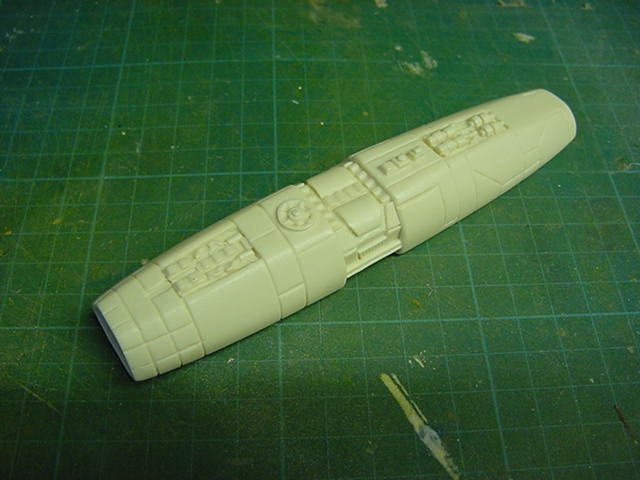
Not totally on the nail symmetry wise but it's either these or build from scratch.
Certainly not part of the remit so onward.
Now the lighting is the thing and there be the main engine glow thing and a few points of light here and there.
Some hollowing out is called for but first, some front and back changes.
Here's the kit part exhaust.
Followed by a render of...well the real thing I s'pose you could say.
Oh the pics of the renders used in this turn out are being used with kind permission of the owner of the site from which they were lifted.
Thankies Kurt!
MODELERMAGIC
And and generally fiddled about with to fit on to this here page thingy.
Any of the render pics are also links to the large resolution pics on that site.
Should open in a new window if all goes well.
Right...
where was I?...
oh yes!
Kit part and render pics of the engines plus an enlarged section of the bits in question.
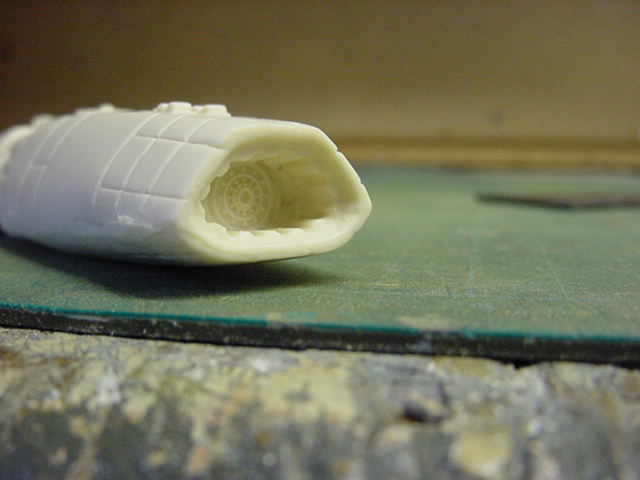
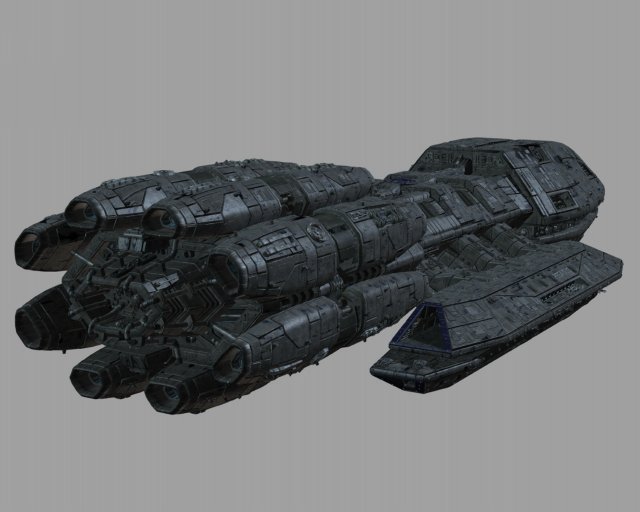
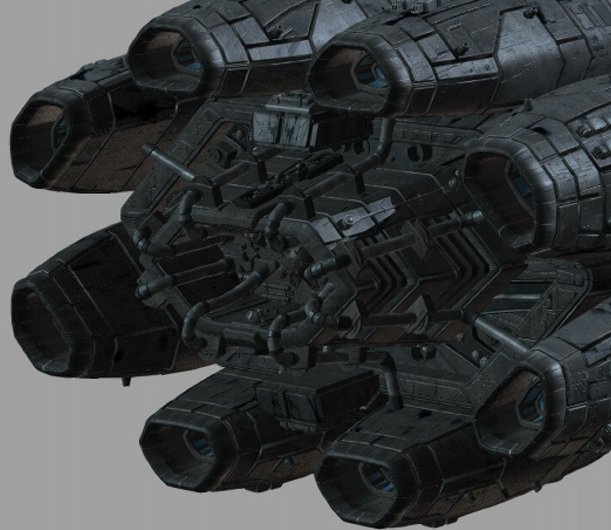
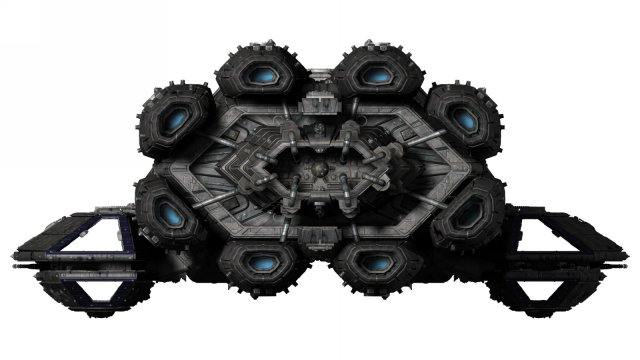
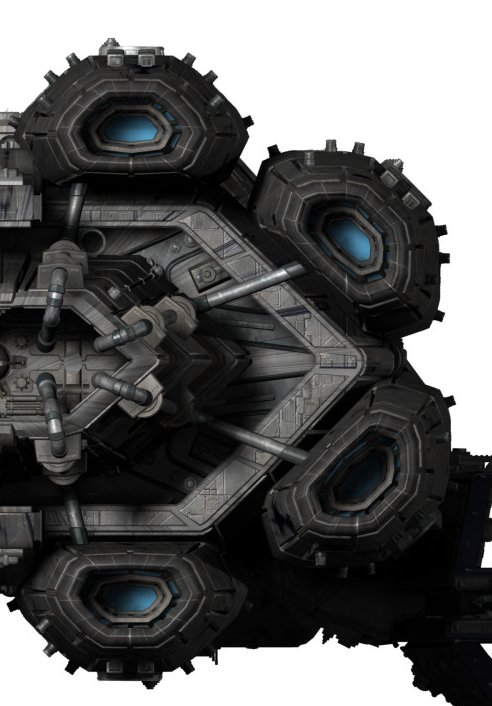
Well pretty close but not exactly there so to speak.
Also the front end of the engines could need a bit of work.
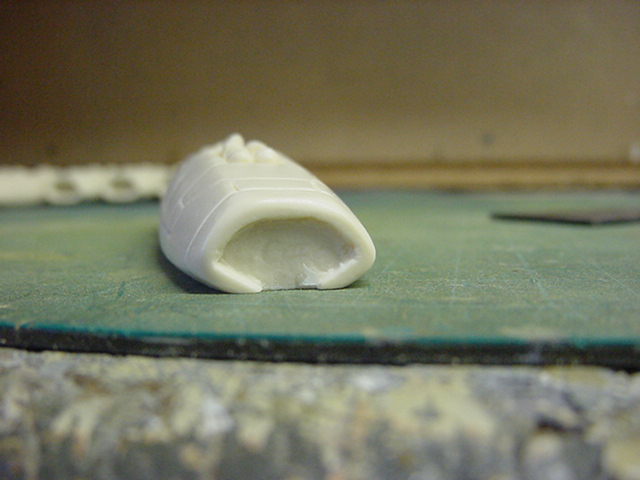
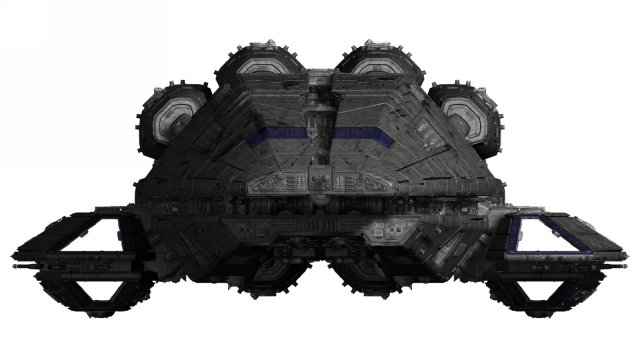
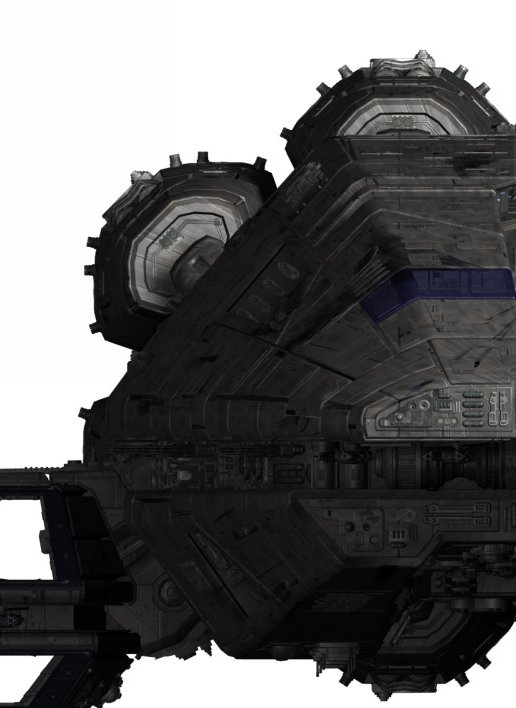
Bit of cleaning up and a smattering of additional detail perchance?
Very likely.
Well to be honest, I didn't fancy doing this one bit at a time to eight engines so time for a cheat...or two...or three.
Out with the razor saw and much elbow swinging did happen.
And this is where some of the problems begin.
As you can see in the pics below.
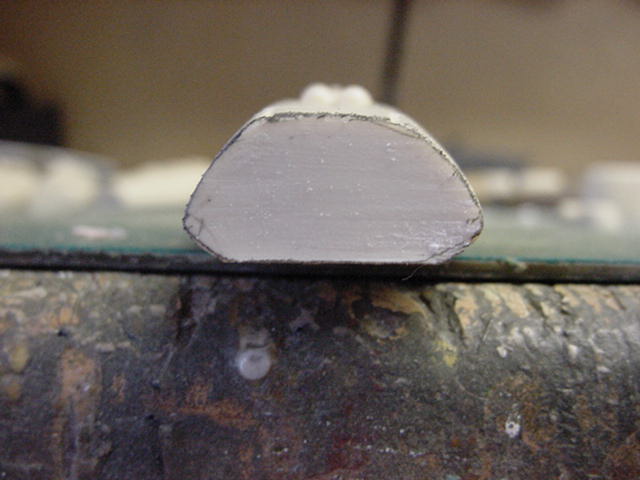
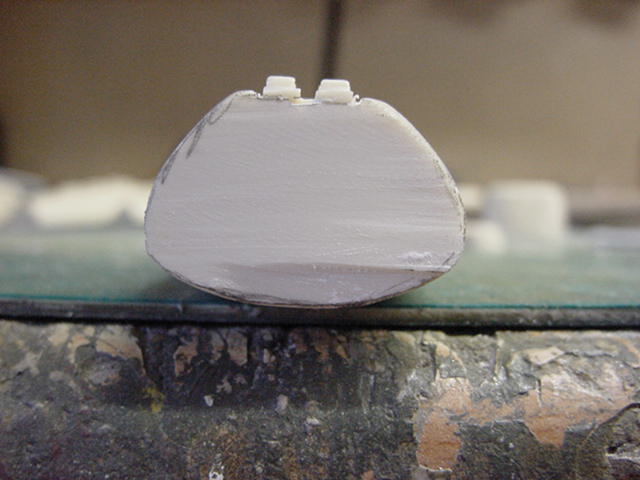
So in section, not brilliantly symmetrical but no choice but to work with what me do got.
Have to say it wouldn't normally be a problem if I hadn't had the need to sort this out but them's the breaks.
So, we have the ends chopped off after some huffing and puffing.
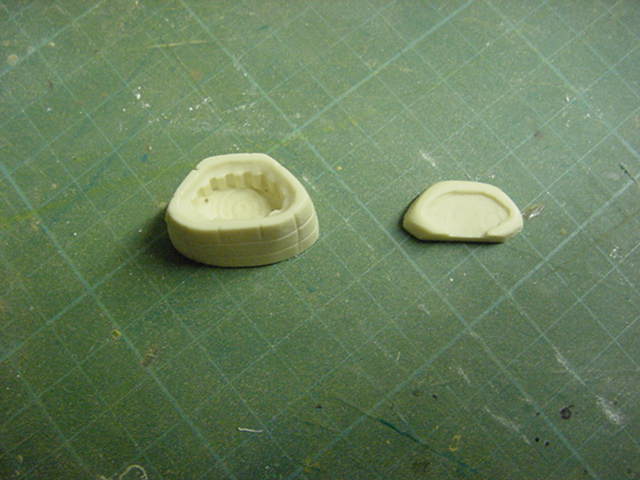
So in line for first drill & grind violence, the rear bits.
A fair wedge of cleaning out and lined with plasticard.
Faired in and the center part of the engine exhaust made up.
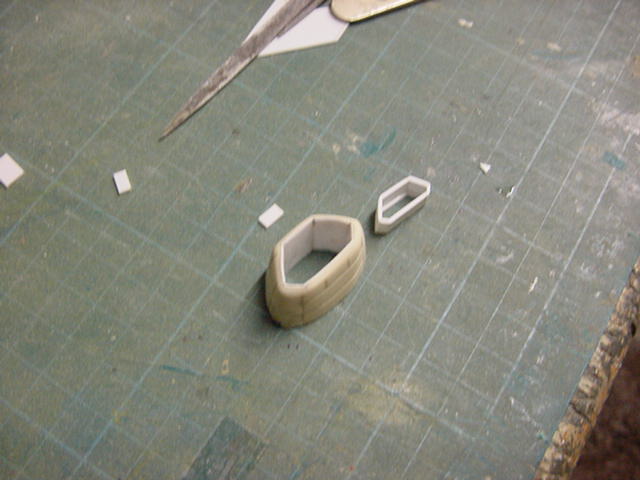
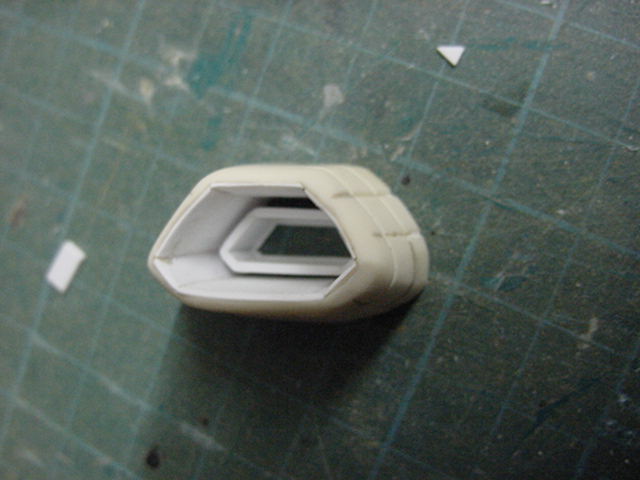
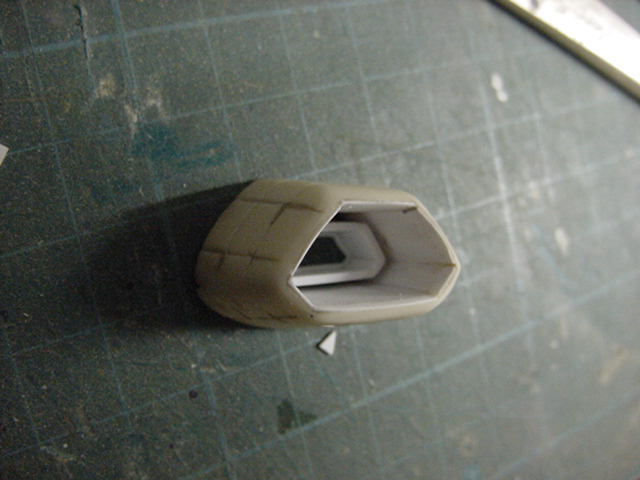
A bit closer to what's required.
Tried to sort this to take into account just how out the vertical and lateral symmetry was but nothing that didn't look any good.
Or worse still, make the problem more obvious.
No option but to just build as best as possible.
So a few additional bits chucked in and the lot merrily glued together.
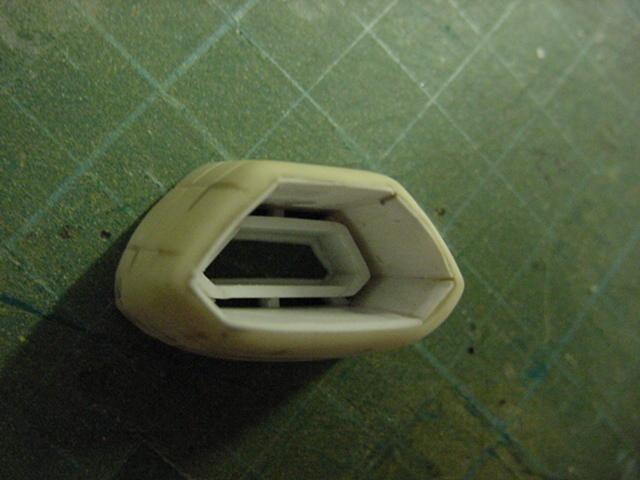
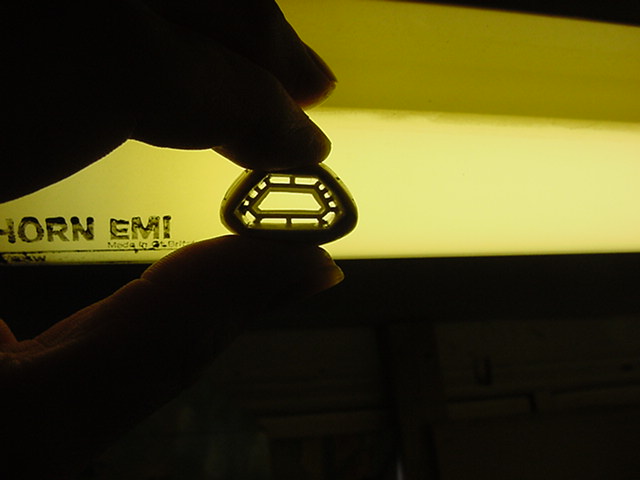
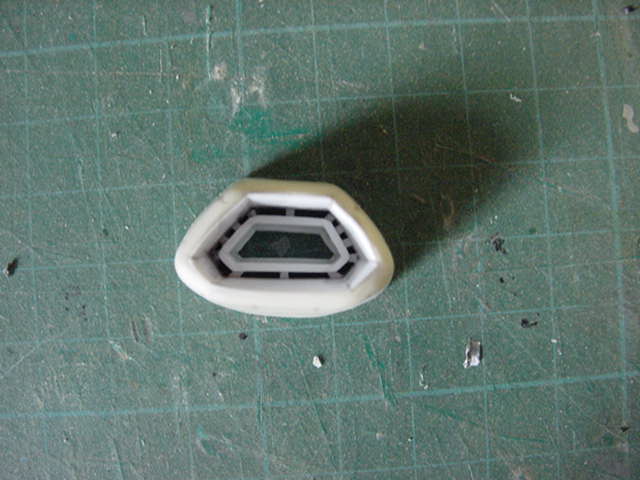
Could have been worse, not all straight and square but best I can do without scrapping and going from scratch.
As said before, not in the remit for this.
Ok, so then a small bit of plasticard also added to the back to take account of the sizable panel line where this fixes back on.
With luck that should make things easier when it comes to putting it all back.
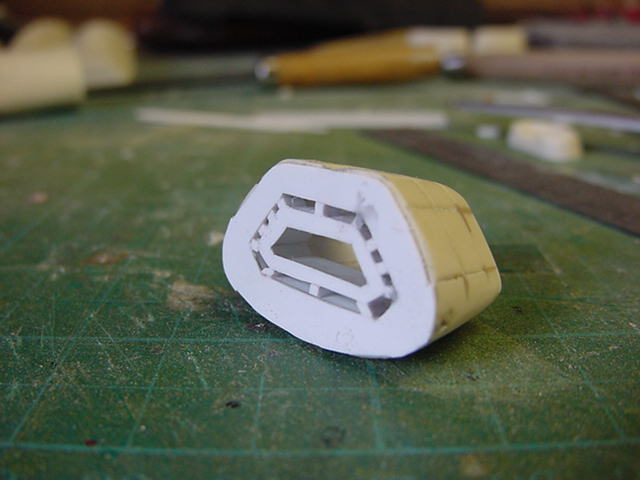
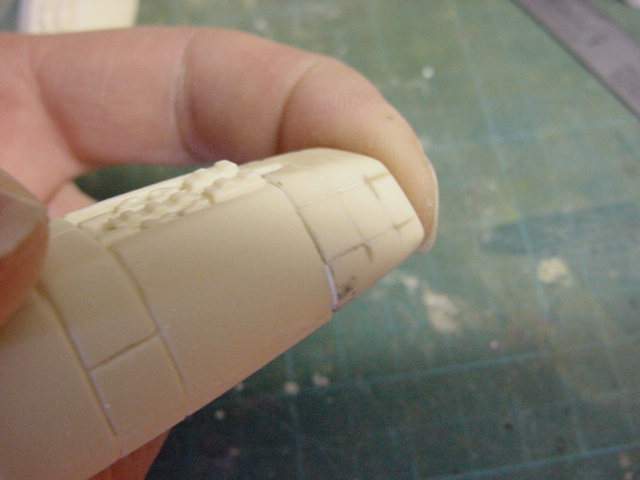
So on to the engine front bits.
One of these was given a goodly sanding down to rid it of the raised surround.
Then a small shaped piece of plasticard was fixed on the front with some de-tacked double sided tape.
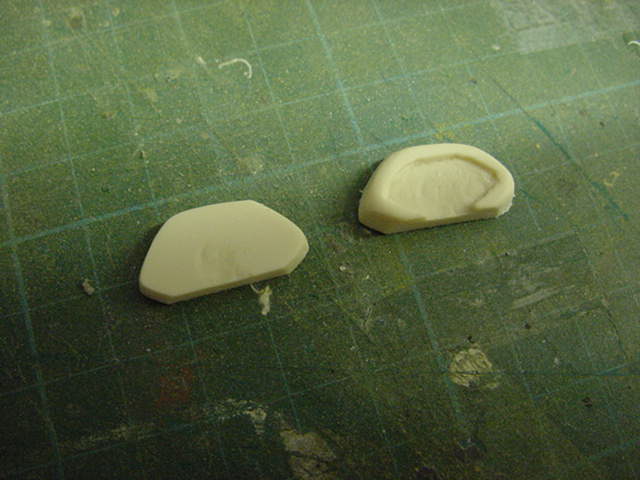
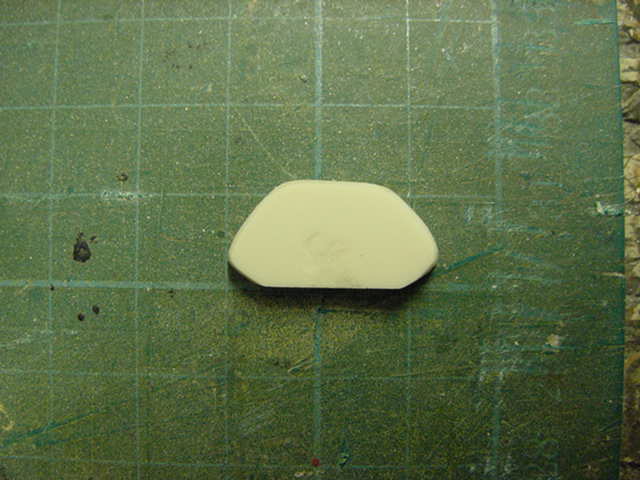
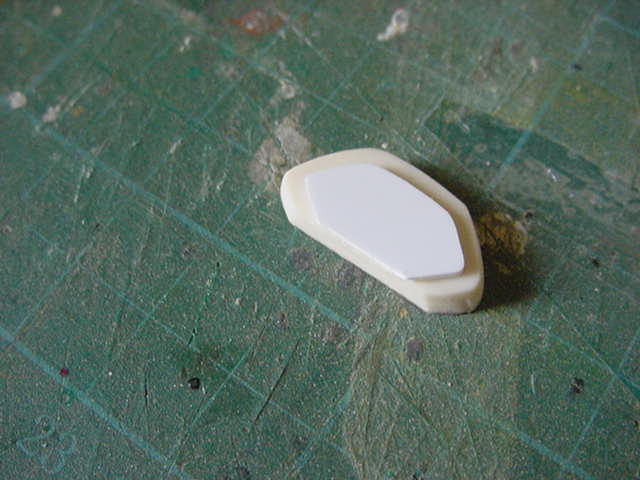
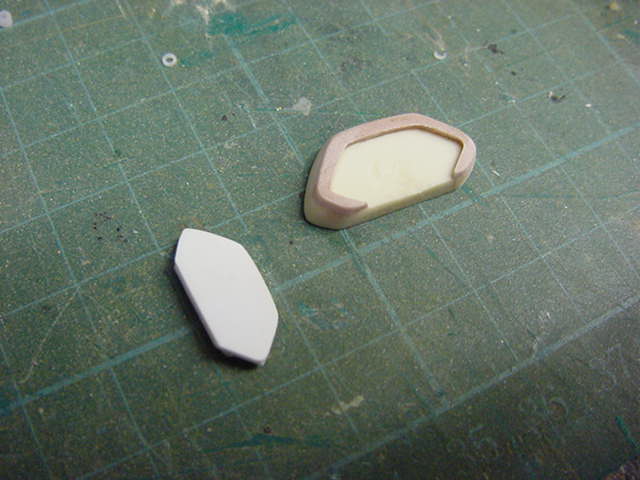
Some two part car body filler applied to the edge to rebuild the rim.
After sanding, the plastic was gently levered out.
then some small detailing added.
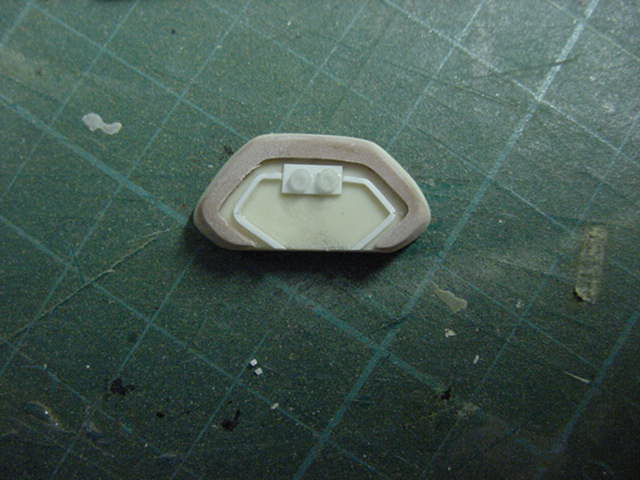
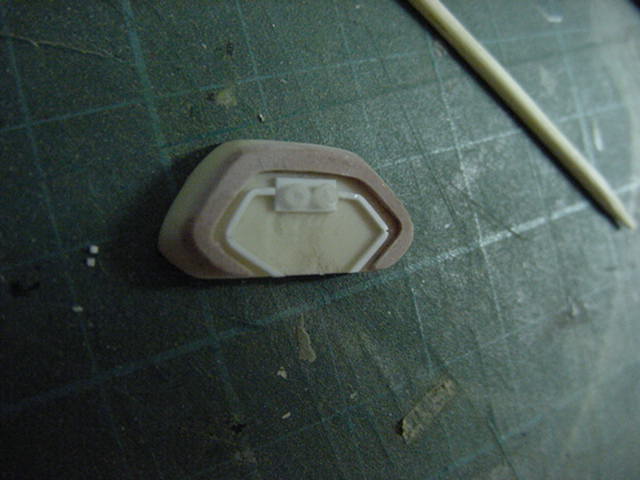
A small detail part was made up to take the place of some to be removed that's in the wrong place anyway.
Parts given a final clean up and some primer lobbed on with gusto.
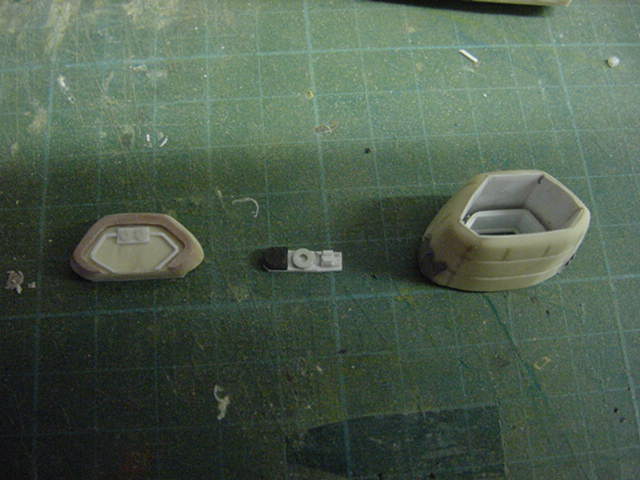
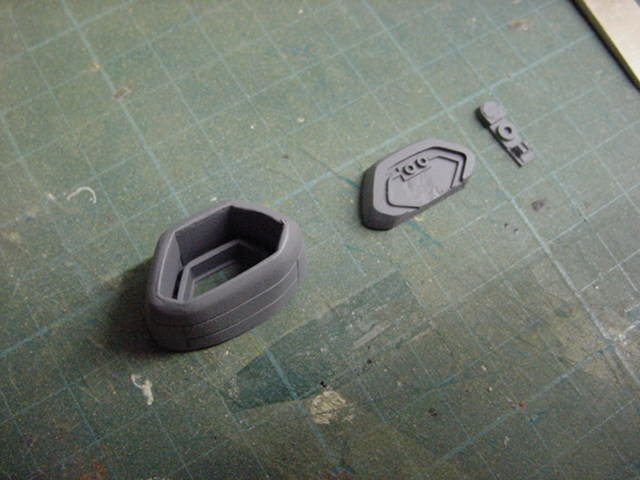
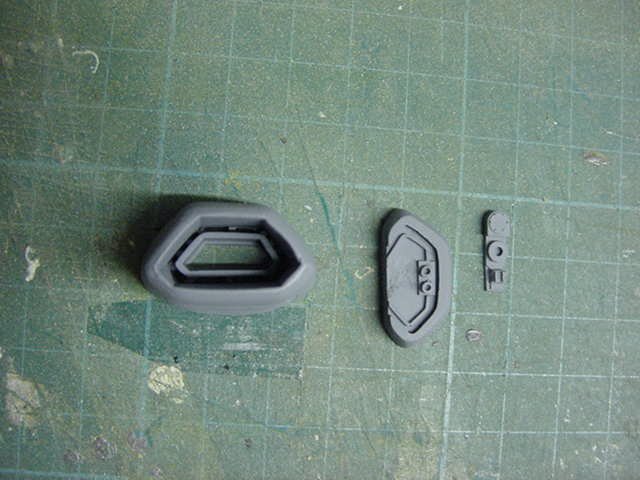
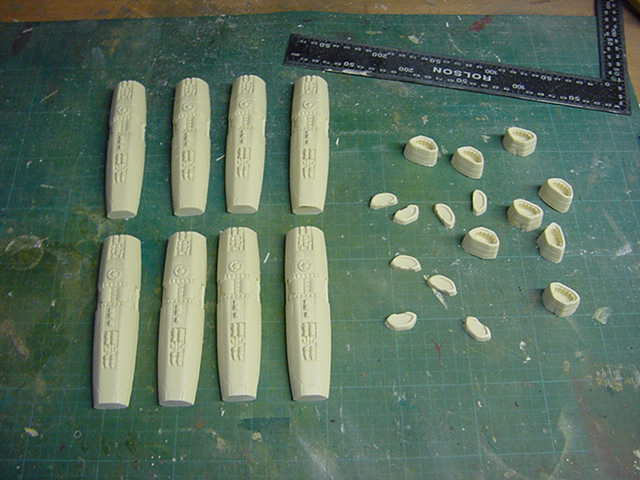
So as sorted as it will get, this trio will get the rubber and resin treatment and 8 lots to be got out.
Then the rest of the fun starts...
Oh lordy...
And that's it for this piccie packed update people.
You goodly lot take care of yaselves out there now and go easy.


 Page Number


