
Fantastic Plastic Battlestar Pegasus
1/3700th Scale


 Page Number
Not done at the rear...
Some More Back End Stuff!!
Good Grief!
And a hearty welcome back to the hellhole people.
So onward and upward, some holes needed to be drilled.
Holes of the deep and long variety.
Right through the engines.
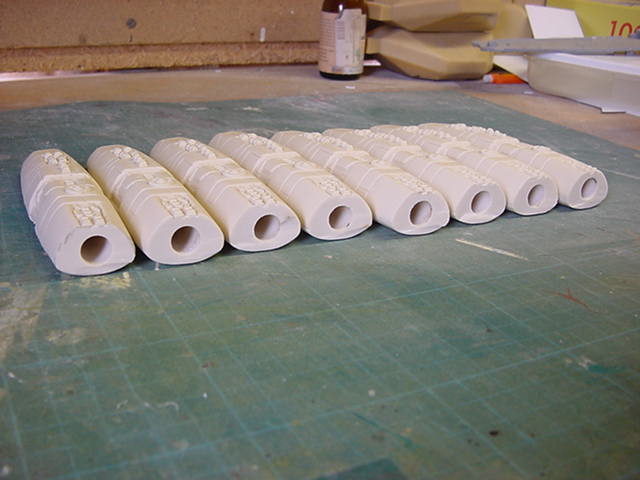
Well after getting a 10mm or about, oh 7/16th" in old money drill bit and a couple of thick cork blocks, drilling did happen.
Some pillar drill pandemonium later we got this kinda thing...
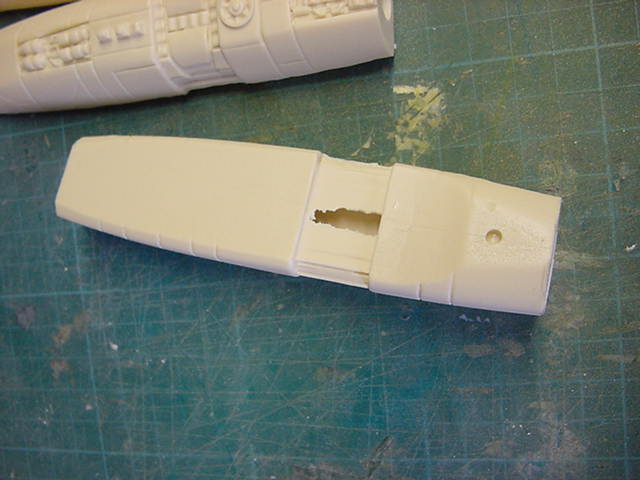
The hole goes about this deep.
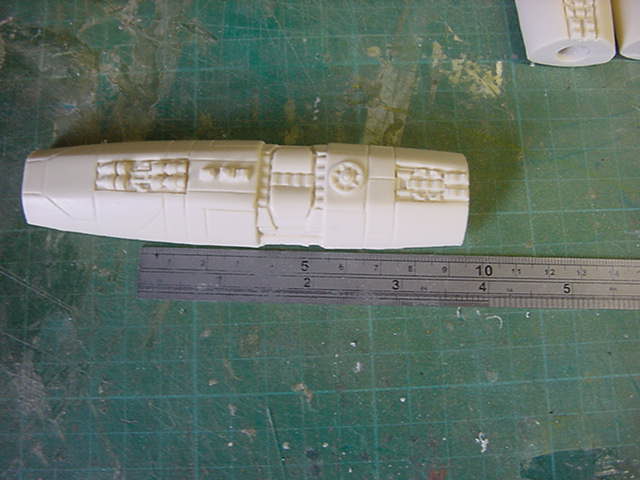
Which works for me so more than enough room to run the lighting laugh riot to be, through it.
So that done, a bit more required to be hacked out to allow enough space to mount the main engine lighting.
So a bit of pencil scratching for a sorta guidance thing first.
Then slotting a milling bit into the Dremel like tool and rotation set to screaming silly revs level, away we do go.
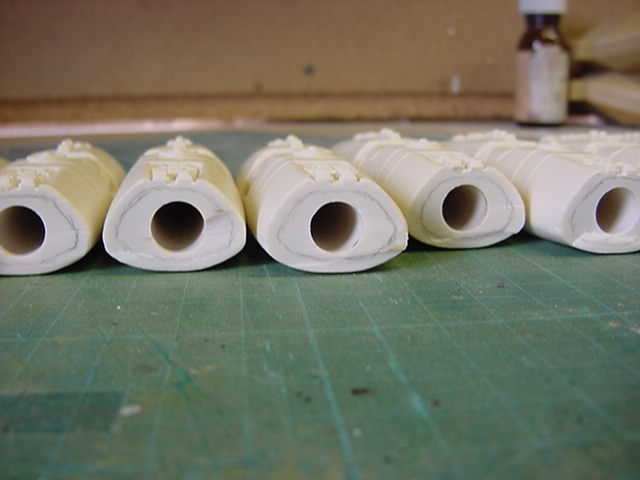
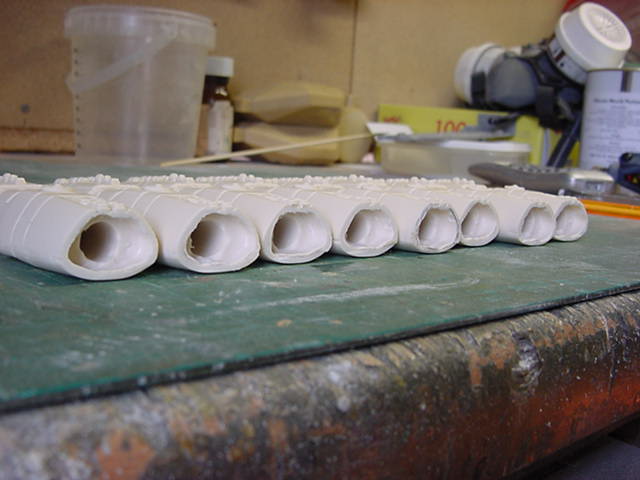
Aye, that'll about do it.
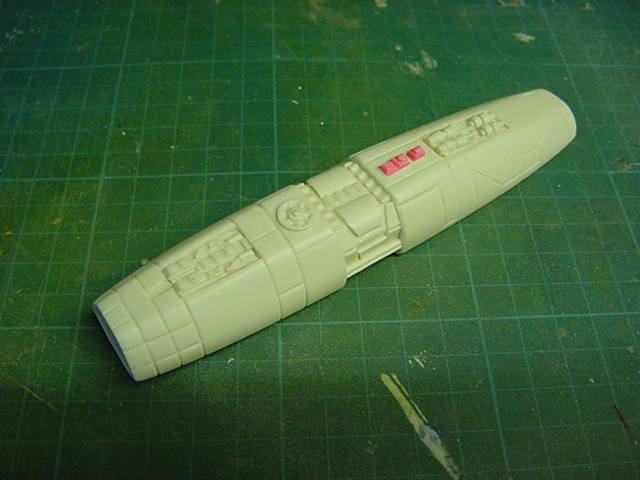
So then, some detail removal and some panel line antics next up.
The detail to be removed is the reddish parts in this pic.
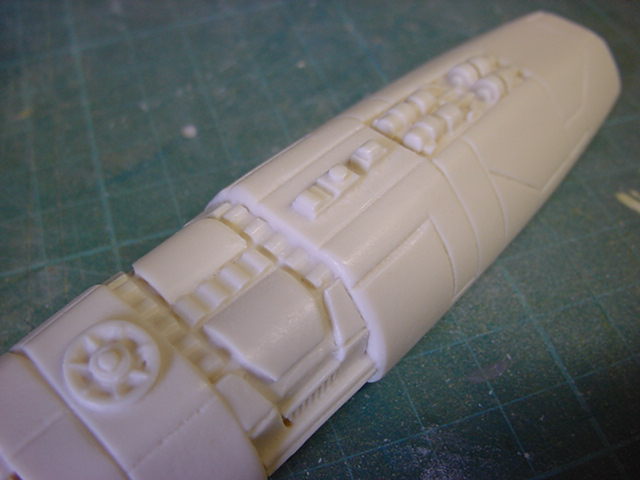
Which close up looks like this...
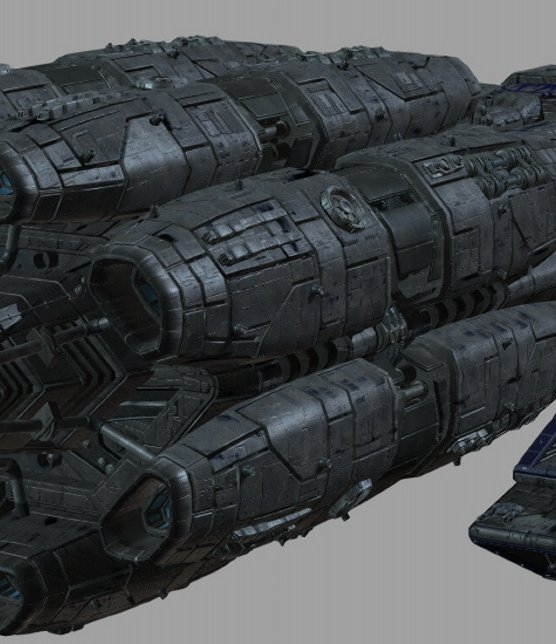
Now as you'll see in the clipped render here that the detail is supposed to be off set.
Also the panel lines are a bit different to how they are on the kit part.
Well first some detail removal as noted before.
Nothing that a sharp blade and a file couldn't sort out in short order.
This will be replaced with the small detail part in the pics on page 2.
Also some filling in, sanding down, re-scribing, repeat rumba took place while I was at it.
Overall, ended up looking a bit like this...
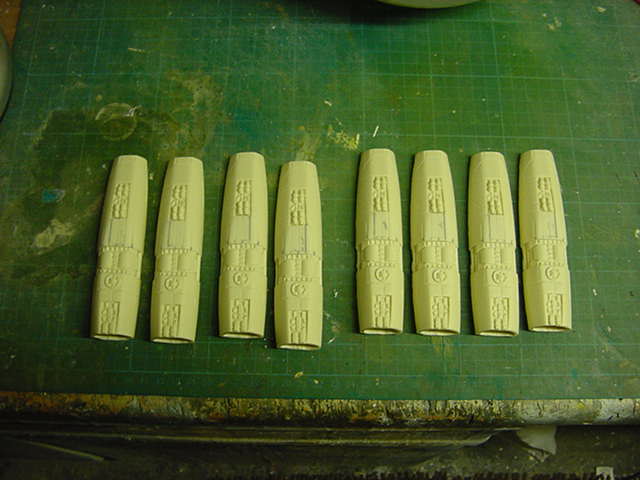
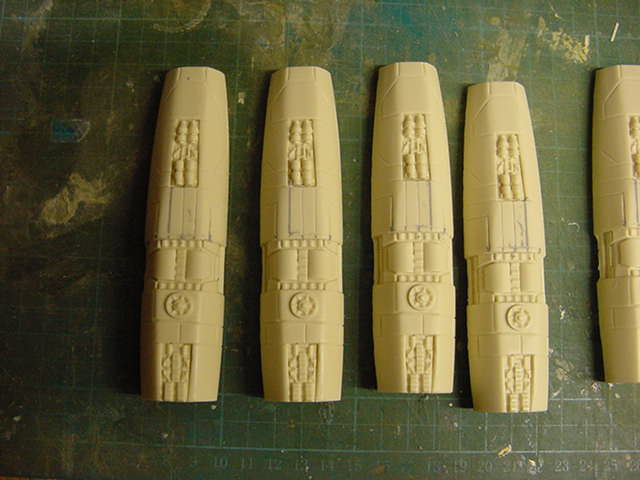
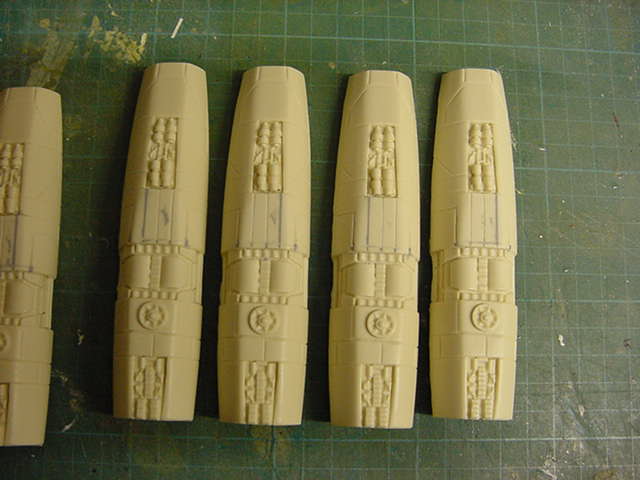
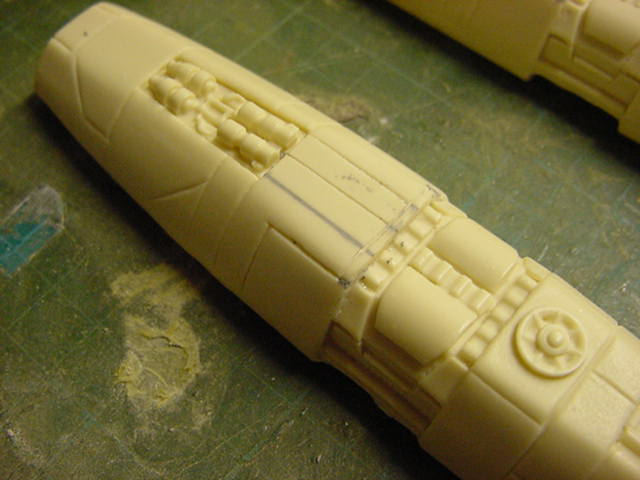
And with a lick of primer, the dastardly deed was done.
Lines were specific to the engines in that on the side ones,
the small detail part and the panel it sits on are both on the upper side.
The top and bottom engines in that respect are mirror imaged so to speak.
The two bottom pics are the side and top/bottom engine sets respectively.
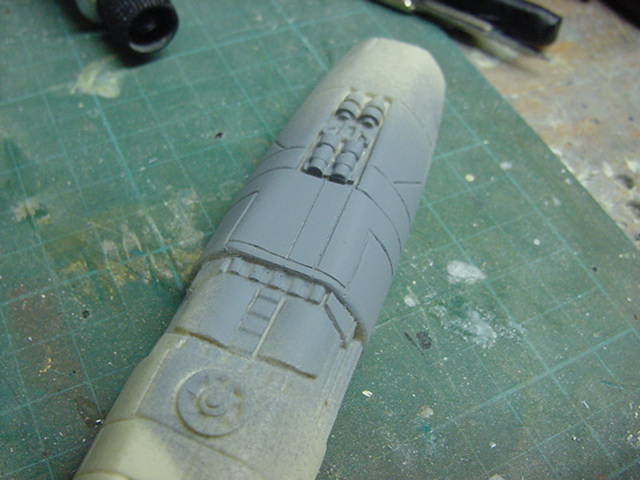
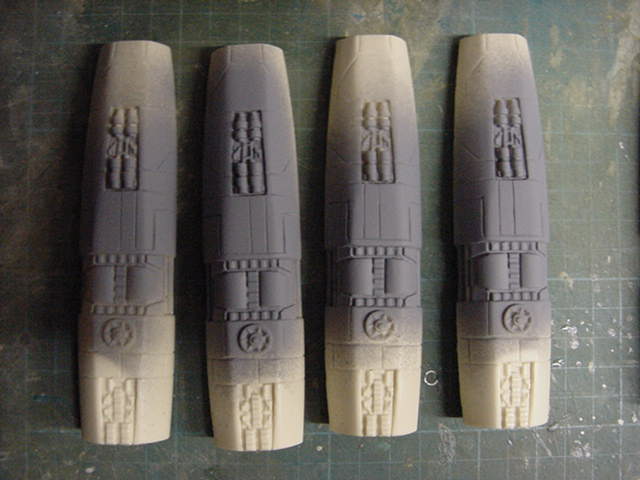
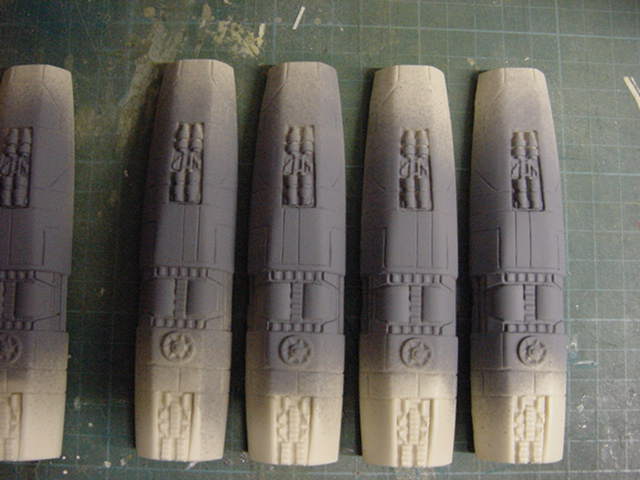
Well that's pretty much sorted as needs be for now.
So to the mid engine bit of the engines...sort of.
Have another look at the clipped render.
I've adjusted the brightness and contrast slightly in the red outlined area that i'm talking about...
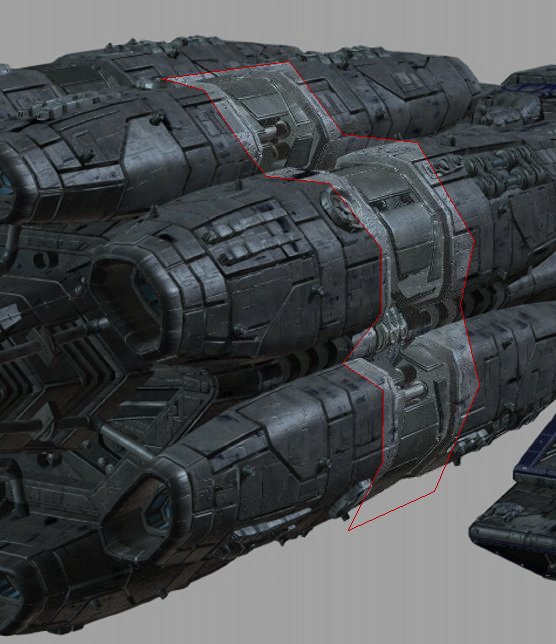
There you can see the mid-engine panels are actually not fully closed off.
Certainly gaps there showing some large bore piping or whatever it probably should be called.
Ok I grant you nice from an SF design standpoint but probably not the best kinda thing for a battle wagon.
Not that it matters because the only question I have is whether to try and represent that or not.
....
Hmmmm....
Ermmmmm
.....
Ah what the hell, why not!
Hello razor saw!
A bit of parts slicey dicey and in with the milling bit.
A bit of trimming up and ready.
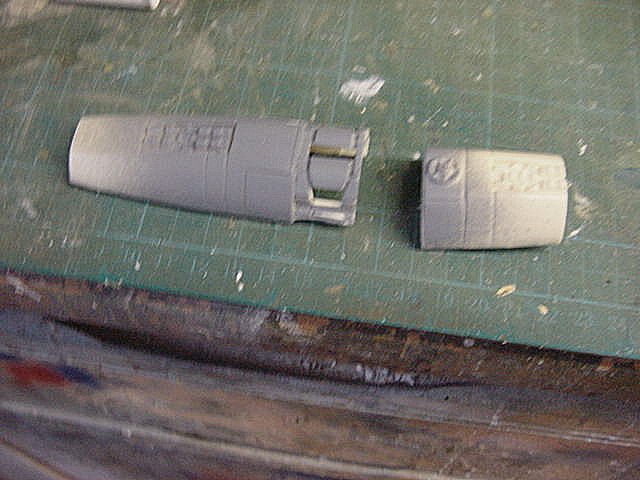
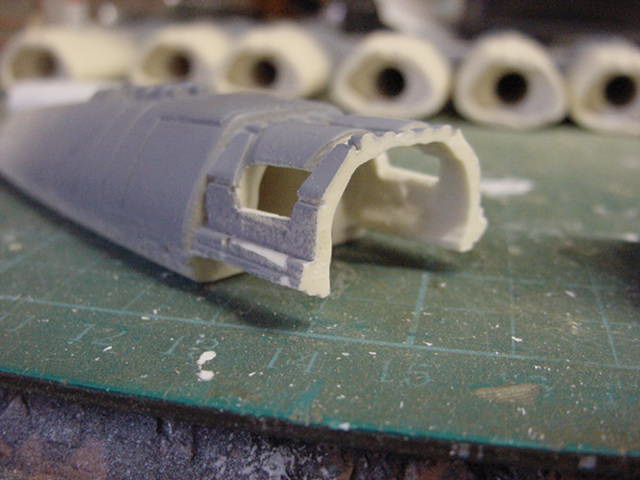
So a length of plastic tubing the same diameter as the long bore hole for center fixing.
Along with some aluminium tube and a few holes drilled.
A dab of the stay put gunk and slot back together.
A looksee then a lick of primer to get a better idea of how it's working out.
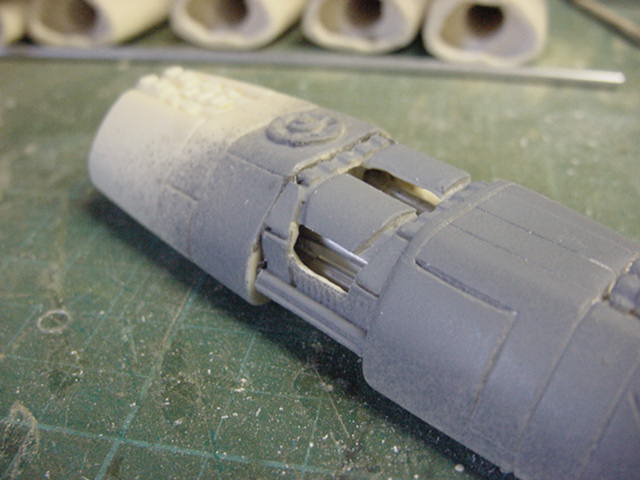
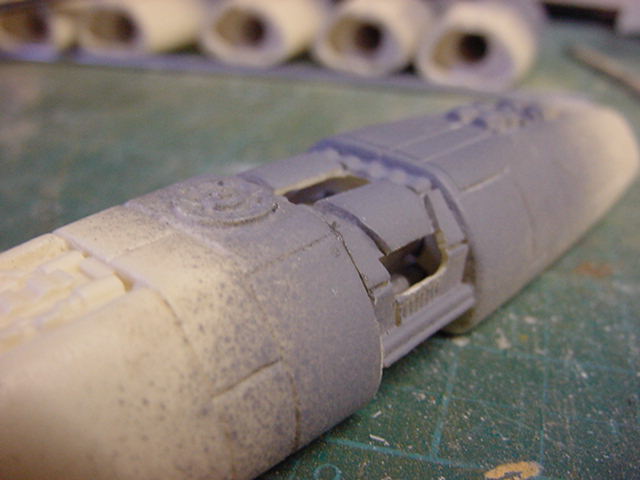
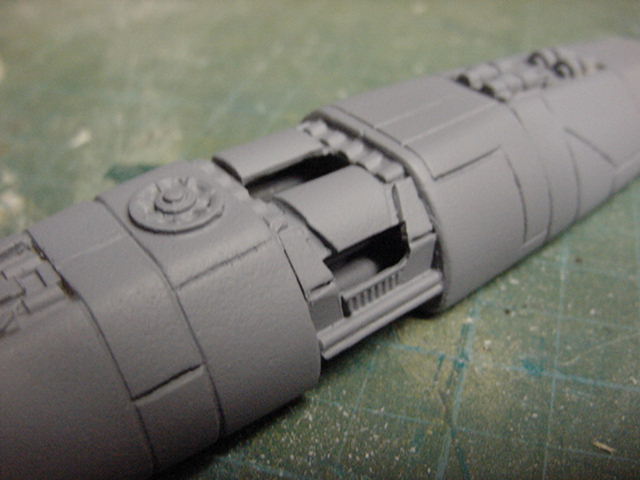
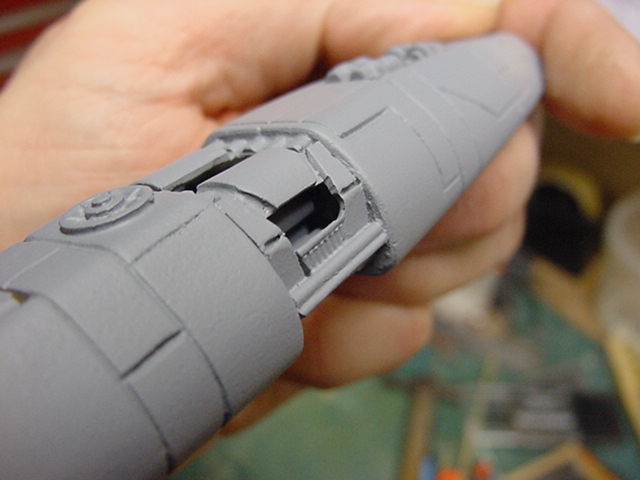
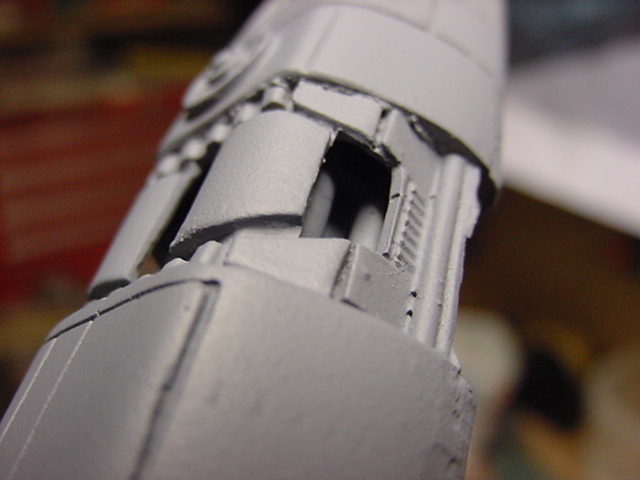
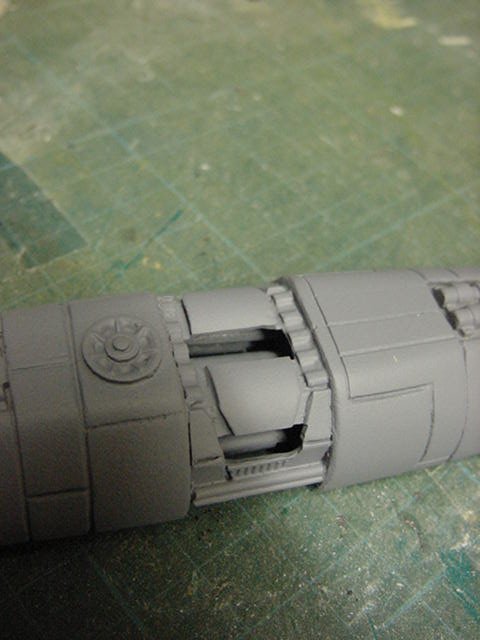
Not too shabby.
Some cleaning up/straightening up/squaring up still to do but getting there.
One down, seven to go.
...oh lordy...
Well that's the grunt work to be gotten on with, on the bright side, the castings are working out all good.
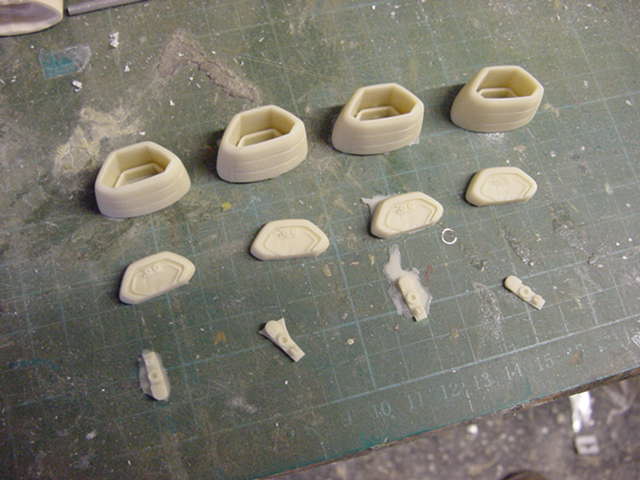
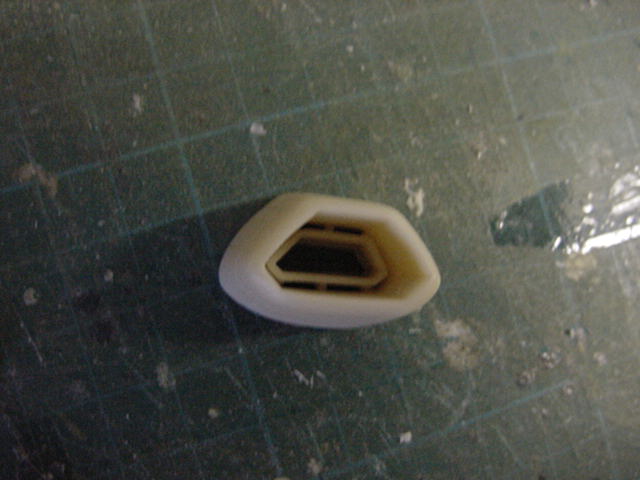
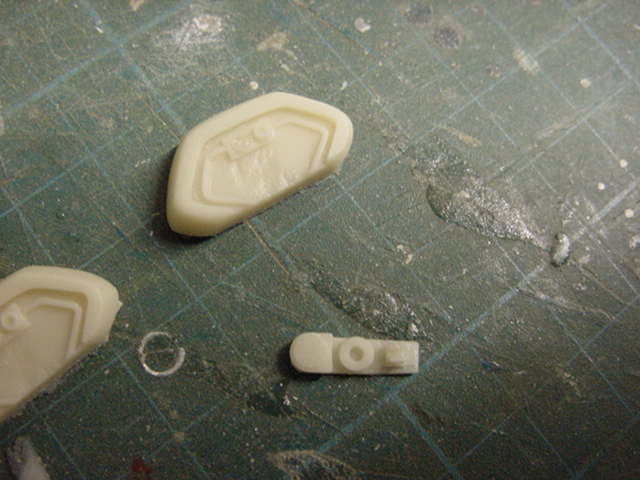
Well that's all for this update me merry lads and lasses.
More of the same silliness to come so see thee next update!
Go easy out there gang.


 Page Number


