
Fantastic Plastic Battlestar Pegasus
1/3700th Scale


 Page Number
Still on the back end...
Now With Even More Engine Malarkey!
Just no end to this engine thing i'm tellin' ya!
Welcome back people to this mega piccie packed update.
Yep, fourth page and still on the same damn bits...
All good fun really.
Right then, the penultimate bit of correction for these things and it goes a bit like this.
Looking again at the clipped render with the highlighted, red outlined bit...
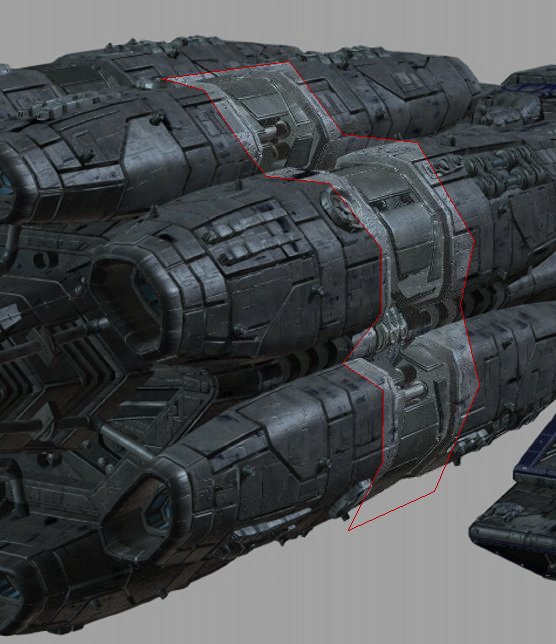
...the area in question is the plates that sit in the middle of the engines.
You will notice that they are...well flat on top before they curve down at each side.
And they meet with the smaller plates at the sides.
That said, here's the kit part...
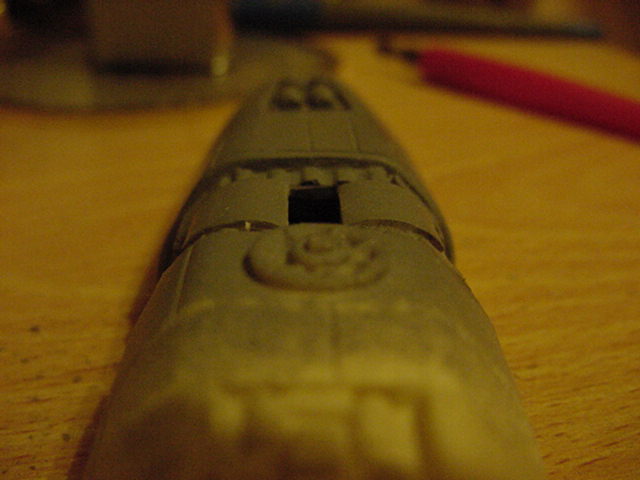
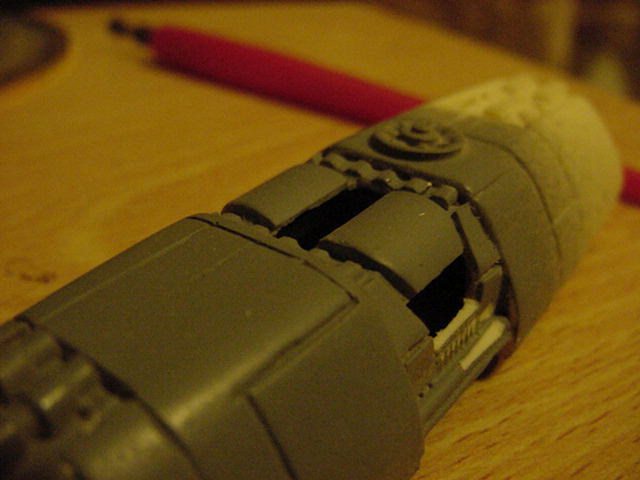
Well that's just not good enough.
So out with the white Milliput and smallest spatula I could get me mitts on.
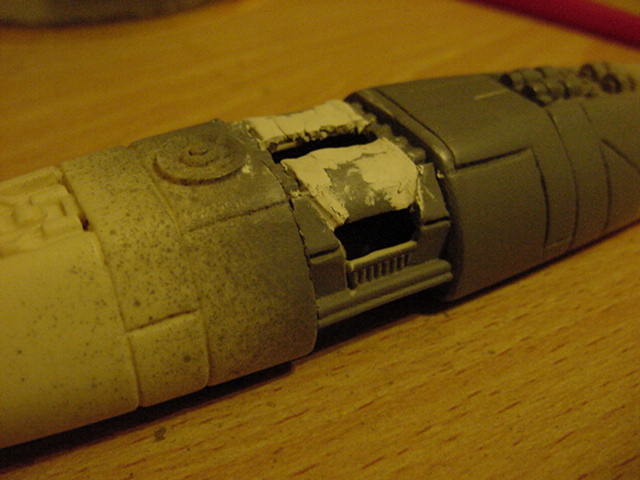

Left to sort itself out and once cured, in with the files, saw, grit paper, scalpel and the tiniest chisel in my slicing arsenal.
After more than a few teeth gritting moments, we ended up with this sorta deal.
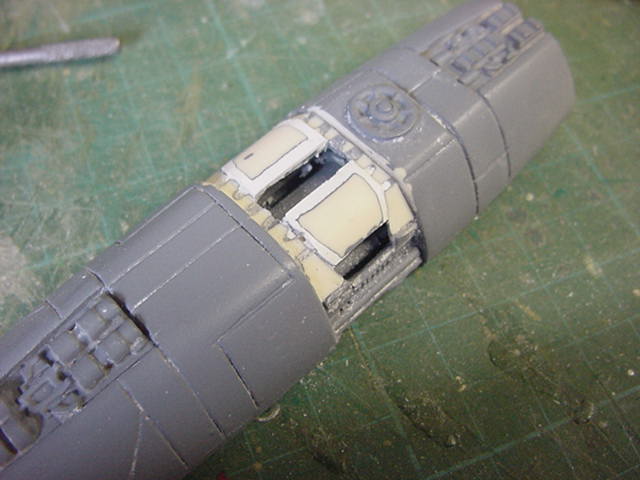
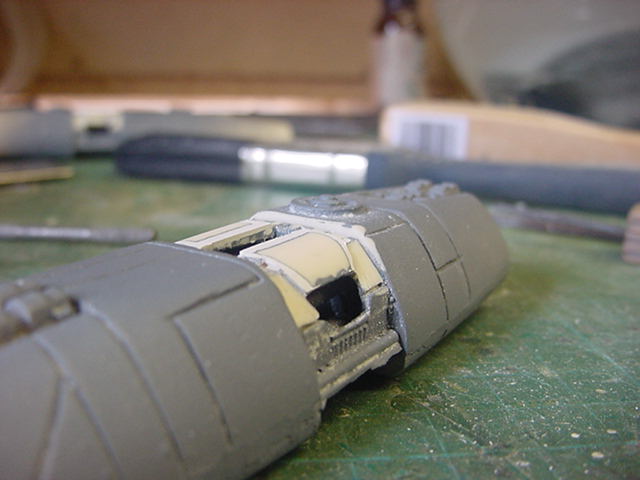
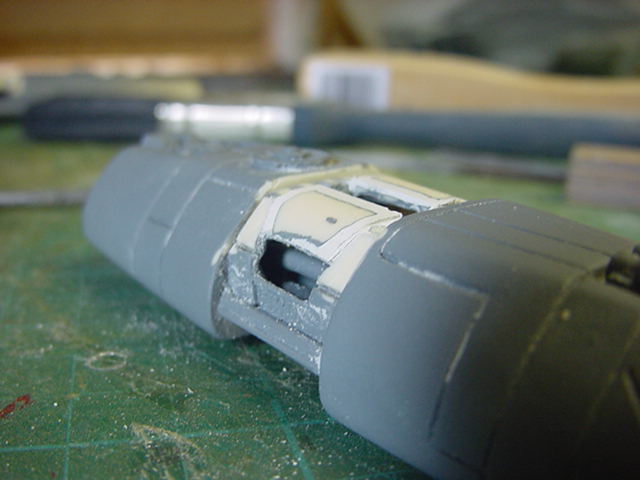
Just a wee bit more like it should be i'm a reckonin'!
And repeat seven more bleedin' times...

If I ever get handed another one of these to do, first thing that's getting sorted is one engine re-worked and then more than a bit of bloody casting!!
...and relax...
So then, that done, time to turn our attention to the lighting gig.
Well gotta get into it sooner or later...
Shame it's later but can't win 'em all.
Okedoke then gang, take a look at the render pics below with the clipped areas concerning the engines...
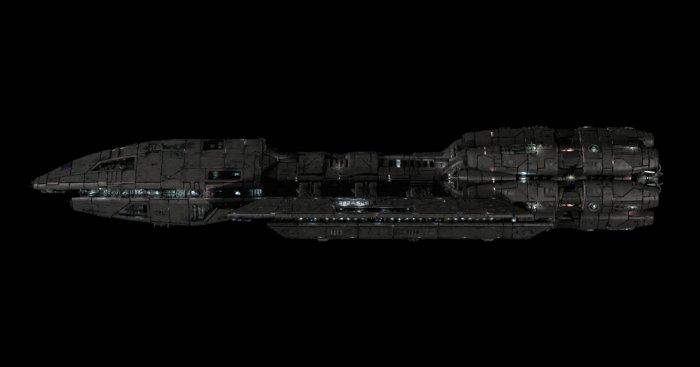
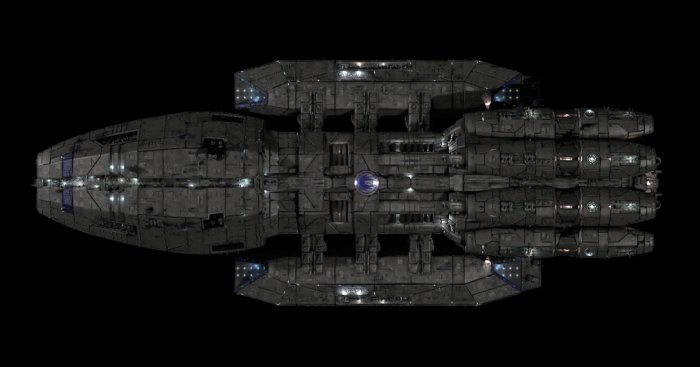
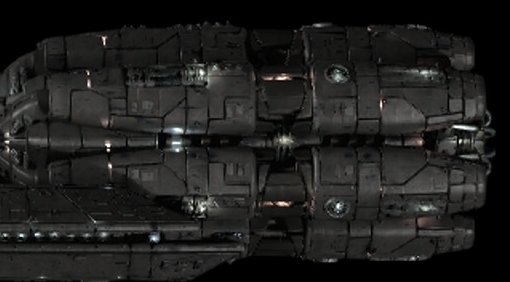
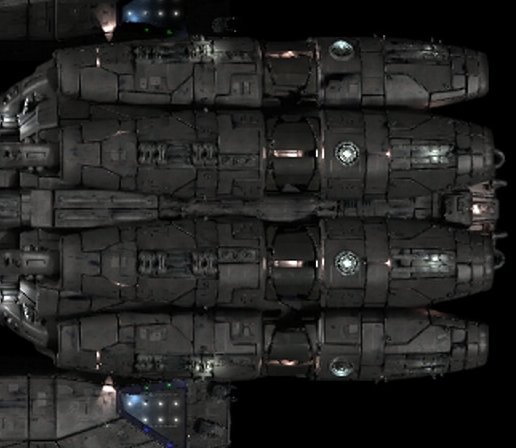
So in short, we got some bits of light here and there.
Pretty clear where the light splash is, not quite so obvious as the where it emanates from...
Sounds oddly familiar from somewhere...
Never mind...
Another thing to note is that some of the lighting seems to be located under the outer plating.
Almost like the engines have lit areas covered by the outer skin.
And a final thing to note, the lighting is mirrored so to speak, left/right along the center line and some top/bottom to boot.
Oh for cryin' out loud....
So then, to attend to this and we'll just stick with one as an example.
So some more resin removal courtesy of the screaming rev drill mit der milling bit.
When done, a fine drill bit selected and the parts of the panel line were drilled through and a waggle of a scalpel blade end to clear.
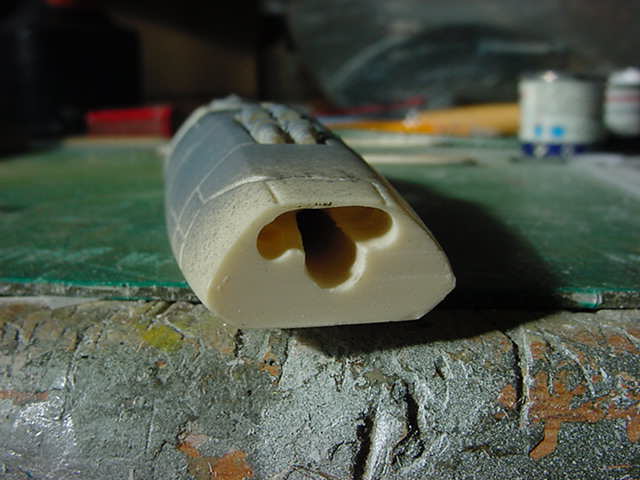
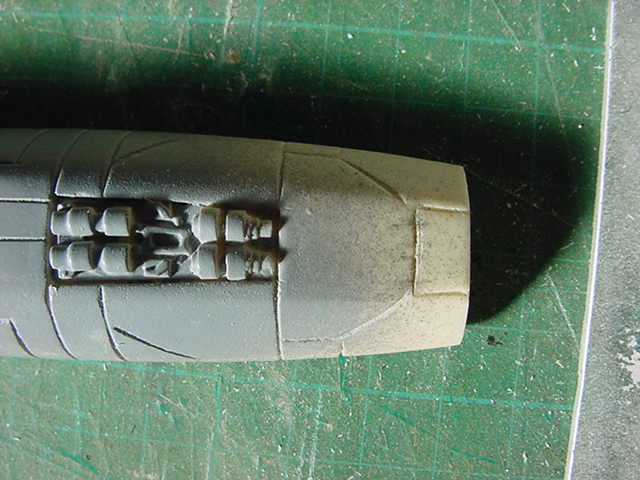
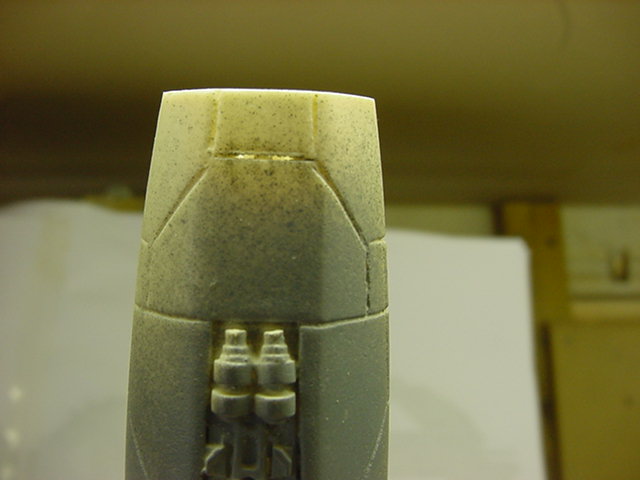
So far so good.
The other parts on the surface of the engine was drilled out and the ends of the FO heat bent to about 90 degrees.
With the plastic stuff it easy to bend it with heat and as long as it's not over 90 degrees, it still seems to transmit light ok.
If heat isn't used it just cracks and inhibits the light flow quite a bit.
The other reason for the bend is as noted before, a lack of direct light spots and that's still the plan.
Also a small bundle of three strands a piece was placed front and back of the mid engine plate gap just under the lip.
So all placed and filled in with epoxy stay put gunk.
When that was taken care of, a 5mm diffuse white LED was fitted for the main engine light.
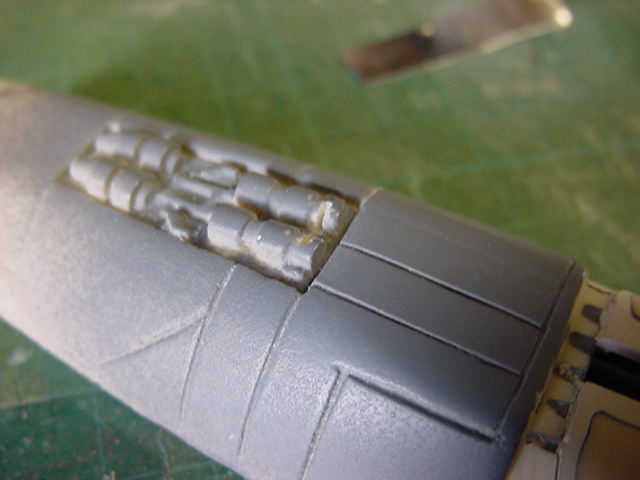
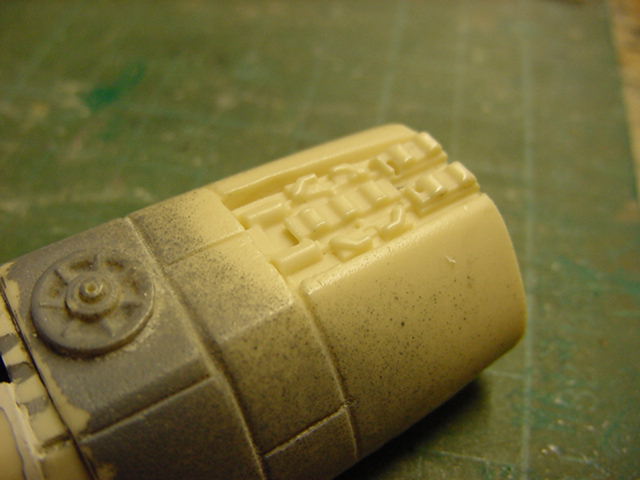
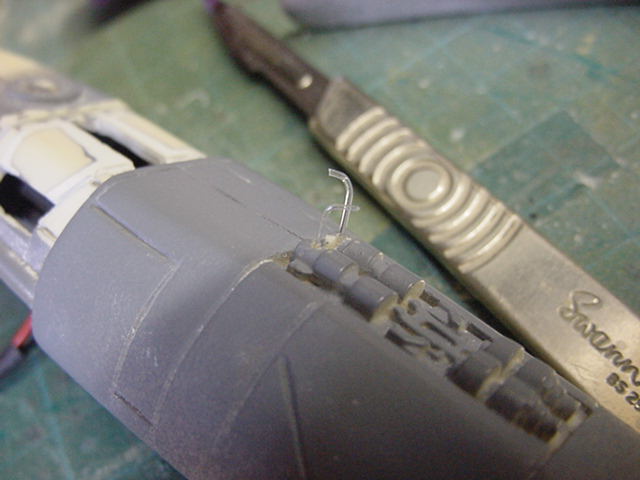
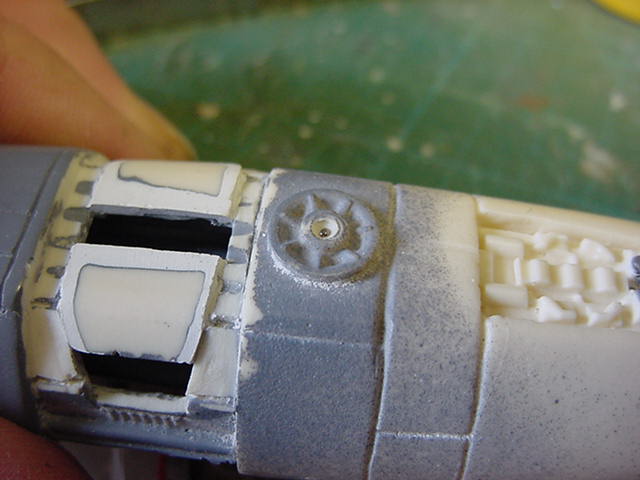
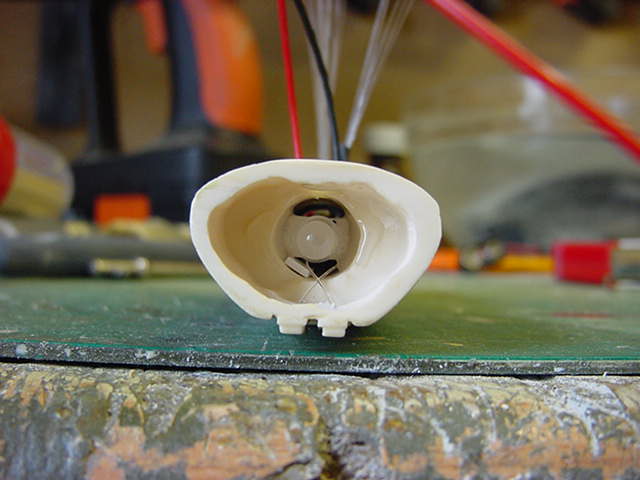
For the lighting under the slits at the front, a bunch of FO was just placed in with the ends a smidgen short of the slits.
That means a fair area for the light to spread,
and unless the paint decides to do a right angled turn after going through the slits, the FO should be kept clear and clean.
So them in place and FO/wiring sorted, a small bit of foil tape to the inside of the front bit to assist light bounce about.
A lick of Tamiya clear blue was plastered around the edge of the diffuse plastic on the engine exhaust for that blue/white glow thing.
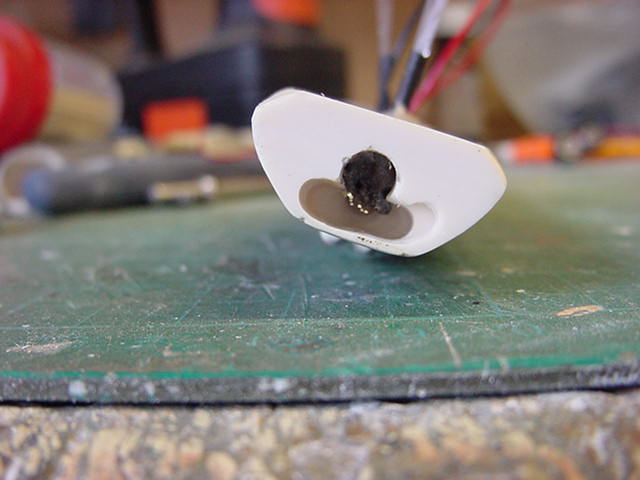
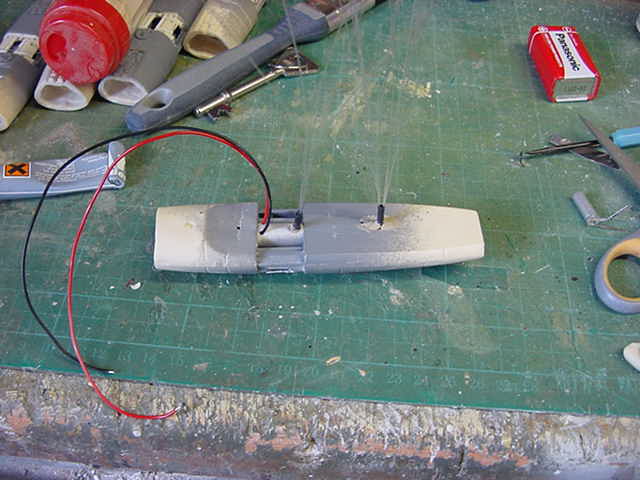
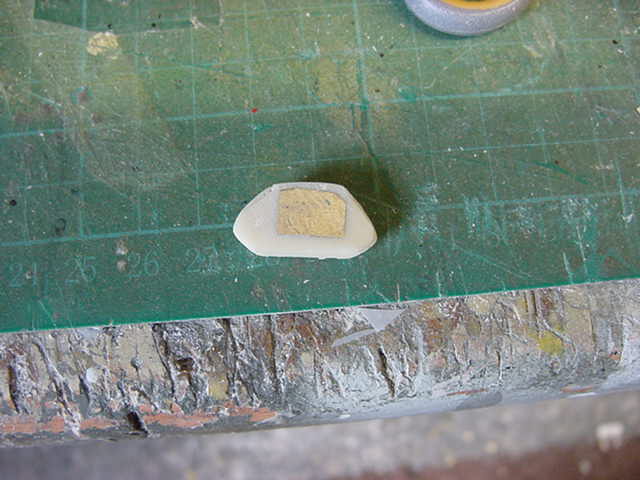
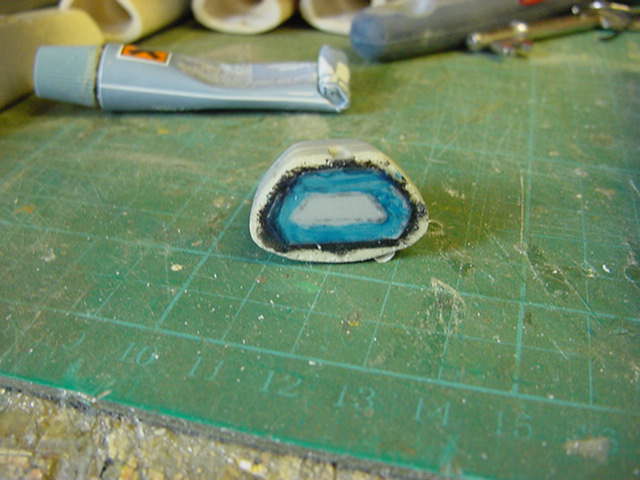
Rear bit slapped on for a light test.
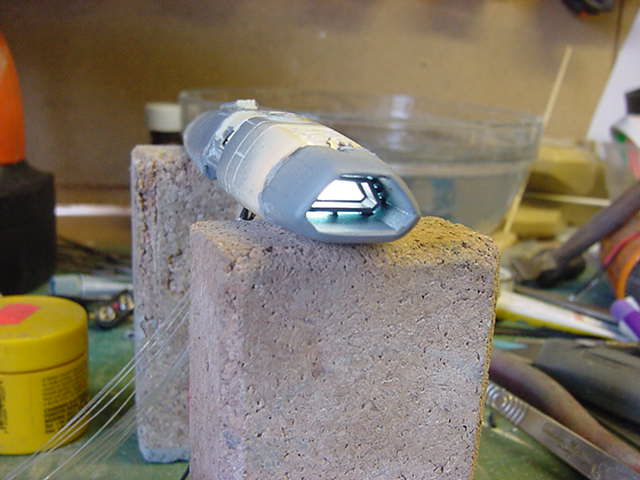
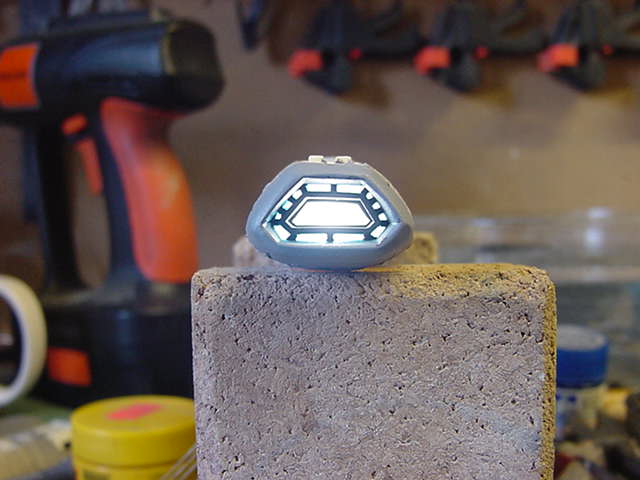
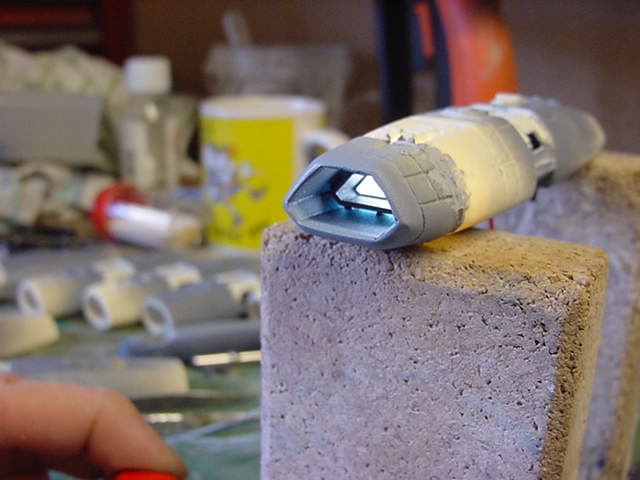
Getting there...
So front bit attached, likewise the small detail piece on the top.
Final addition, some foil tape on the mid engine plates to give a bit of relief of sorts.
A bit of panel line cleaning up, some liquid mask in the right places and a goodly lick of primer.
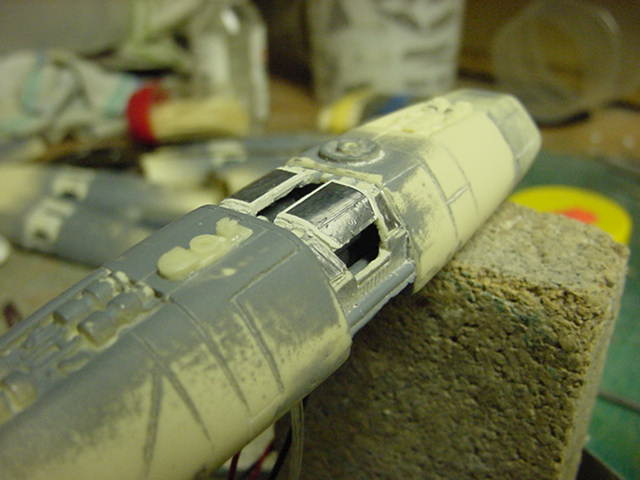
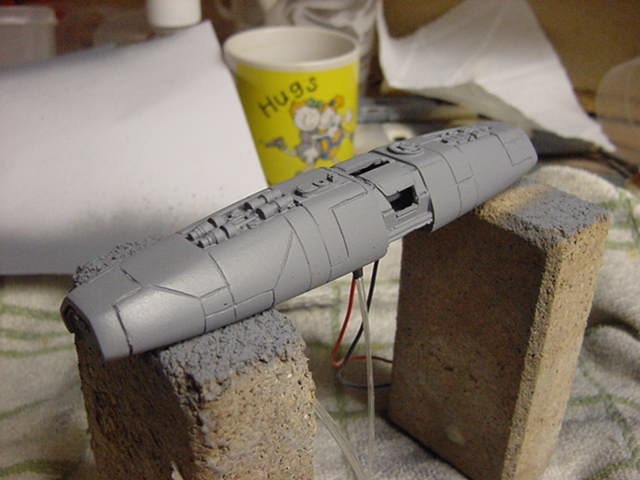
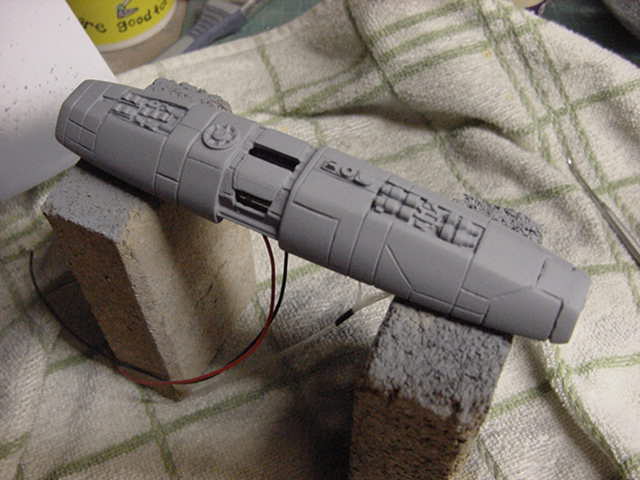
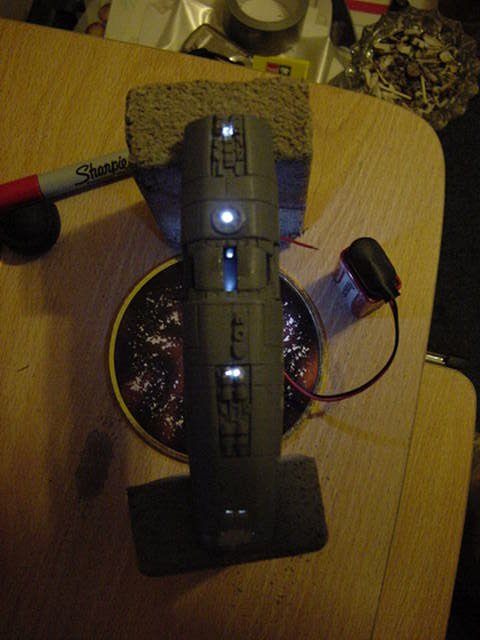
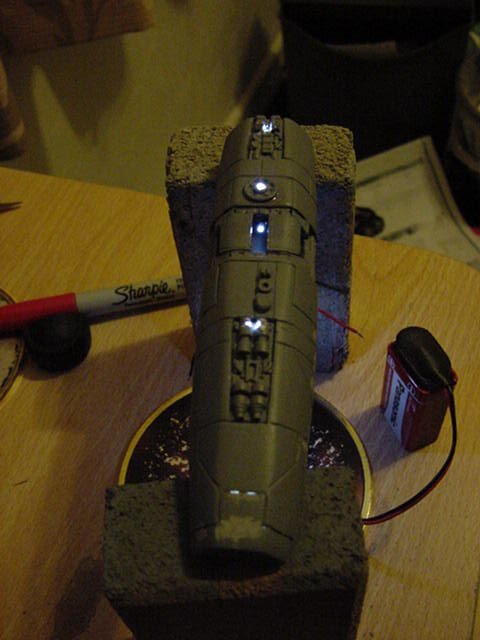
So with camera in tow, into the house for a few shots of the lighting in normal room lighting...so to speak.
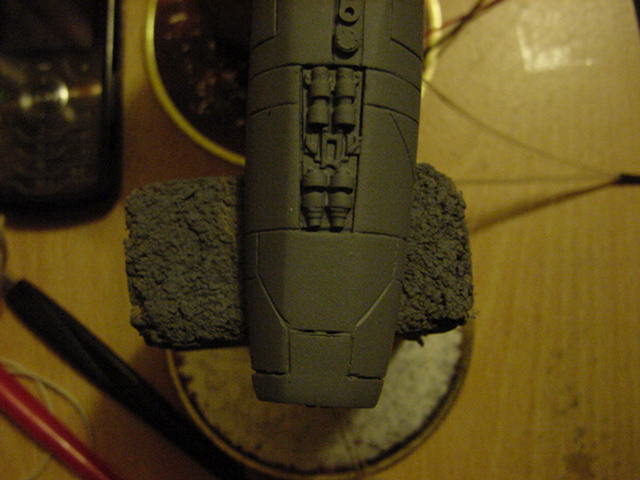
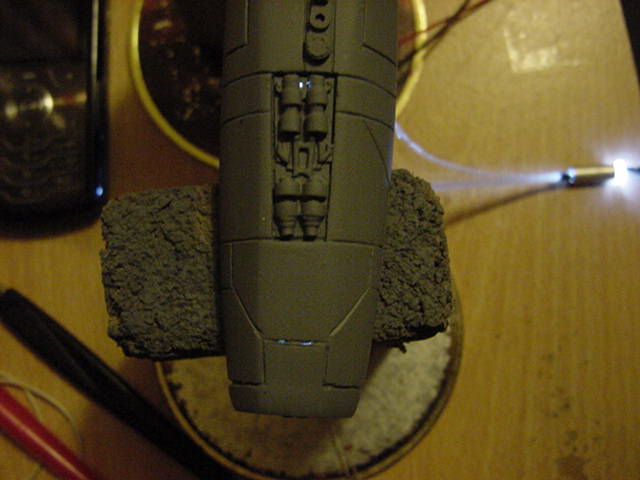
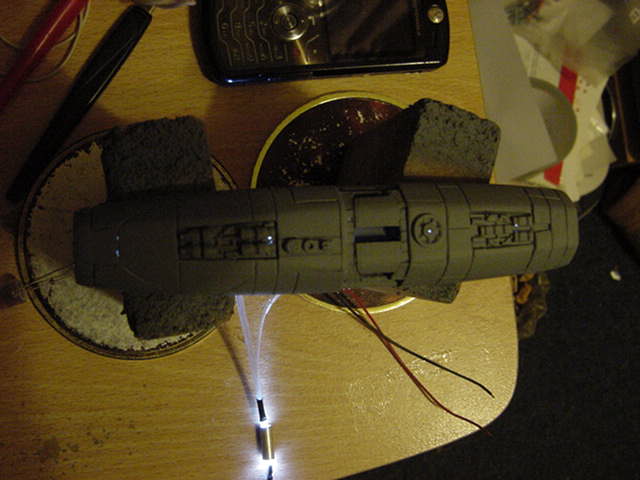
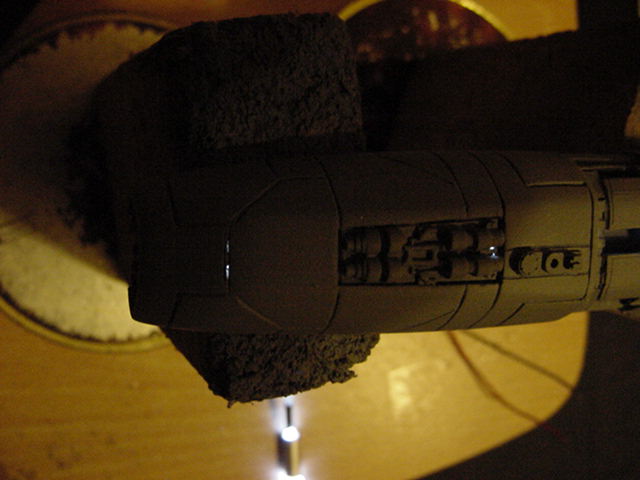
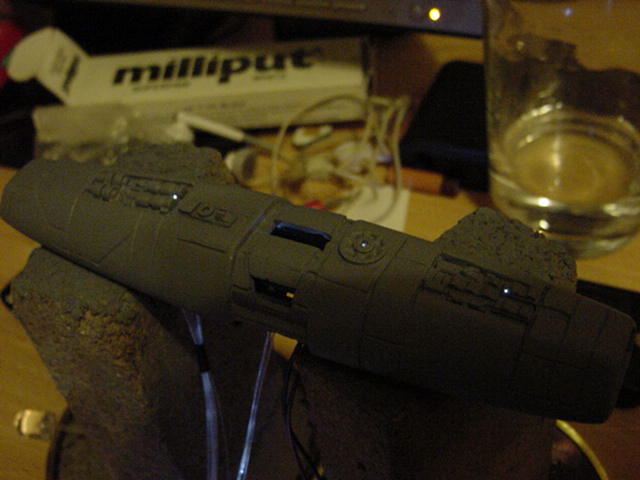
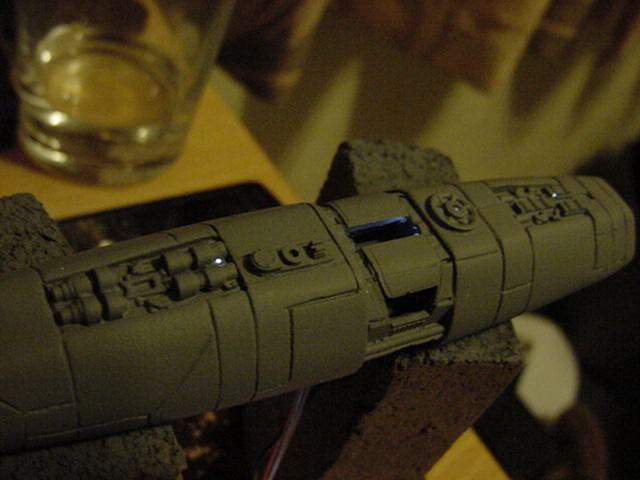
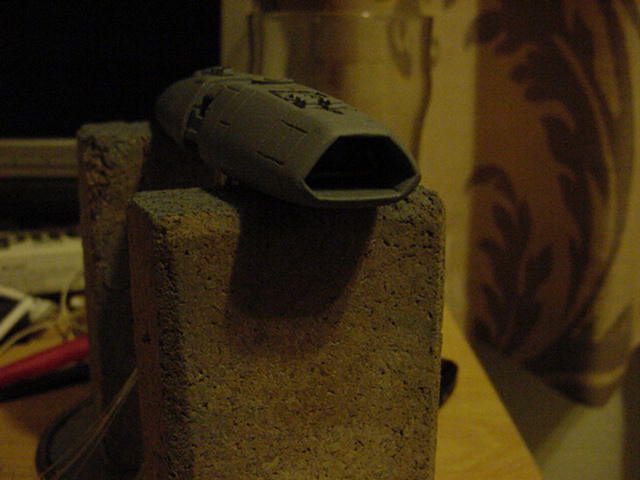
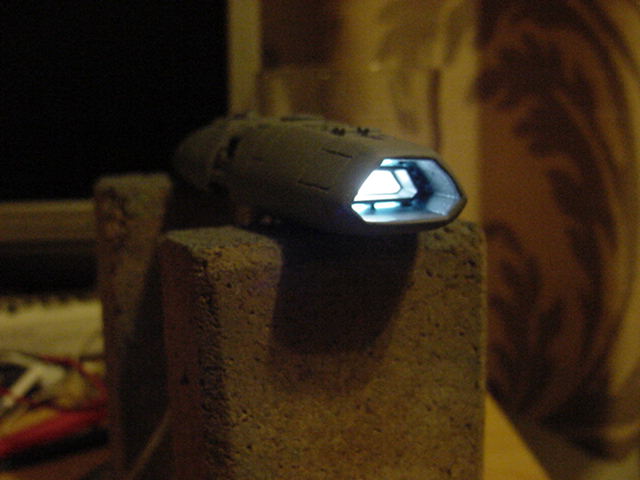

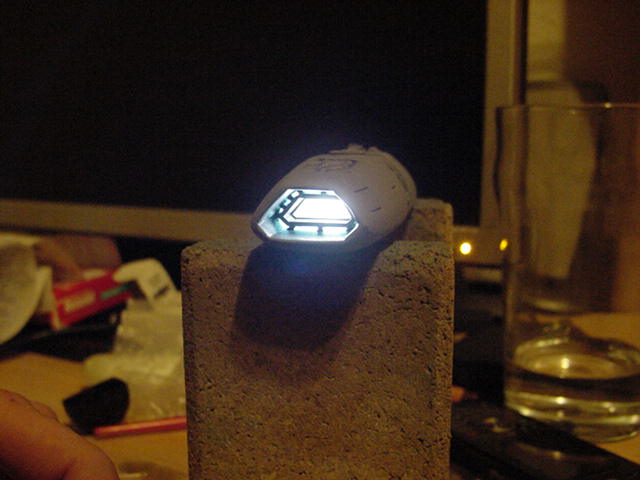
Well not too bad.
As soon as the FO is properly sheathed and the ends polished and mounted to an LED in correct fashion,
it will look a bit better.
Right now there's another 7 of these to do then on with the rest...
And about bloody time too methinks!
And that's all for this update.
More later but until then, you merry mob take care and go easy now.
Captain Slog: Additional
Stardate: Badly in need of a vacation!
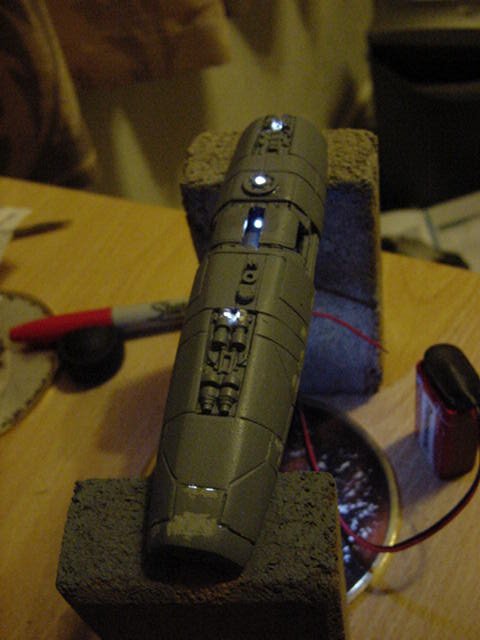
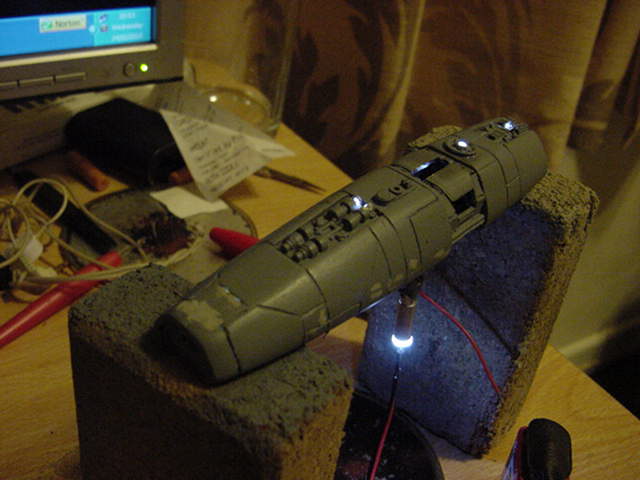
Just a few additional pics.
The FO work on the engines after taking a good long look just wasn't cutting it for me.
So a little re-think and ripping the lot out was done.
After some frowning and faffing about, here's the re-done test engine and that's all for now gang.
Yeah I know this is taking time to get sorted but when you have to apply the re-work eight times over, it get's a little long winded....
Apologies all.


 Page Number


