
Fantastic Plastic Battlestar Pegasus
1/3700th Scale


 Page Number
Not so much 'Back To The Future',
More Like
'Back To The Back End Of This Mess'.
Welcome back gang!
And we'll be sticking with the Pegasus from now on untill the finish,
so let's be about it then.
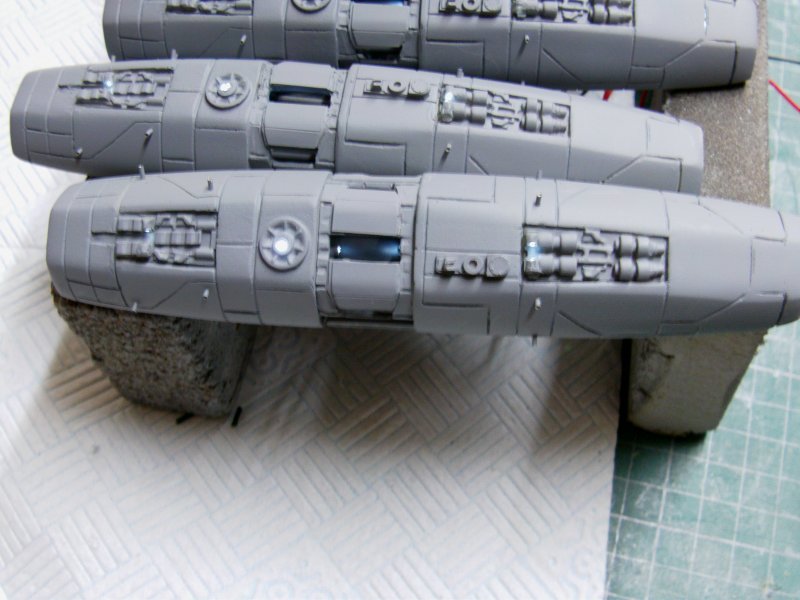
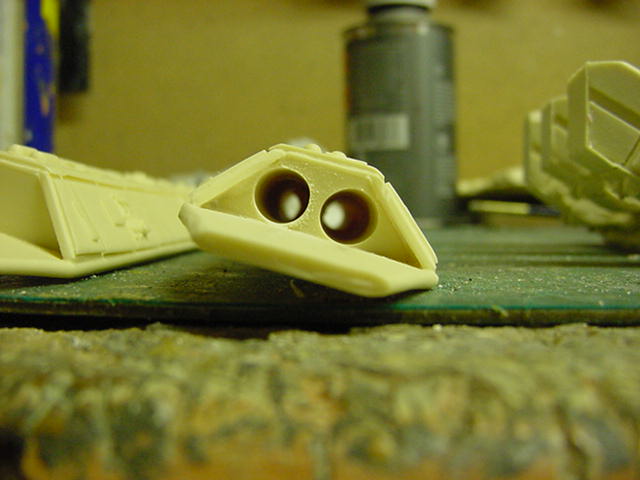
So final engine exasperation's and perspirations here about's.
the finishing bits for the lighting are now done and done,
the insides of the engines were refilled with resin,
all the fiber optic gathered up and secured with some black epoxy stay put ya bugger gunk
and a short piece of plastic tube.
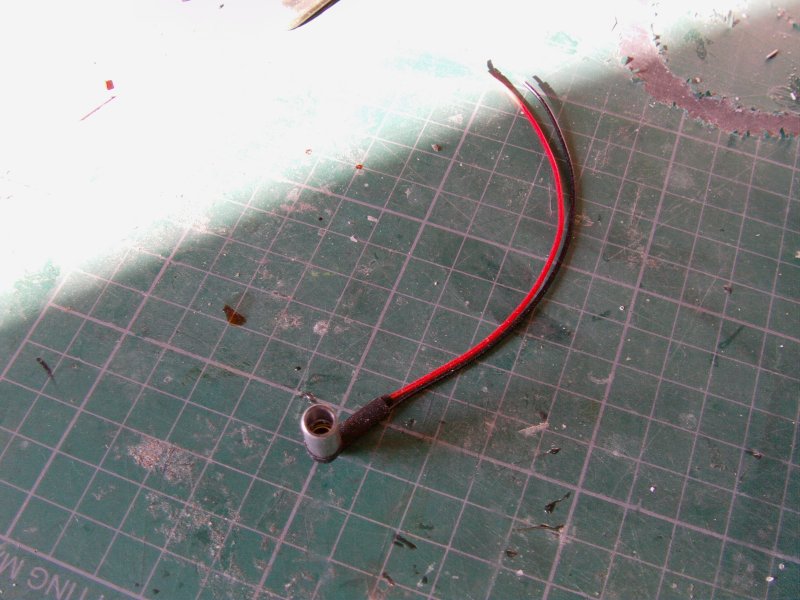
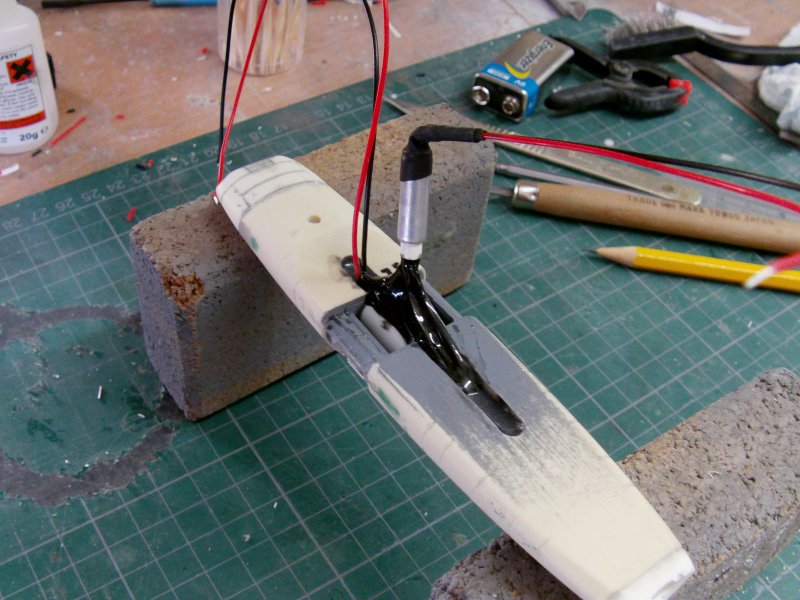
Lights for these are some mega bright 32000mcd 5mm white LEDs.
Duly set in to a short bit of aluminium tube, resistored and wired up.
And with a dry fit and small block of 9 volts, we be a testing it.
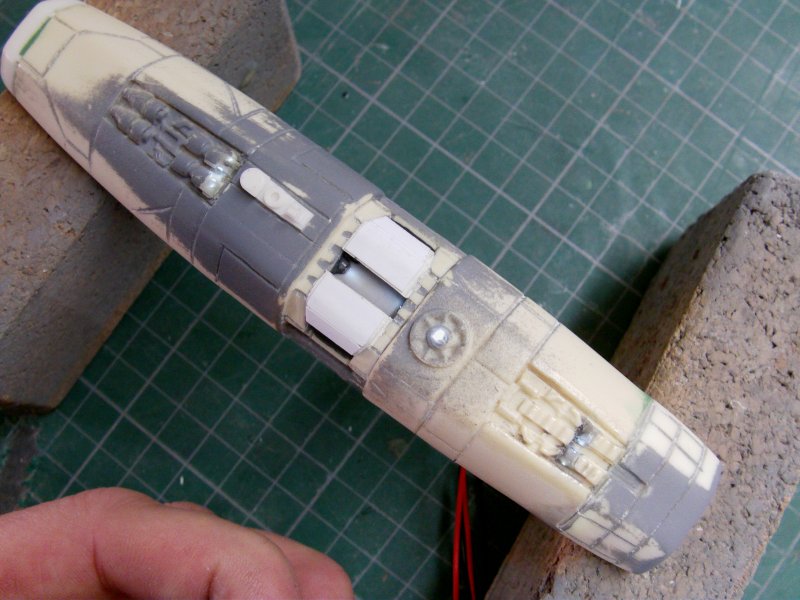
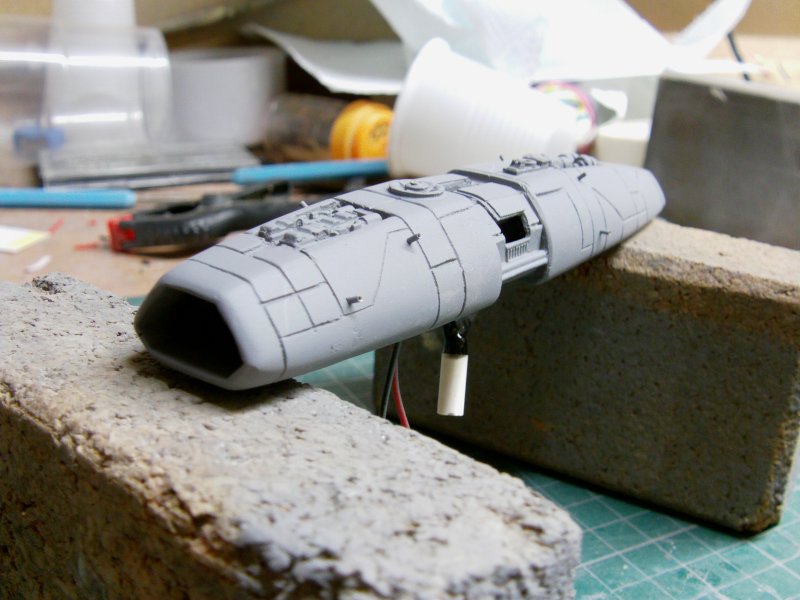
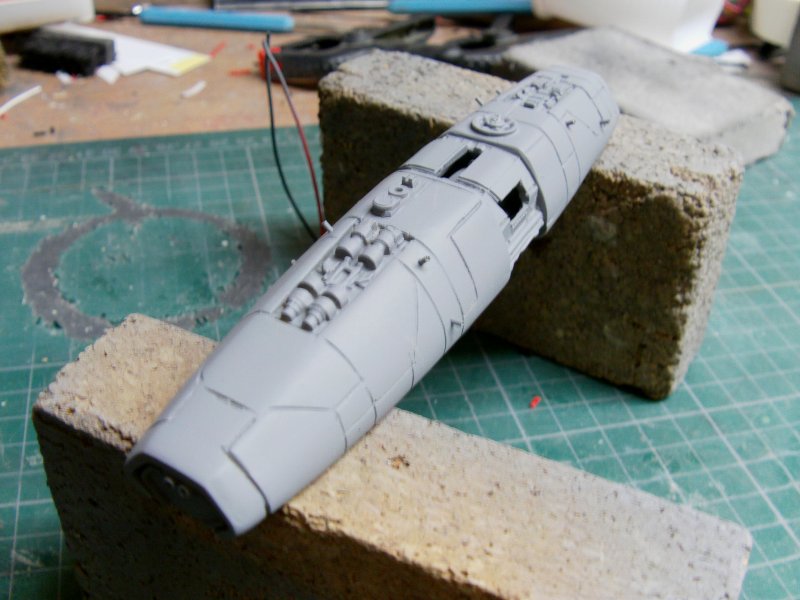
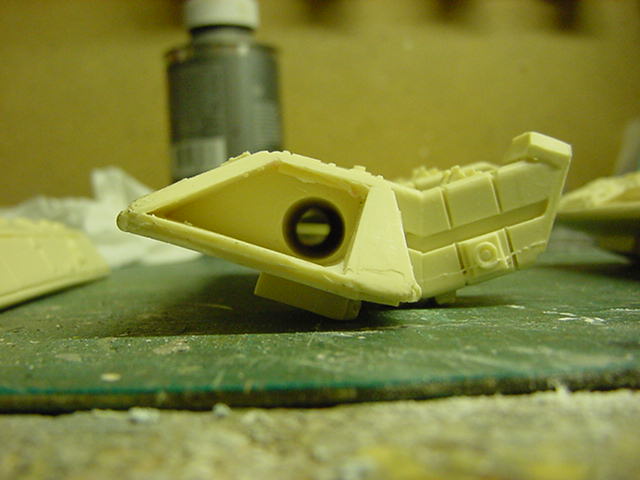
Some last bits of detail to sort.
A panel line or several and some...
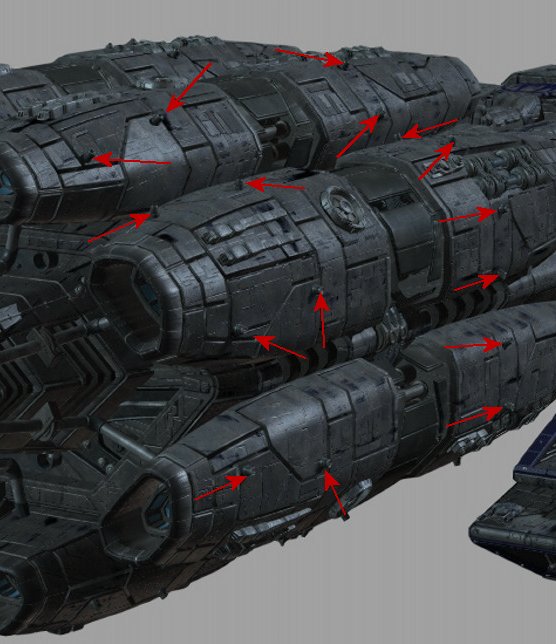
well bits that look like attitude thrusters to me.
I could be wrong but it's these bits as seen on the CGI render.
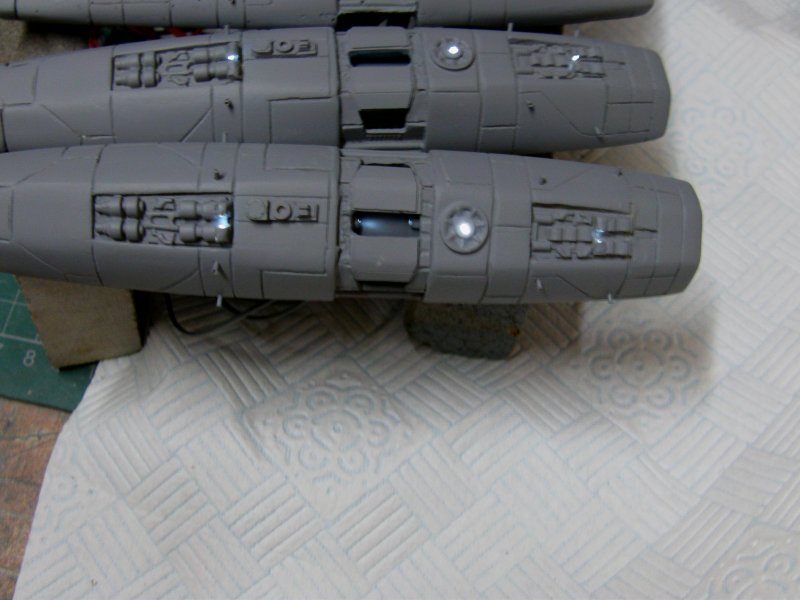
So lines marked out,
thruster placing also...
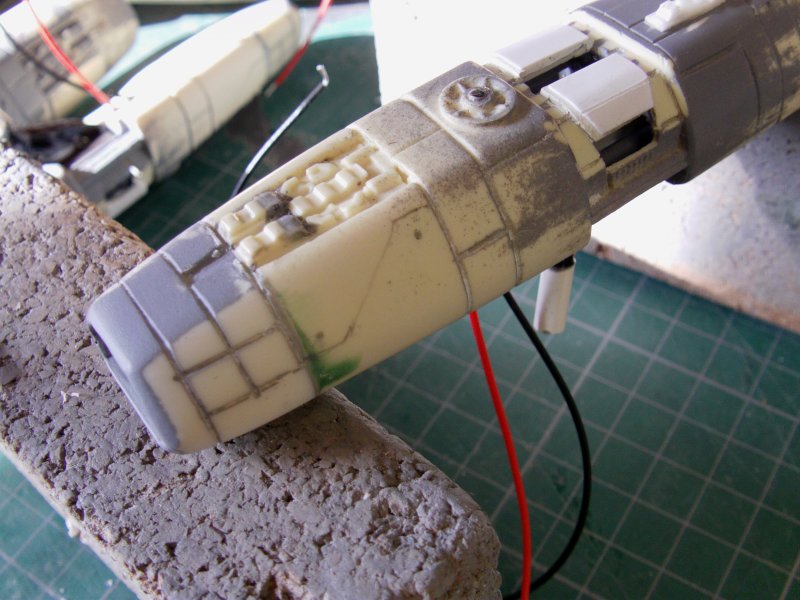
Some 0.9mm brass tube sliced in to 4mm lengths, 64 of those required.
Holes drilled, panel lines scribed,
much tube twiddling and cyano cavorting about did happen.
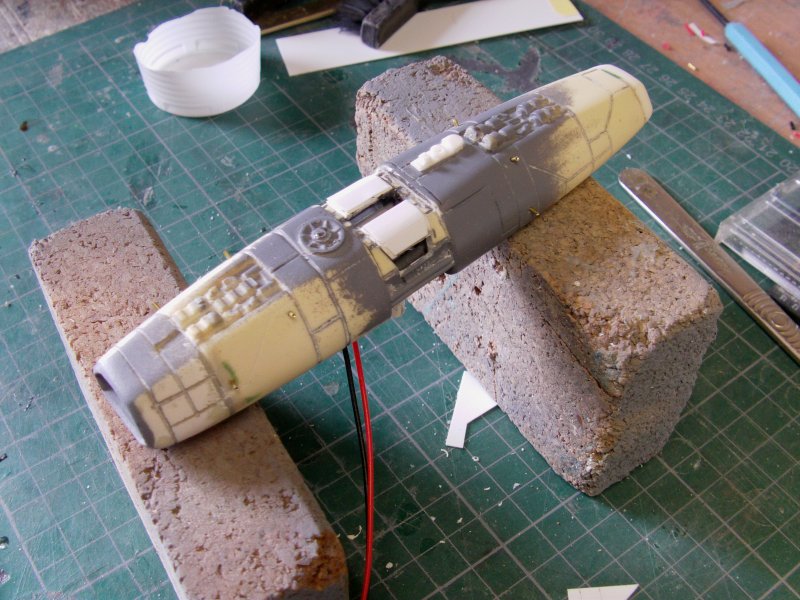
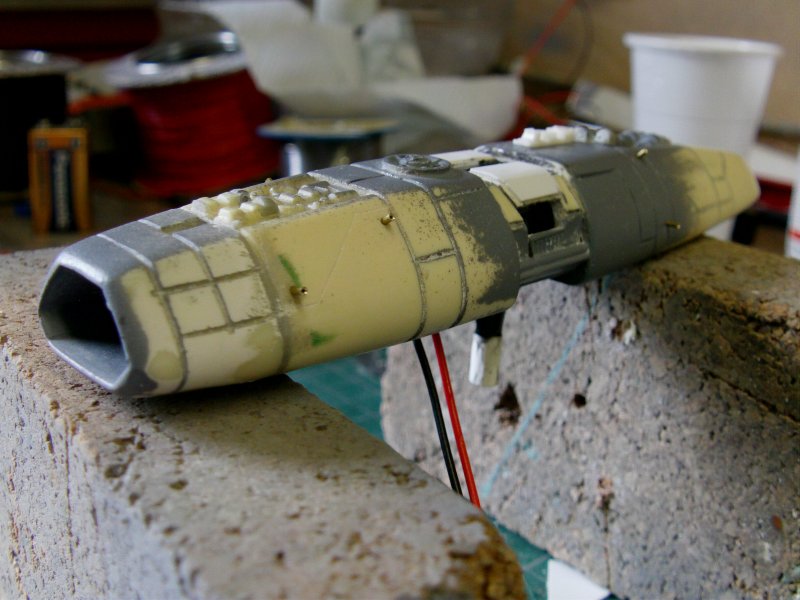
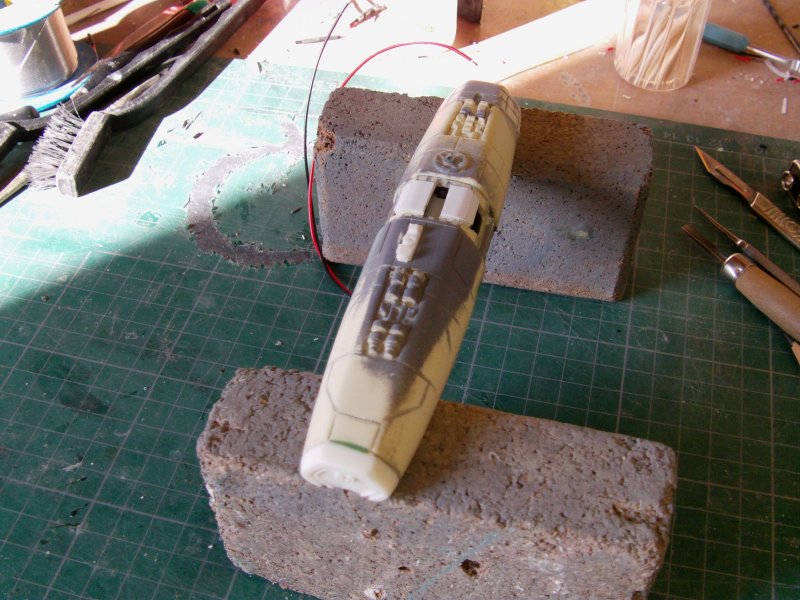
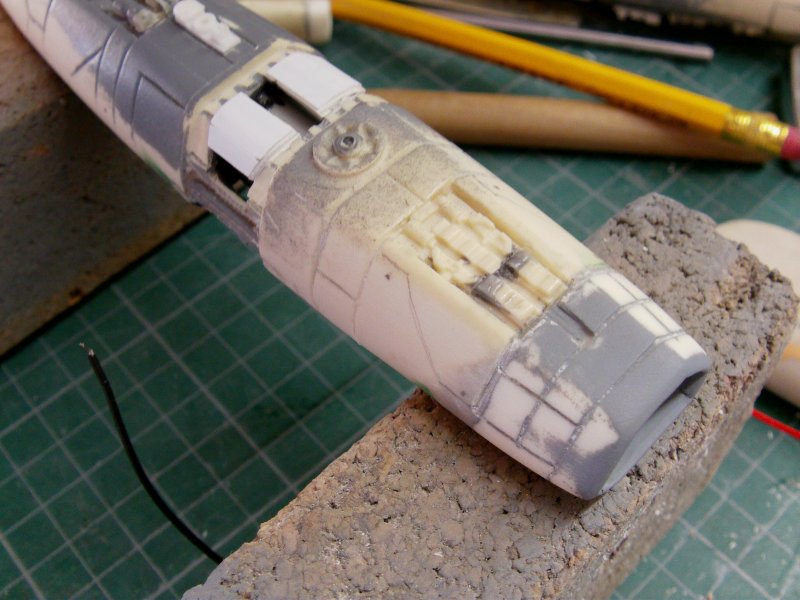
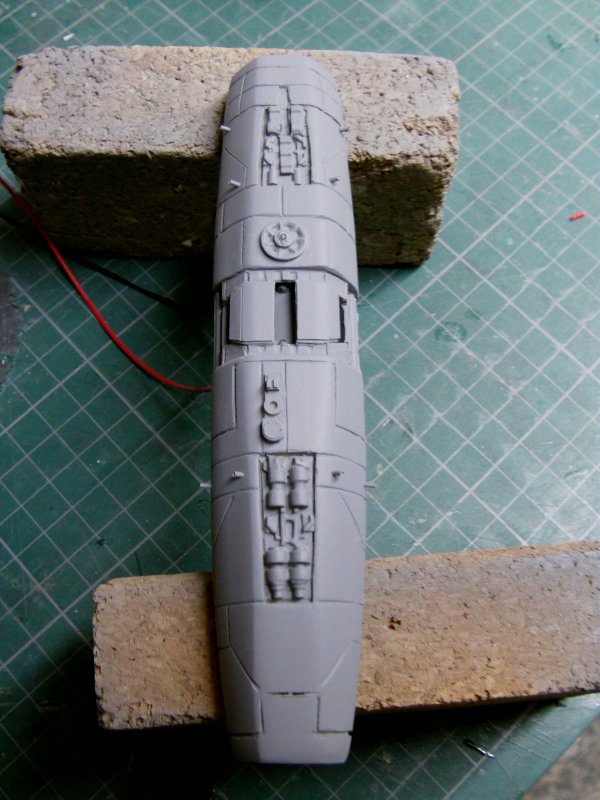
So pretty much build done with the engines at bloody last
so a little test fit to see what space we have to play with in the back.
Well not exactly a lot but I did stagger the ends of the FO bundles so that they wouldn't hit each other.
Should be all okedoke there then.
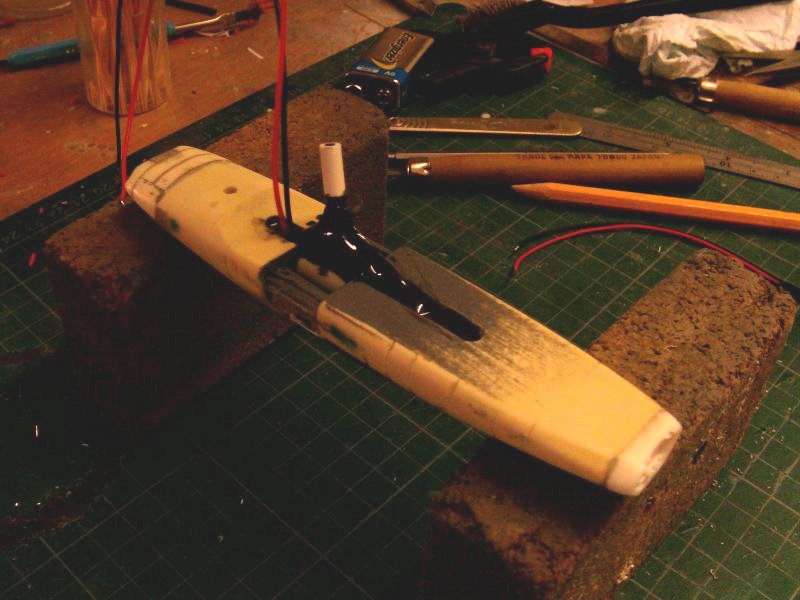
So on with the primer and a little bit of liquid masking.
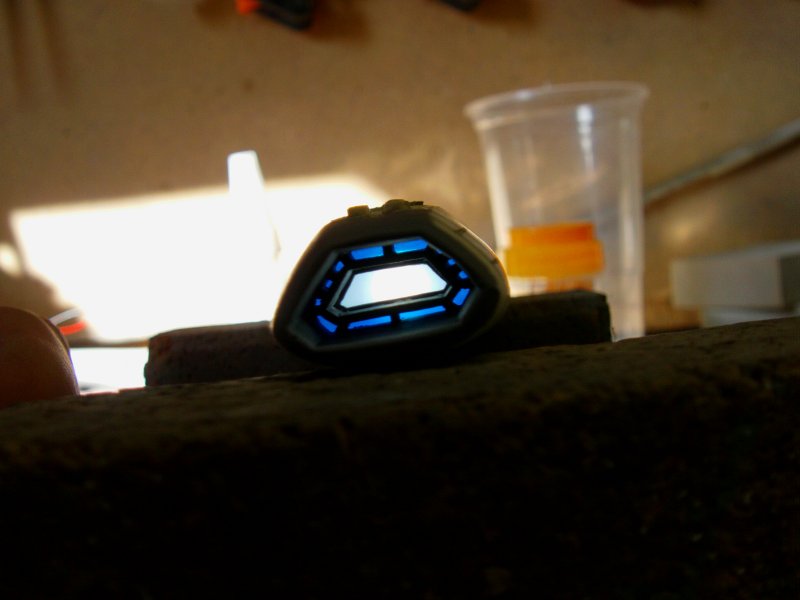
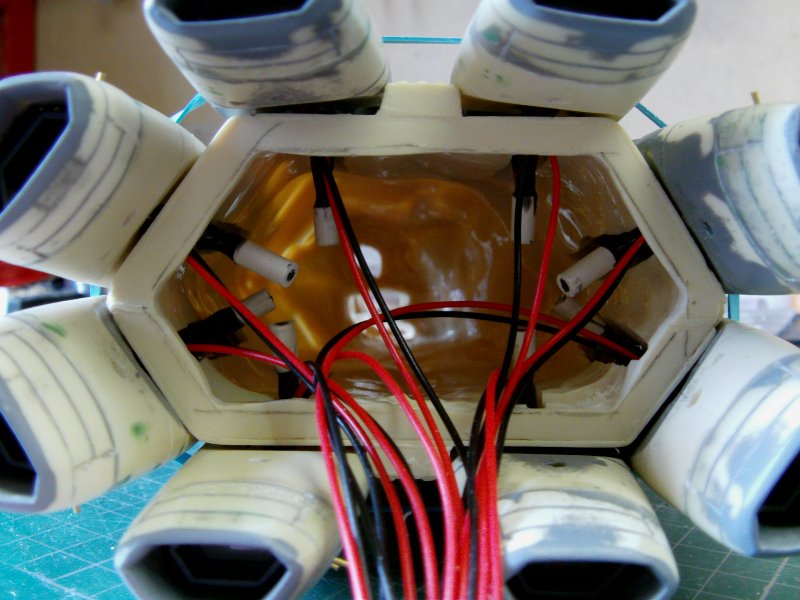
Well lastly for the engines, a quick and dirty wire up to see what we have.
And this is what we have...
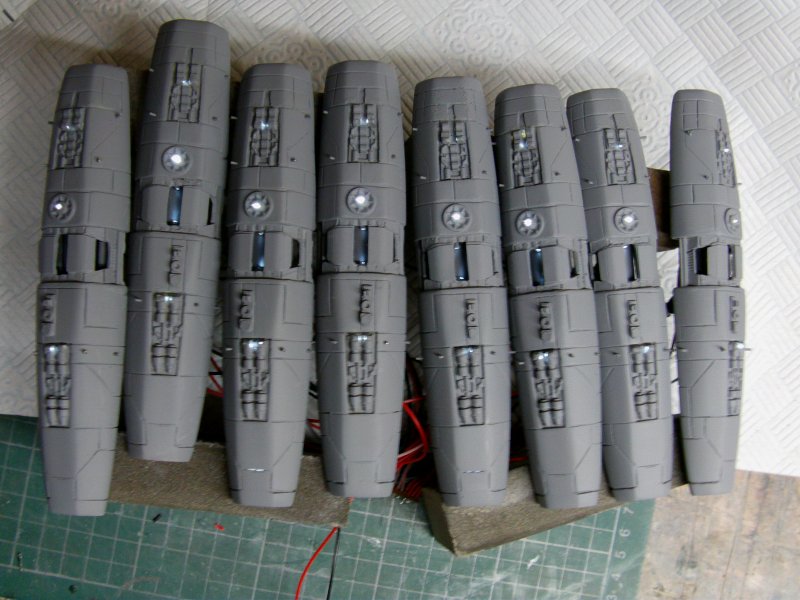
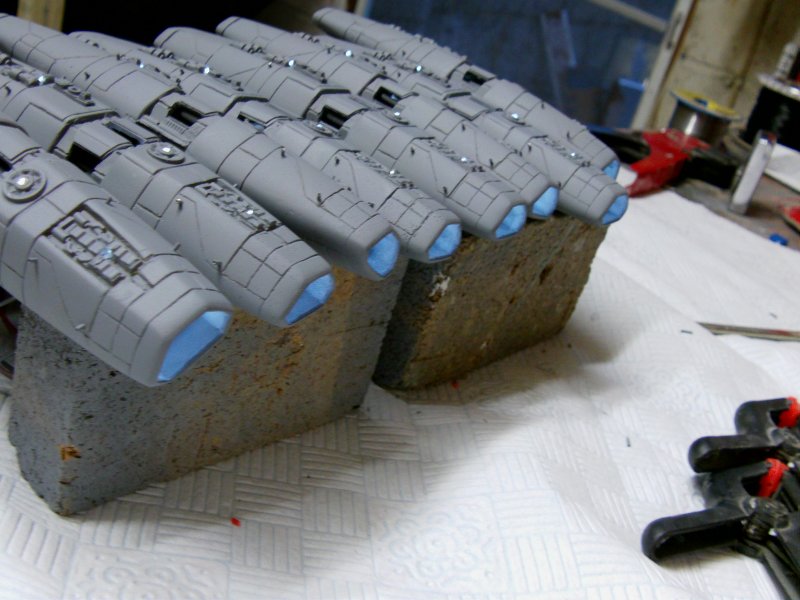
And that's as done as the engines need to be!
So next up...
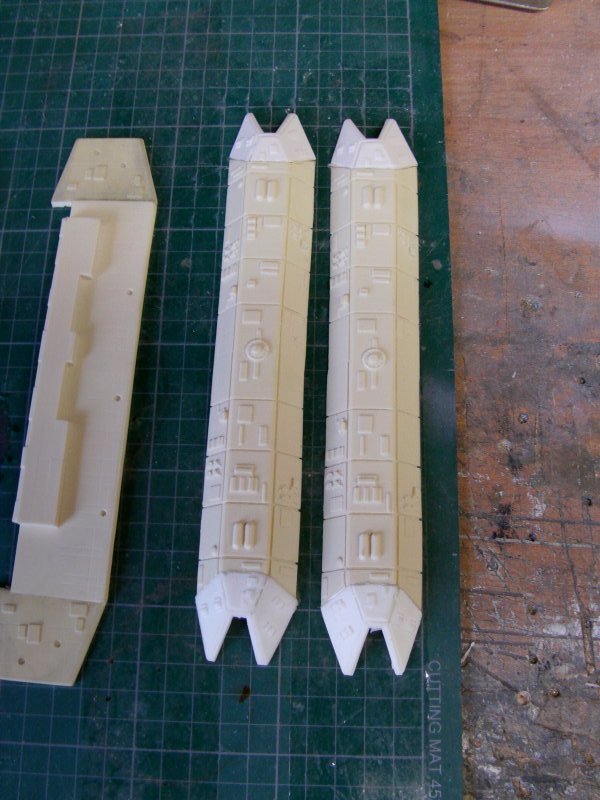
The side landing bay pods!
Oh gods of Kobol save us all.
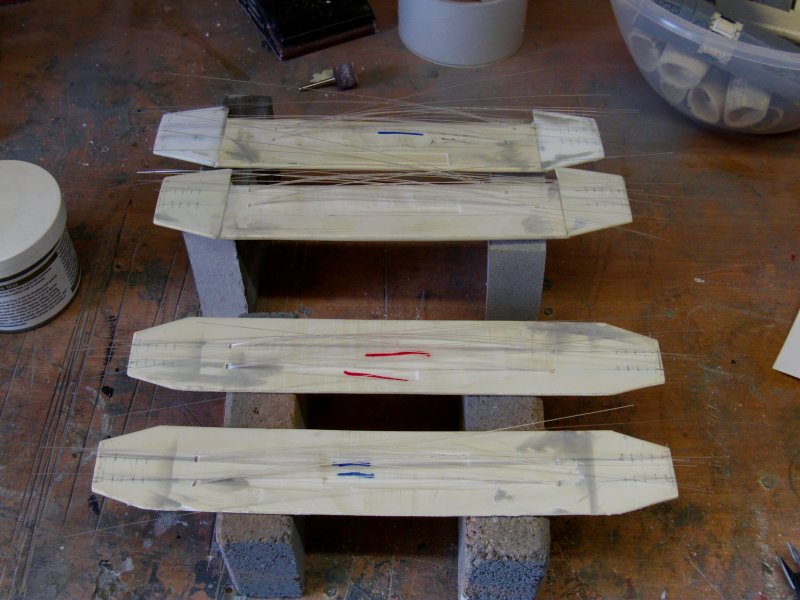
So to business.
These things will be in need of much fiber optic strand weaving lark but a problem presented itself...
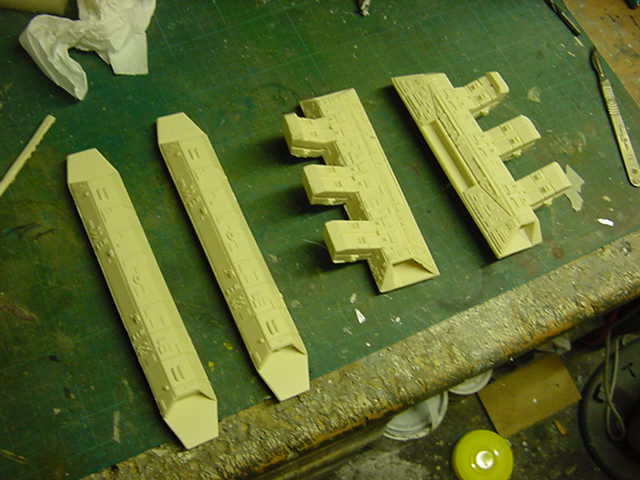
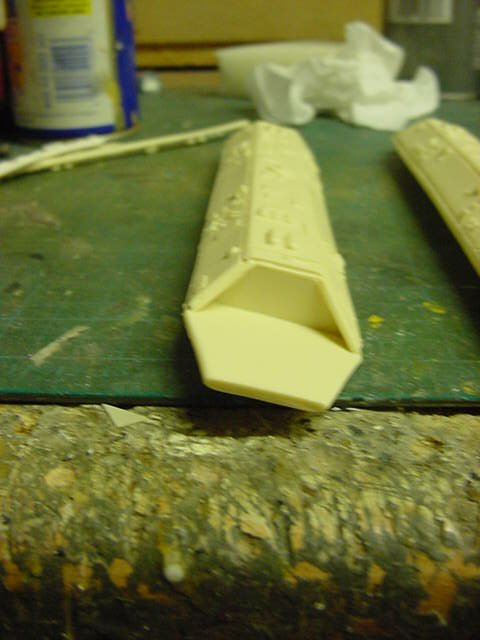
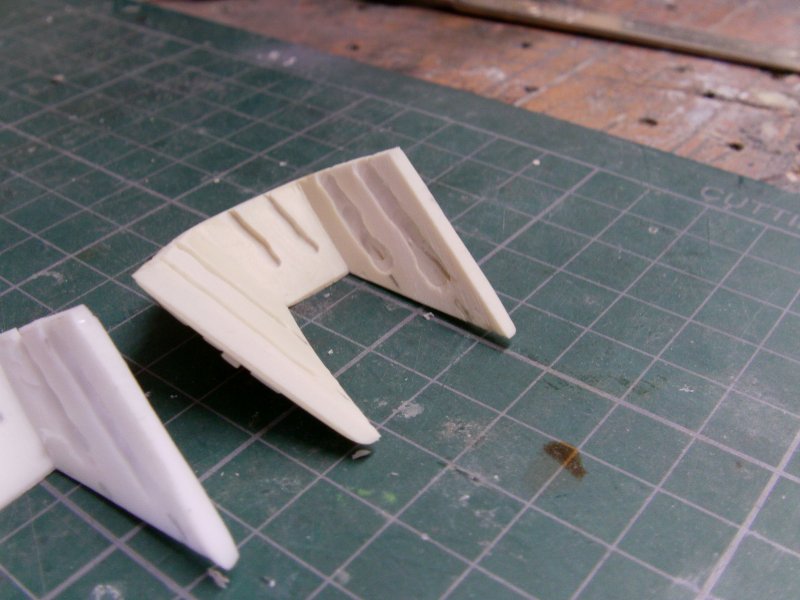
Yep, they be solid castings.
Well a bit of work with a 15" long 1/4" bore wood drill bit later....
Then came the blessed hacksaw and much swinging of the elbow.
The tops duly split from the bottoms and
some none to gentle sanding out of the unwanted resin.
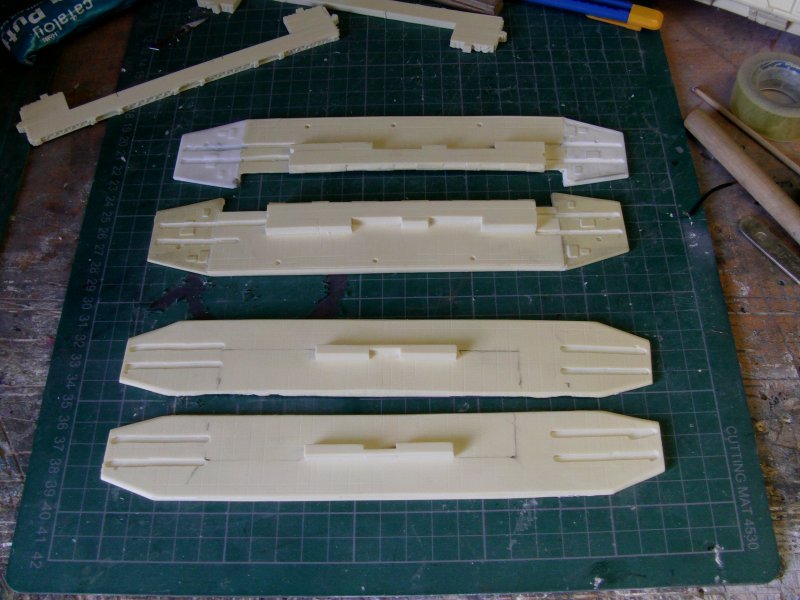
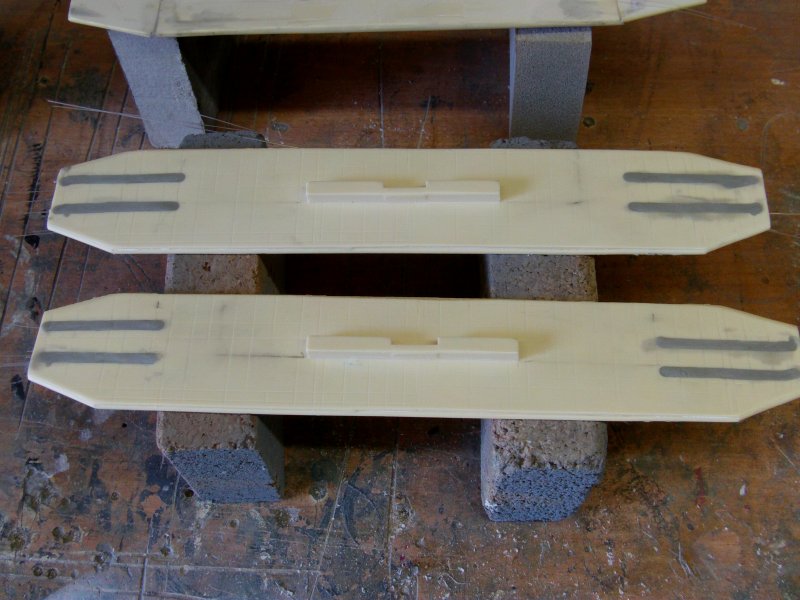
The open ends were separated down and the
flat deck parts glued on the the bottoms.
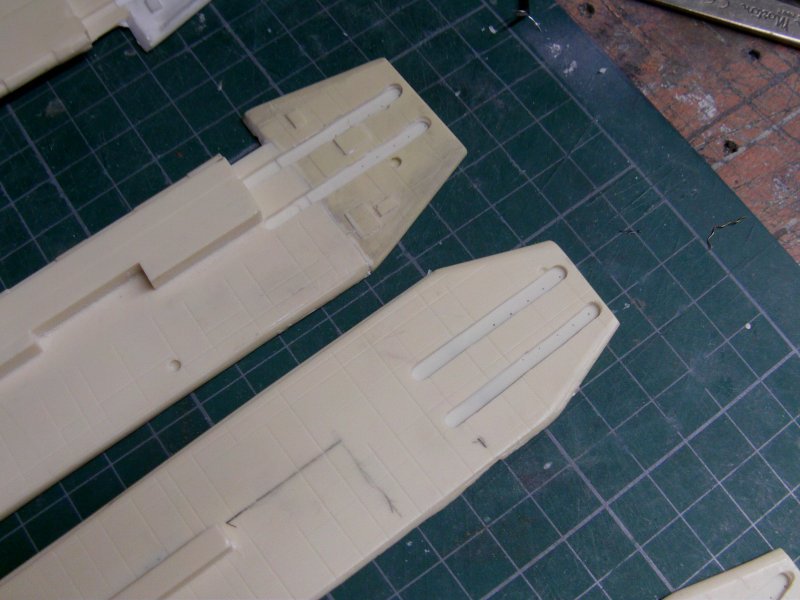
Now came a fun part.
The decks have two lines of lights running down them.
Now going from the show, well the feature length 'Razor' to be exact,
these run the entire length of the deck but since I was going
to have to refill them once all built,
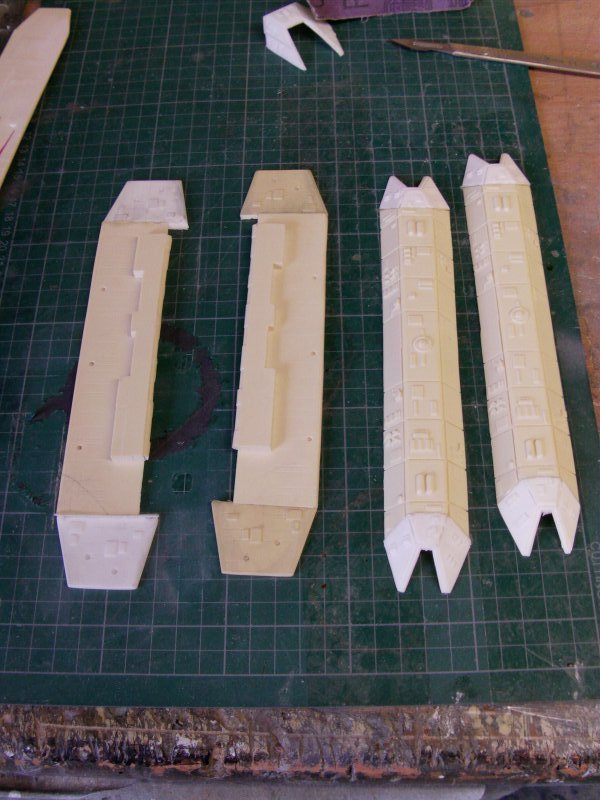
I opted to do five only at the bay openings.
The underside was routed out with two shallow trenches at each end.
Some 90 degree bent fiber optic fed through tiny drilled holes and
then filled over and secured with Aves.
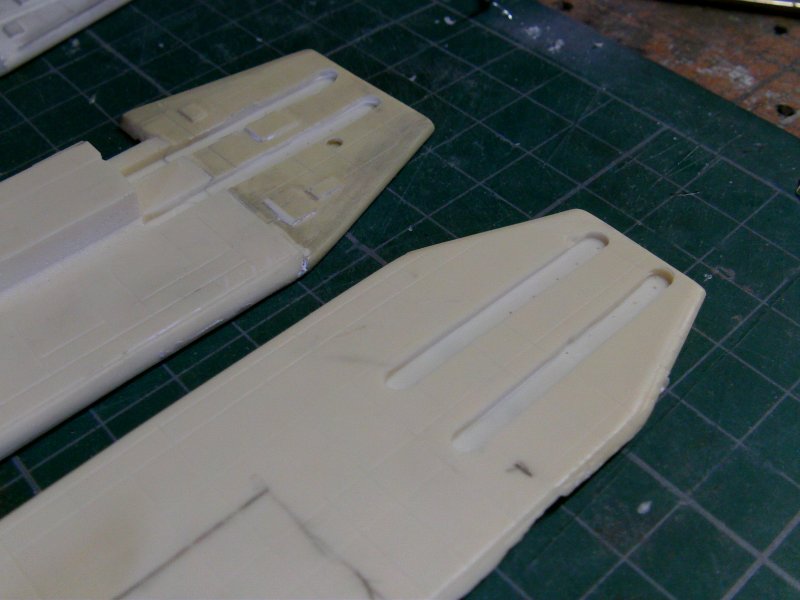

The sides of the open ends were fitted with FO for the
blue and green landing lights as you can see in this render.
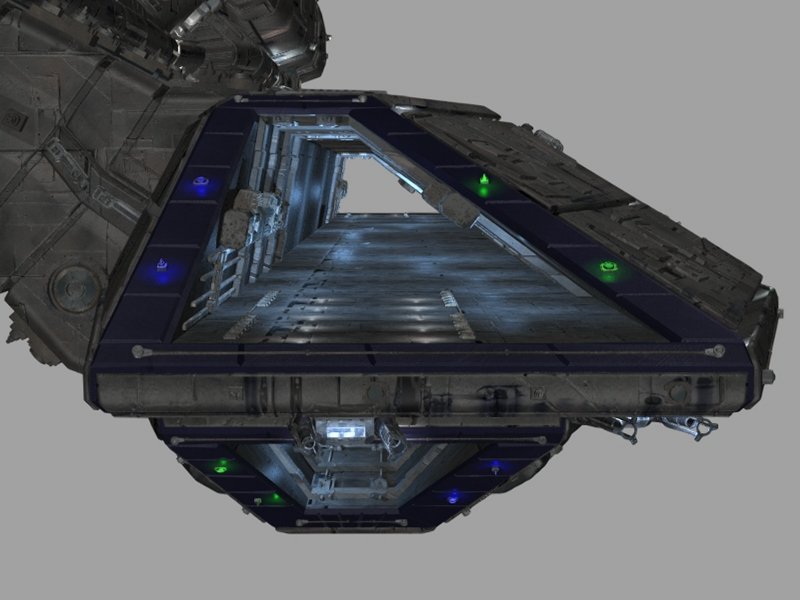
And covered with thin sheet styrene.
The ends will be trimmed up and coated with Tamiya clear blue and green.
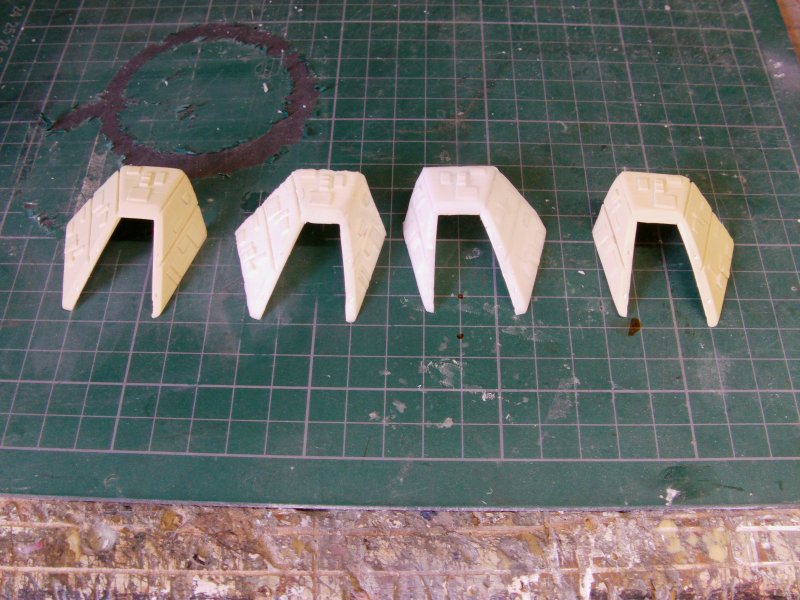

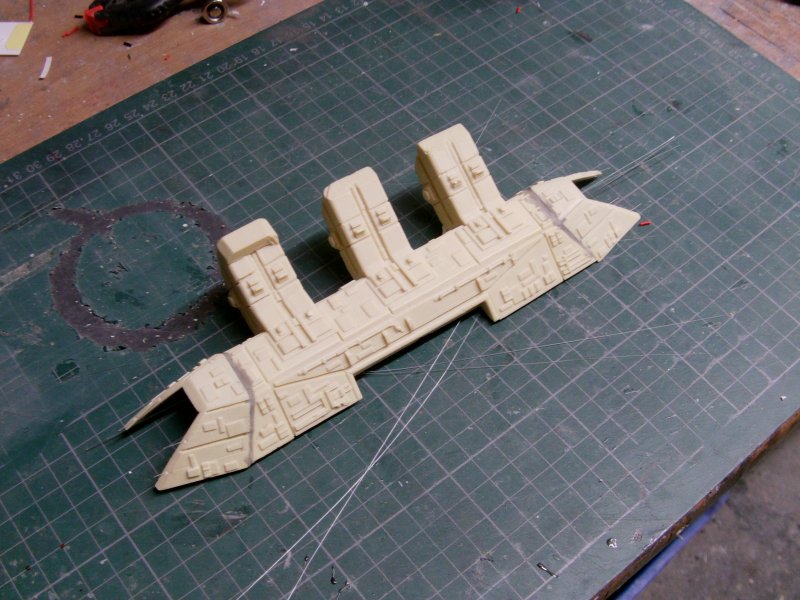
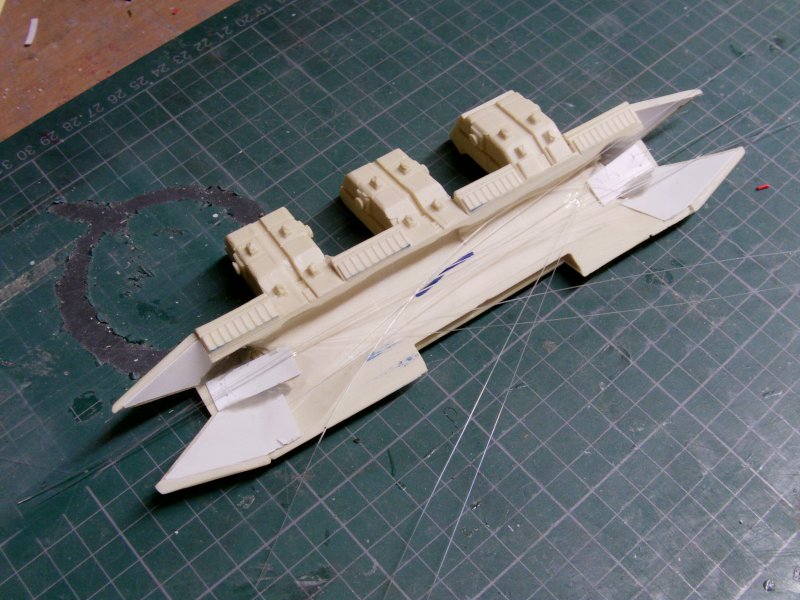
So time to begin assembly of the bays.
Easiest way to tackle this I thought would be to put the decks together.
So gathered the appropriate deck plates and the detail lump to go in between.
And say a cheery hello another bit o' grief...
Which you'll find out about on the next page so off with you now
and one will see you lot there!
Page Number