
Polarlights Enterprise 1701-A Refit
1/350th Scale


 Page Number
Cleaning Up The Work So Far And Putting Some Bits Back
Right then, after an on-off past week and a bit with not a lot of time to get into the hellhole here we have a wee update
The mainstay of spare time spent in the place where models go to be fiddled about with
has been spent filling, filing, sanding, re-scribing, more of the same and repeat a few times just for good measure.
A lot of this is not the fault of the kit by the way, just the manner in which assembled and the
lighting hoo-ha required a departure from the
going by the book routine and more than a few errors on my part..dis am how it be so onward.
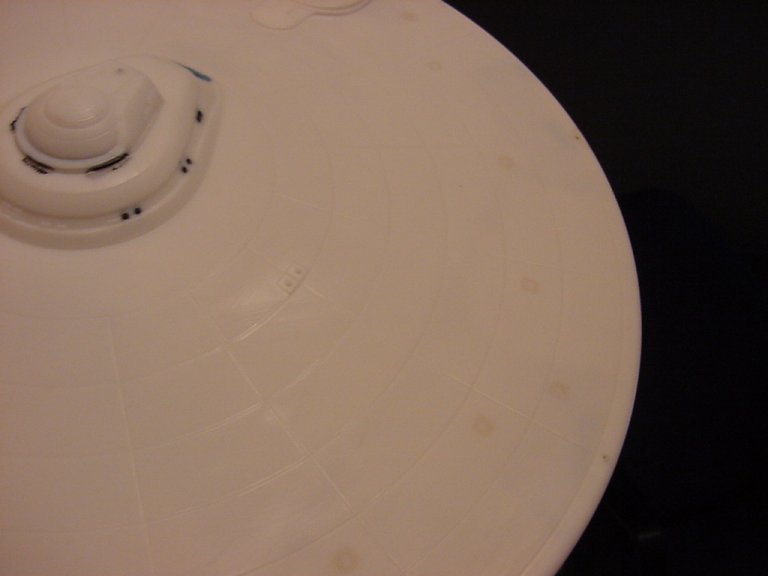
To begin with, the engraved lines for the lifeboat ports just had to be made flush,
I recall the decaling job last time and said engraved lines caused me some grief
so time to make a few near future tasks easy on meself.
Then of course to sort out my gratuitous cock-up with the entry port being on the wrong side of the saucer.
In my usual 'ok let's cheat' fashion, some filler employed and some 5 thou thick plasticard cut.
All of a sudden entry ports on both sides of the saucer...I always thought it was a bit silly having the entry port on one side only.
Ok lame excuse I know but it's all I can come up with in a hurry.

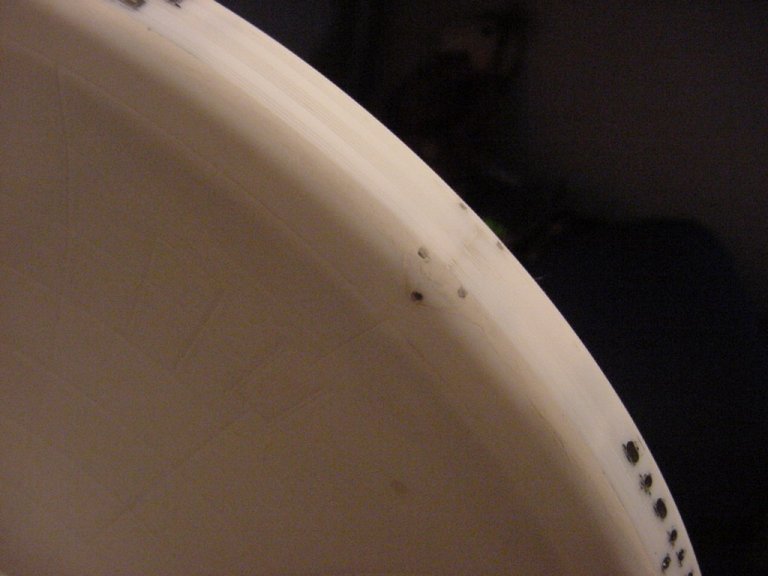
Sadly in the way the saucer side window parts had to be assembled it meant that I had a bit of an mismatch in a few places
to sort out so a bit of clear part extending the get the RCS lighting to the saucer edge,
build up with putty and a good sanding back was the only option.
And no, i'm not bothered about pointing out the mistakes in what I make,
it may save someone else from making the mistake so it serves a purpose...
Honest !
Of course nothing decent comes without some wailing and gnashing of teeth,
the deflector grid lines around the saucer edge are no exception and a careful
bit of the fill/sand/scribe dept was the non-negotiable order of the day
here where the saucer edge parts join.
For certain the join at the rear of the neck to the saucer was not without it's gap filling fun either.
Who knows, as long as my resolve doesn't give out, this may yet be something I will be happy with...
watch this space people!
Onward anyways.
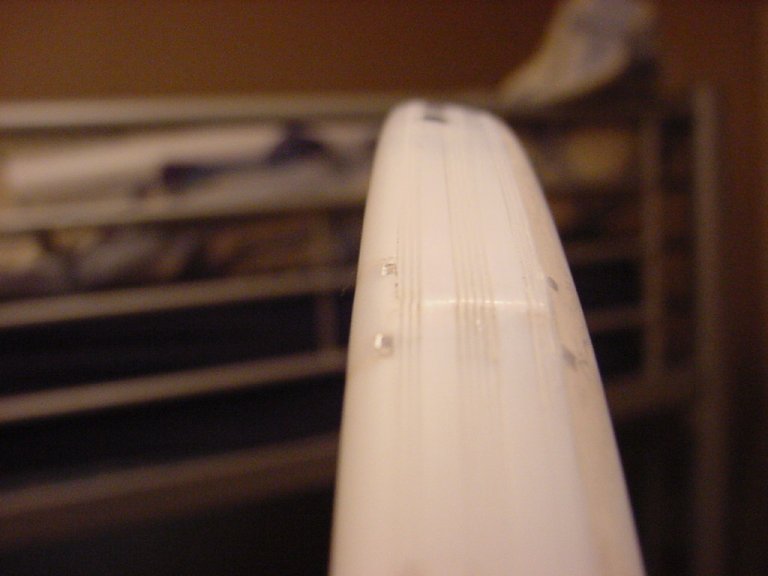
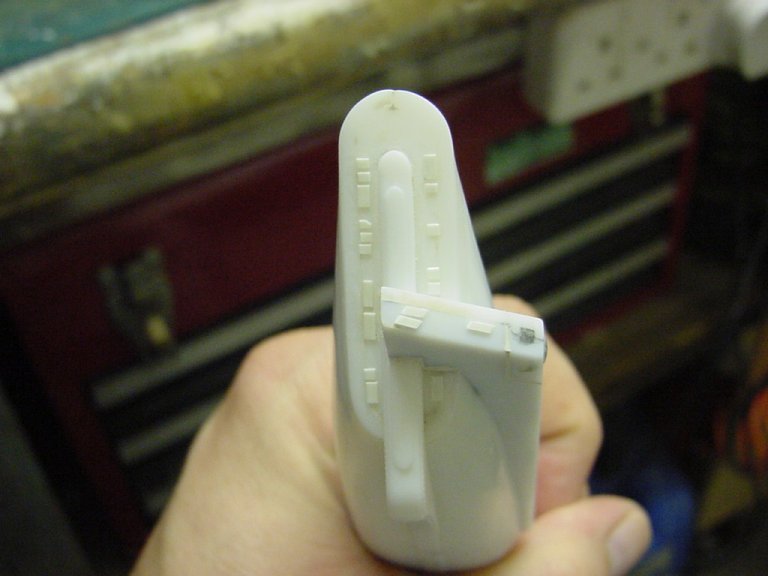
Well after much of the above likewise perpetrated on the nacelles, here we have the next bit. Assembled, sanded, sorted.
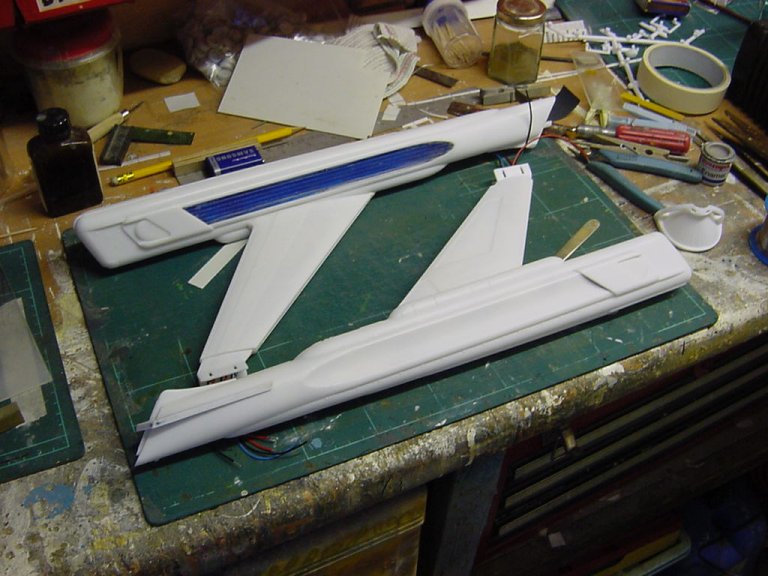
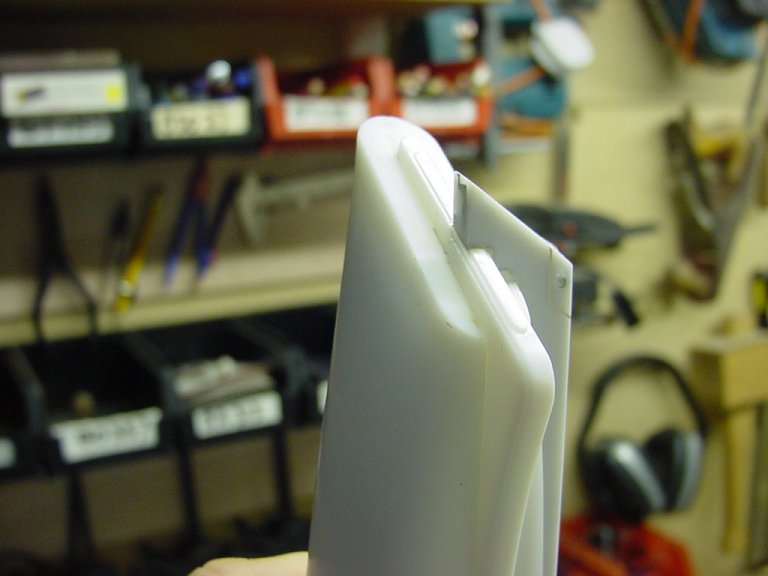
That is to say sorted except for a small matter of some detail on the back end.
As you can see here to get the required flat back end, the raised plate detail moulded into the parts
has to be removed during sanding down.
An annoyance but simply how it is to get the back end flat and flush.
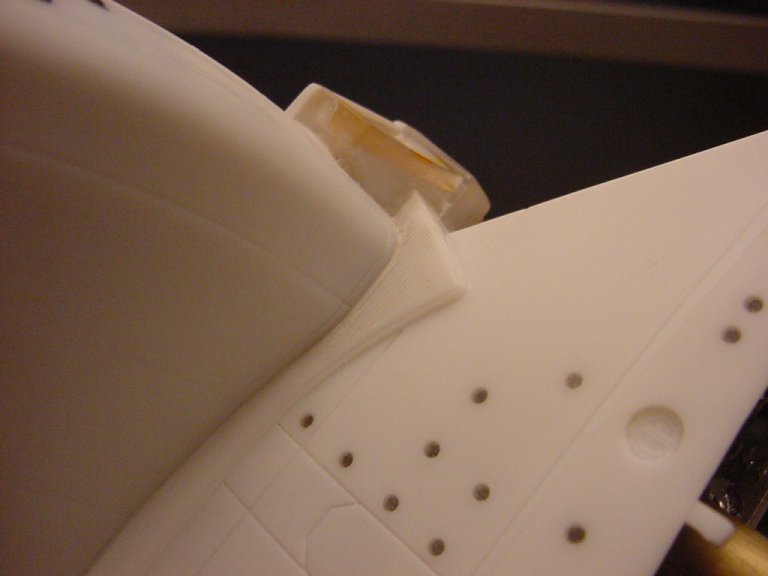
So, the prob is putting the detail back so out with the 5 thou plasticard. Two 1 1/2 mm strips cut up into the appropriate shapes and off we go.
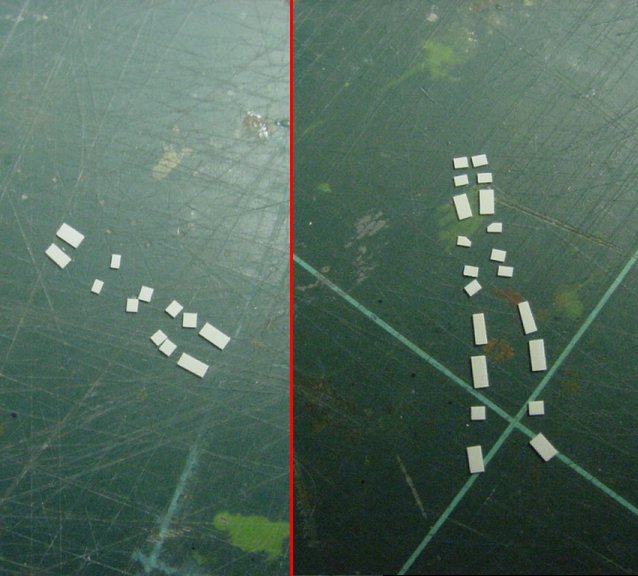
One moderately steady hand, a MK 1 eyeball, a fine brush and some liquid glue later...
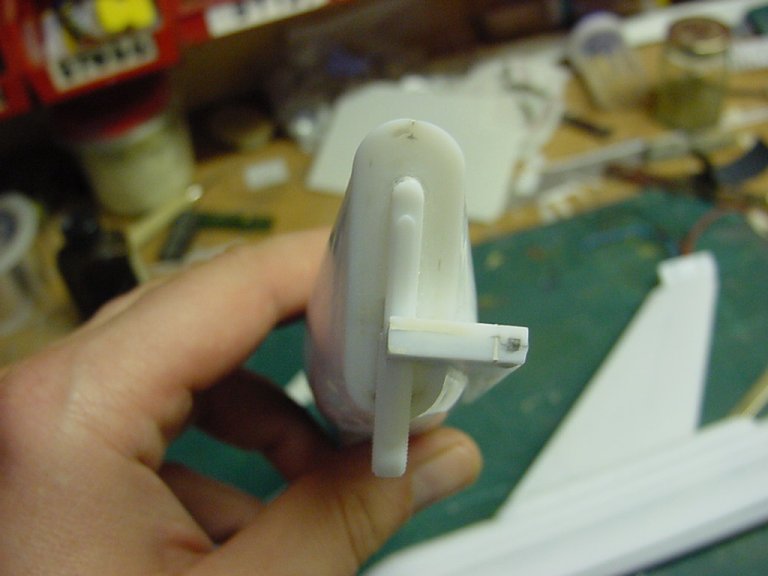
A quick wire up to check the main lights.
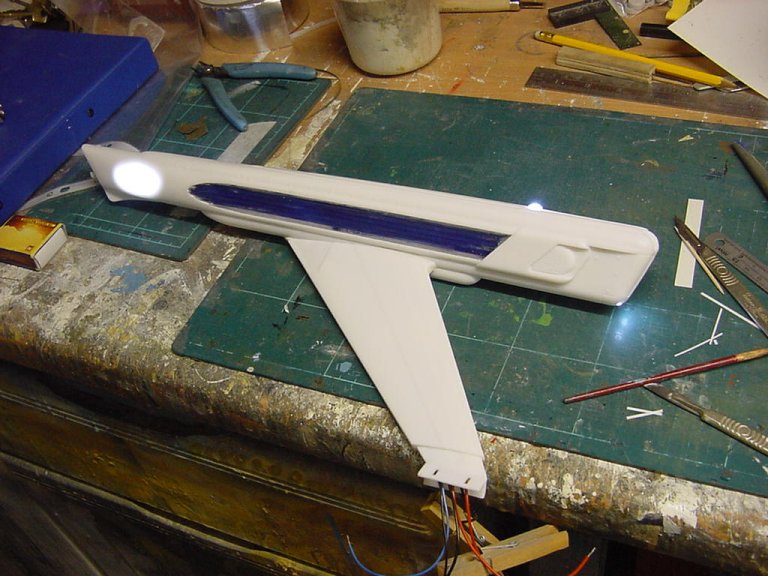
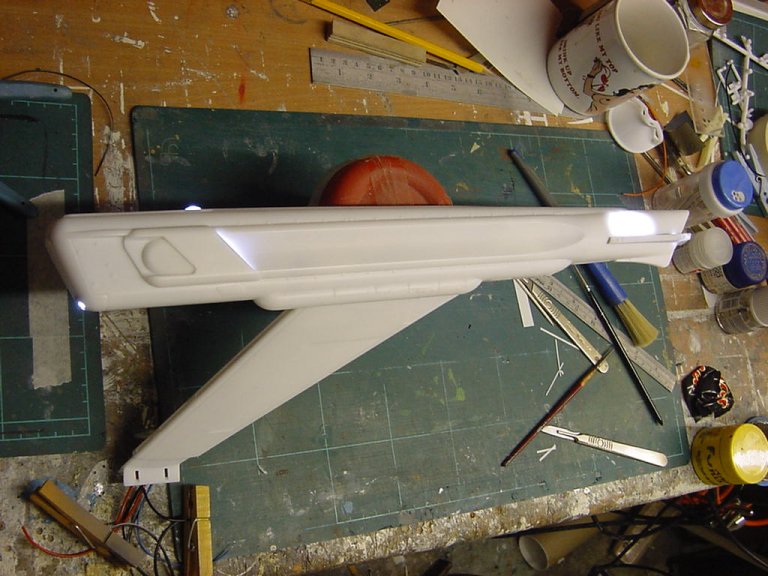
The other side don't look to terrible either so that part pretty much done untill secondary hull assembly takes place.
One last bit for this deal, time to put the main deflector clear part into place at least. A dab of silver here and there, a swift fitting...
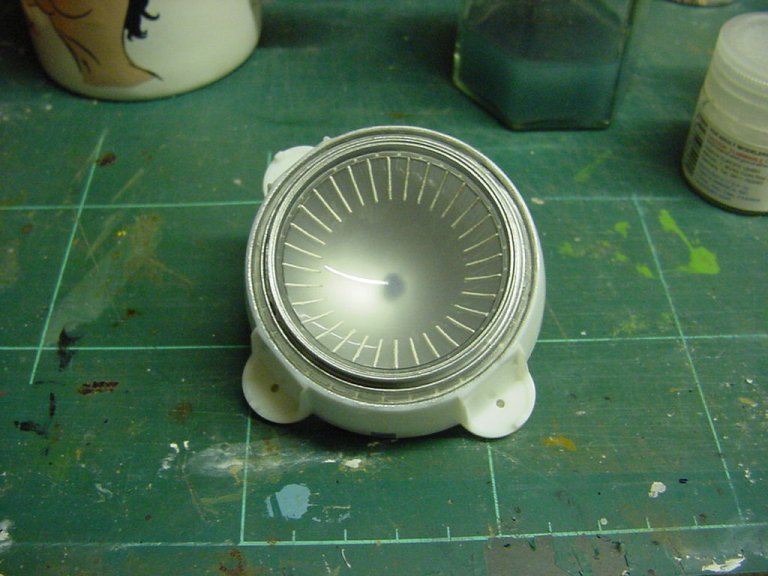
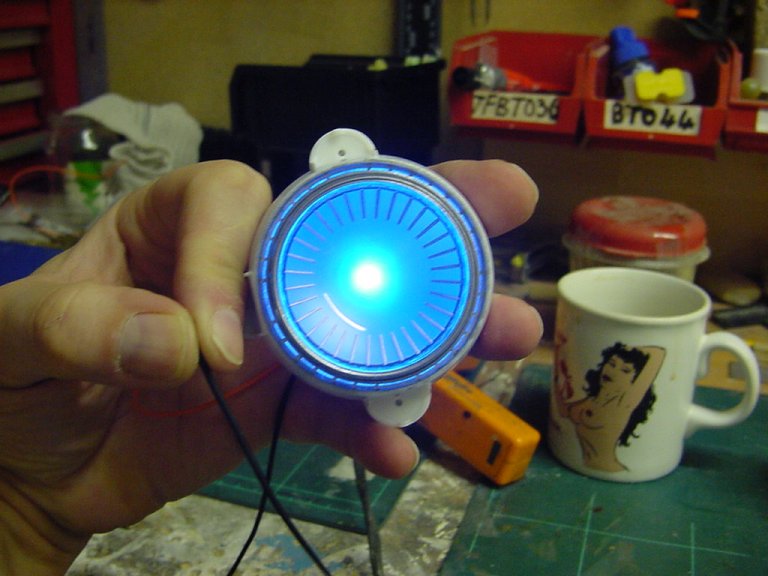
Last but by no means least, one 5mm LED, suitably plastered with Tamiya clear blue and fixed in. One swift test and not too bad,
the paintwork and matt coating on the outside may help dampen the hotspot down a little.
That's yer total lot for this round of hellhole happenings, the home straight assembly wise is in sight so more next time.
Untill then, go easy people!!
Page Number