Polarlights Enterprise 1701-A Refit
1/350th Scale


Page Number

Now It's Aztec Crunch Time

Stage 1
Apologies for the time it's taken to get this update out but that's the run up to christmas season silliness for you.

OK then, let's not be hangin' about here.

Simply done, dark sea grey wash applied to all engraved lines.
Any overspill quickly cleaned up with a dab of white spirit (turpentine substitute) on a clean tissue.


That sorted and a quick light check.


Stage 2
Now then, since I would really like to get an idea as to how this is going to turn out

and a few other folks would like to know I believe,

I'm going to be doing the full on aztec job on the top of the saucer only
then there will be a break of updates for a while untill I get round to the rest.

So we begin by taking all the scrap off cuts of the frisket stencils...


And stick the wee buggers all over the top as seems appropriate,
this job helped along by my two fellow modeling officers,
namely General Boredom and Major Eyestrain.


So done with that, made up the following mixture of about 90% acrylic matt varnish with
10% water added and then 10 drops of acrylic silver.
The pic below shows most of the components and if your wondering about the '10 drops' thing
it's as simple as this, taking a cocktail stick or toothpick if you will,
just dip into the silver and hold over the jar untill a drop falls in, repeat 10 times...

Real technical stuff eh?

Also for those curious enough, the sorta semi-circular item on the right is a tea bag,
emptied of it's usual contents and used as a filter while pouring the varnish into the mixing jar,
crude but effective as the varnish I use is good but sometimes can have a some solid residue
in it and I don't need that clogging the airbrush at a critical moment.
Which knowing my luck it bloody well would do.


Remove all bits and check the look. First without any light going across it...


Then with light at angles.


It's a start so outward and onward with...

Stage 3

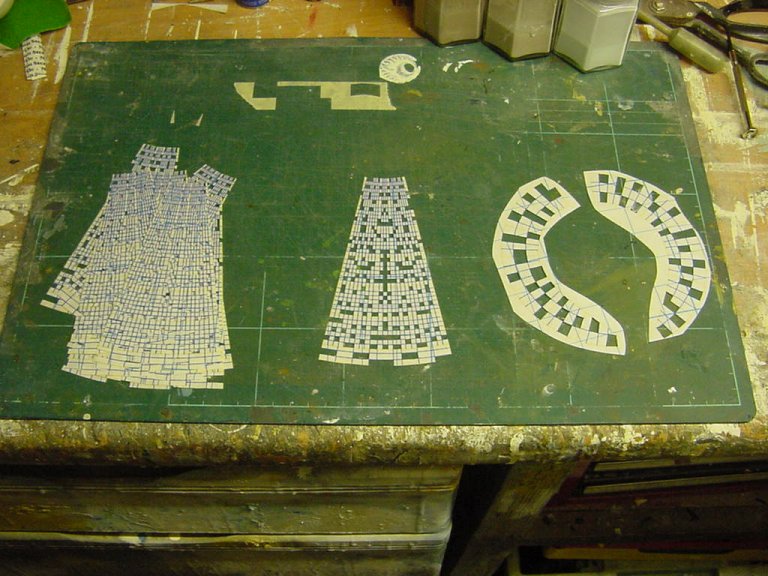
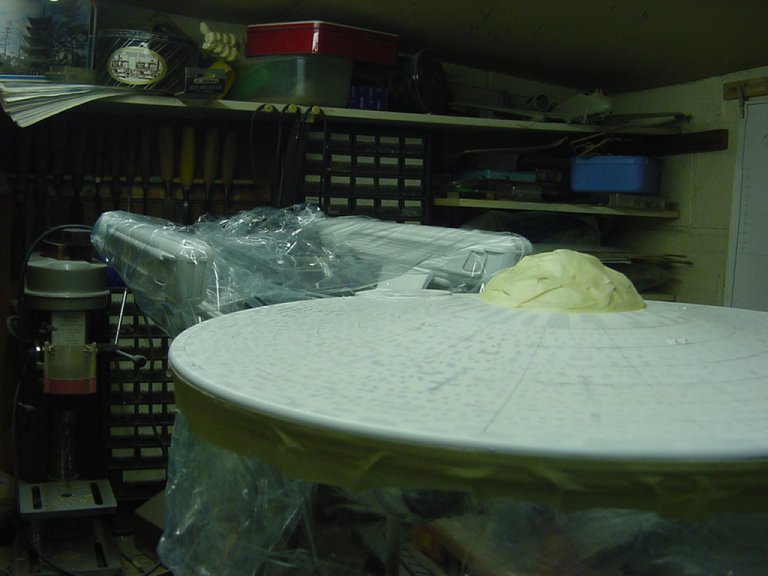
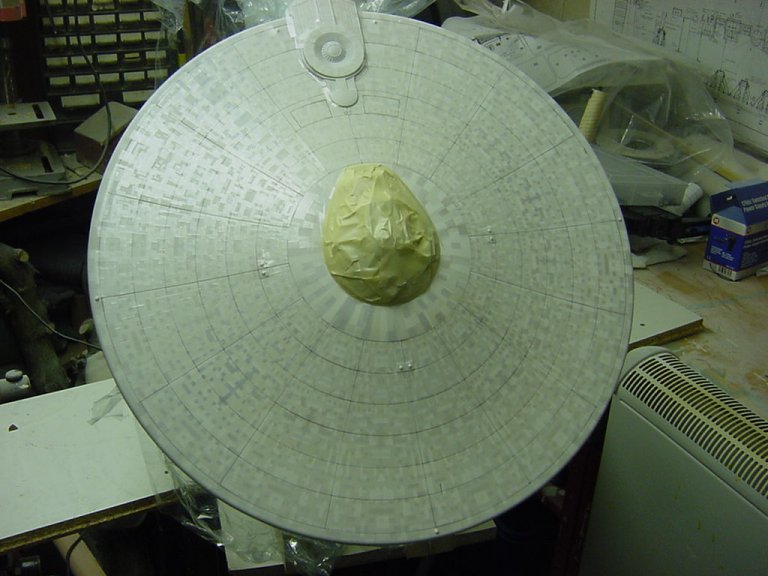
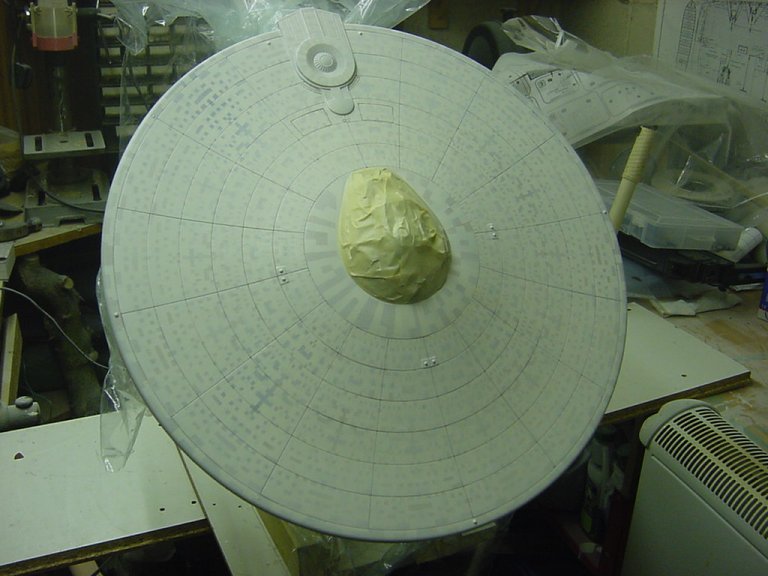
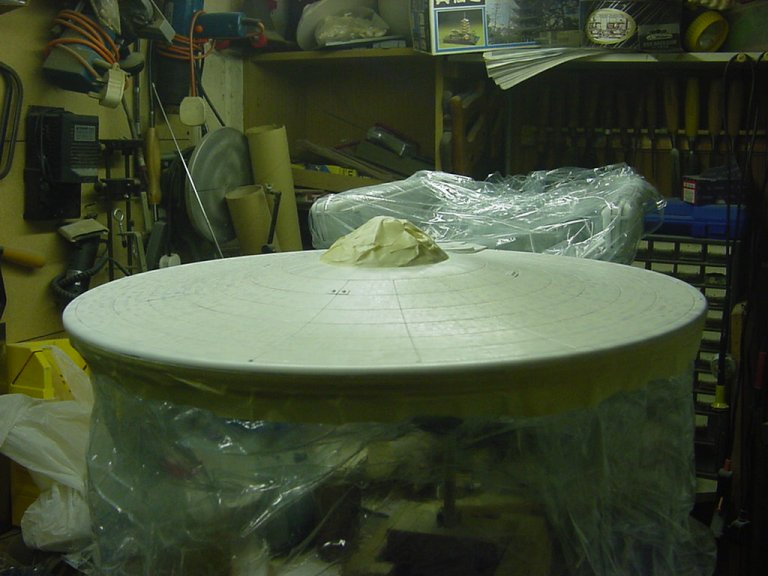
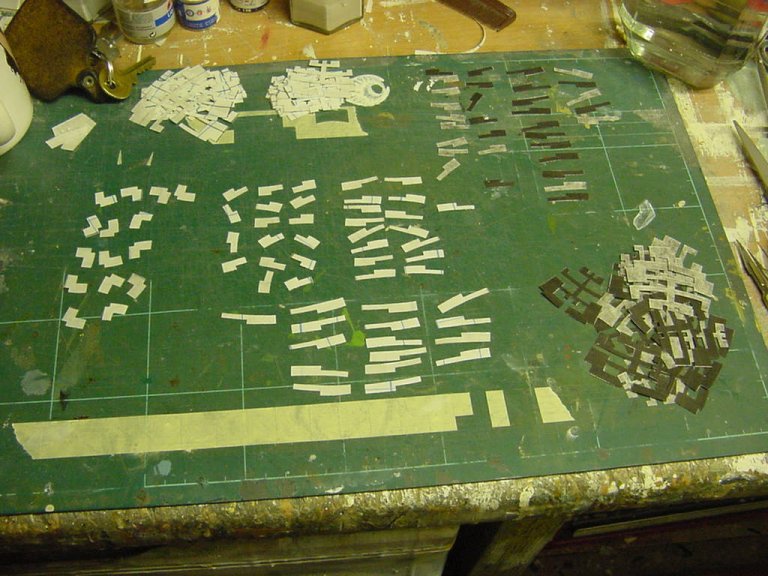
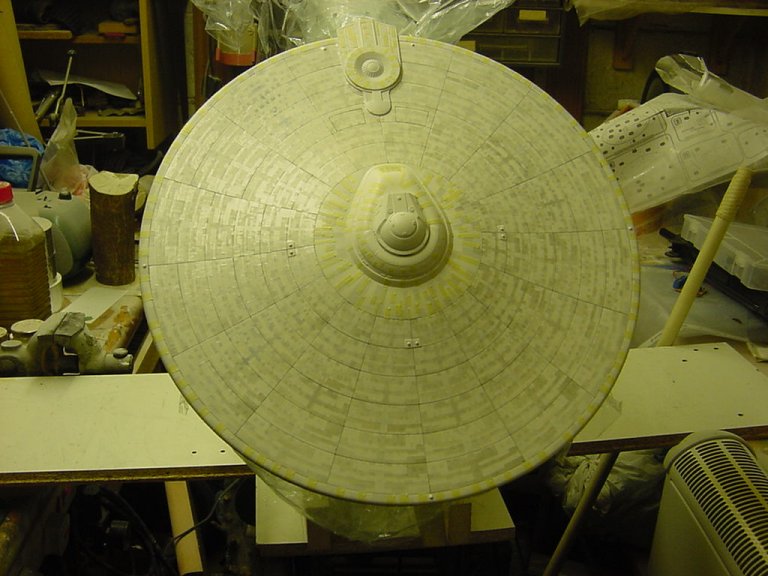
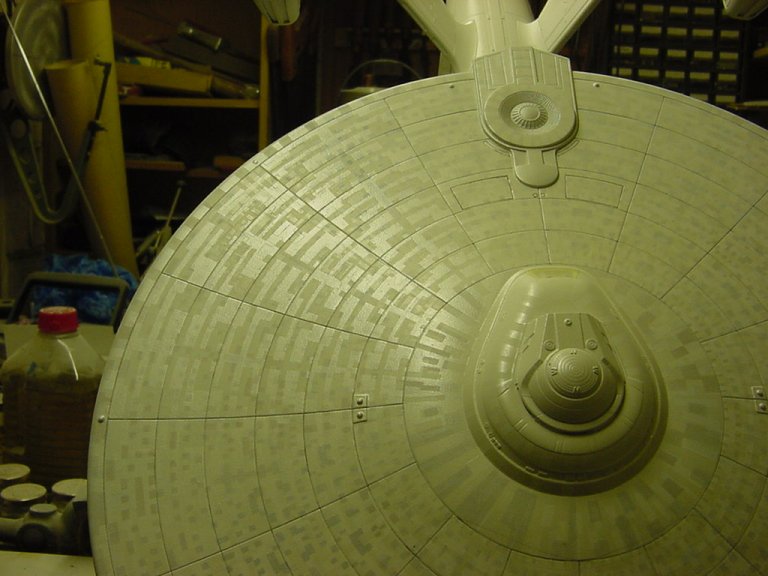
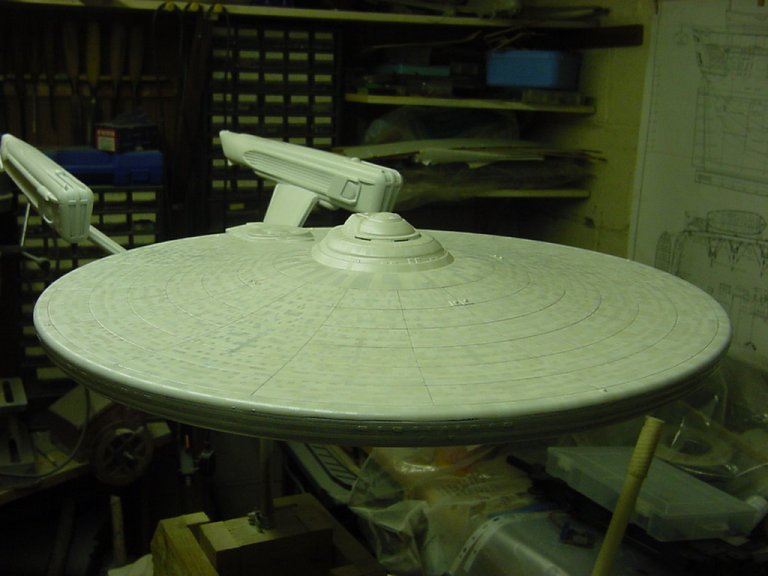
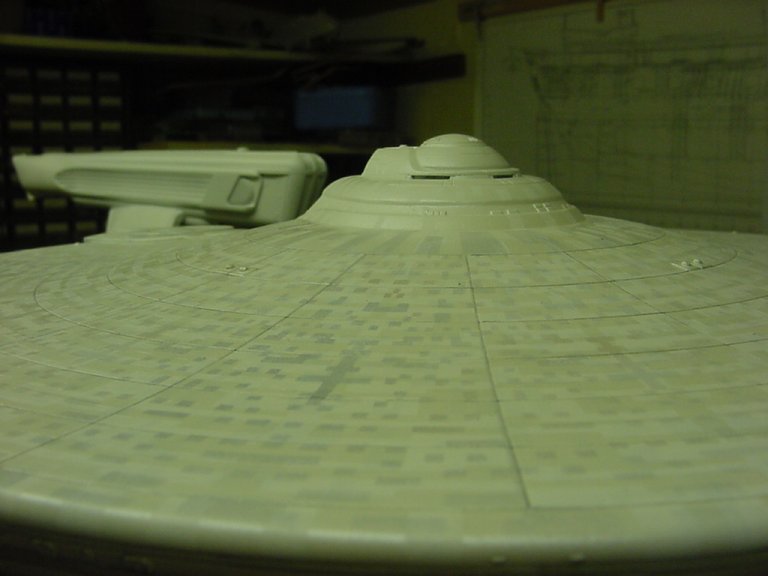
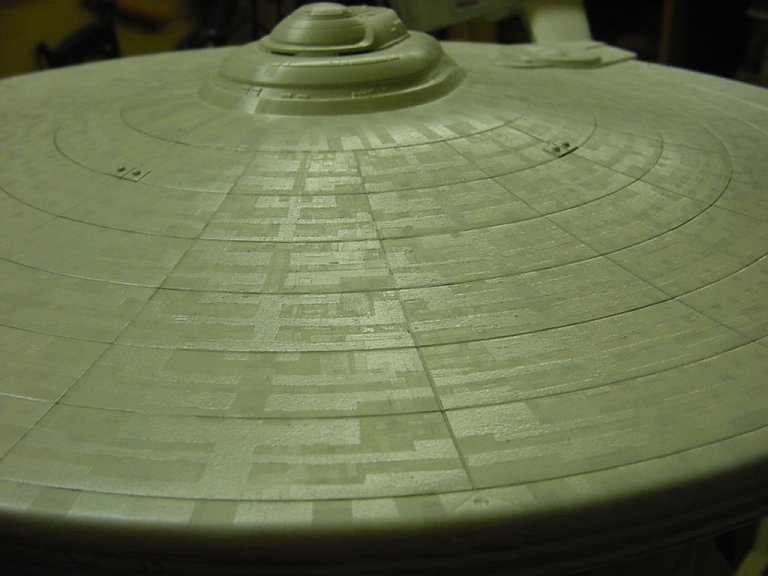
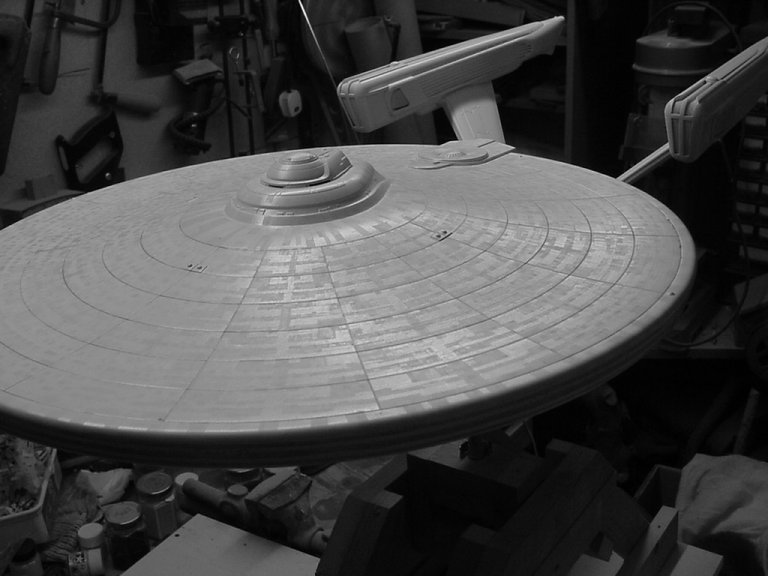
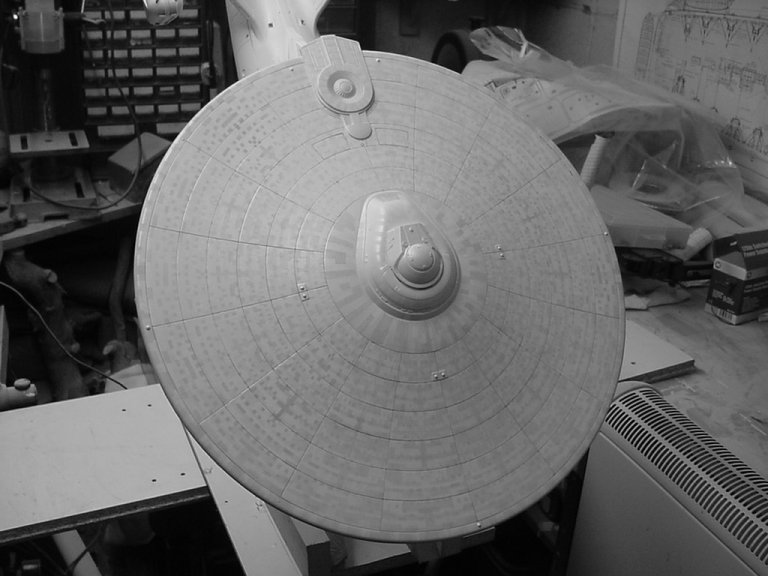
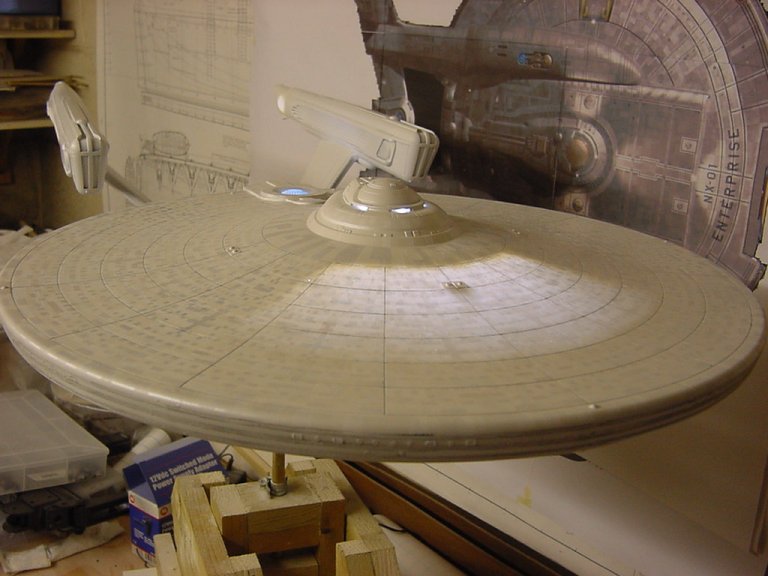
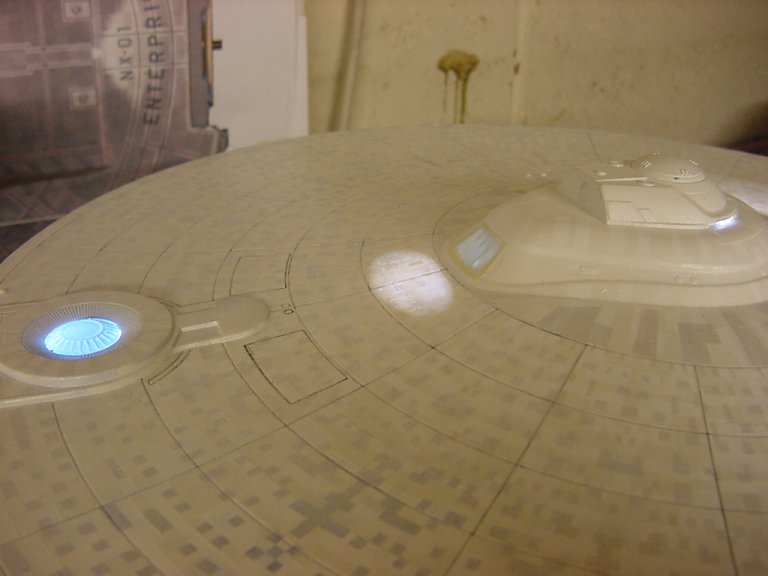
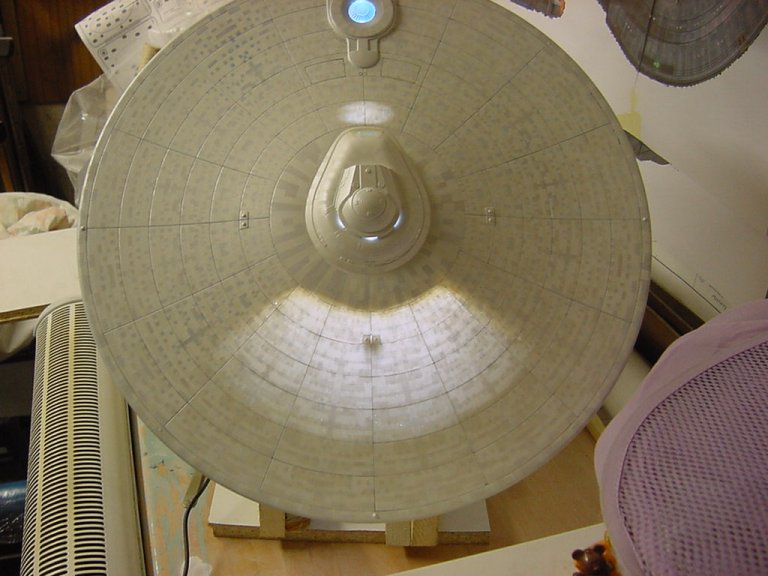
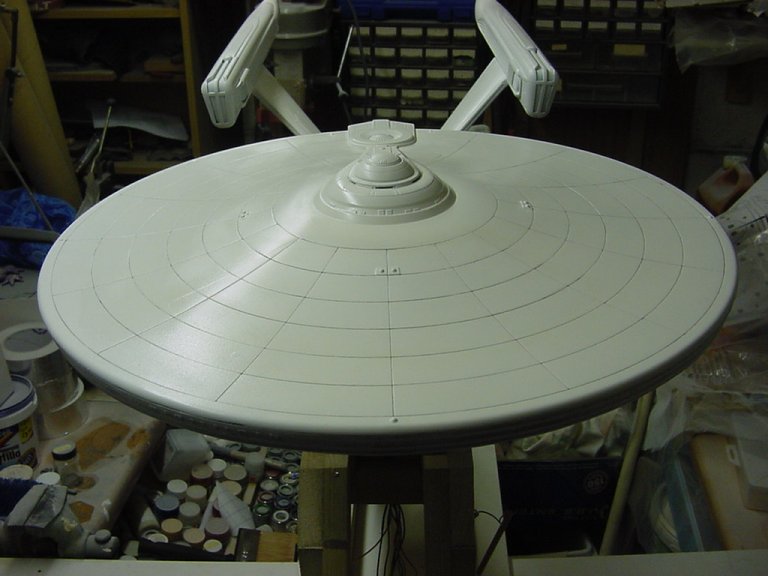
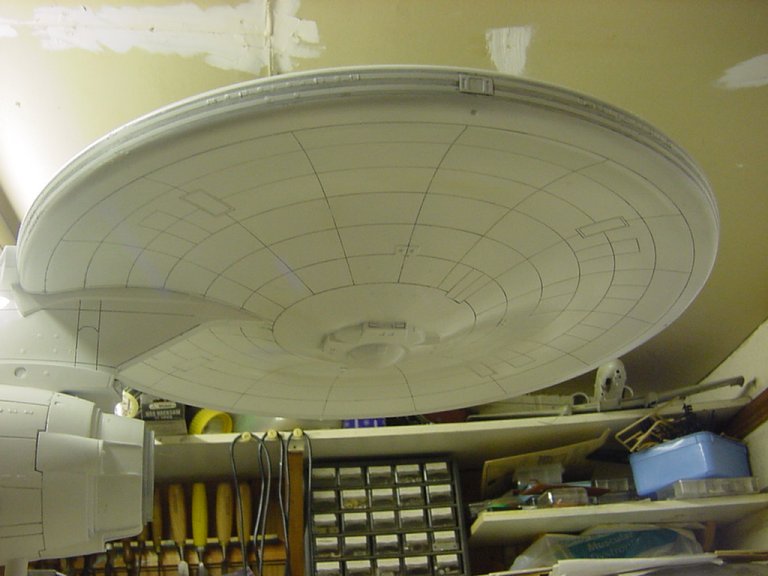
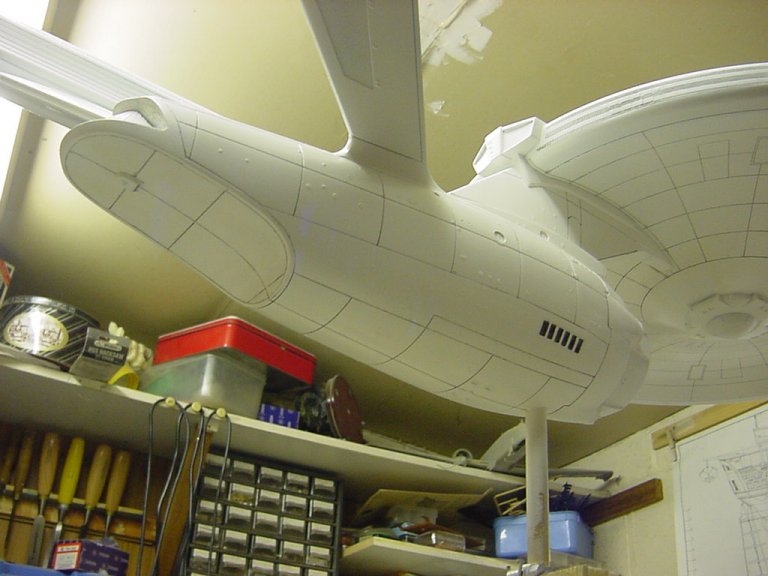
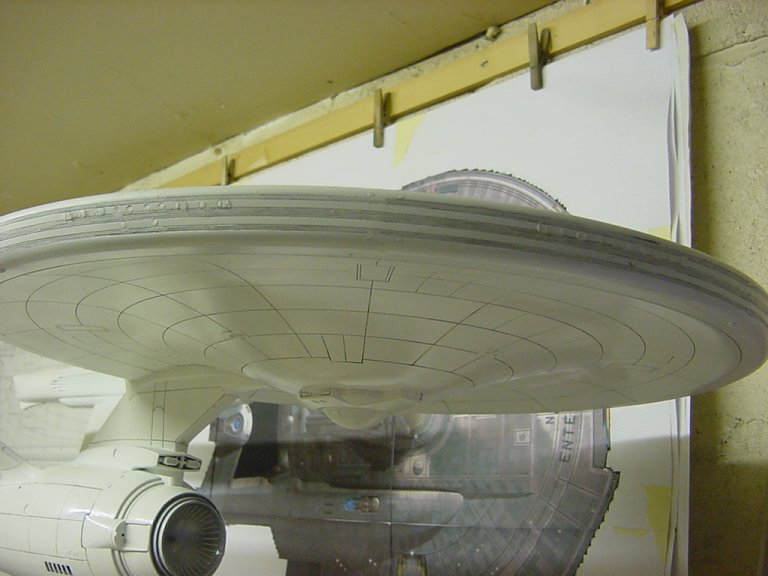
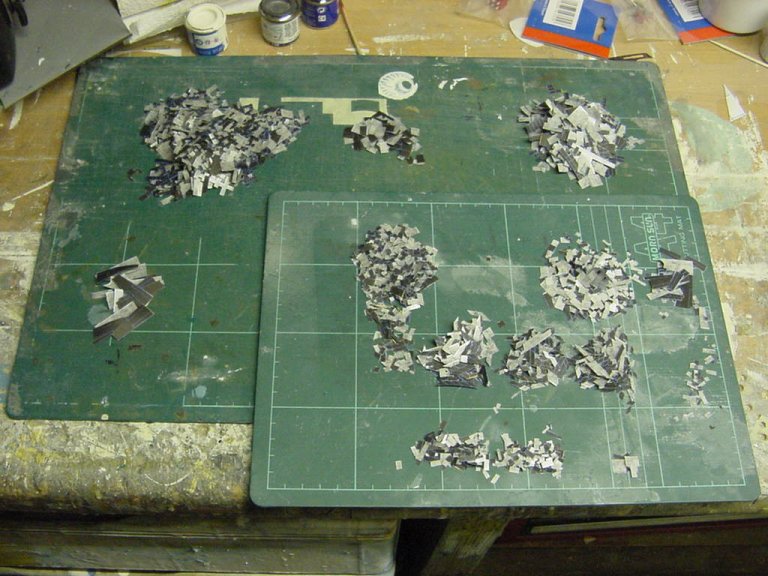
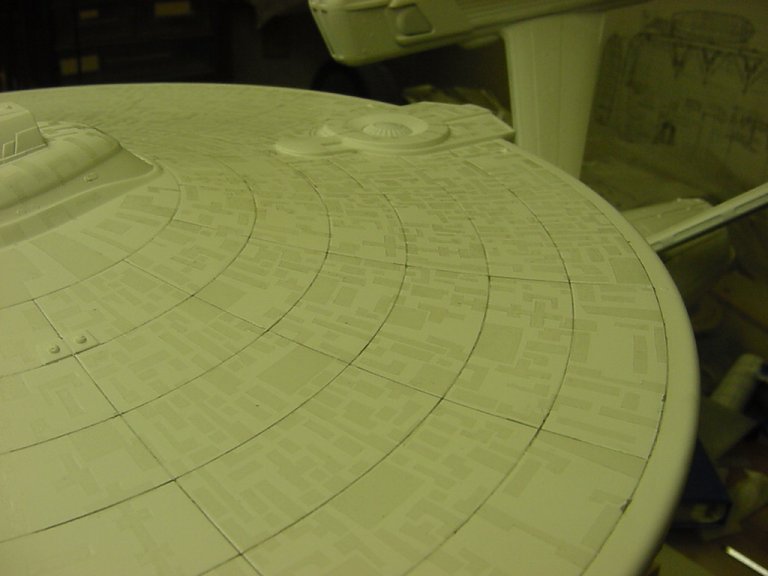
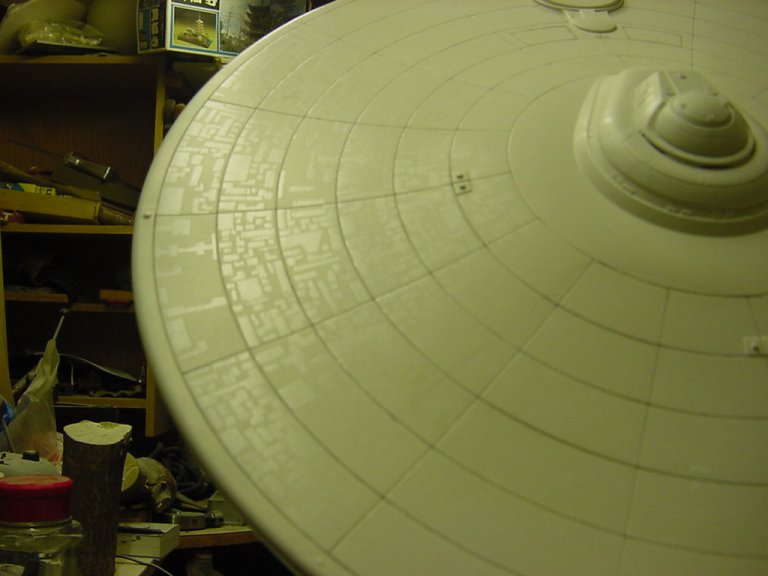
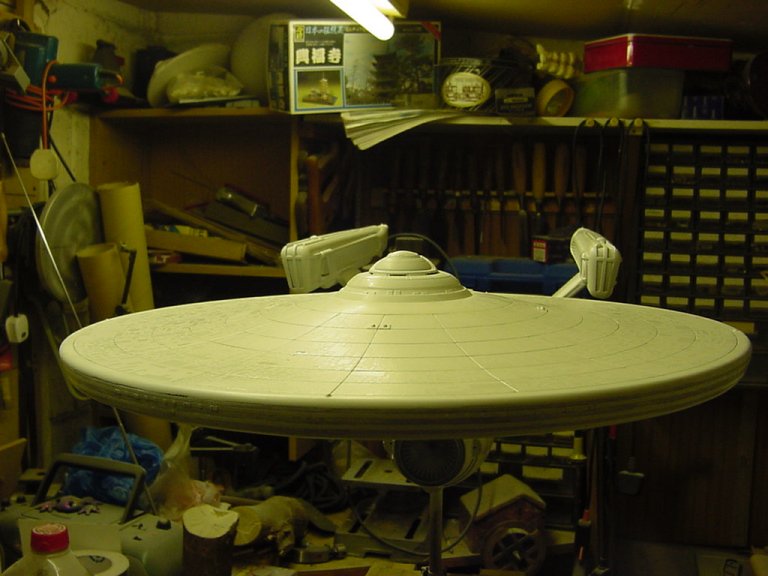
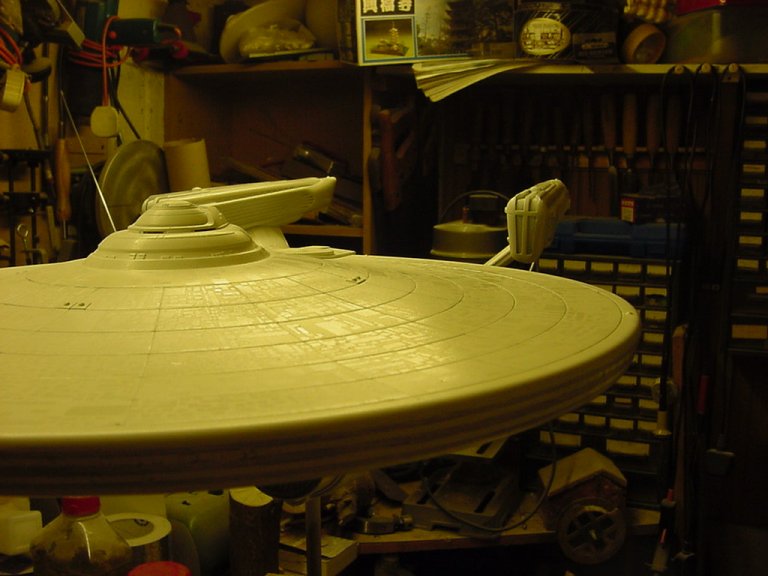
Pull out all the cut masks for the first layer,boy was it fun hacking that lot out I can tell you.

In response to some email enquiries, most of the mask templates i'm using can be got at
this page on Starship Modeler

It will open a new window.

All in downloadable pdf files and with instructions, so all you need is some time,
several sheets of frisket film and a printer.

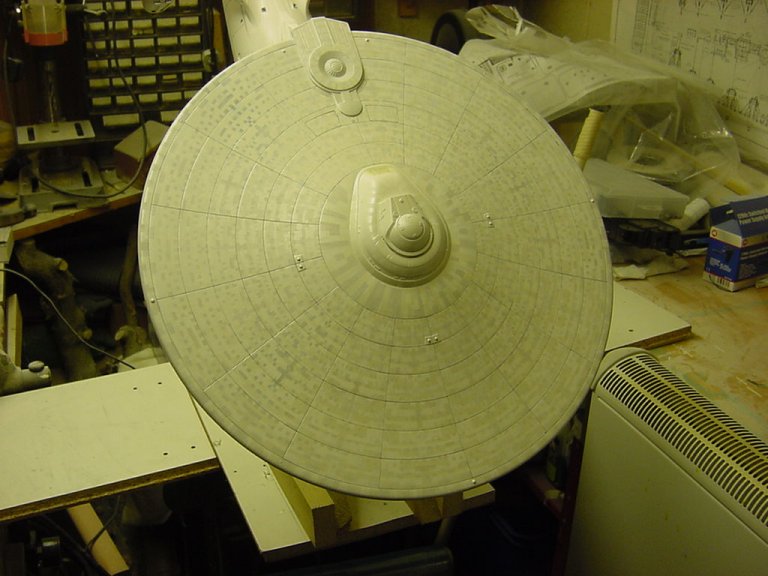
Apologies for not adding this info sooner, I knew there was something I was missing in the waffle.
Ah well...onward!


And stick 'em where needed.


Selecting the colours that will make up the aztec layers,
from left to right we have Tamiya pearl blue,
acrylic copper/silver/gloss white mix heavily thinned,
the previous mix with more gloss white and
finally silver blue with gloss white thinned heavily again.


In like a good'un with the can then the airbrush then masks removed and then a look check.


Stage 4

Next layer of masking selected...


Put in more or less the right place


Airbrush-a-plenty then masking again removed and a check for finish.


Stage 5 Final Aztec

The actual aztec pattern masks.


Some careful placing needed here.


The last but by no means least important paint, namely Tamiya pearl white.


Applied all over then masking removed...here's hoping.


And now the bit i've been waiting for and maybe some of you have too...the final look check


Yep, the much needed lighting check


Well I know how I think it's turned out but what say you people?

And that's that for this wee deal, next update will be along later.
During the meantime I will be perpetrating the above insanity inducing activity on the rest of the ship
so I wouldn't go looking for any updates soon like,
besides there be that christmas thing to deal with so i'll be makin' merry and
I hope you lot will be too.
You lot go easy and take good care of yaselves and have a good, happy and peaceful one.


Page Number