
Polarlights Enterprise 1701-A Refit
1/350th Scale


 Page Number
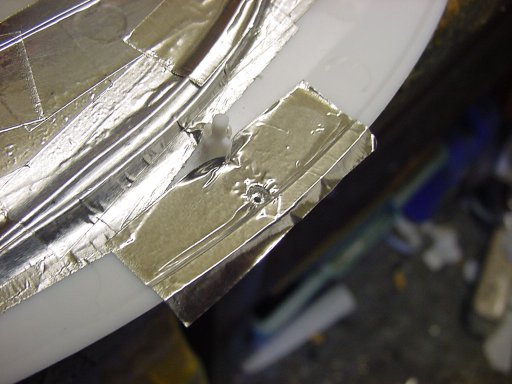
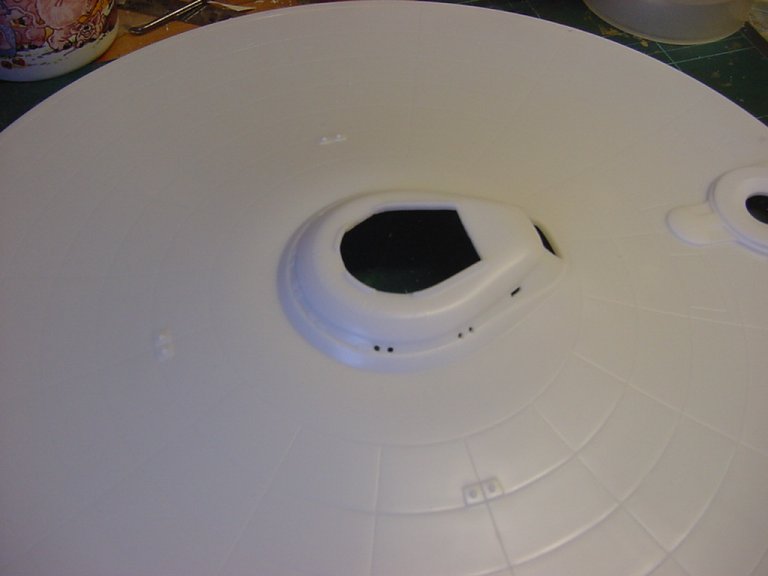
The Final Polish
Last step on the lower saucer floodlight thing.
The foil covered paper seemed to do the trick and after trying a few other things which didn't do anything better,
I got a sheet of .5mm clear plastic and did the foil thing.
Once laid on I then put in some elbow grease to give it a bit more of a shine.
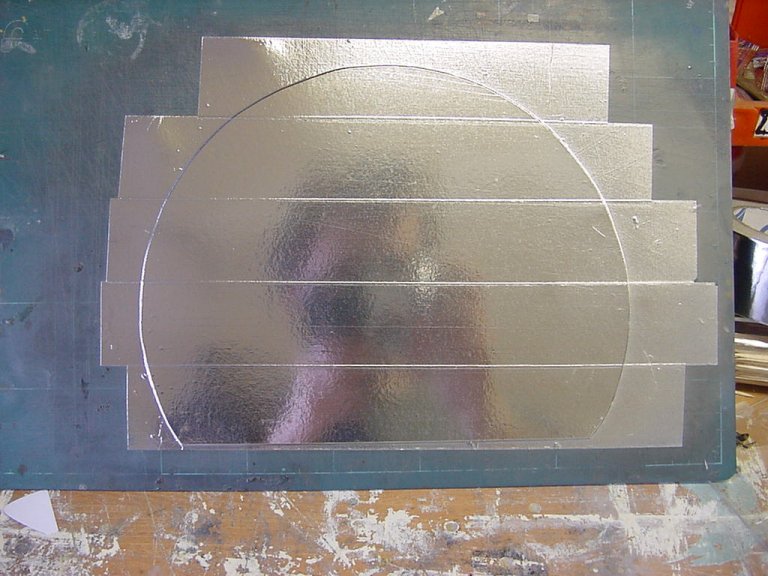
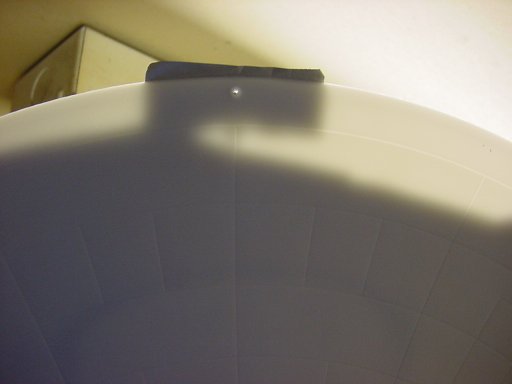
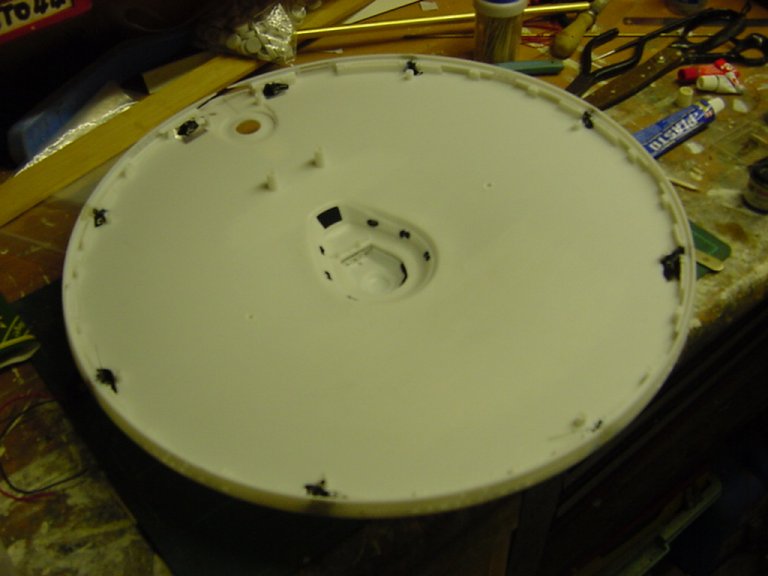
This was then tape in position and all lights tested once more. All seemed to be okedoke so onward.

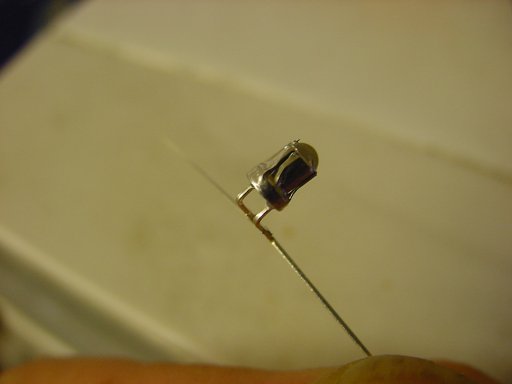
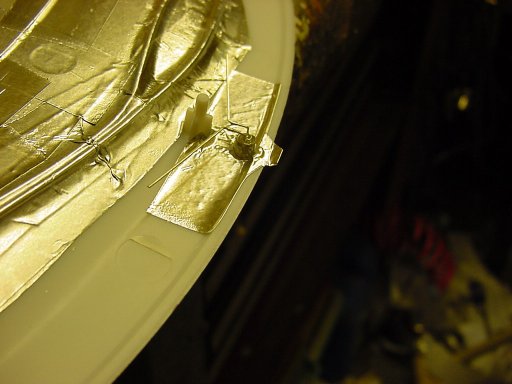
The Blinking Bits
Now to the matter of the nav light fitting.
Right, a sorta simple deal with the first step being to wrap some foil around the LED and then trim back to
expose the dome top and clear any tape that may be touching the leads.
Then bend the legs to about 90 degrees and splay the legs.
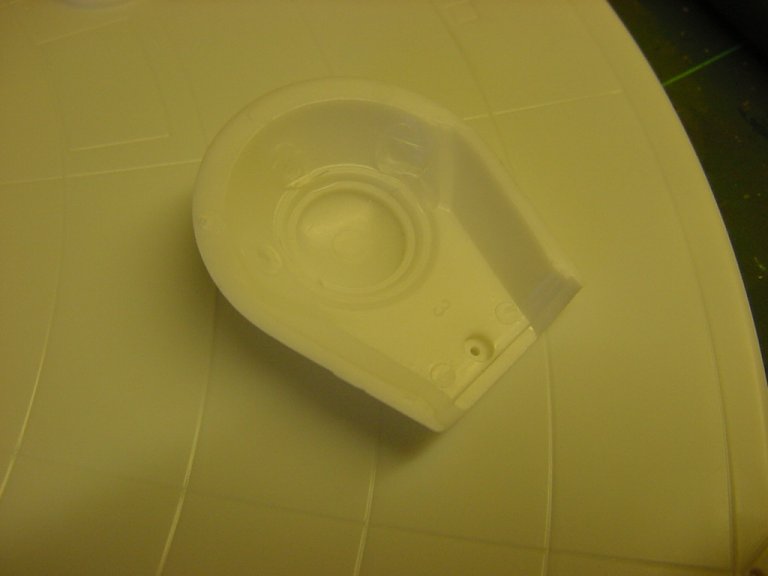
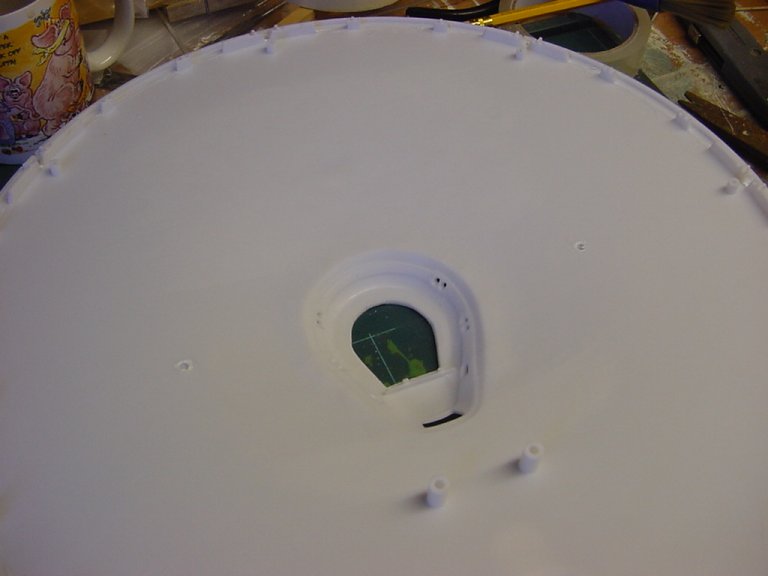
To foil out the hole was done as follows :
Grabbing a bamboo skewer of about the right diameter,
a small piece of foil tape was rough folded sticky side out
and placed on the blunt end.
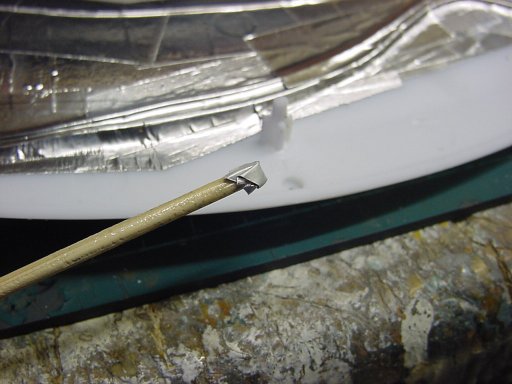
This was worked into the hole gently so as to avoid splitting the foil and then the tape teased outward with the help of the redoubtable and much used cocktail stick.
Next a bigger piece of foil was placed over the hole and with the blunt end of the skewer just pushed into the hole.
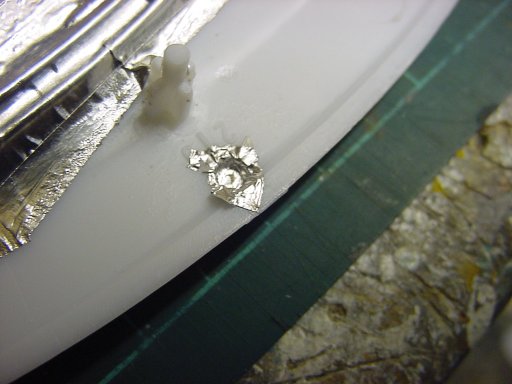
Didn't matter if the tape broke as there was the previous foil under it.
Finally just a quick poke through with the sharp end of a cocktail stick and that was that.
Lastly, a dab of epoxy glue around the LED, position and leave well alone to set.
Once set then a dribble of the matt black epoxy glue all over and we be done.
Repeat twice, wire up, test, secure the wiring and that's that for the lower saucer.
To The Bridge !
First things first the three locating pins inside the bridge thingy were removed.
To make things a bit easier with light fitting, the area under the bridge was removed with the usual drill and knife wielding vandalism.
Last bit for this slightly dull update, the bridge section glued in place, the back airlock part foil backed and fitted,
the RCS lights and nav lights were installed along with the saucer side window parts.
A lick of black paint around the ports on the B/C deck bit below the bridge part and that's that for now.
The reasons for the black paint will become kinda clear in the next update.
One thing I did suddenly notice at this point was a tad of a cock up I had made but only after the glue had set.
This was that I had installed the side window parts and the inset for the main saucer airlock was now on the wrong side.
After a few choice anglo-saxon oaths and knowing I really couldn't do anything about it like taking the parts off and having a swap about,
I have only three choices.
Leave it be.
Fill it in and carve a new one on the correct side.
Not fill it in and make a second one to go on the correct side along with a copy of the airlock door part.
I reckon the last option might win out.
Incorrect and non-cannon but I really don't care much about what's supposed 'cannon' or not.
Some writers/producers for the shows and movies never seem to worry about that so why should I.
'Nuff said.
Page Number