
Saltire Technologies X304-Class Deep Space Carrier
1/2500th Scale


 Page Number
Well...
It's A Solid Lump...But Not for Long..
Greetings gang!
Well now, this wee beastie is a small resin kit by the above mentioned outfit and mastered by Barry Murray
AKA 'Bar' on the multitude of scale modeling message boards out there.
Now there are several build logs out there already by modeling luminaries, but this my friends is not one of those as such.
This little round of semi-random scribbling's is my attempt at lighting the beastie.
Yep, you read correctly, LIGHTS!
Now in something this small, about 8 or so inches long that may seem like silly,
but then so am I and that's all there is to it.
After all, if it can be done in something this small, larger models are a breeze, so them to begin with...
A solid cast main body that with the help of these...
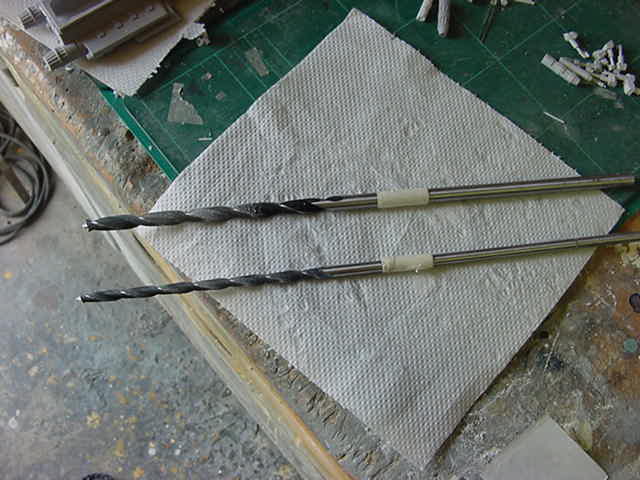
6mm and 8mm diameter 300mm long drills that is, along with some drill and milling bits...well it ain't that solid anymore.
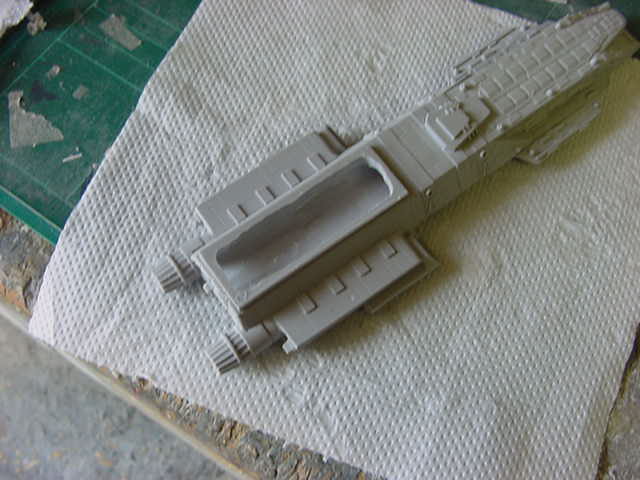
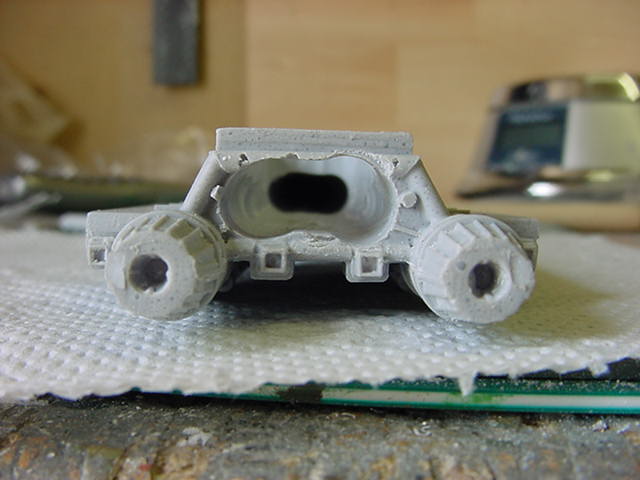
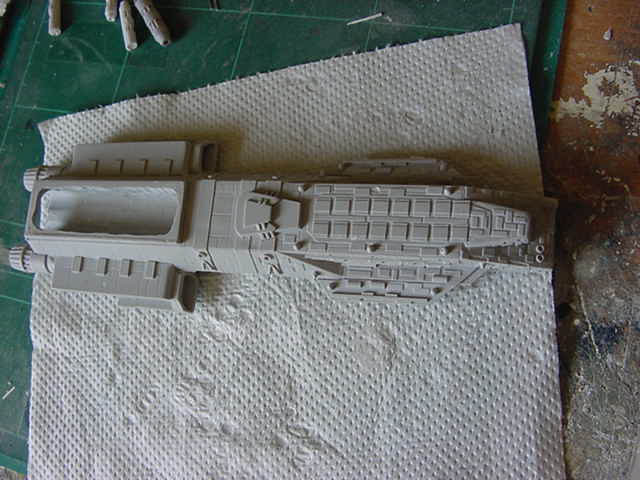

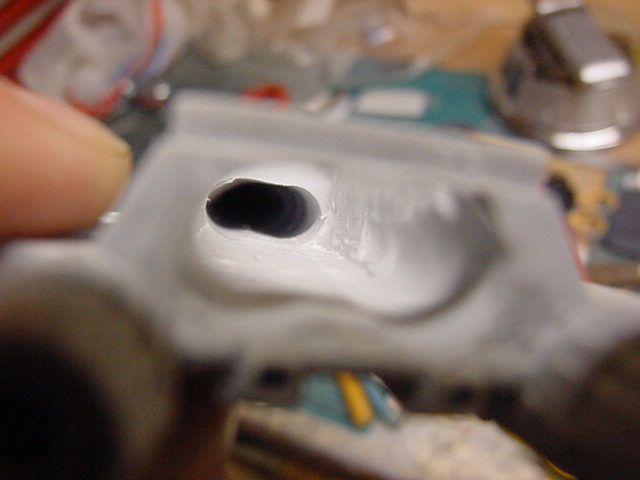
So, to begin from the top down so to speak, the superstructure and top plate to go through the grinder.
First the solid part as is.

Then after some thinning out of material and mucho drilling, we get this.
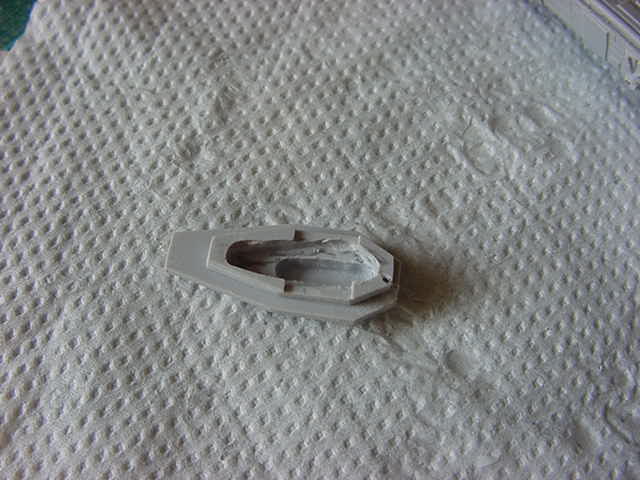
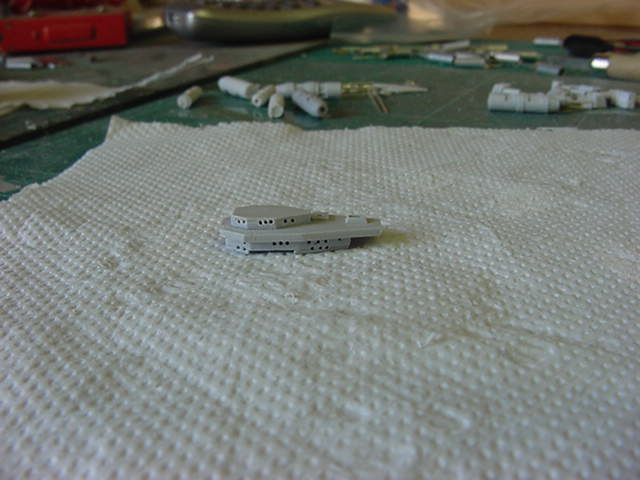
Once done, the part was fixed onto the top plate thing,
a single 3mm white LED installed and the void filled with clear epoxy resin.
Now then, one thing this ship has got is a few spotlight areas.
So how best to go about these I asked myself, it was then an idea crept into my tiny mind.
What if I could take some of the plastic fiber optic stuff, warm it up,
bend in a sharp 90 degree angle, would the light still transmit ok.
turns out it does so a few trenches dug in the underside of the plate,
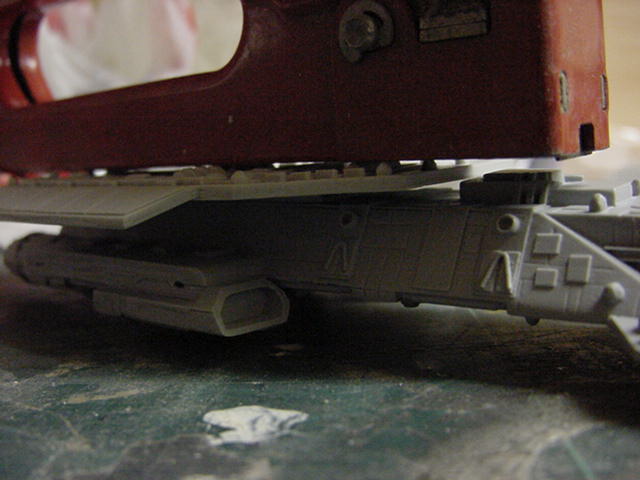
four strands of fiber optic, a bit of tubing, add a LED and we get this.

So, add a couple of resistors, some filler, some wire, connect a battery and hope for the best.
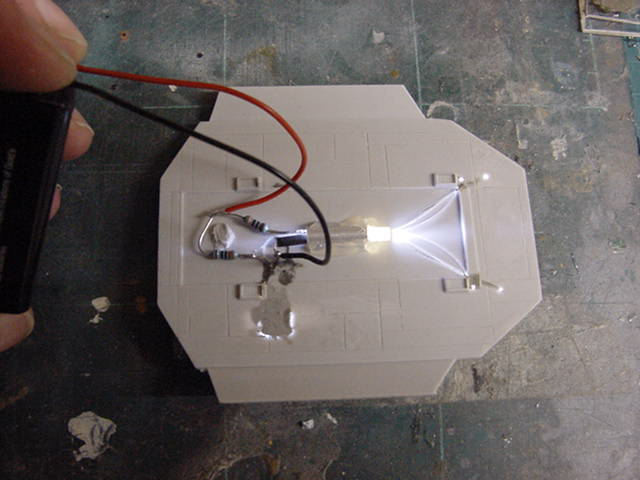
Superstructure lights up nicely. I'll be dimming down the brightness a bit when it comes to finishing and adding a slight blue tint.
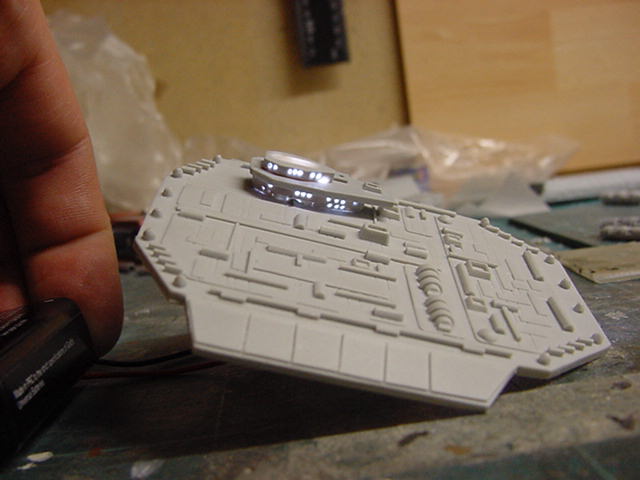
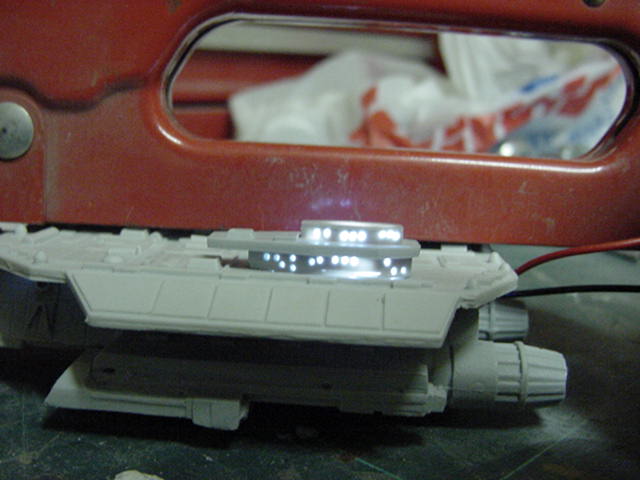
And as for the down spotlights, well this is without the battery connected...
And then I went and connected the 9v...
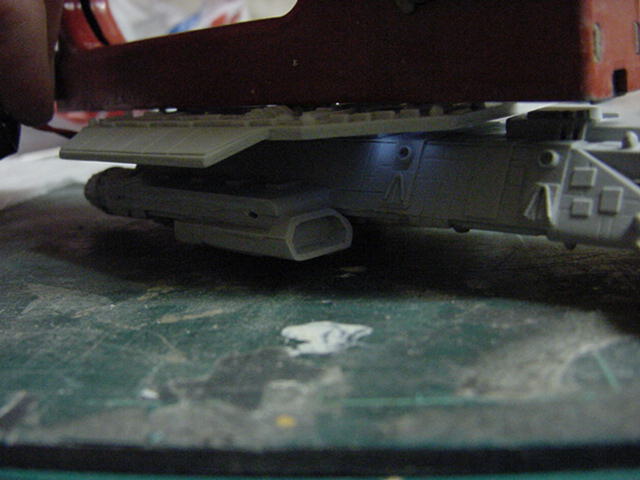
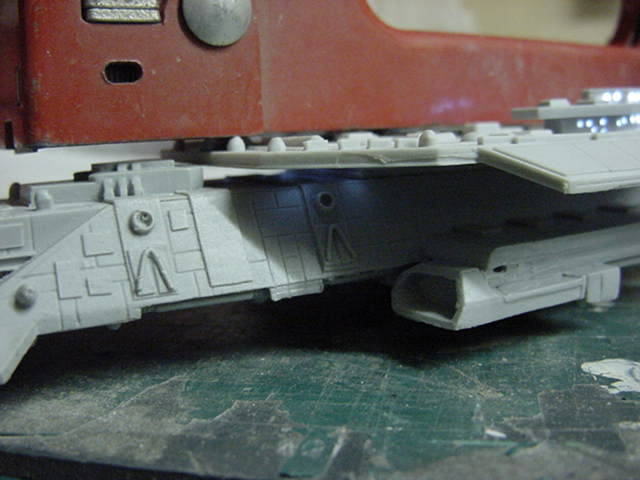
And that about bloody works for me!!
A good start so then into the drilling of the many holes.
These for the windows in the side of the main hull.
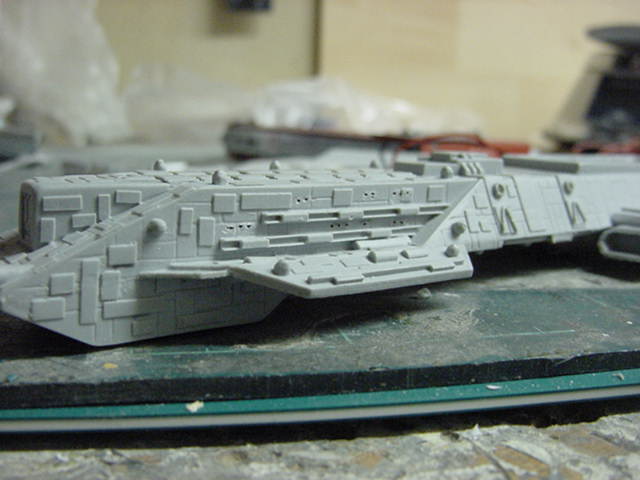
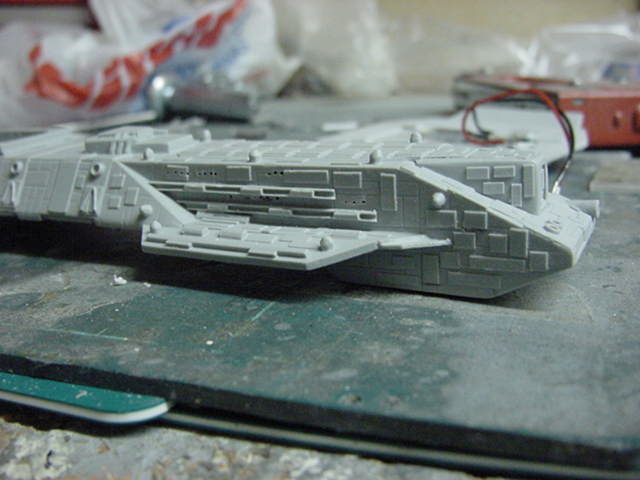
And that's about the lot for now as things go on.
Next update...at a later date,
Go easy gang!


 Page Number


