
Saltire Technologies X304-Class Deep Space Carrier
1/2500th Scale


 Page Number
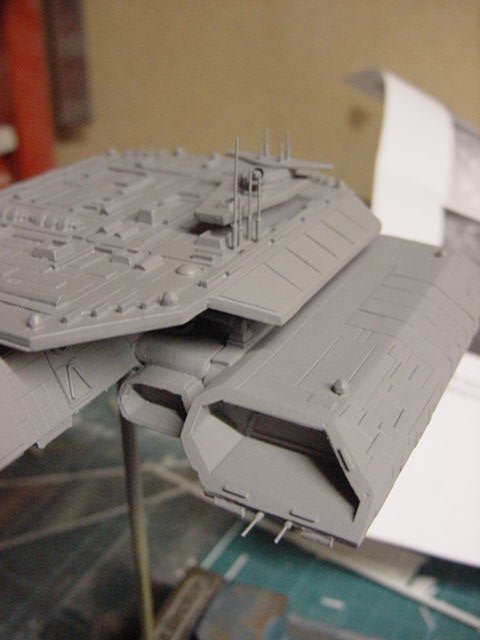
Not much left now...
But One Large Bit Of Patching Up To Do
Ok then troops and troopettes, one big hole at the back to cover so out with the plasticard bits...
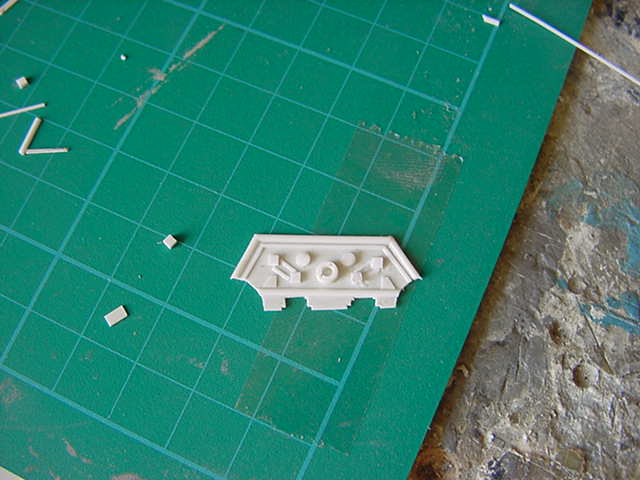
A dab or two of cyano, a bit of a shove and that's that bit drill and grinding violence neatly covered over.
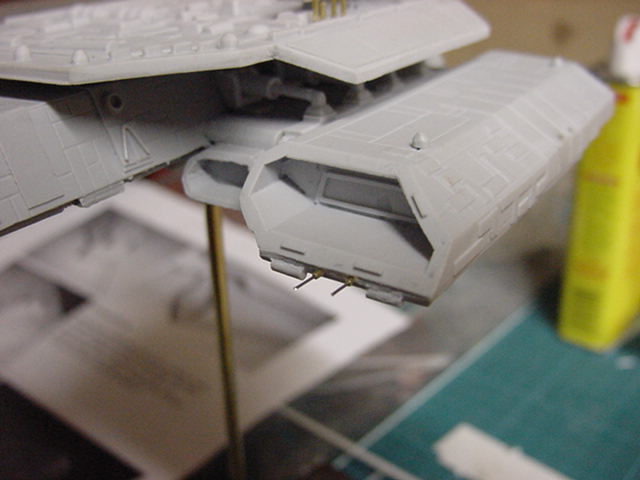
Then just glue on the last two pieces on the superstructure.
Replace the small lump that was broken off 'fore it even got to me
and that's the bulk of the kit part build sorted.
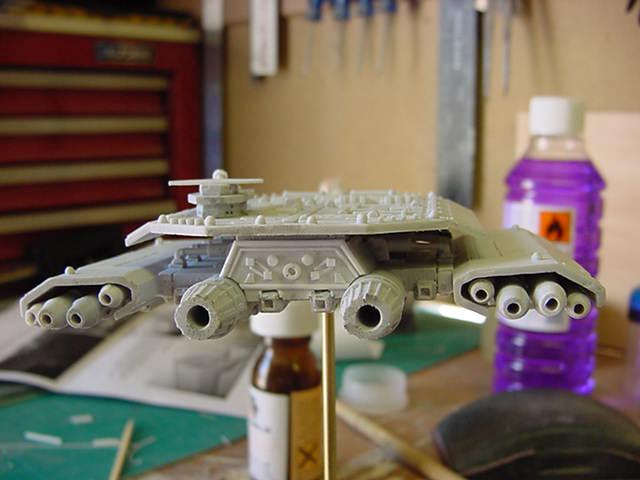
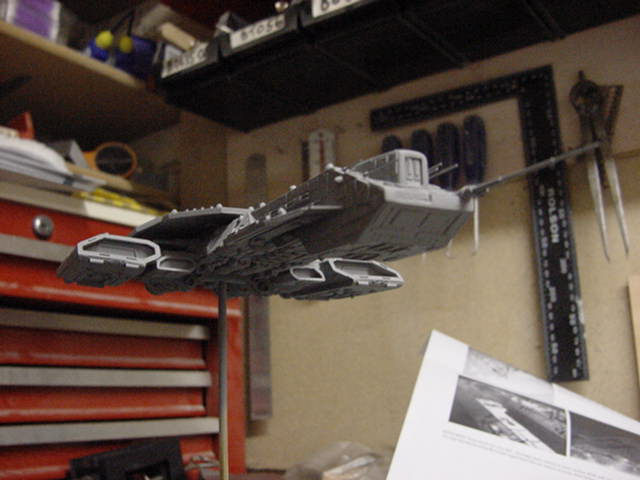
After a good scrubbing down with some spirit cleaner and another bath (one of many) it's that time...
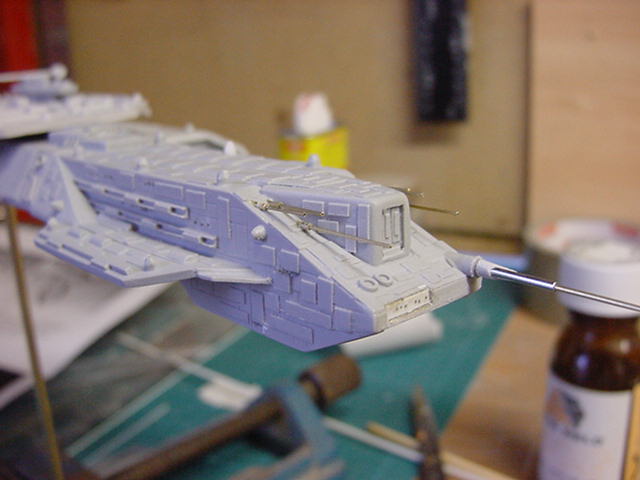
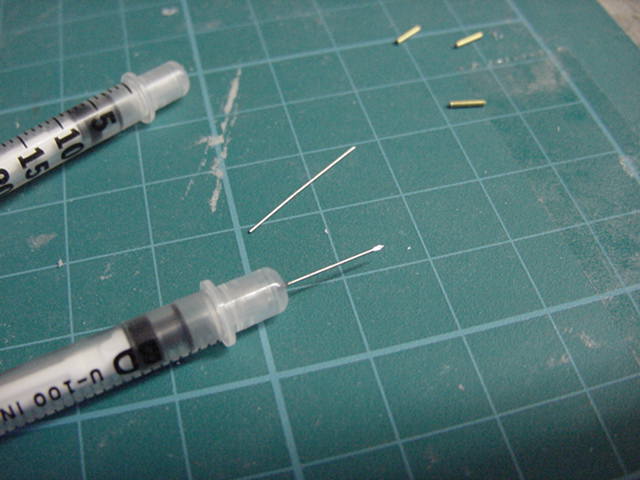
Time For Them Antenna Like Sticking Out Thin Bits
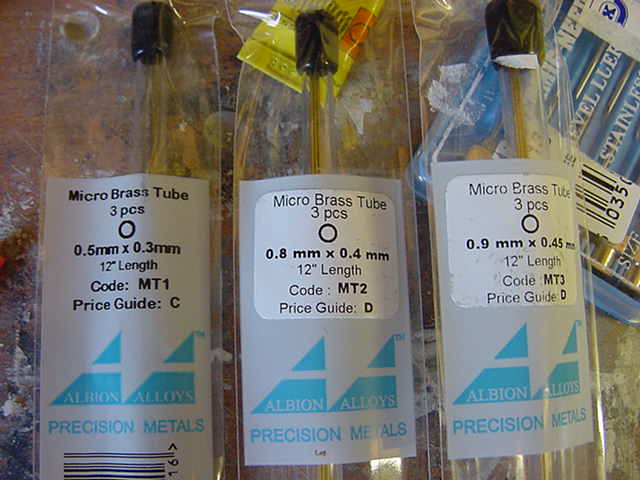
Well with the help of a 0.9mm drill bit, all holes were duly dealt with for the antenna mounts.
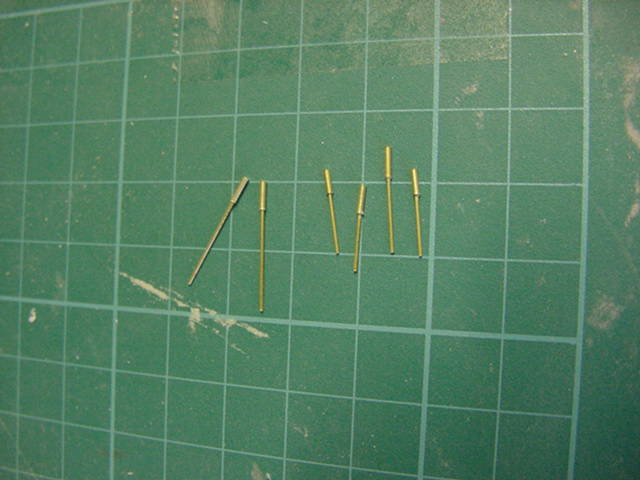
So the main bulk will consist of brass tube with the odd hypodermic needle thrown in for good measure.
So then, first the tubes...
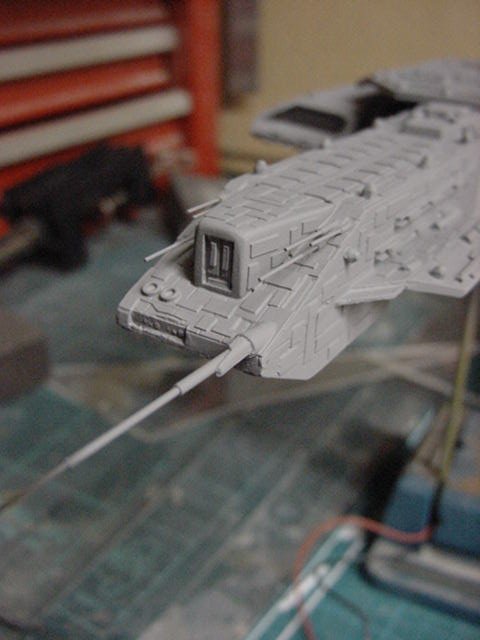
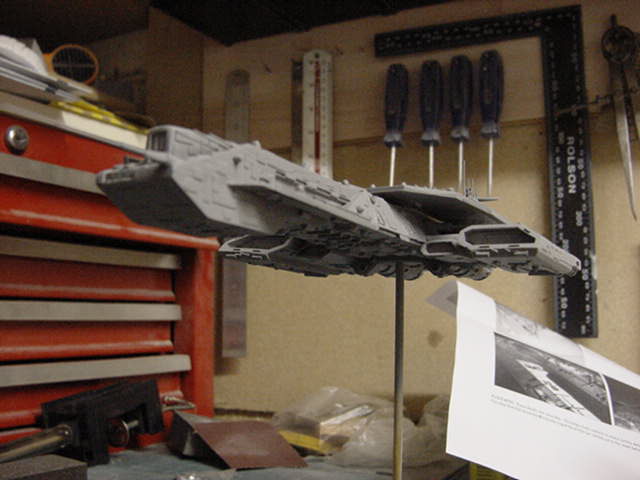
So first the biggest antenna which sticks out the front of this bad motor scooter.
The resin part chopped down and drilled out to take a cut down large bore hypo needle, about 1.2mm diameter.
The a short length of 0.9mm brass tube and a short length of 0.5mm brass.
The 0.9mm tube was drilled out for a short way to accept the 0.5mm tube.
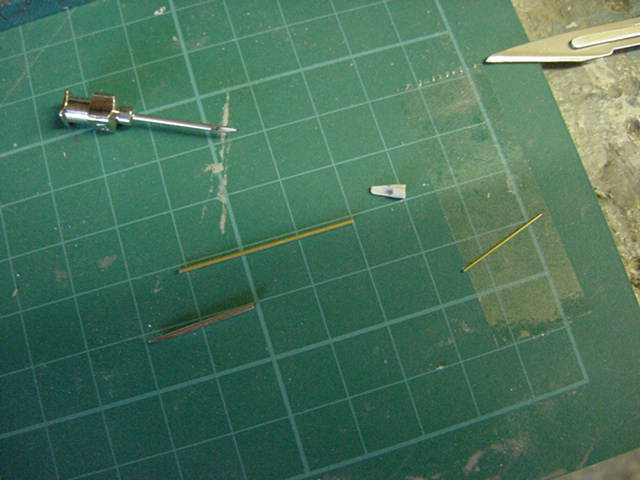
Then with a drop or two of cyano, the lot was slotted together and installed.
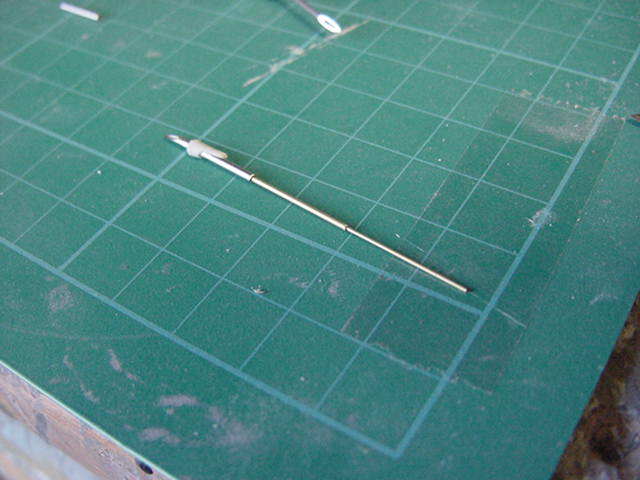
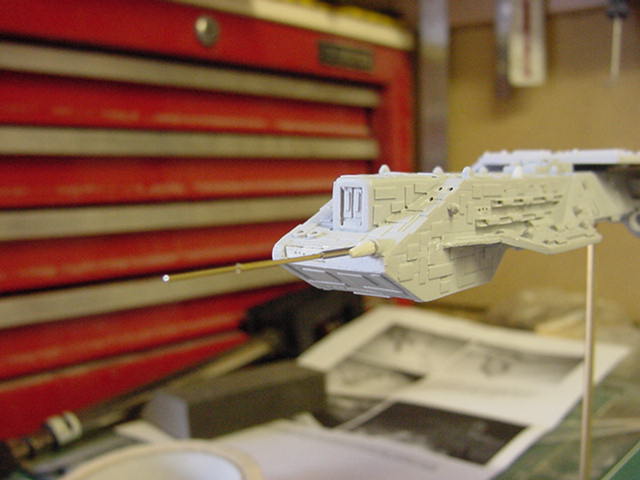
That about fits the bill i'd say.
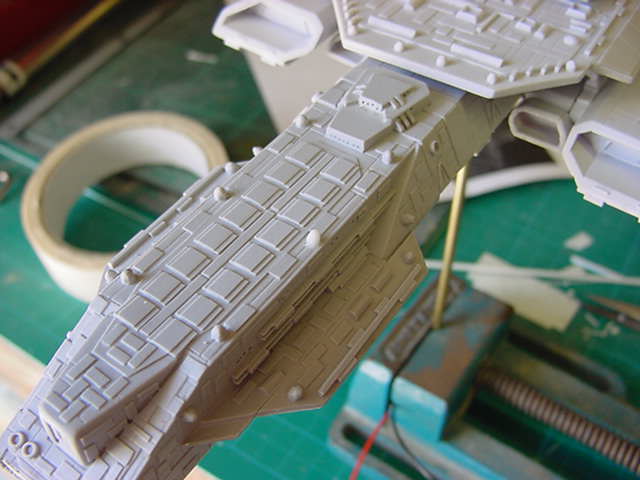
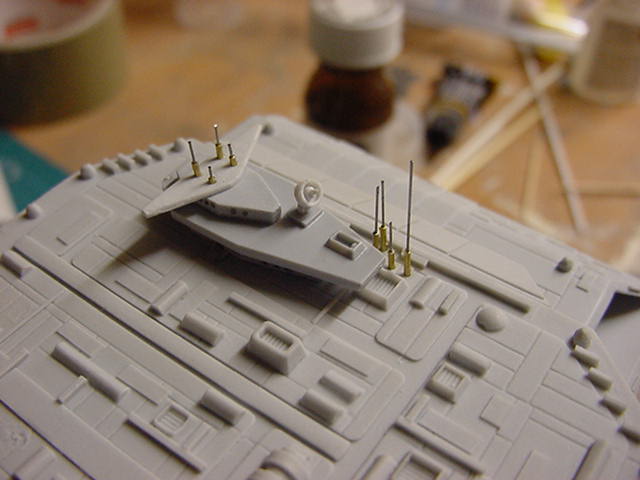
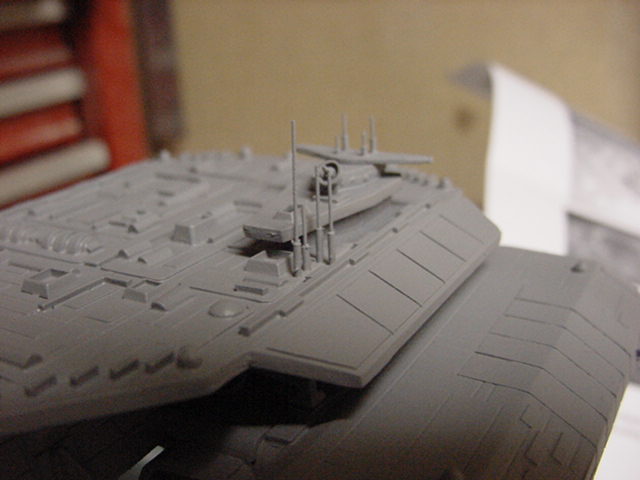
So to the six smaller antenna arrays that go either side of the...large lump that sticks out the front.
0.9 and 0.5mm tube, making four short and two long, fitted to the holes I drilled earlier.

Sweet.
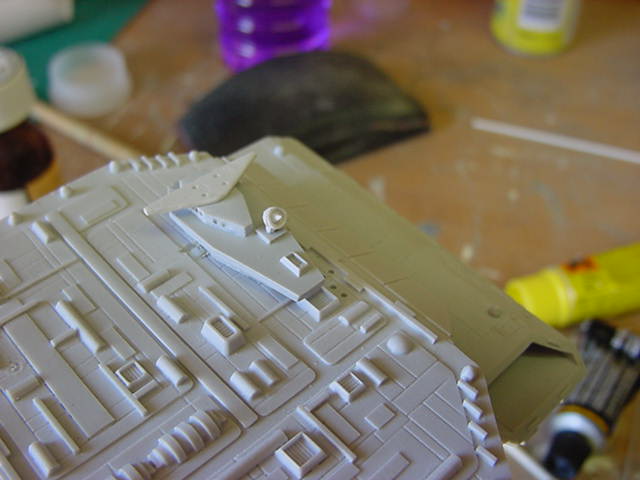
Next up, the group of four in front of the superstructure on the flat top.
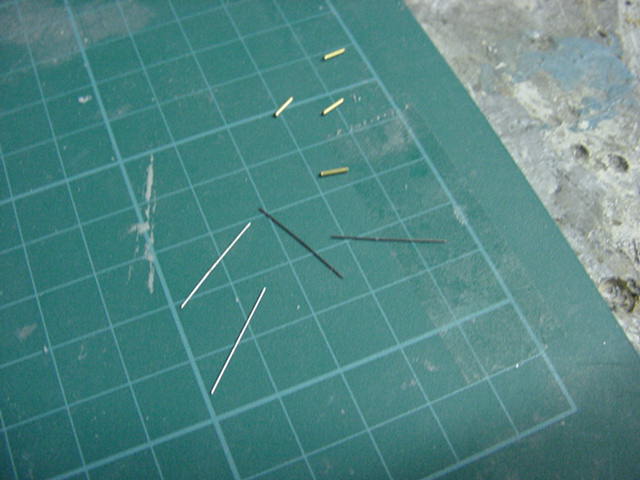
Now here is where the thin hypo needles come in.
First off to remove the needles...
The glue that holds them in is semi flexible so a scrape with a scalpel blade and
with the help of a pair of needle nose pliers, some were extracted.
The little bit of glue residue slides easily off the needle so no prob there.

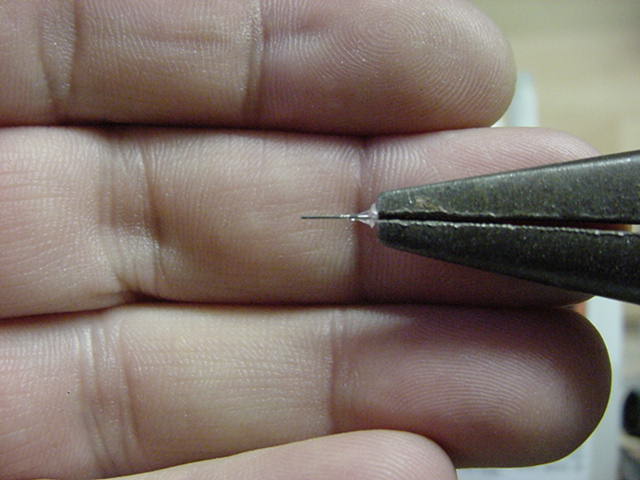
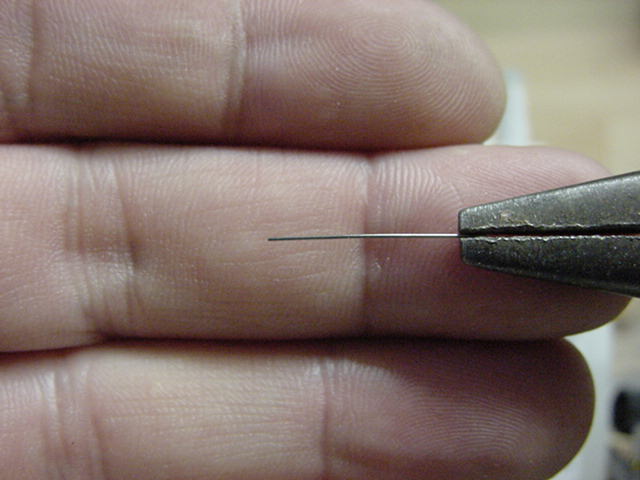
So now that gives us some 0.4mm pins to play with.
A few short lengths of 0.8mm brass tube cut and the needles slid carefully in, sharp end first.
A dab of cyano and then trim length from the blunt end with a pair of side cutters.
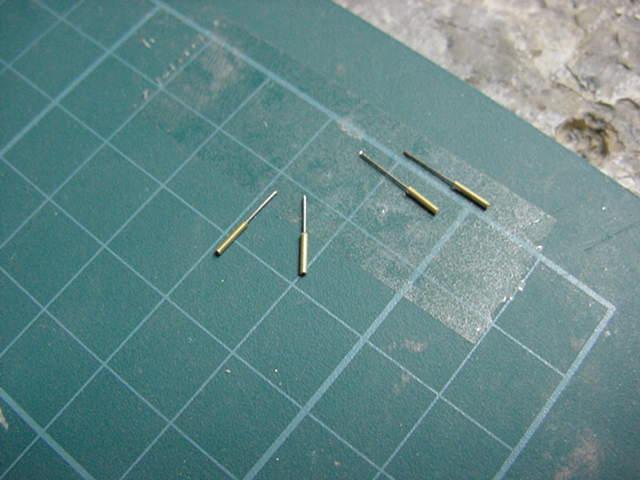
I did have two long and two short ones but as sometimes happens...
One pinged out of the tweezers and vanished so I made another one but just to be different,
made it longer than the others
Fitted and glued in.
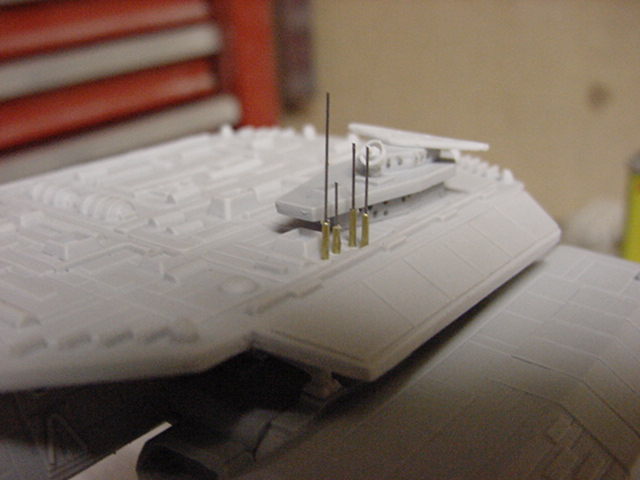
So in the same fashion, the four smaller antennae on the top of the superstructure
and the two at the front of each hangar were made up and installed.
Done and dusted with that
so after standing there for about 20 mins with a toothpick and some masking fluid, the windows were masked off and it's...
Primer Time !!!


And one higher res pic to finish.

And I can't say i'm unhappy with the progress so far.
Looks kinda neat so next time, we be back and it's time to go for the paint thing.
All good fun really.
You goodly lot go easy and i'll see thee later folks for the last X304ish update from the hellhole!
Page Number