
Salzo Battlestar Galactica
TOS Viper Fighter.
1/12th Scale 31" long


 Page Number
Off ya tuckus and take to the floor...music please maestro!
Grab Ya Partners Coz It's The Sub Assembly Samba!
Part 2 Would You Believe!!
Or something like that.
Well here we go with the second round and here's
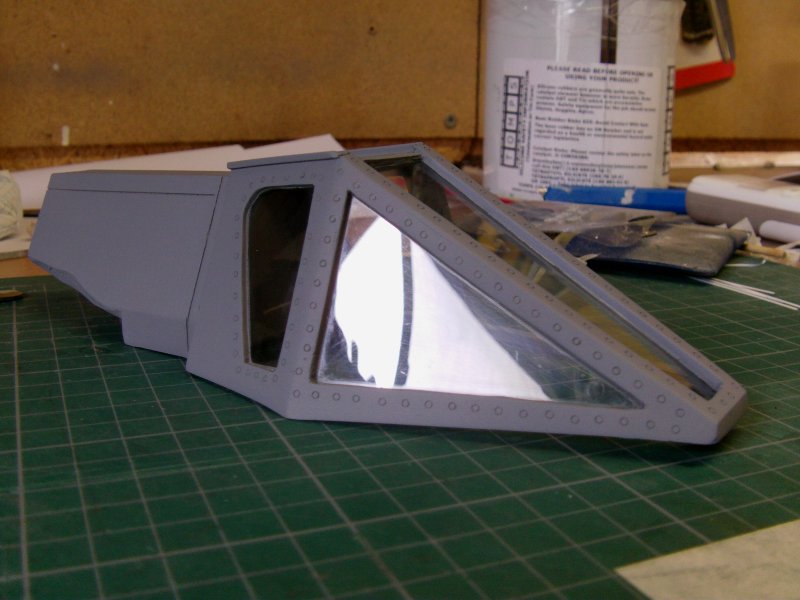
The canopy final finishing.
So all glazed up and somewhere to go, tidy up time.
Had a small rethink about them rivets.
Decided I didn't really like 'em so a replacement of sorts.
A short length of brass tube with a
drilled and filed end, stuck in a pin vise.
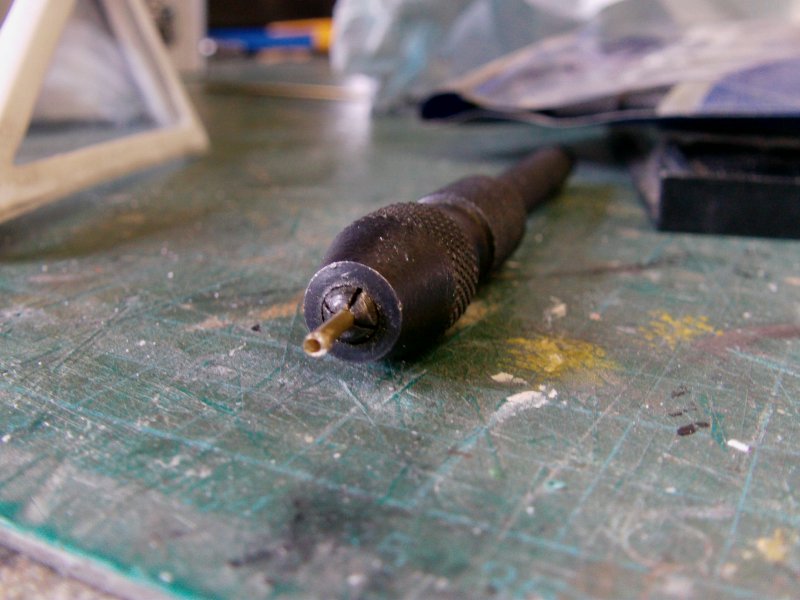
So taking this thingy and selecting every other rivet,
'twas duly inserted and given about 7 twists.
I like what I saw so proceeding to the rest
and including a line around the rear most canopy glazing
and the top one as well seeing as they had nothing around
'em in the first place.
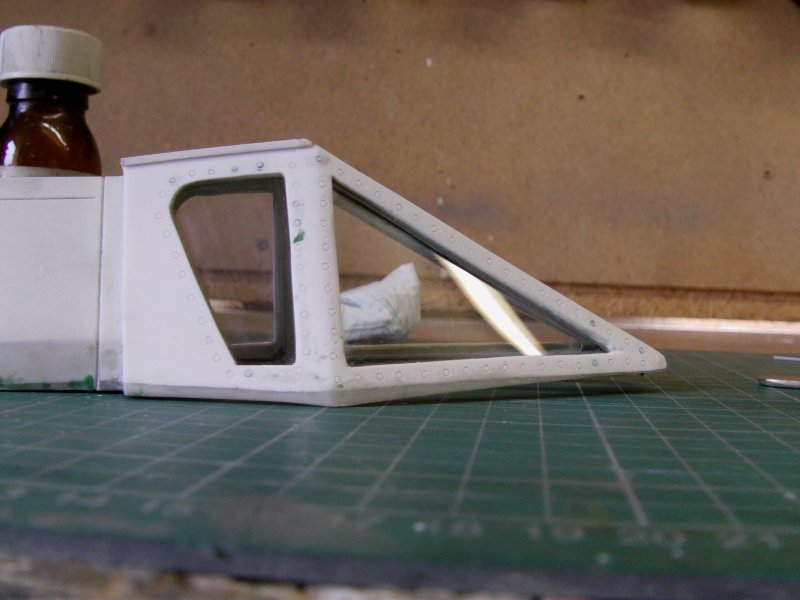
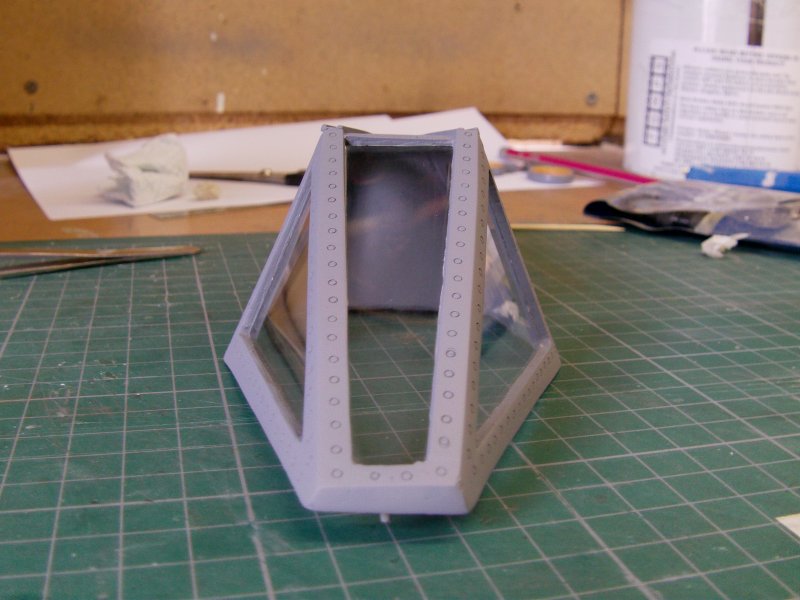
The interior of the canopy got some strip styrene lobbed in
just to break up the flat areas and joints a bit.
Then came the masking inside and out and
laying on of the hallowed primer.
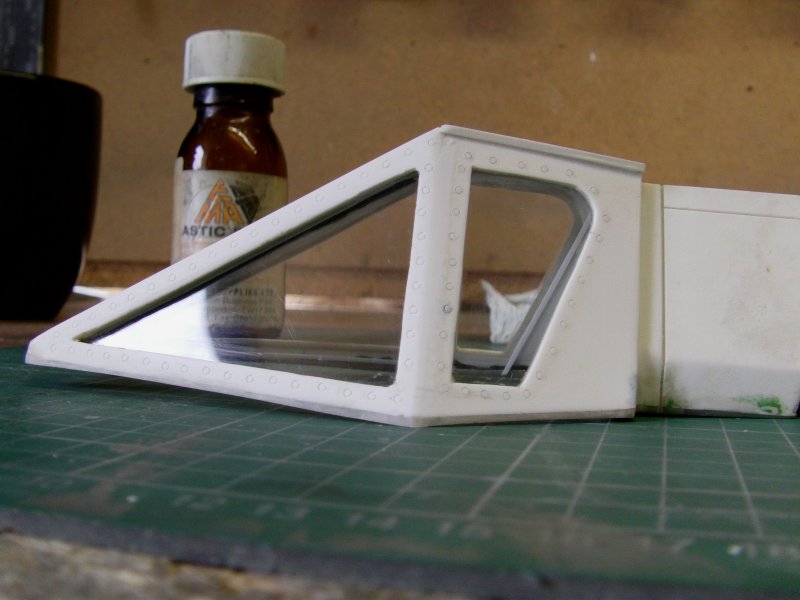
After curing, masking ripped off and...
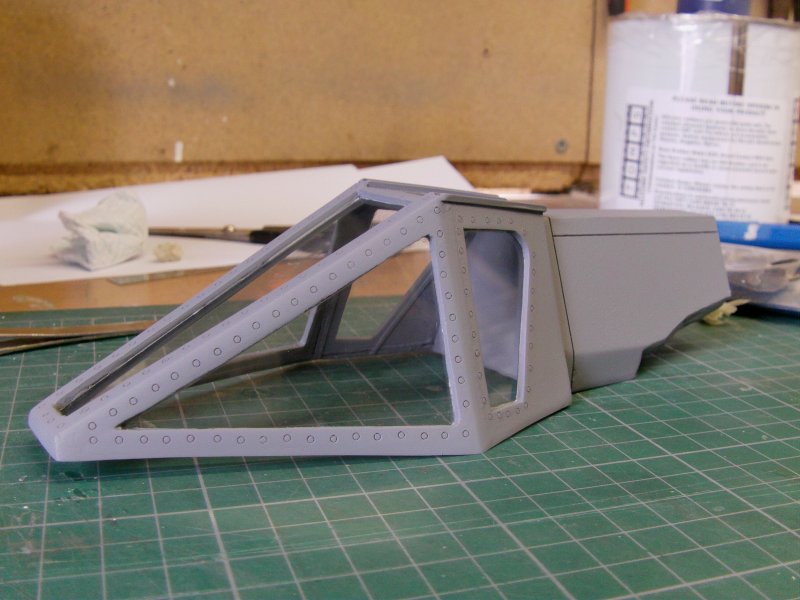
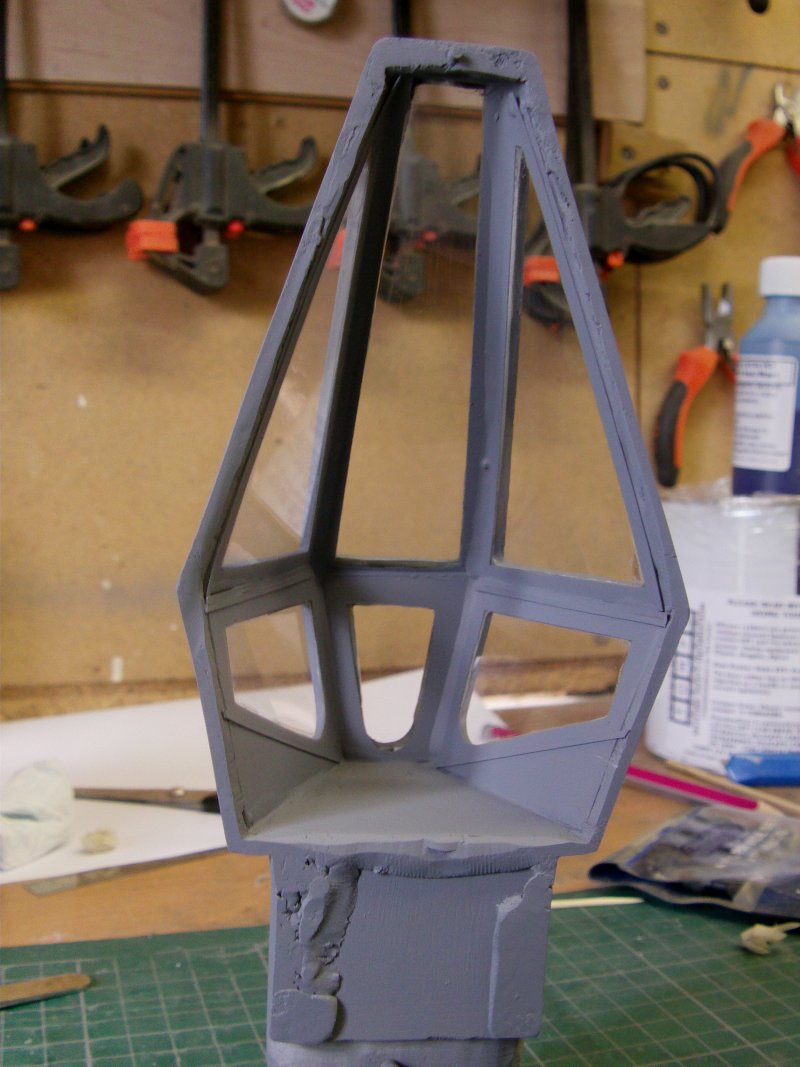
All well and good, let's see how it looks in proper position.
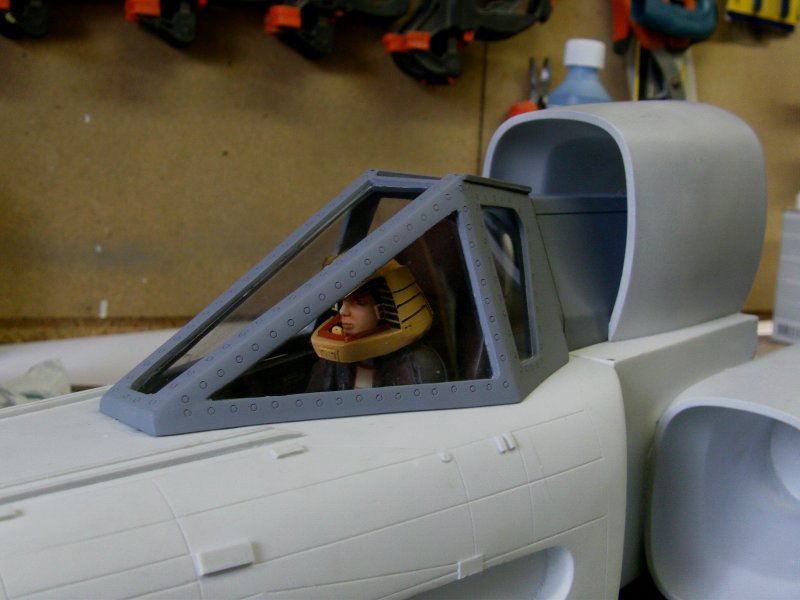
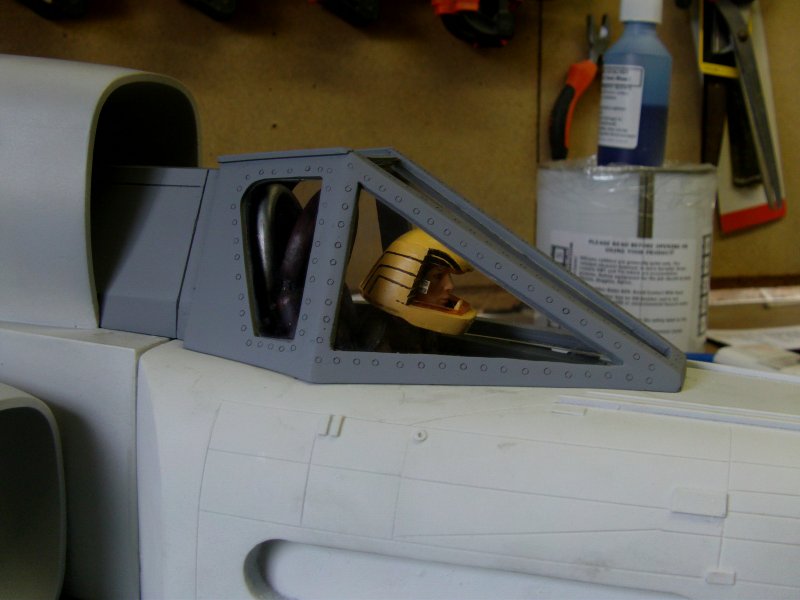
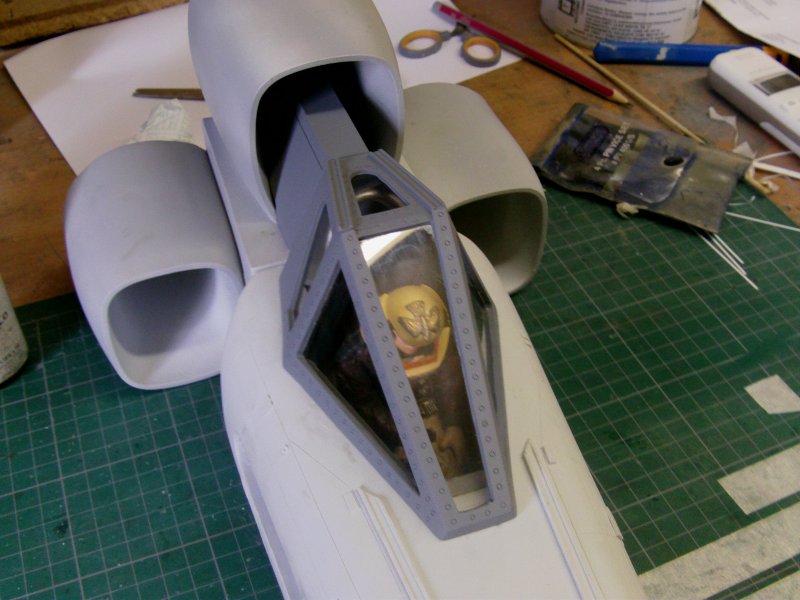
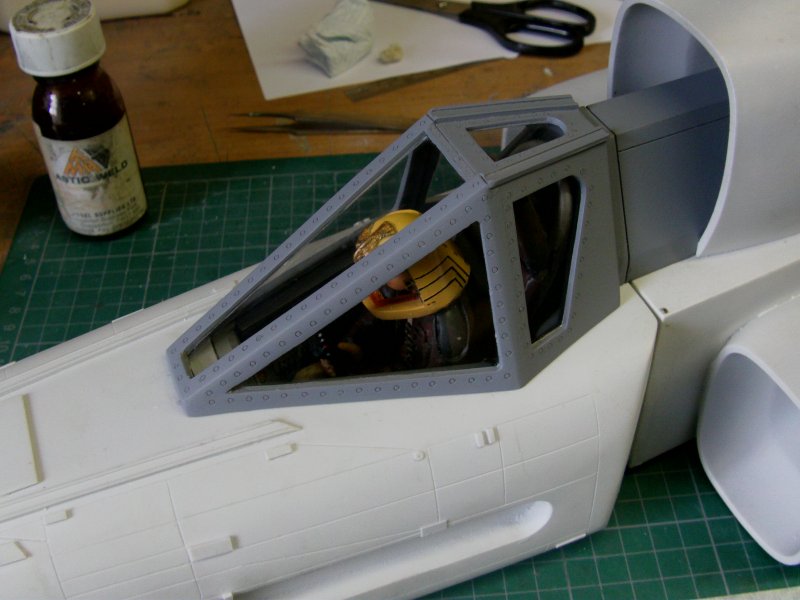
Me likey!!
Next up, something to shoot with.
The guns were pretty straight forward, just four pieces per bang thing.
Barrel, body and two sort of triangular bits.
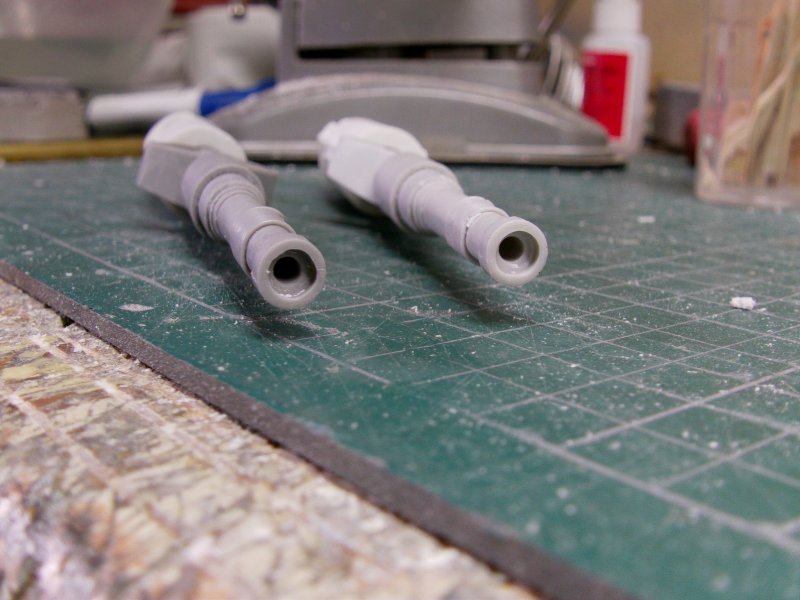
A smidgen of mould line clean up, a bit of drilling out on the business end,
some cyano action and it's a done thing.
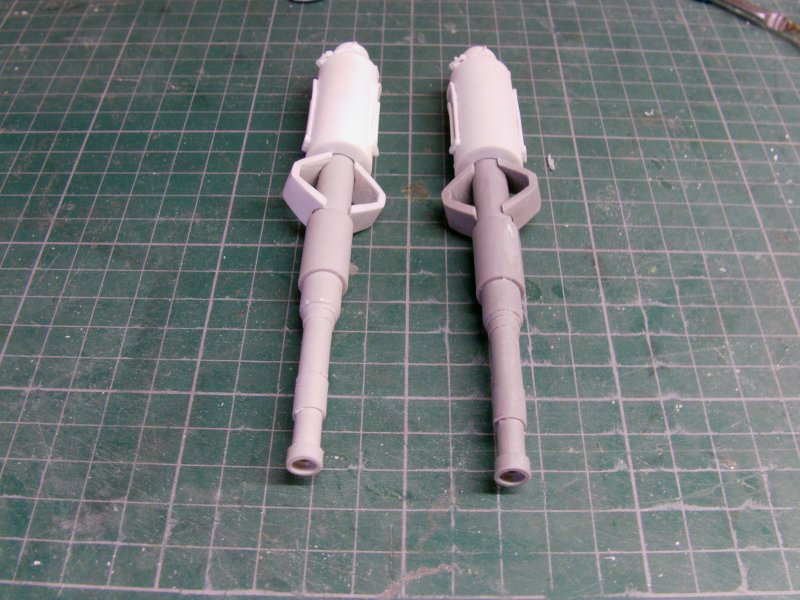
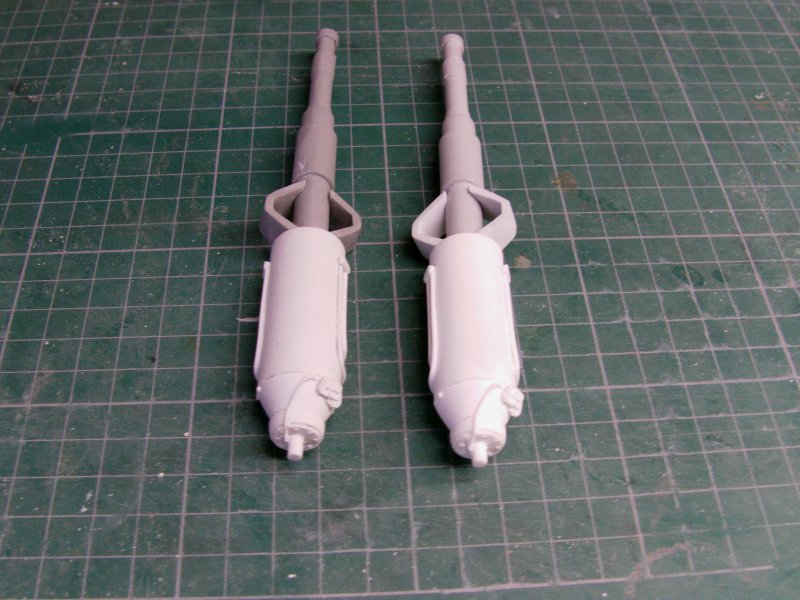
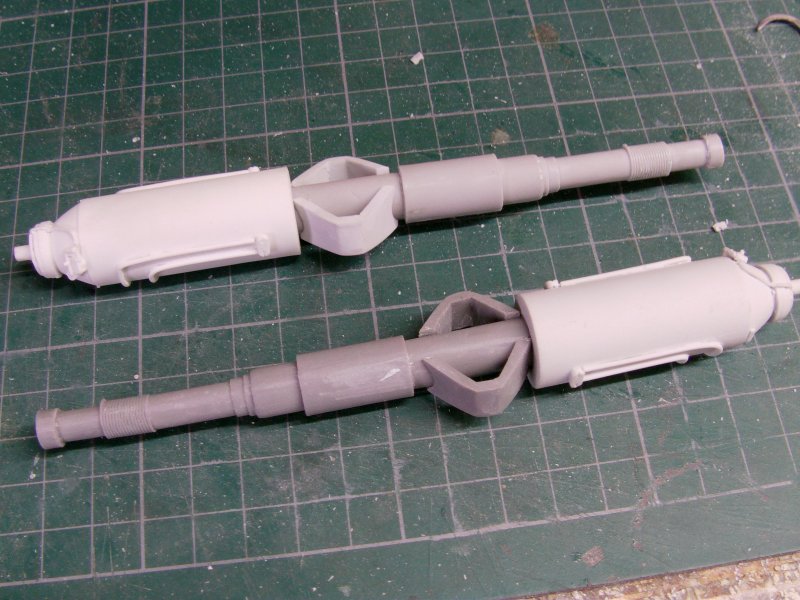
Them's a sorted as needs be untill full on assembly.
Last bits for this update now.
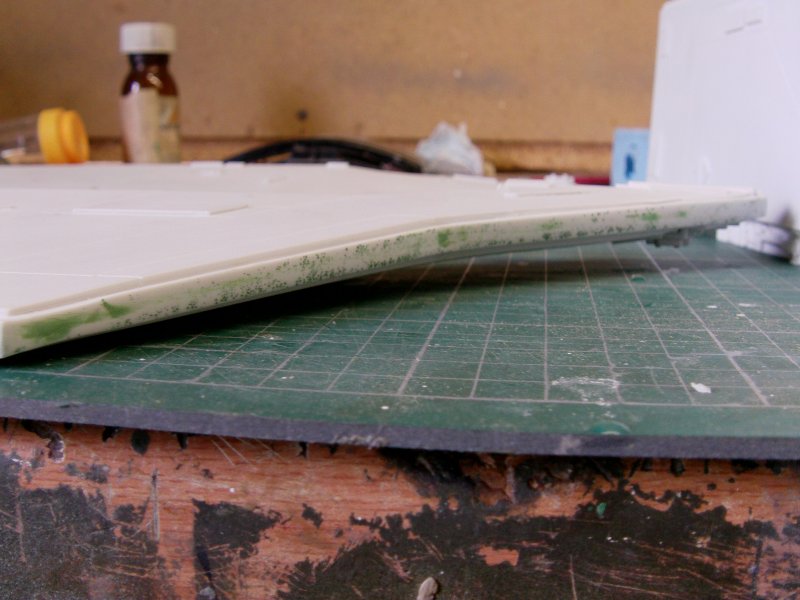
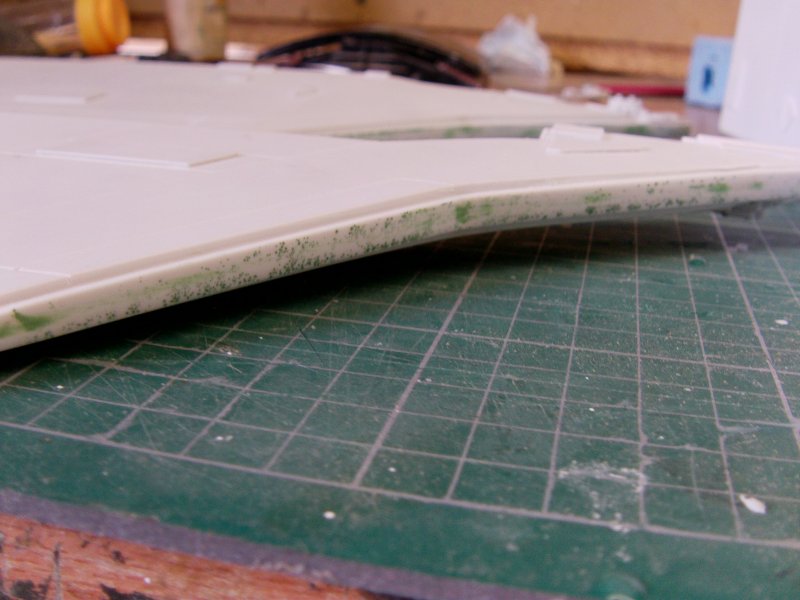
The wing/fins things.
A bit of clean up required and a fair amount of
surface air bubbles to fill but par for the course.
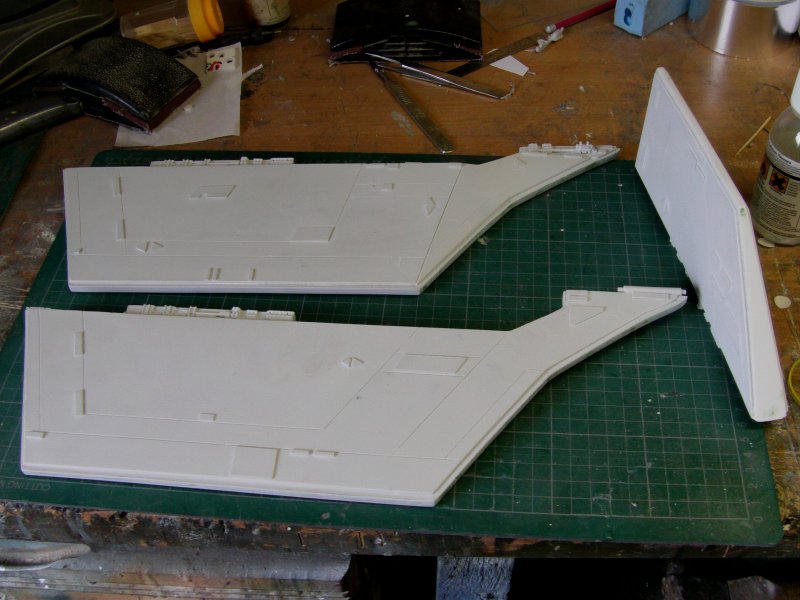
Now the sort out of how they going to fix to the engine section.
Well the top fin doesn't have to bear any load as such
so just a couple of brass pins mit some epoxy stay put gunk
and hammered in to holes drilled out by yours truly
on the trusty and slightly rusty in places old pillar drill.
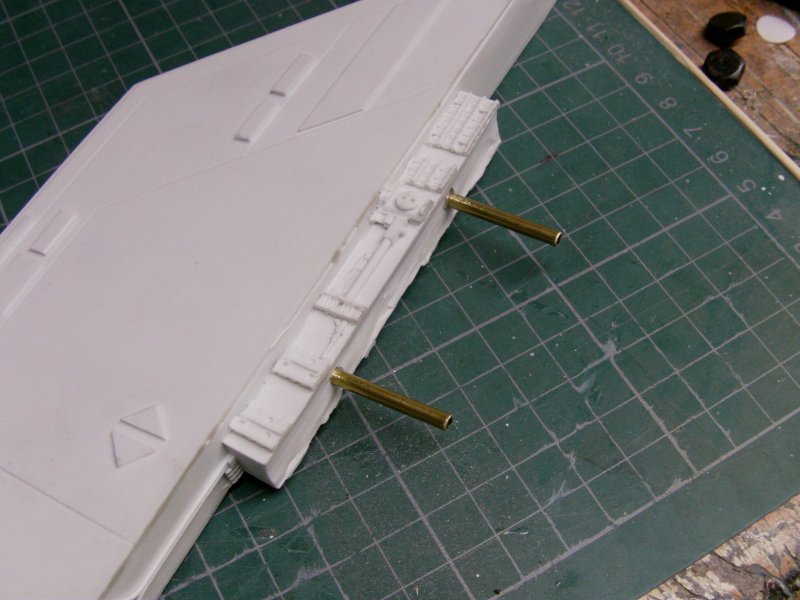
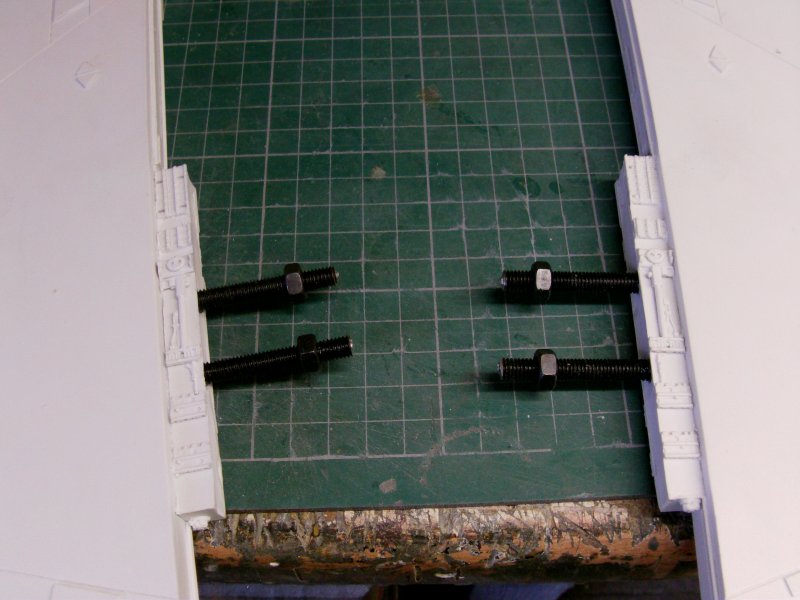
The side fins/wings are a slightly different matter.
They are large and they are heavy.
About a pound in weight each one so something a bit more
solid required in terms of fixing.
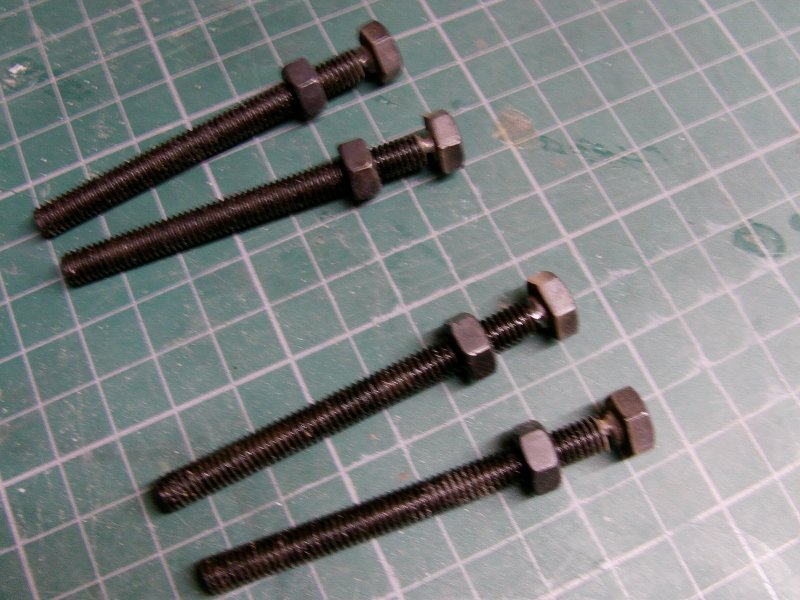
Four nut and bolt assemblies duly drawn from the place where
nuts, bolts, screws and nails go to rust in piece.
Each one got a bit of cutting disc in stupid fast rev setting drill injury
done unto them to make removal of the heads a bit easier.
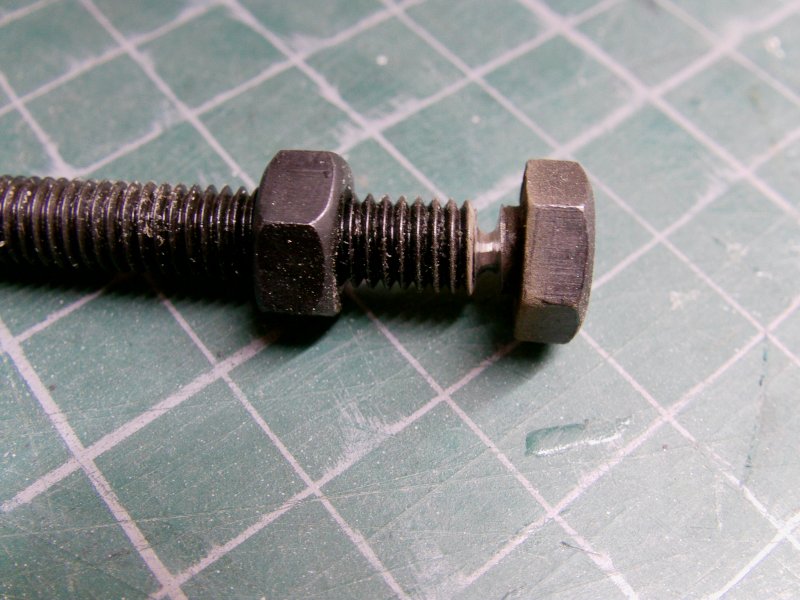
Holes of a very slightly smaller diameter than the bolt were drilled in to the large fin root.
Out with the ratchet wrench, a dab of goodly epoxy, given a few turns in,
run down untill they stop then a sharp twist to take the head off the bolt.
Threads checked and cleared, nuts come off and thread
back on with out argument so it's all good!
And that's that for this update friends and friendettes.
More to came next time when we are in to assembly of the Viper proper.
See thee then, you merry mob take care of yaselves and go easy out there now.
Page Number