
Salzo Battlestar Galactica
TOS Viper Fighter.
1/12th Scale 31" long


 Page Number
It's time to dance that dance...
So Put Ya Best Airbrush On And Do The Fiber Optic Funk,
Wire Waltz,
Soldering Samba And The LED Lambada To Finish!!
Well my feet hurt anyway.
Welcome back to the hellhole gang!
Right then, the instrument panels got their resin and rubber treatment and didn't turn out too shabby I have to say.
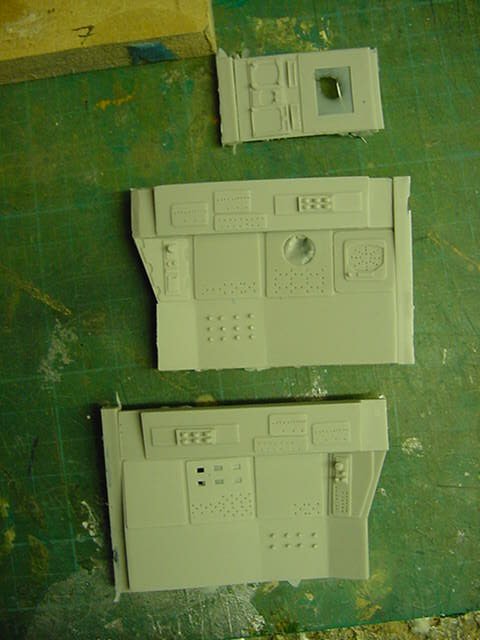
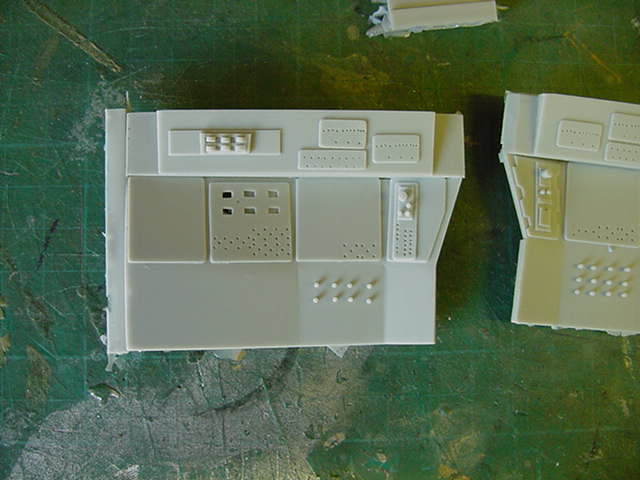
A couple of sets got cast and one lot cleaned up and given the primer slap on.
Then came the inevitable drilling out of all necessary holes...of which there are a few.
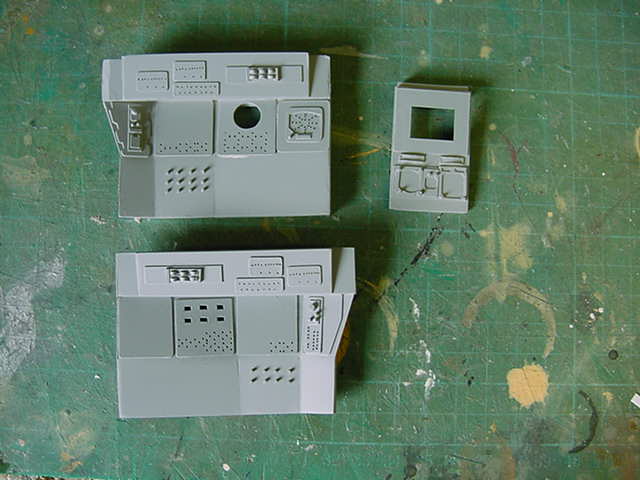
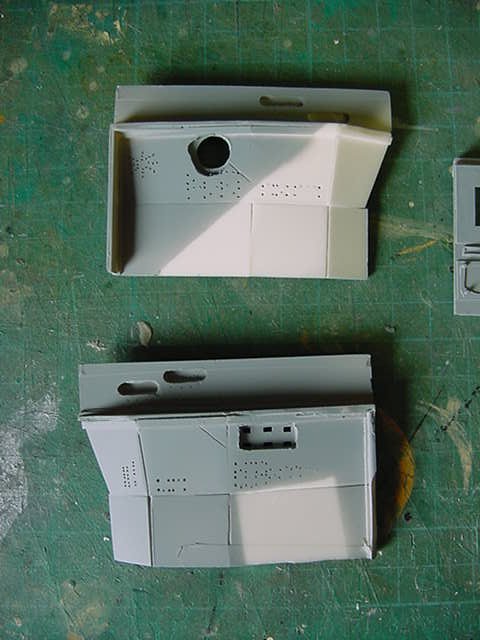
So to paintwork.
Simply done airbrush thing with acrylic RAF light grey.
A smidgen of masking followed by some acrylic dark sea grey.
A bit more dark grey in certain places and a going over with the promodeller dark dirt wash.
Then a goodly splash on of acrylic gloss varnish in prep for the decaling doo-dad's.
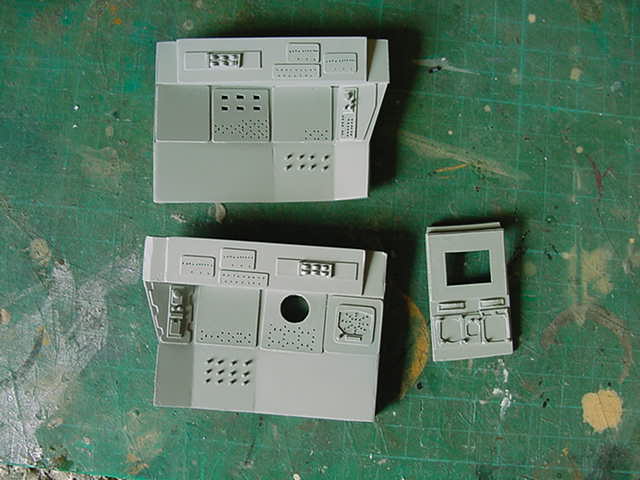
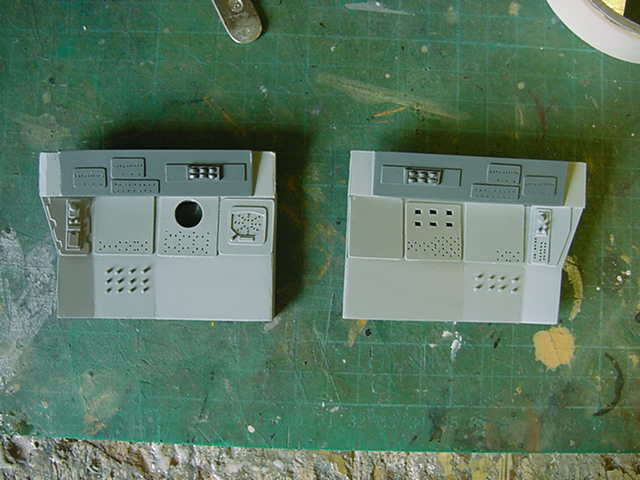
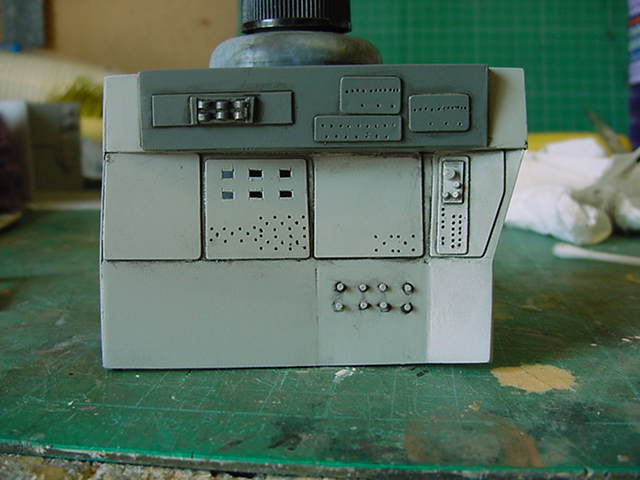
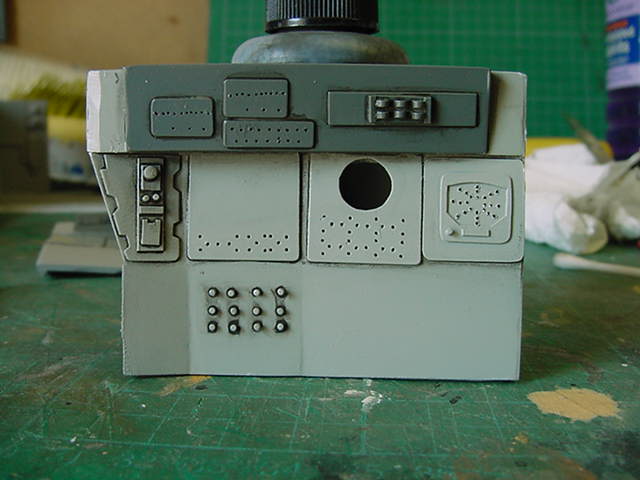
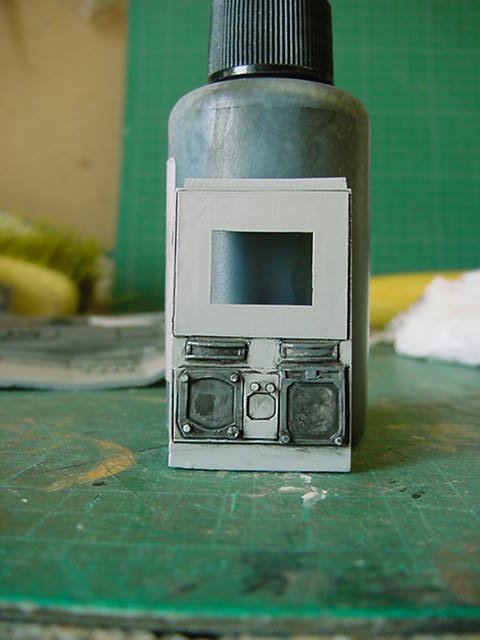
Decal stuff happened with very little fuss which is all good methinks!
Once done then a laying on with acrylic matt vanish to smooth it all off.
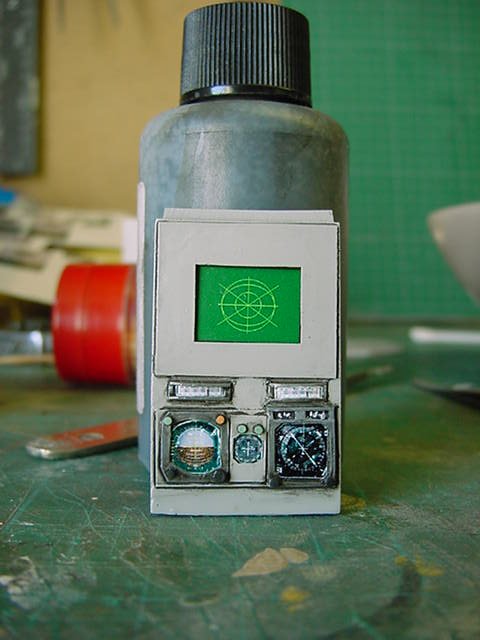
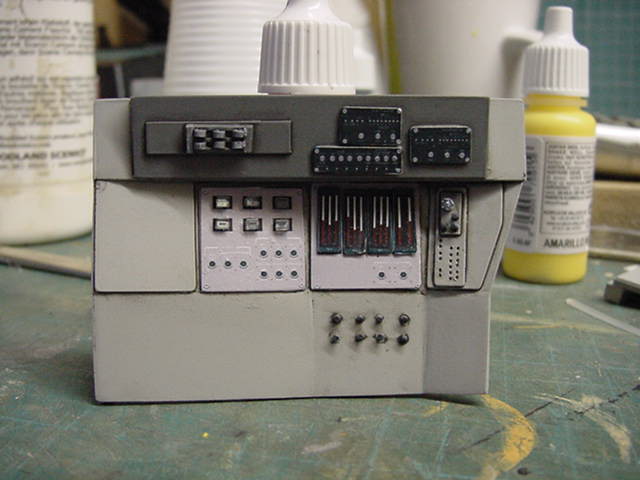
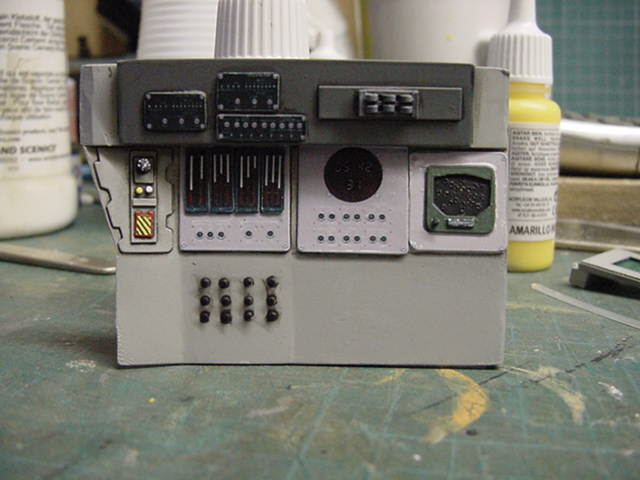
Now for the lighting hoo-ha.
The large round mission clock thingy on the right hand consoles had been back filled prior to decaling.
This was nothing more special than some clear diffuse plastic sheet epoxy glued to the back and the front filled with a clear epoxy glue mix with Tamiya clear red acrylic mixed in and left to cure.
Once all sorted, the back was filled out with epoxy clear glue used as is.
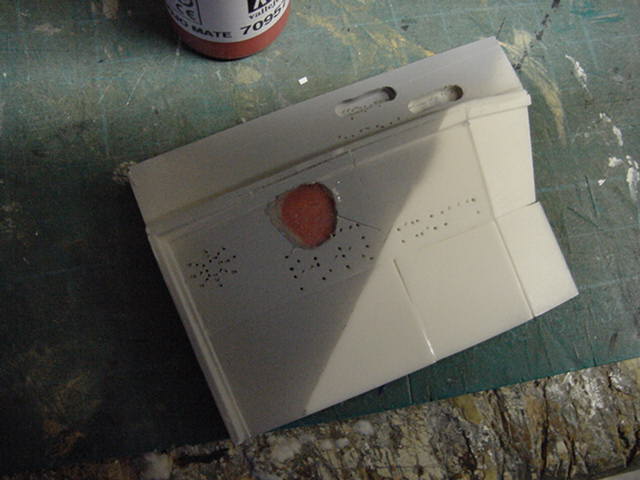
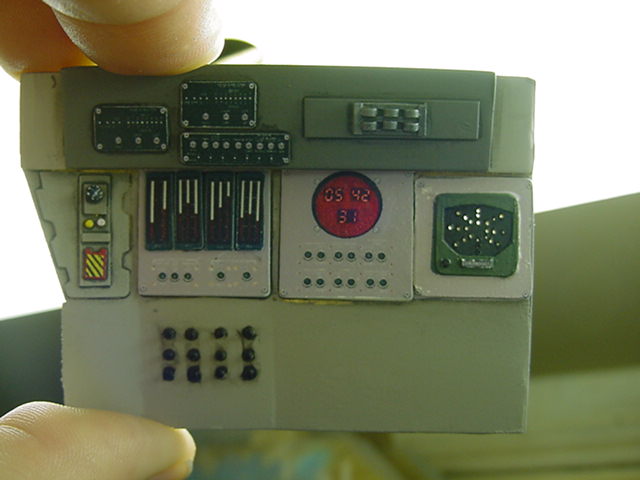
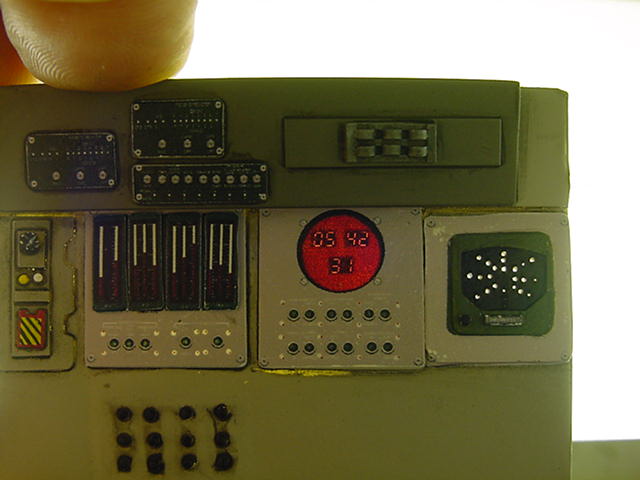
The to be illuminated buttons on the left console similarly sorted with some thick clear plastic sheet.
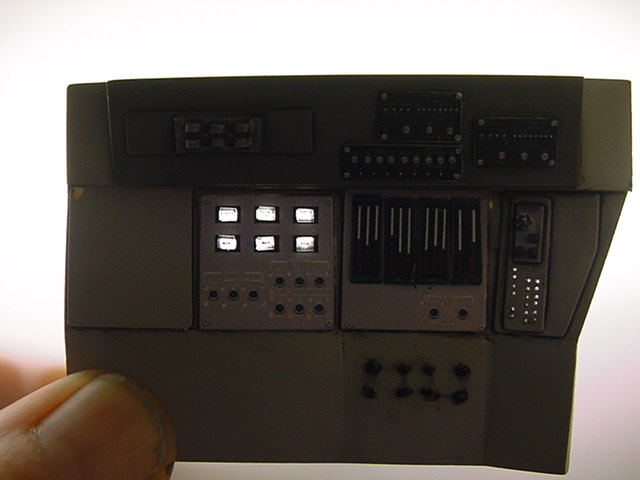
So at this time, the switch guard bars and switches proper.
The guard bars were just some 0.5mm mild steel wire.
Bent up as they should be and installed.
The switches were some 0.3mm mild steel wire simple slid in and many a tiny drop of cyano was used.
The wire left as is for the smaller toggle switches.
The large ones however has some small chips of 5thou sheet styrene attached.
That took some teeth gritting I can tell ya.
Once all cured, several licks of silver, grey and red got a look in.
And a look see of course.
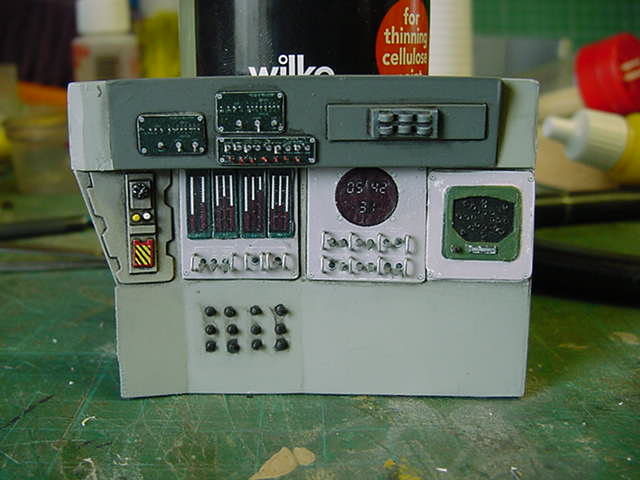
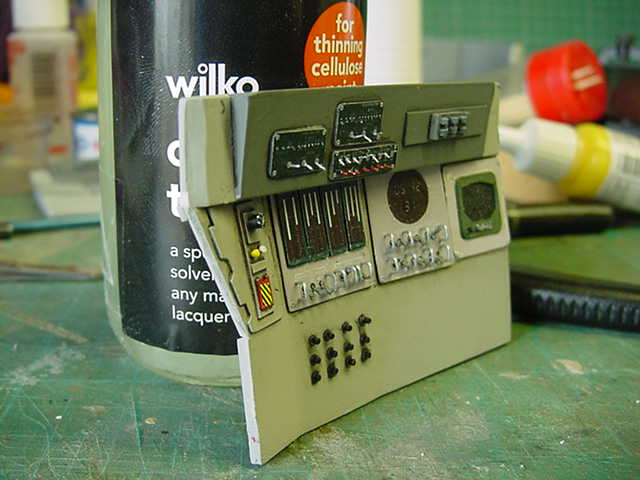
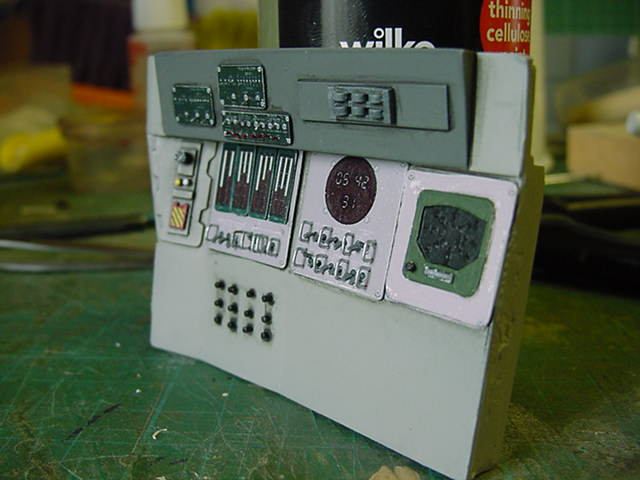
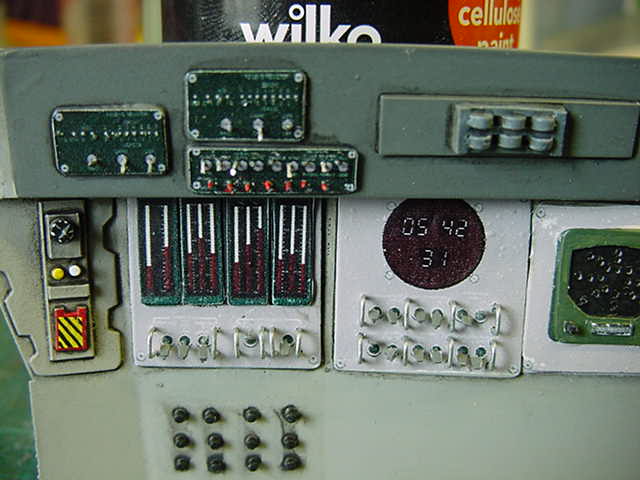
So this all done, some fiber optic frippery to get sorted.
All relevant holes got some of the light carrying gear shoved in 'em.
A light box made up for the mission clock display and the lot gathered up.
Then three LED's brought into play, resistored up and wired.
Two 3mm diffuse white white for the mission clock and FO to the scanner screen at the rear.
One 3mm diffuse red for the lights on the top most consoles.
The ends of the FO on the scanner screen got a coat of clear red for the horizontal and vertical line, clear green for the diagonal lines.
This whole mess tidied up and a lighting test of course.
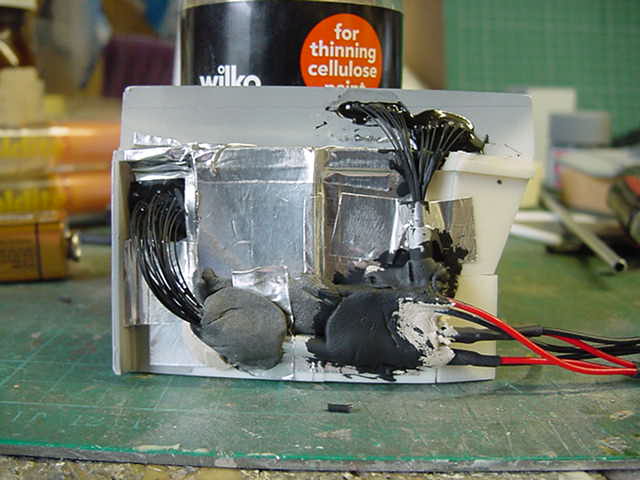
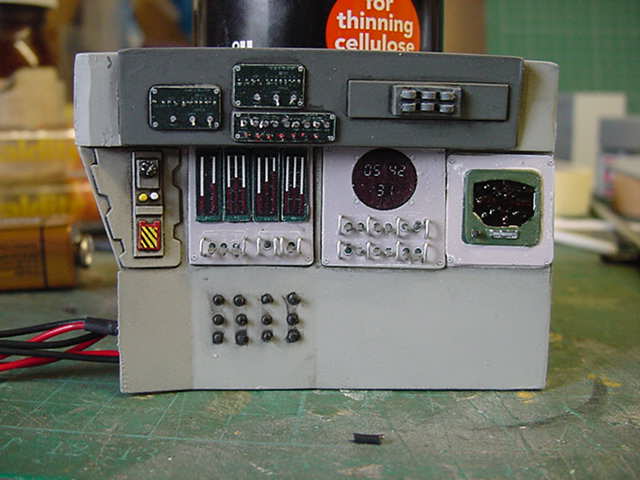
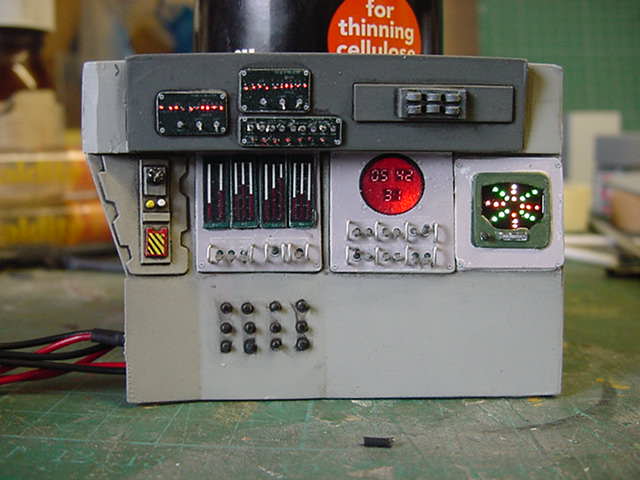
Yep, works for me!
Well this lark will be expanded to the left side and center instrument panel.
Then the hapless helmeted hero in the hot seat to sort.
That's for next update time so please join little old me then if ya feeling bored enough.
Go easy out there you merry mob!


 Page Number


