
Salzo Battlestar Galactica
TOS Viper Fighter.
1/12th Scale 31" long


 Page Number
And now for something a little different...
Some Resin Recasting, Fiber Optic Frippery And Paint Plastering On.
Also A Wagon Load Of Pics To Boot!
Welcome back gang!
Right then, some fun to be had so let's be a gettin' to it!
So here we hit the headgear for our hapless hero.
Now the supplied kit part was sort of ok but I think deserved to be just a little better.
No offence Mike.
So the original got some rubber and resin treatment and a new master pattern was formed from a cast of the original.
Pics below for comparison, original to the left, new one to the right.
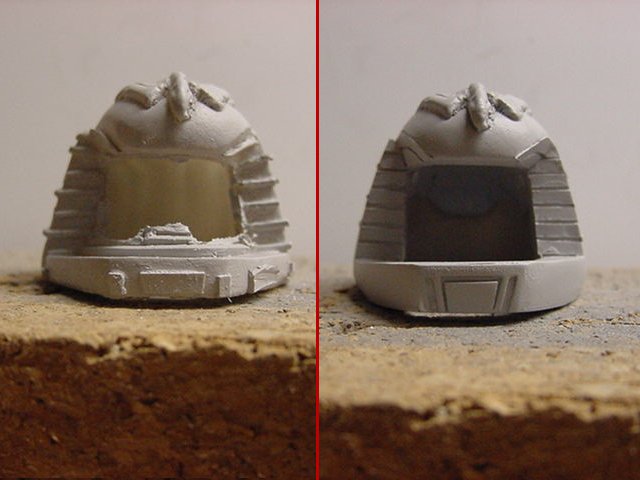
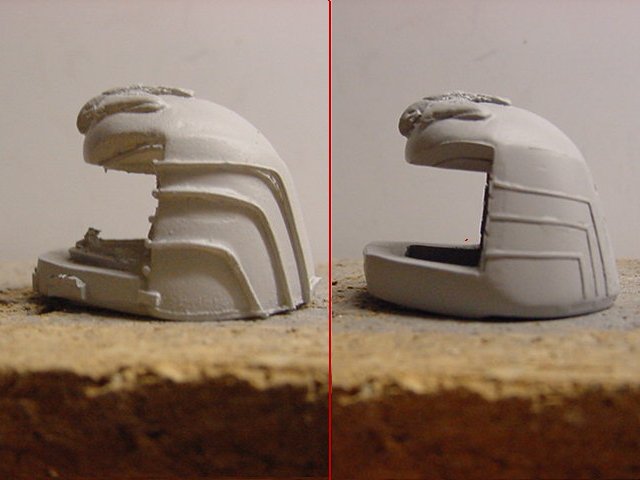
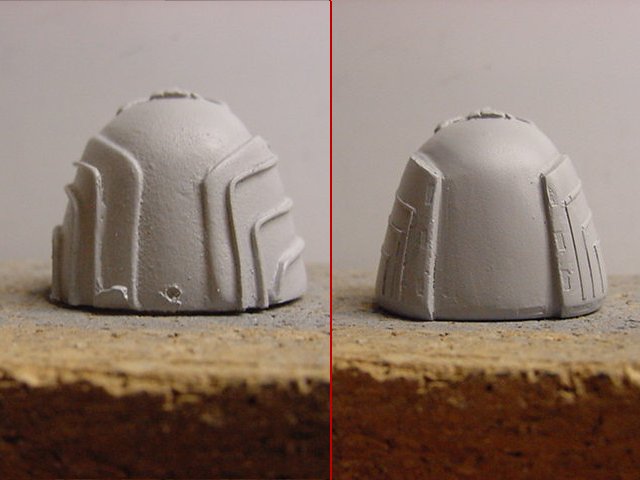
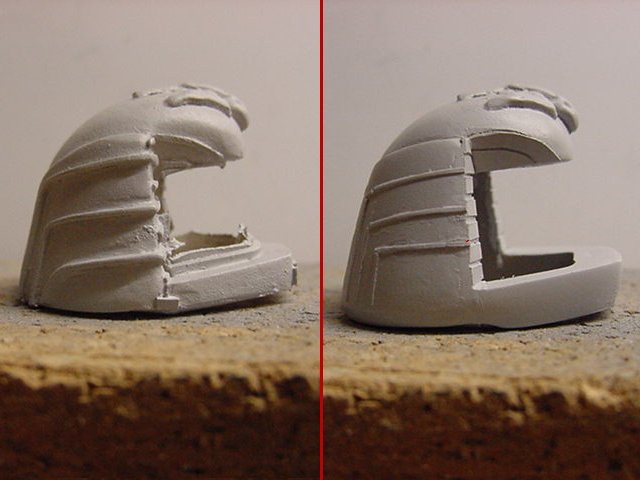
A wee bit better methinks so onward!
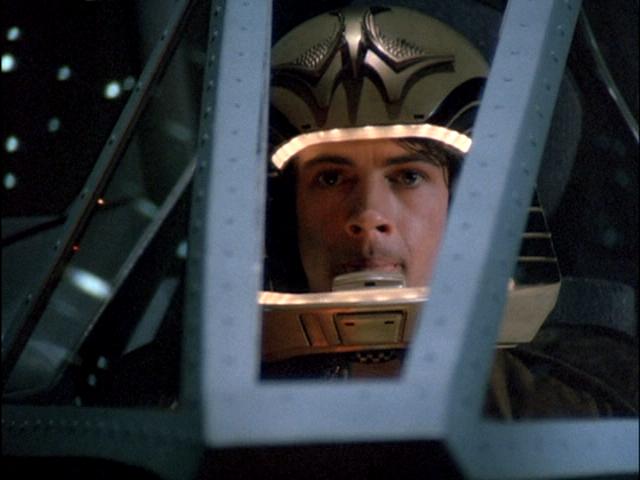
Now then, the thing about these here bit's o' headgear is the light bars top and bottom.
This screencap should show you what I mean...
With me so far?
Excellent.
So then, a few castings from another mould and one selected for sacrificial testing as it were.
So the cast parts being the aforementioned helmet, the ear parts from fast cast resin.
And the tinted light bars for the top and bottom from ordinary two part clear epoxy glue.
This has some Tamiya clear orange mixed in before being thrown at the mould.
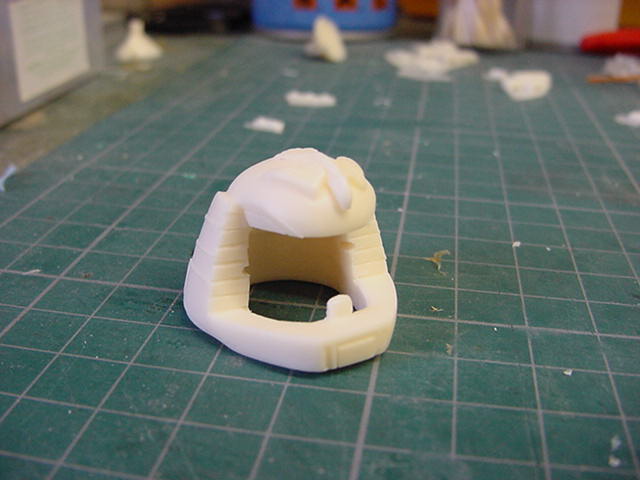
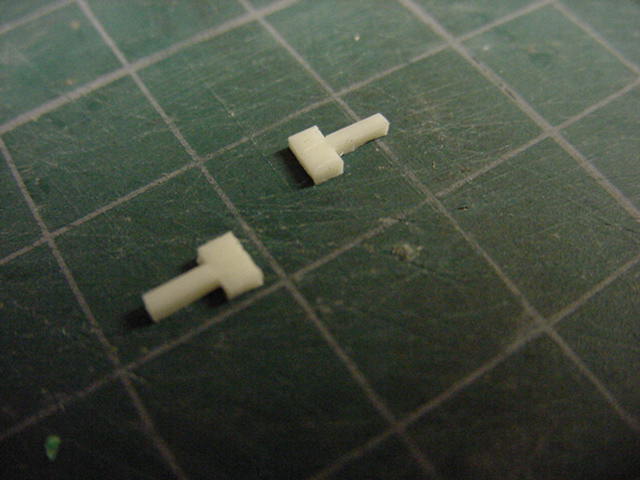
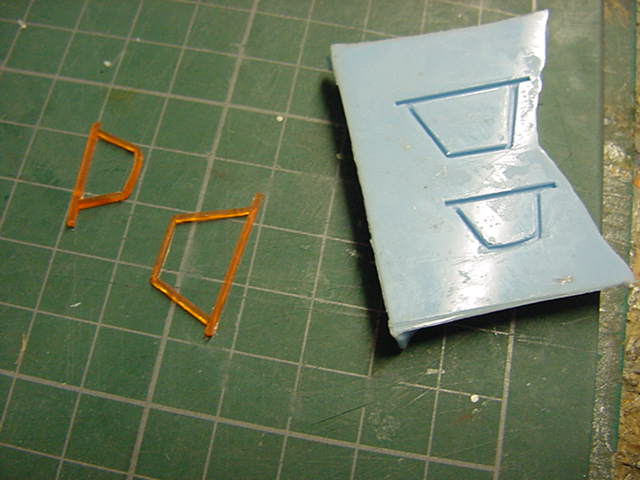
So long story short,
Many holes drilled,
Much fiber optic inserted,
Trimmed up,
Light bars glued on,
A 3mm white LED rammed up the back end and a test mit der small block of 9 volts.
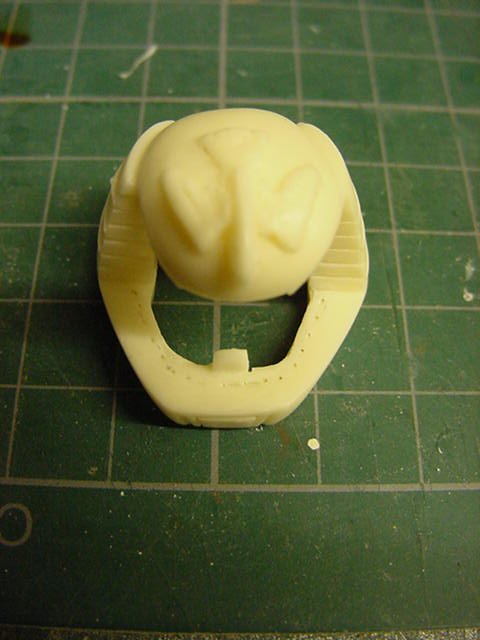
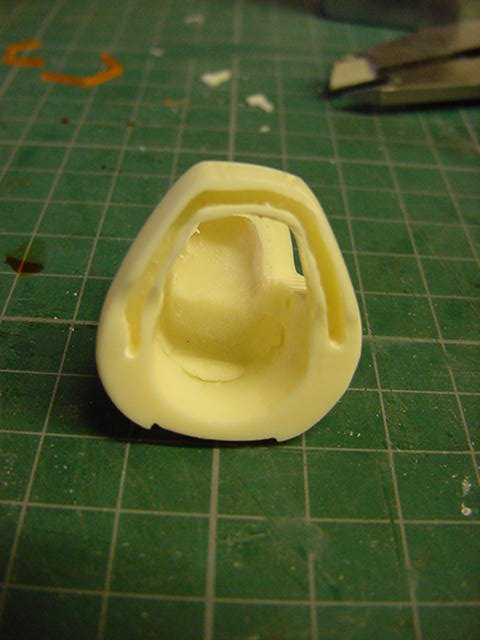
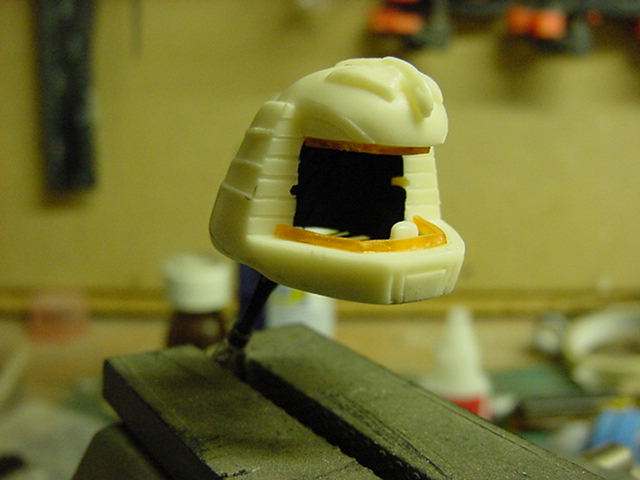
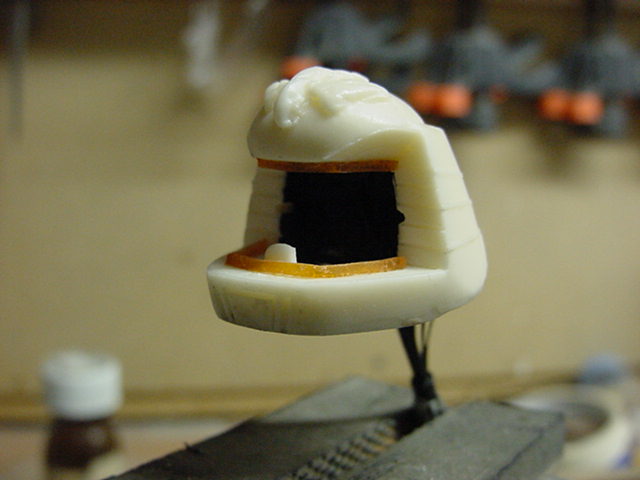
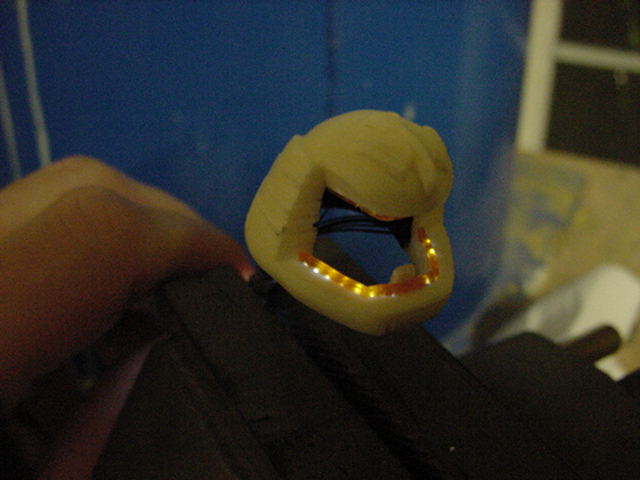
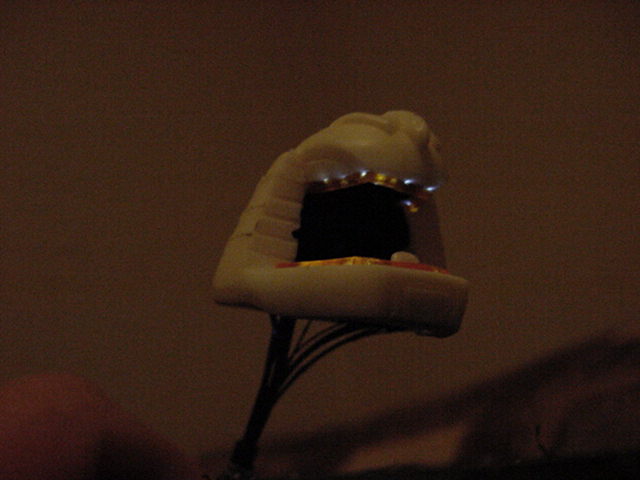
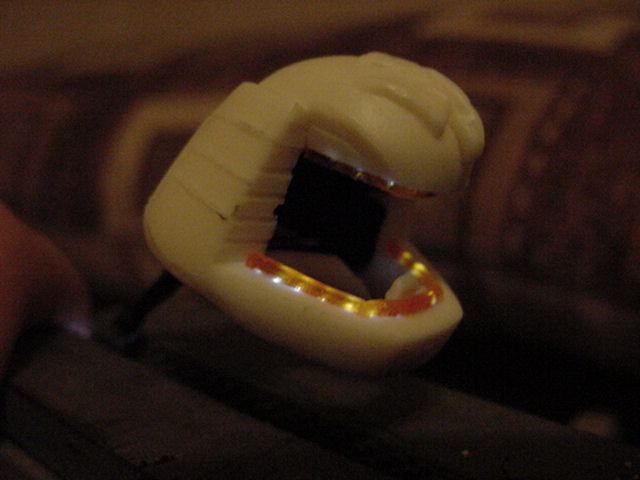
Okedoke then!
Now this test one got drop kicked in to the bin and time to sort one proper...
Pretty much the same deal again only done proper.
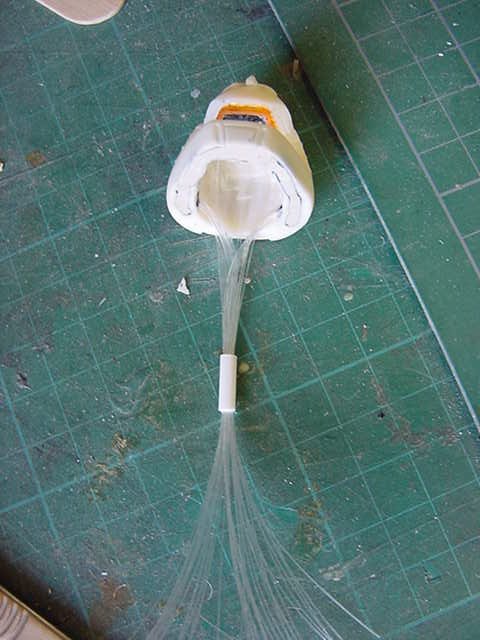
About 38 or so strands of 0.25mm (about 10 thou") FO laid where it should be and puttied up.
Light bars glued on with a thin wipe of tinted epoxy glue.
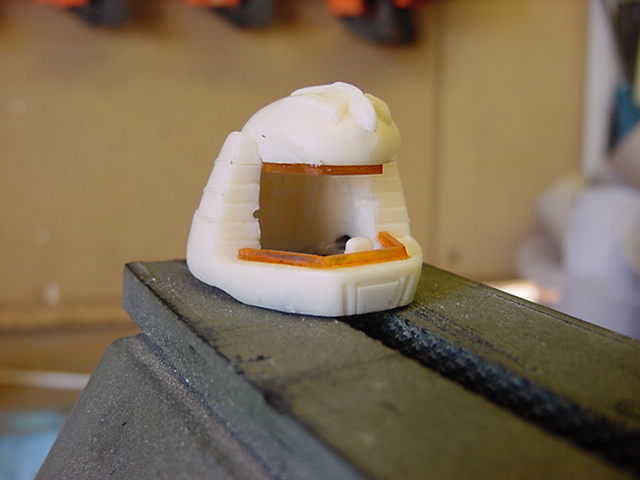
So that sorted, the pilot head paintwork.
Straight Vallejo acrylics and a dab or three of pastels.
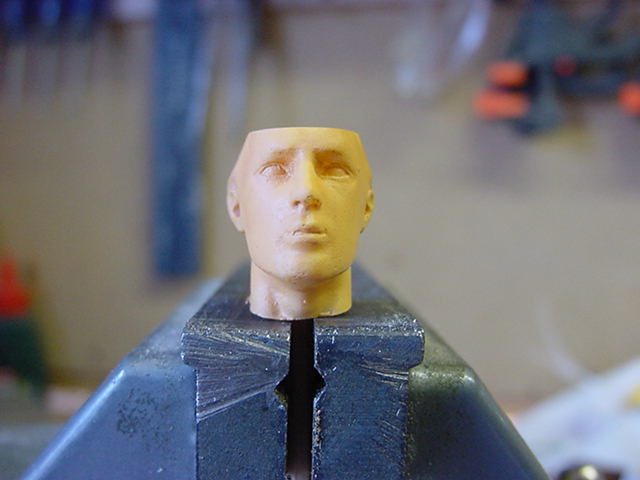
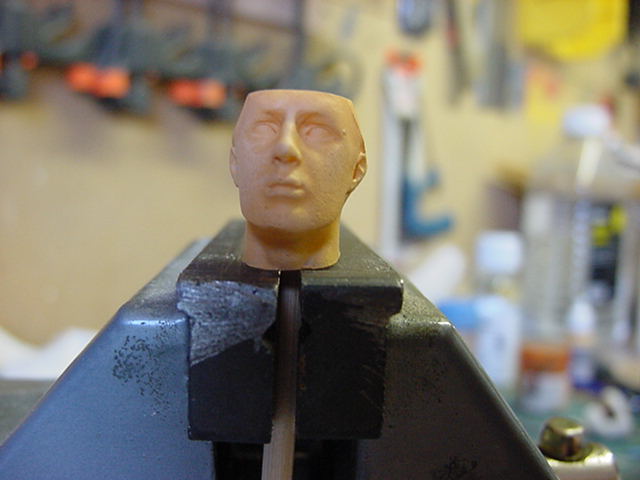
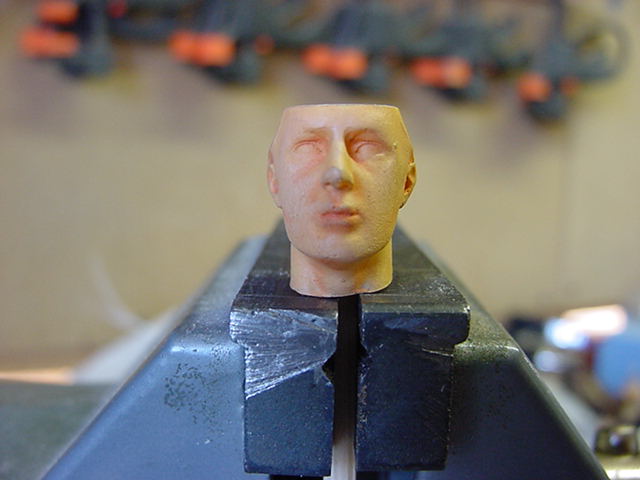
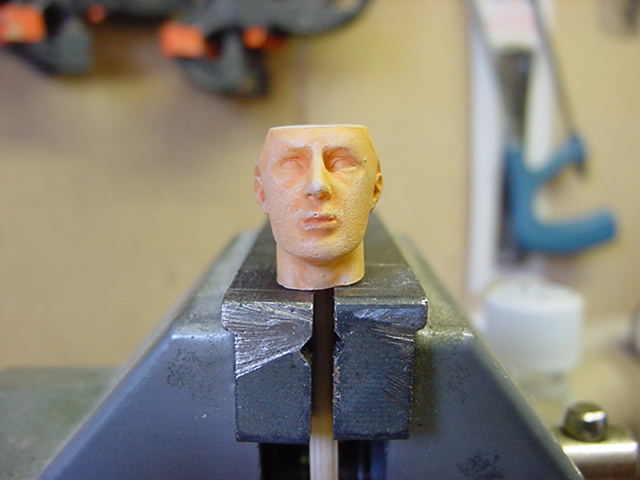
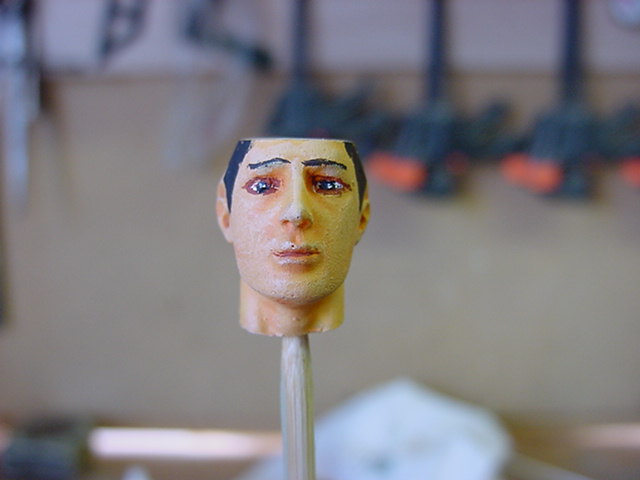
Not all that fantastic but more than adequate for the purpose.
So the FO threaded through the holes drilled in the poor fella's neck,
And secured in a short length of plastic tube.
Helmet glued to the head proper and given a coat or three of Vallejo golden yellow.
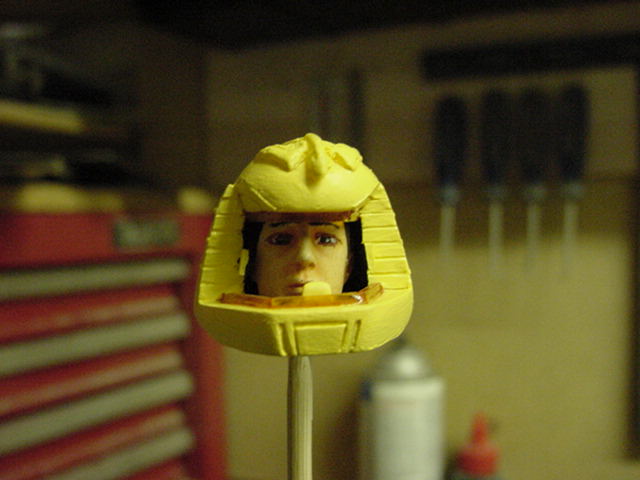
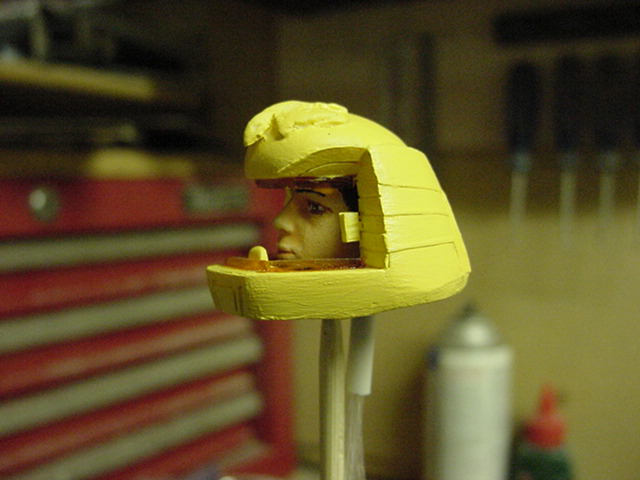
Getting somewhere.
A hole drilled in the pilot body and a 3mm white LED attached to the trimmed ends of the FO on the tube.
The whole shebang slotted on the blokes shoulders and some epoxy stay put gunk applied.
The black areas of the helmet duly painted.
The vents around the underside and up the back just given a lick of Tamiya smoke.
The emblem on the top done in brass and rich gold.
Also pilot hands painted.
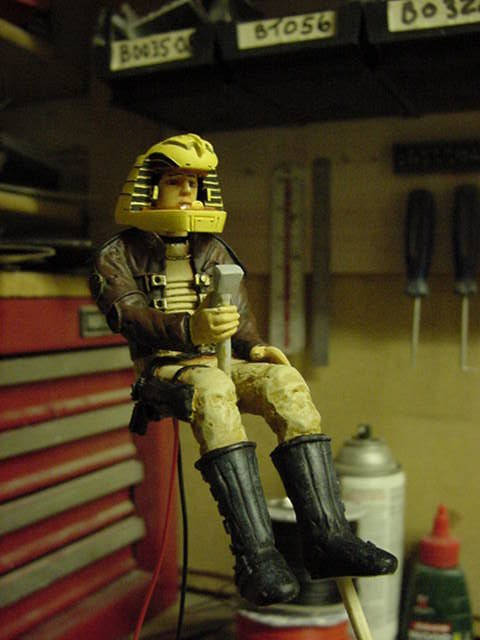
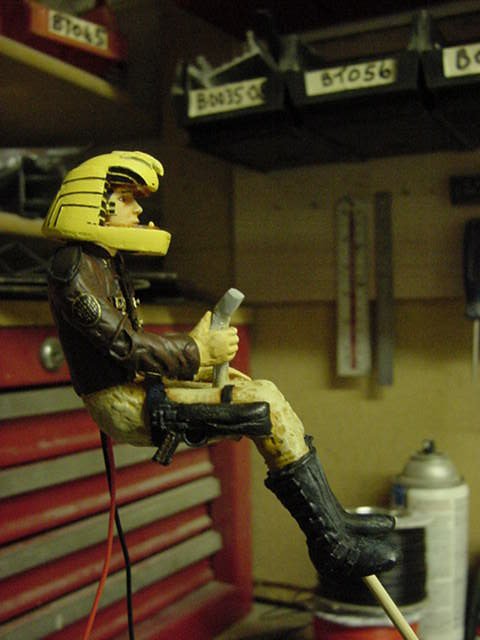
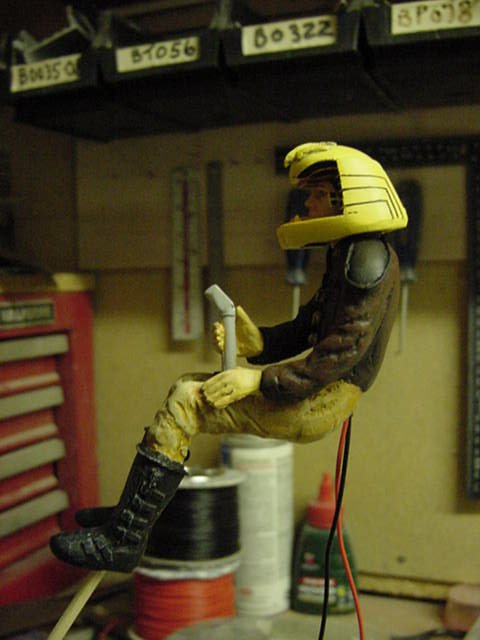
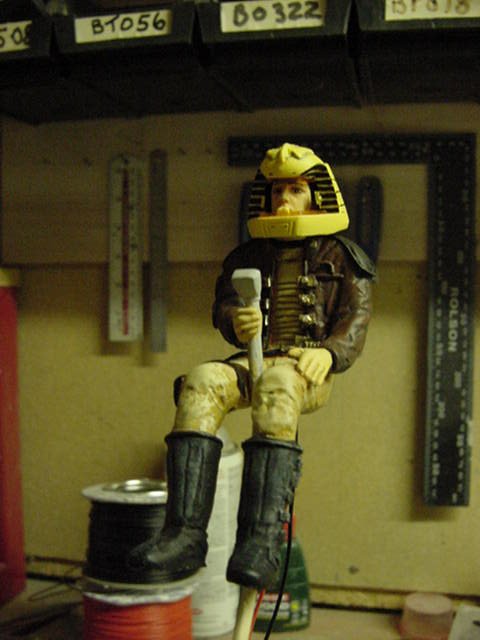
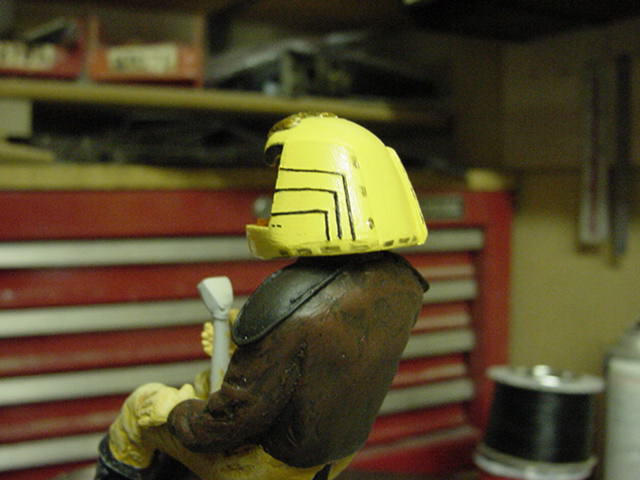
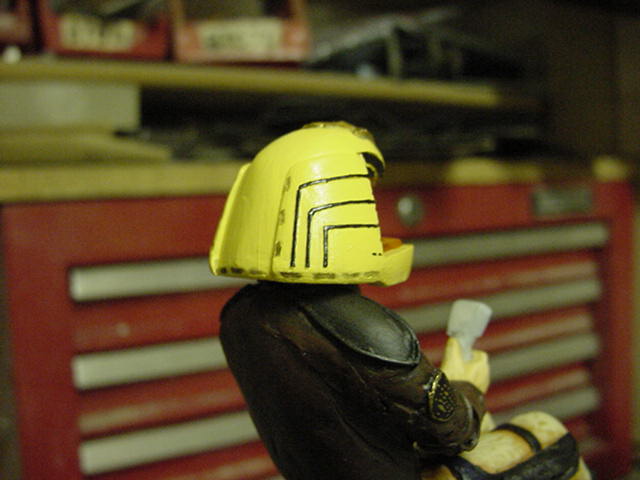
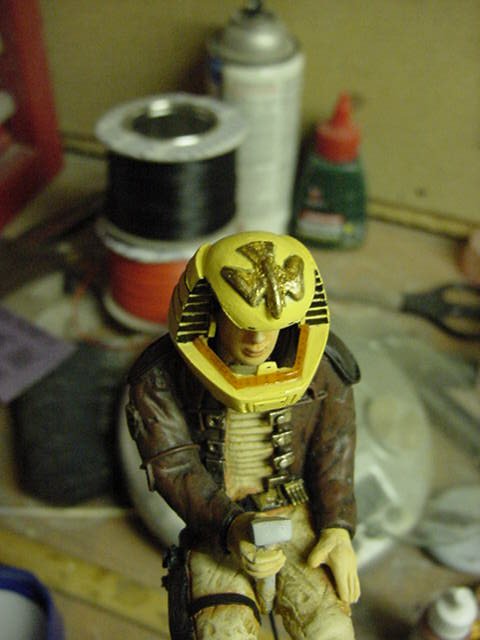
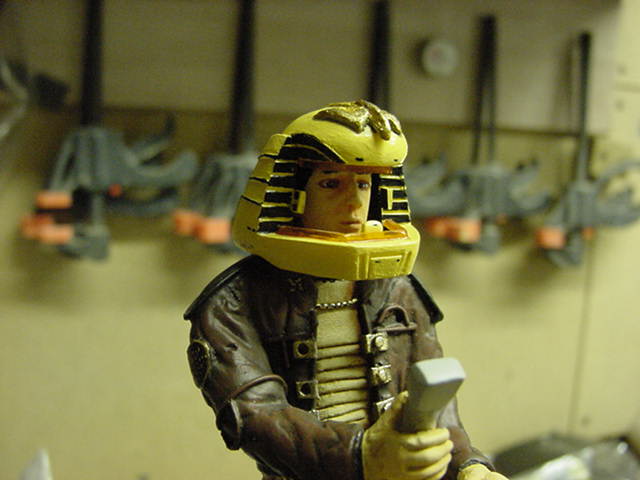
So time for the moment of truth so to speak.
Small block of 9 volts applied and...
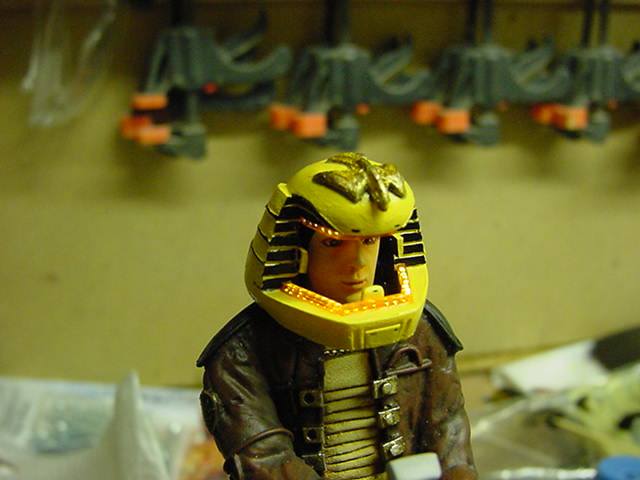
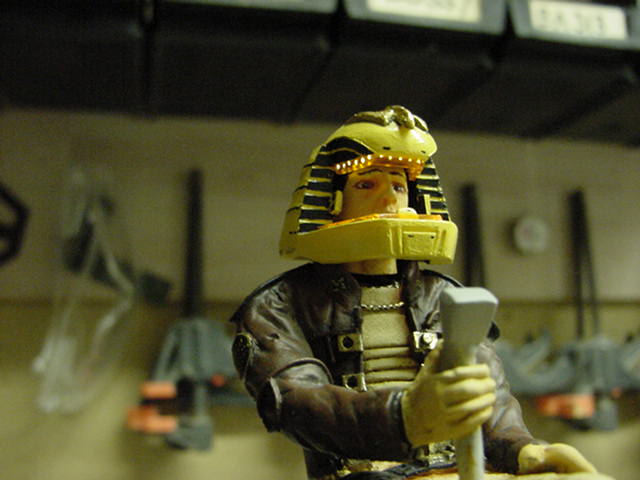
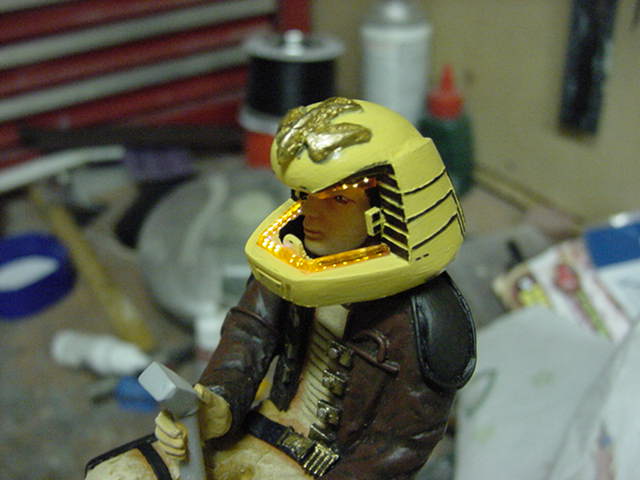
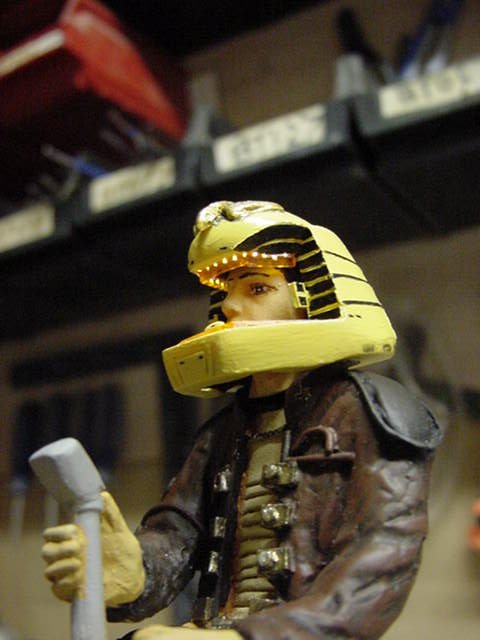
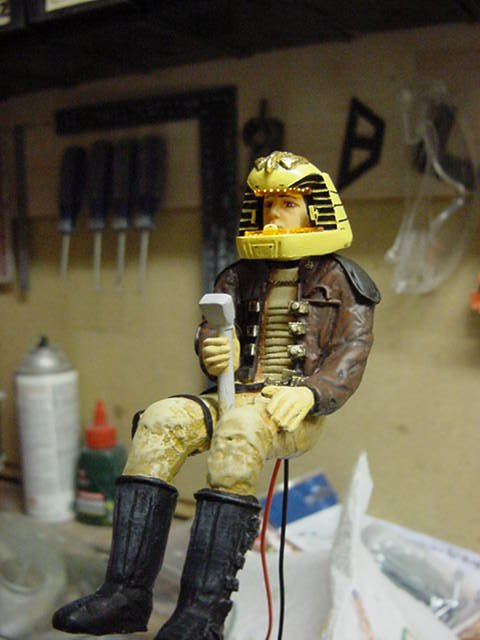
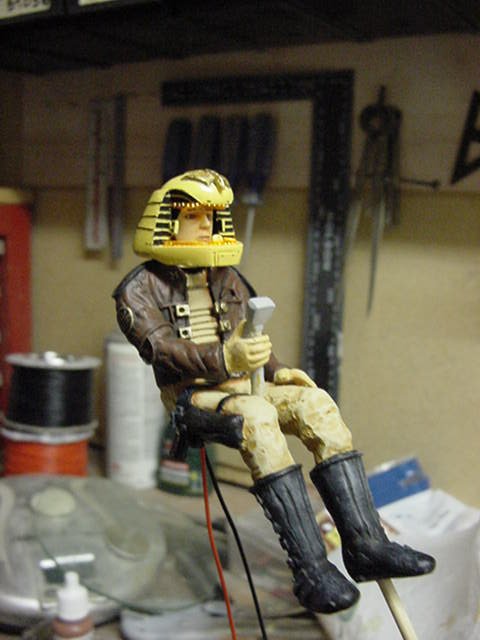
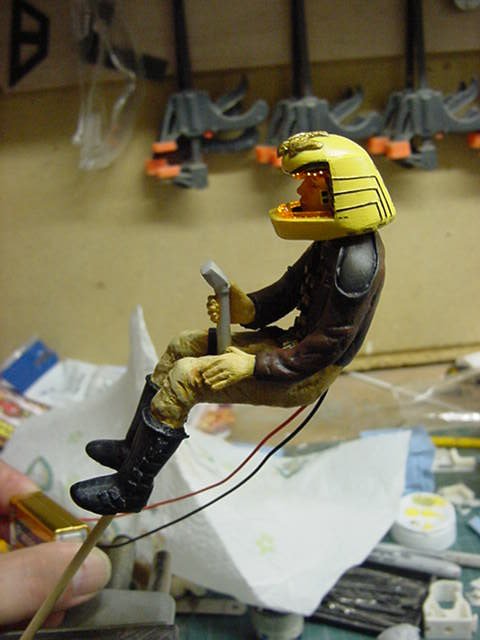
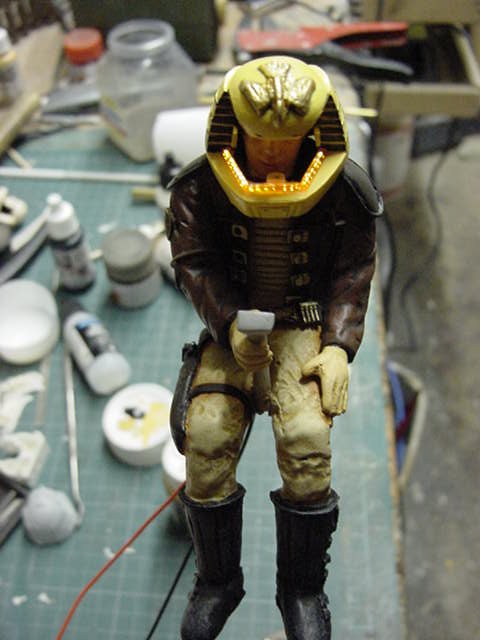
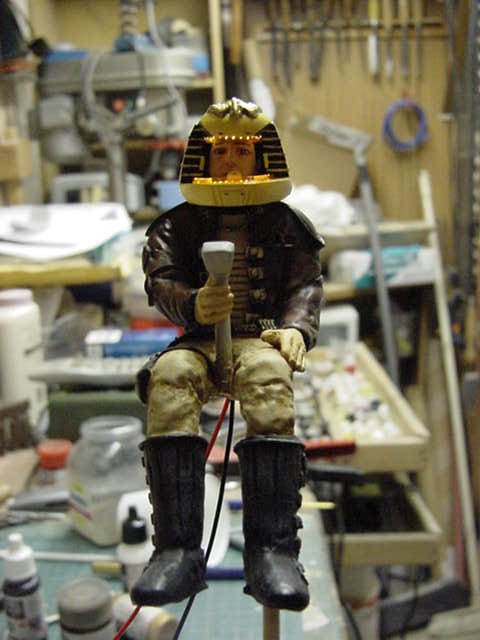
And just for contrast, a couple taken in ordinary indoor light.
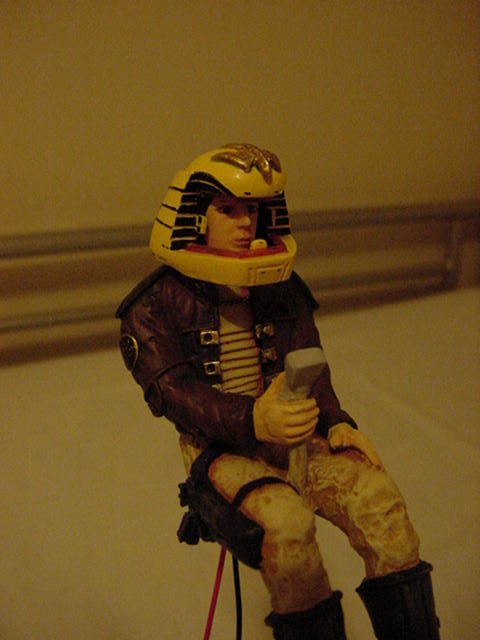
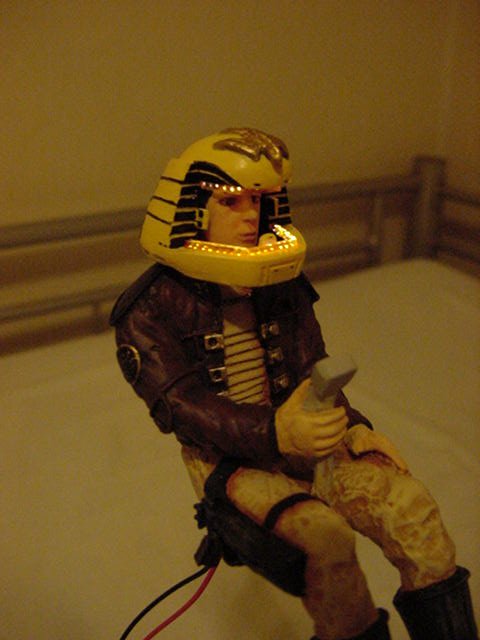
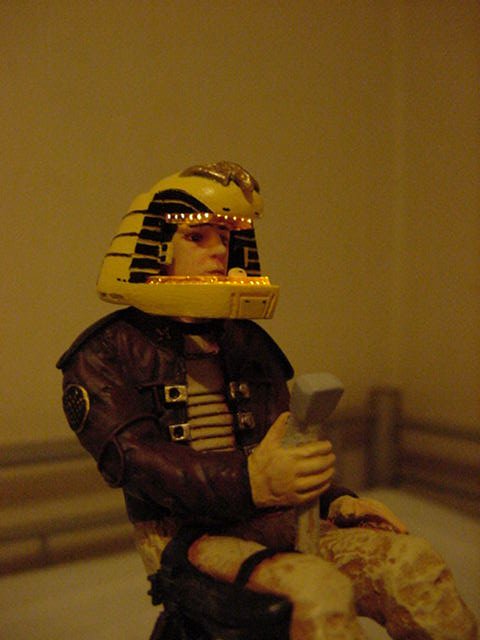
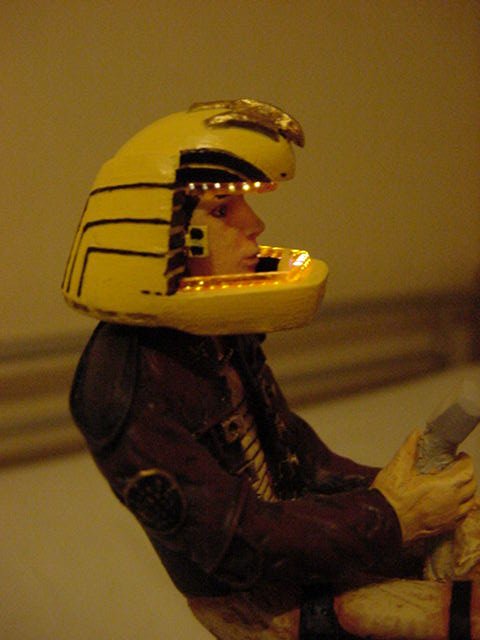
Well waddya know, it bleedin' well works...
And none more surprised than me I can tell ya!
Well that almost wraps it up for the pilot figure, just the stick to detail and paint.
Then fit the fella into his seat, in to the cockpit bucket with that lot.
Then finish cleaning down the fuselage in prep for fitting that lot in.
Oh joy of joys.
So still winning and grinning from this locale.
That's the lot for now, more soon so go easy out there you merry mob!


 Page Number


