
Salzo Battlestar Galactica
TOS Viper Fighter.
1/12th Scale 31" long


 Page Number
And from out of winter hibernation...
We're Back !!
Whatho troops and troopettes!
A hearty welcome back to the hellhole gang.
Now the winter has pretty much subsided, the hellhole no longer costs an arm and a leg to heat
and yours truly no longer has to stand there trying to do the bit
while dressed like Nanook of the North and snapping the occasional icicle off me nose.
So it's all good so far in the usual weird sort of way.
So back to business now.
And back with this beastie we'll begin at the nose end.
Now the Viper appears to have a...well sorta like a nose intake kinda thingy at the front.
The fuselage as supplied looks a bit like this...
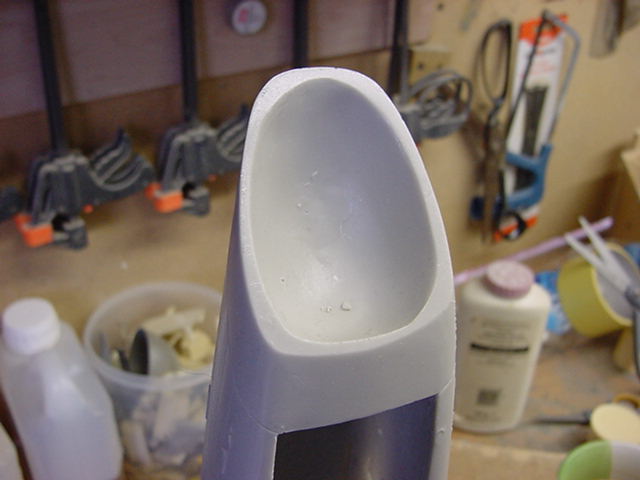
Well sort of ok but I have it in mind to make this like the Monogram small Viper.
Meaning it has a fairly deep conical shape to the inside of the nose.
This will also allow a mounting point for a push button switch to turn the light up stuff on and off.
Same idea as the small Viper build I did many moons ago.
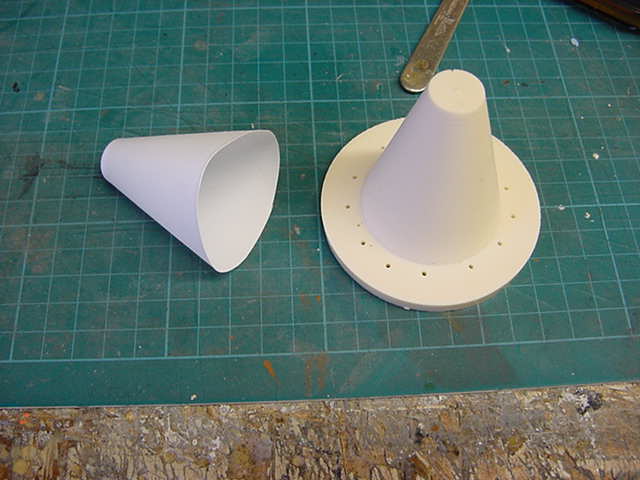
So in forming this, a largish nugget of resin got a turn up in the lathe.
This conical former got some thin plasticard vac formed over it and roughly trimmed up.
Looks like this.
So this was none to delicately shoved and taped into the large hole
that had miraculously appeared in the formerly solid front end.
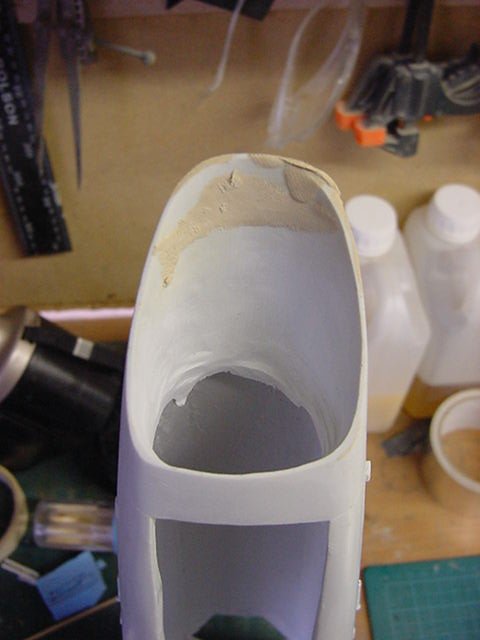
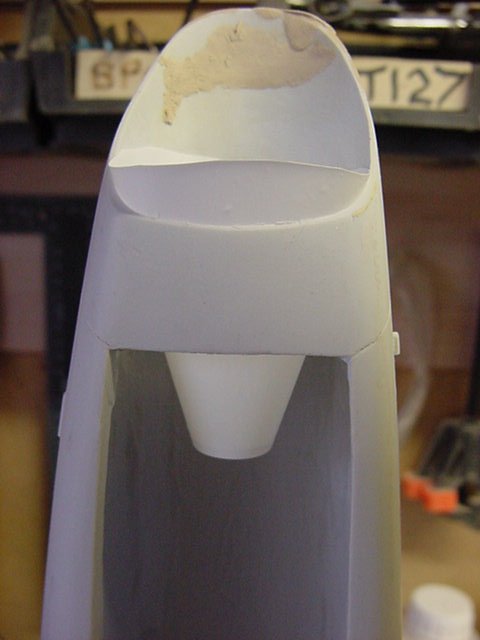
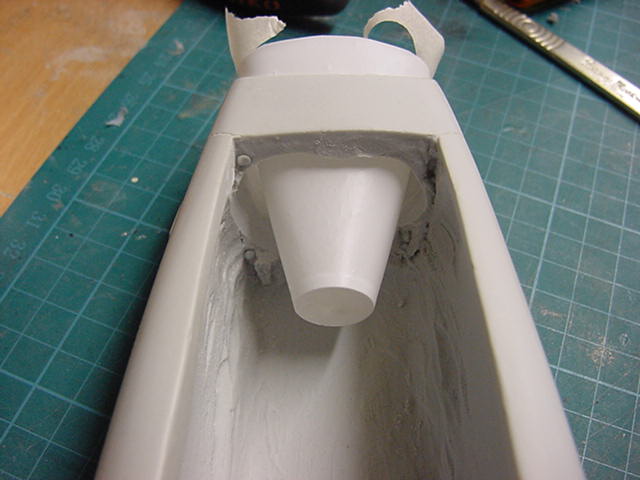
This was then back filled with some resin and left to cure fully.
Once done and done, the tape removed and the vac form cone likewise.
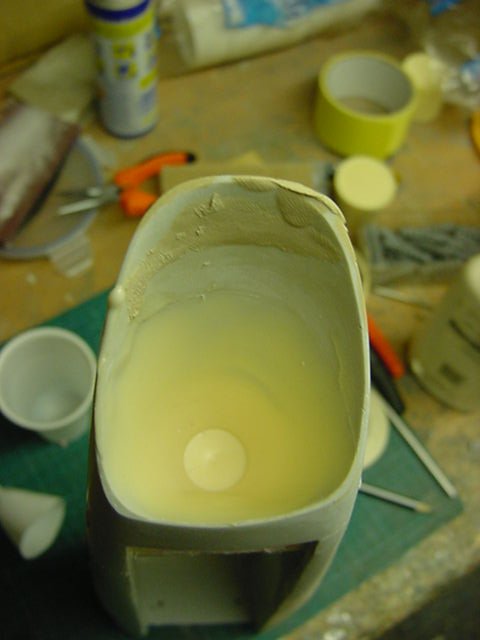
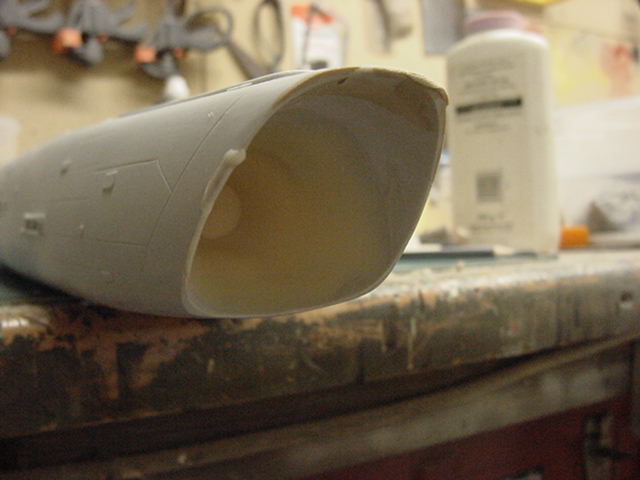
A smidgen of putty, a brisk sanding, a wash down with some thinners and a lick of primer later I felt much better.
Oh and the nose got the same sort of treatment.
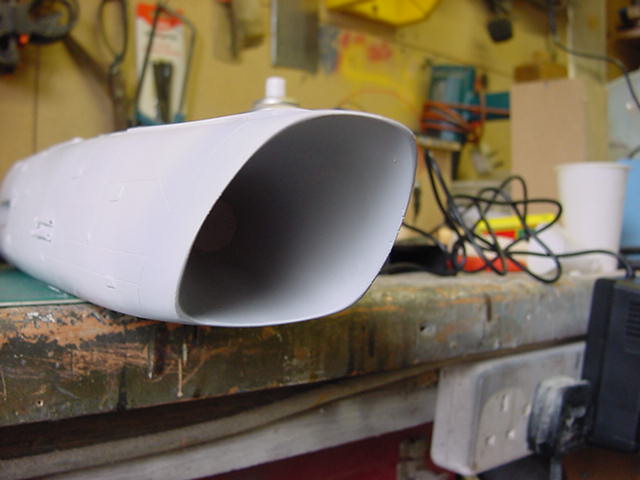
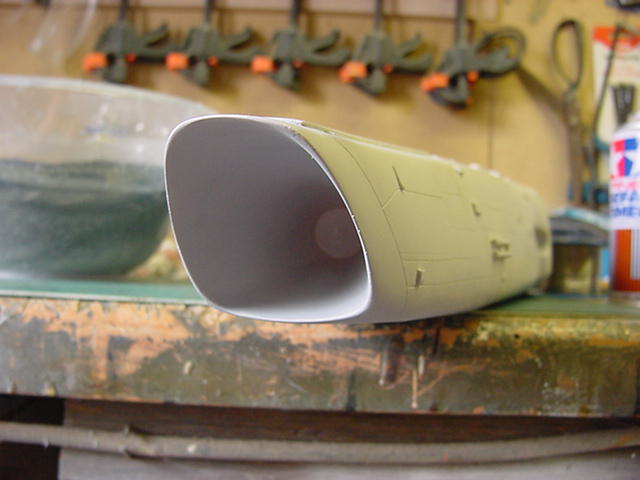
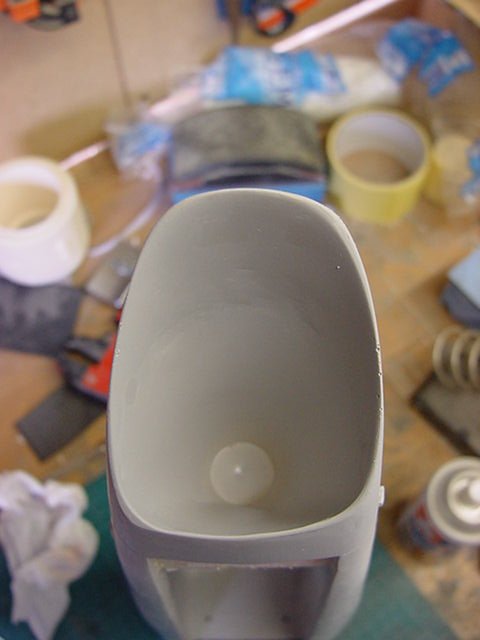
OK, some surface defects still to sort but coming along nicely.
Now for a bit of engine lighting work.
Always a good question of how to tackle this sort of thing.
Now the engine cans are a bit over 2 & 1/4" in internal diameter.
A lot of space to fill with the lighting thing but here's how this bit was tackled.
Diving into the scrap resin castings bins, I came across some of the engine backing cups
made for the large MkII Viper i'll be getting on with later in the year.
Coming up for air and a light bulb over the head moment, these might just do the trick.
A measure up or three and the back end of one of the cans got widened to take one of the said cups.
A sizeable pile of resin dust swept up later and time for a test fitting.
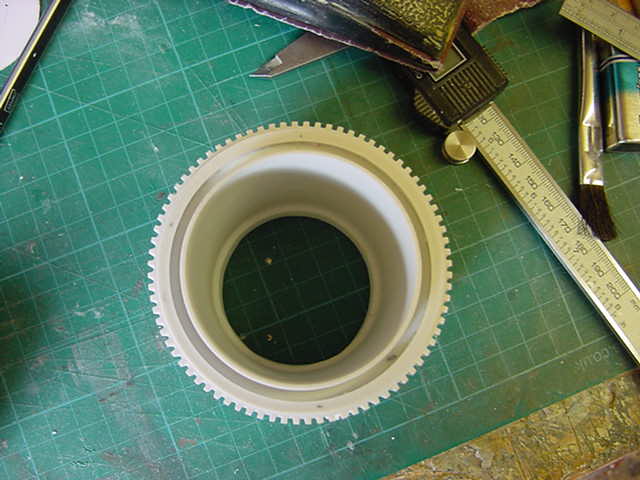
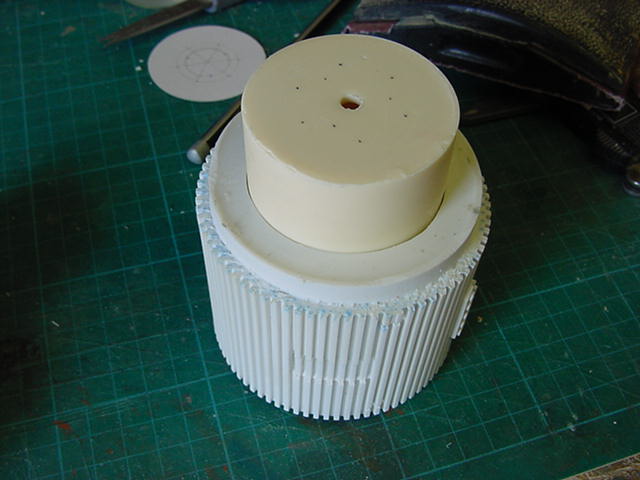
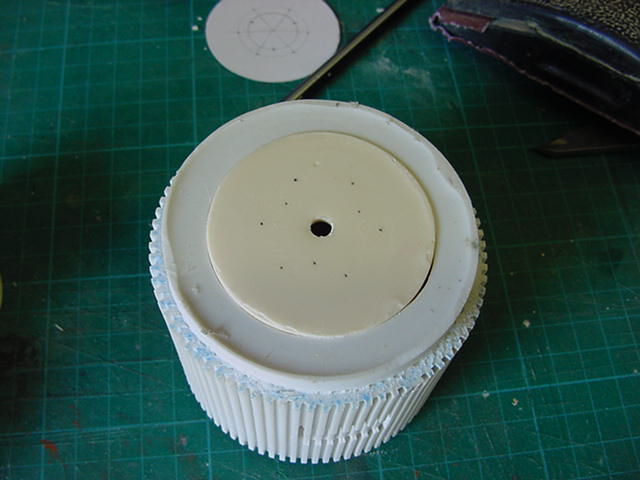
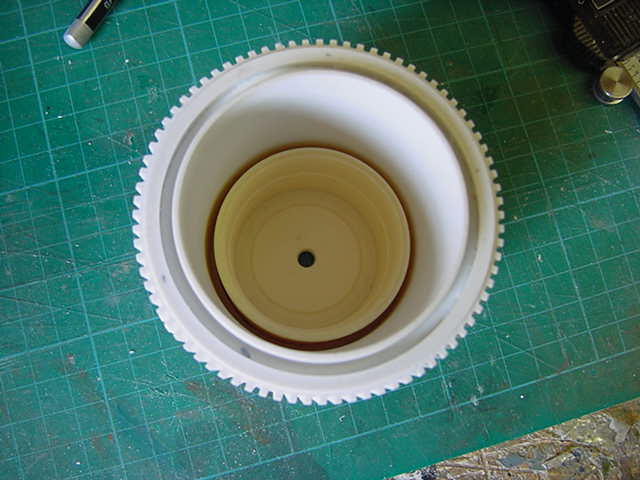
Just might be on to something here methinks.
Now to some exhaust detail doo-dads.
The supplied parts were this odd eternally soft, cloudy semi-clear gear.
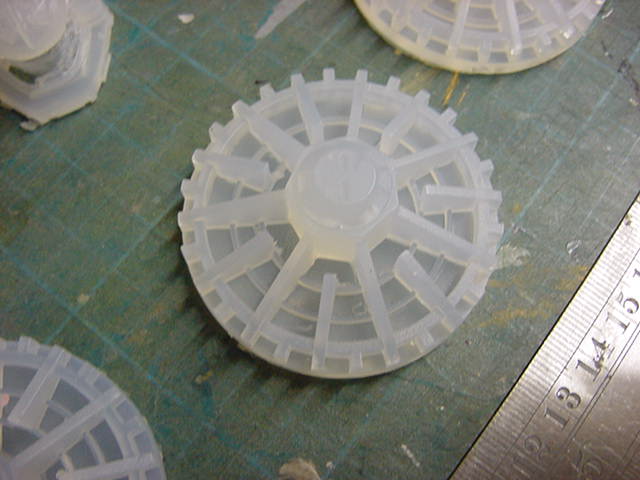
Didn't fancy trying to paint them so under RTV they went and three cast out in grey tinted resin.
These then got the living daylights sanded out of the back of them and we have summat I can work with.
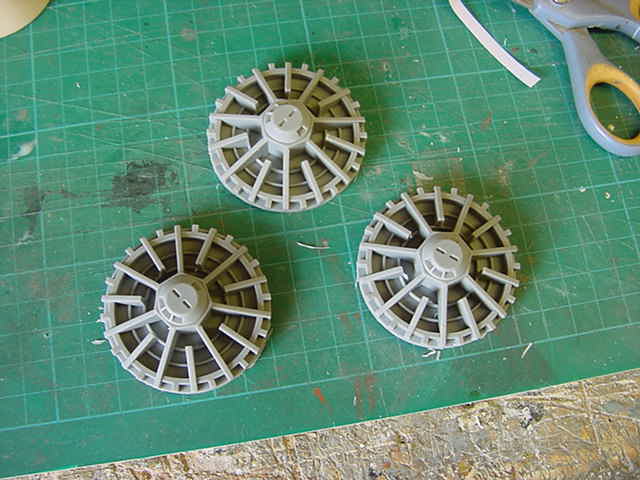
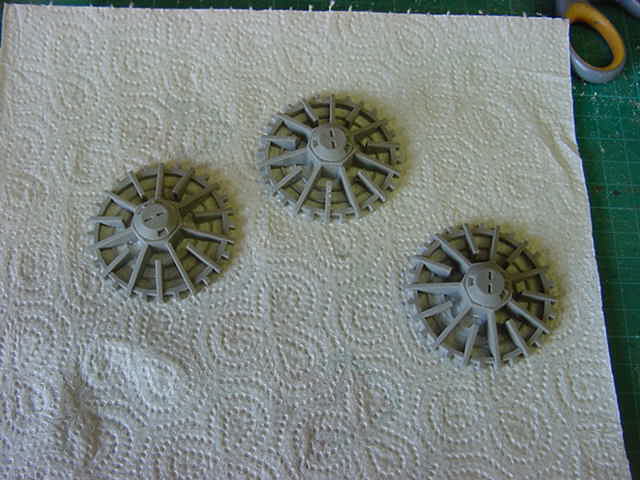
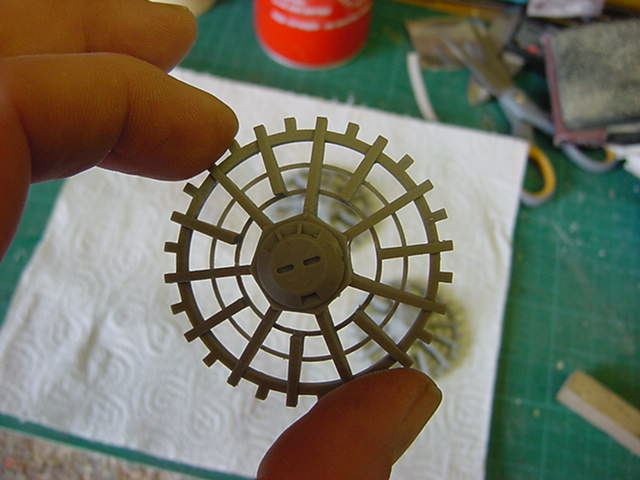
So now to make these fit in with the cups.
Just resting on top they didn't quite fit.
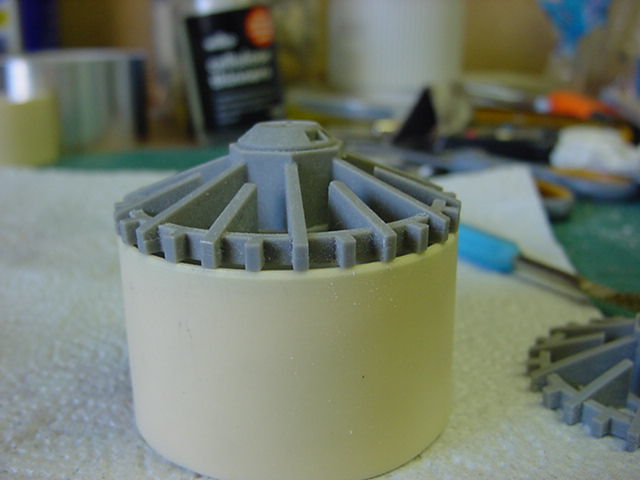
No big deal though.
A thin saw blade fitted to the rotary tool and set to slicey dicey with ease speed.
Loadsa notches cut around the edge and a light file off to finish.
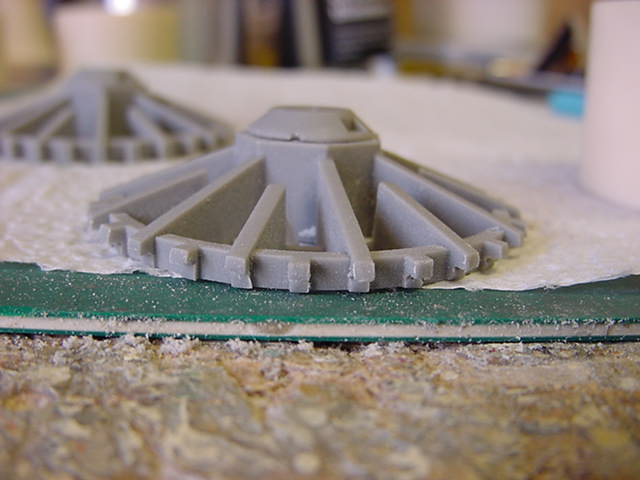
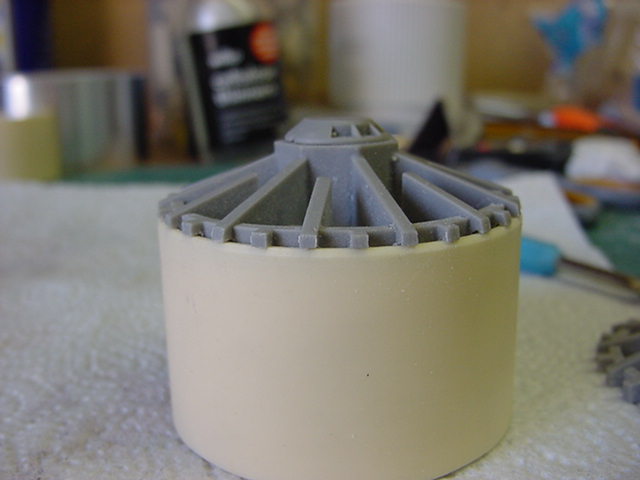
Makes a slightly better snug fit, any excess overhang got the sanding brick treatment so it all fits flush like.
So time for the destructive drill tendency to get it's time in next.
A template of sorts made up and a bit of marking on the back of the cups.
Holes drilled out to take a ring of 12 5mm LEDs.
12000 mcd white mega bright buggers for this turn out.
A 5mm white LED will sit in the center and that will be hooked up to a flickering circuit.
Clients request on this and it'll make it different so all goodly gear.
Some foil lined card got measured and sliced up to make some shallow cones.
All helps to bounce the light about.
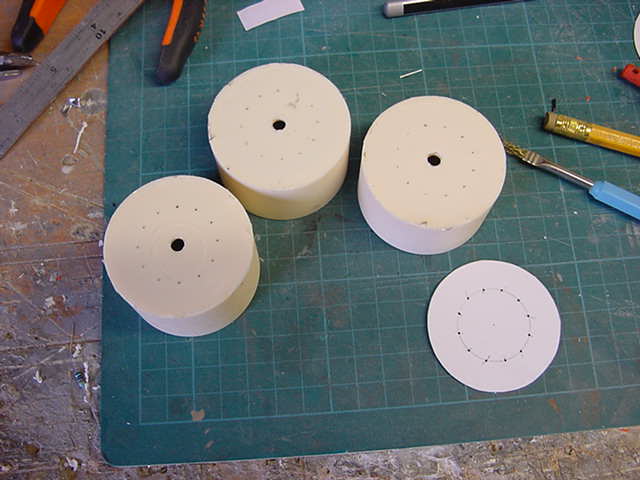
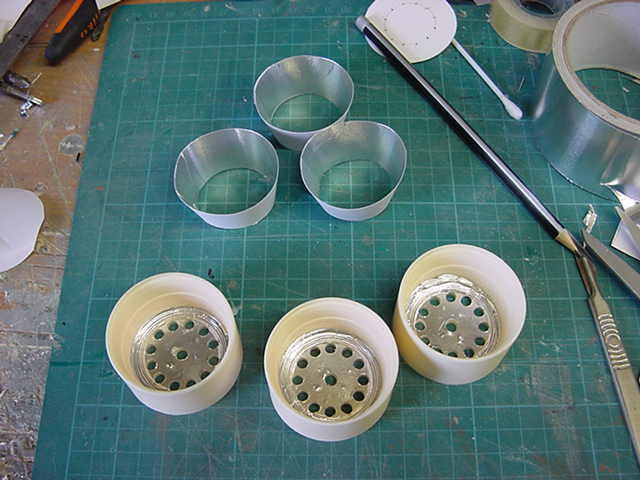
So then, twelve LEDs shoved in to the respective holes.
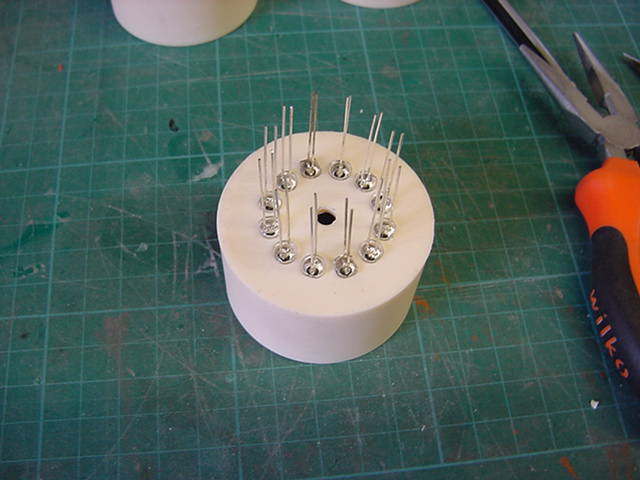
The center LED likewise and then there was much soldering, bending of wire and wrinkling of brow...
But we got there in the end.
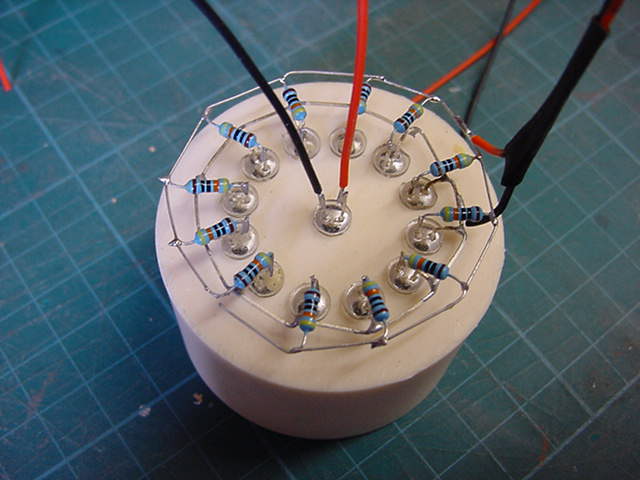
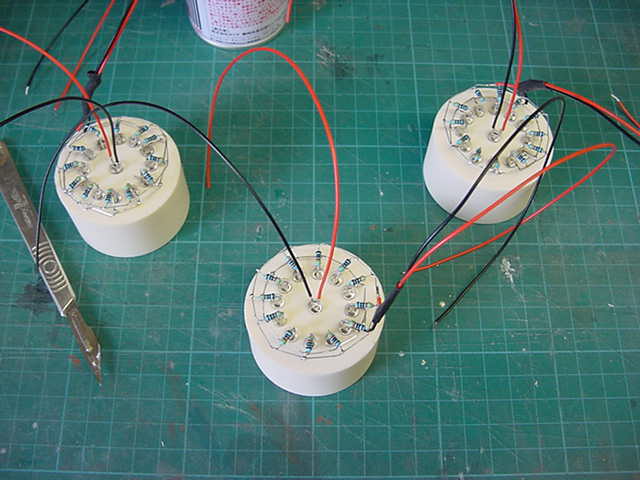
So test out time.
The LED festooned cup, the foil card cone,
some frosted clear plastic and the engine detail part all together.
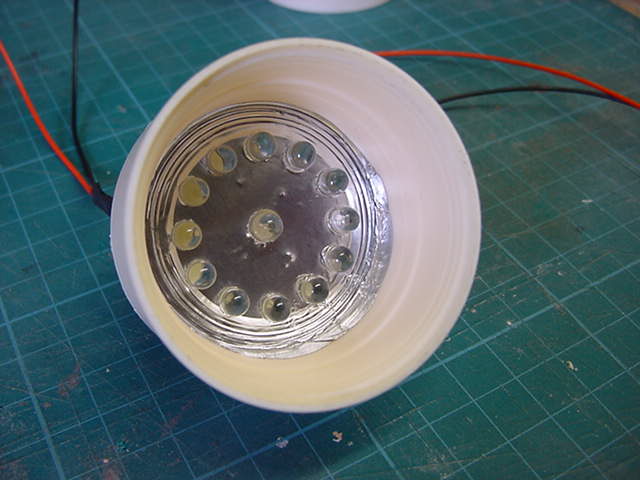
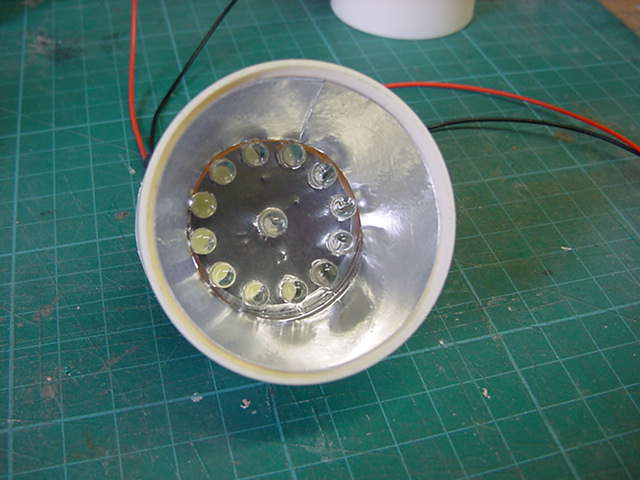
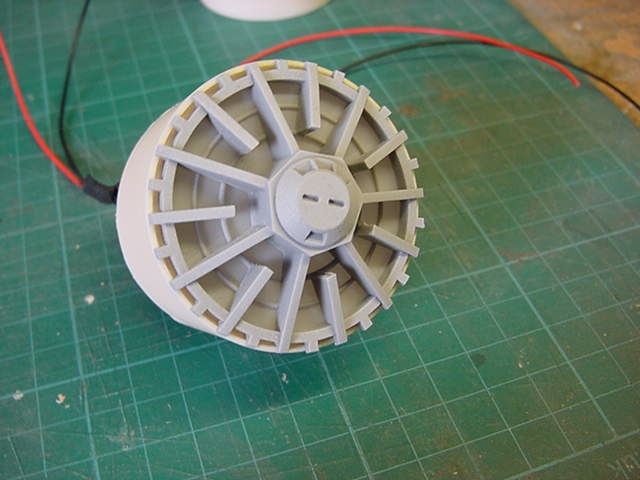
And a quick laying on of the wee block of 9 volts for a look see.
And then dry fitted to the engine can.
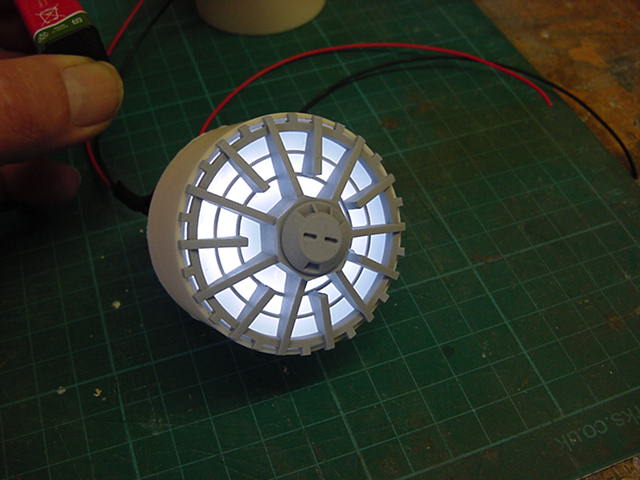
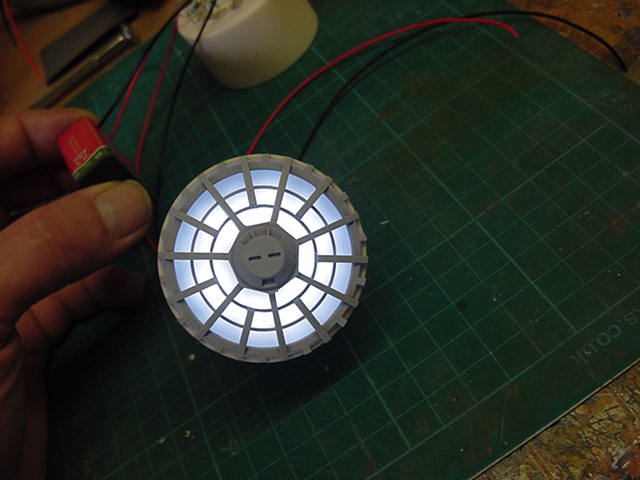
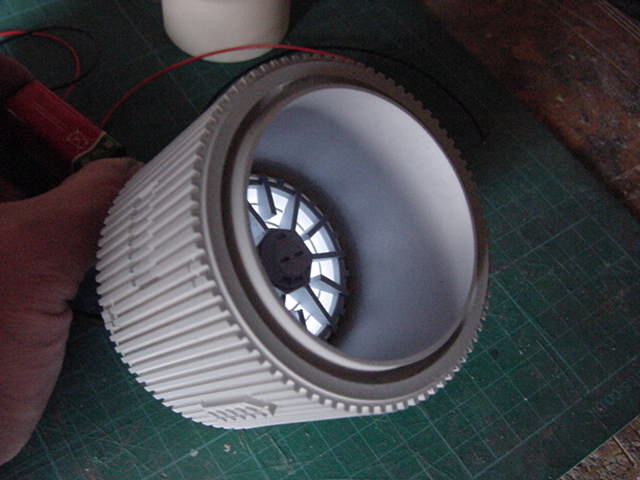
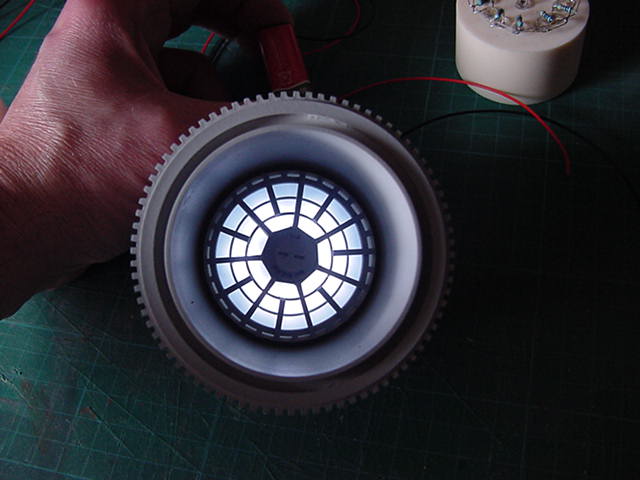
Well not too shabby but let's give the 'plug in the wall half brick of 12 volts' a shot.
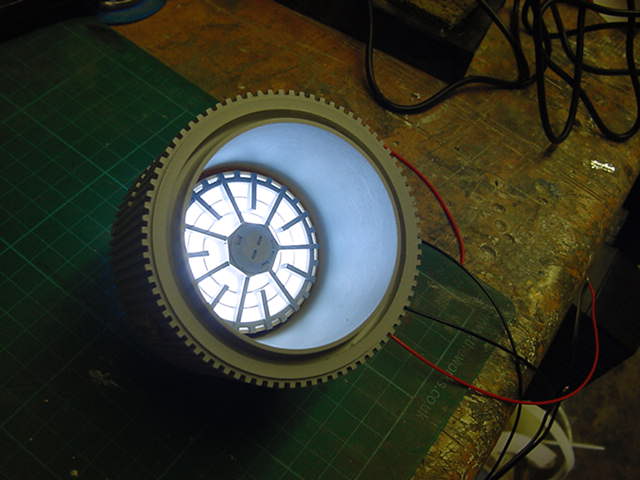
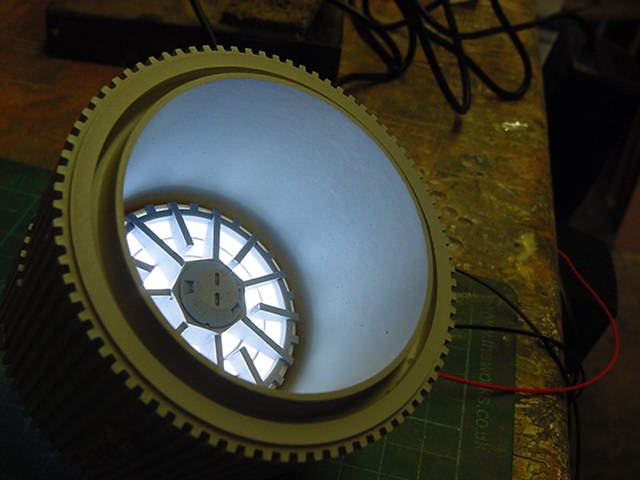
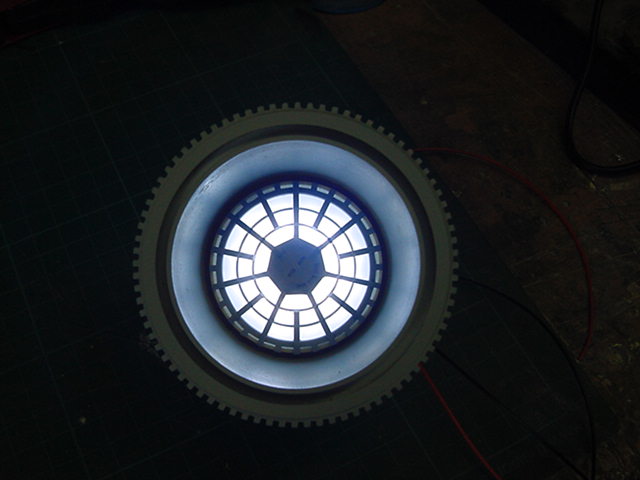
Ah now that's a bit more like it.
So speaking of volts and combinations of...
Step forward the onboard batteries to be.
10 cells AA size, 1.2 volts 1300 Mah NIMH cells duly soldered together
in three packs and given the heat shrink sleeve show.
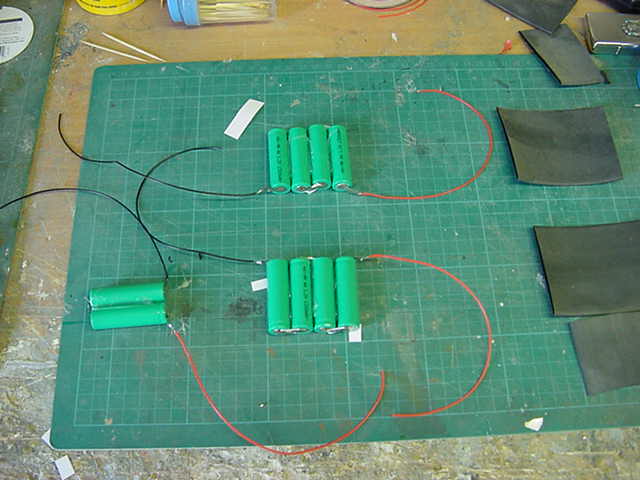
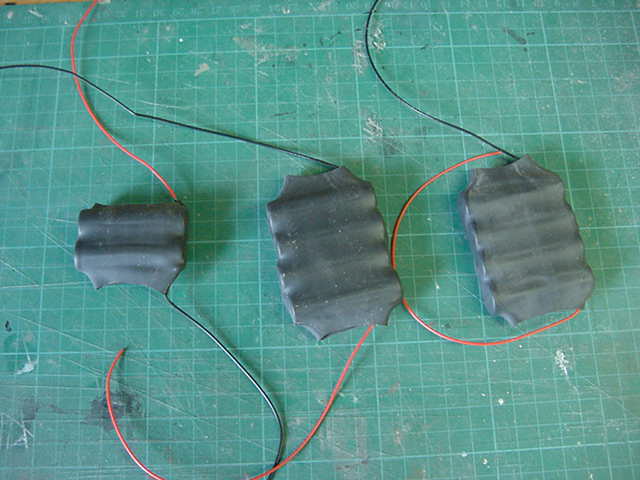
The two packs of four will go in the left and right lower engine cavities
and if required, the two cell pack in the high engine cavity.
There's more than a bit of room in there trust me.
Well that's all for now once a full power up test of all the lighting has been done.
I'll try a first run with just the two 4 cell packs for 9.6 volts.
See what we wind up with time wise and take it from there.
Then we can get to fitting the switch in the nose and that luverly cockpit in the fuselage proper.
Along with our hapless helmeted hero in the hot seat of course.
Which will be nice for him i'm sure.
Take care untill next time, you lot go easy out there now!


 Page Number


