
Monogram Space Shuttle
1/72nd Scale


 Page Number
It's the final dabble...
With Them Thar Decals!
Right then gang, welcome back and away we do go!
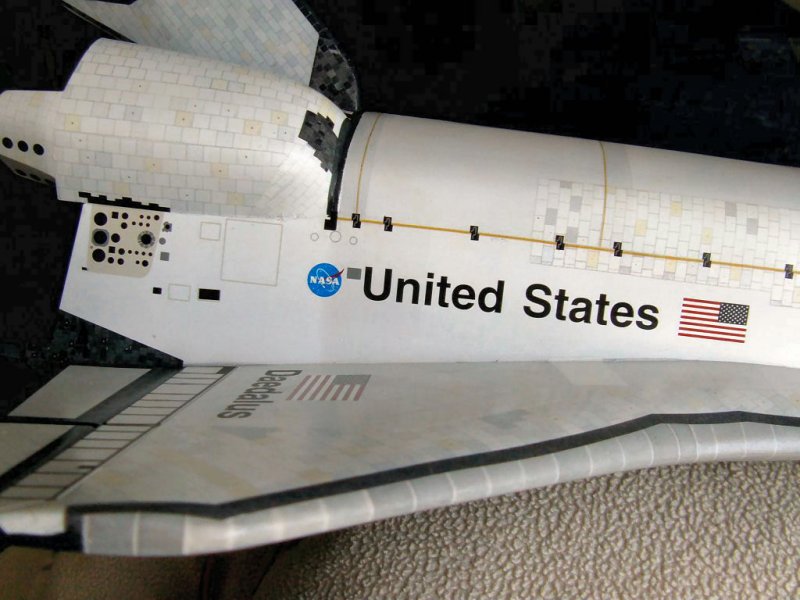
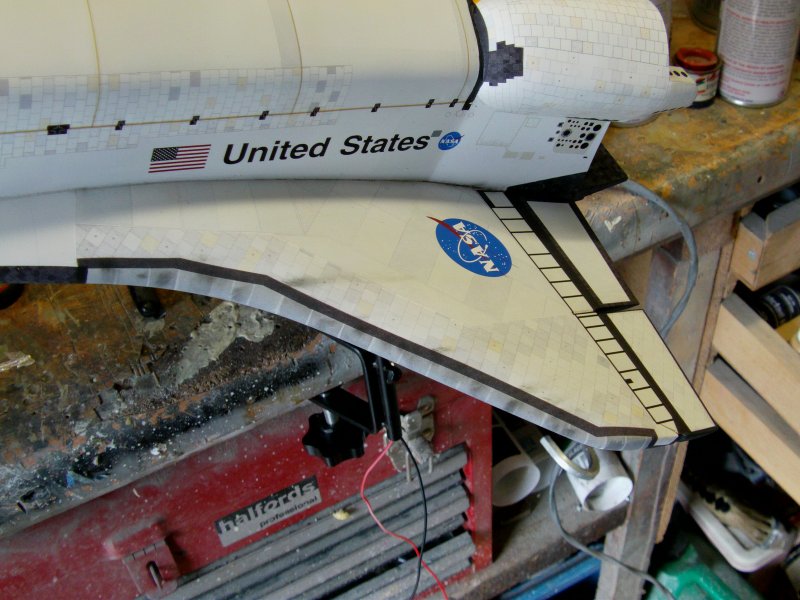
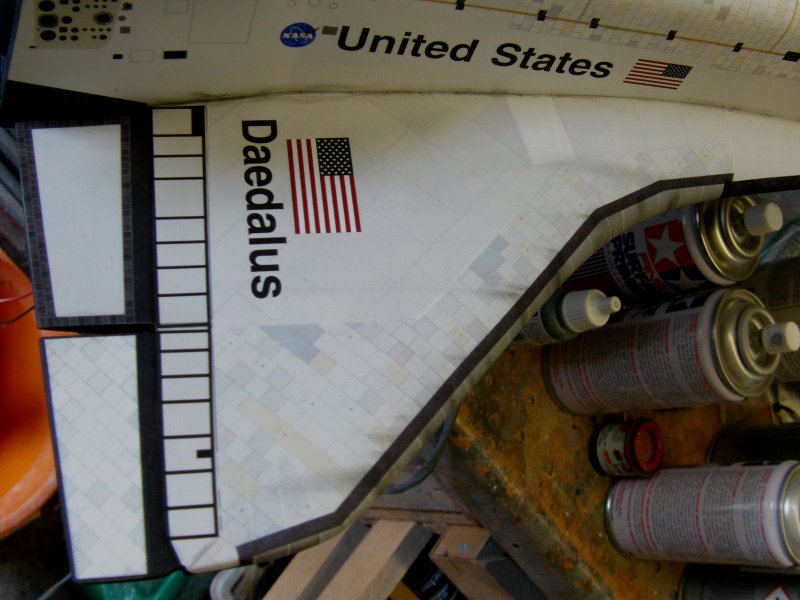
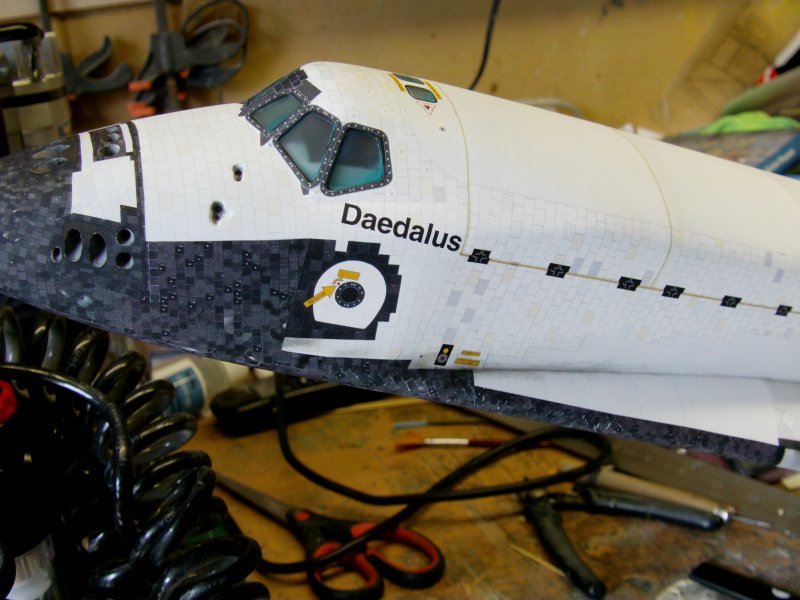
Slapped the fuselage side decals on...
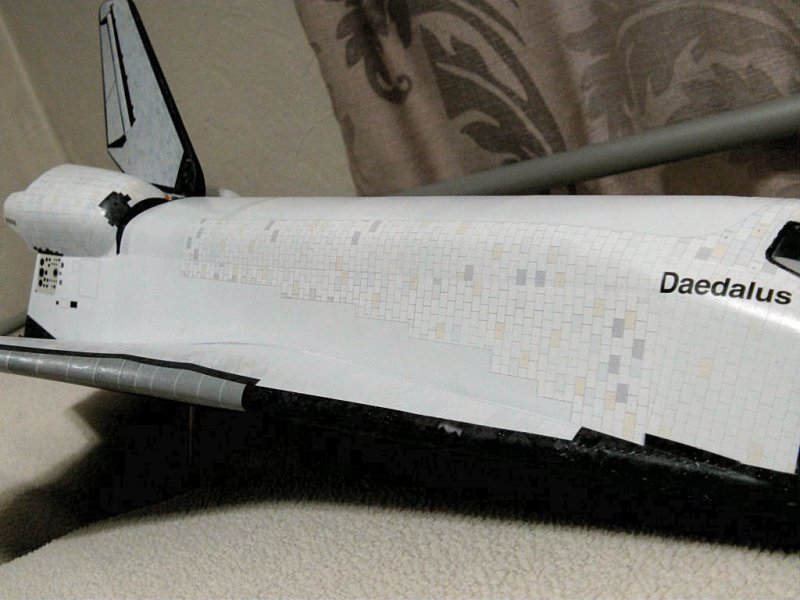
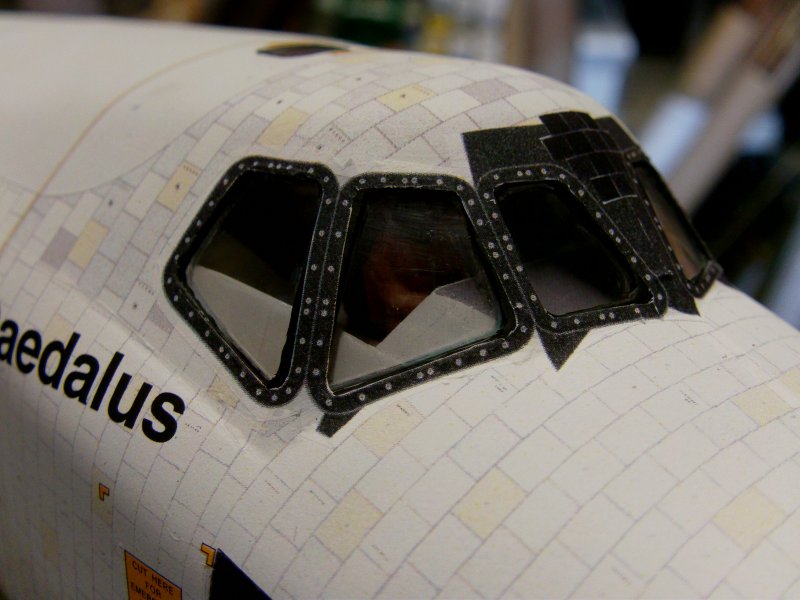
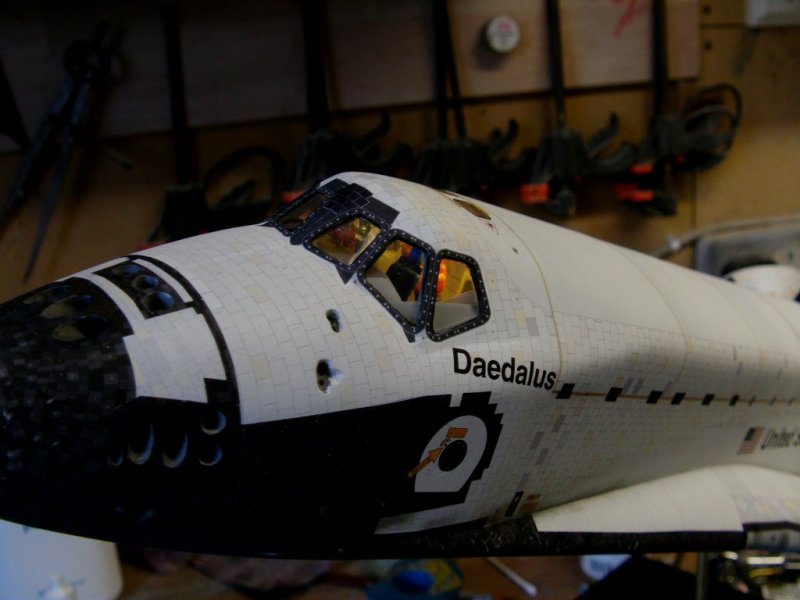
And around the nose...
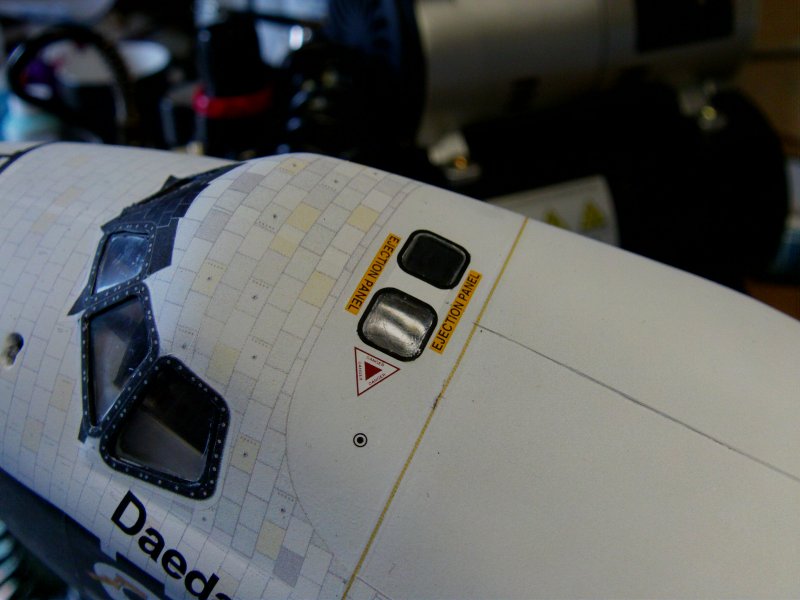
Placed a few covering patches on the underside...
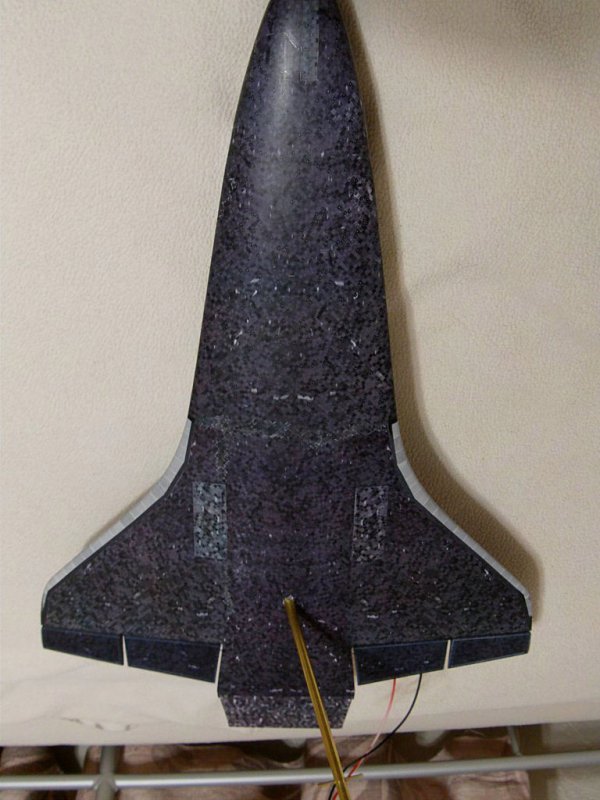

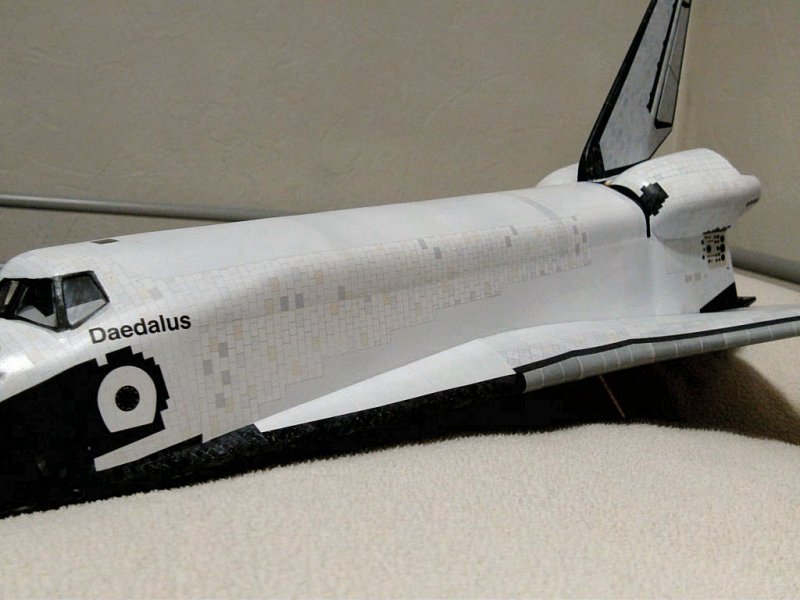
Then went for it big time with the little decals to finish off.
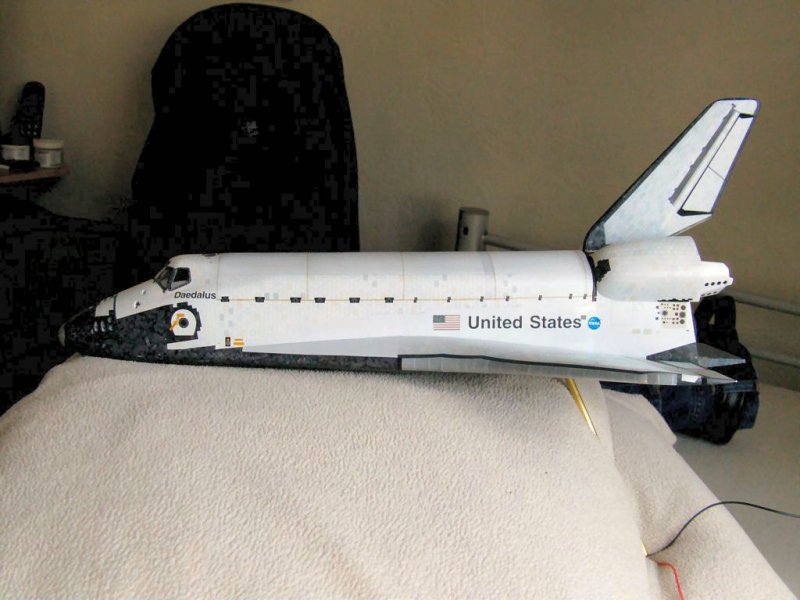
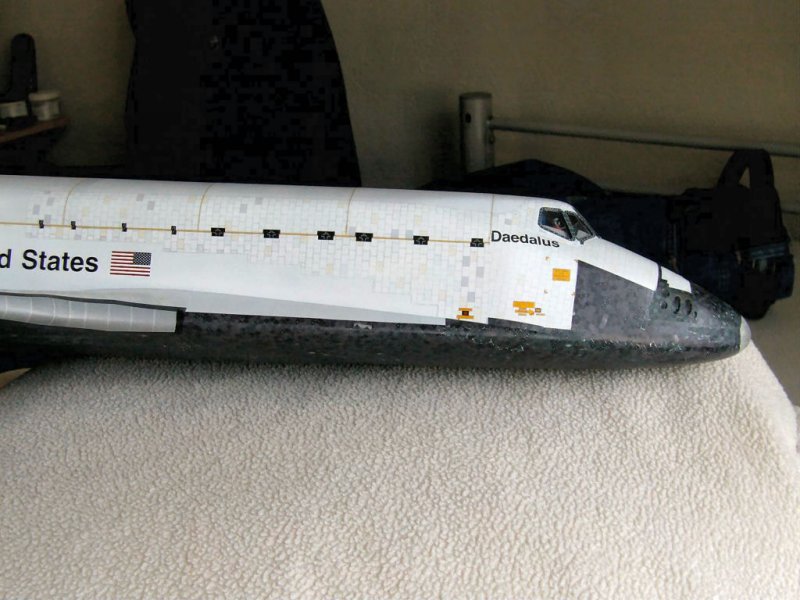

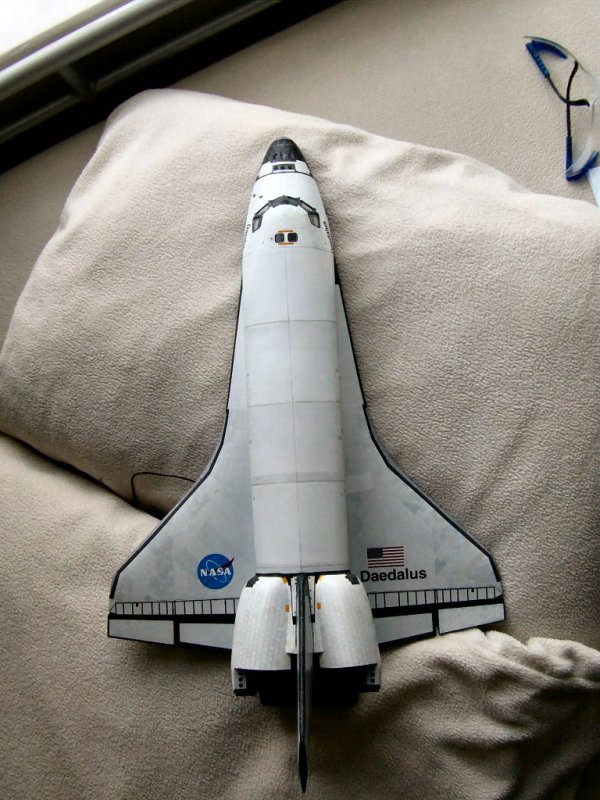
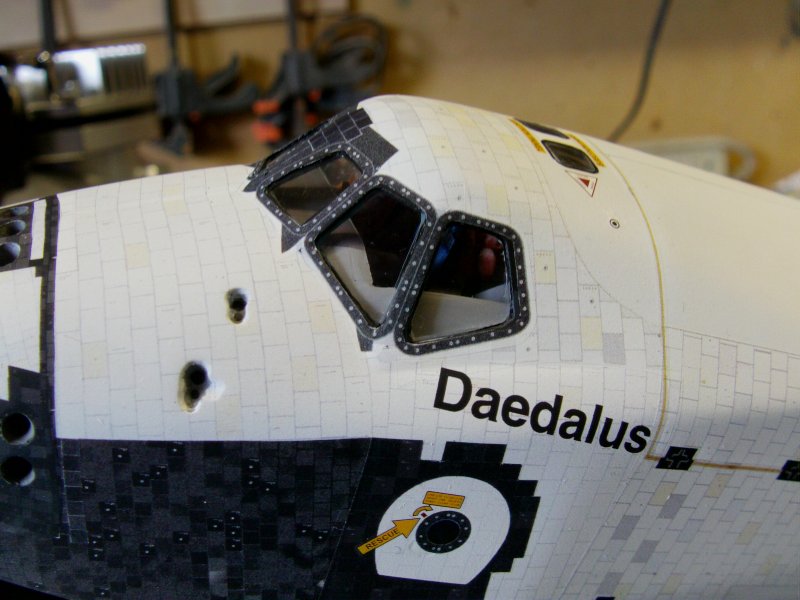
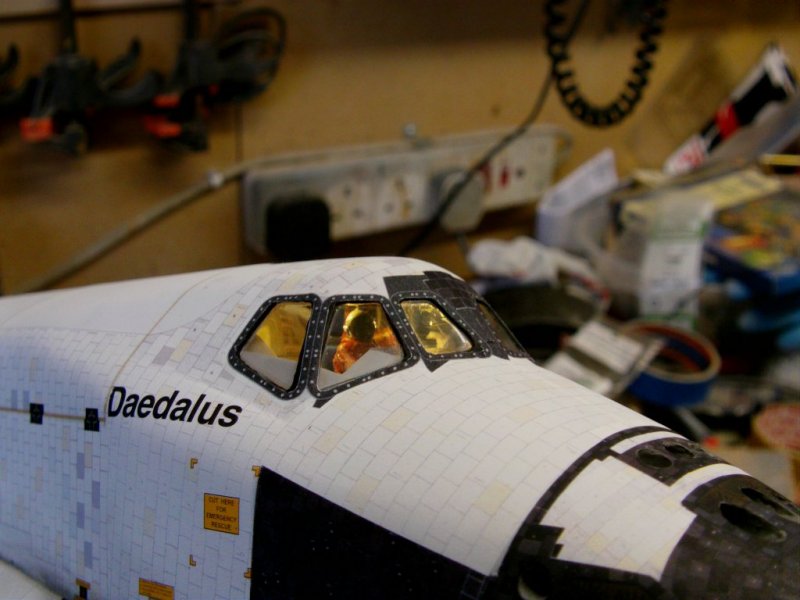
Just a wee bit of paintwork touching up, windows liquid masked and a coat of matt varnish blasted over.
Just a hint of weathering here and there with a second coat to seal and finish.
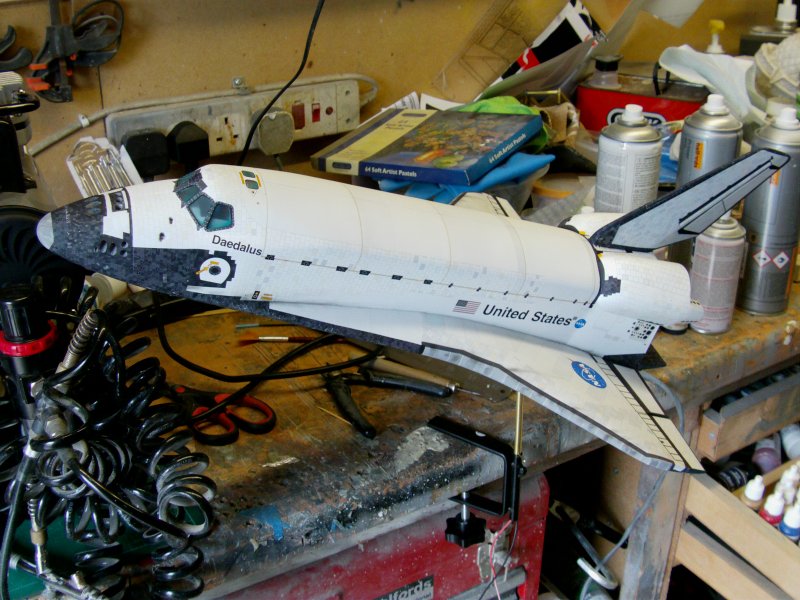

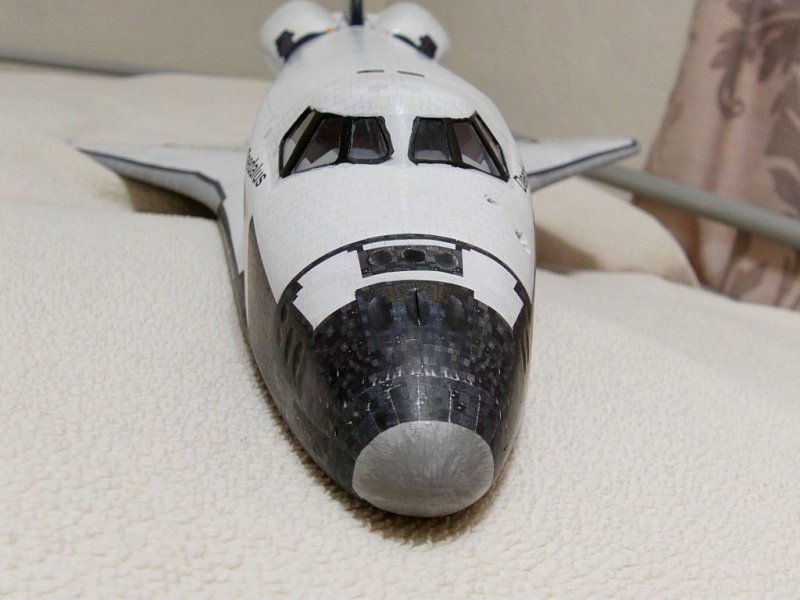
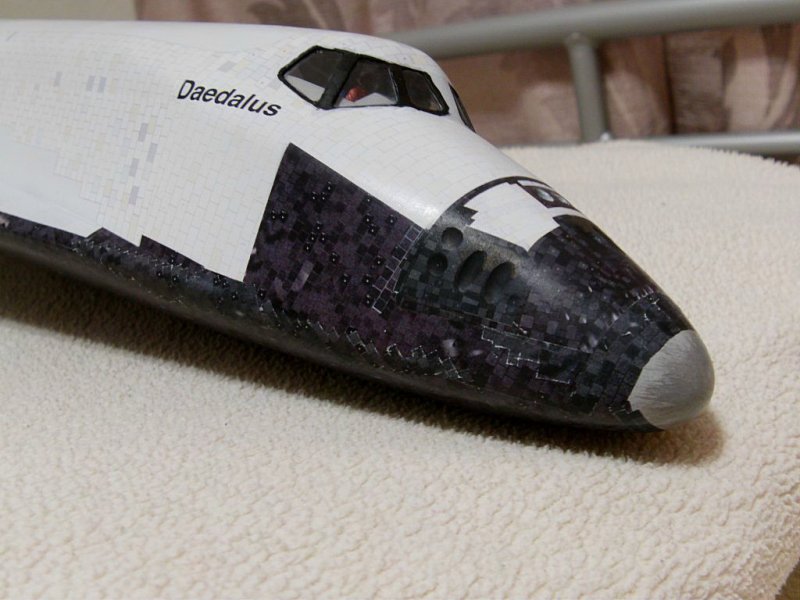
Masking removed and the windows given a little going over with some
Novus plastic clean and shine, cotton bud applied and polished.
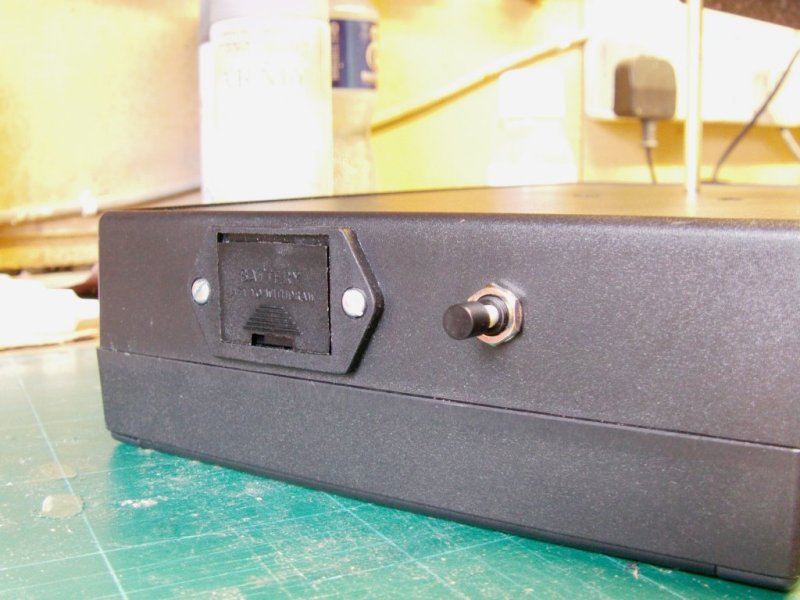
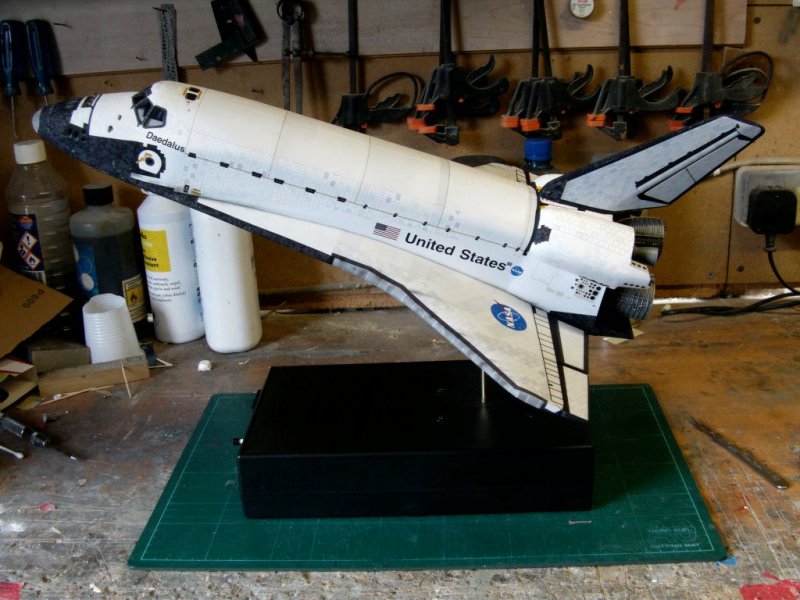
Base stand and kept it simple.
Standard plastic project box, inside beefed up with a lump of MDF to take the stand pole.
Two lumps of 1/2" MDF epoxied together, slot cut in for a bit of brass rod
that goes through the stand pole to stop the shuttle spinning.
Block secured by four screws from the outside top and a dab of epoxy glue for good measure.
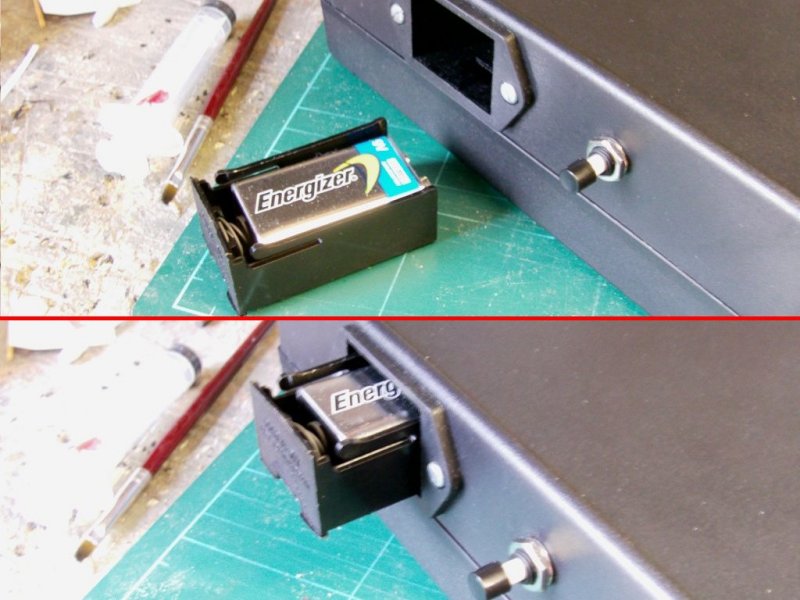
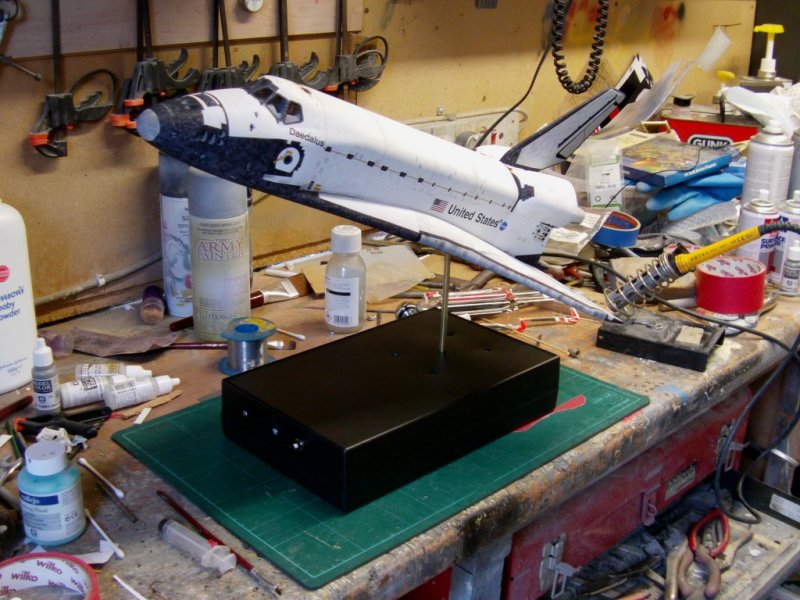
Shuttle fixed in, battery box and switch installed and wired up.
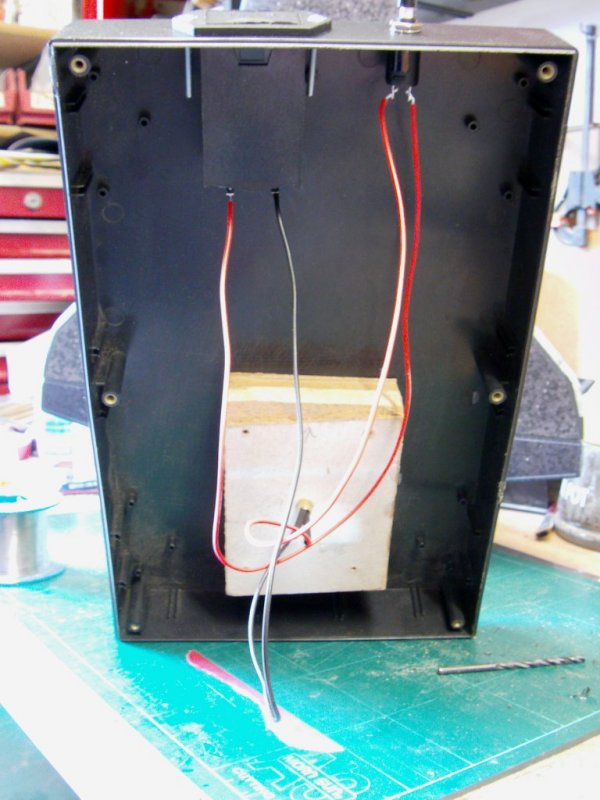
9v battery drawer and push switch to keep it simple and clean.
A quick lighting check as one does.
And that's the main bulk of this turn out taken care of!
That lot done, on to the last bit.
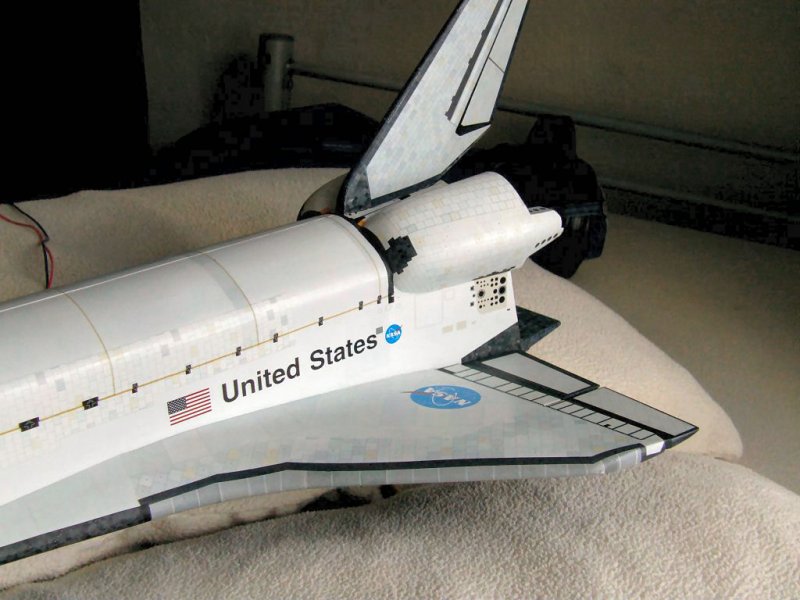
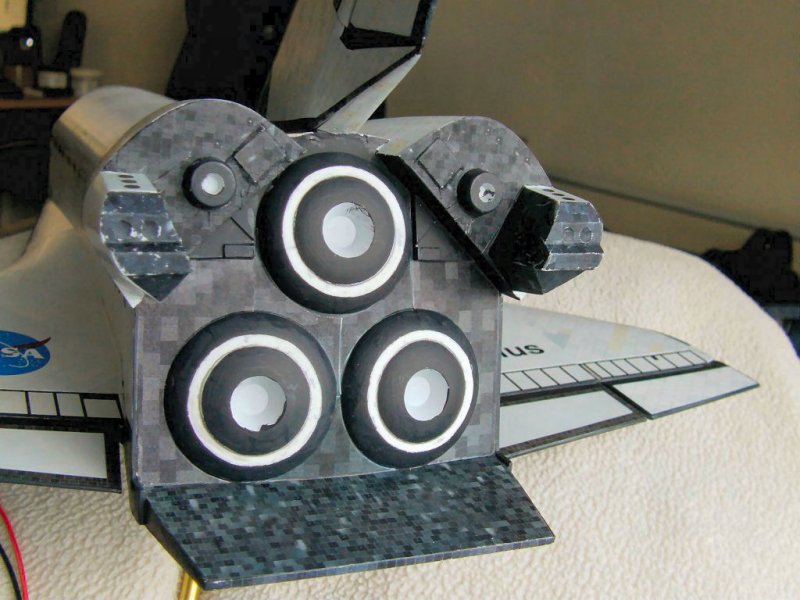
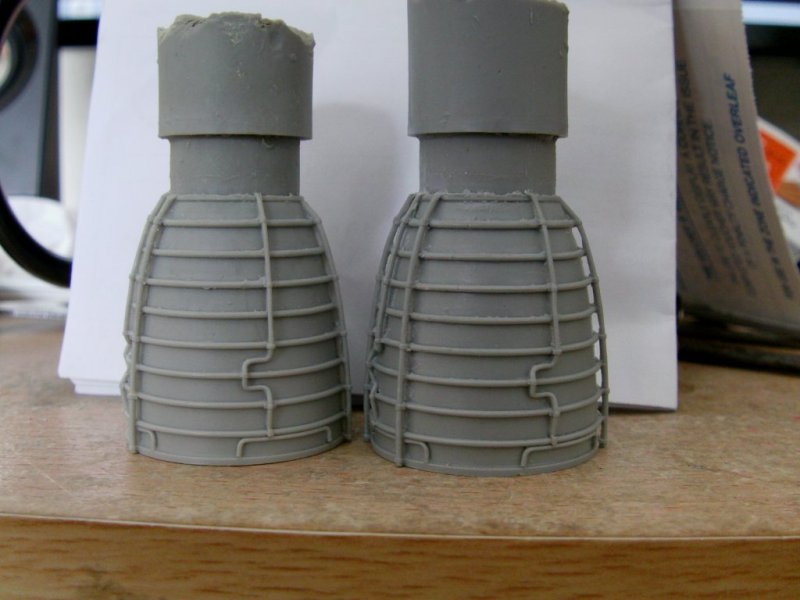
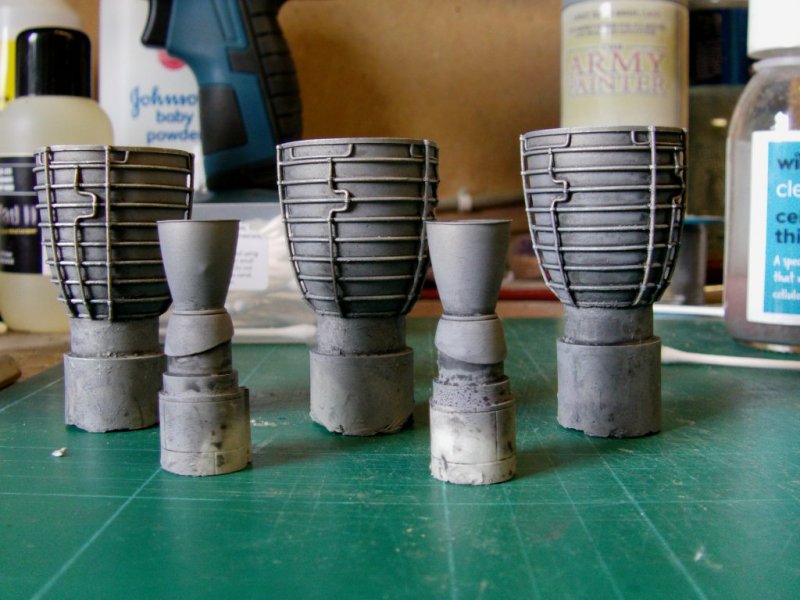
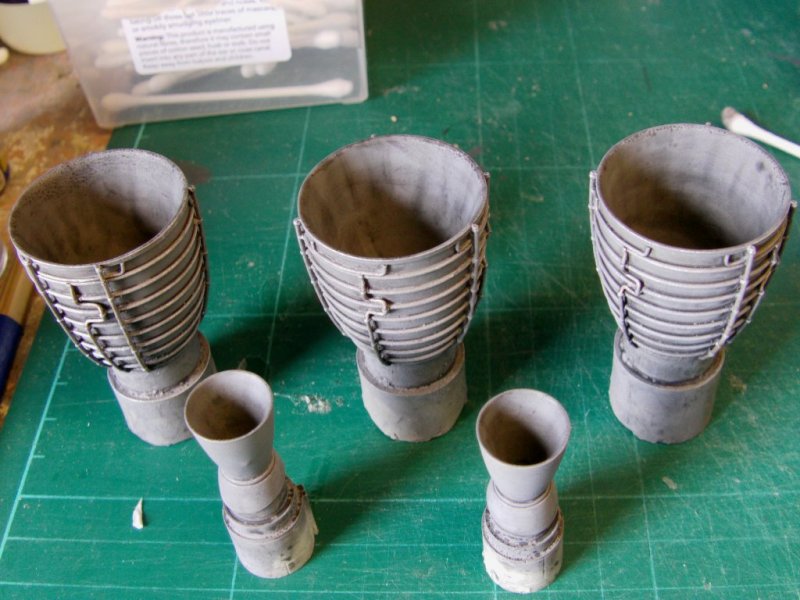
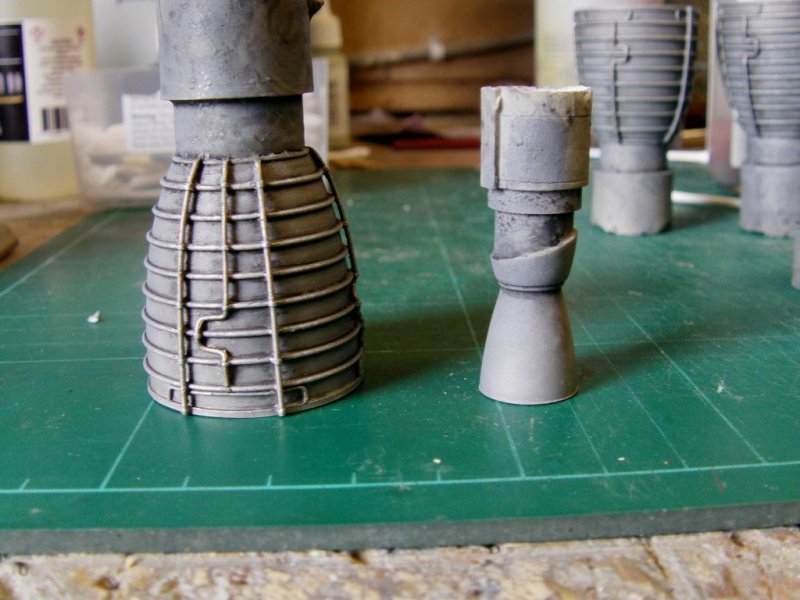
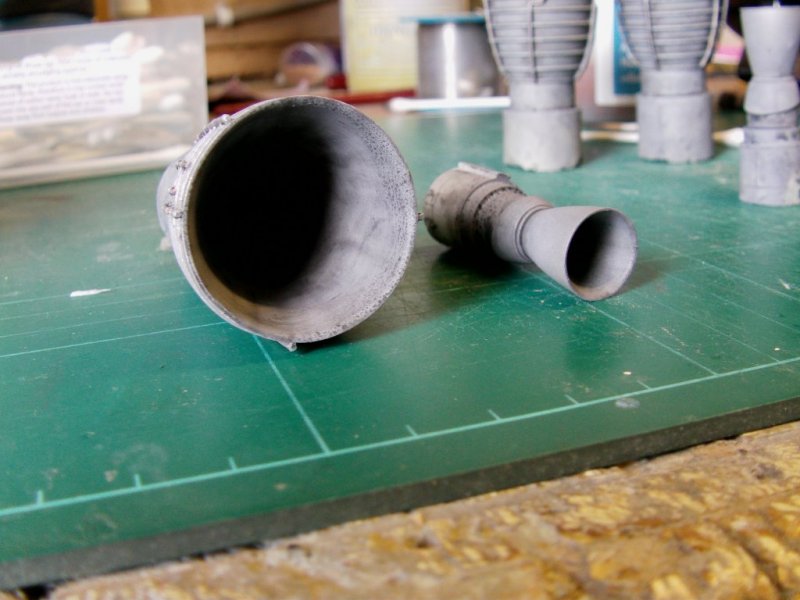
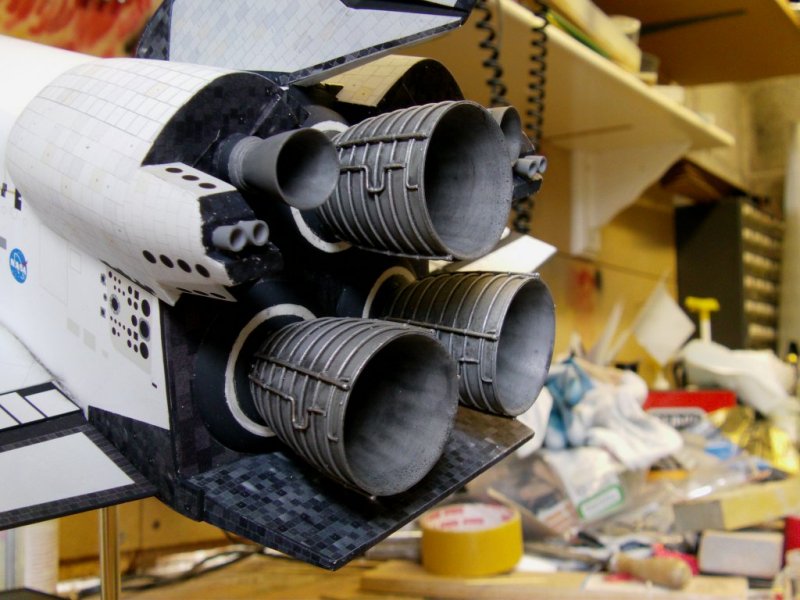
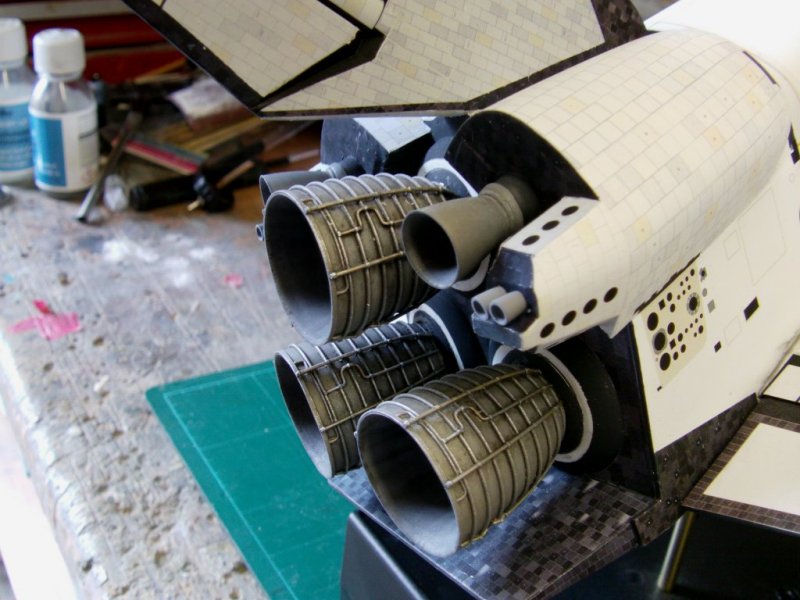
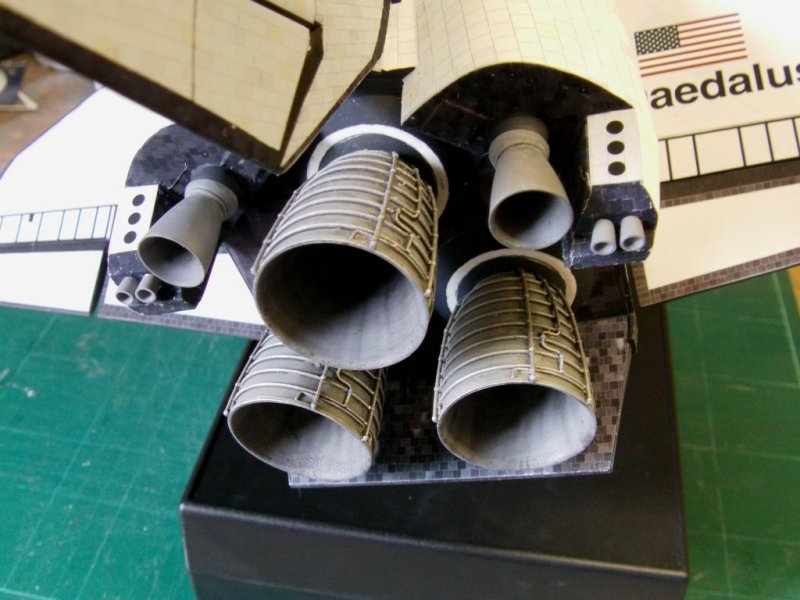
Which would be the engines.
A little cleanup required on these beauties where the piping is, so sorted and painted.
Grey self etching primer, dark wash, dusting coat of Alclad burnt metal,
matt coating, final drybrush of silver grey and white gold for the piping.
Insides dirtied out of course.
Aaaaaaaaaannnnnnnnnd...
Engines in position.
Stand pole polished up.
Stick a fork in this one people, it's done!
So then, final thoughts as it were...
Primarily, I had no intention of putting accuracy to any of the real shuttles
in to this build as noted on the first page.
That said, the Monogram one is said by many to be the most accurate in
shape to the real deal so for those that want to, it's a place to start.
Granted, the Revell one is more detailed in places and the windows are a lot
closer to accurate so it's builders choice there.
I would say it can be a fairly vice free build if just done as is
and you end up with a pretty big shuttle model.
A smidgen over 19" long with a 13" wingspan.
That's 490mm long and 330mm span for the metric types out there.
There are more than a few upgrades out there for both this and the Revell one,
and sometimes a few of the out of production ones crop up on weevilbay if you're lucky.
Yes, the windows are way too big but I don't mind that on this one,
means you can at least see the cockpit detail, which would be a bit pointless having
that all in there if the windows were the proper size.
It would be bloody difficult to see without the lift off panel the Revell one has
or getting your eyeball right up against said windows.
But again, if that's what make ya happy then it's all good.
Bottom line is is a good place to start and i'm more than happy with the outcome.
Gallery proper at the below pic button thing.
Well I hope you enjoyed this little bout of Hellhole happenings!
Take care of yaselves out there now.
Page Number