
Silverstone F1 Race Track Diorama
Scalextric Scale


 Page Number
Our story begins as these stories often do...
With A Phone Call
Greetings gang!
Well now, All sitting comfortably?
Then i'll begin...
One fine afternoon I recall it was, yours truly was residing in the hellhole
bopping about the gaff as usual when said phone did ring.
Old friend said he had a problem that needed sorting.
Suppressing my usual reaction of saying maybe he should consult his doctor,
he explained that he knew of someone that needed a model building and within a time frame.
Well what was required I asked and then he told me...
It boils down to this troops and troopettes, client of the client to be had a layout that needed some prettying up.
Here is a pic of the said 16' x 7' layout and ariel photo of the real place...
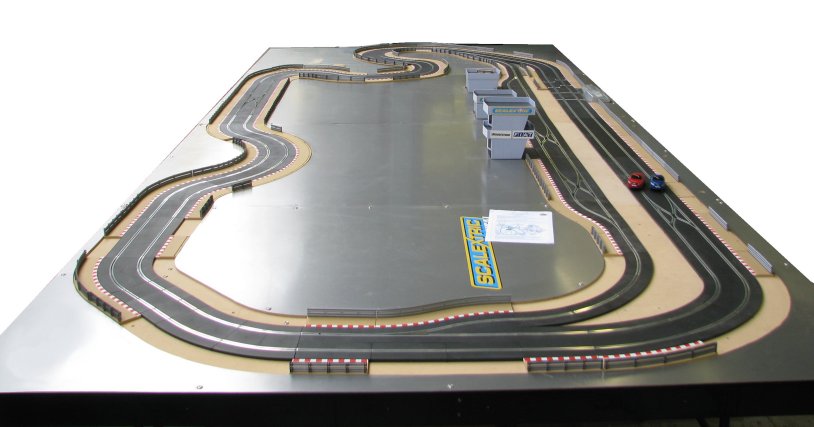
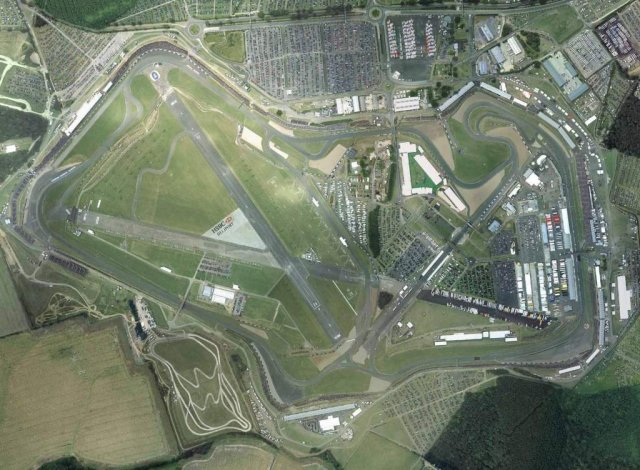
Well as you can see the Scalextric track is a sort of, I dunno how to put it really...sort of cut down version of the real thing.
but let's be realistic here, if it was done to full size then you'd need an aircraft hangar and your own electricity substation.
So then, the brief for this was to do the main pit lane buildings, British Racing Drivers Club house,
Fosters Bridge, Silverstone Bridge and VIP helo pad and limos.
Top that off with a finish date about a month away and you have an interesting task.
I said yes...
So a few compromises would have to be struck here.
For a start, after a day out at the said track...
got me out in the fresh air at least...
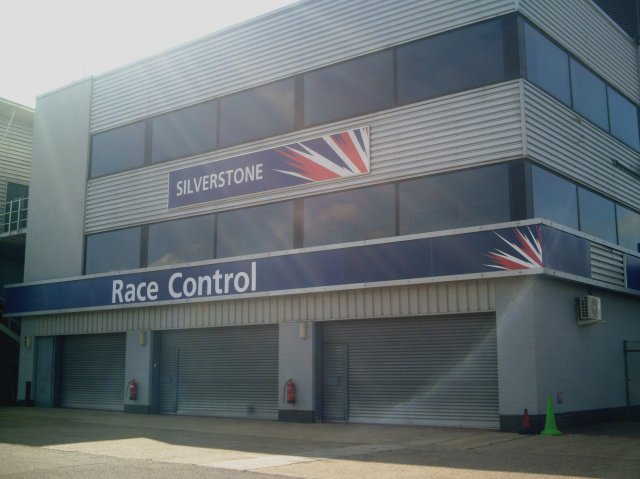
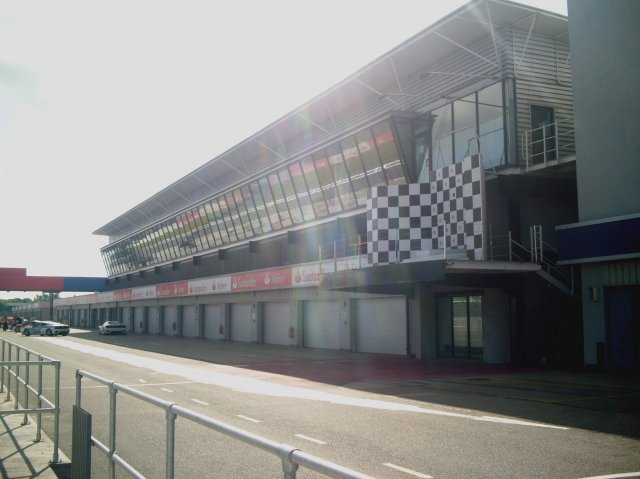
and snapping merrily away with me camera we end up with the main pit lane buildings being in order:
Race control.
Main pit garages.
Second pit lane garages.
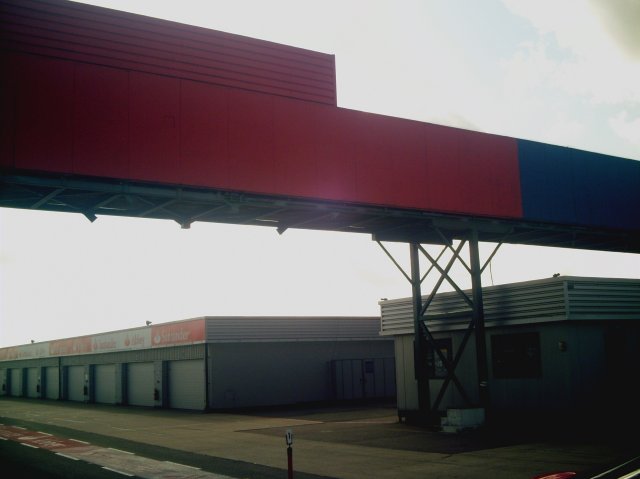
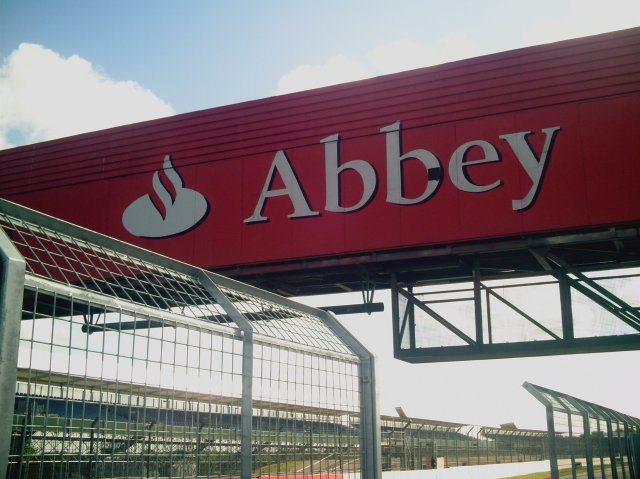
Fosters Bridge.
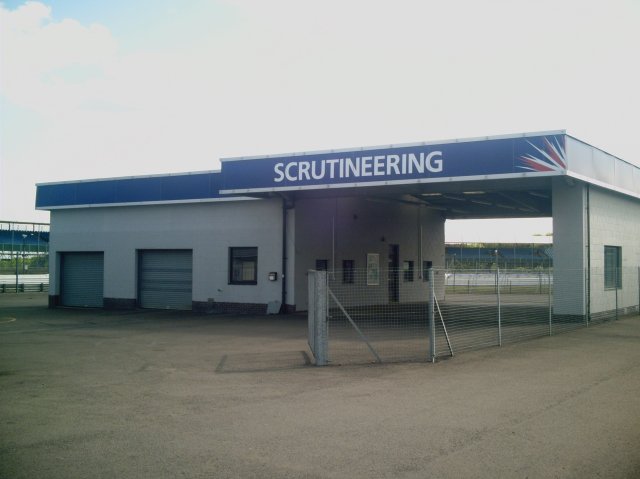
Scrutinerring building right at the end of the pit lane.
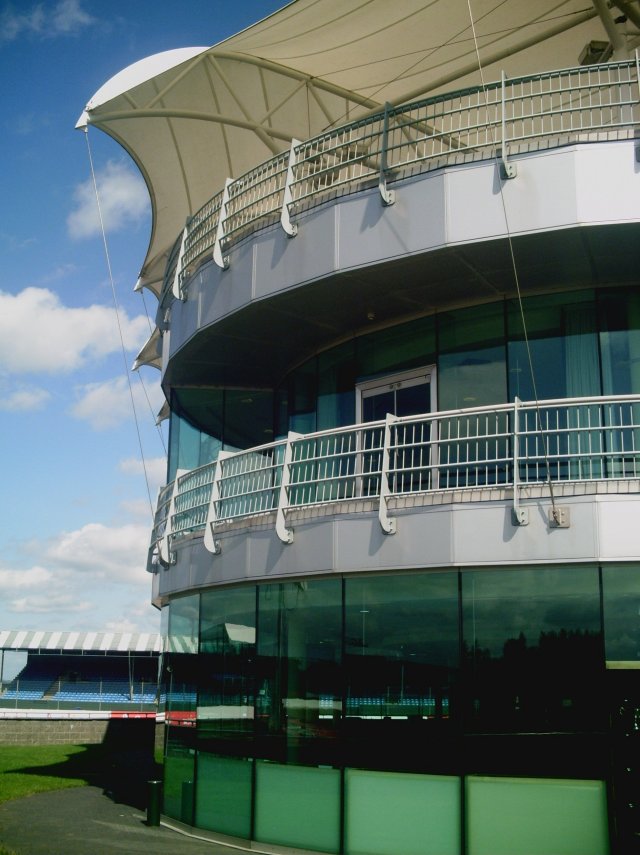
The British Racing Drivers Club House...and it really is some gaff in there I can tell ya! Amazing place.
And lastly Silverstone Bridge.
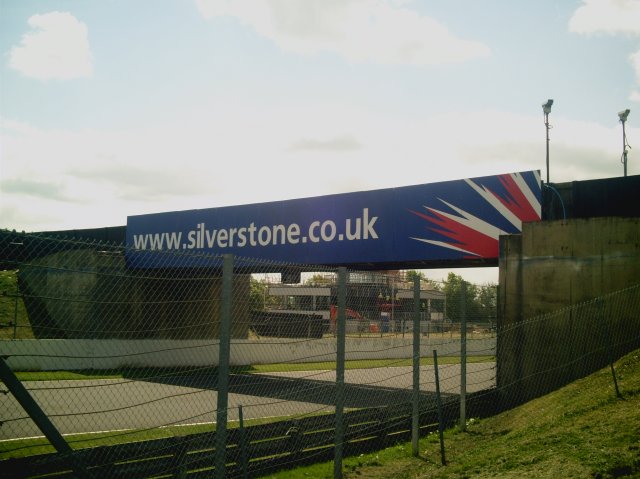
So all well and good as far as that's concerned BUT, if I built them all exact to Scalextric scale, that is to say 1/32ndish
Then just the main pit garages alone would be 8' long or there abouts.
Or to put it another way, all the pit lane buildings done true and correctly spaced would need about 40' of room.
Now that would be impressive but I don't have that kinda room to play with...
or the time to do it so taking the decision to make the buildings just
shy of half their real scale length with a bit of squashing up spacing wise.
In short, a doable thing.
So after much piccie taking, printing and much pencil scratching later, time to begin.
Now architectural model making bores me silly usually but this being a new twist on it,
I ain't that bothered and always like a challenge.
So first off, how to build?
Well when you look at the buildings, it seems component parts are the order of the day and taking into account the
said buildings could well find themselves at the mercy of an incoming in-flight Scalextric car,
they would need to be fairly strong.
So resin cast solid lumps it is!
So out with the plasticard, acrylic clear, blade and scratching tools with a goodly dollop of glue action,
we got the main uprights for the garages.
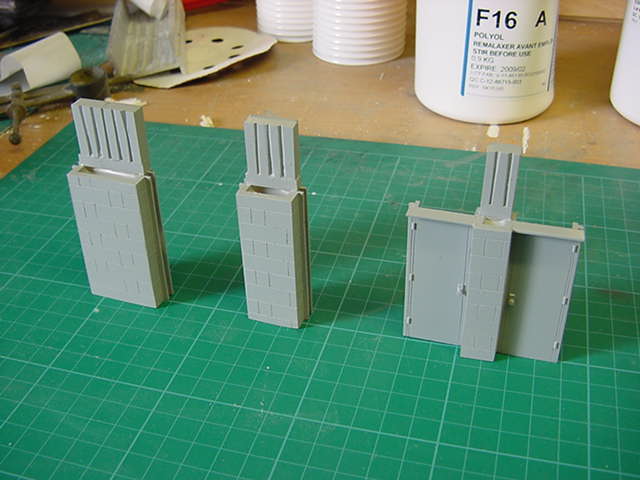
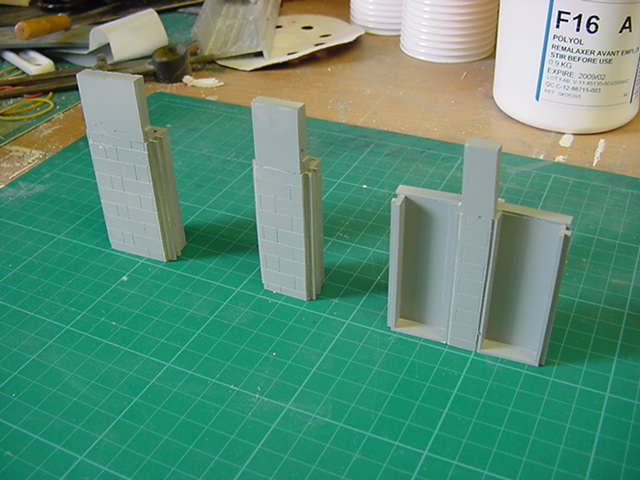
Coupled to that we need one center span piece.
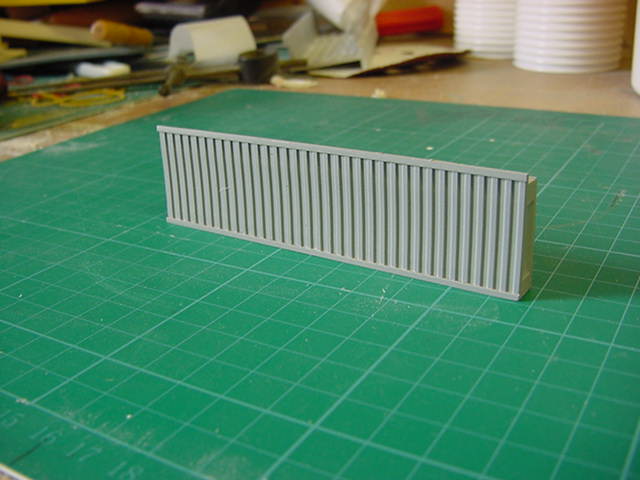
And then we need the fronting's that will carry the sponsorship logos and
the same thing without the flat for the rear of the buildings.
Not forgetting the fixings on the back so they will sit at
the proper height and lock the span pieces together.
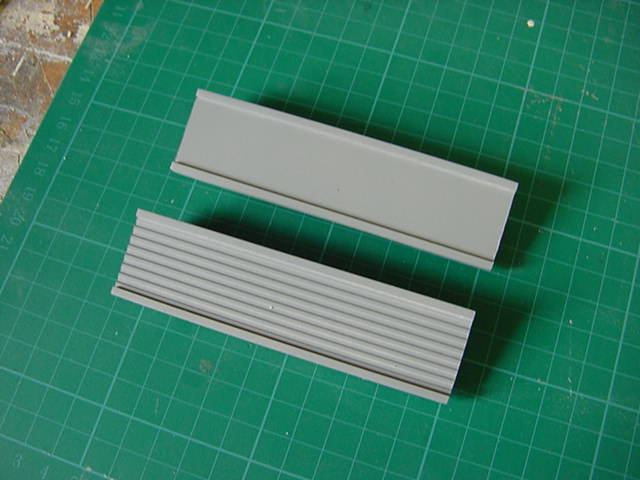
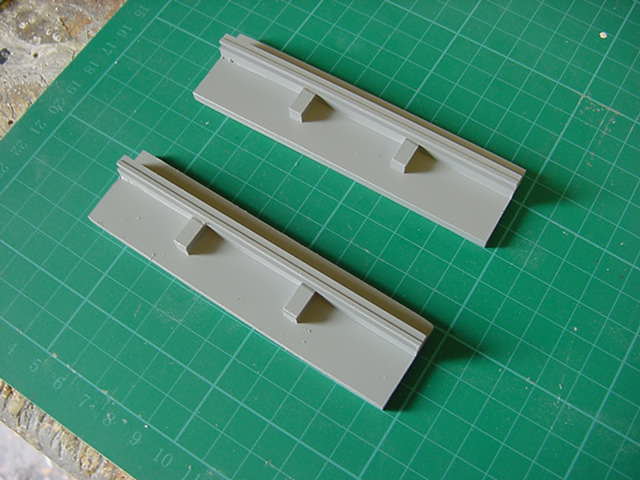
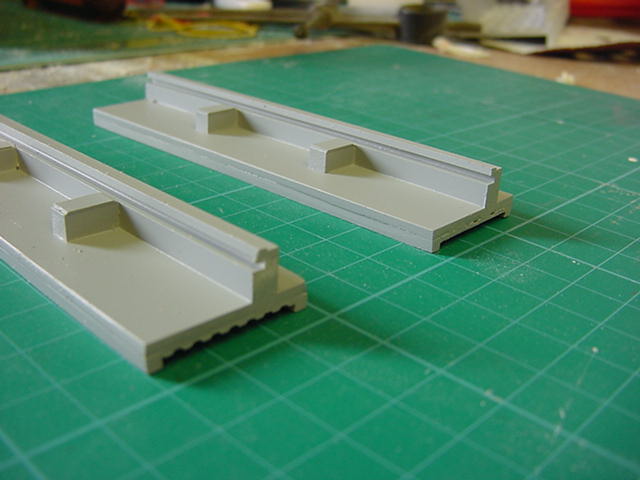
Two pieces to make the side walls of the observation area on top of
the main pit garages and the office fascias at the back.
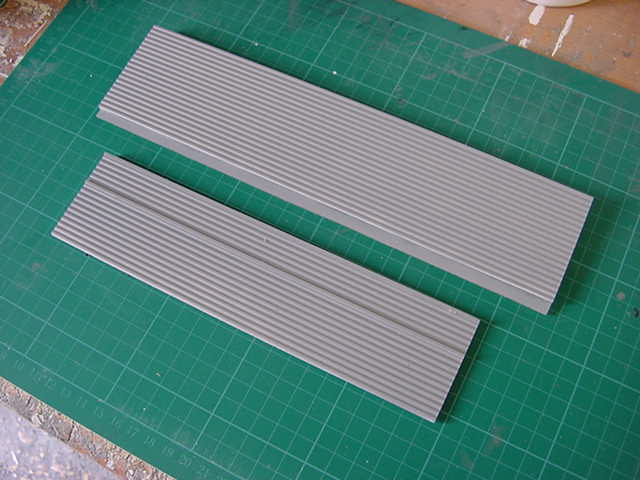
Then we need the plates to make the areas in between the windows on the Race Control building.
All with tabs and slots to fit together nice and snug.
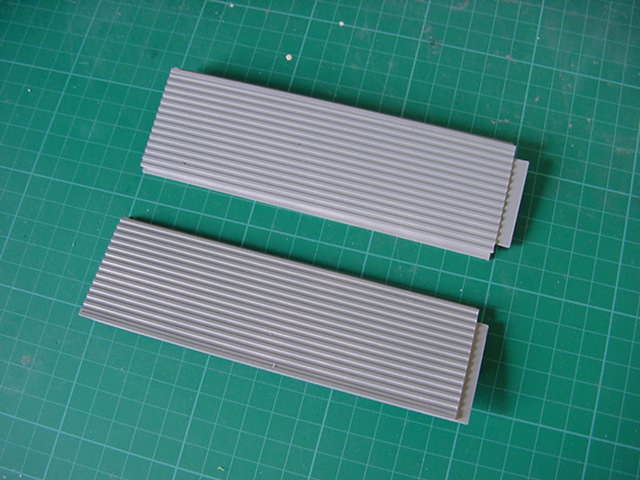
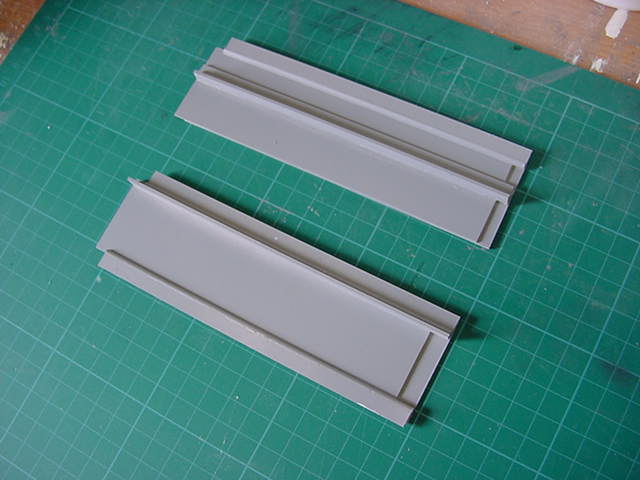
One chunky corner block to be used on pretty much all the buildings.
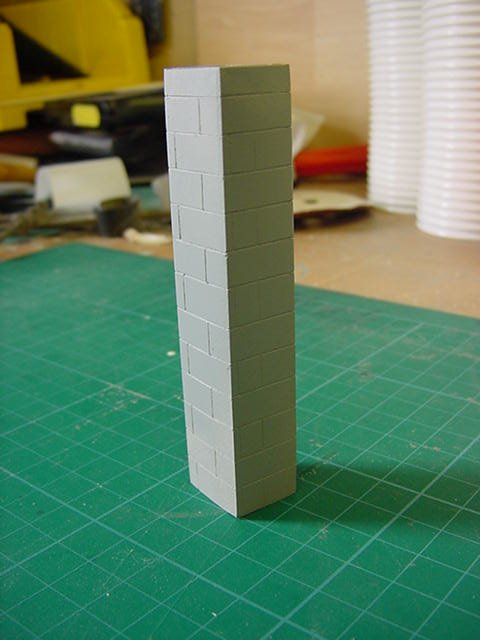
One piece with ends on to make the canopy like thing over the top of the pit observation windows.
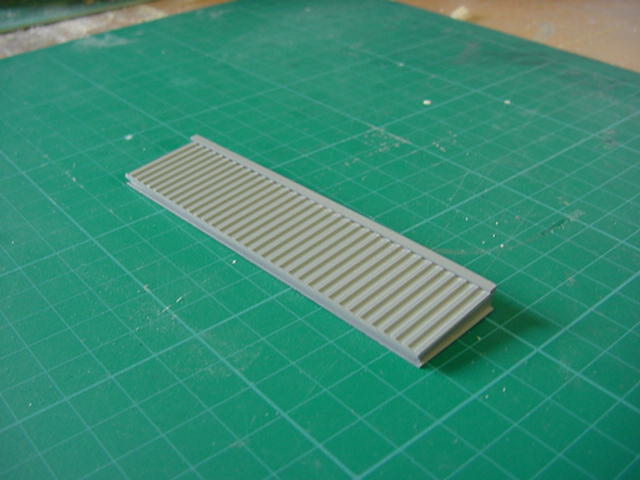
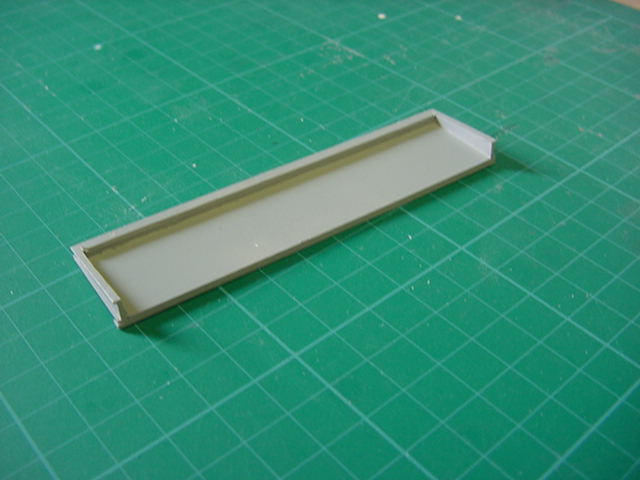
One plate piece to make the black area the sits between the main pit garage roof
and the bottom of the observation windows.
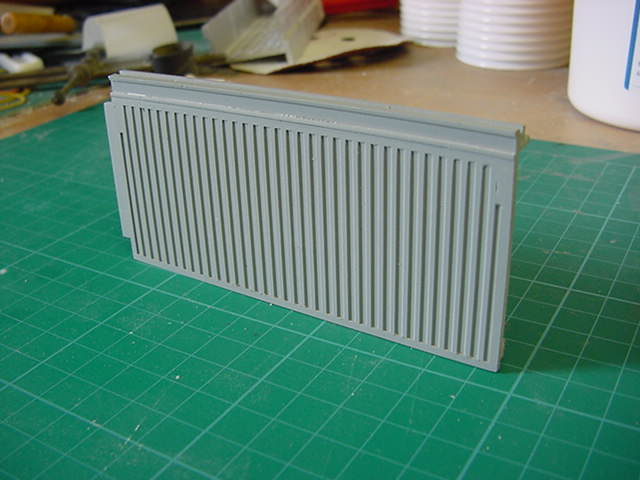
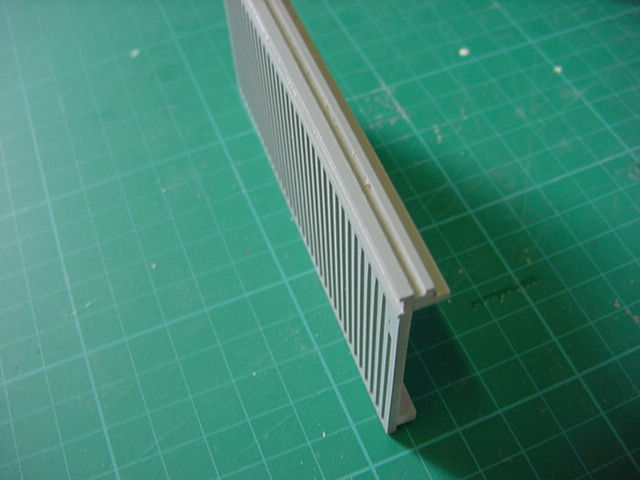
One garage door, over length so can be cut down to needed size.
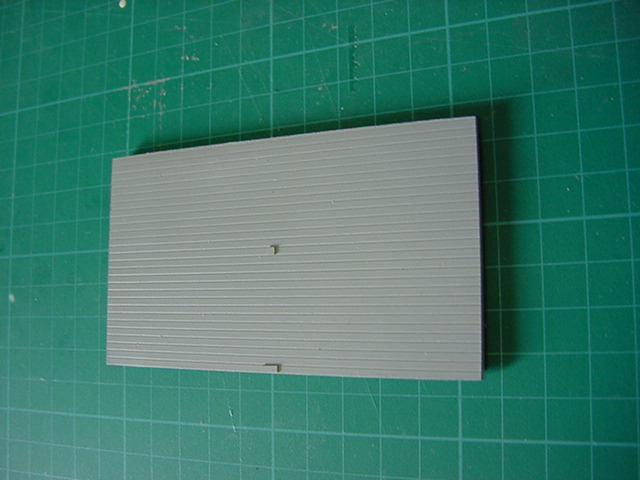
One double sided wall panel for garage in between walls and building ends.
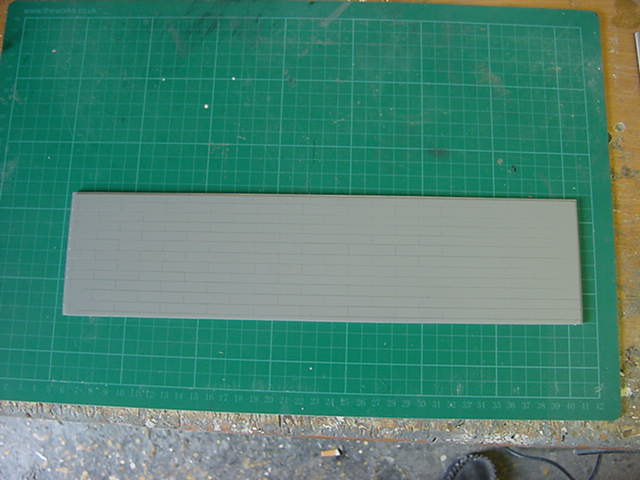
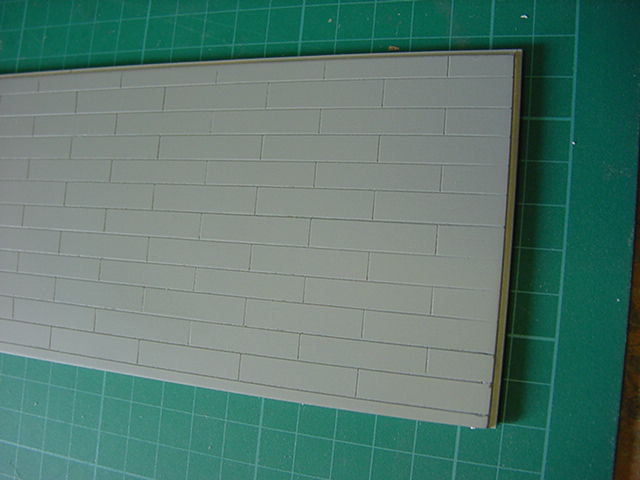
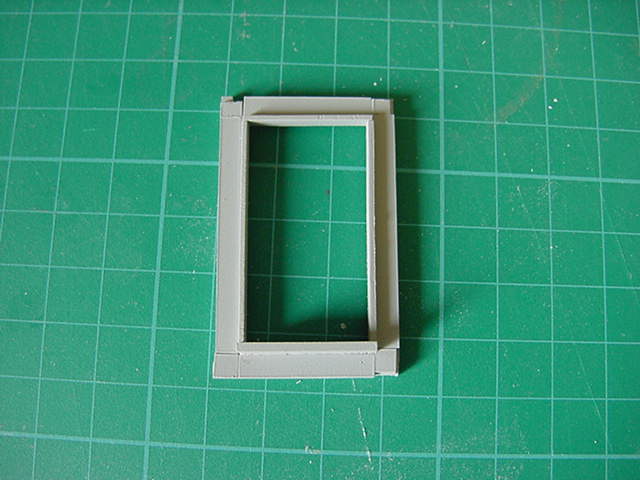
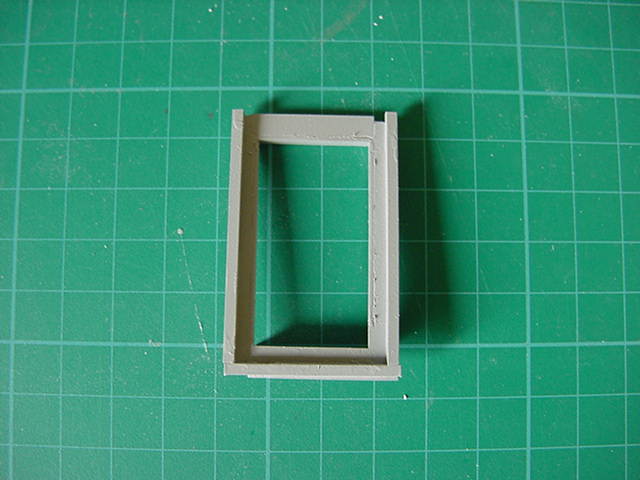
Window frames for the back of Race Control.
Back recessed to take the mirror coated plastic sheet i'll be using for all the windows.
Lastly, roof panels for the main and secondary pit garages.
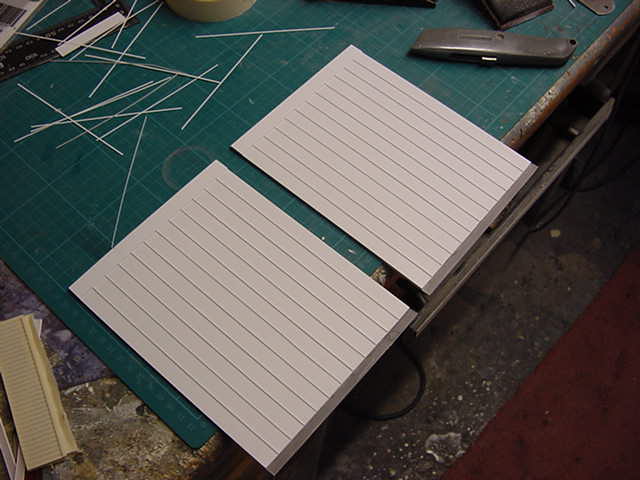
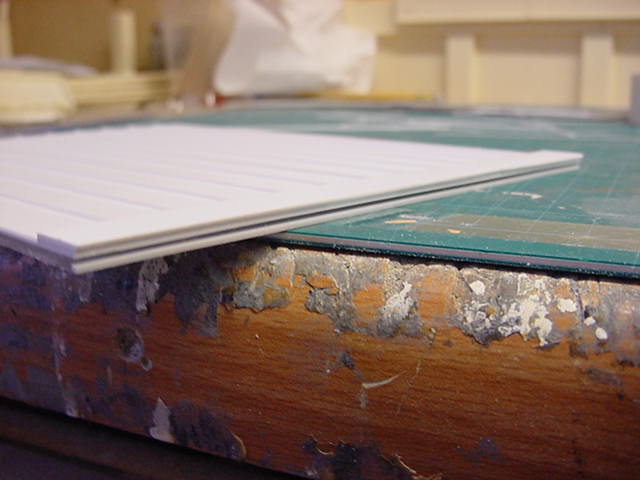
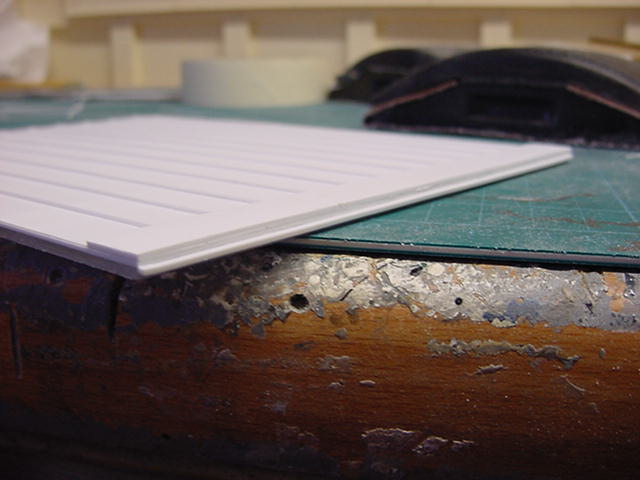
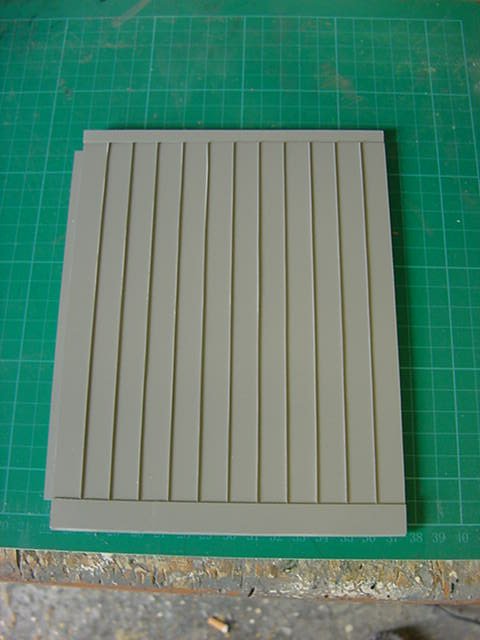
And about 20lb of rubber later, we got a pile of moulds to work with.
And that is that for this first page, Go easy my merry lads and lasses!


 Page Number


