
Silverstone F1 Race Track Diorama
Scalextric Scale


 Page Number
And...
Just A Wee Pit Stop Before I Finally Cross The Finish Line
Rightyho then people, Just about done and sorted so last but by no means least...
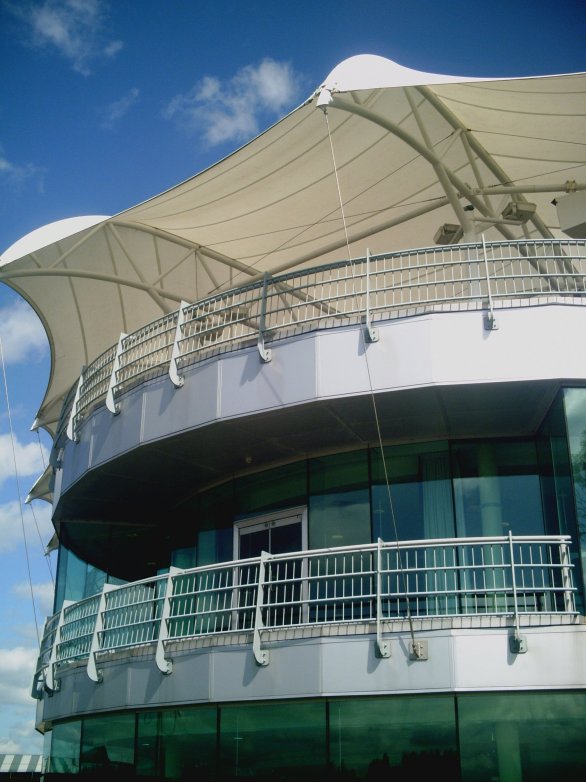
The British Racing Drivers Club building.
To my mind, the most interesting building in the whole setup.
So then, first things first, here is a shot of said building...
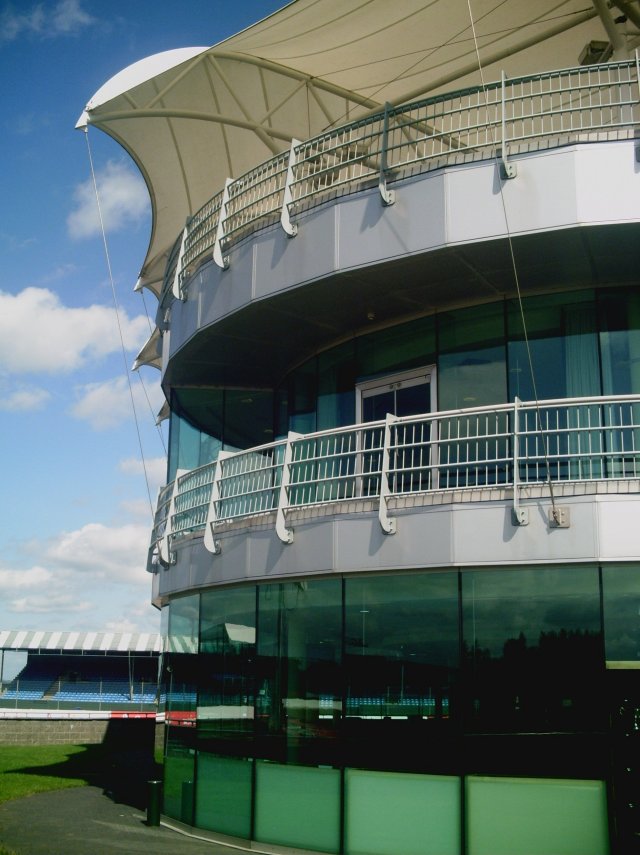
Interesting design and nice place to boot, so out with the 2mm clear sheet and some cutting to be done.
Now the building is a sort of twin horse shoe shape I s'pose you could call it.
Now it, like the rest had to be scaled down so after some late night pencil scratching and calculator hammering,
I decided to build it in a sort of modular fashion.
First, the base plate, then mid section, then top and the canopy.
Now thing is, there are some railings to stop the happy race watchers from
getting up close and personal with the tarmac at some velocity so those had to be addressed.
Was there anything commercially available to sort this?, was there hell!
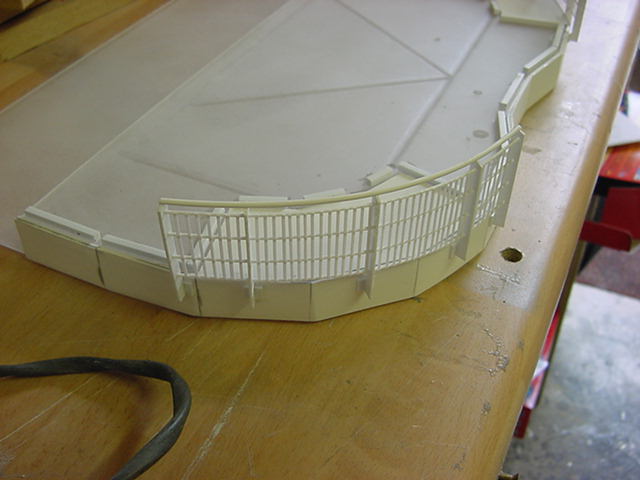
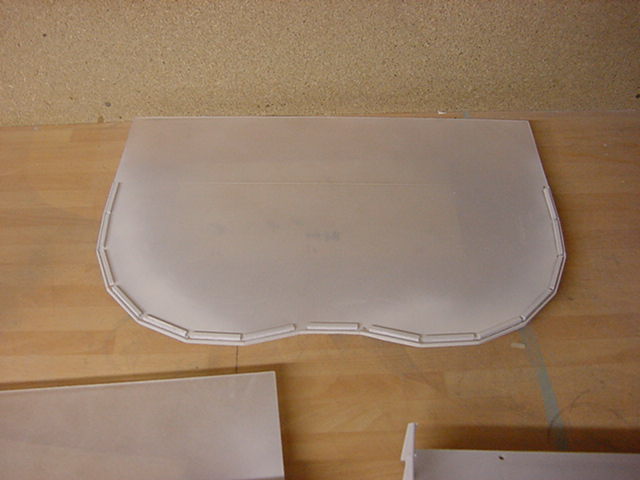
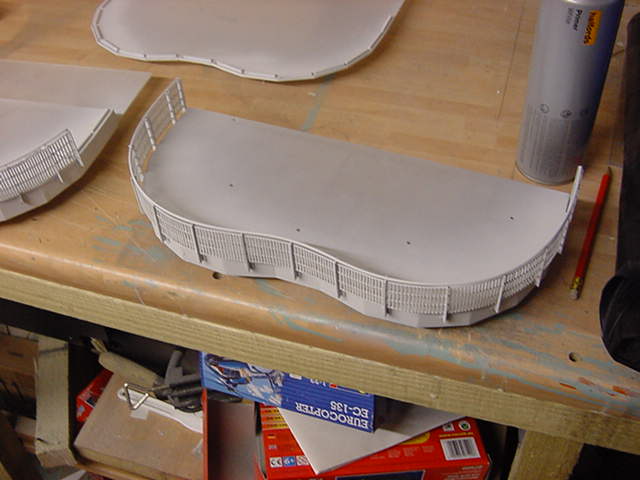
So first up, the base plate fitted with strip to make a slot-in for the mirror front plastic I use for the windows.
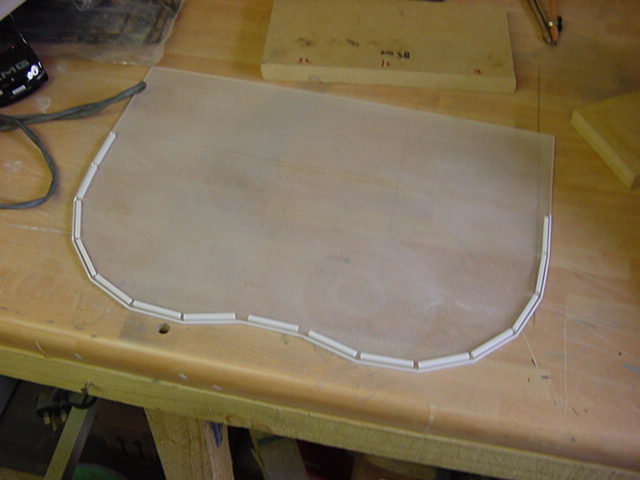
Next was the mid section with the set-ins for the balcony and the first of the railings
and the slots to take the top of the window panels on the base.
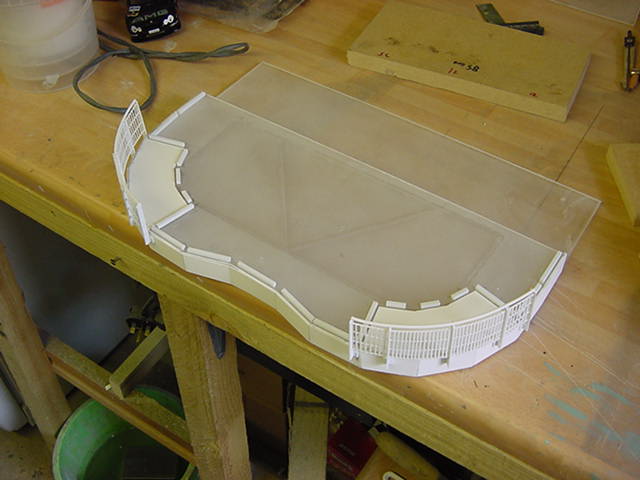
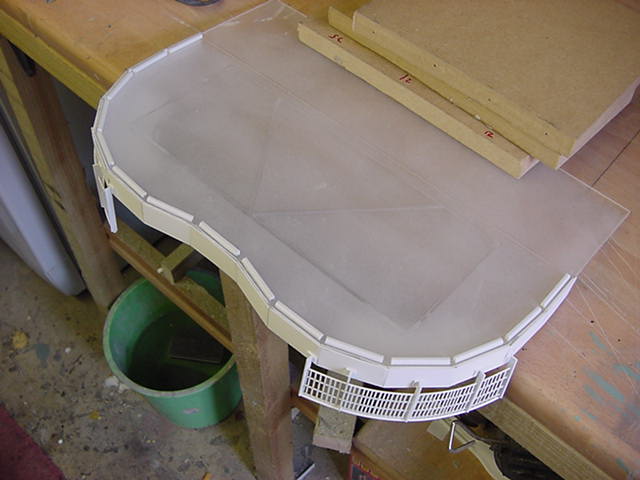
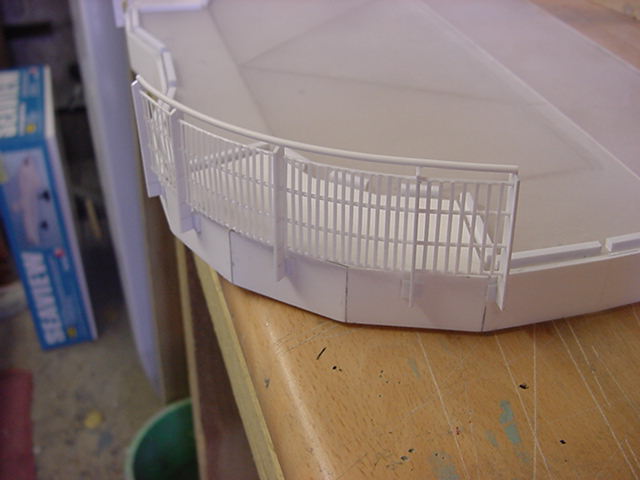
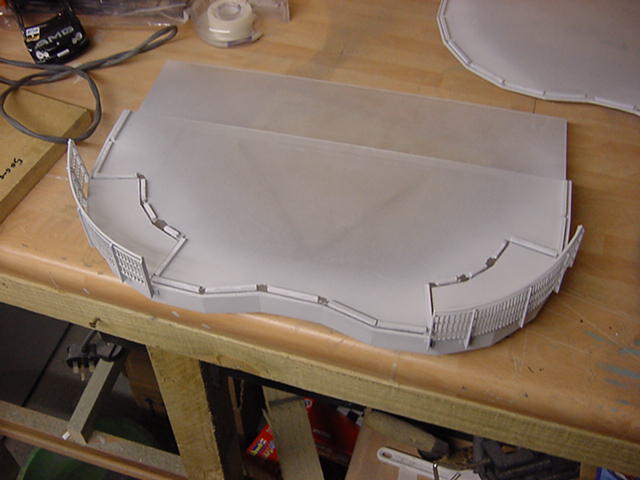
Then the top/roof section with a railing surrounding the front.
The railings are individually made stanchions with 1mm rod fed through four holes drilled in each.
Then a length of 2mm rod for the top handrail.
Then the lot was built up with a total of 314 strips of 1/2mm plastic.
That was fun.
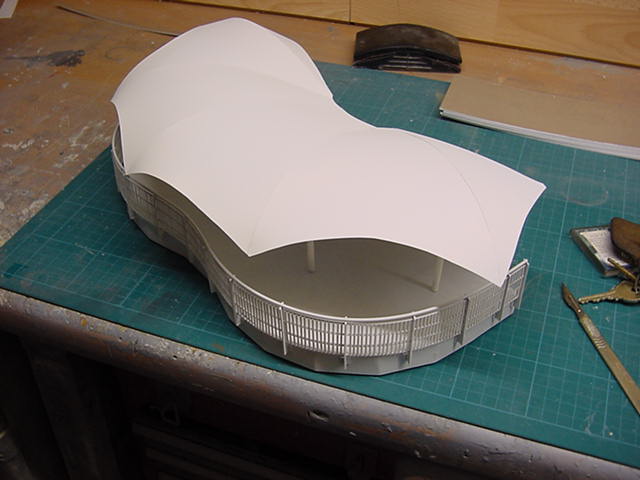
Now those bits are done and awaiting painting and assembly, time to turn my attention to the canopy.
Namely the bit which sits right on top.
So then, material supported by a framework eh?
Rod and strip it is then!
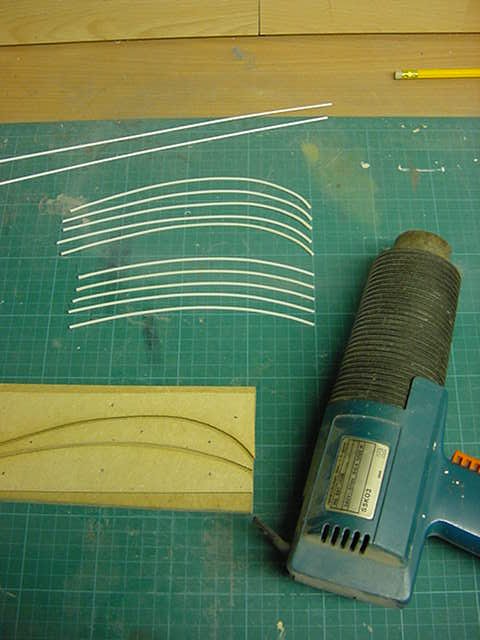
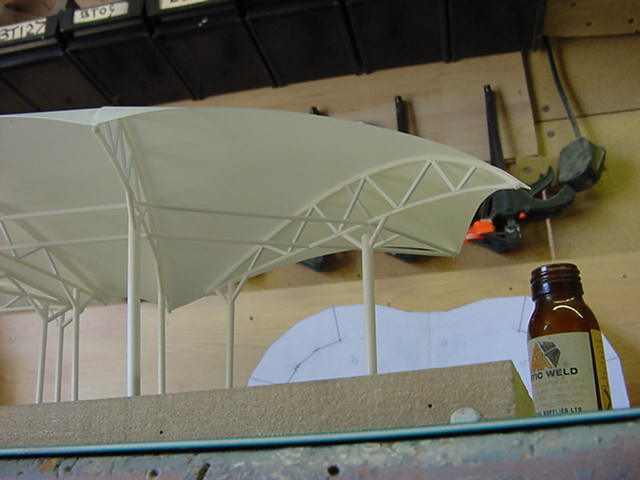
Starting with the...i'll call 'em 'wing sections' for want of a better term,
made up one rough jig, a few lengths of plastic rod and a heat gun.
Lay the rod in the grooves, warm up, basic shapes done, plastic strip was cut up a good 'un,
much filing of ends, cross bracing added and uprights likewise.
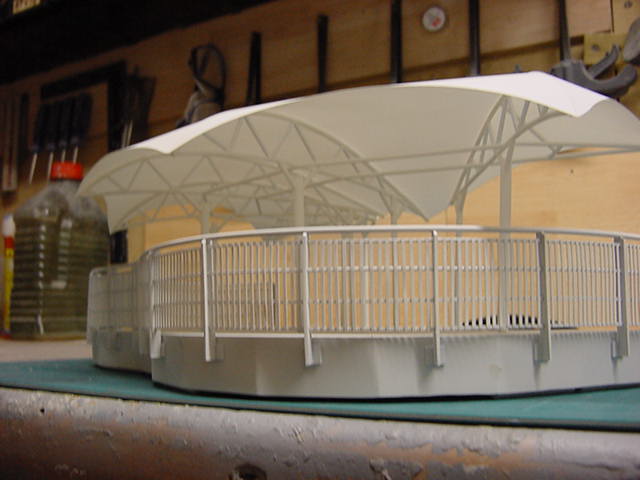
The shape of the canopy from above is not a regular symmetrical shape
so the wing sections are slightly differing lengths.
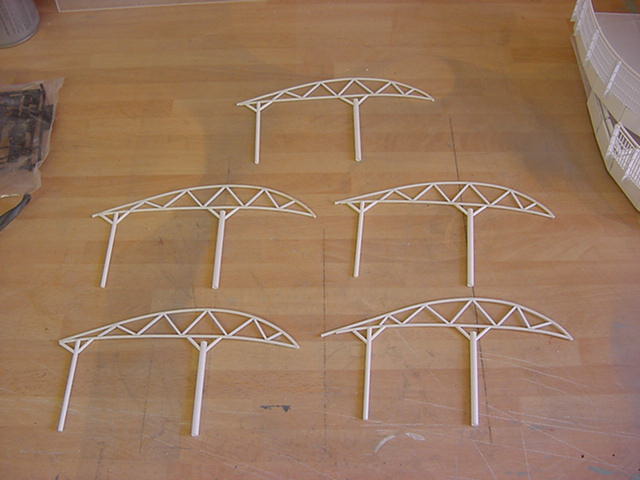
Also added some brass tube to the bottom ends so they would have solid pins to secure to the roof plate.

So now to the layout.
A template made up and some holes drilled in the roof panel,
copied and transferred to a scrap lump of MDF board.

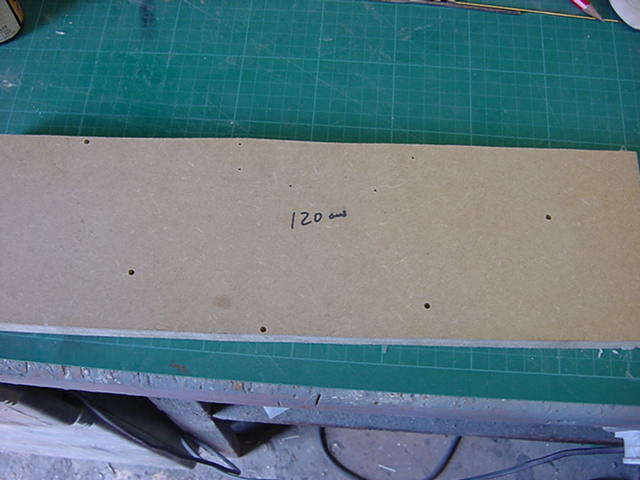
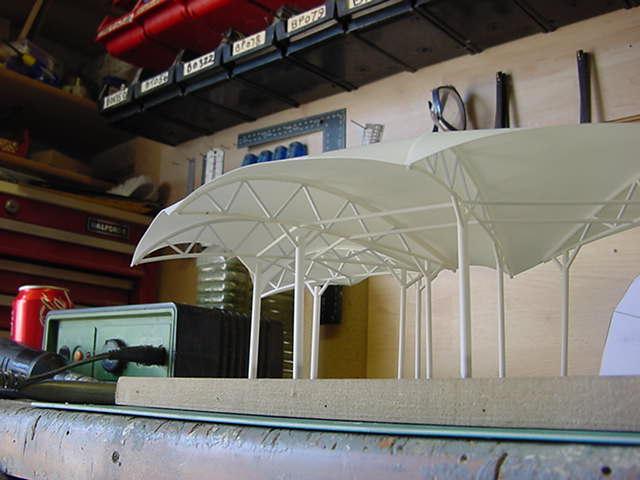
Canopy supports were just set into this and the remaining framework built up.

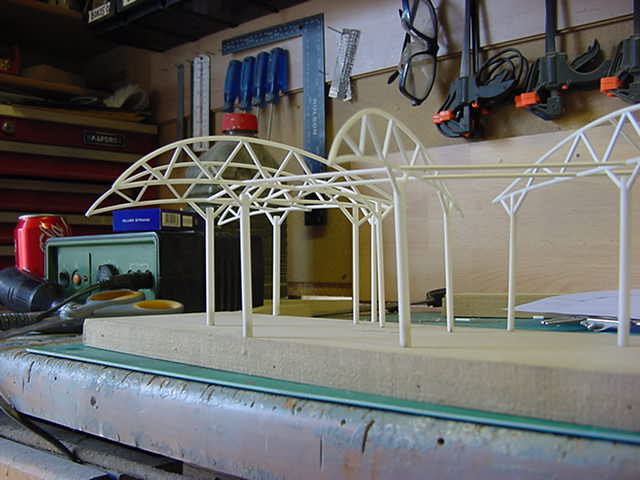
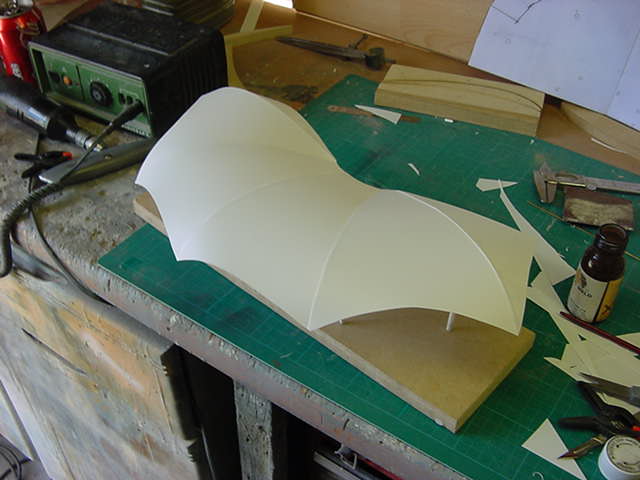
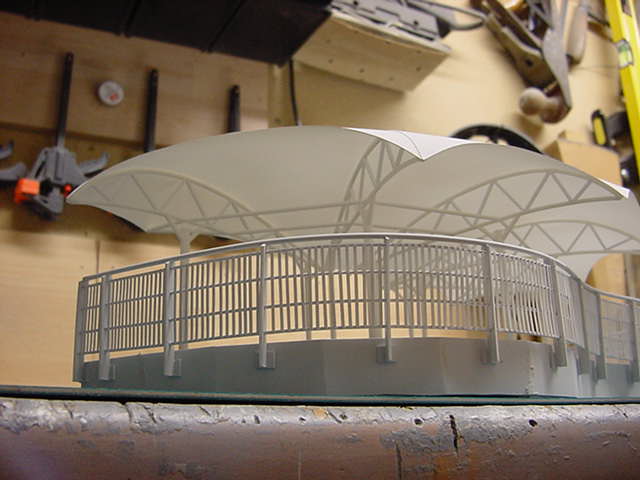
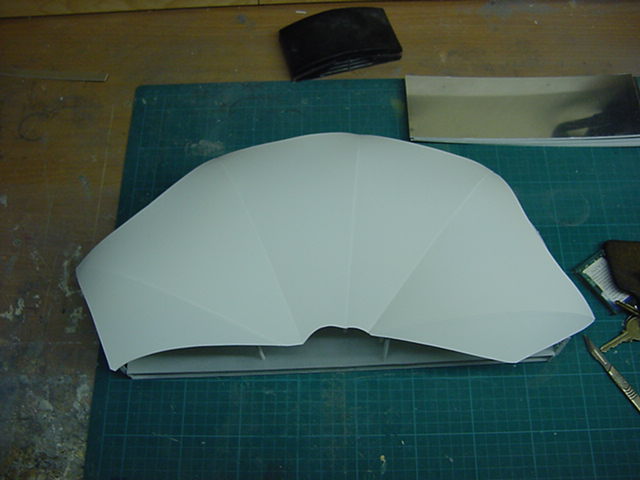
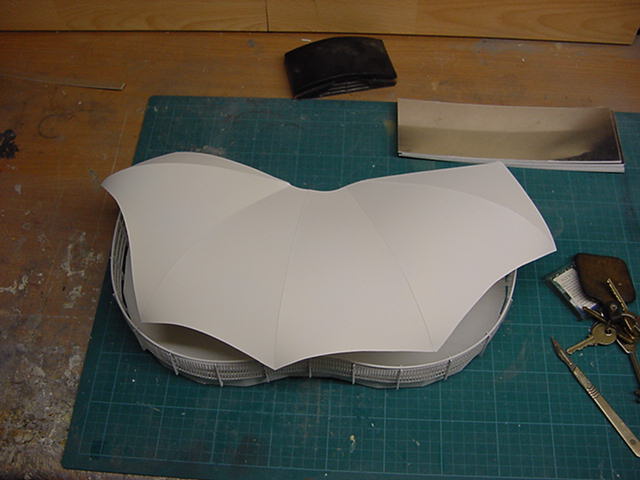
Then some...well actually...much measuring, shaping, slicing and very careful
gluing of 0.25mm plastic sheet later and we get...
THIS!
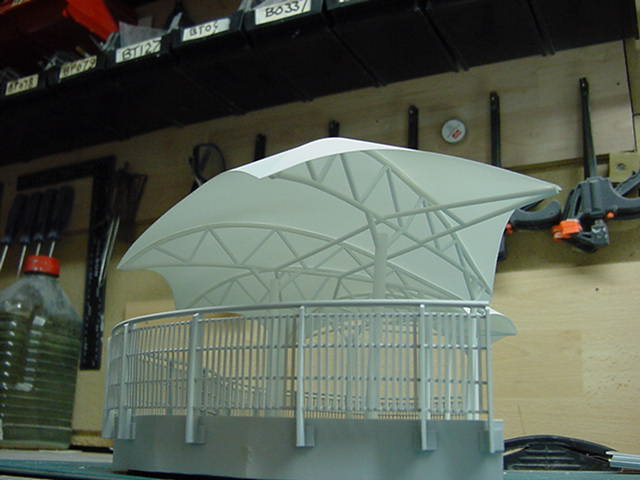
Now the main building parts were given a primer coat and a going over of
light grey and the slots for the mirror sheet cleaned out.
And of course, the fully expected..nay...neccessary test fitting of the canopy.
And that's the lot untill I can get all the last pics sorted
Final update to follow gang.
You lot go easy now!!
Page Number