
SithPlanet TOS Battlestar Galactica Viper
1/8th Scale

 Page Number
Well it's a Viper...
And A Bit Bigger Than Last Time.
Greetings dudes and dudettes!
Okedoke then, let's get stuck in to this.
I got passed this one with a brief to build, light and make look pretty...
so same old same old really.
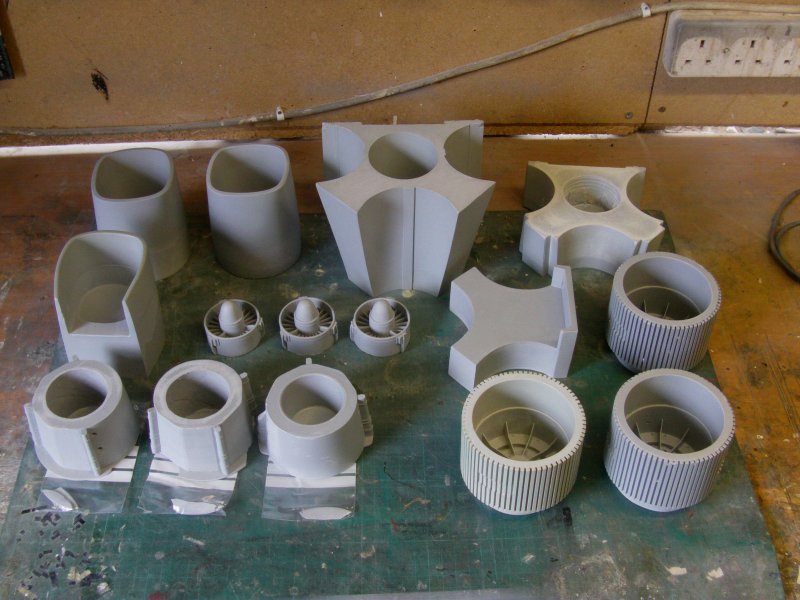
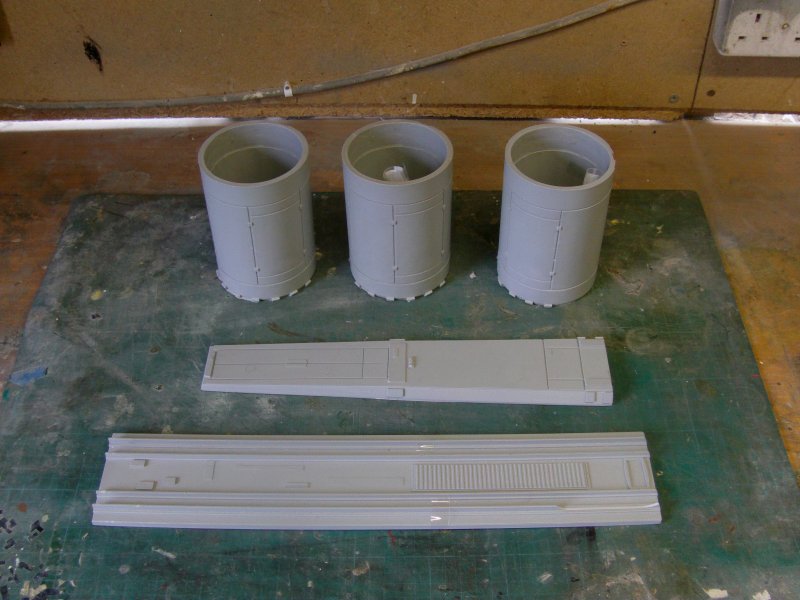
With that in mind as a brief opener, here's what we got to work with...
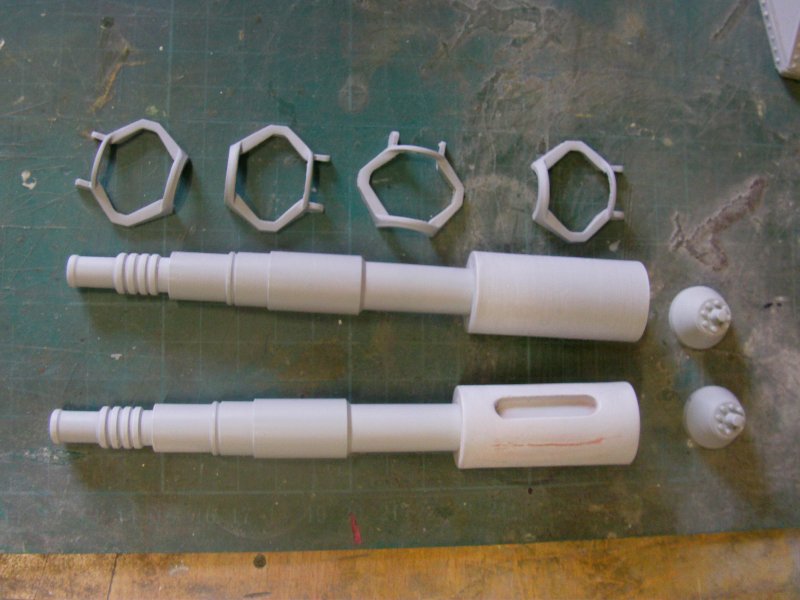
Pile-o-parts part 1.
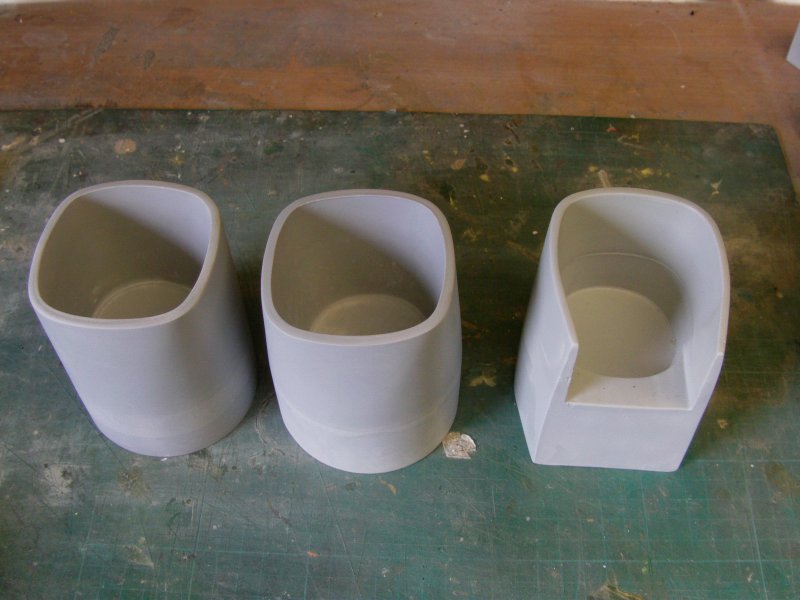
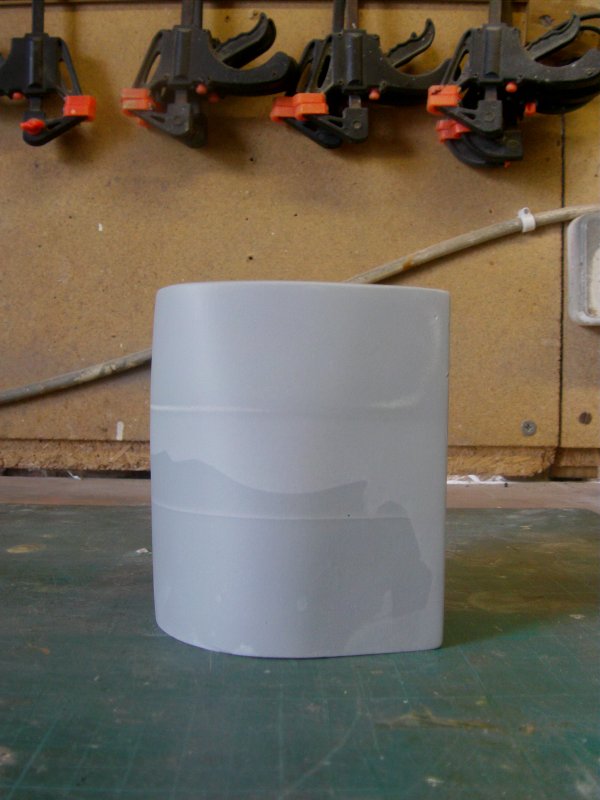
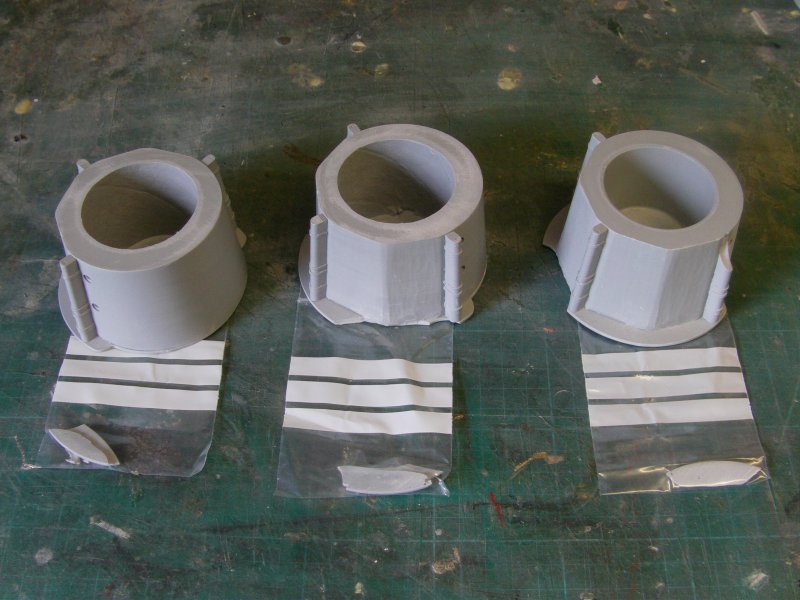
Engine cans, three fuselage rear pieces, side/high engine intakes,
intake fan like parts and three inter-engine bits that sit between the intakes and main engines.
Excuse the small plastic bags, they hold the parts that got broken in transit between the
mob that sells this and the client who bought it.
He did a damn good job of policing up all the fragments as well!
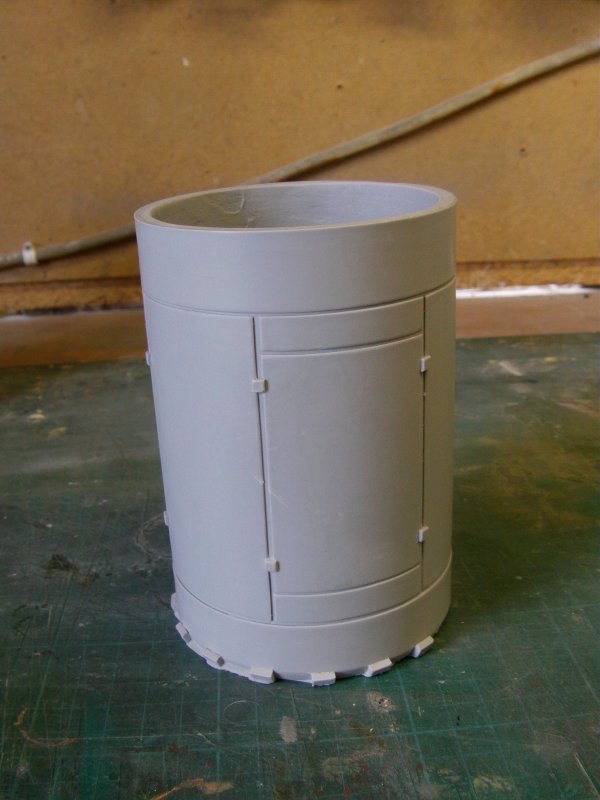
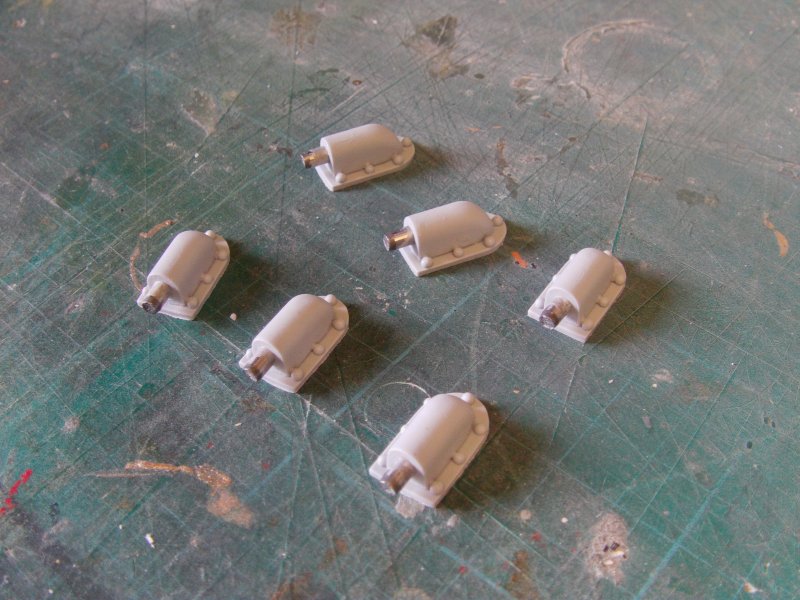
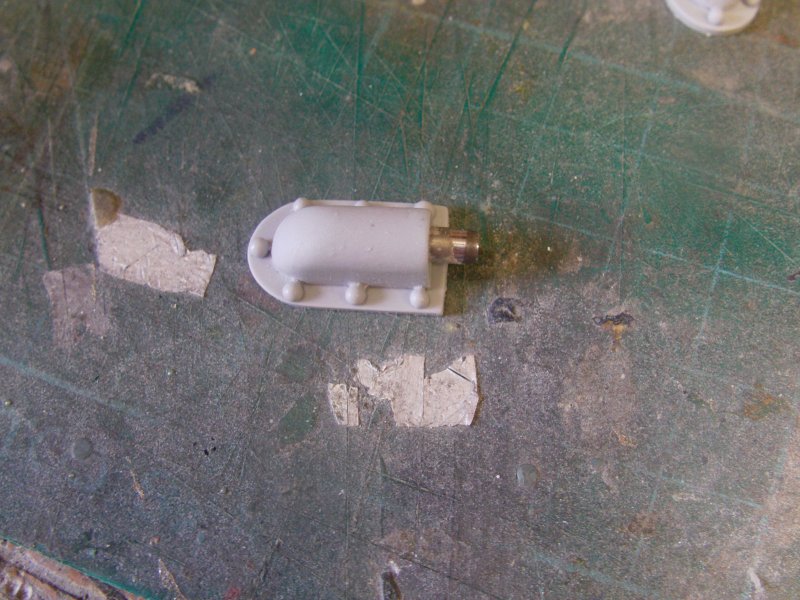
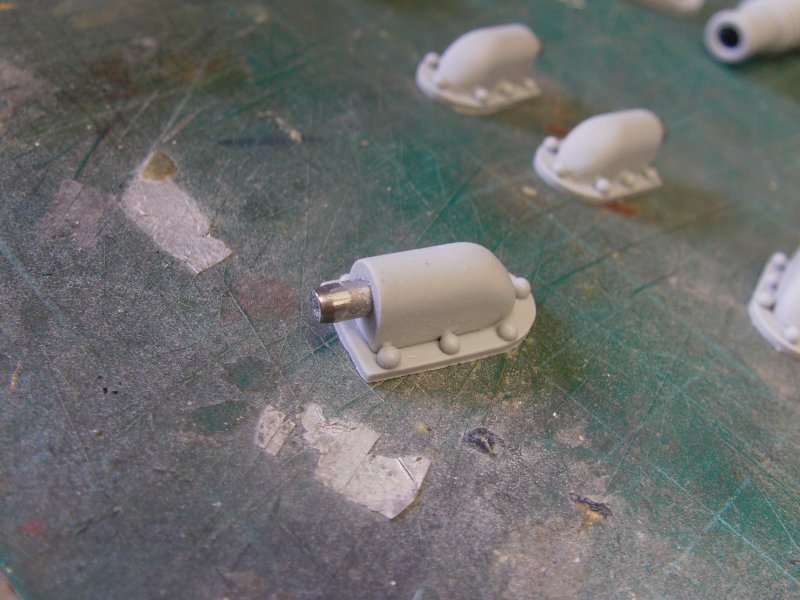
A slightly closer look at the bits in that pile.
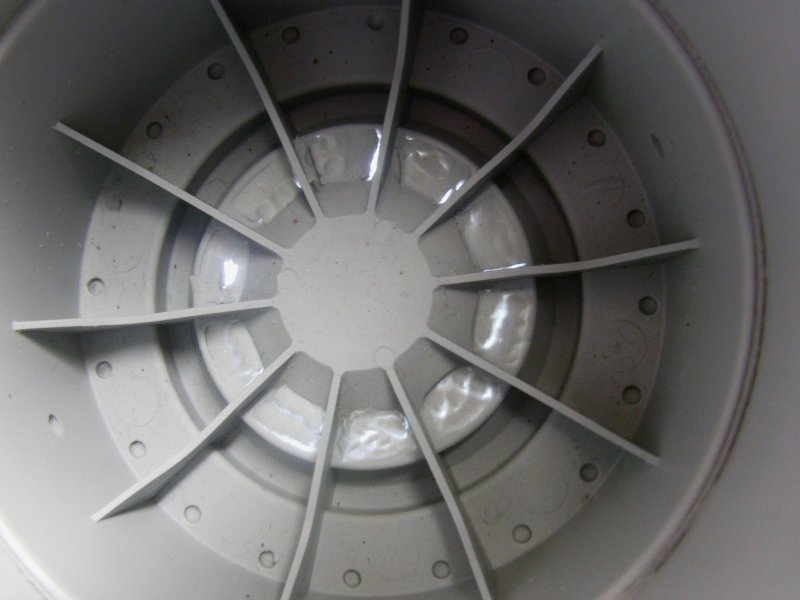
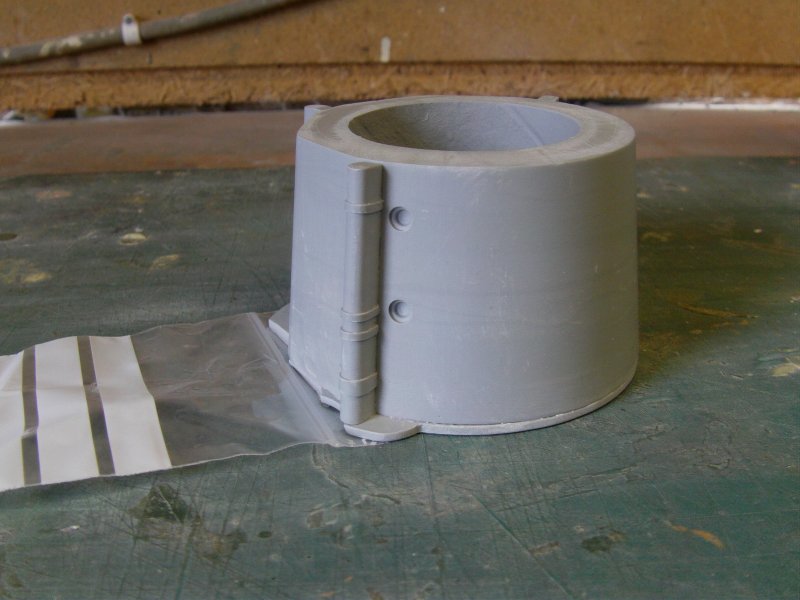
The engine cans and crisply cast things they be too.
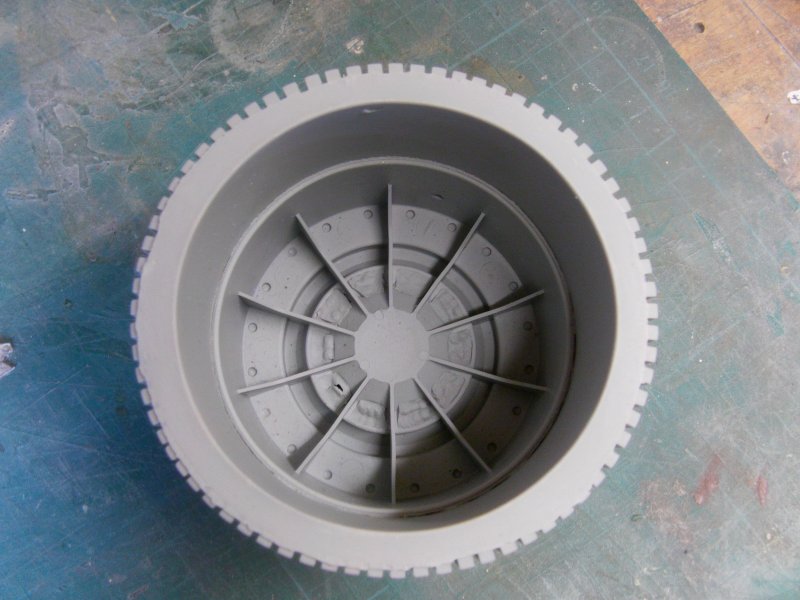
There is some resin to be removed bit that's thin enough so no biggie.
Intakes now.
The leading edges are a little too thick for my liking but nothing that can't get sorted.
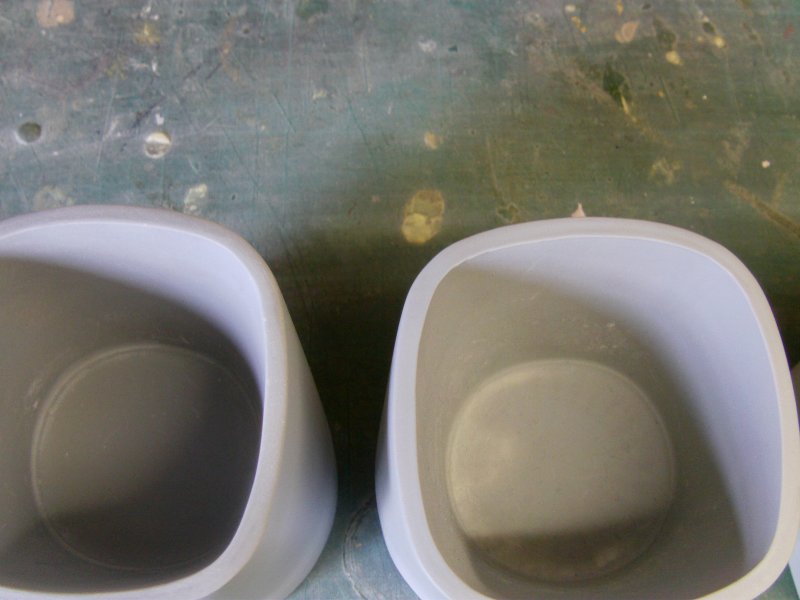
I don't think the shape is quite on the nail but that's how it be.
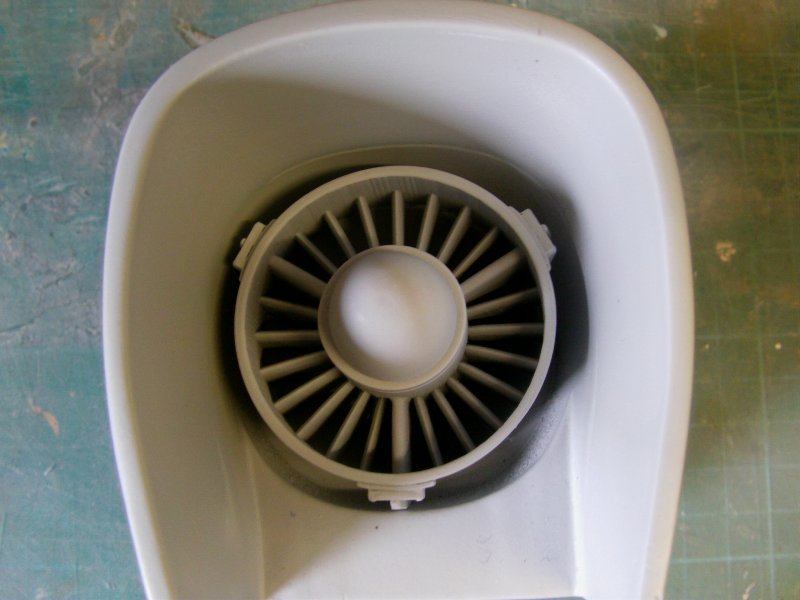
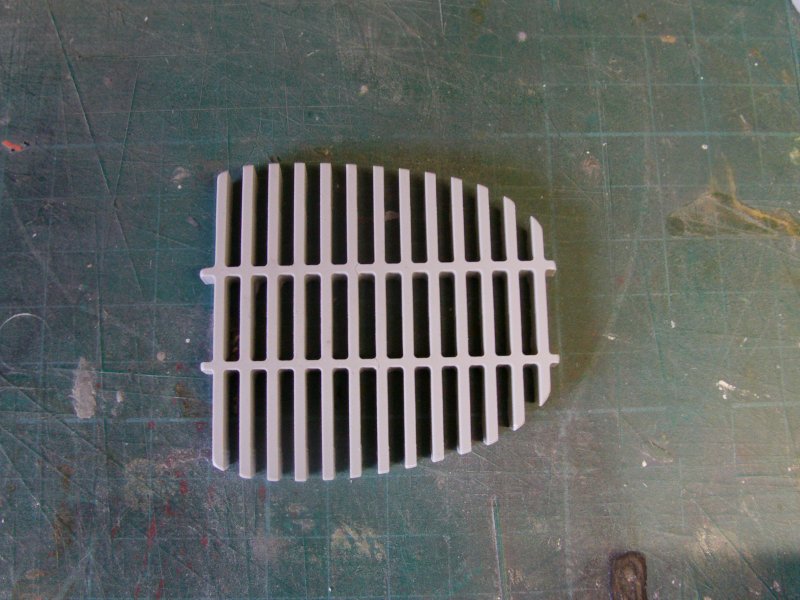
The intake fan thingies and cleanly done casts.
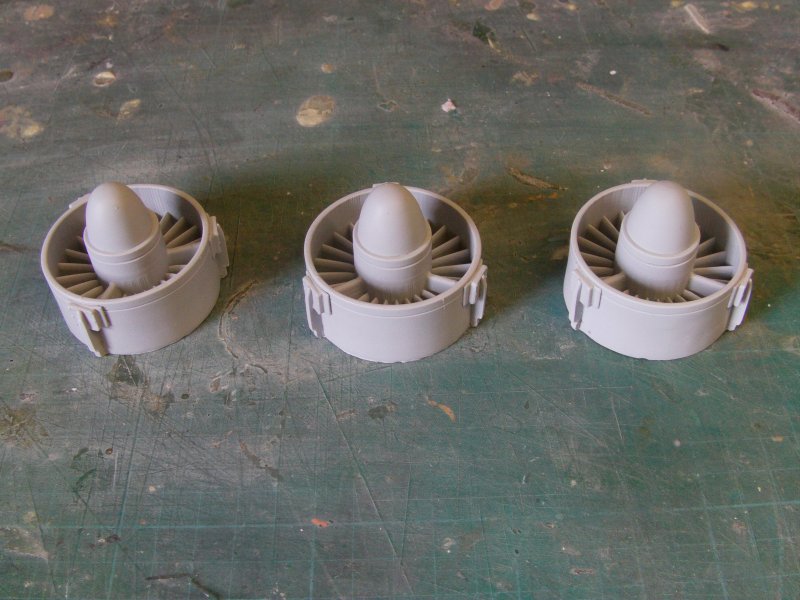
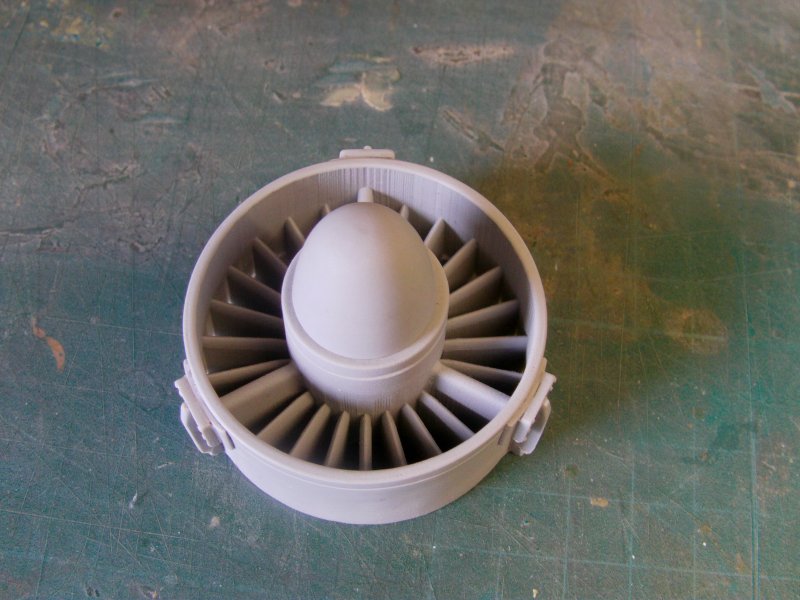
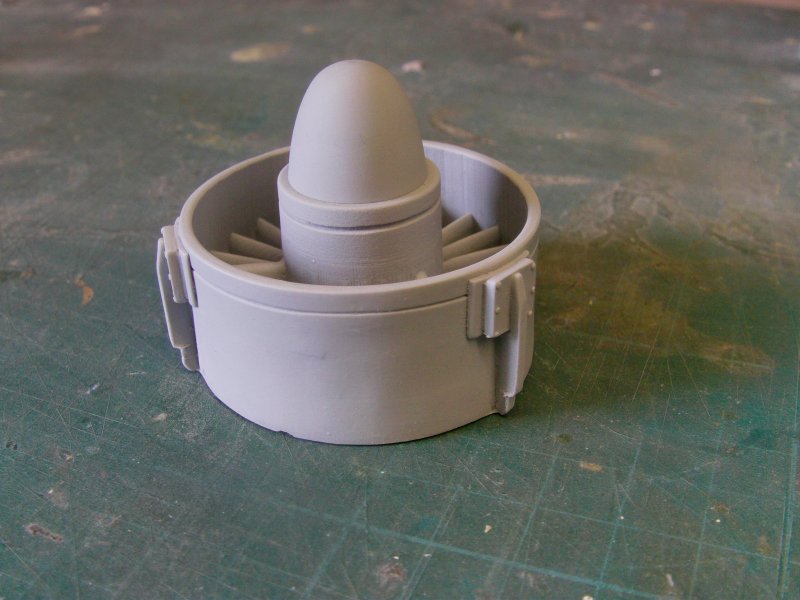
They don't quite fit exactly flat in the intakes but a bit of shaving down
on the three stubby things around the edge will sort that.
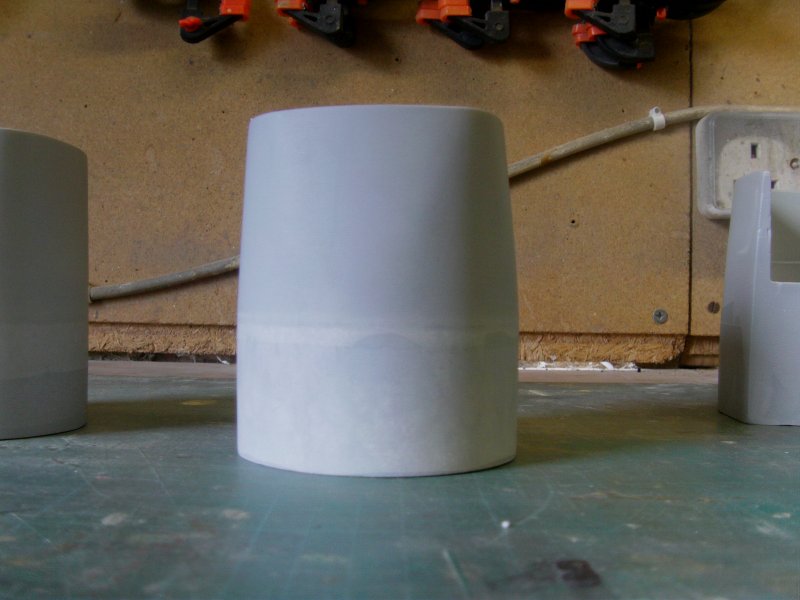
Inter-engine parts.
Holes for eventual pipe fitting cast in.
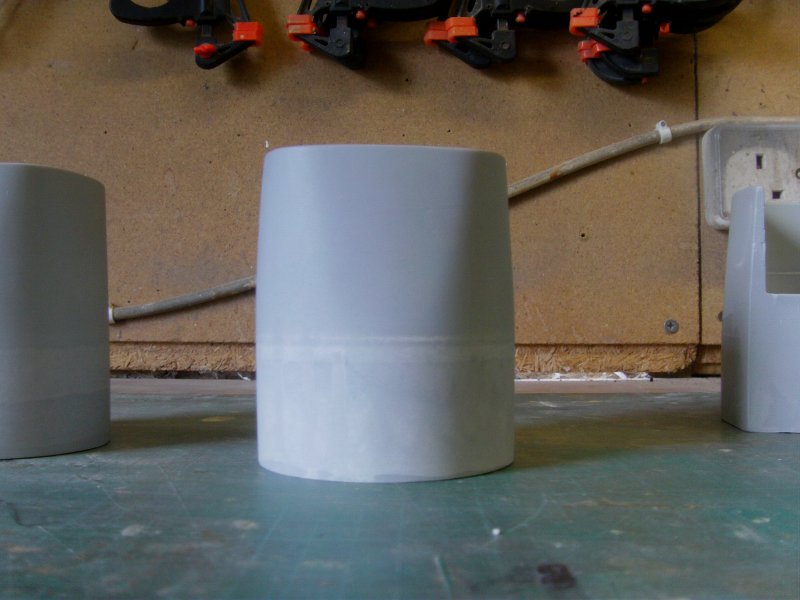
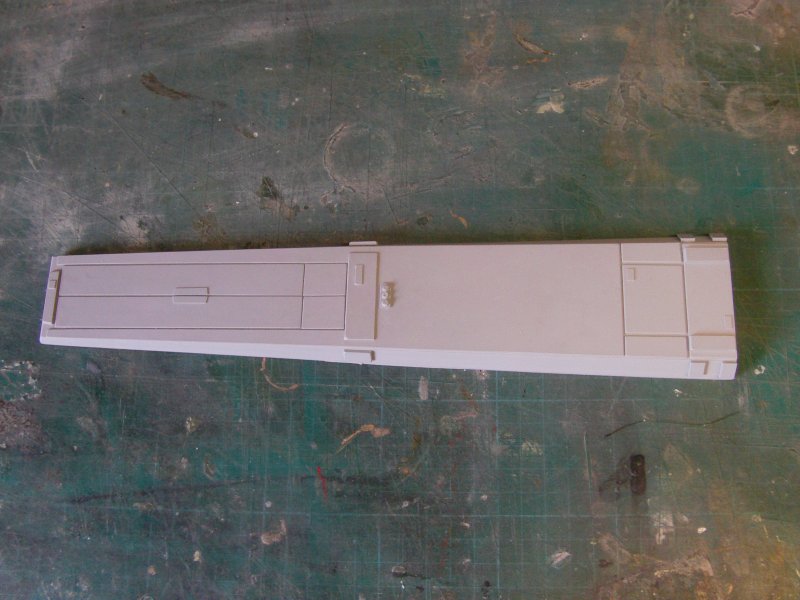
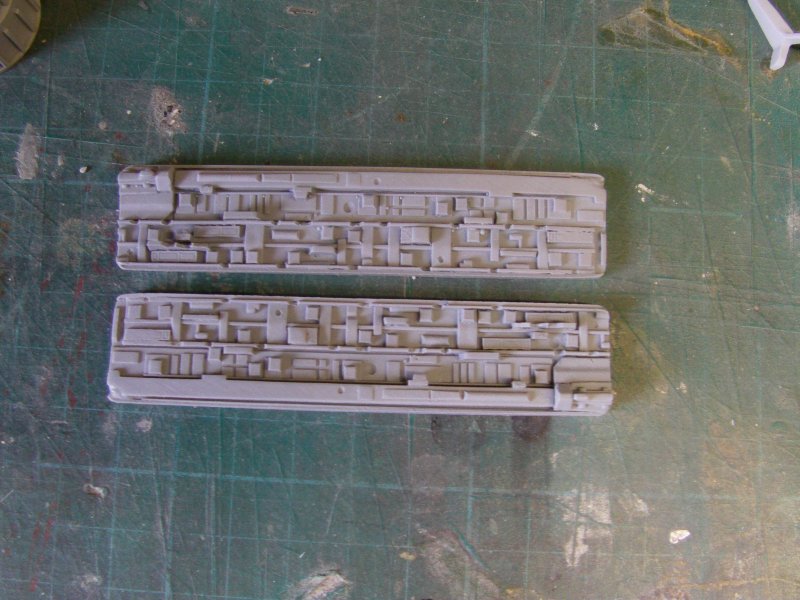
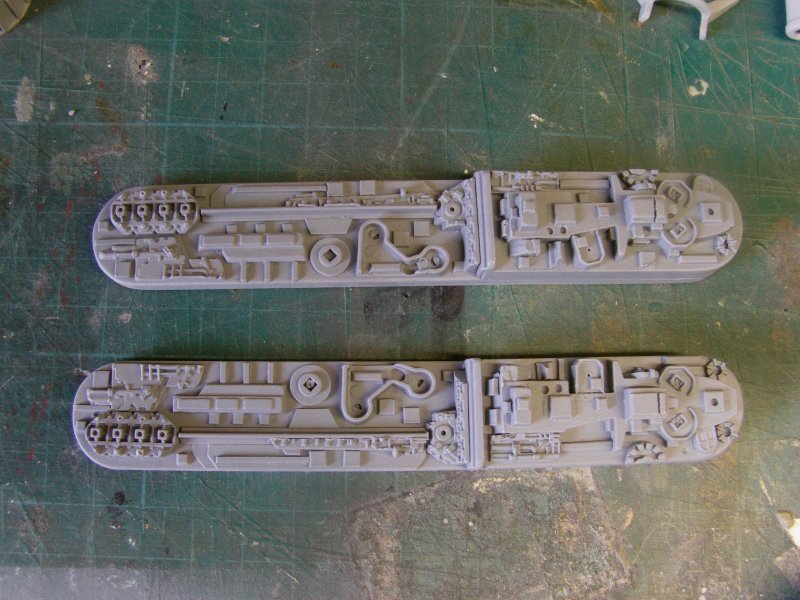
Three rear fuselage/engine center parts.
Sharp castings with some nicely detailed areas.
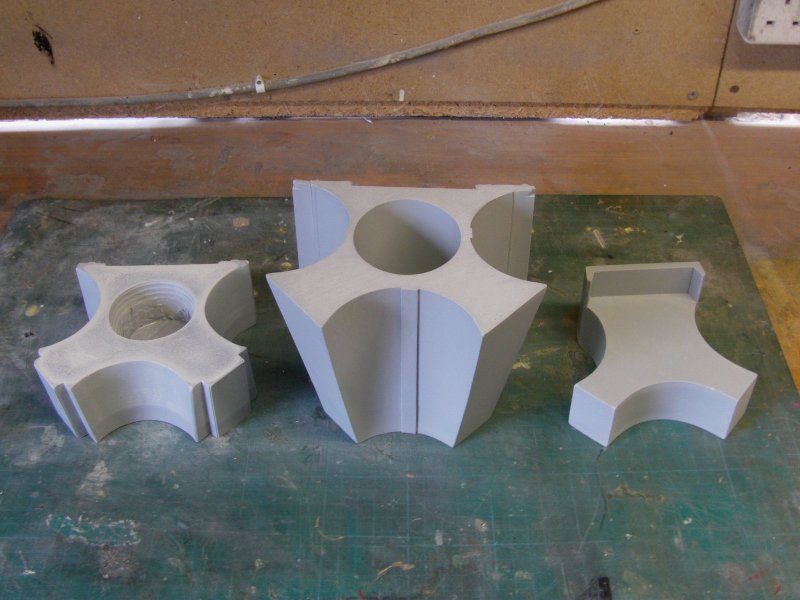
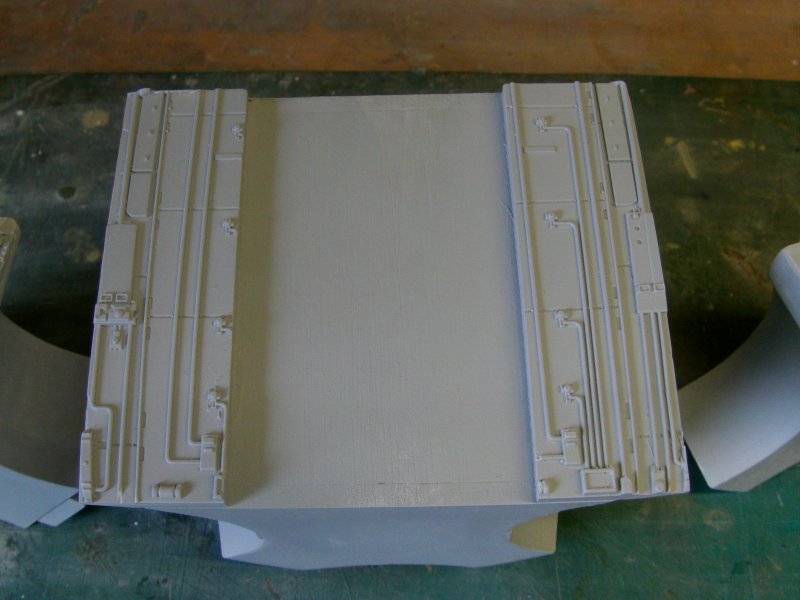
A rough dry fit together.
The raised strips of the center bit appear to match up with
the large engine parts which we'll get to in a sec.
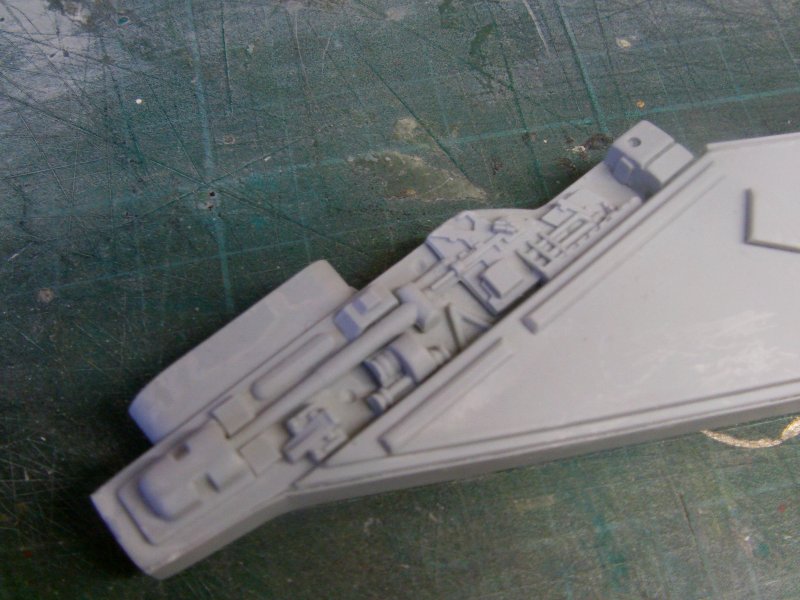
And these be they along with the fuselage belly plate and launch rail plate.
Main engine lump.
Belly and rail plates.
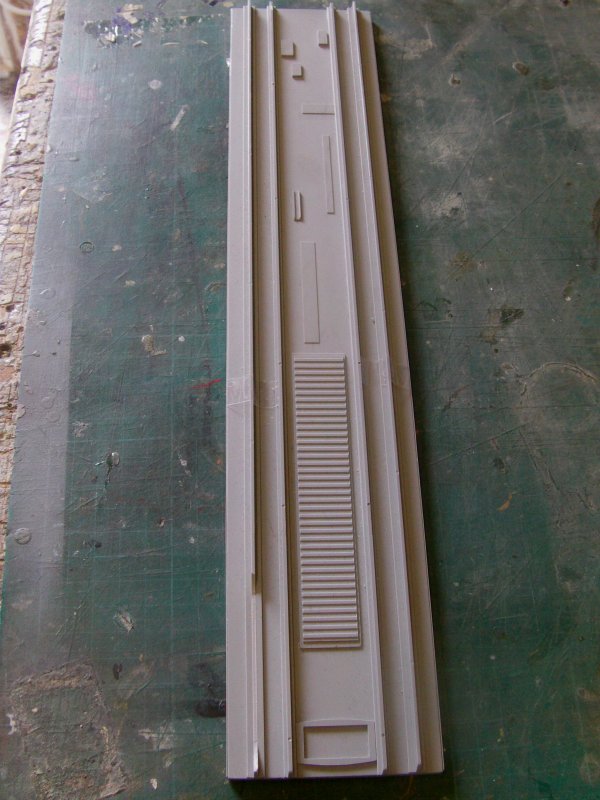
Yeah, I know the rail plate has a lump out of one of the rails
but that's taped to the underside so no problemo.
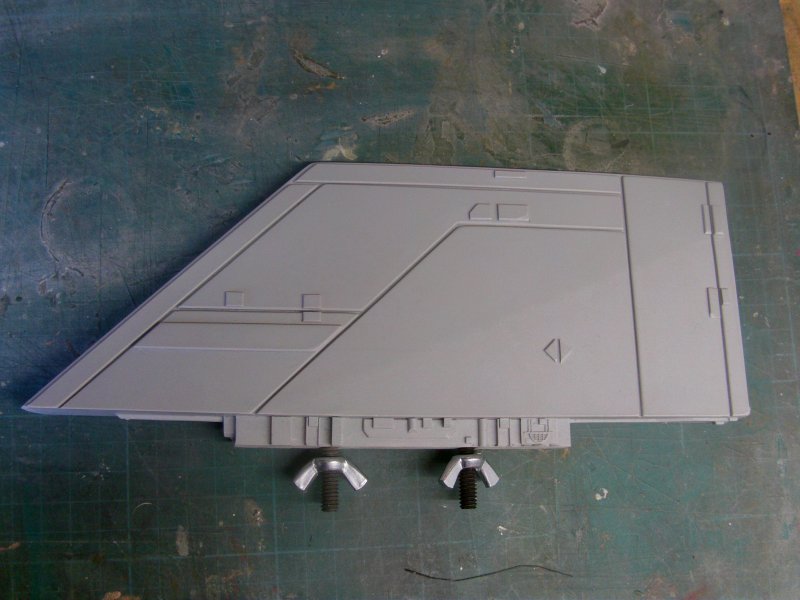
Top fin, wings and lump that goes behind the canopy.

All the fins/wings are already fitted with threaded inserts and butterfly nuts which is very nice.
And the detailing is none too shabby.
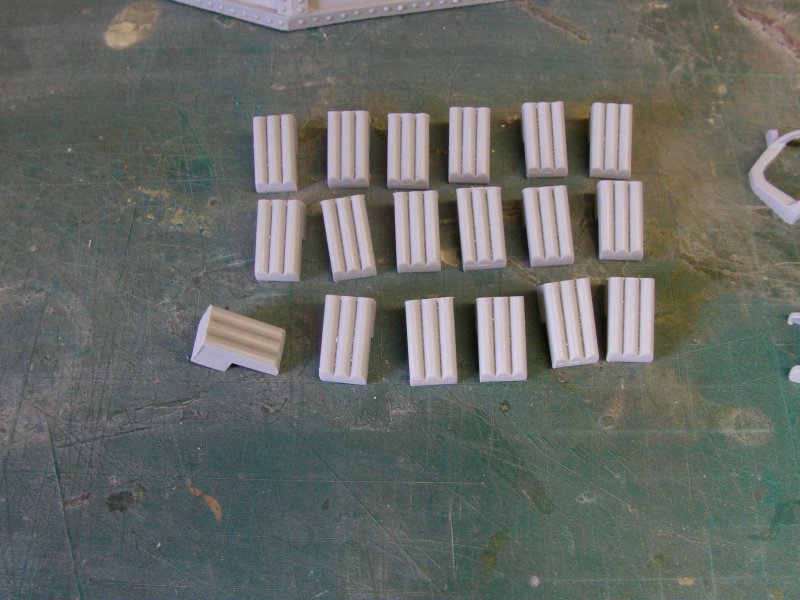
Huge pile-o-smaller-parts now.

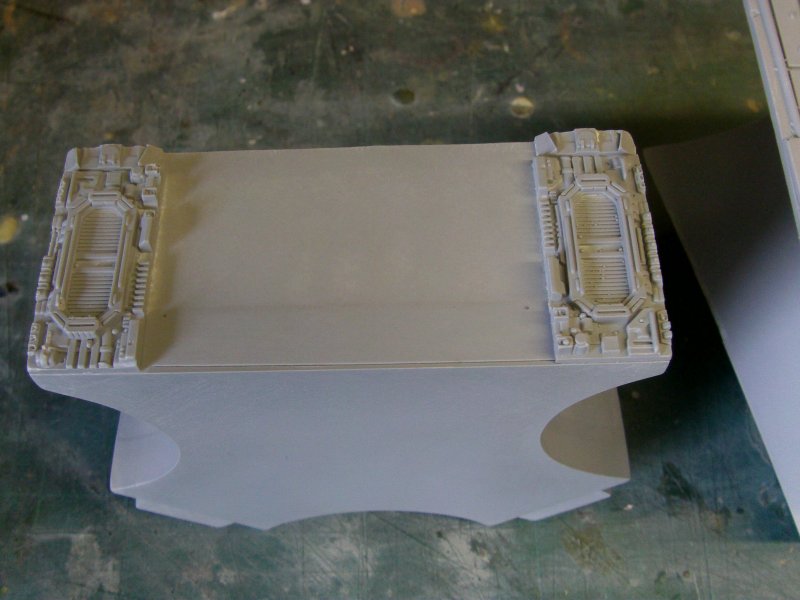
Rear detail plate.


Top shouldering detail parts that sit above the main side engines
and detail parts that go under those.

Fuselage inserts that go behind the guns.
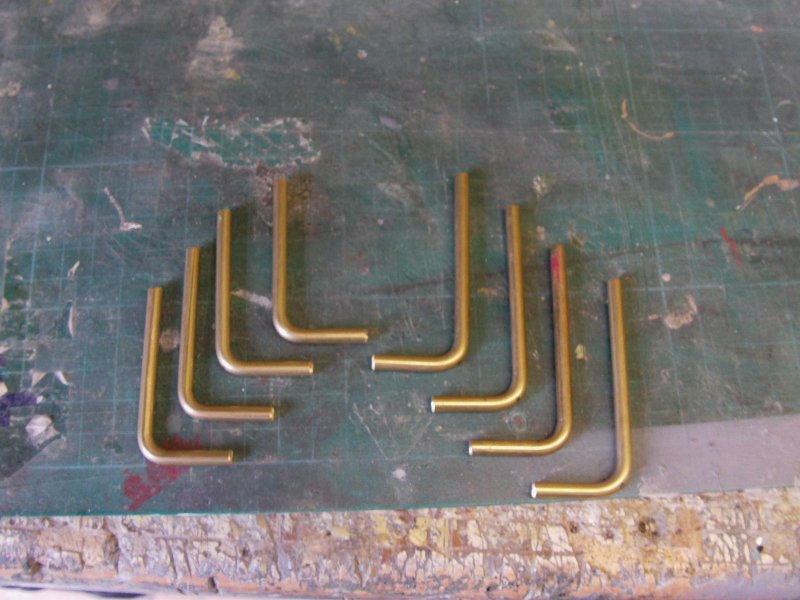
Brass rod for the piping that connect the shouldering parts to the inter-engine bits.
Inter-engine detail plates.

Detail parts that go around the rear on the intakes.
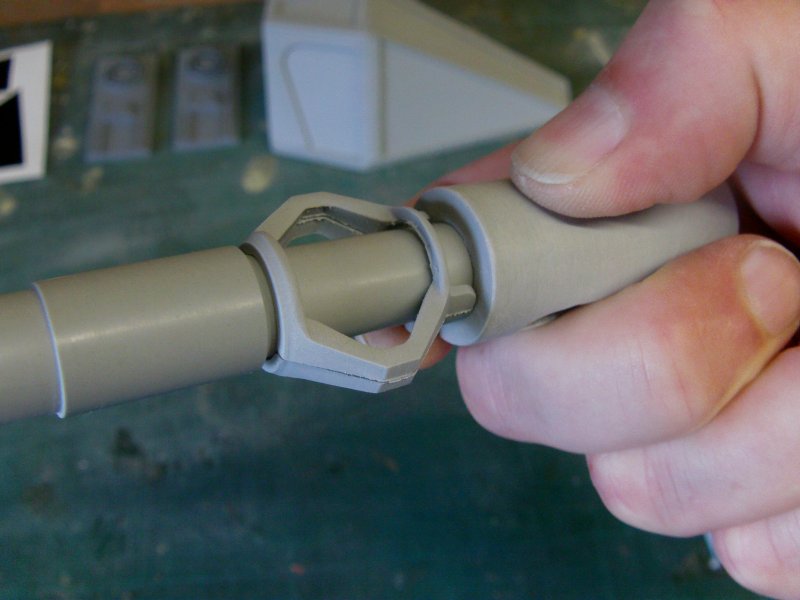
Guns and detailing parts.
And a dry fit to show how they go on.

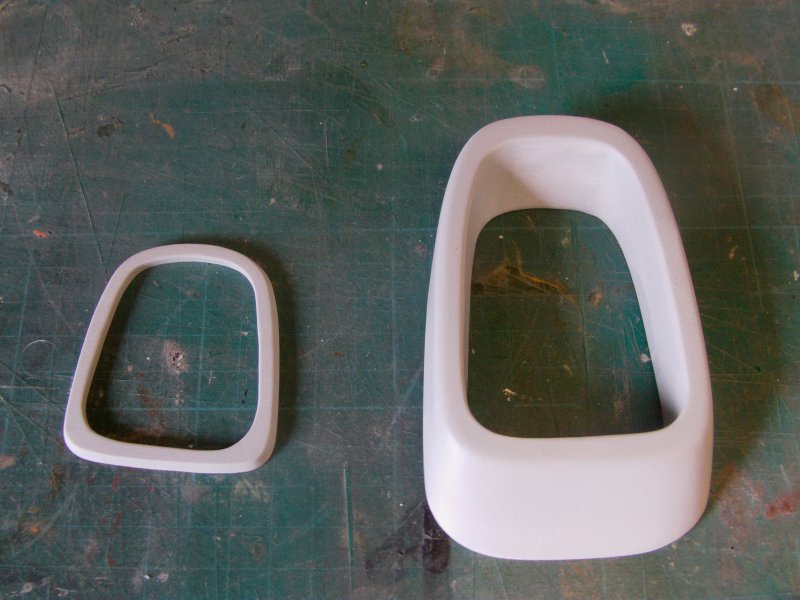
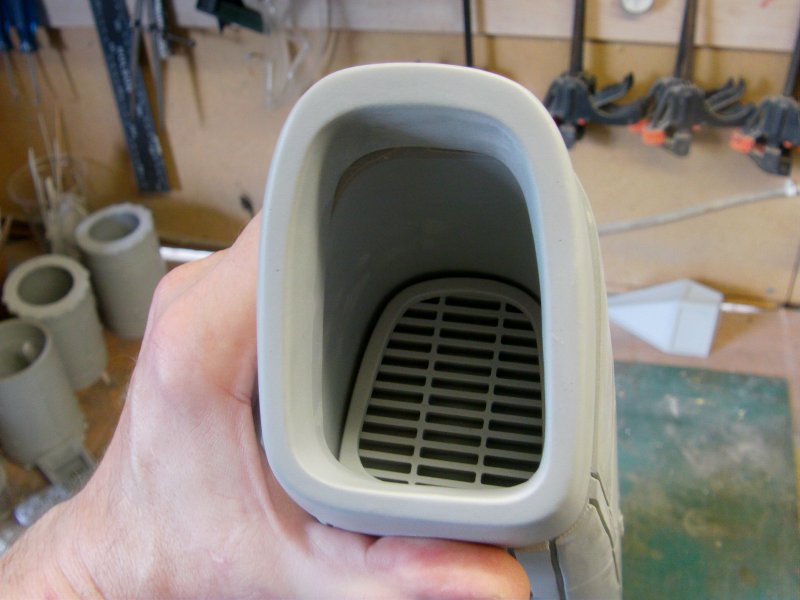
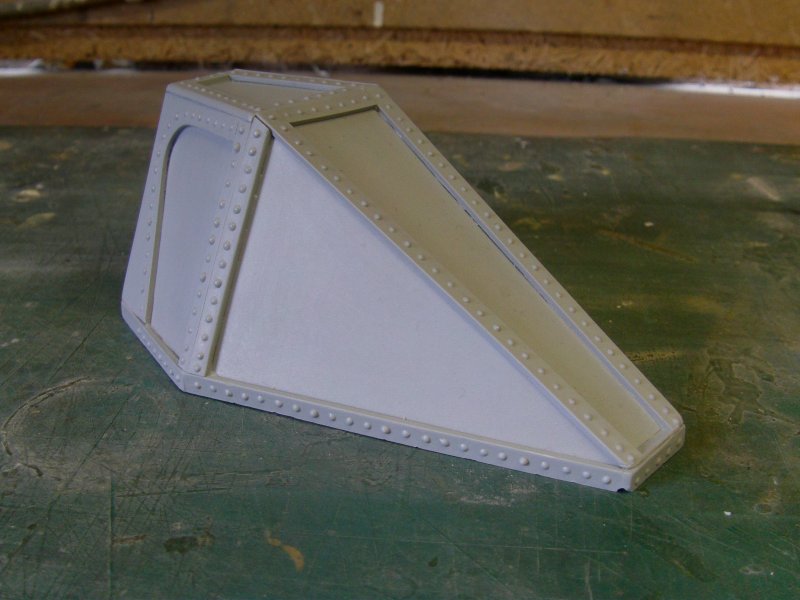
Nose intake fairing's and louvers plus a dry fit look see.
Detail parts for the rear of the main engine lumps.
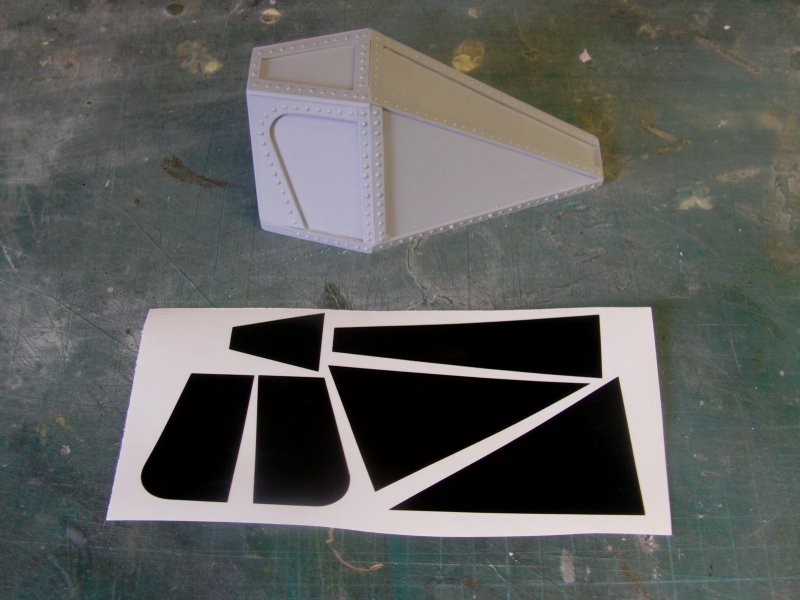
Canopy and black vynil window stickers.
And last but by no means least, the rotocast fuselage lump.
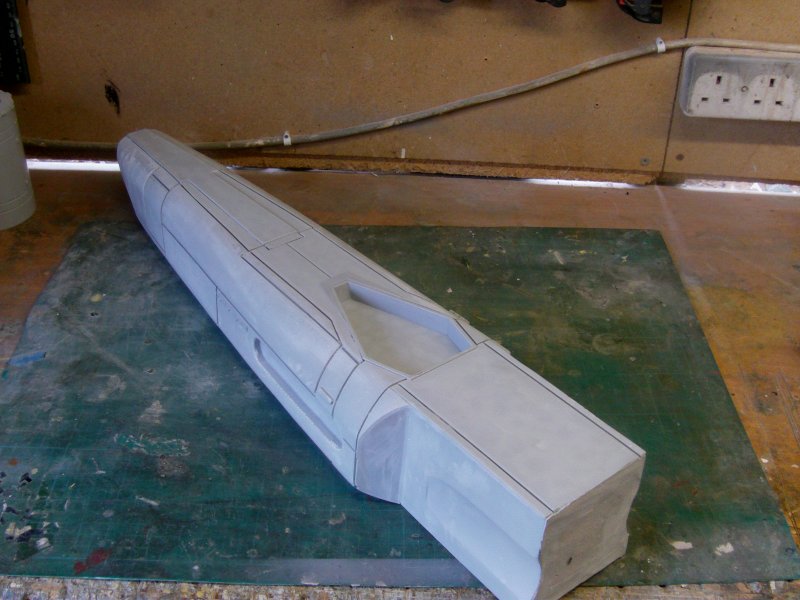
And that constitutes this larger than average pile of resin parts my friends.
Now that's out the way,
let's get down to cases here!
And to make this easier, we'll break it down to the pros, cons and middle ground in my opinion for whatever it's worth.
And i'll explain in depth once we are past the list.
PROS:
It's a bloody big Viper.
Castings are crisp.
Most of the small parts fit together are nicely thought out.
CONS:
Most of the large part fit together are non existent.
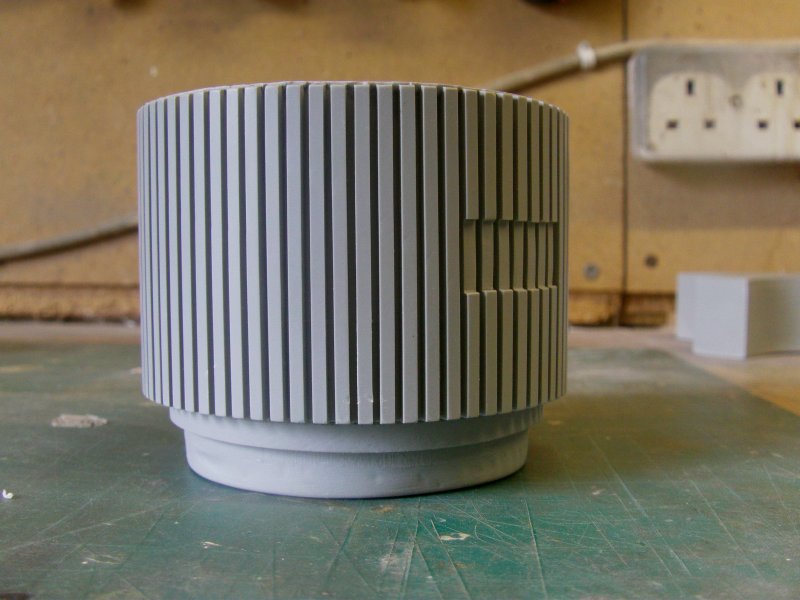
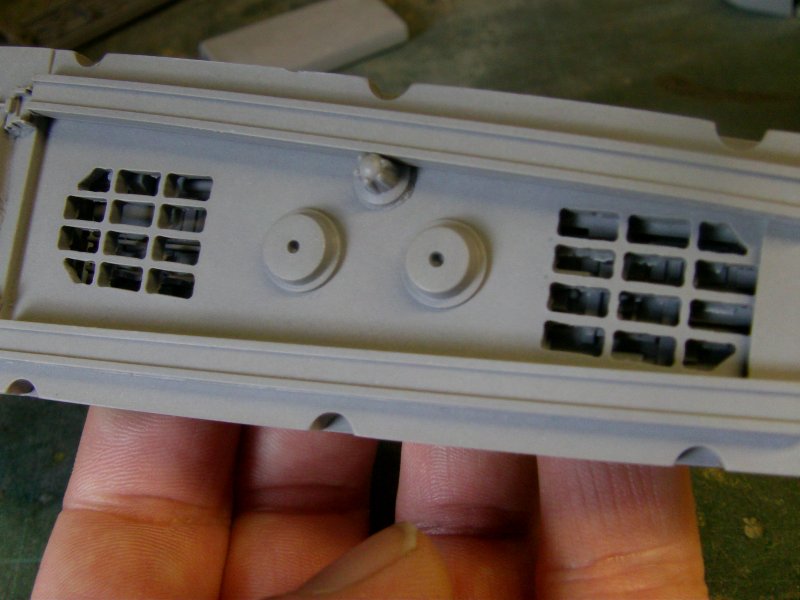
For a model this size, in places the detailing falls down badly.
The panel lines or
panel frackin' trenches
in this case.
No cockpit which in this size seems ridiculous.
MIDDLE GROUND:
It will look like a Viper when done if you are not worried about close accuracy to the studio models.
No assembly instructions.
So to take things in turn:
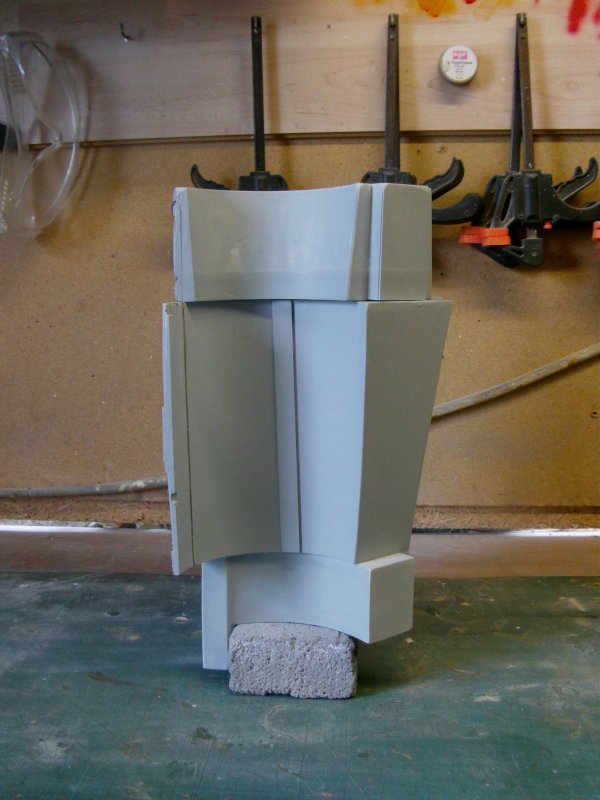
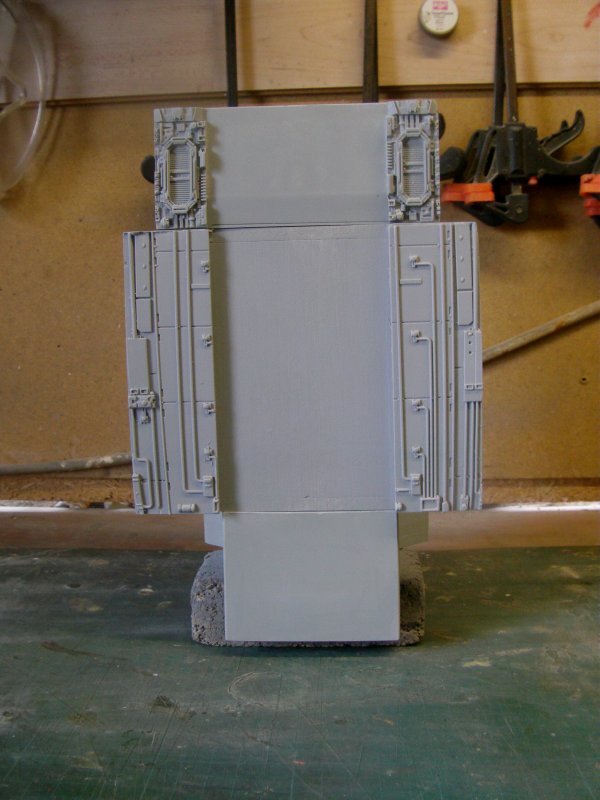
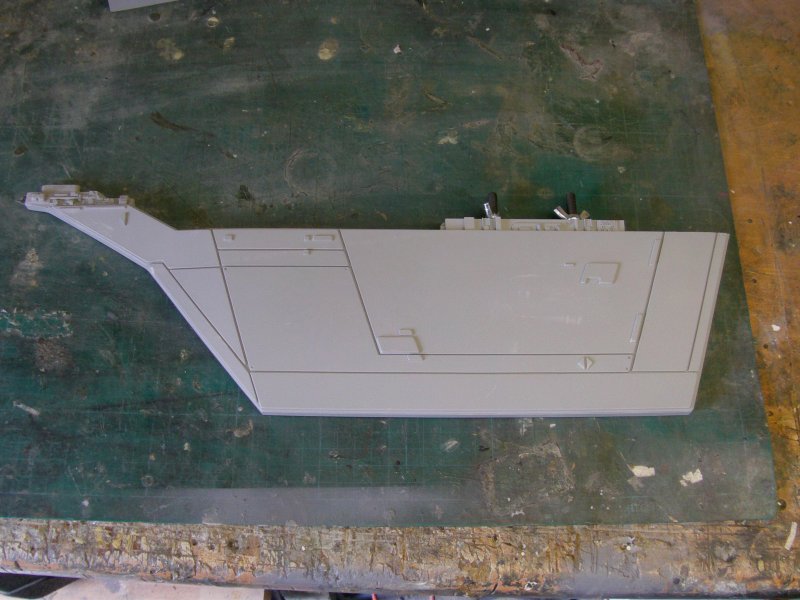
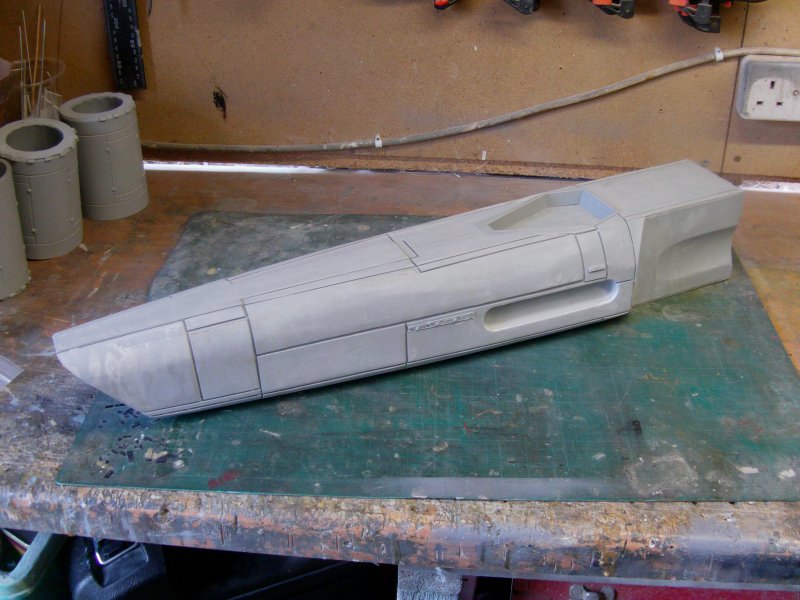
To say it's big, well here's a dry fit
of the main fuselage and engine parts roughly put together.
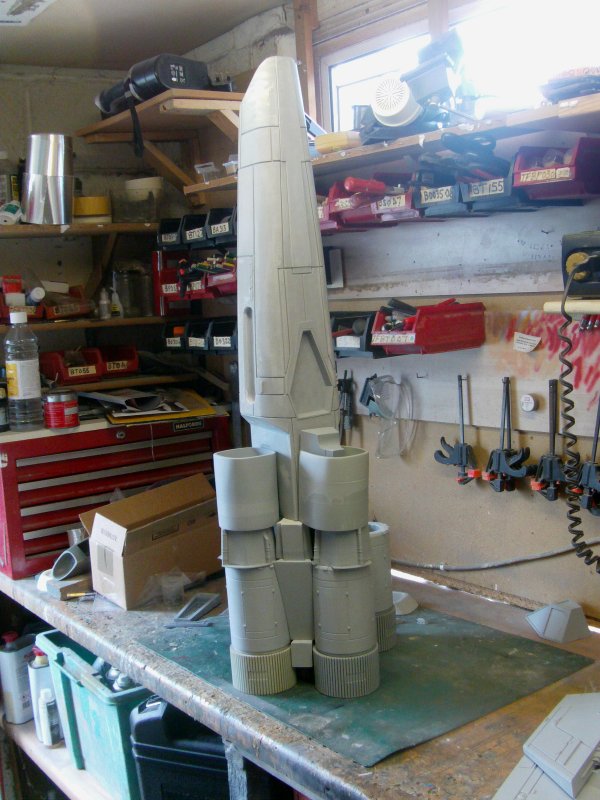
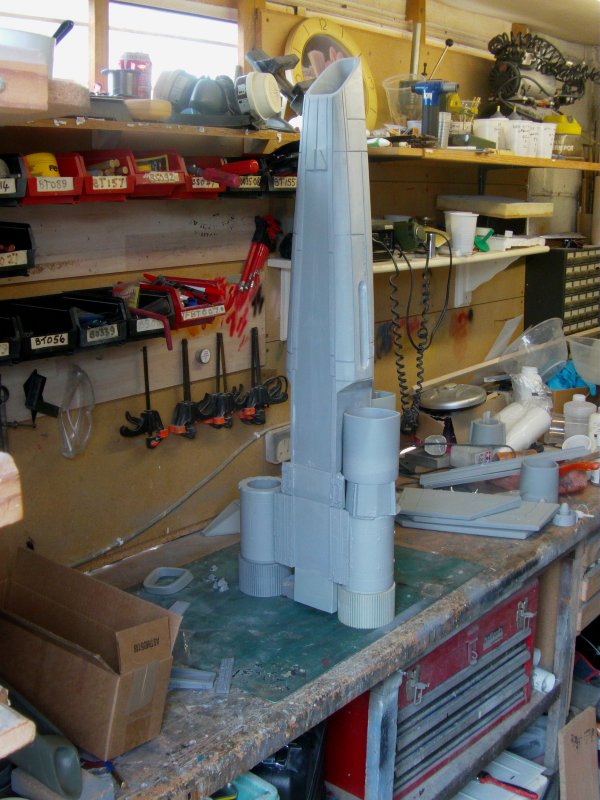
Told you.
As to the castings,
well you can see how sharp some are by the pics above so 'nuff said.
The fit thing on small parts/sub assemblies is good considering it's a resin kit so again, 'nuff said.
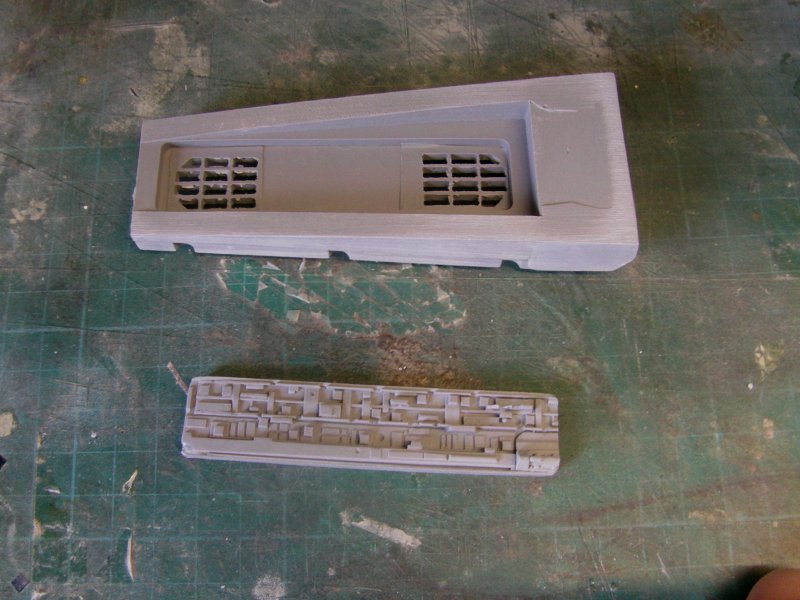
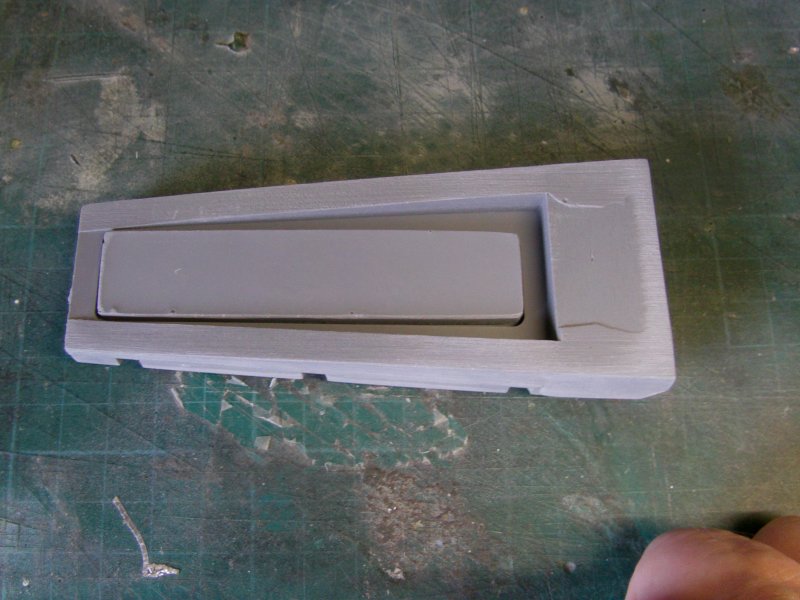
As to the cons, well the larger rear fuselage parts, these lumps...
Have no keys or location lumps so that's not a good thing by any means considering
they will be pretty important parts to get lined up correctly.
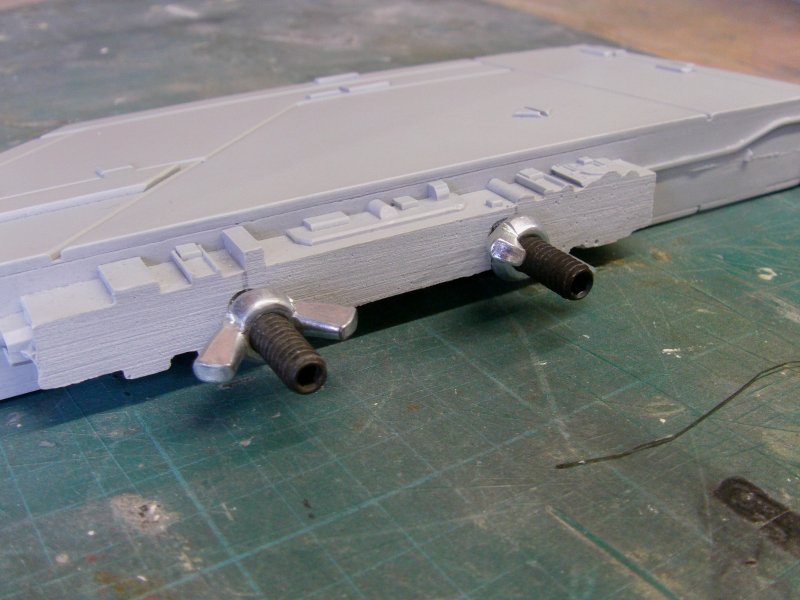
The fins have the threaded inserts but there's nowhere on the large engine parts to indicate fitment,
no holes or at least indents to drill out to get them in the right place and angle.No instructions at all.
Granted it's not that bad for the top fin but the lower ones,
that's a different matter.
Also, the threaded inserts are not all on the center line to the parts they are fixed in to so that will have
to be taken in to account so the fins are fitted straight and true.
Doubly important for lining up the guns which sit on the ends of the lower fins.
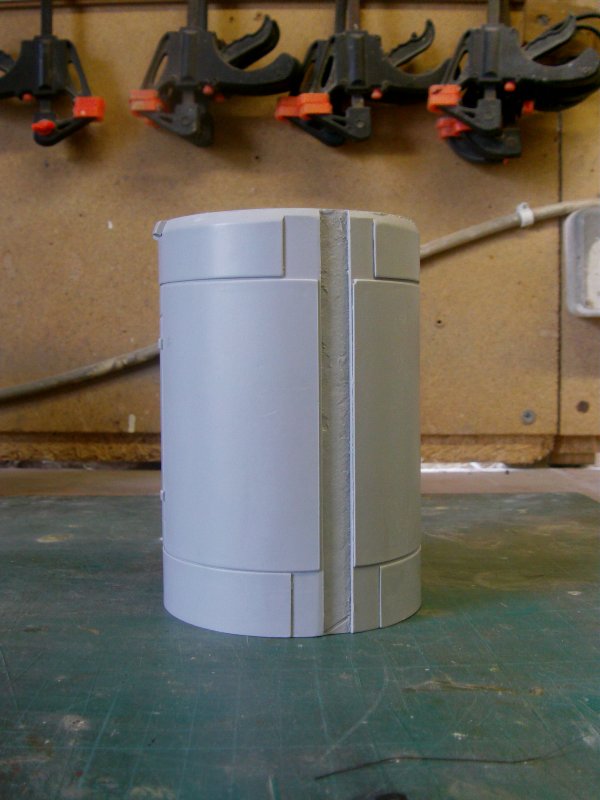
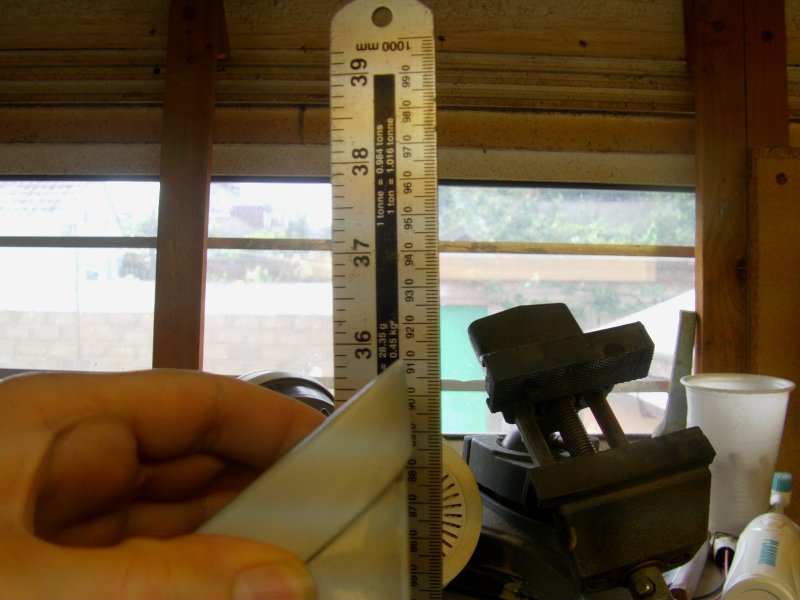
Yeah, then panel trenches...
Sorry but that's sorta fuckin' abysmal these days...
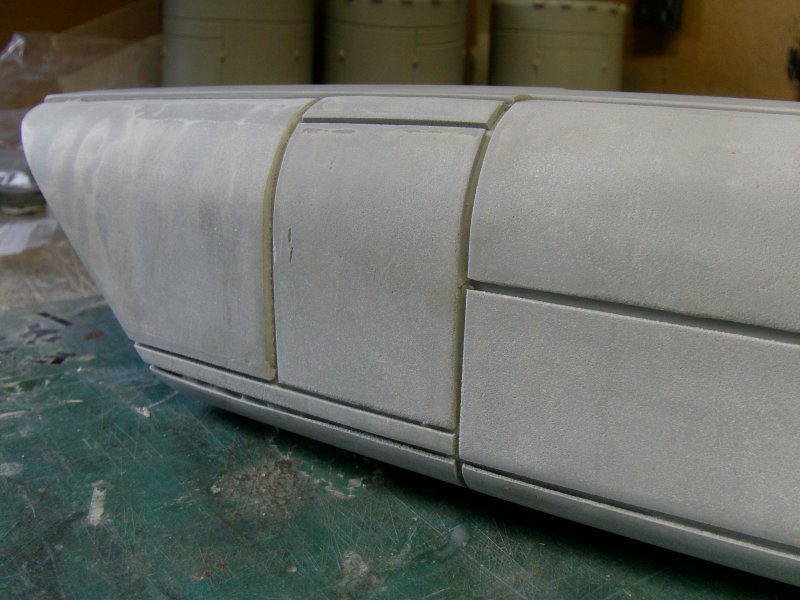
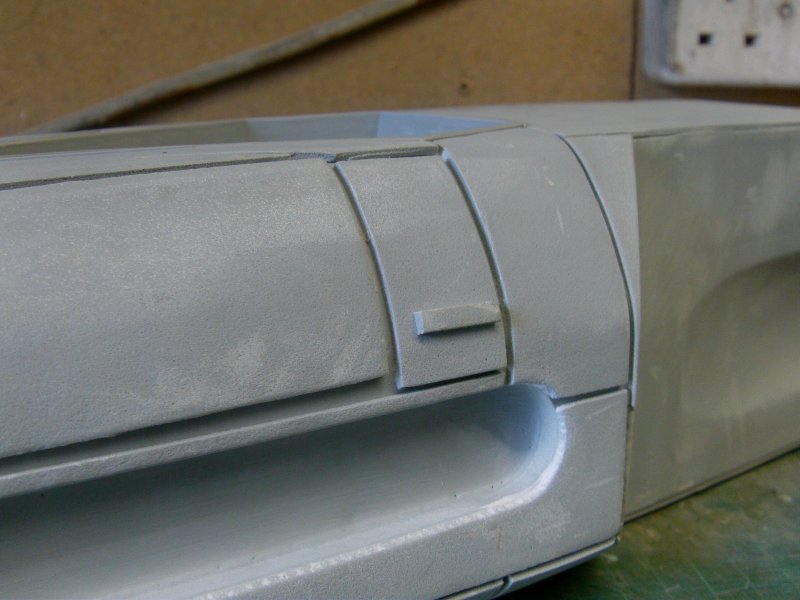
I measured them up and on average, they are 2mm or about 1/16th" wide and deep.
The ones on the rest of the parts are a little better but not a lot.
The lack of cockpit and/or pilot is a deffo no-no for me.
Now in their slight defense, the fella who slung this kit my way did say they were turning out a
cockpit kit for it back in January this year but that has so far been a no show.
If that continues then a scratch built one will happen with a pilot.
Granted I built a cockpit from scratch for the Salzo one but that's only because
the supplied one wasn't up to snuff in my opinion.
Even so, at least a cockpit and pilot figure was supplied which is how
it should be with something that big and more so for this.
As to the middle ground stuff...
I spoke about accuracy and here's the thing,
looking at the pics of the built up one on the Modeler Magic page right HERE,
it looks ok, it's kinda close to how it should be, it's a big ass Viper!
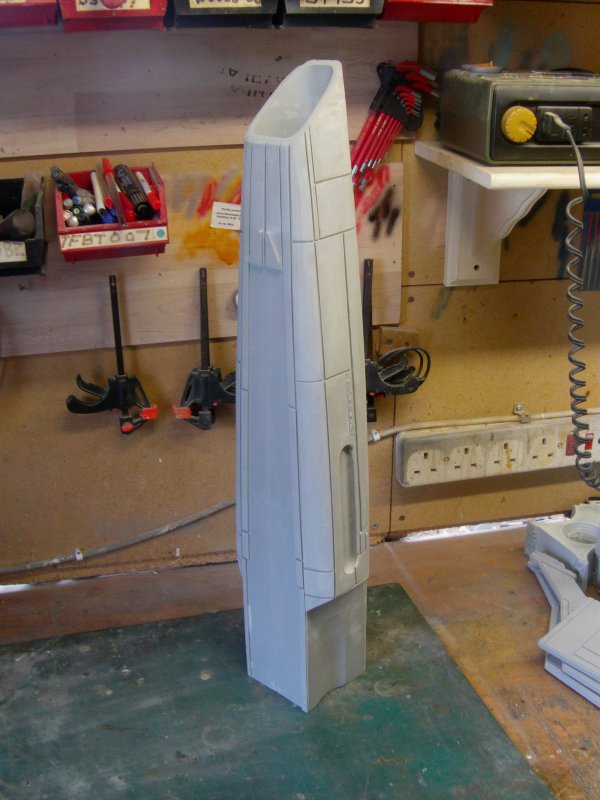
For me, the thing that lets it down in the main, is the front fuselage.
To illustrate, here's rough side by side shots of the Salzo Viper fuselage.
The pic enlarged slightly to be somewhere close to the SithPlanet one in size,
remembering that the Salzo one is 1/12th scale.
And it's the only one I know of that's anywhere near the
size of the SithPlanet one and it is bloody accurate.
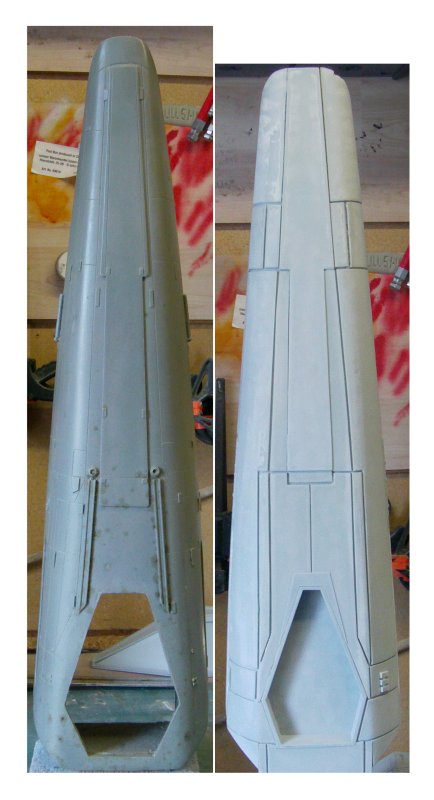
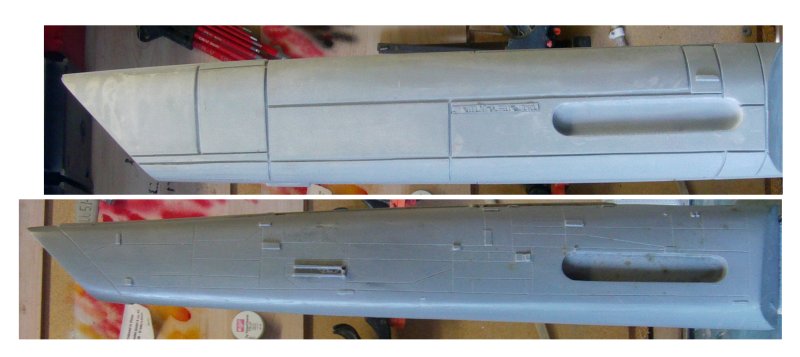
It should have WAY more of a taper as it gets to the nose both in plan and profile.
Granted it may not mean much to some but to others,
it may well do and I have to admit to a degree,
i'm one of those it does bother.
There are many smaller accuracy issues
Saying that, it will be down to the bloke who will be displaying it
in his home as to how much he cares or not as the case may be.
On the subject of instructions, well it all depends in the modeler in question.
Can I get by without them for this beast?
Yes I do believe I can but others may not be as experienced,
bloody minded or insane ( or all three) as me so it's down to the individual on that one.
All the above said, it's going to get built and i'll do the very best I can on it.
Expect a multitude of metal pins/screws/industrial epoxy/nuts and bolts to get used on a lot of these parts coz it's a gonna frackin' happen!
A display diorama of sorts was also requested, just the deck, start of the launch rail and the bulkhead with launch tube start.
Of course doing all that and making it so it can all be broken down
and sent to it's new home in Germany is another matter which will be addressed as we go along.
Wish me luck gang, i'm gonna need it!
You lot go easy out there now.
Page Number