
Sovereign Replicas USS Enterprise NCC 1701-E
1/650th Scale


 Page Number
And here we are, the second of the previously mentioned twofer...
It's A Wiring And Hot Glue Kinda Thing
Well to put it simply, it's a tidy up, fixing of some lighting in place and sorting a
few things 'fore gluing the halves of the secondary hull together
First job up and a fairly straight forward number,
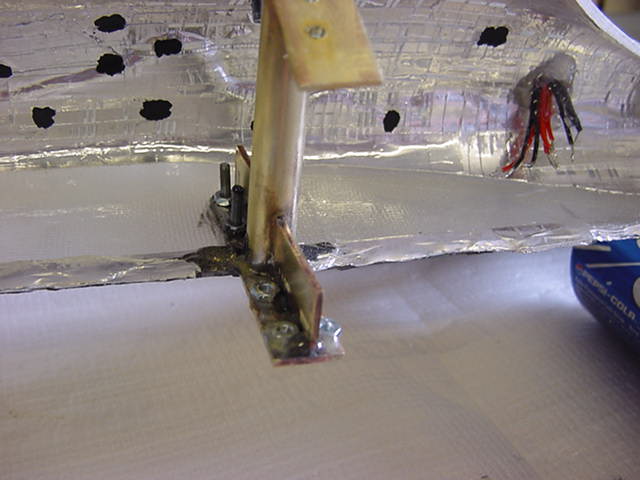
the bracket needed the M2.5 nuts glued on to make them captive,
so when it comes to sticking the deal together at least I can be certain the bolts would have summat to bite into.
So bolts inserted, nuts in place, a dab of epoxy here and there,
left to cure, bolts removed, like this...

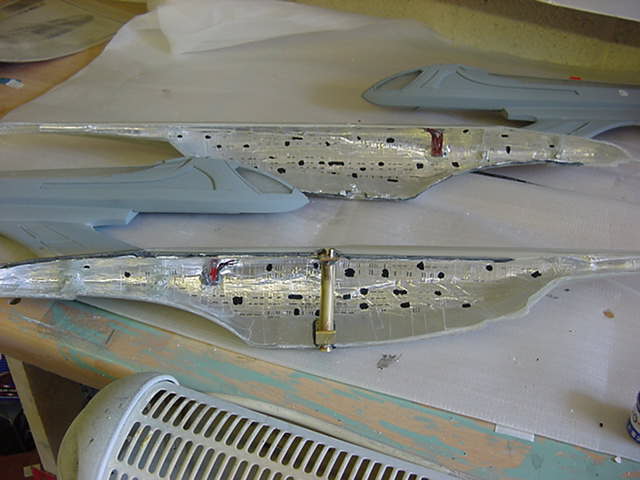
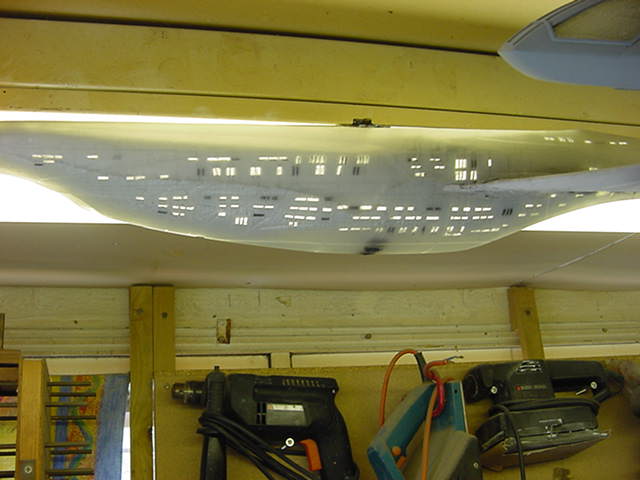
That bit done, time for some window blacking out to break up the lighting a bit
Simple job again.
I knew there would be one or two simple ones somewhere along the line.
A few generous dabs of matt black paint,
once dry said dabs were just foiled over and that was that.
Onto the main lighting now and having a think about how many and where to put
them coupled with how to mount them in the hull,
it just suddenly occurred that I still had some of the foam board the parts
were attached to when the kit was shipped.
So a bit of cutting and hole punching along with some 10mm white LED's and the result is as follows...
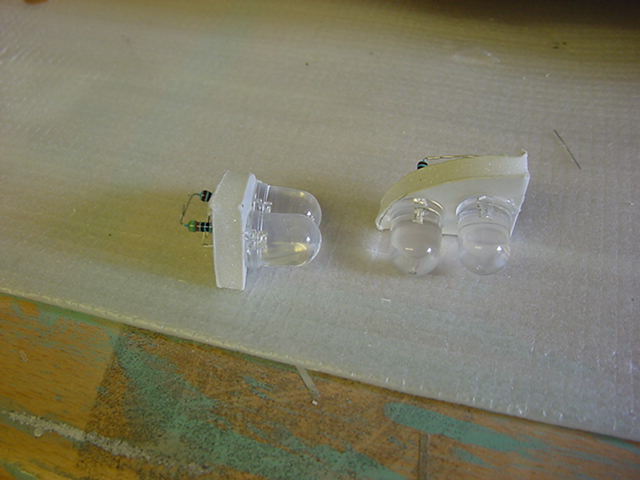
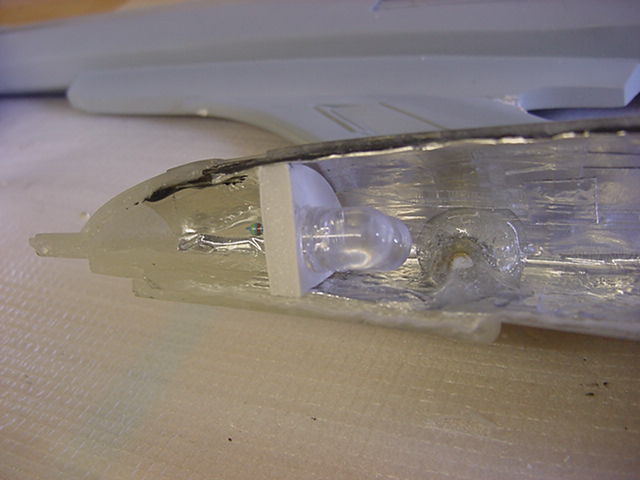
Simple and suits the purpose, Wired up and hot glued into place,
a single LED at the front completed one side and the same was
done with the opposite side.
Now then, here's where it gets a bit tricky...
To Hack A Lump Off Or Not to Hack A Lump Off ?
Now space is a bit tight in some areas of this thing and there was still the question of
two nav lights and a strobe light to be fitted.
As it happens all the aforementioned lights sit on the seam between the hull sides just to be awkward.
Thanks to another modeler (cheers Lou!),
I was already aware that fitting the two nav lights which sit above and below the fantail was going to cause some grief.
One solution was to remove the main hangar bay doors to get at that area to fit the lights
and such and put said doors back later.
Well to be honest I didn't really fancy that course of action so after a good head scratch,
I came up with the following.
Take the 3mm LED's for the nav/strobe lights,
drill a small and shallow hole in the top and epoxy 4 strands of fiber optic into said hole to end up with this...
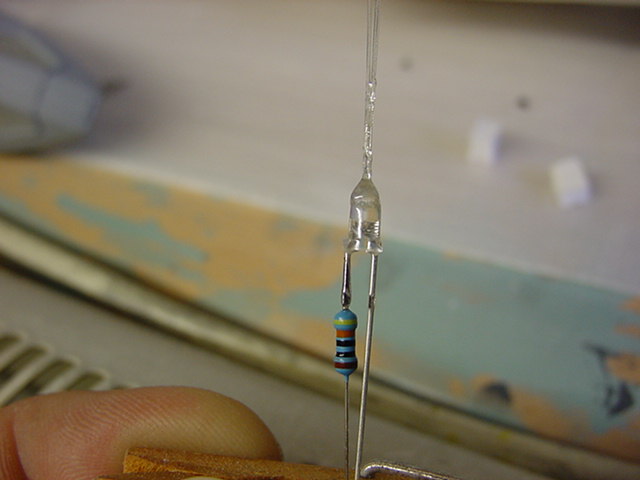
Then insulate the legs and resistor, then wrap the thing in foil tape and trim the end.
What I ended up with was three items that looked like this example.
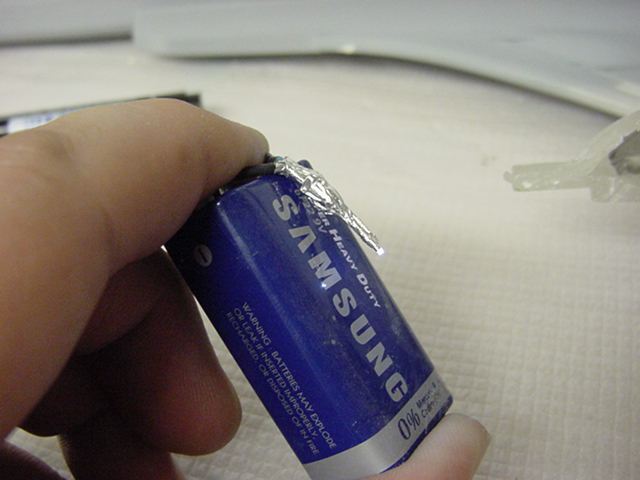
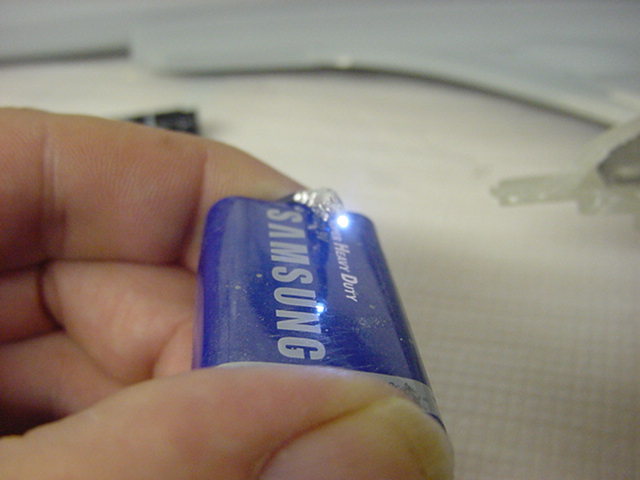
Well that seems to do the trick so some hole making in both halves
of the hull and some wiring up and here's what we got folks!
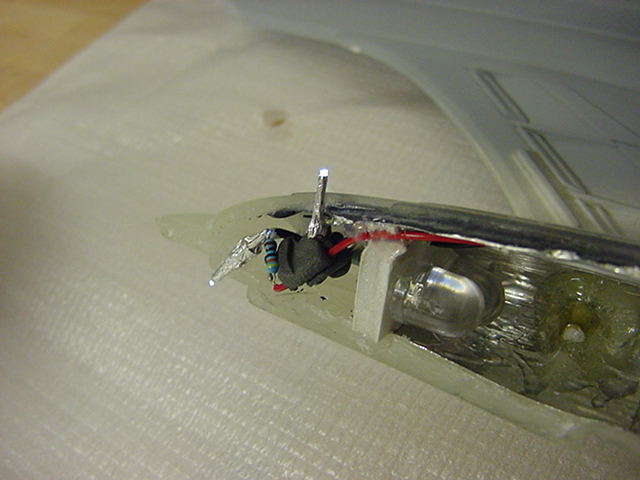
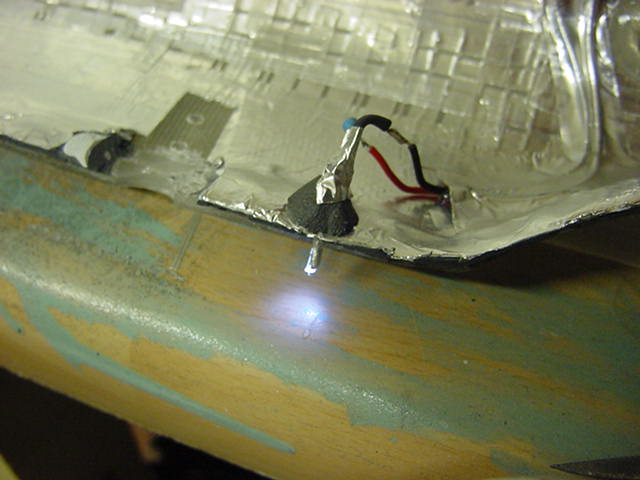
The excess will just be left alone untill the seam clean up.
So, everything crammed into place, wired up, all wiring fed through holes so
all the joining up could be done after secondary hull sides had been
glued together and we be about ready for the gluing and clamping hoo-ha.
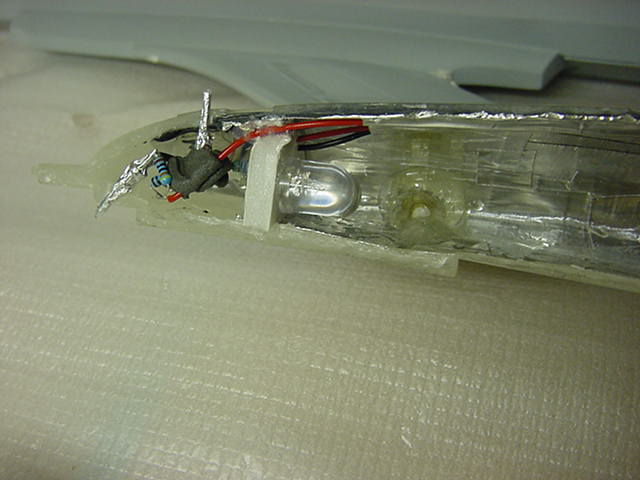

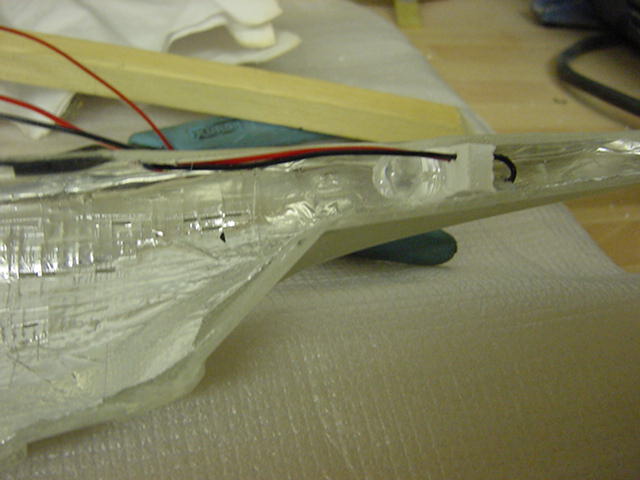

Well that done, some final tidying, epoxy steel glue, lots and lots of clamps,
the help of an supportive old friend and the rather messy article is finally together !
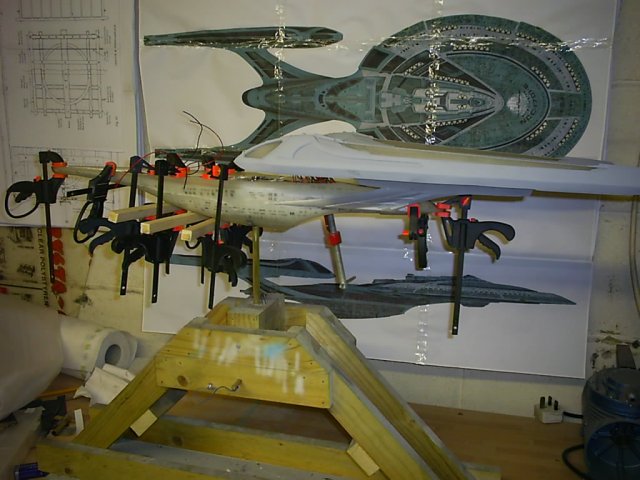
Yep, looks a right bloody mess don't it. It will remain like this for at least 24 hours
though by that time i'll be knocking it off for the day so most likely another 18 hours on
top of that so if the glue ain't cured by that time then the
adhesive manufacturer will be getting a well pointed communication from yours truly.
Well folks and folkettes, i'm in serious need of a cuppa and doing some content
reducing damage to a packet of coconut macaroons.
See thee for the next possibly interesting update, go easy people.


 -
-


 Page Number


 -
-


