
Sovereign Replicas USS Enterprise NCC 1701-E
1/650th Scale


 Page Number
For once, we are actually getting somewhere...
Filing And Wiring Fun...Sorta...
Well now, as you rejoin the fun fest here at the hellhole the clamps and suchlike stuff
was removed from the secondary hull and yours truly
stood there and watched it like a hawk for 15 mins.
As it happens the very slim possibility of a epoxy fiberglass grenade
going off as the seams split and frag flying everywhere did not occur
so I do believe we are onto a winner.
All well and good so proceeding with the seam cleanup...
and lo, there was much laying on of putty and much
scraping and rubbing did happen late one night...
And yea the surface was smooth in a pleasing fashion,
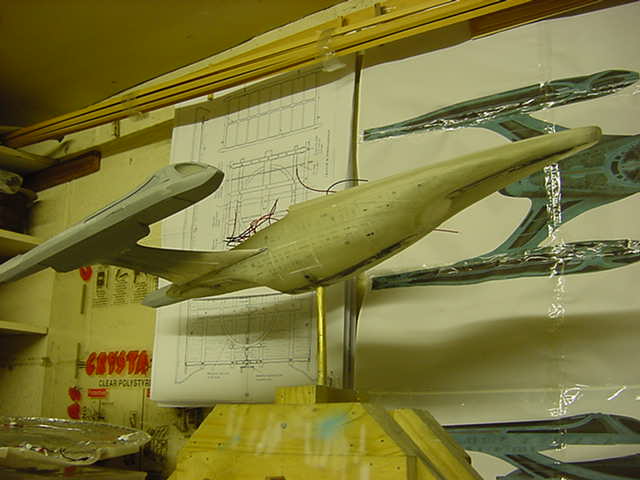
then I didst most cheekily park the bottom of the saucer on the sticking out bit for a
crafty looksee and I saw that it was good,
bloody good in fact !

All that seemed to go as well as could be expected so on to the next bit o' ridiculousnessessess
Using the same messing about for the nav/strobe lights on the secondary hull,
it was duly done for the nav/strobe thingies on the saucer.
Now a couple of things to mention here. First off and after much reviewing of Star Trek Nemesis,
it became apparent that the red and green lights on either side of
the saucer and the white on the nose do not flash or at least they don't on my copy,
yours may vary but anyways.
I will make them flash because it's my model and that's what i'll do dammit! (deep breath) Ok moving on,
the other thing is that the afore mentioned green and red seem to have
a white strobe mounted close to them so that is how it will be done on my one.
To begin with, space on the saucer edge is a bit tight inside so...
a small hole was made in a small piece of that foam board I was yakkin'
about last time and a bunch of four fiber optic strands
were slowly drawn through the hole while applying epoxy to one side of the
hole so the strand was made into one thick one so to speak.
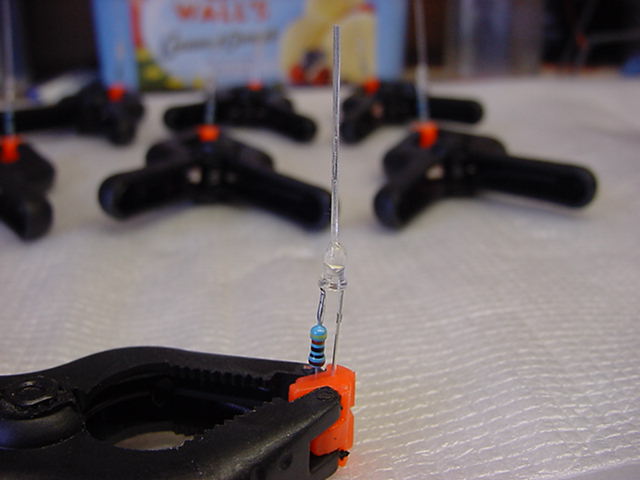
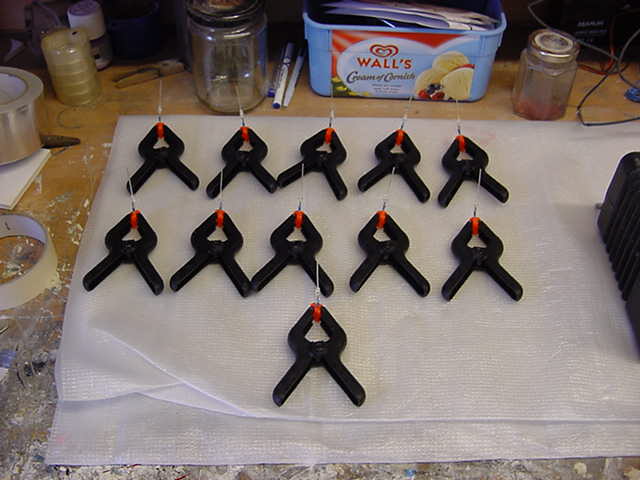
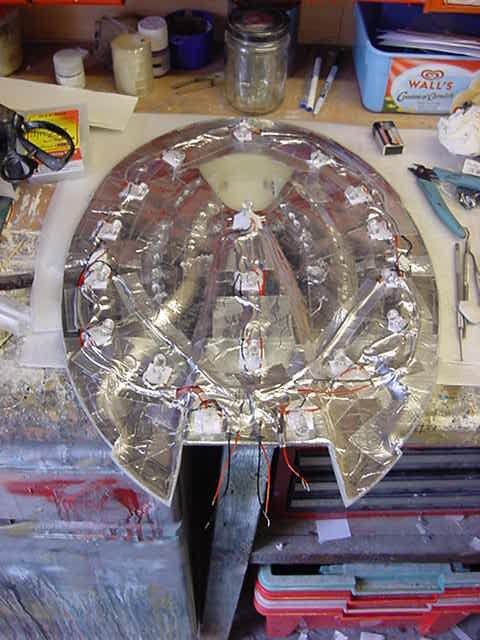
Then eleven 3mm LED's were pulled from the pile,
resistors attached and a small hole drilled to a
shallow depth in the top.
The now cured strands of fiber optic were cut into about 1 inch lengths and glued to the LED's.
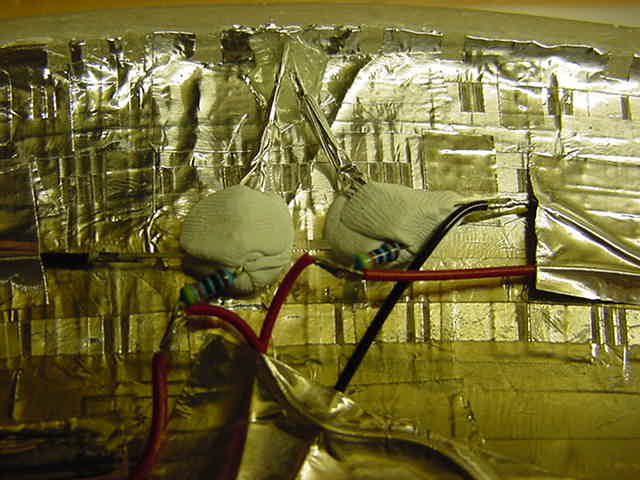
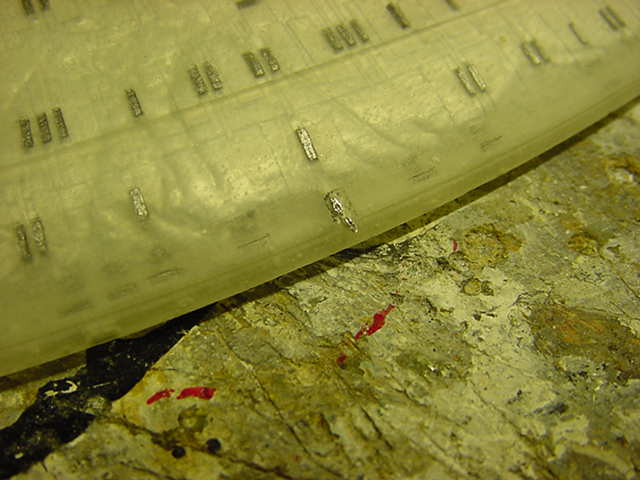
For the side nav/strobe setup, two holes were drilled in the saucer edge at an angle,
the LED's foil wrapped, set in at said angle then glued, puttied and wired up.
All this held them in place and left two small
stubs standing out of the saucer surface.
That done, a quick test to see the light results.
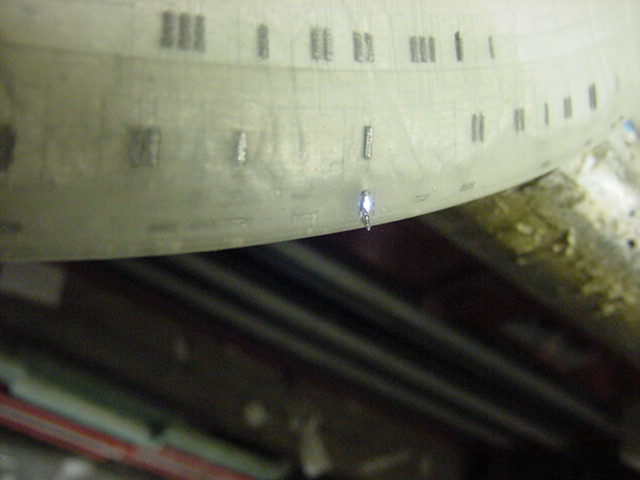
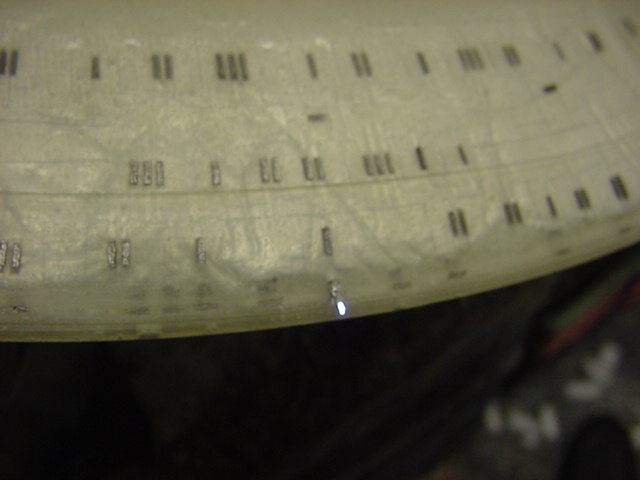
All told not bad, the light output will improve when the ends are properly trimmed and polished.
All this hoo-ha was also sort of done for the top strobe just aft of the bridge.


Ok, last wee task for this was final insulation of all the bare wires etc.
and then much foil tape laid on to secure the wiring.

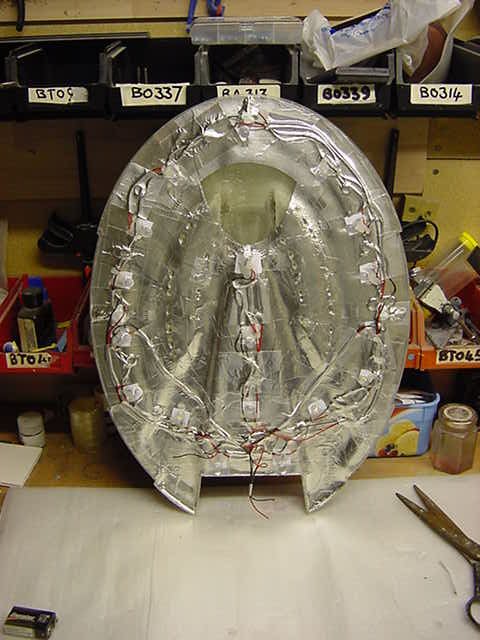
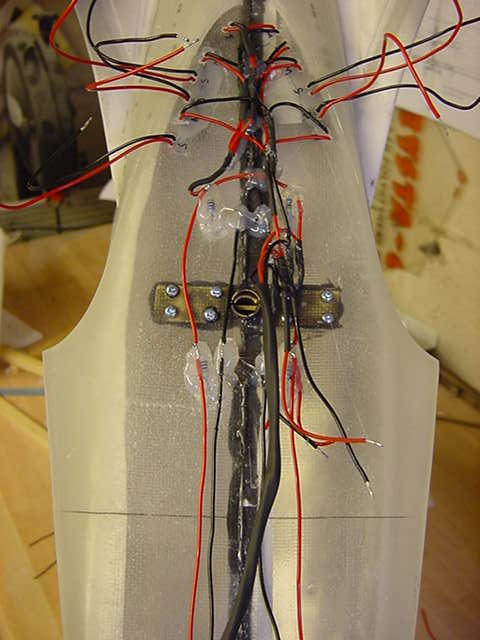
With that done it was high time to turn my attention to all the mess o' wiring hangin' out of the secondary hull.
Thankfully I had taken the wise step of scribbling single letters on
the wiring exit points to identify what wire did what.
Occasionally I do do things right ya know.
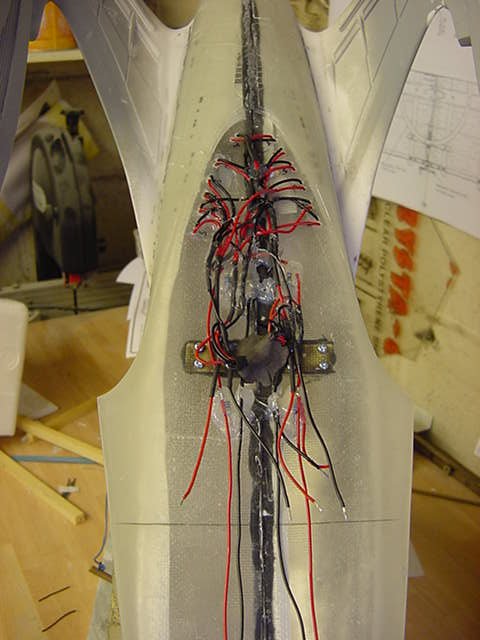
So, each lot of wires for the main lights, nav, strobe and bussards was eventually brought
to heel and with a fair wedge of heat shrink sleeving and hot glue,
they stayed where they were supposed to.
Spur wires were left at the front of the deal to help hook up the saucer lighting
when it comes time to put this bad motor scooter together.
Right, all that sorted, time for a swift looksee at how the main lighting will fare.
This test done with just a 200ma 9v rechargeable battery.

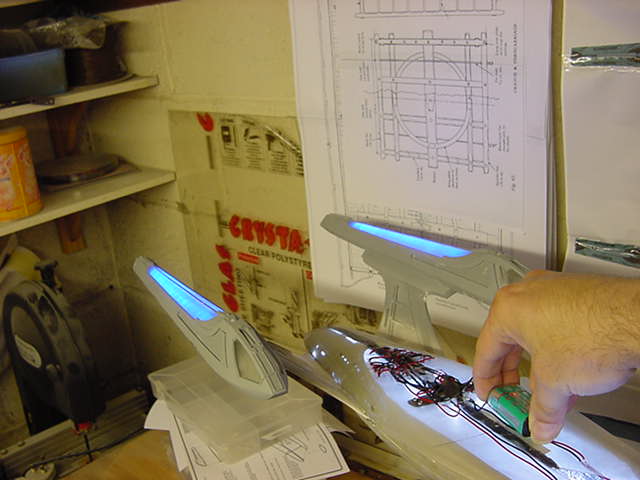
Not a bad light wallop just using a 9v battery eh readers?
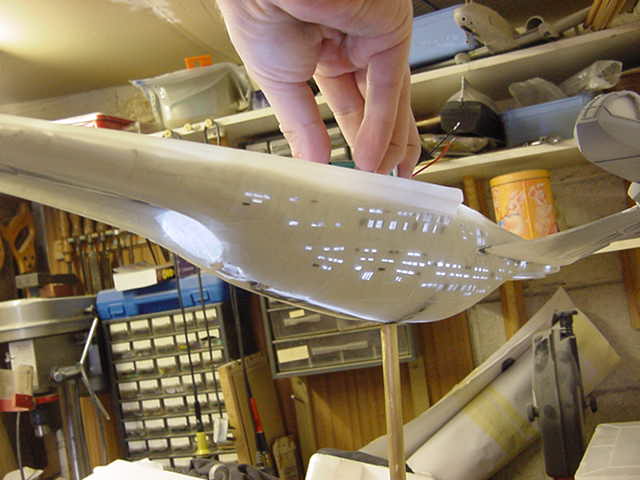
And not surprisingly, I just had to dry fit the saucer bottom and top on the secondary hull
and see just what it looks like.
What?
You telling me you wouldn't ?

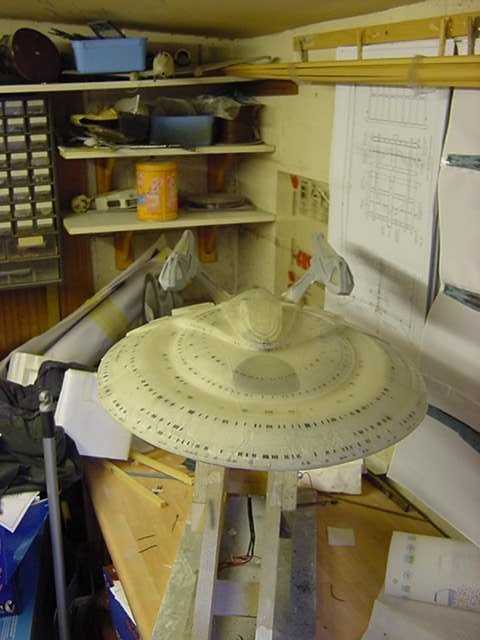
Most cool indeedly methinks!
Second to final job for this update, adding on the spur wires to the bottom
of the saucer to hook up to the wiring in the top of said saucer and
then to finally connect to the rest of the beastie...
And lastly, to glue and clamp the top and bottom saucer together and then leave this thing the hell alone for today.

That be ya lot for this wee photo fest.
More to come as always, stay tuned me modeling muckas and go easy !
Page Number