
Sovereign Replicas USS Enterprise NCC 1701-E
1/650th Scale


 Page Number
Seconds away...Round 2 !
Well There's Nothing We Can Do...It's Gotta Come Off !
Right then people, like pretty much all kits regardless of what they are made
from you are going to get bits on the material you don't want.
The difference being with a kit like this, a pair of side cutters,
an xacto knife and a needle file just ain't going to quite do the job.
One thing to note here folks, if you aren't in possession of a good face mask
and safety glasses or goggles...STOP RIGHT NOW!!
I'm not trying to teach anyone to suck eggs but safety is a bloody important issue
when dealing with resin/fiberglass cutting and sanding etc.
If you don't have 'em then get them afore you tackle anything like this...
health and safety rant over, onward!
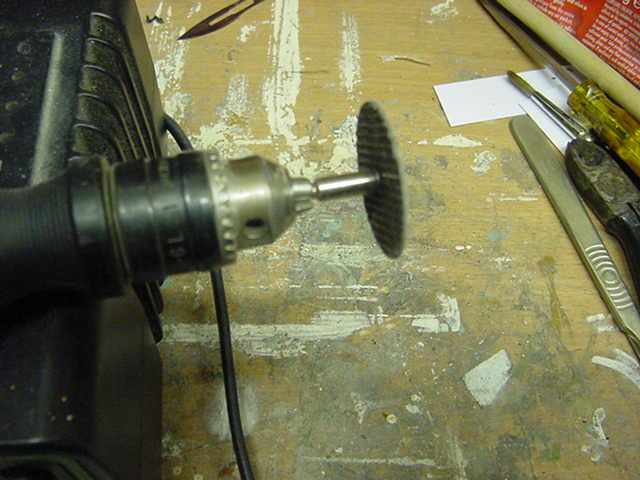
So with mask and gogs on, and doing my best bargain basement Darth Vader impression,
it's out with the mini-drill/Dremel/preferred spinning thing with
cutting disc attachment and off we jolly well go.
The whizzy thing which in use was cranked up to a decently high RPM...
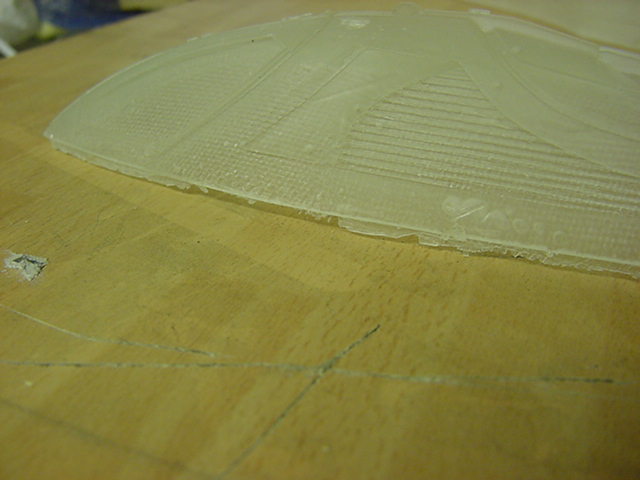
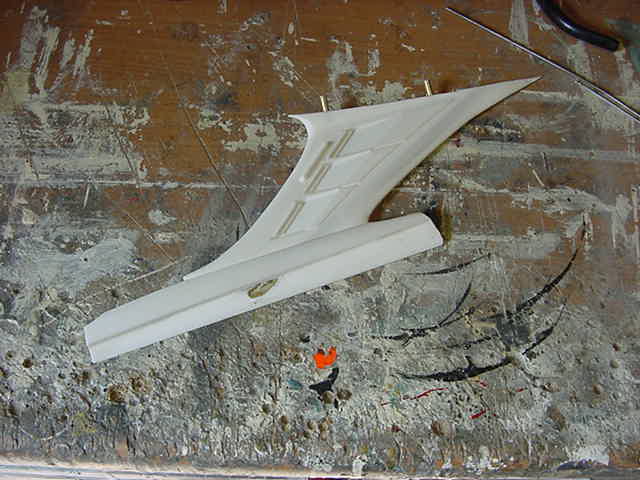
The top of one nacelle with the excess resin and fiberglass before...
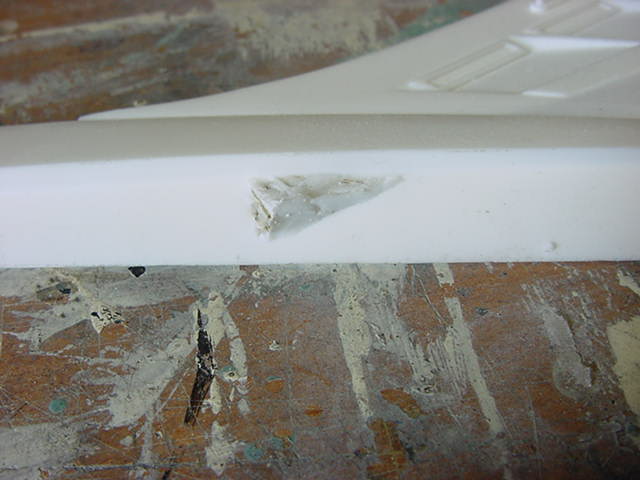
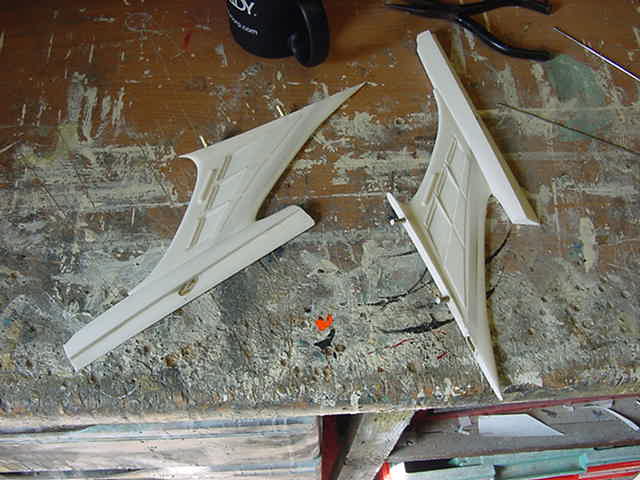
And the very same piece after I had gone at it with the above mentioned whizzy thing.

This same moderate vandalism was done with all the other parts to rid them
of any stuff not needed.
Suffice to say I was left standing there in a cloud of dust and I can promise
the younger viewers of this page that if you want to get a
decent impression of what it's like to have gray hair when your older then this is the hobby for you !
Right, that lot done with the main fiberglass moulded parts
it was time to sort the nacelle pylons.
As noted on page 1, these things have some brass pins moulded in and a
length of brass conduit for the wiring and lighting freaks like me.
Now it sticks out a bit at the bottom end where it meets the secondary hull...
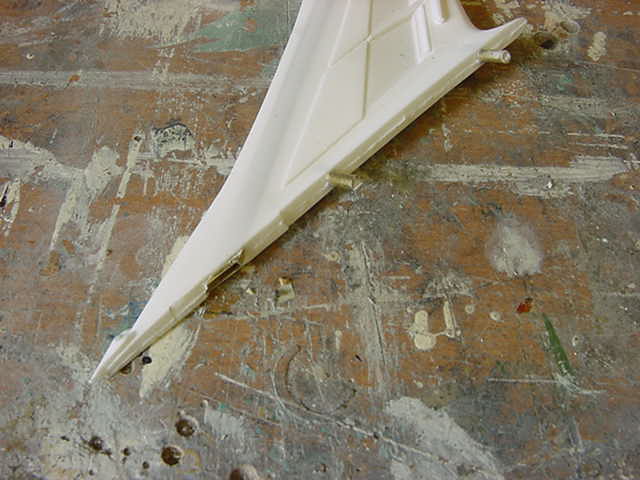
Likewise at the top end where it meets the warp nacelles.

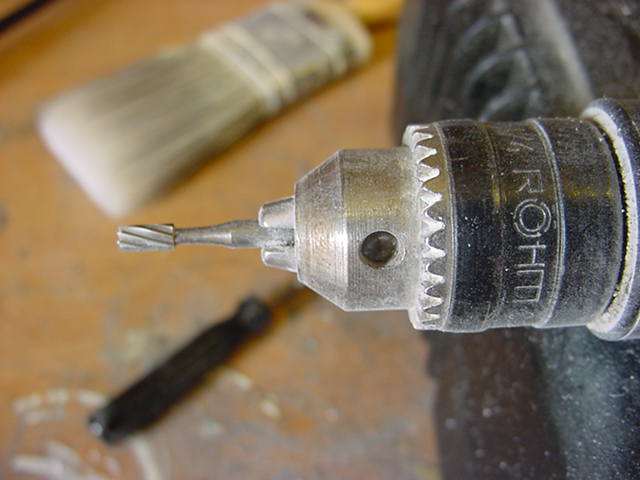
Now then, here you can see that the conduit has a fair amount of resin around it.
Not to worry though as during the casting process,
the ends of said conduit were plugged up with some soft putty like
material to prevent resin from getting in.
A quick workout with the now well known whizzy thing at both ends
of the brass conduit and a quick go over with a toothpick to
extract the putty from the ends and that was that.
The rest of the cleaning up of any moulding seams will occur
later so away to the next bit.
First large amount of careful work coming up...
I decided this would be as good a time as any to sort out the
fitting together of the top and bottom 'saucer' parts.
The small print,
and I only say that because it's printed small,
on the instructions state...(clears throat)...
"The parts and assembly sequence demonstrated in these
diagrams are shown as one of many possible configurations".
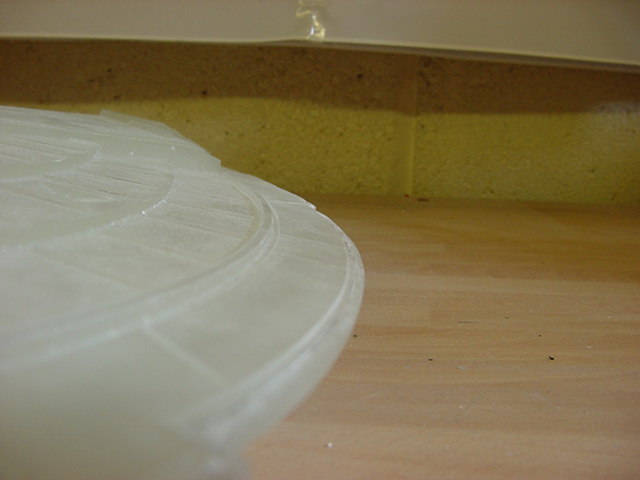
Now any modeler who's built a few garage type kits will know these are words
to live by but the instructions here say it clearly and that is to
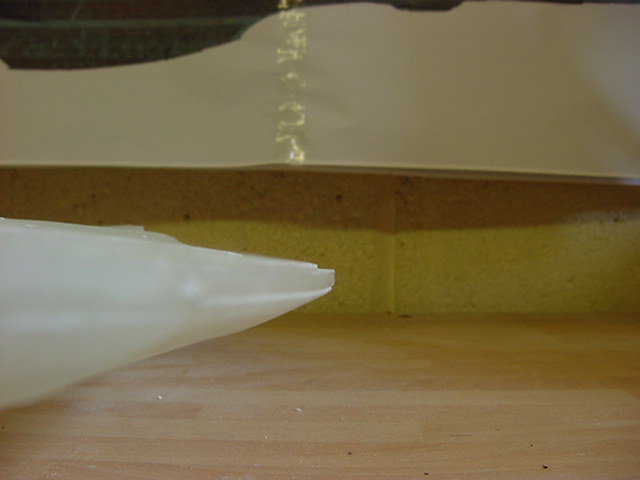
bevel the edge of the saucer bottom and then mate said bottom to the top
and draw a line to give you a fitting guide...like so...
At this point I would have already done the bevel thing to the bottom saucer
edge but decided not to so leaving the edge square instead
and went on to the next bit
Here again, the instructions say...(clears throat again)...
"Working with a grinder or cut off wheel on a hand held motor tool,
remove the excess fiberglass material from the underside inside of
the saucer top up to the line you traced.
Work this step slowly and cautiously and continue to check fit with the
saucer bottom untill you have a successful mating surface of both parts"
Well good advice and I couldn't have put it better so...

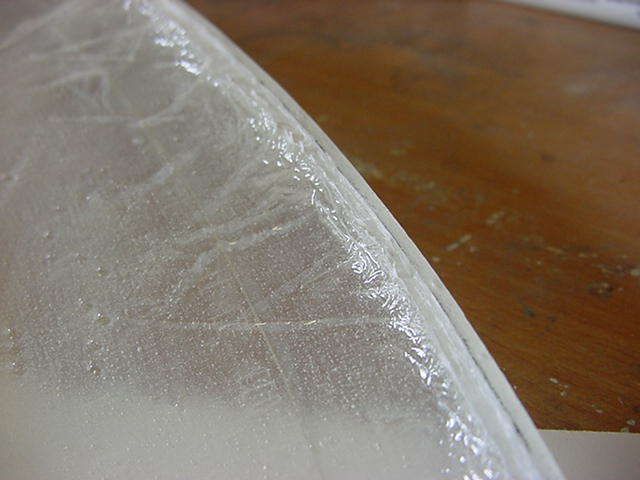
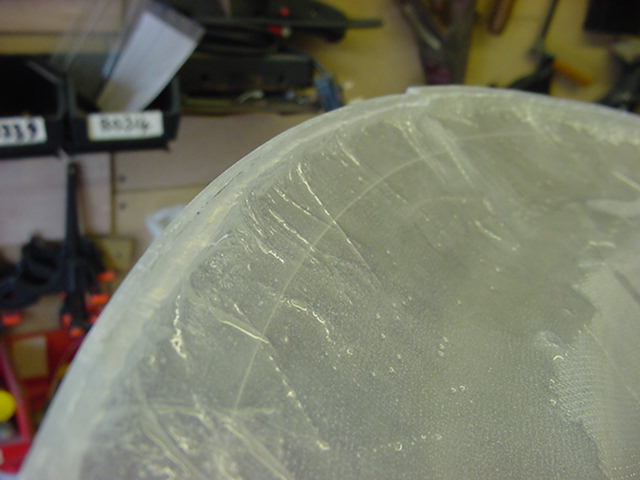
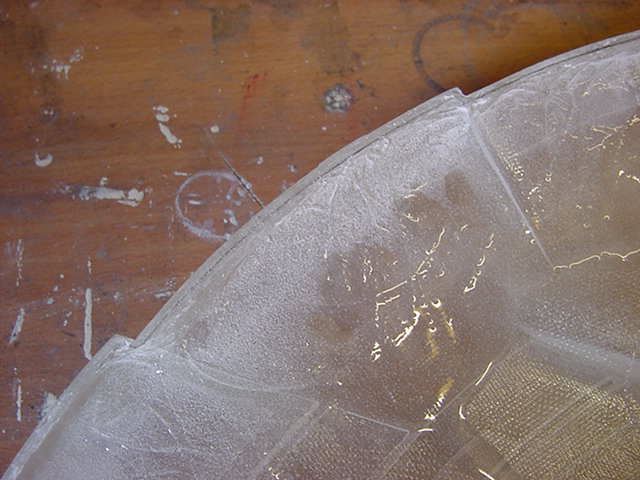
After about an hour of grind/check/grind/check/grind/check we end up with...
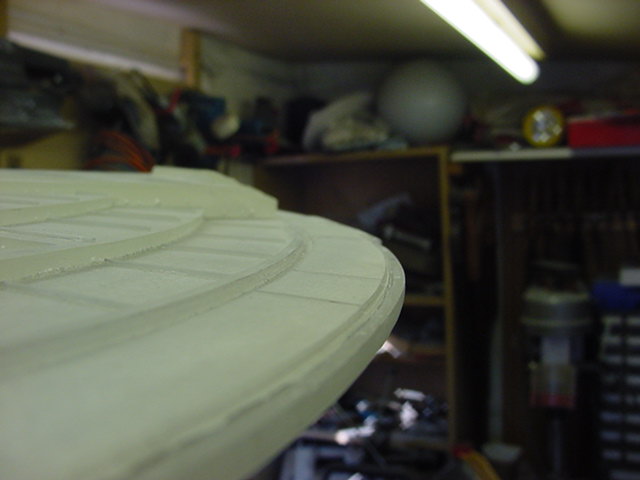
Something that sits fairly nicely as it should. I wish the pics could be
a bit better on this but this is where clear fiberglass castings
just don't seem to photograph well and show detail i'm afraid so you may
just have to take my word for it that it does all fit.
Which it does with no severe shoving or grinding of teeth and it will only take
a minimum of clamping to keep it all even and flush
when it comes time for the revered gluing of the parts ceremonies.
And that is that for now folks, there will be more along later
assuming that all goes according to a plan I have yet to draw up.
Just like the models I build, i'm making it up as I go along.
Take care folks and i'll see thee for the next update.
Go easy you merry lot!
Page Number