
Sovereign Replicas USS Enterprise NCC 1701-E
1/650th Scale


 Page Number
I connected the full power...
And Nothing Went Bang...
Well Pretty Stuff
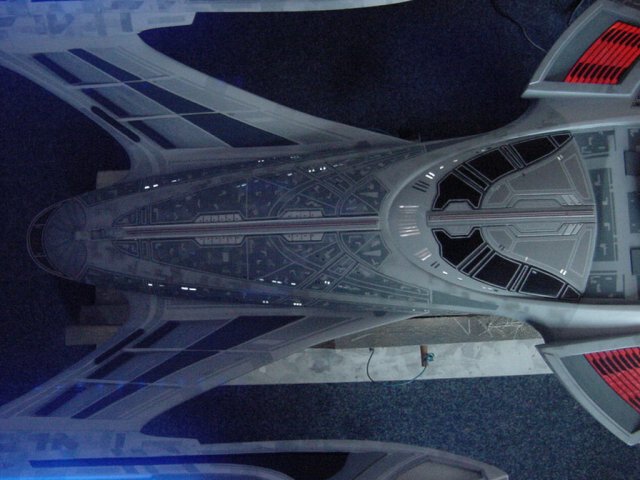
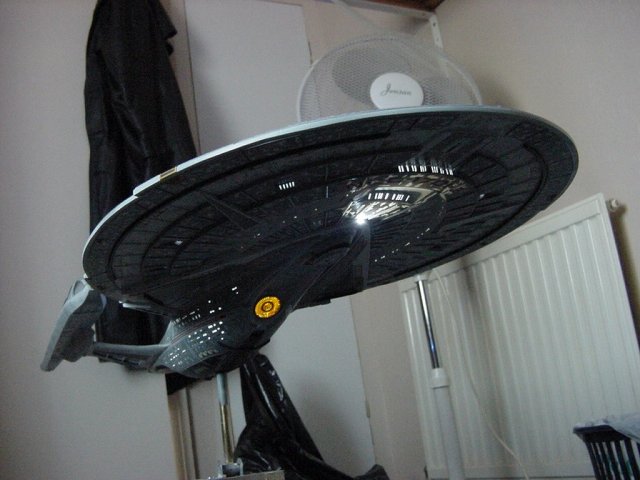
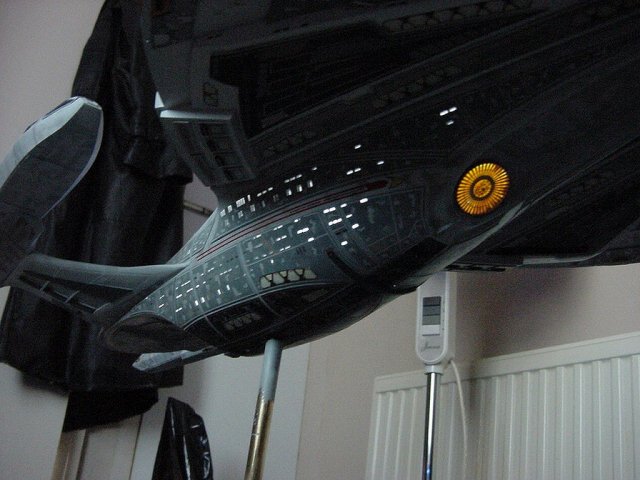
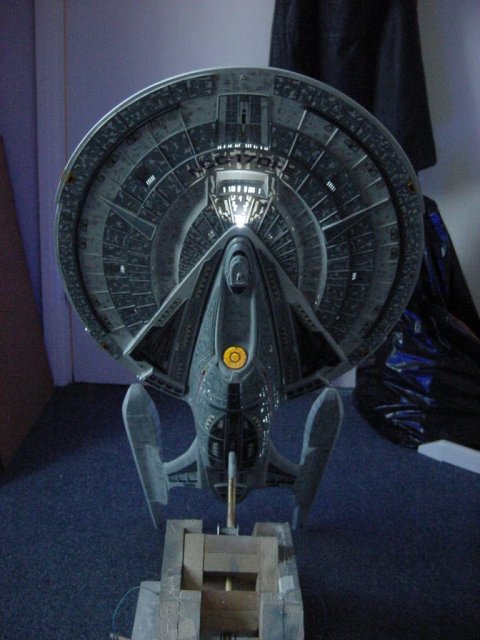
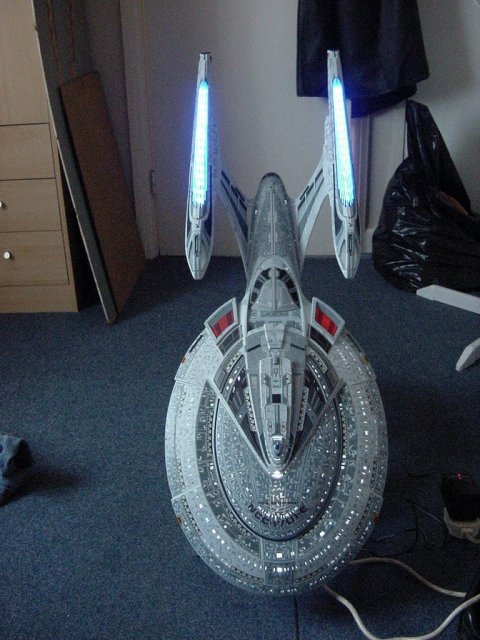
As you can see below, a few piccies of this puppy with the main lighting fired up.
Taken in my house in a room with no lighting on and in the middle of the day.
Shows the aim being that there's no need to stand in the dark to see the whole deal.
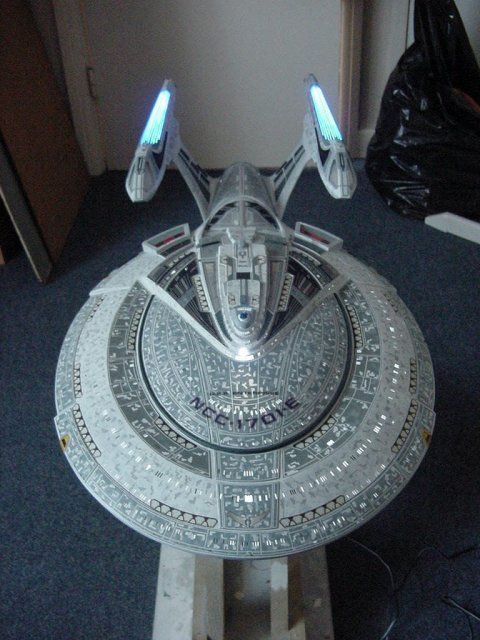


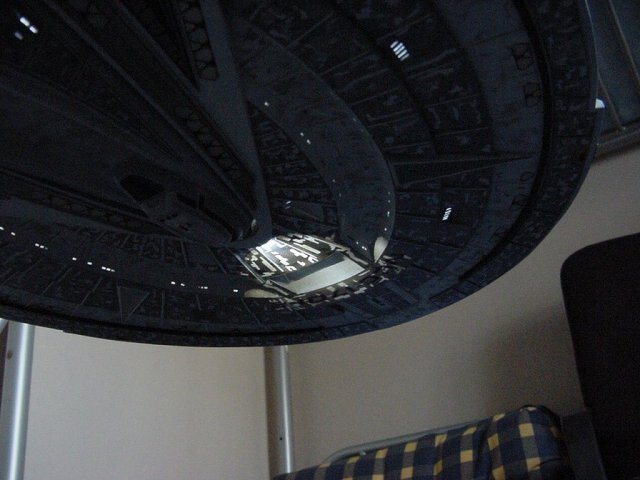
Not too shabby methinks, so while that's the main grunt work of the model done it's onto the base work.
Now the base to hold this beastie aloft will be nothing special so I won't bother going into
too many details on that.
I much prefer simple stands myself to keep the main focus on the model which
I think is the point though others may differ.
That said though, I tend to put nameplates or the like on some models so I decided this is a good
enough excuse for some severe fartin' about.
Well maybe I didn't intend for it to be that way but that's how it turned out...Onward!
So, a dedication plaque was in order here methinks,
so one quick order made and a few days elapsed and what we have is
one can of high temp moulding RTV rubber and a lot of plastic letters.
Namely these...
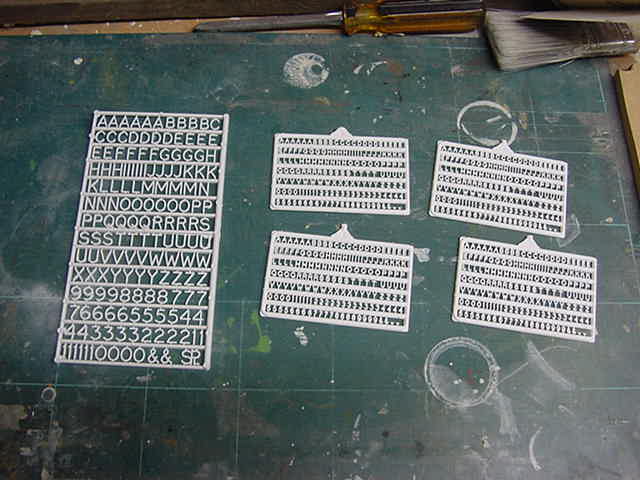
All injection moulded plastic.
The larger ones being 8mm, the smaller are 3mm.
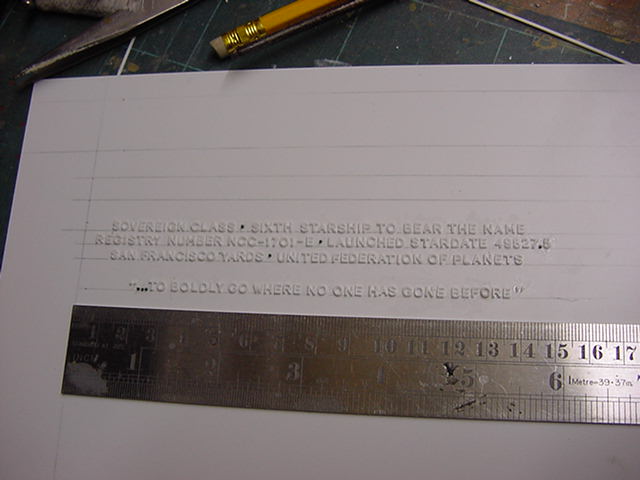
Now the text on the dedication plaque is specific but as a way of cheating,
I decided to only adjust the 'U.S.S. ENTERPRISE' bit, leave the rest as is and skip the huge list of names.
So the appropriate letters were removed from the sprue and trimmed then a strip of
1mm thick plasticard was duly sliced off a sheet...
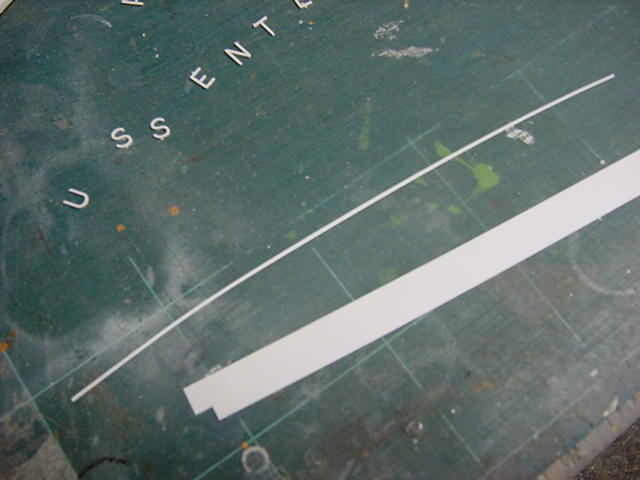
Said strip was cut into small lengths and
added to the large lettering for a wee bit of font reshaping.
Some filler duly applied and the letters trimmed up for application.
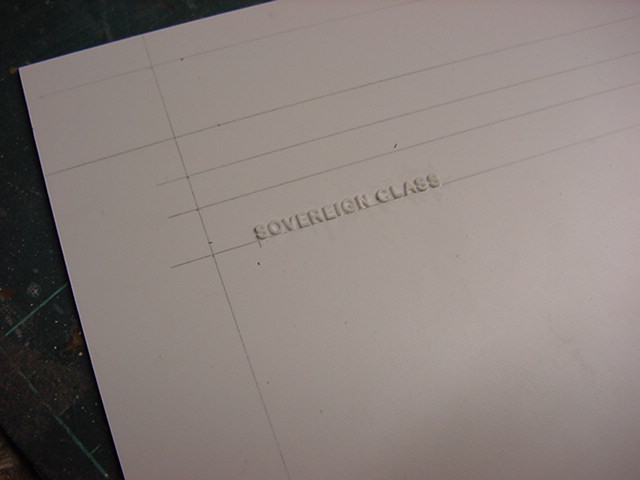
When that was done it was time to start laying out all the 3mm letters.
So again, removed from sprue and trimmed then one at a time,
placed and glued to a 1mm thick plasticard sheet duly measured and marked for the purpose.
Some stretched sprue cut into tiny lengths was used for the dots, full stops and the like.

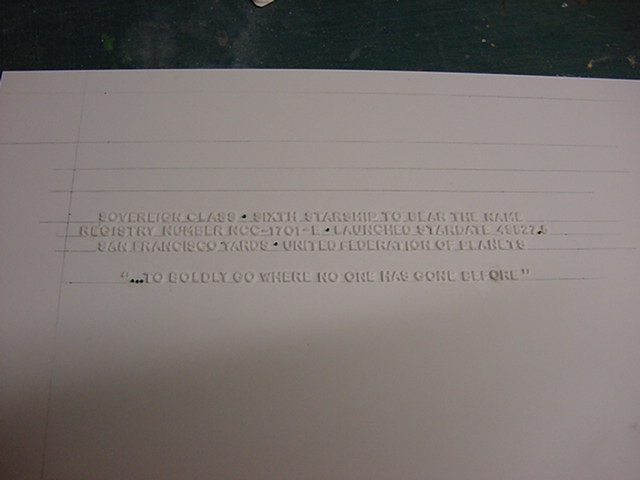
Then the larger letters were attached,
the Starfleet badge cut from 1mm plasticard and laid on and finally a border of 1mm by 2mm strip
secured around the edge and the main backing plastic sheet trimmed to size.
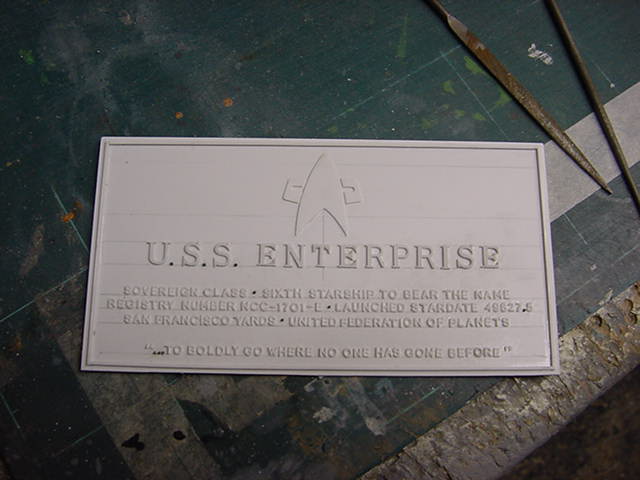
Sorted.
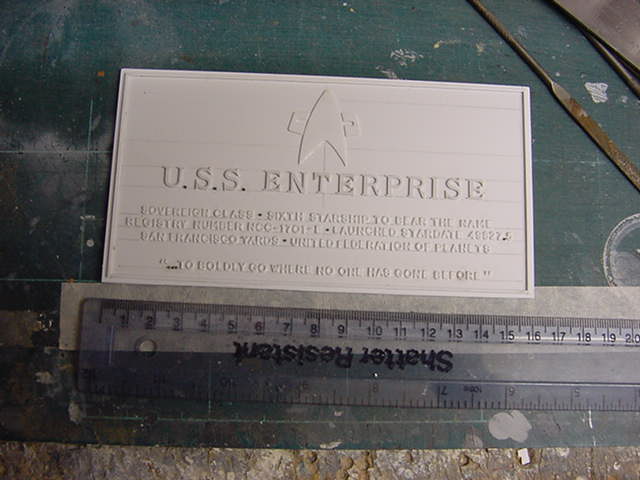
It's not perfect and all the lettering blocks are not matched up precisely in line out
but it will do for yours truly.
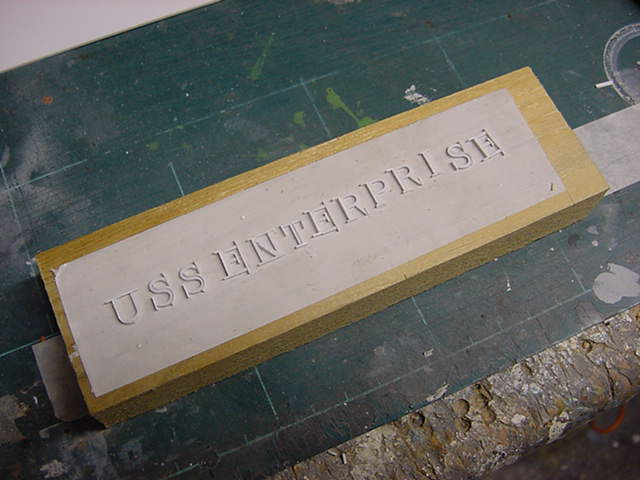
Plan is to cast two in pewter,
one for each side of the stand.
At the time i'm scribbling this, the plaque is under rubber and curing nicely I hope.
And that be your lot for now, final end of this lark in a day or two,
we'll see how it all works out.
Keep safe you mob and go easy untill the next update!
Page Number