
Sovereign Replicas USS Enterprise NCC 1701-E
1/650th Scale


 Page Number
One thing of note to you builders...
Steps Are For Stair Cases, Not Warp Nacelle Sides.
Right then gang, this coulda waited untill I was into the build but I thought
i'd yap about it right now just in case.
Now then, this is a garage kit.
No two ways about that and sometimes no matter
how good the master and caster, the material just has a tendency to do it's own thing.
Now here is where problems can present themselves, here's one and how to get around it
should it happen to you goodly people building this kit.
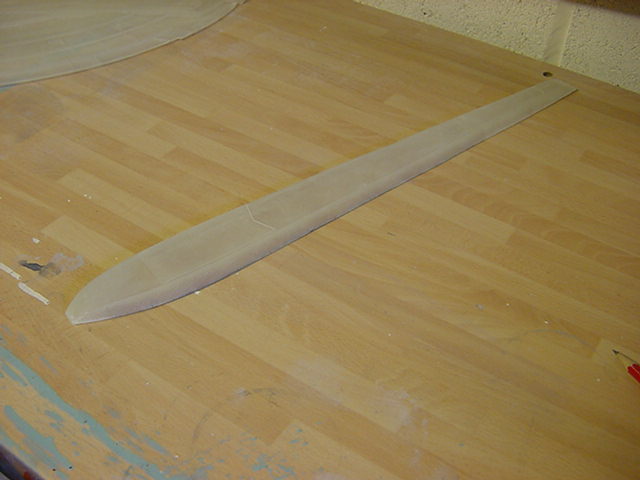
Below are the warp nacelle parts.
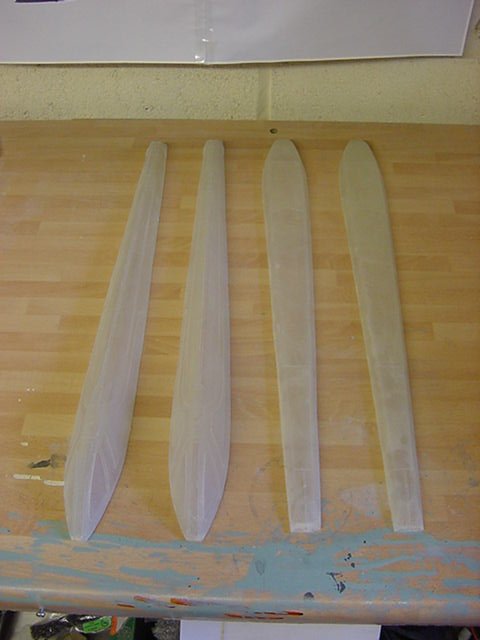
With me so far?...okedoke.
Now there is a problem so to show just how much,
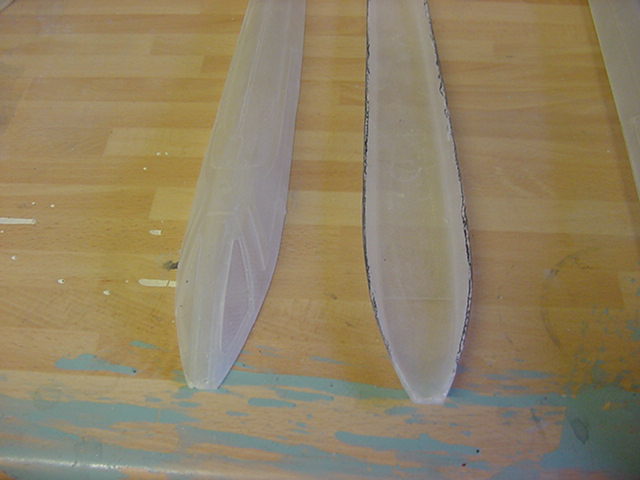
here is a nacelle top and bottom.
The flat gluing edge of the bottom has been marked by simply running
a pencil over it to see a bit easier.
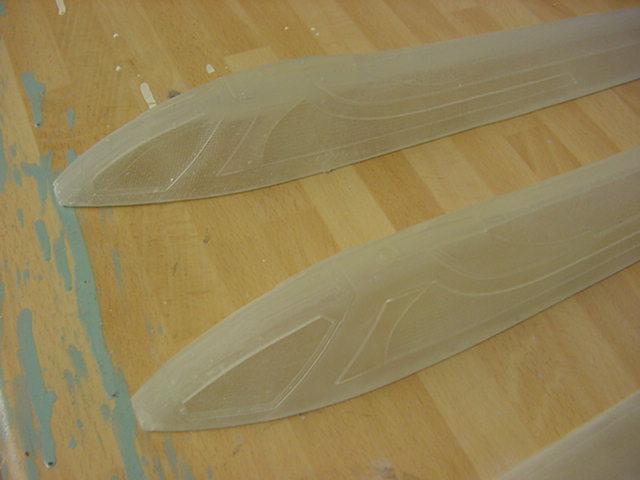
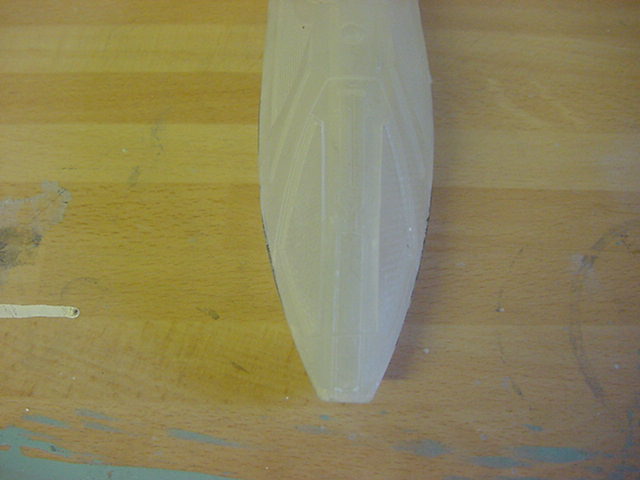
So, placing the top on the bottom and this is what you see.
I think you get the point people, a bloody great step running down one side and
another at the front on the other.
Oh wail and woe betide us all I hear you cry!...NOT SO! sayeth the hairy limey.
Now then and pay attention, I may be asking questions after the coffee break.
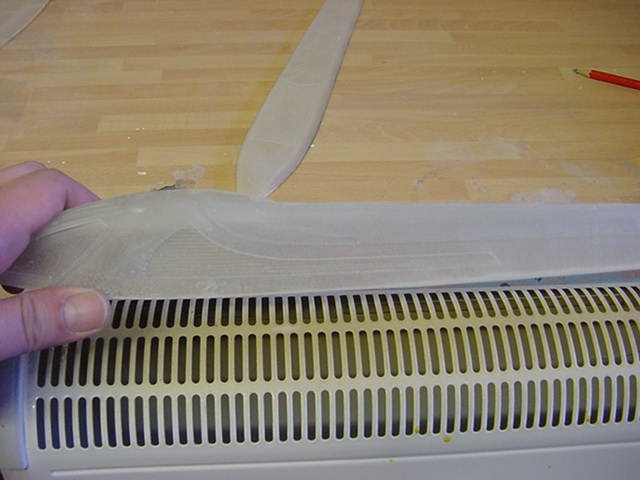
Your best friend is now an electric heater,
or whatever does the job equally well,
and here's where the kit parts work for you me merry lads and lasses.
So first take the nacelle bottom and just lay it upside down...
gently heat the offending out of alignment part untill the sides are soft
enough to push inward a few millimeters and slowly move back.
Take your time and proceed slowly with the heating.
When your happy it's softened enough, just place it on top of the upturned
nacelle bottom and press down gently.
And I do mean GENTLY.
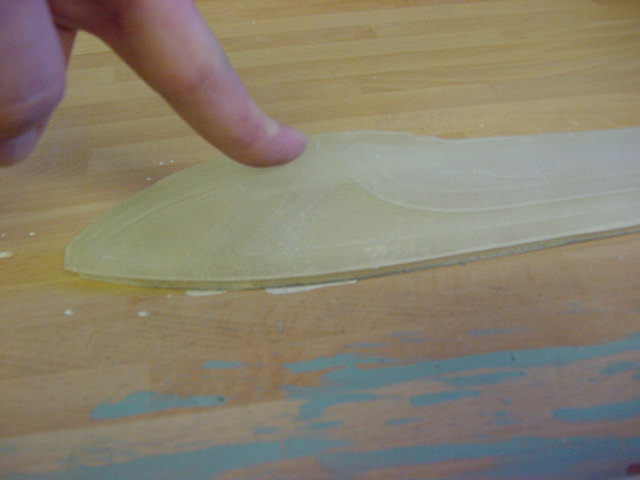
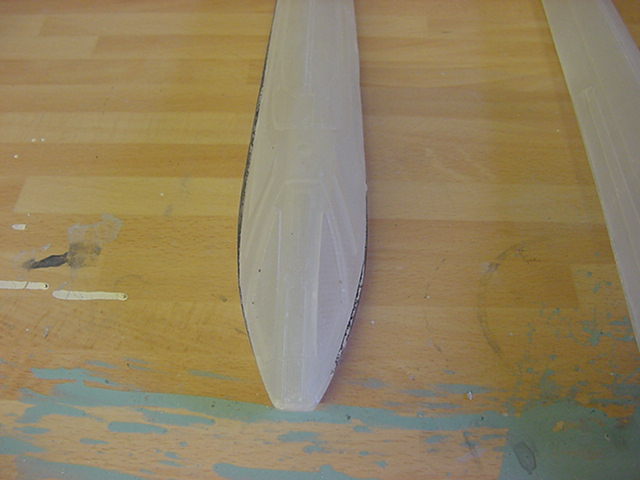
To get a decent idea, always try to look at it from directly above...like so.
Now when you have the bottom part just starting to be fully obscured by
the top looking from above, stop and hold for a minute or two to
allow the top to cool off a bit.
Yep, you may feel a berk standing there with ya finger on
a kit part for a while but just go with it.
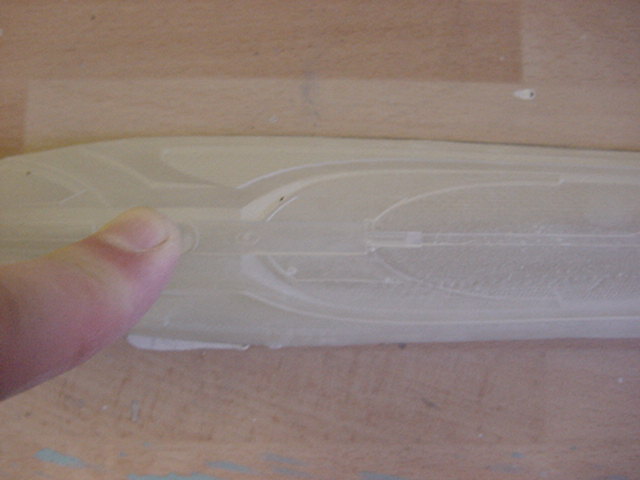
You may have to repeat this process a few times allowing the top nacelle part
to cool each time but with time and patience,
you may be rewarded with something like this.
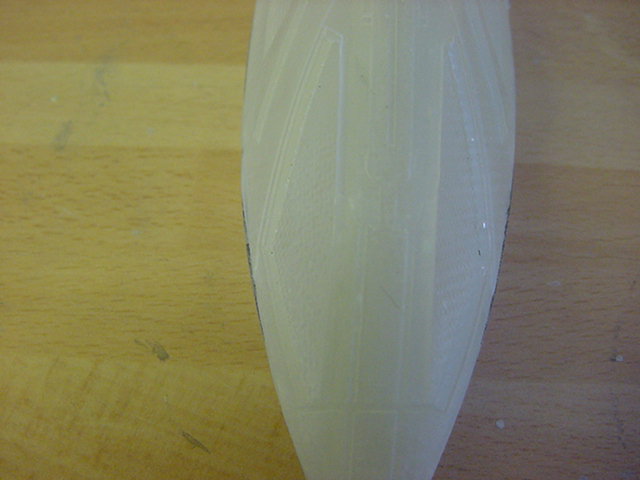
A step still exists but can now be dealt with without a tube of putty per side.
One thing to bear in mind here folks,
the wall thickness of the piece varies.
Sometimes it can be very thin, up to bullet proof thick and anything in between
along it whole length so some fiddling and gentle nudging may still be needed
but it's better than having to sling putty at it
and doing the build up/sand down/repeat kinda dance.
Once you've done this, make sure you lightly tape each matched top and bottom
together untill your ready to work on them,
this ensures the shapes stay put and which top goes with which bottom is a problem avoided.
And that's the lot from yours truly for this fun packed update page,
take care my friends and see you all soon for the next
slightly riveting installment.
Go easy all.
Page Number