
Star Wars Super Star Destroyer
?/?? Scale 37.5" long

 Page Number
What feels like a long time ago...
In A Hellhole Not That Far Away...
That's When The Problems Started.
Welcome back gang!
Now then, apologies for the lack of updates but it's taken a
wee while longer to get to this stage than I wanted.
Now much hole drilling has occurred but well get to that next time.
During the meantime, just a bit of resin removal took place.
Now the thing here is this thing has lights in a lot of places.
Most of those places are solid resin.
Now if it was just one side as it is on some them then okedoke.
A few are lit either both sides or one side with the other being clearly seen.
So a bit of motor tool violence must be done unto them.
And it was so.
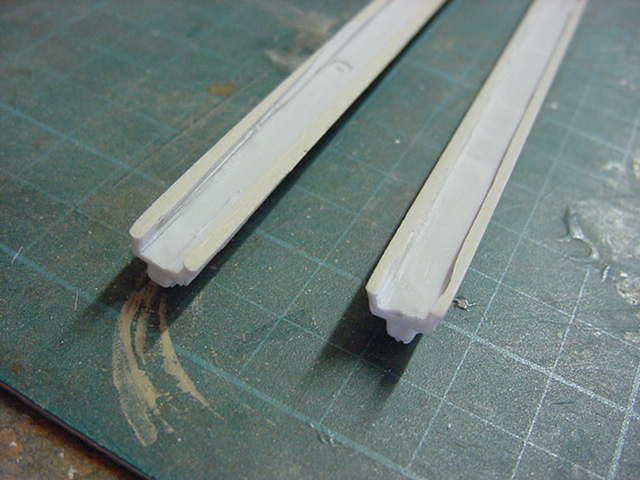
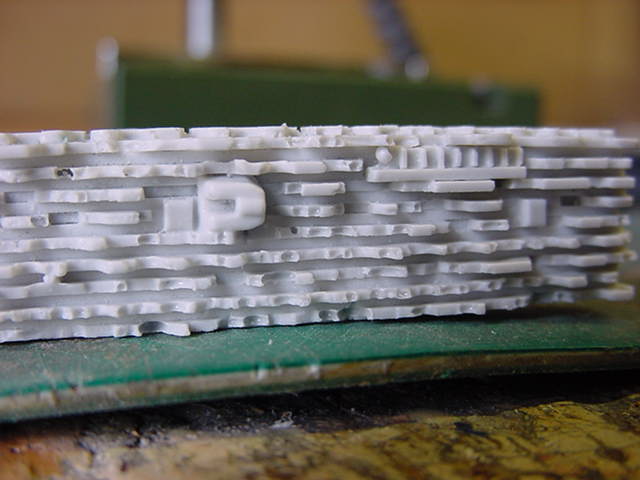
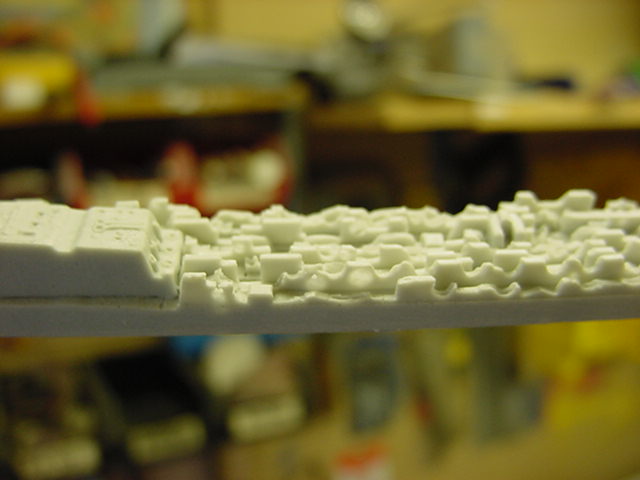
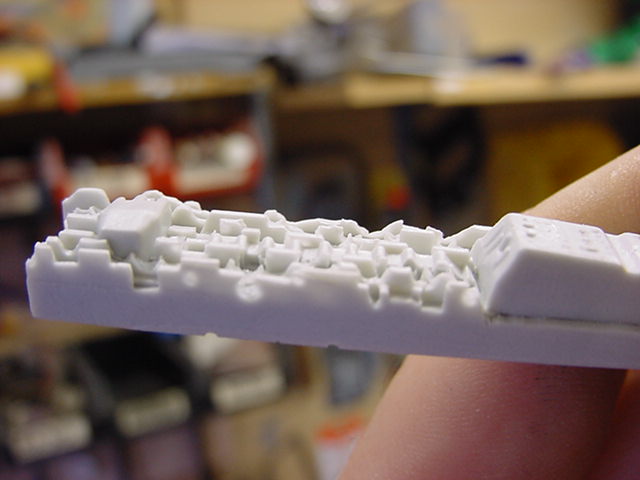
Here's a couple of bits.
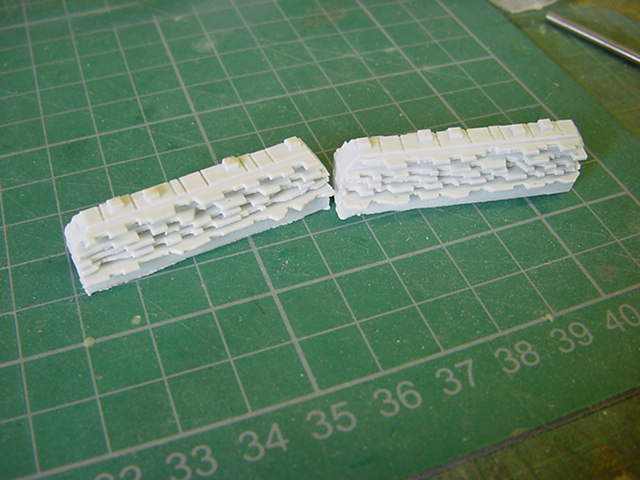
For those interested, these bits are 1.74" long X 0.56" tall X 0.18" thick at it's narrowest point.
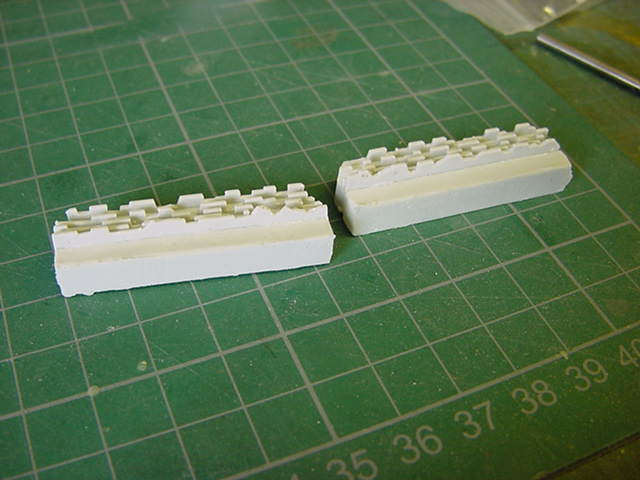
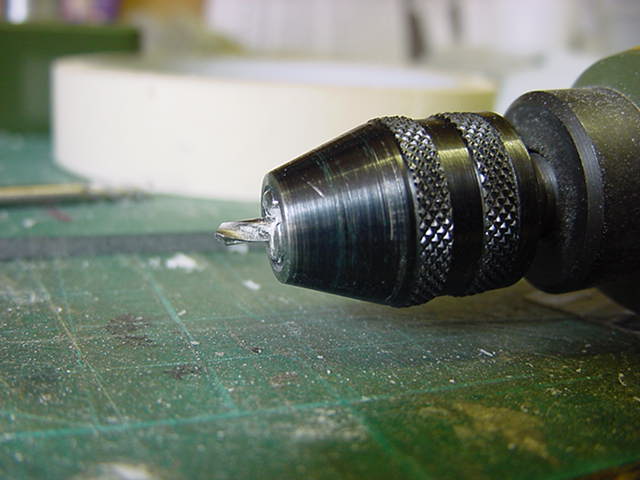
So into the way of resin removal.
Everyone has their ways and means of doing so but here's mine for what it's worth.
Using a drill bit set in the chuck so enough is showing to drill a hole to the required depth.
Drill as many holes as can be fitted in to the space marked out for the material to get shot of.
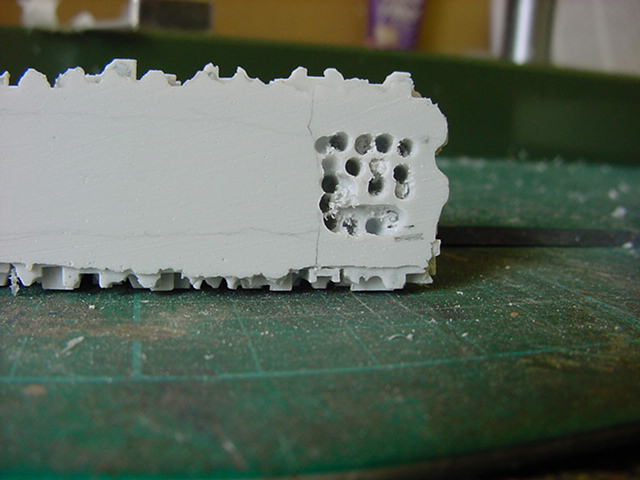
Once done then in with whatever rippy bits that are your
personal weapon of choice for the flying resin frag routine.
Working carefully untill all the small dips left by the initial drilling are all just about visible or gone.
Depends on how fussy one is I s'pose.
In pics, it looks a bit like this...
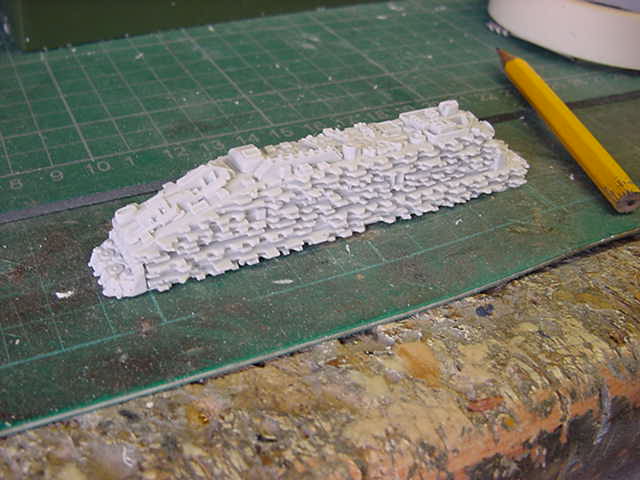

And continue over the whole thing as required.
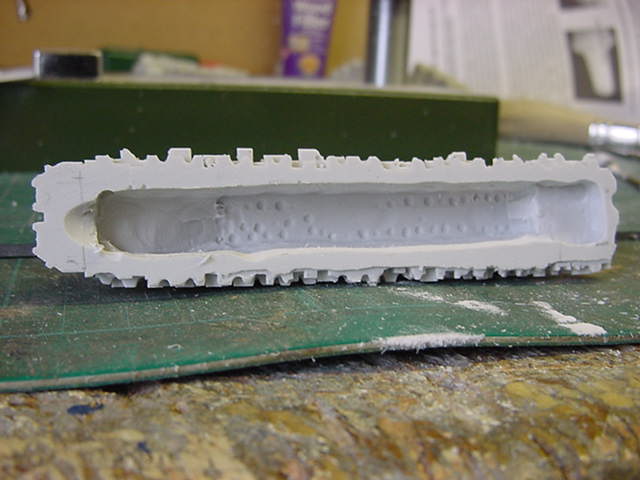
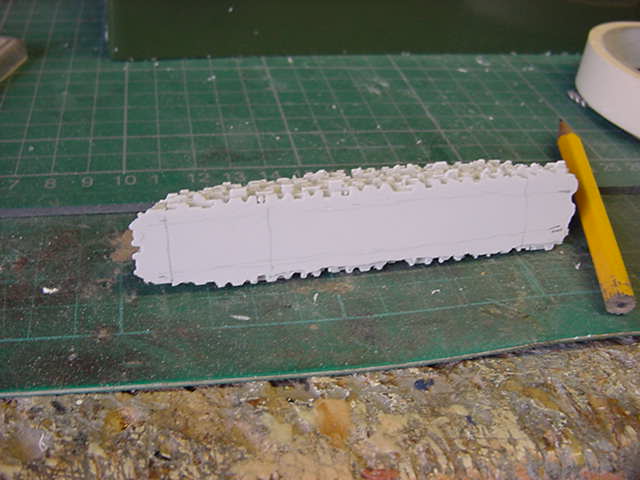
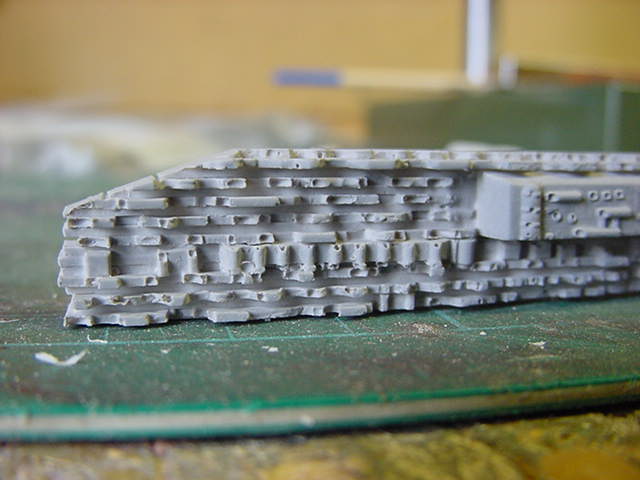
The detail strips that will fit down the edge of the
main hull also got go on a quick weight loss program.
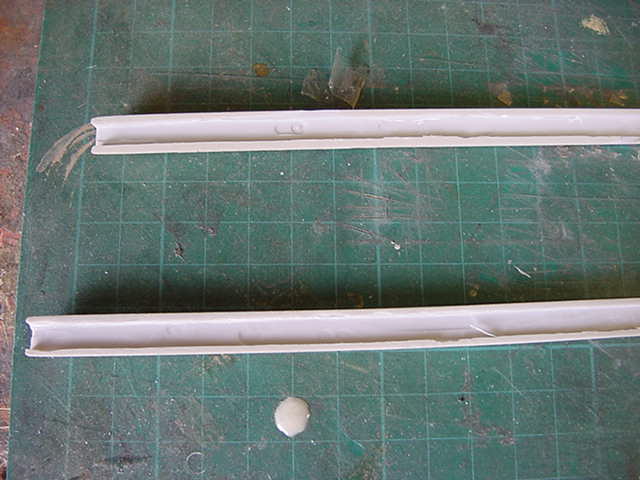
The afore mentioned small bits and a couple of others got the clean out treatment.


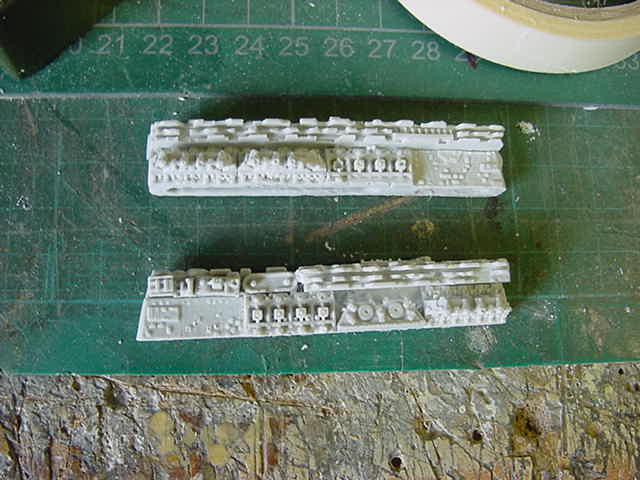
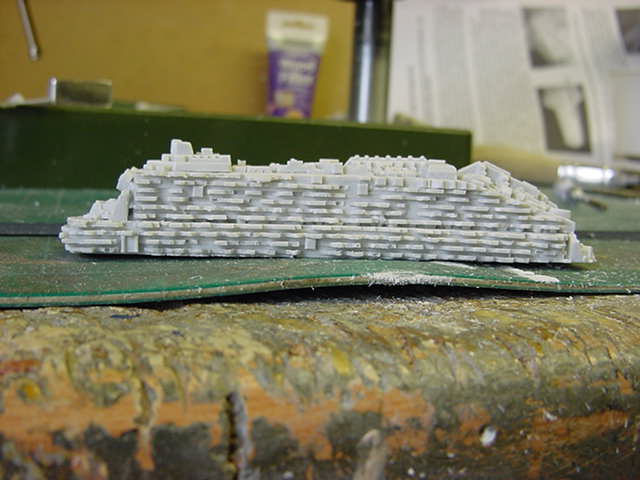
Well all good up untill this point.
After a close look at the rest of the detail pieces...
A fairly substantial "Ah ffffffffffffffffor crying out loud!" period ensued.
Now the parts look all fine and dandy untill you look a little closer.
Which seeing as i'll be doing a fair bit of work to them is a bit unavoidable really.
So what be the problem you may ask?
Well look at this part...
Not so bad you might say...
Now look at it from the side which will be the most visible part when the lighting is in...

And with a dab of primer to show things up a bit more.
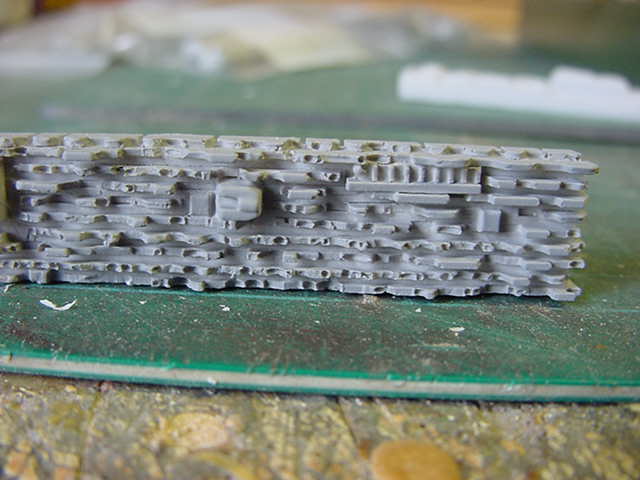
Yep, air bubbles a bleedin' plenty.
And that doesn't include the ones under the resin.
Note about the center of both pics.
I think you see the problem here.
No idea whether anyone else has this problem but I do so It's gotta get taken care of.
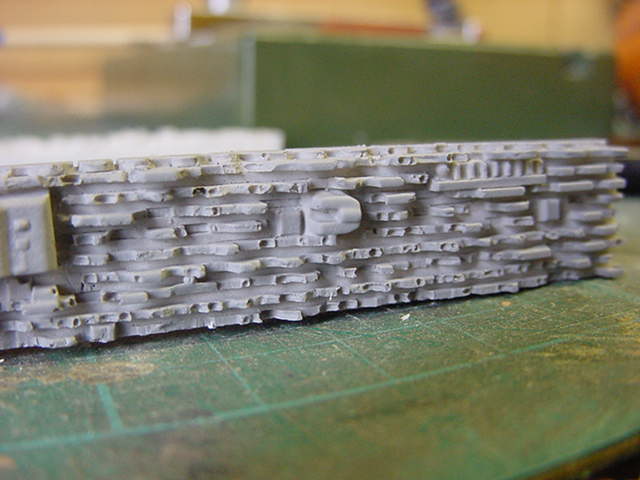
So what parts are good and/or usable?
Well the first ones at the top of the page before we got the that lot just above.
Or about 1/3rd of the detail bits are usable.
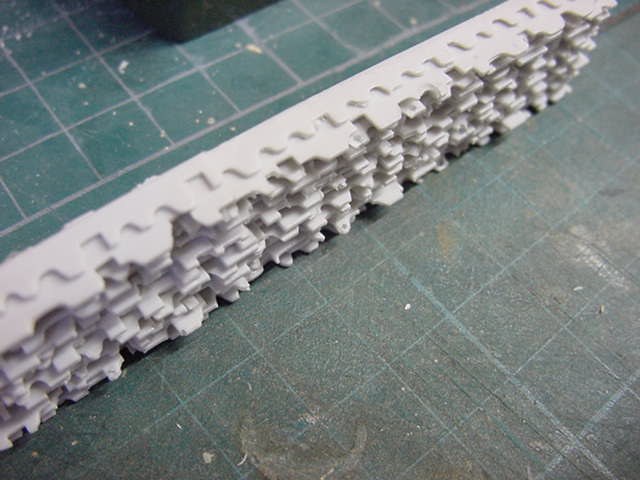
The rest are just really crap casts to be honest
and are not worth the time and/or effort to put right.
They have been put aside and an largish order of plastic strip has been brought into play.
I should have another update once
some final fiddling with all the replacement parts is done.
Looks like this beastie is not going to give in without a fight but I,
like many others are well used to that kind of sodding about.
Ask anyone who's ever built and finished a Halcyon Dropship.
That's all for now so untill next time, you merry lot go easy out there.
Page Number