
Studio Scale Moonbus From 2001:A Space Odyssey
 Page Number
Plans within plans...
And Many A Greeblie To Go With 'Em!
Whatho all!
Right then, this particular turnout was by request a long time ago and now with getting
my hands on a decent 3D printer, the opportunity is here.
That is to say instead of moulding and casting the kit parts, i'll be making 3D replicas and printing them instead.
Bear with me here gang.
To begin at the beginning...
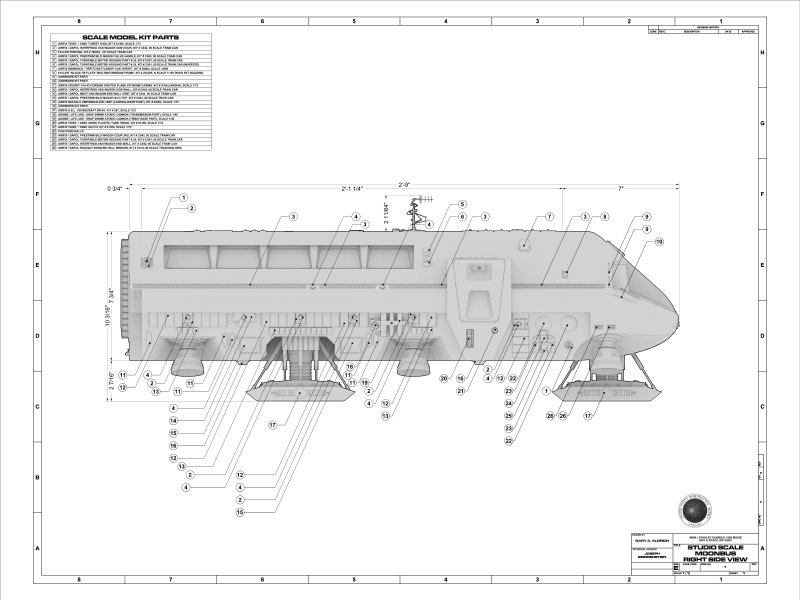
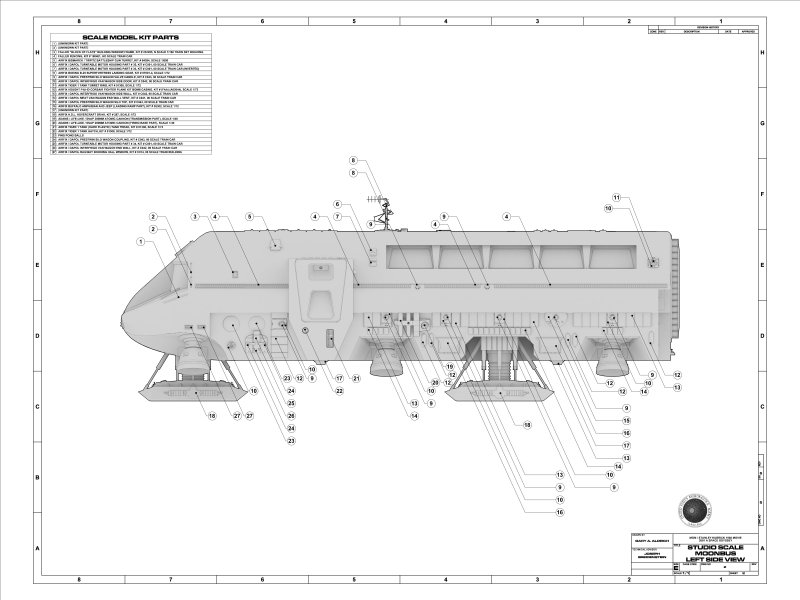
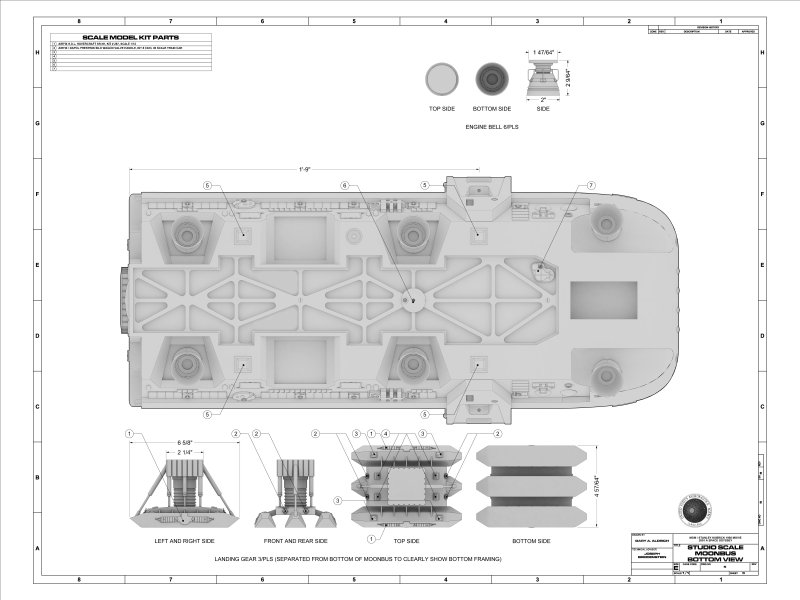
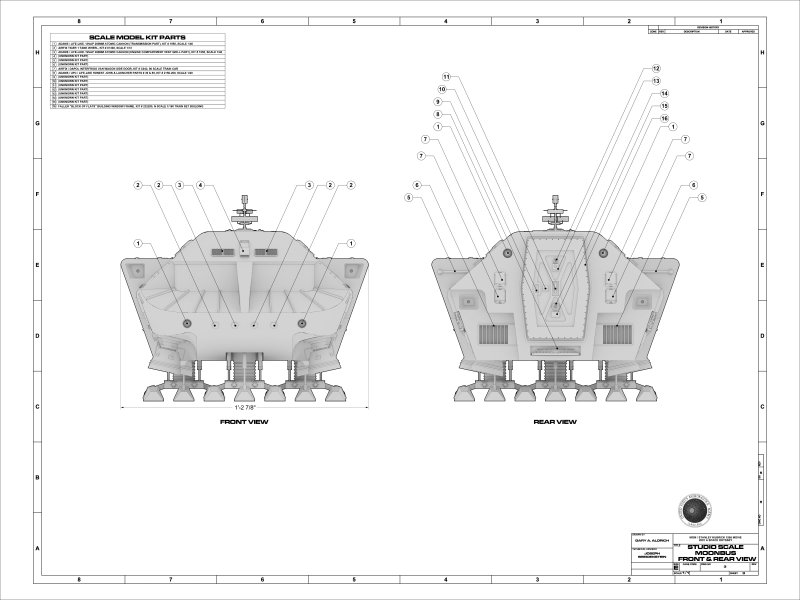
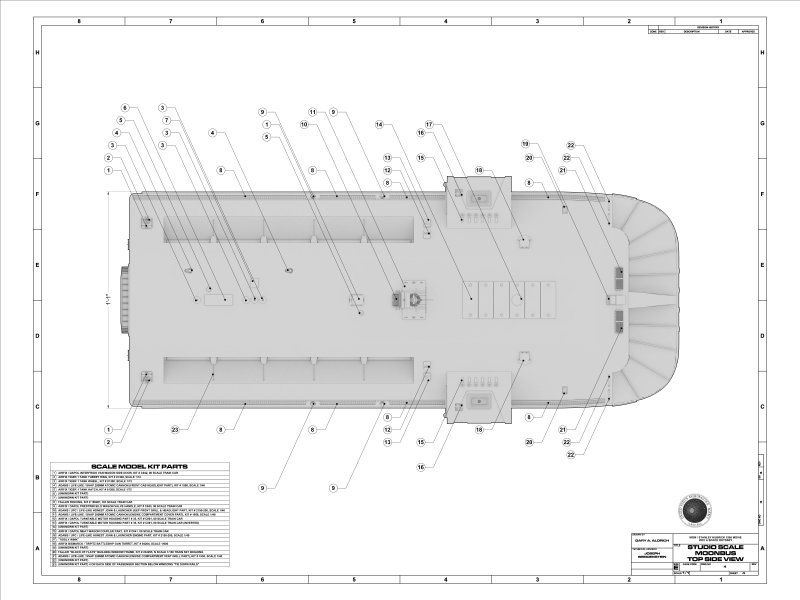
In my search for info, I cam across these extremely nice drawings done by one Gary A. Aldrich.
Excellent in that they give dimensions but also have the kit part callouts all over them which is extremely helpful.
Click on any of them and it should open a new window to the full res pic.
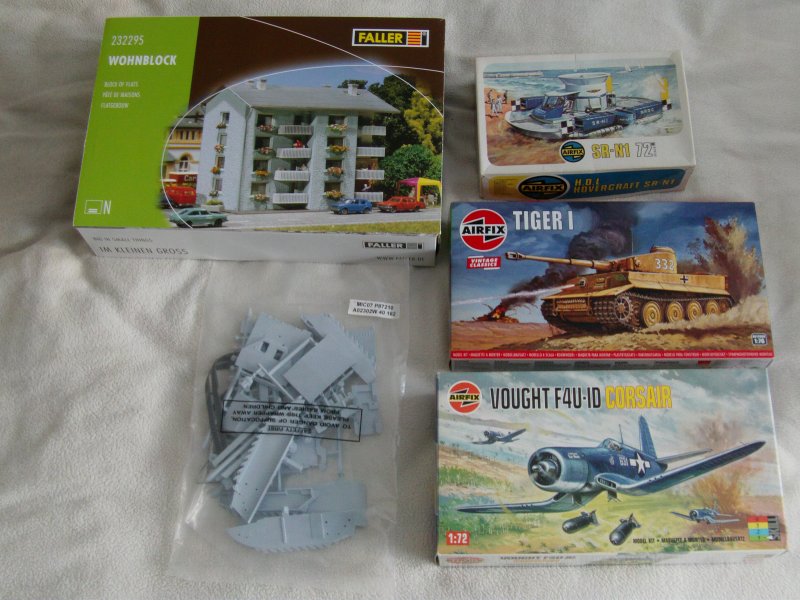
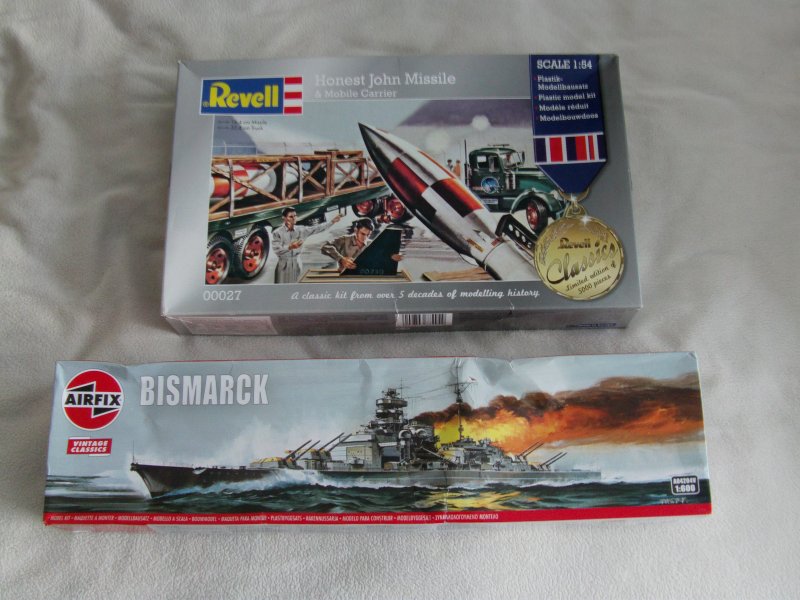
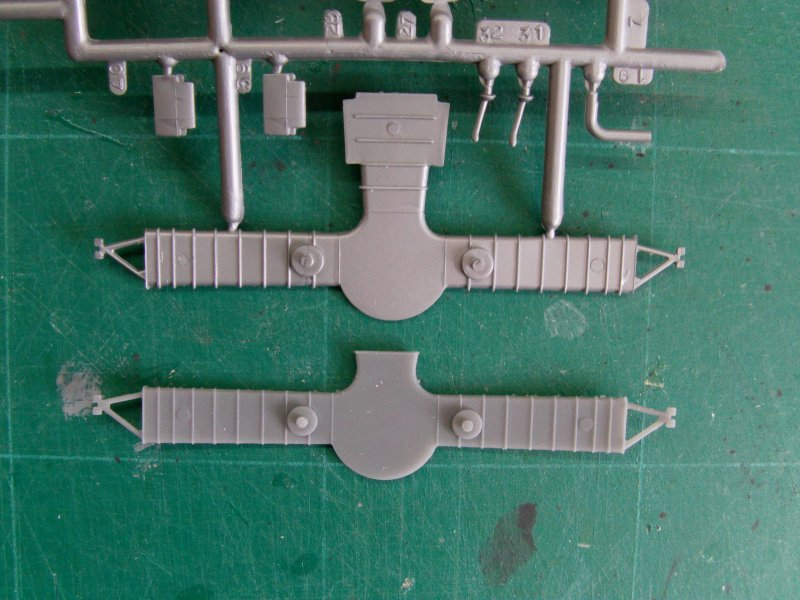
The kit collecting first...
Going through the list of what was required and Ebay got some business outta me.

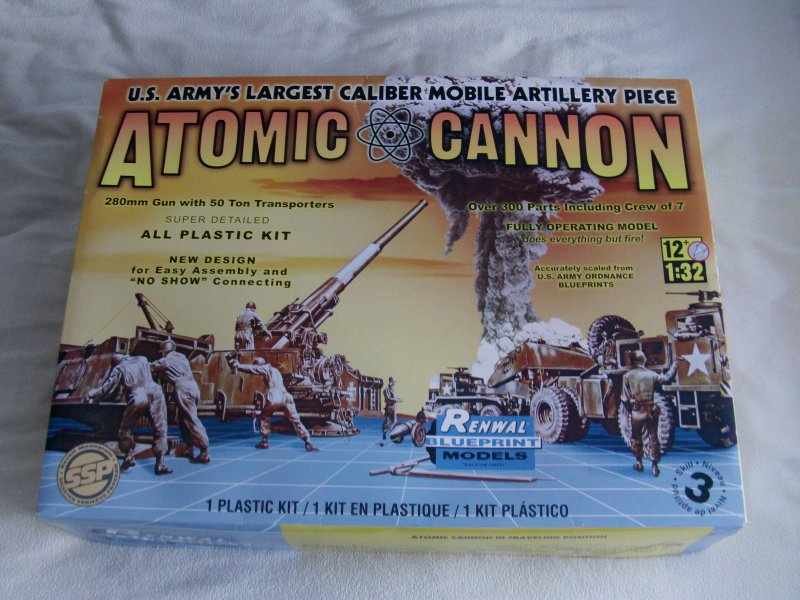
I know it's the wrong Atomic Cannon kit, should be the 1/40th Adams/Lifelike one rather than
the Renwall/Revell 1/32nd kit but trying to save meself about Ł250 quid here.
Nothing that some rescaling wont sort out and the parts are close enough for this gig.
I used the 1/24th scale Gemini parts I had in the spares bins as templates to measure from.
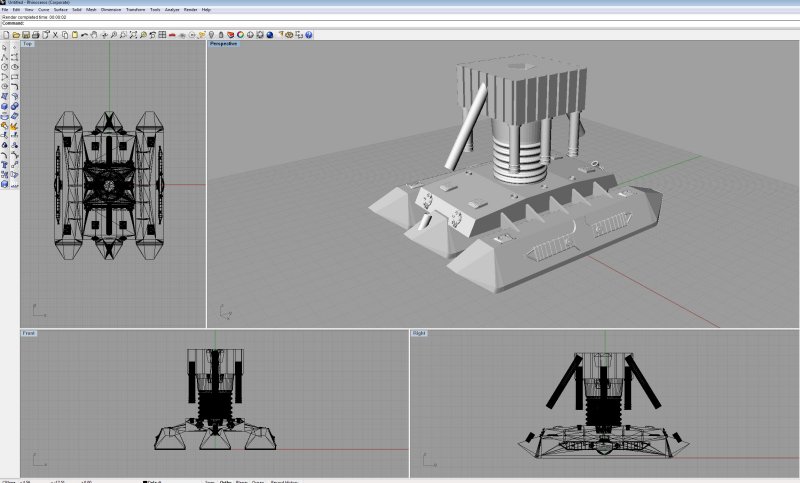
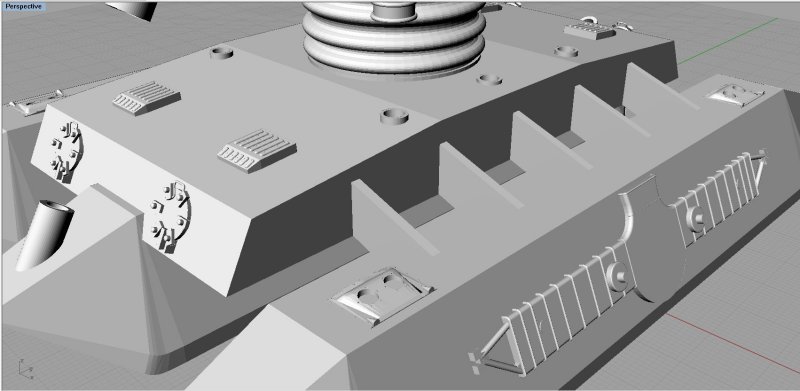
So here's where the start of the 3D printing comes in.
Call it a cheap out if you want to but some of these aren't exactly small change and i'd need multiple copies or cast them.
Messy enough and time consuming as it is with that lark so time for the polygon punching!
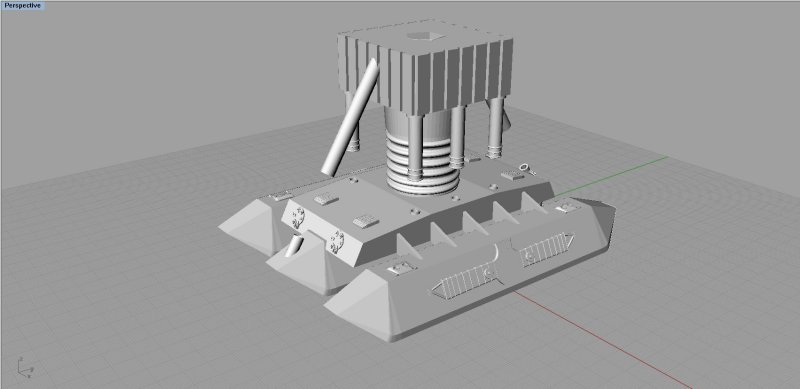
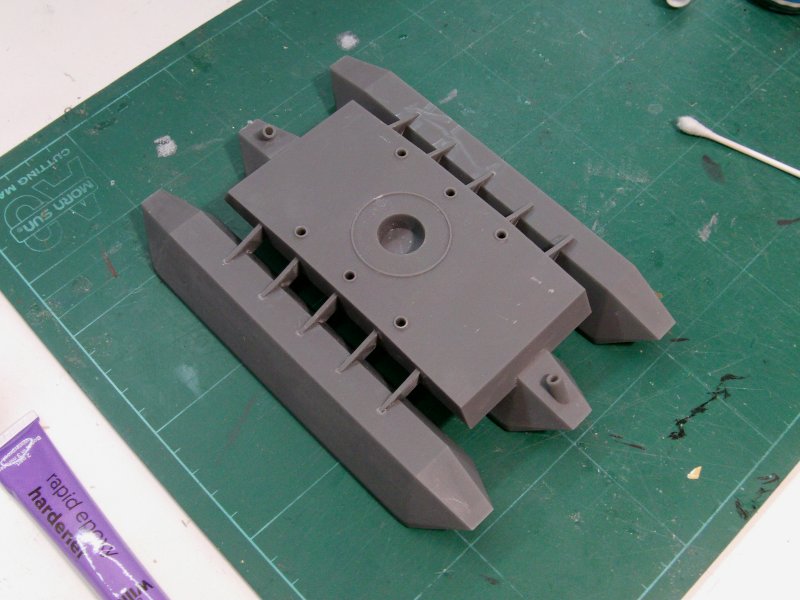
The Airfix SR-N1 part cut down,
two Gemini parts and the top lid off the Airfix/Dapol Silo wagon.

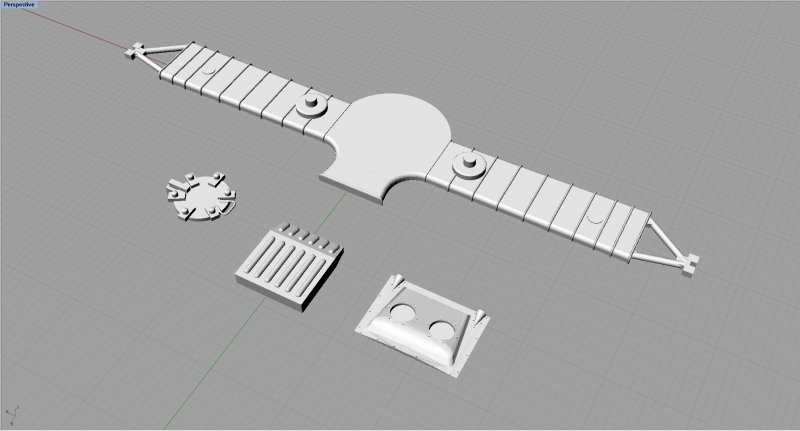
So Gemini parts scaled to 1/48th for printing and it was a done thing.
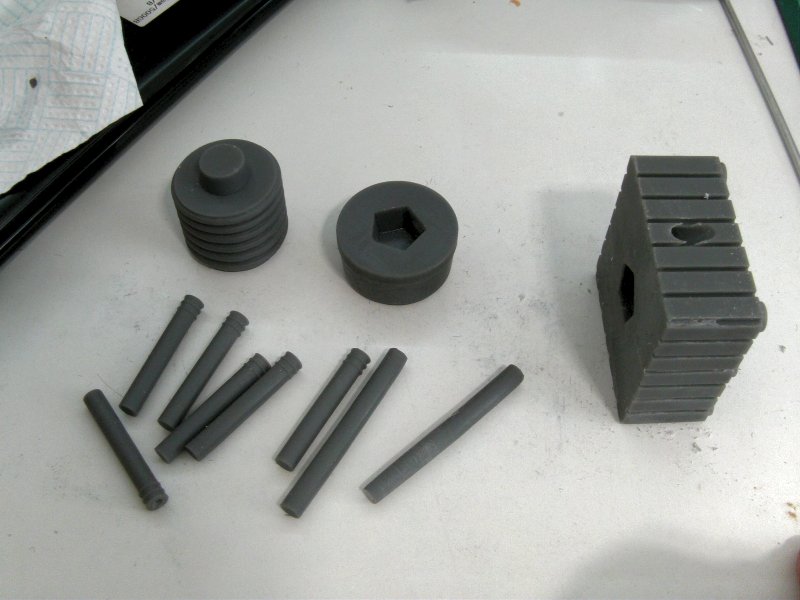
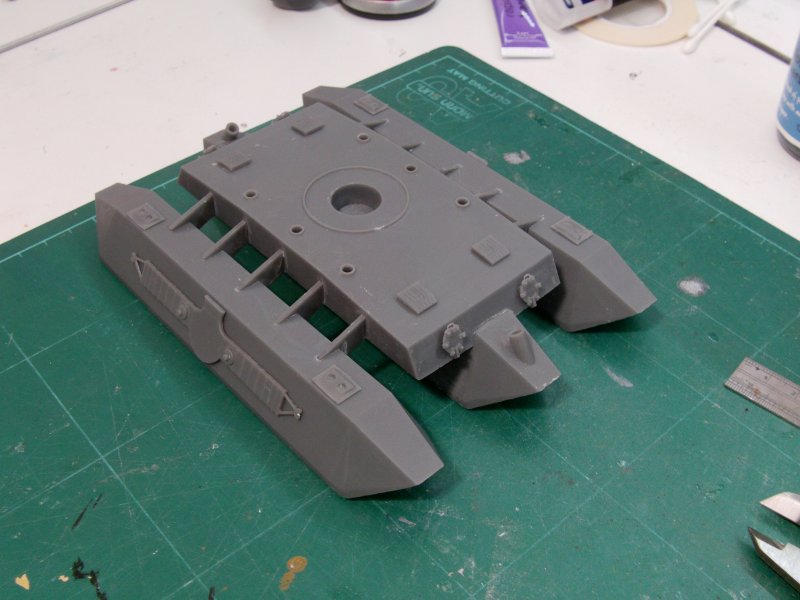
Fresh greeblies anyone?
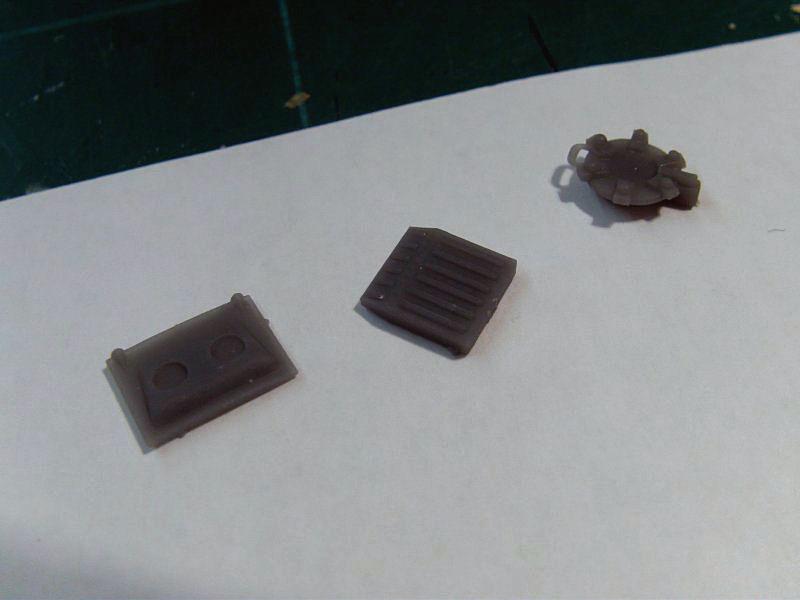
Rather happy with how the SR-N1 part came out.
Methinks I got pretty close and that will do nicely.
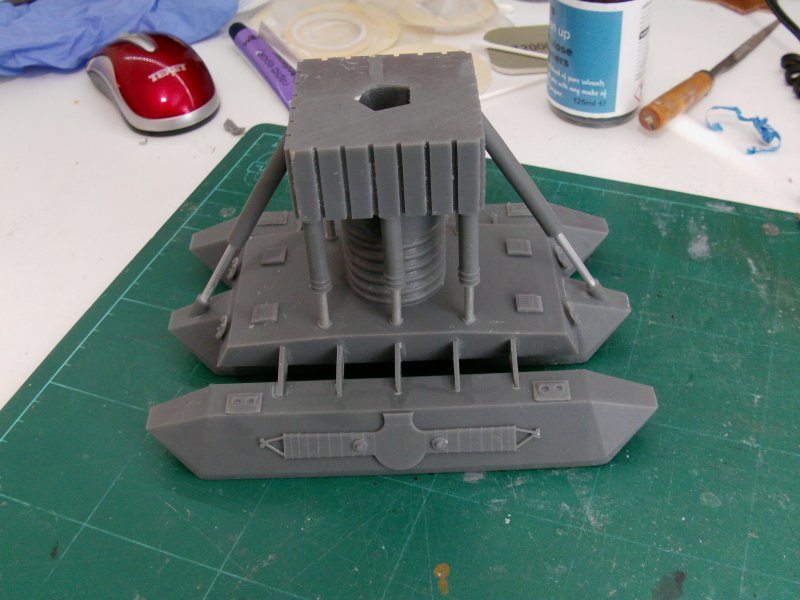
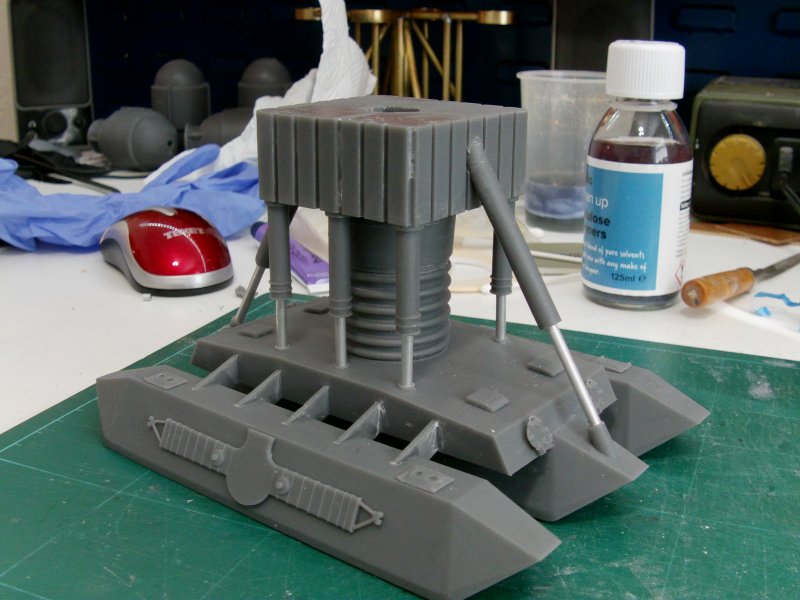
So much more polygon pushing about for the landing gear parts
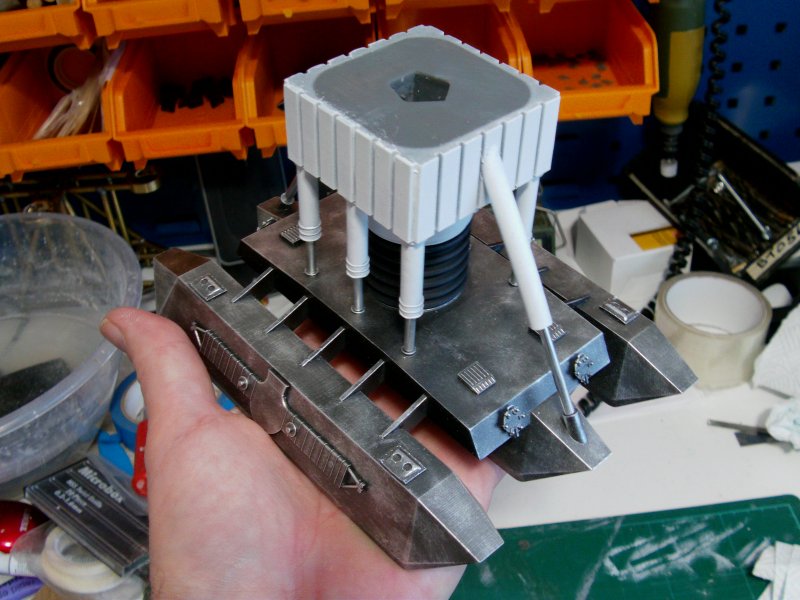
Time for a virtual dry fit of the landing gear so to speak and see how it all looks.
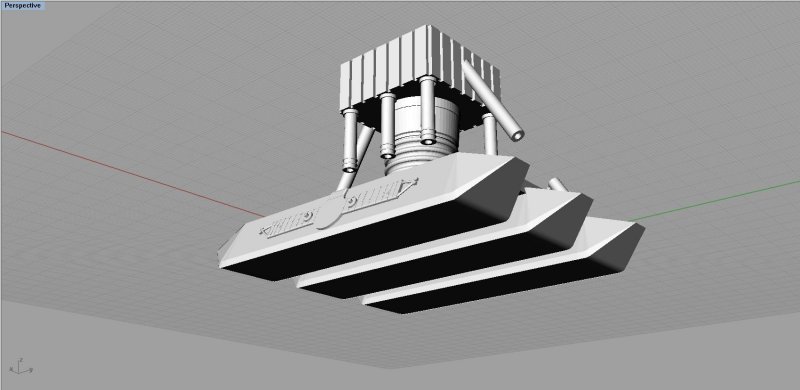
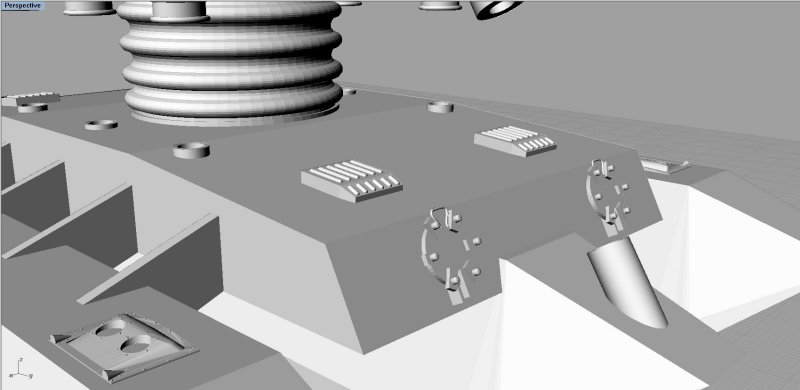
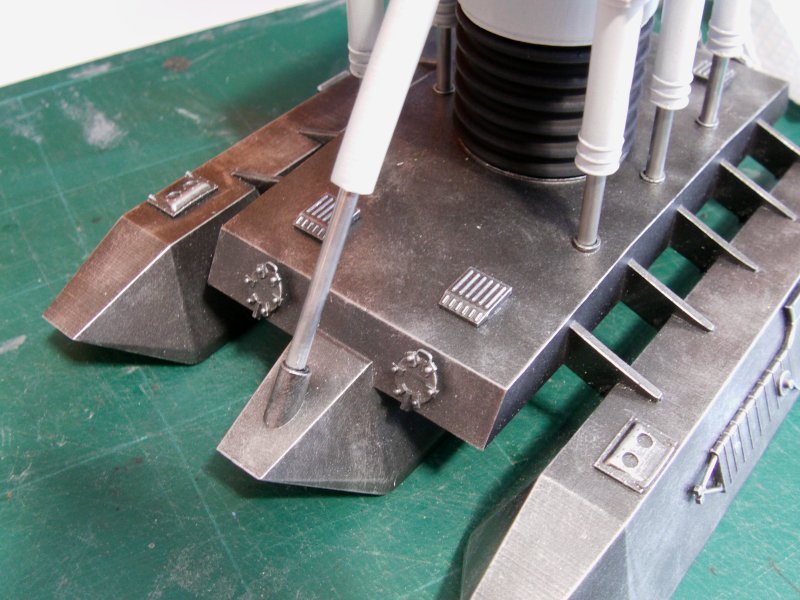
A bit of a closer look see.
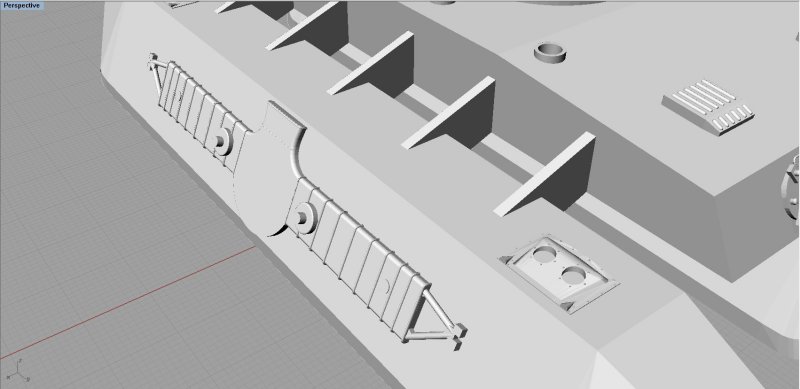
Nice!
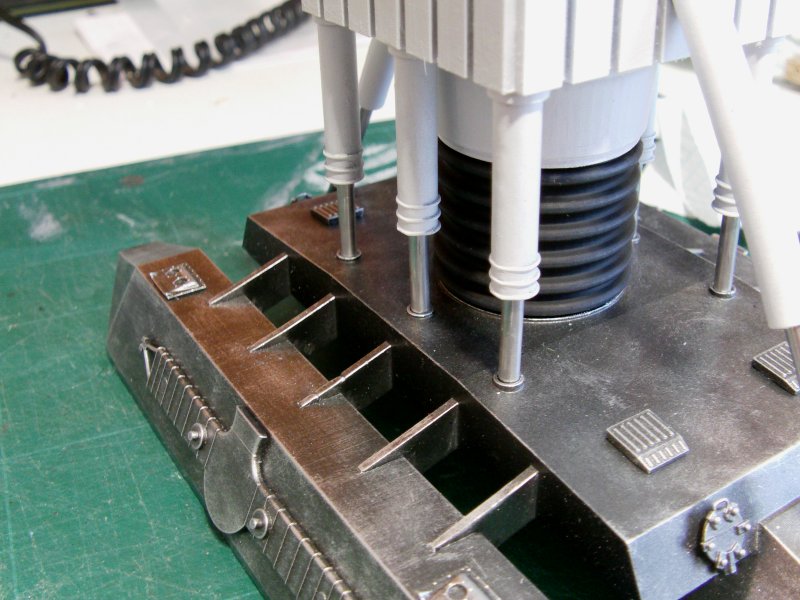
The bits that are part of the shock absorbers will be fitted out with some polished aluminium tube or rod.
The parts have been sorted out to take just that size so all good.
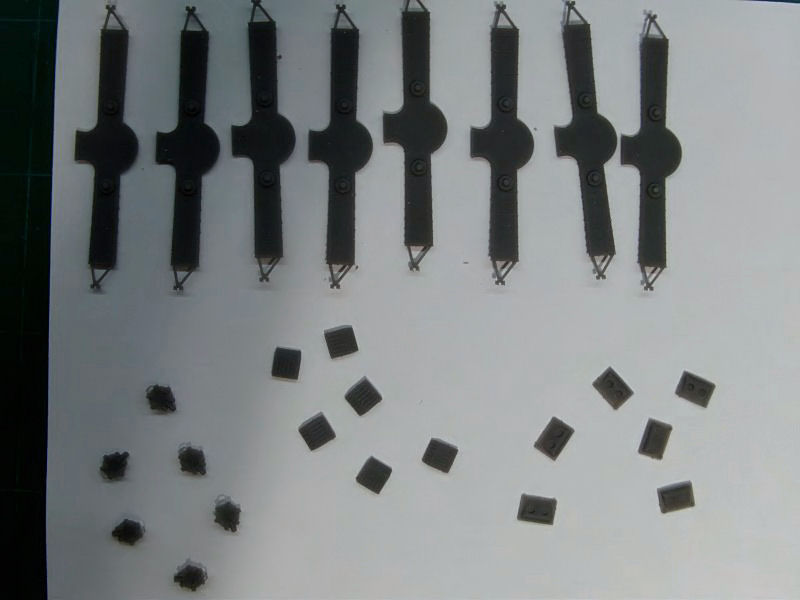
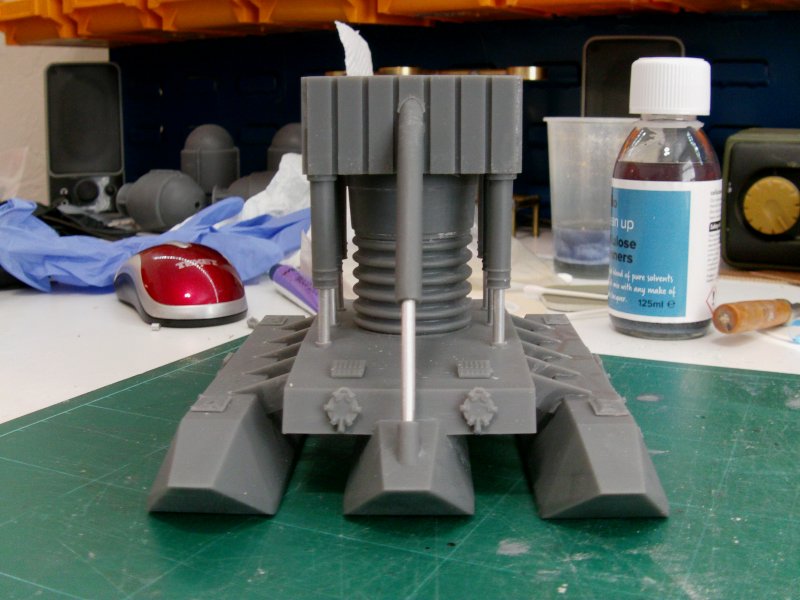
Some more printing happened and lo, there were a pile o' bits here abouts.
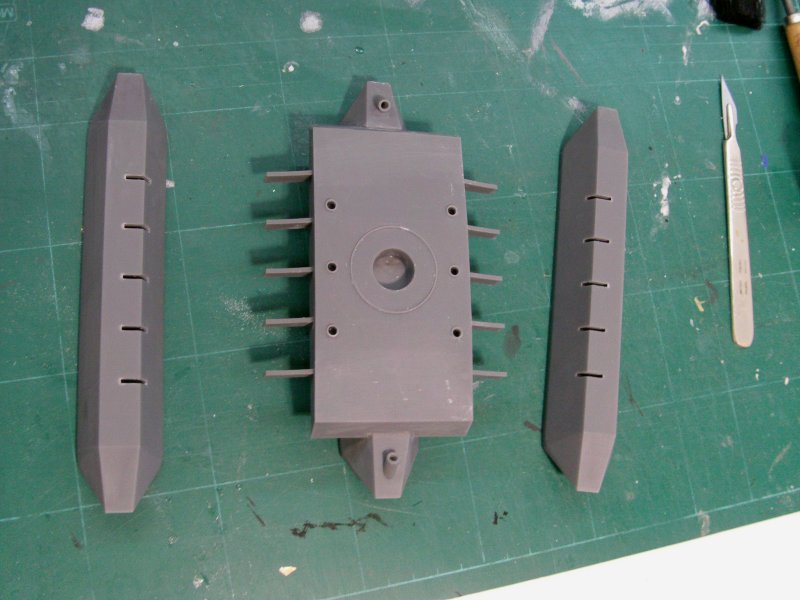
Swift cleanup and time for the semi dry fit assembly thing with some alloy tube and see what i've got here.
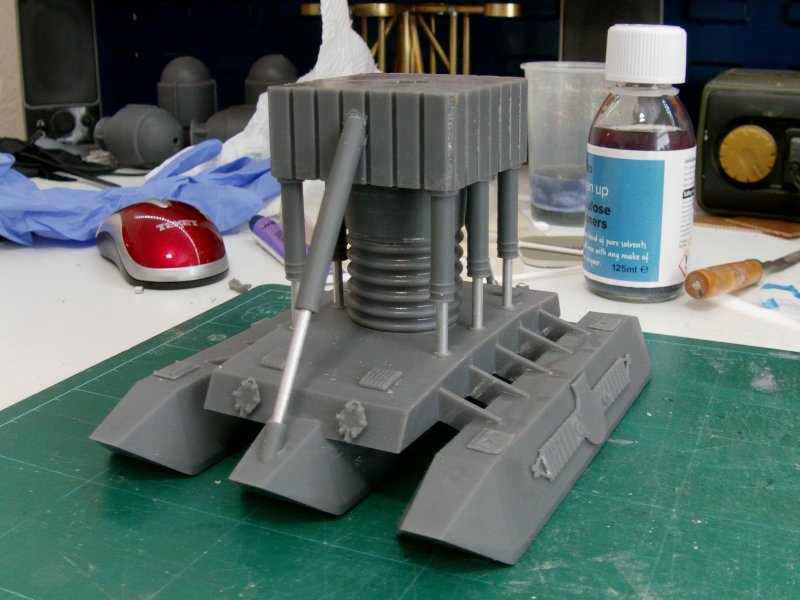
Some paint, dry brushing and polish up the metalwork to complete this test.
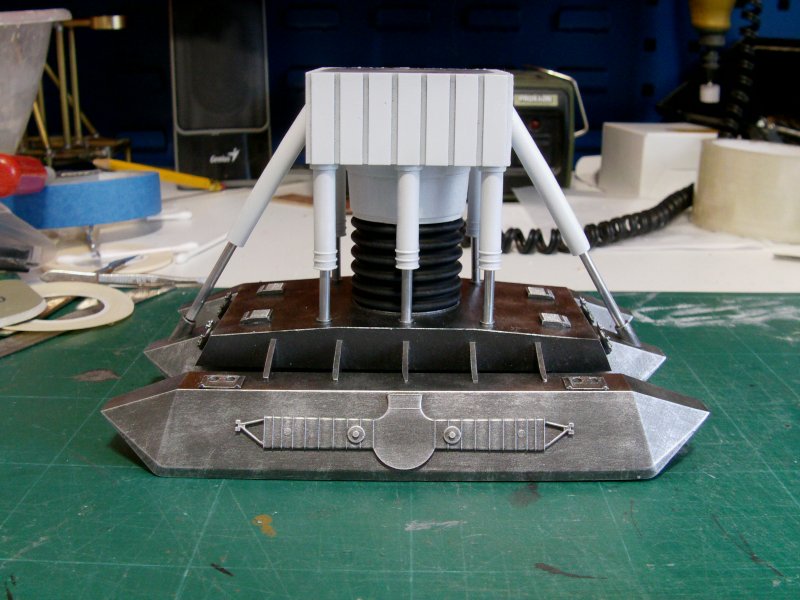
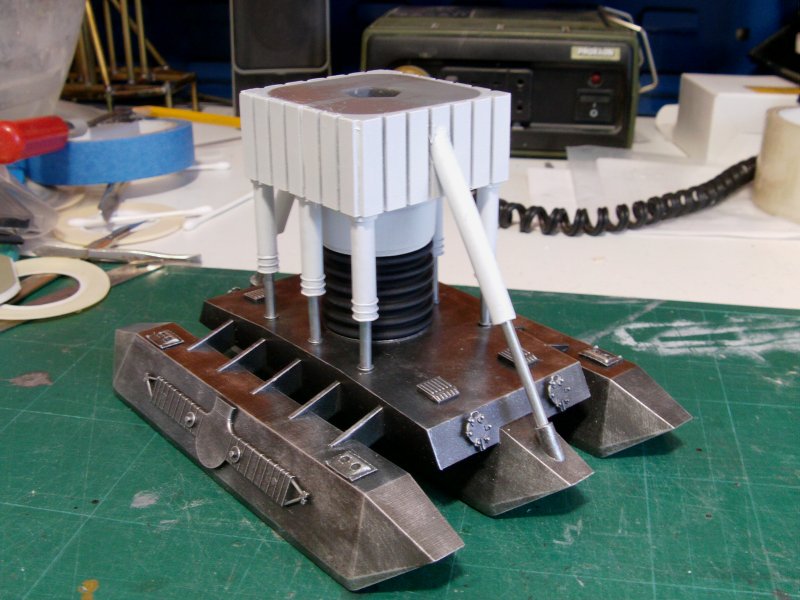
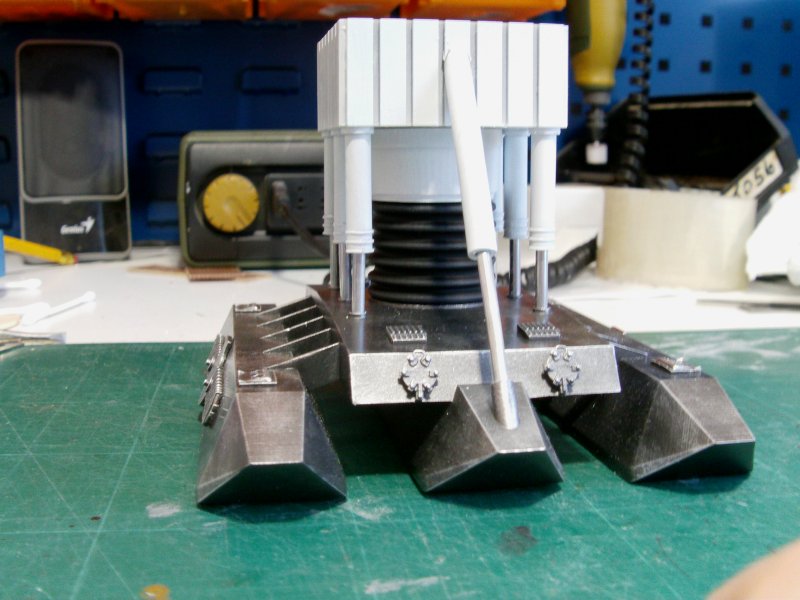
Aye, that'll about do it!
A bit of tolerance tweaking here and there but overall,
a successful tryout here methinks so this whole thing will get shoved
in the list to be dealt with more as time goes along.
No idea how far in the future that will be so we'll just have to wait ands see.
That's all for now gang, you merry mob go easy out there now.
Page Number