
Star Wars X-Wing Fighter
Studio Scale


 Page Number
Wires, resistors, LEDs..
Let's Light Something Up.
Greetings folks and folkettes!
Well the first batch out of the paint stripping tank ended up all squeaky clean.
Not without a fight as it took a good 48hrs to shift it.
No idea what paint was on it, haven't found the brand yet.
Still looking for 'Will-Not-Shift-Easy-Bullet-Proof-Self-Armour-Plating-Paint'.
I could use some meself!
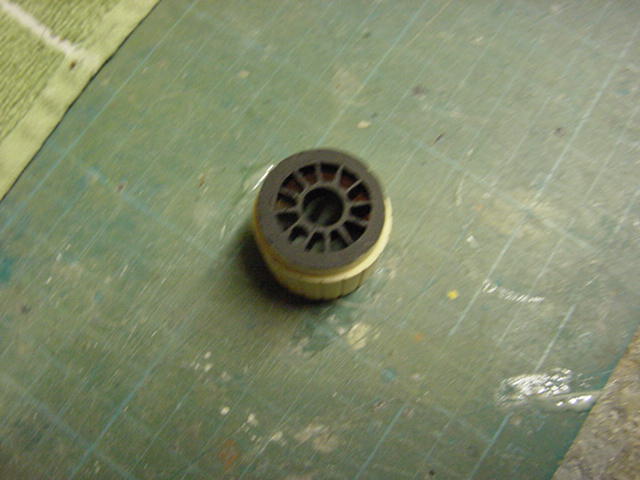
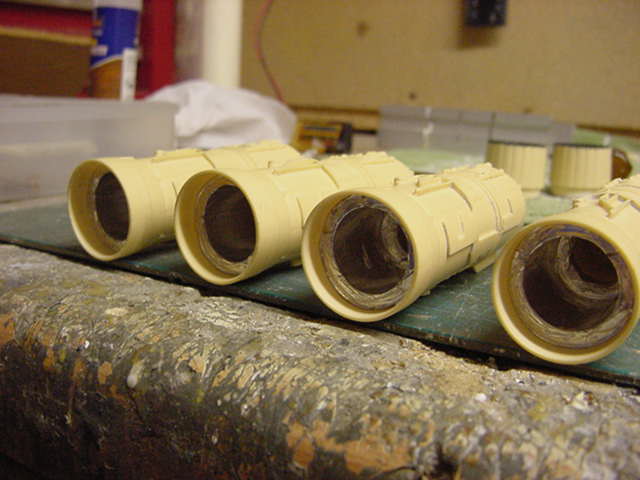
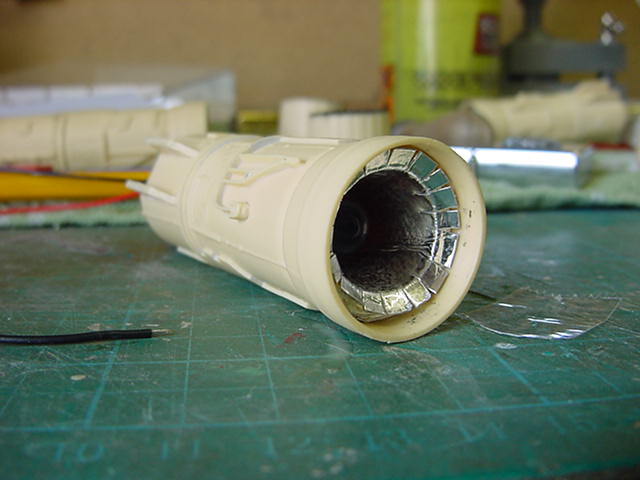
Anyway, rear engine bits and cans sorted out and old glue cleaned off.
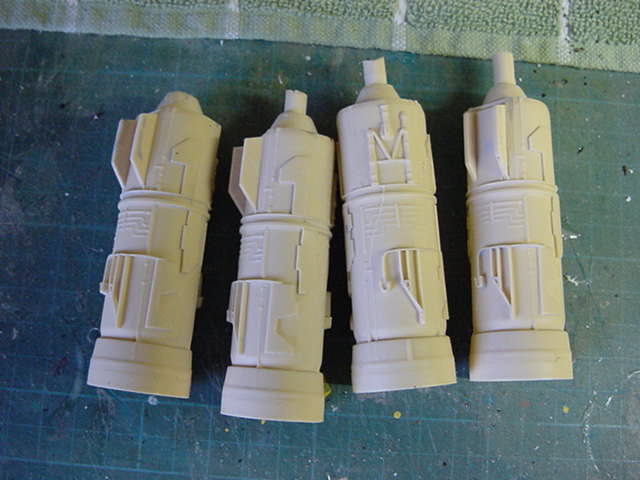
You will note that one of the front pins on the engines is gone,
that happened during the disassembly stage.
So going to have to replace that and may as well do the same with the others.
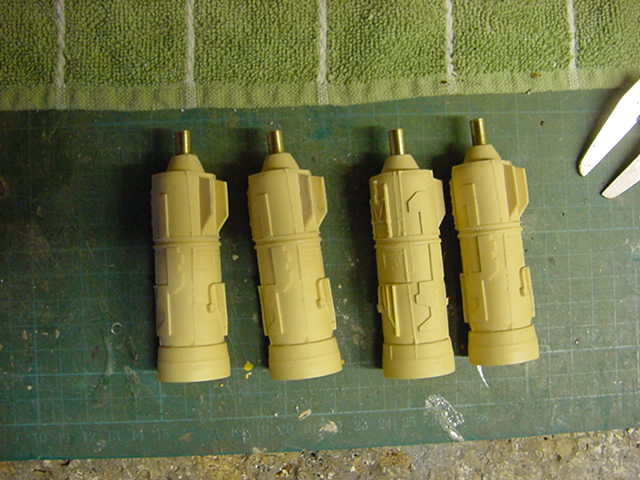
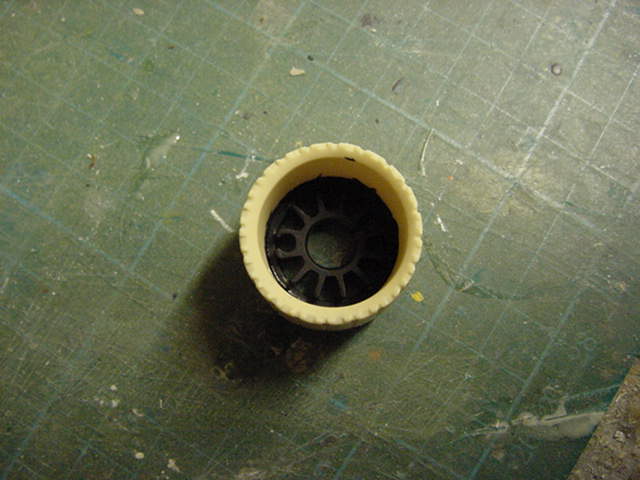
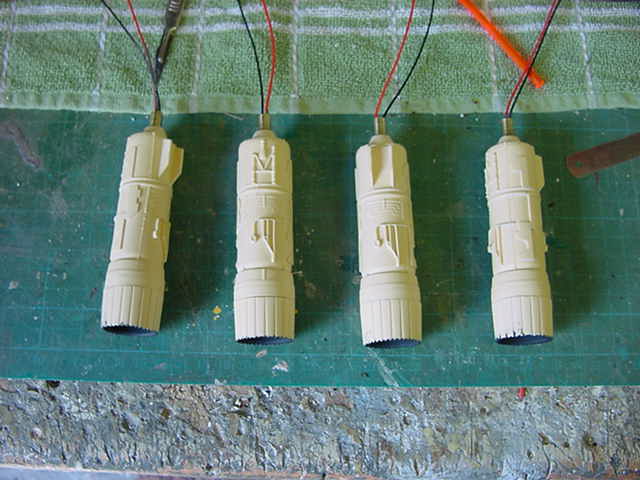
Going to have to drill holes anyway for the wiring so let's see that done.
One 1/4" drill bit and some 1/4" brass tube, sliced & hammered...
literally...
into situ later and we got this kinda thing.
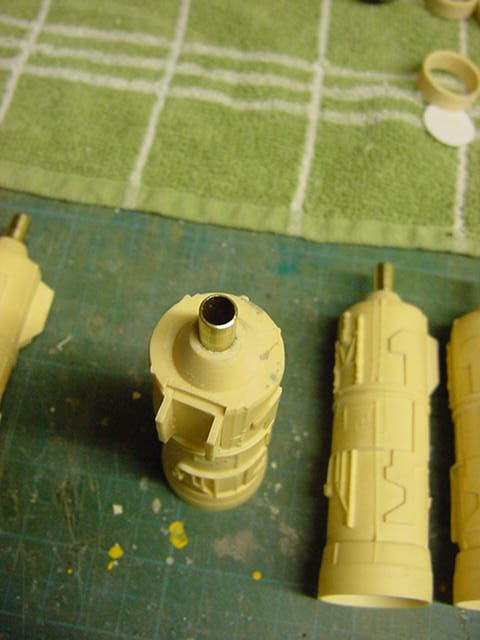
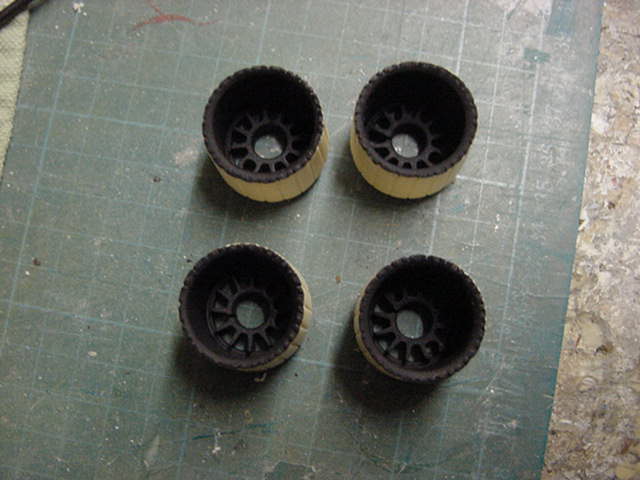
Okedoke then, a lick of matt black around the inner can detail to get it in all the nooks and crannies.
Finished off with a small rattle can of matt black.
Then the engine parts lined with self adhesive foil tape for the light blocking thing.
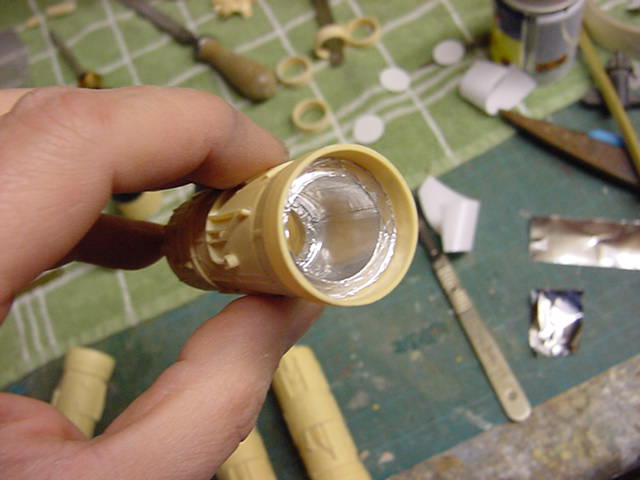
So to the main light up stuff.
Was asked for bright engine lights.
'Very bright, as bright as possible' were the words used to me so out with these fellows.
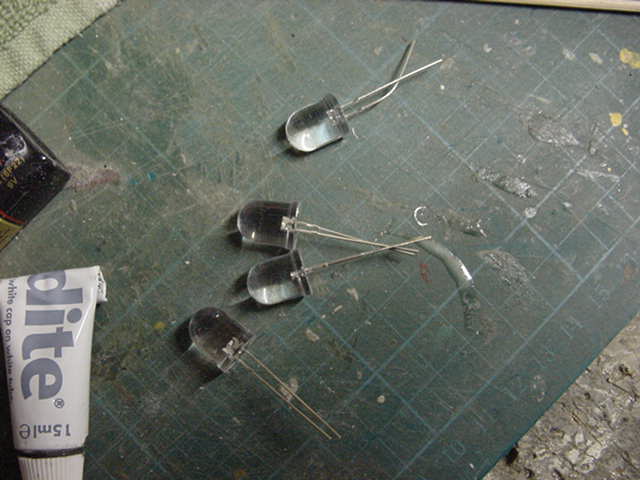
10mm diameter 15000 MCD 3v 20mA white LEDs.
Bloody bright wee things.
And if you have never played with these let me just say this.
These are the kind of LEDs that...
You do not look directly into for extended periods when they are on!
Just needed to make that point gang, don't take risks your sight people, not a good idea.
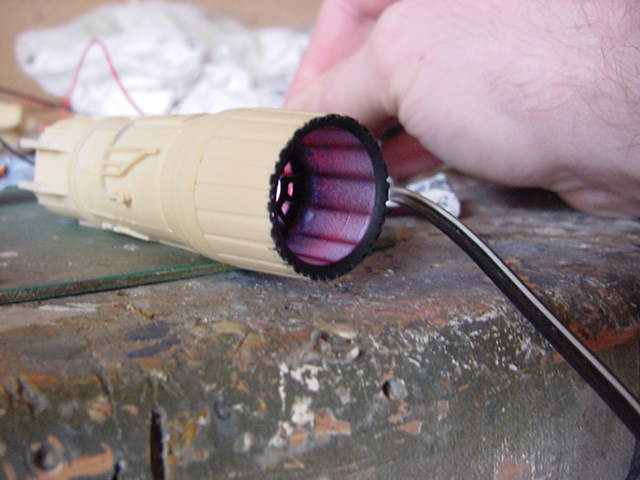
Now it was mentioned to me that a lightish red color would be good.
Splitting the difference, they were given four airbrush
coats of Tamiya clear red, thinned 50/50 fashion.
Then mounted to plastic discs large enough to fit snugly at
the bottom of the engine and wired up with 100ohm resistors.
The given rating as this will have a 4.8v battery pack when done.
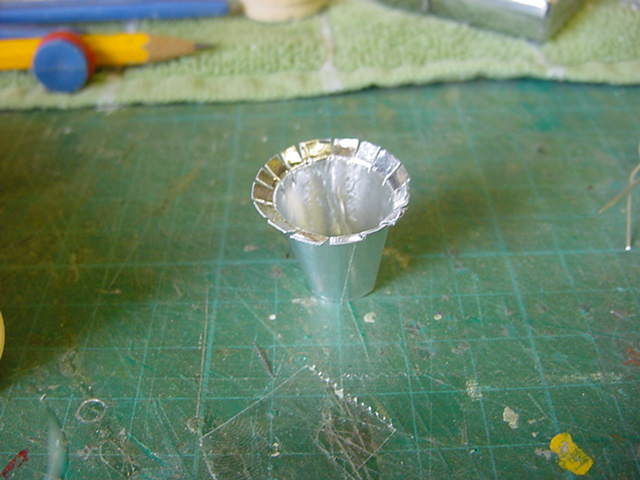
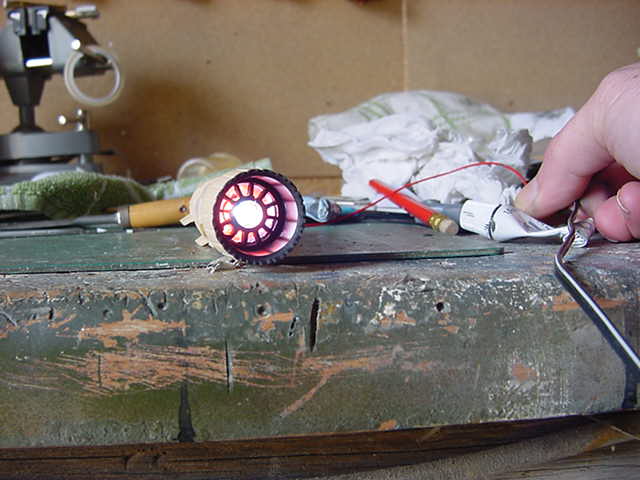
Now the LEDs were fitted in and to direct the light better, each one was fitted with a cone.
This was made simply from paper with self adhesive foil tape.
Also of note, the very top of the LED was cleaned off as almost any
kind of coating on the dome, no matter how smooth and glossy
seems to cut down the light output so the top now clear and the rest left red.
So then, make up cone, glue in, slap the can on to secure and repeat three more times.
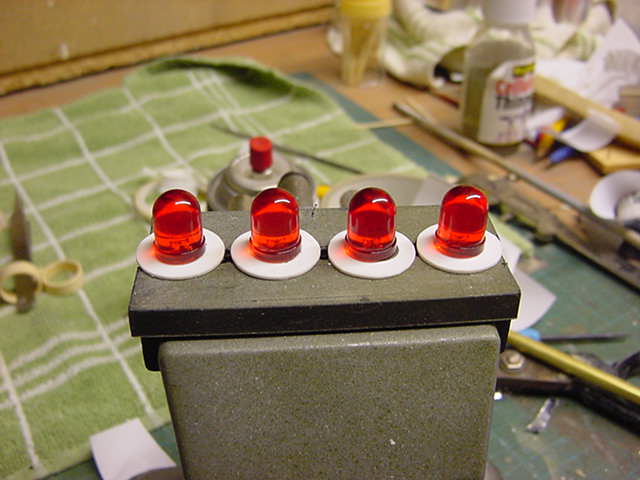
And so on with the box o' voltage set to the correct 4.8v output.
The results as follows and I am thankful for the largish LCD viewfinder on me camera for the last pic.
No harm in looking at the screen at an angle.
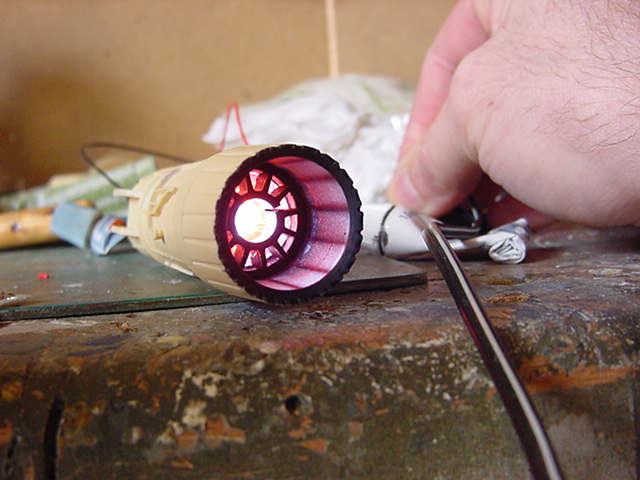
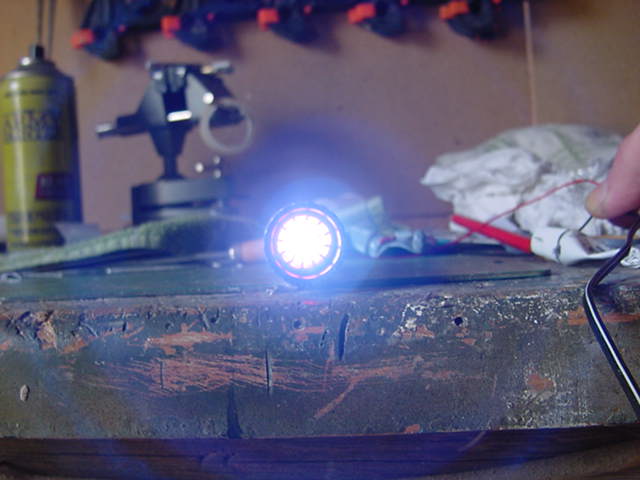
Very bright asked for, very bright got methinks!.
Well all there and sorted.
Many more parts left to strip and clean up...
And paint and re-assemble...
And so on...
Oh lordy...
Well that lot for next update and a few more after that so you go easy out there gang!
See ya next time.
Page Number