
Star Wars X-Wing Fighter
Studio Scale


 Page Number
It's gotta look beaten up...
So I'll Just Beat up Some Plating.
Whatho troops and troopettes!
Well now, just a short update here.
Now the word is to make it look rough so some rough surface areas are the order of the day.
Now some metal effects were also mentioned during the yak about it phase of this deal.
So can't go wrong with metal.
Looking at the two lower wings of this thingy, I decided to start hereabouts.
The first target so to speak is the long panel that makes up the leading edge of this wing.
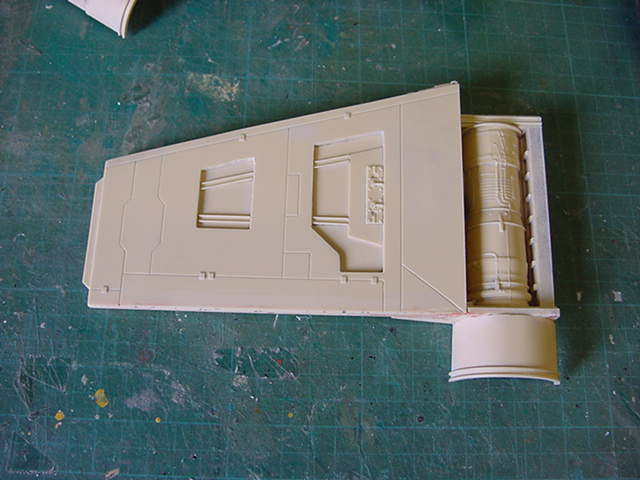
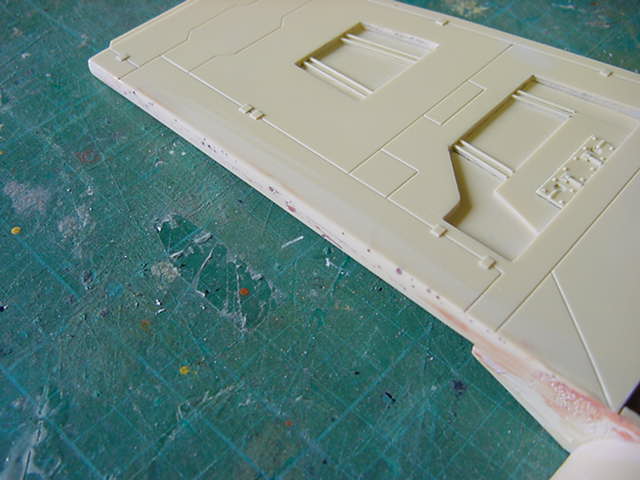
Step forward some 10thou thick brass sheet.
This was cut and folded to shape.
Then gone over with a blowtorch, water quenched, hammered
and generally mucked about until rough enough.
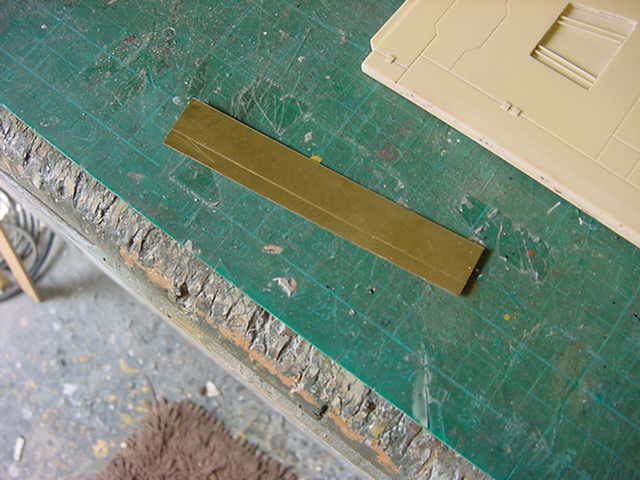
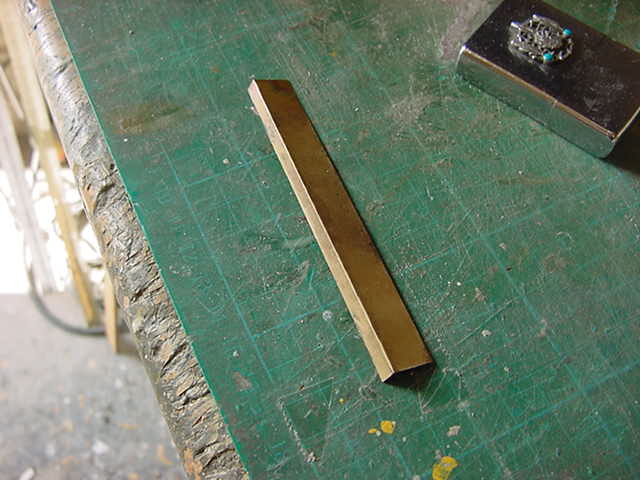
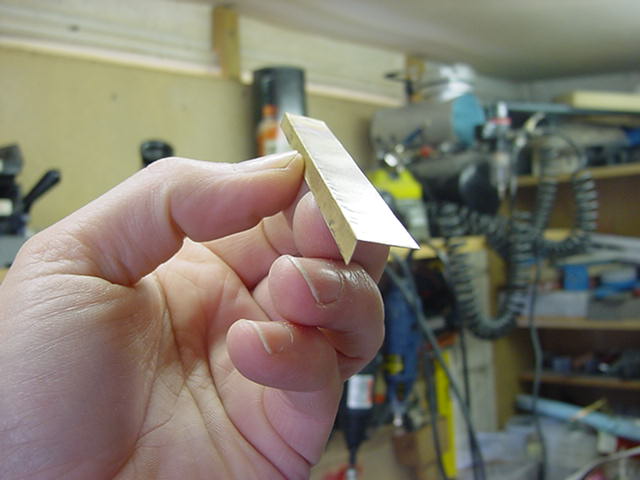
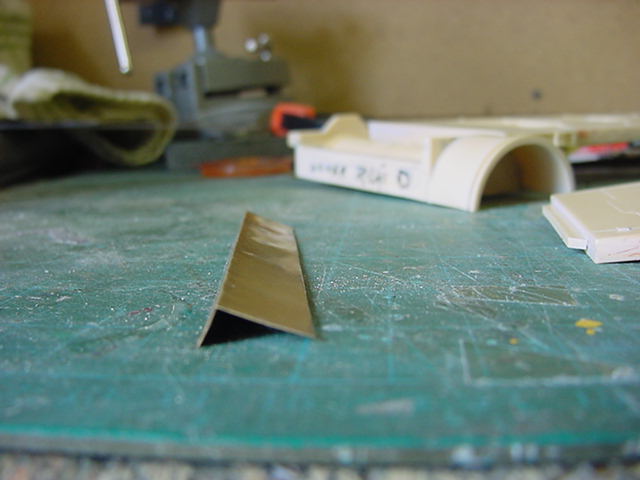
So that plate readied up, the unwanted resin was
ground away from the area where the plate was to fit.
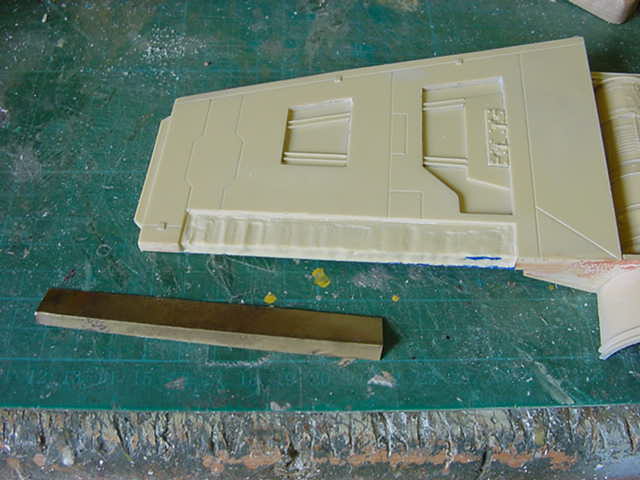
A fair amount of epoxy metal adhesive mixed and applied, the plate likewise.
Left to cure then the outside edge re-scribed.
The the plate was given a going over with some 600 grit wet & dry.
Then the true surface roughness came into view.
Well worn and wrinkled which is about what I had in mind.
After which the small square surface detail that got removed during fitting got put back.
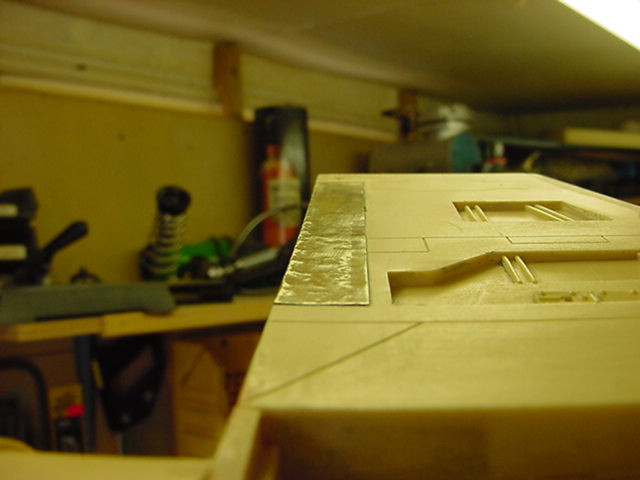
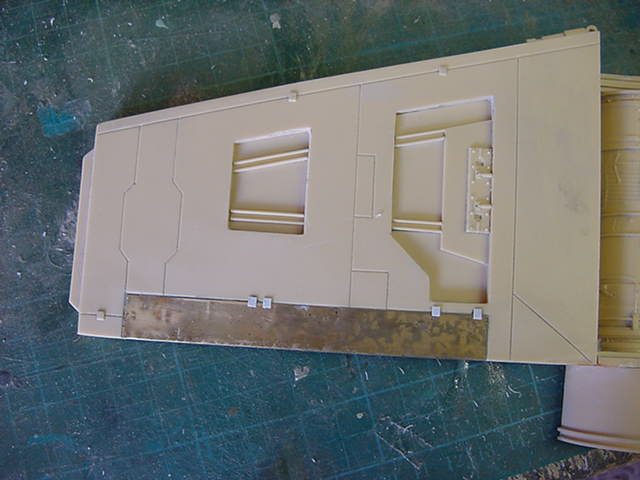
Now i'll not be leaving this in the brass colour.
Methinks an airbrush dusting of some Alclad aluminium will do the trick here.
Give it a slivery metal effect deal but hopefully preserve
some of that nice blotchy discolouration effect in the brass.
So a bit more metalwork mania on the other wing.
A wee lump of 15thou thick aluminium sheet got called into play here.
This was given a roughing up/hammer treatment.
I decided to try and make this look a bit like pieces put together to
make a whole plate so the metal was placed on the top of a bench vice.
The jaws closed and the flat used to support while the plate
overhung the outer edge of the closed vice jaws.
Using a small tack hammer, it was hit lightly and quickly,
sort of woodpecker fashion,
Along the line which gave the metal a slightly pronounced ridge.
This was done along three lines then the plate laid on a hard, flat surface,
covered with a scrap lump of MDF and then hit with a mallet.
Reason being to flatten it out again.
The end result after a going over with 600 grit wet & dry was a marked plate with three faint ridges.
At this point, the area for it to go into on the wing was cleaned out.
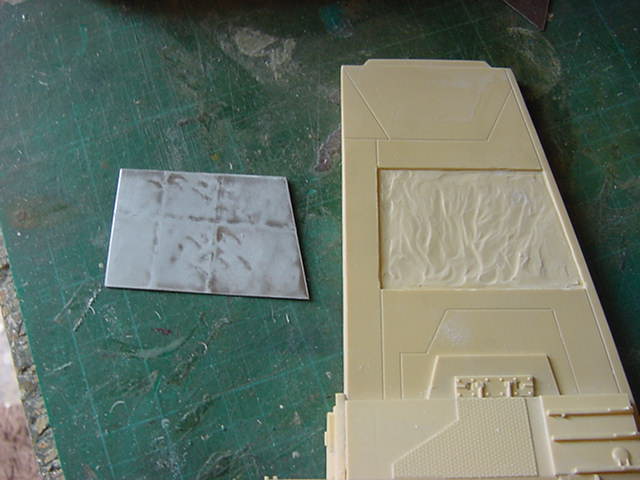
Some stay put ya bugger gunk later and a quick scribe round the edges and the result as follows.
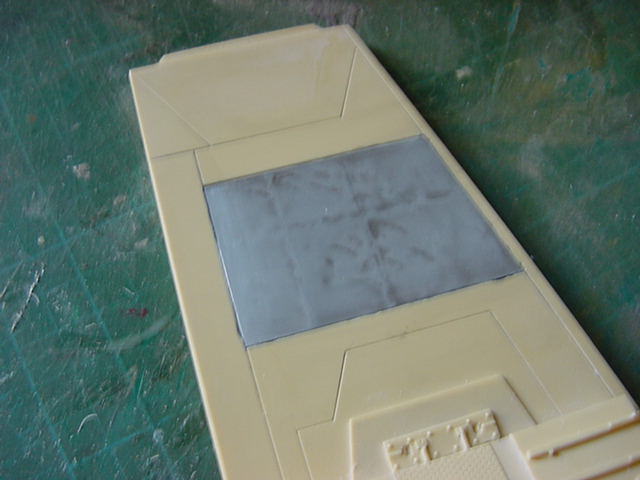
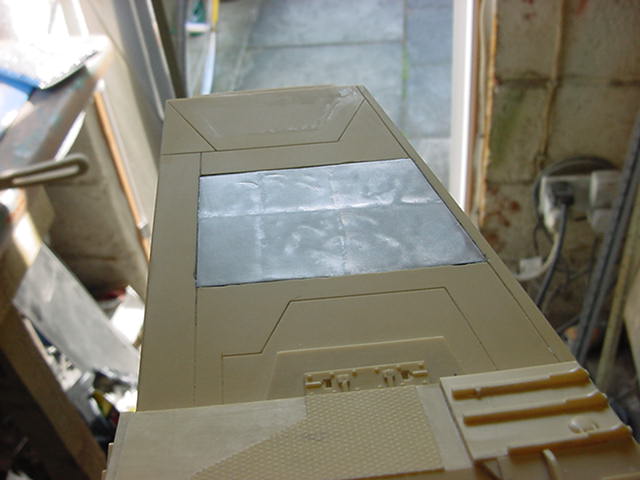
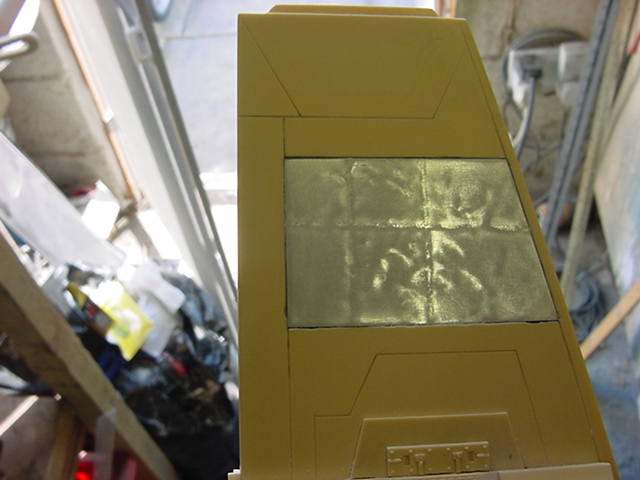
Looks about right to me.
I'll leave this be pretty much apart from a light coat of acrylic varnish to prevent any more oxidization.
I'll most likely not over paint but leave it in the raw so to speak.
We'll see how that goes when it get's to the paintwork pandemonium.
Also made up a brass plate to go in one of the other wings.
As soon as they are out of the stripping tank that is...
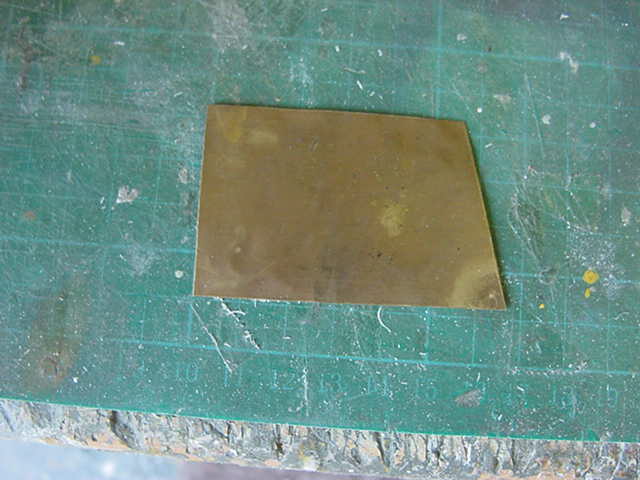
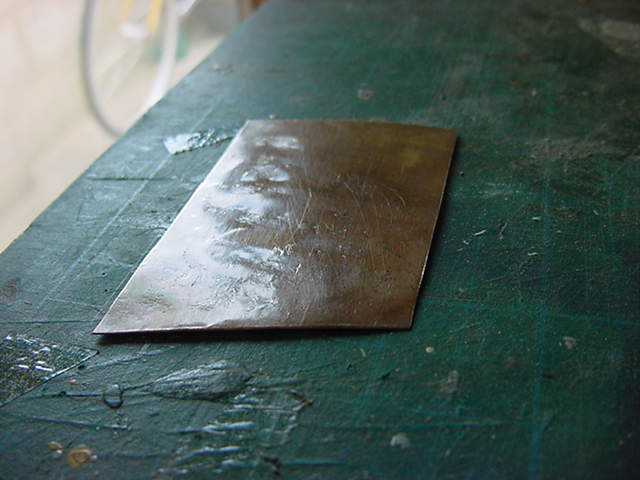
And that'll about do it for now methinks.
I'll be doing some more plate work on the engines and a bit or two on the fuselage.
See how we go on that.
Until next update, you lot go easy now!


 Page Number


