
Star Wars X-Wing Fighter
Studio Scale


 Page Number
I got a long thing...
An X-Wing Fuselage Shaped Long Thing To Be Exact.
Welcome back everyone!
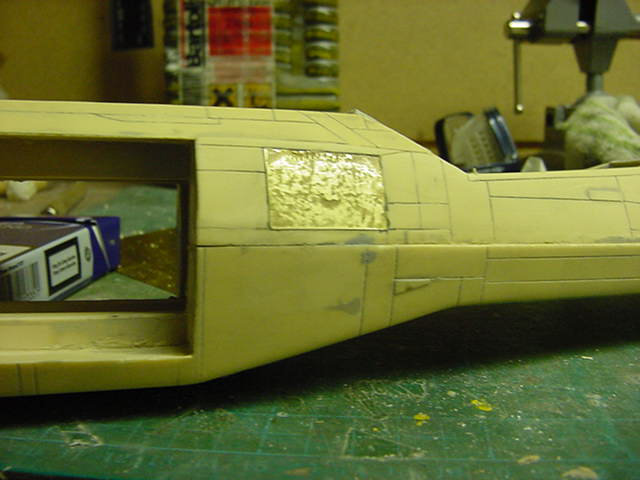
Well now, it's into the fuselage time in the hellhole.
A bit o' prep work first up.
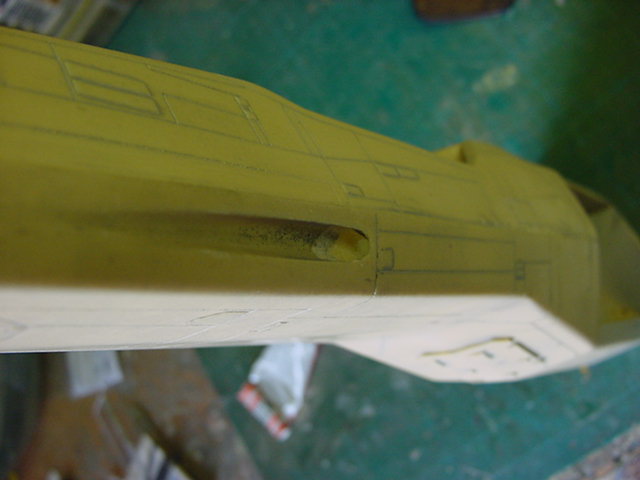
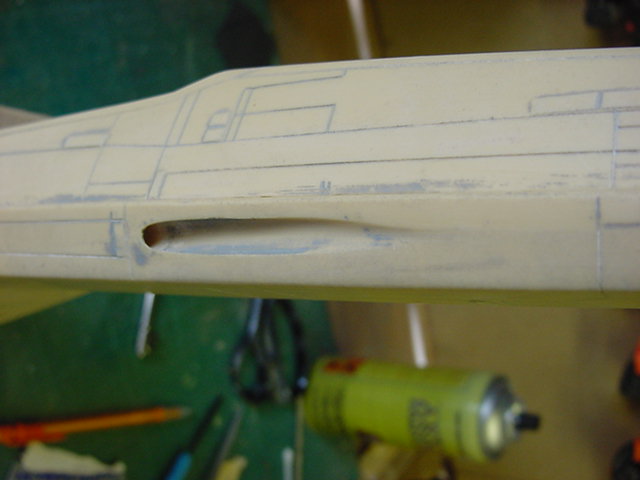
The missile launcher holes got a bit of grinding bit treatment to deepen them just a bit.
Just looks a bit better to me than blank end dips in the thing.
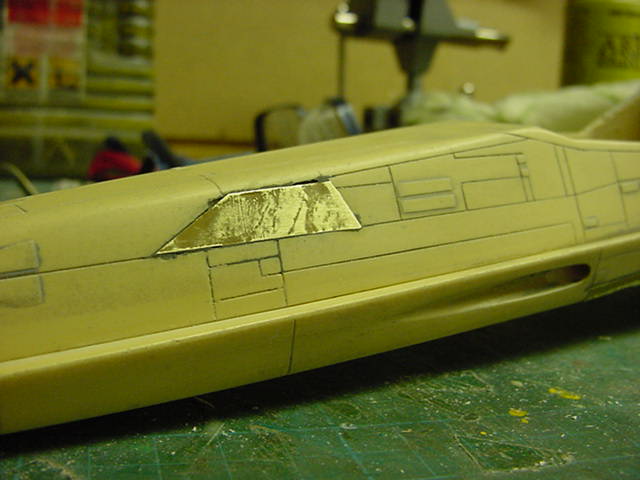
Also some more metal messed up plate work to add.
Done in short order.
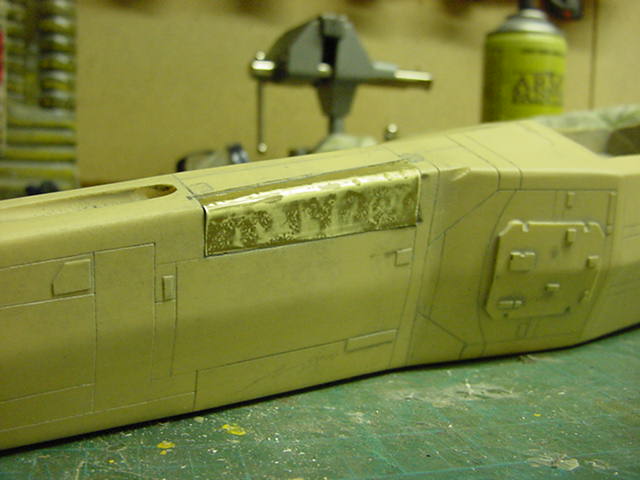
Done and done.
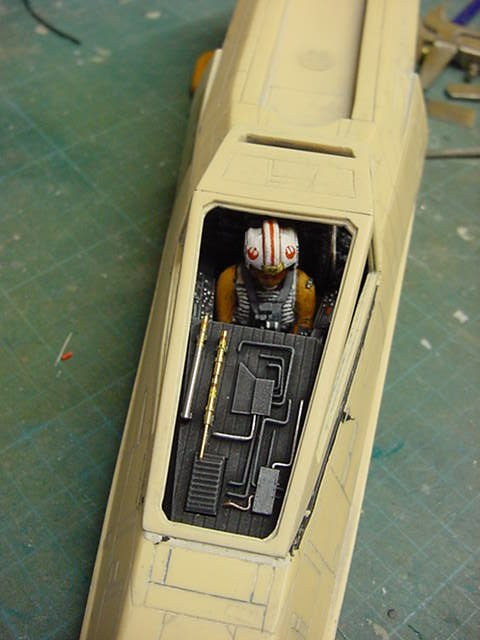
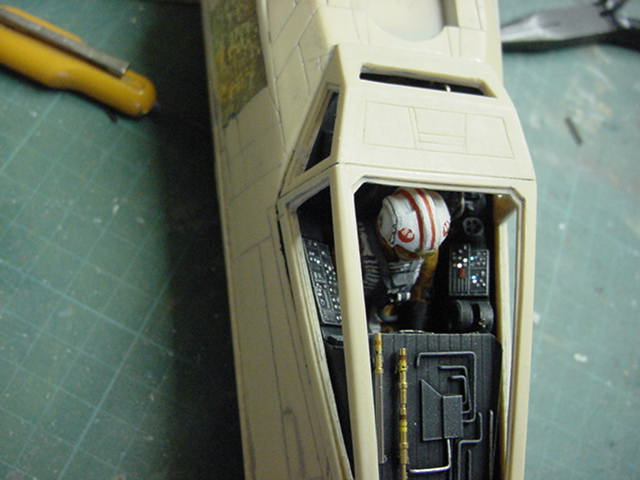
A bit more of the cockpit caper abounding right about now.
Fiber optic was fitted in and likewise the on-off switch.
The canopy will not be glazed so not a problem.
Just made it a bit easier to hide the switch so to speak.

So the Fiber optic laid into trenches dug along each side of the cockpit.
A single diffuse white LED for the display screens.
The screens were just some left over DIY decal stuff.
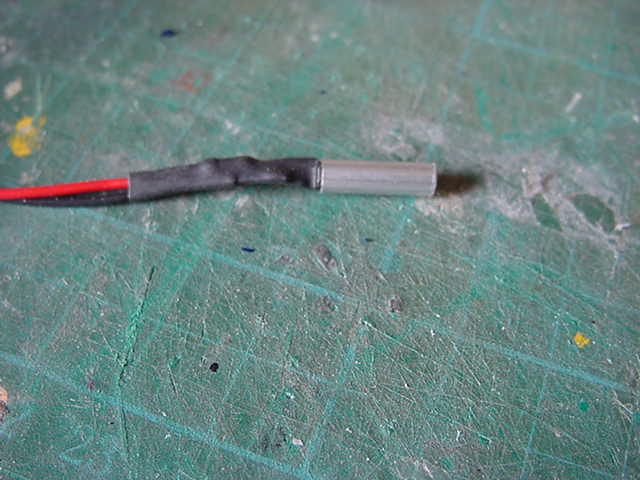
The fiber optic was all funneled into a narrow aluminium tube and trimmed off.
The end had a small bit of clear epoxy glue applied and left to cure.
This was then painted with Tamiya clear colour in bands of red, green and blue.
This will give the panel lights a slightly different colour here and there.
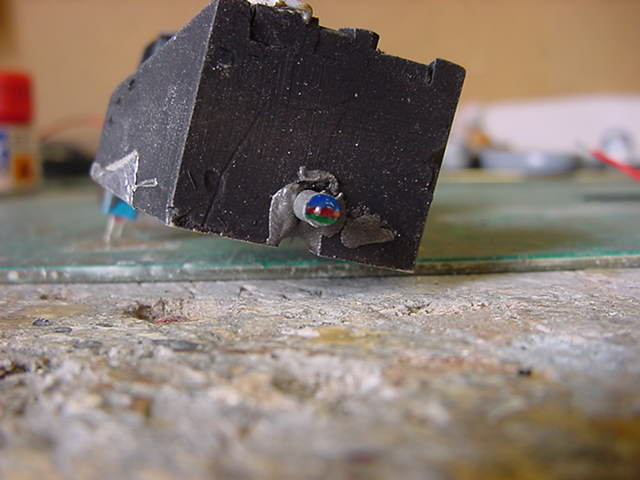
Lastly a 3mm diffuse white LED was set into a short bit of aluminium tube, this will fit over the FO piece.
Simple enough deal that keeps the LED aligned to the FO ends and stops light bleed all in one.
All wired up so time for a quick dry fit and test out methinks!
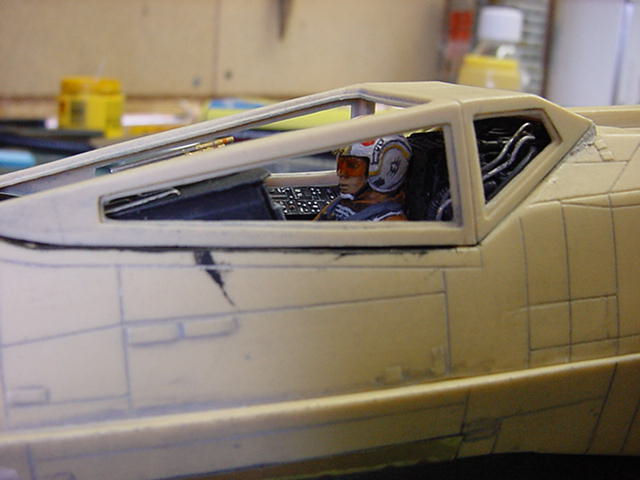

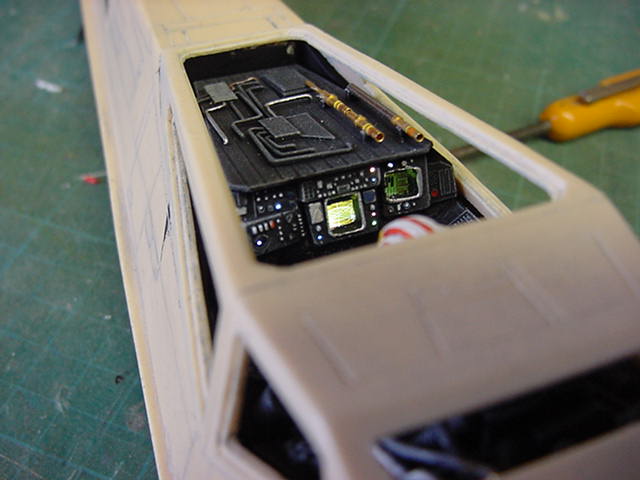
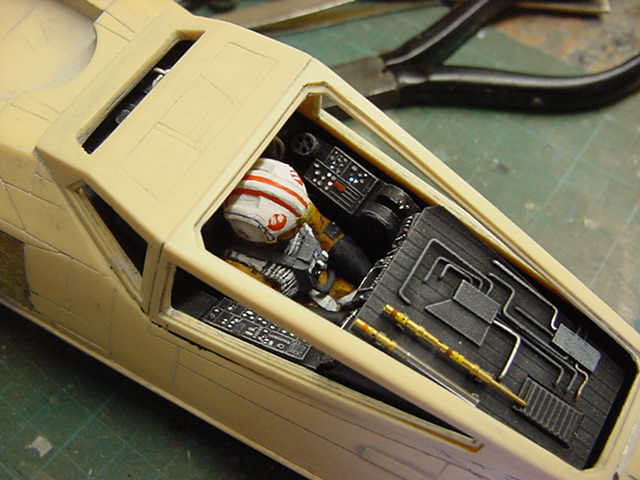
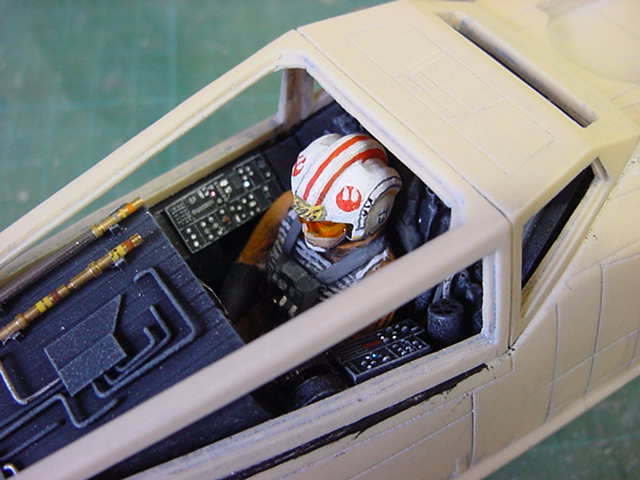
All there but not overpowering in light level so just about right.
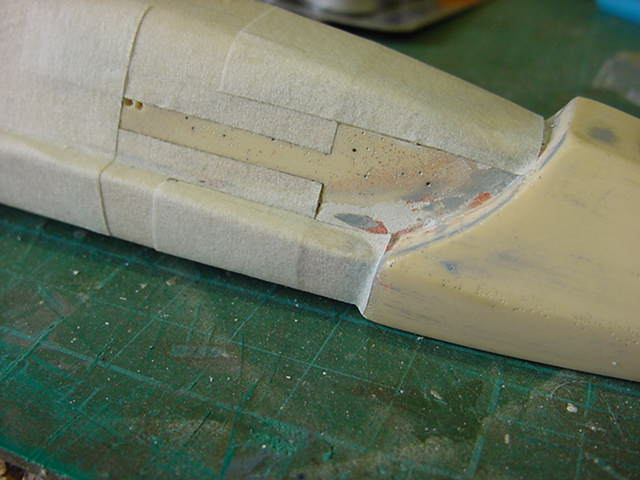
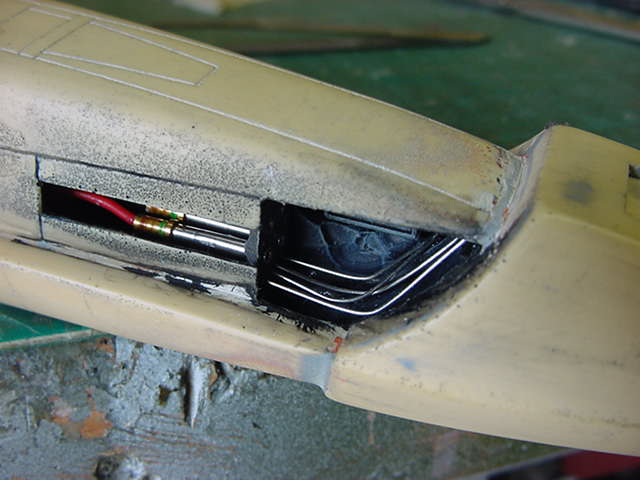
So time to deal with some nose greeblies...
Not a case for vicks sinex either...
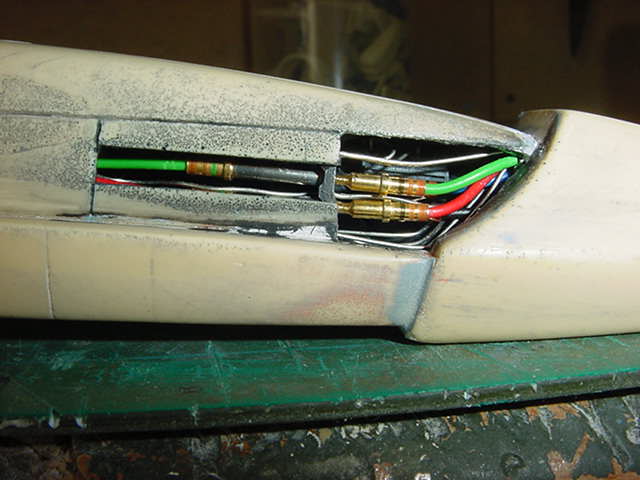
Ok, one of the things asked for detail wise was a missing panel or two.
So one on the engine was done and called okedoke.
Now for the fuselage.
So just decided on one next to the nose.
Marked out, a bit of drilling and then some screaming drill with rippy bit attached violence ensued.
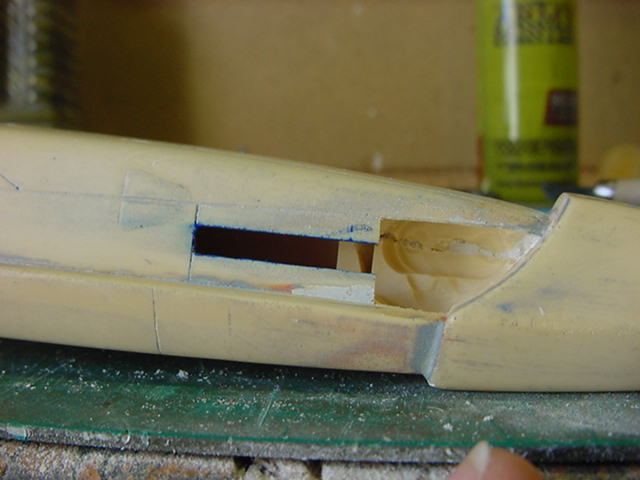
So a bit opened up and resin removed.
Now to shove something back in.
What a performance!
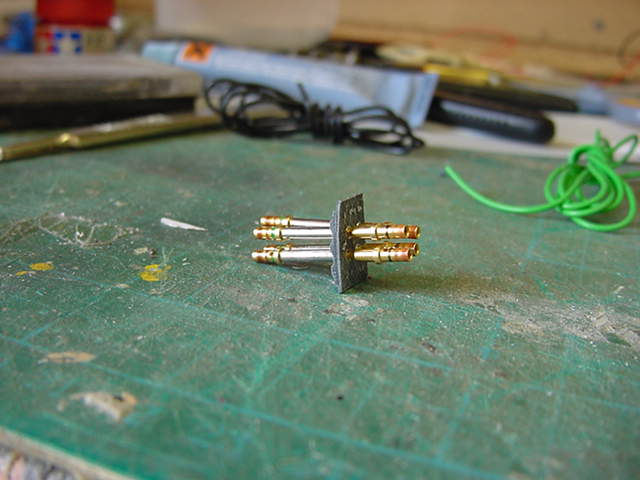
So into the greeblie bins and some of them rather nice PCB board pin things and some shaped,
drilled and then painted plasticard stuff.
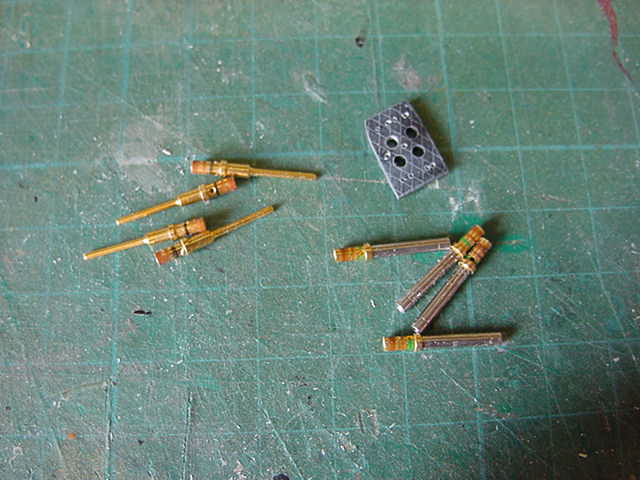
The general idea was to fit the plasticard with one lot of metalwork behind it then build up the stuff in front.
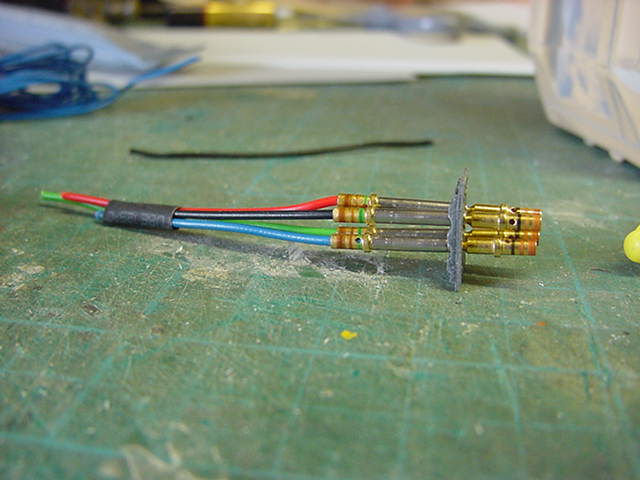
A test fitting and some coloured wire attached to the relevant parts.
When done then a serious dab of matt black to the inside of the hole.
Some grey drybrushing and another bit from the greeblie bin shoved in for good measure.
The plasticard with the silver/brass bits and coloured wire was installed.
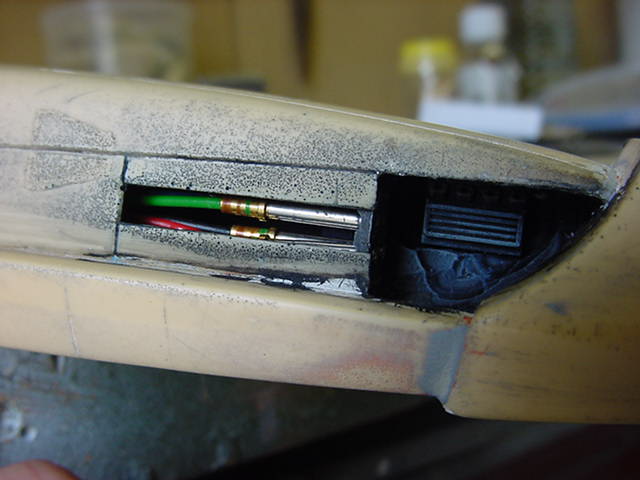
Going from the bottom up so to speak, some 15amp fuse wire was slotted into place.
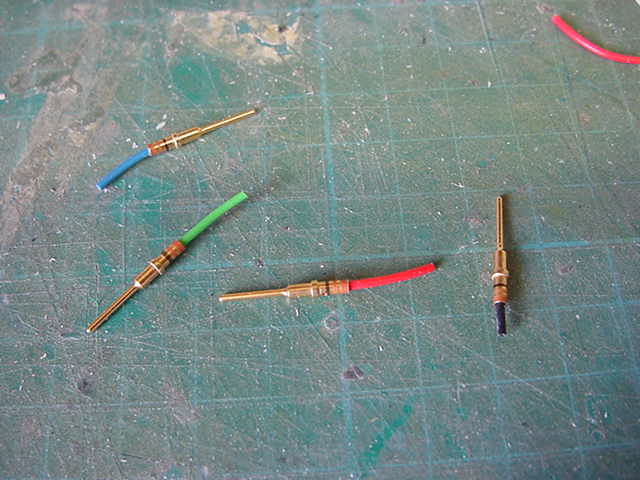
Then two of the brass bits with coloured wire slotted in.
Then more fuse wire and so on.
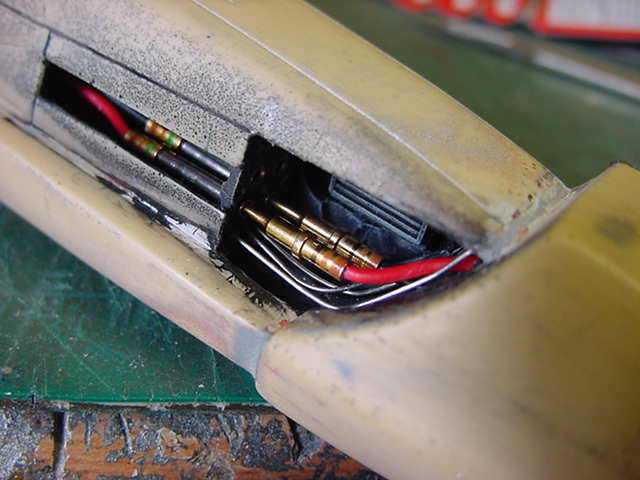
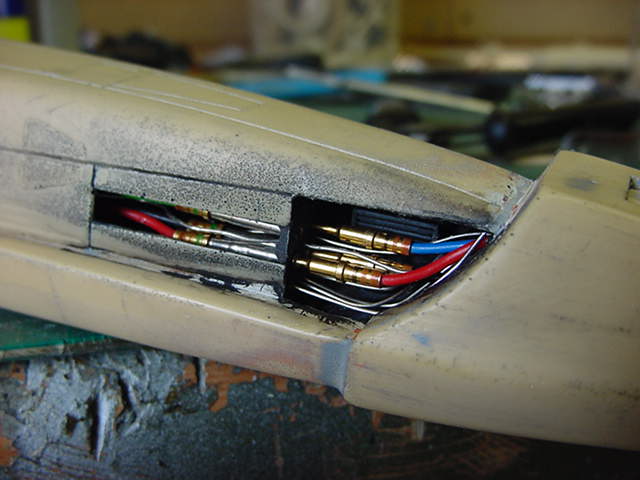
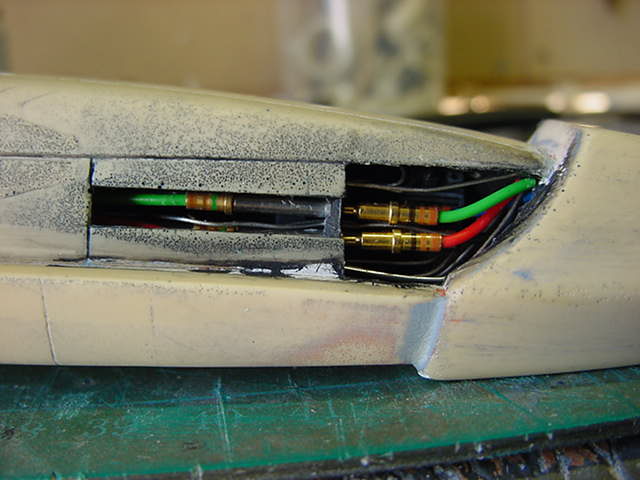
And i'll call that sorted.

And that's pretty much that so far.
More to come as always so stay tuned folks.
Go easy you lot!
Page Number