
Star Wars X-Wing Fighter
Studio Scale


 Page Number
It's about that time...
Time To Get It Together.
Howdo all!
Welcome back to the next round of hellhole happenings.
Well time to gather the bits and get to it.
So, shall we?...
First things first, wing gun mounts.
After the lot had been cleaned up, a serious dollop of epoxy stay put gunk and some holes drilled.
Reason for these it to take the brass wire that will go through the wing and into the guns proper.
Just for some added insurance like.
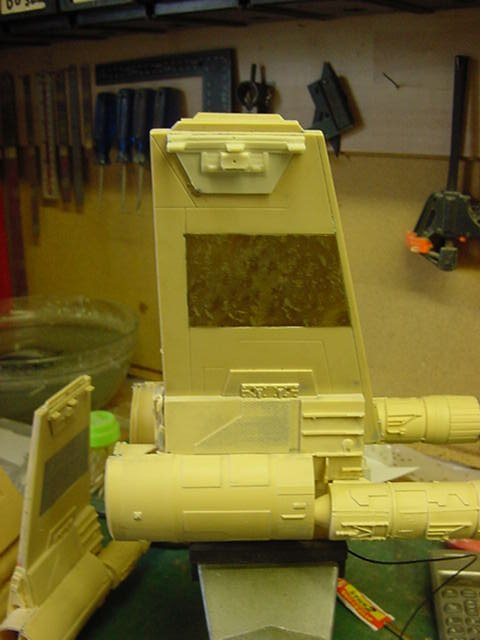
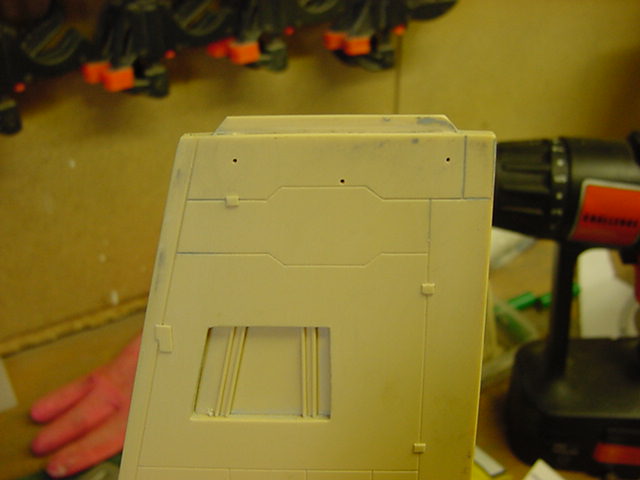
Also for some more not going to fall off insurance, some wing fixings.
So some holes drilled in the root blocks...
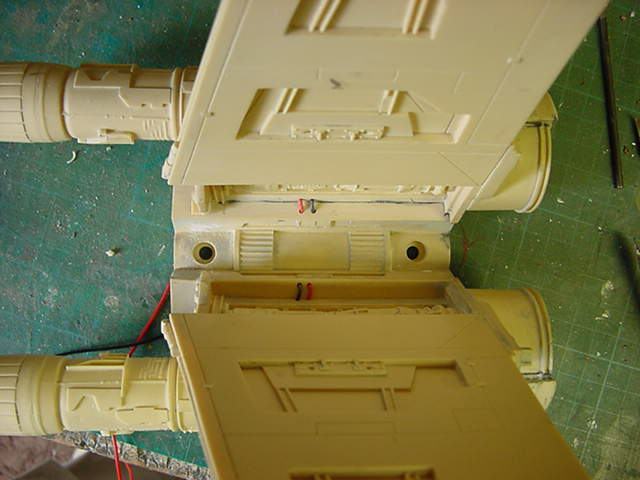
Then some brass turning and a smidgen of thread cutting.
And a couple of 4mm lock nuts for good measure.
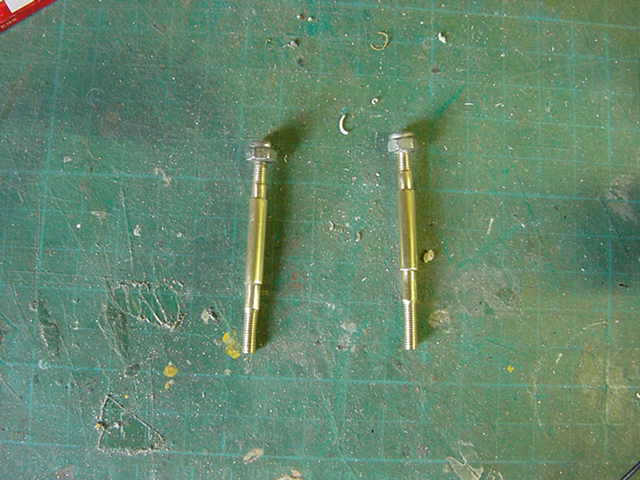
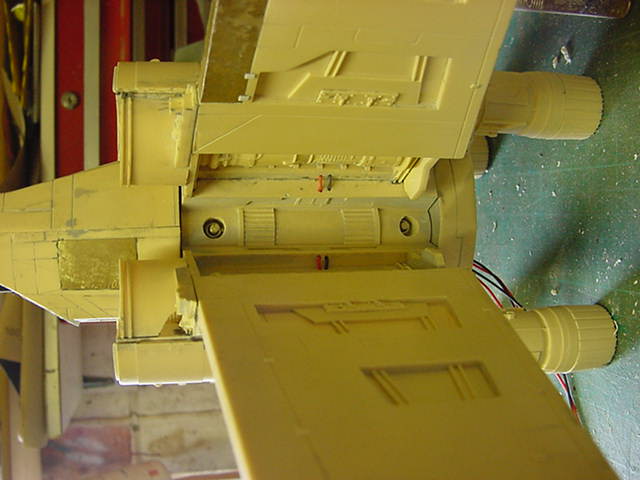
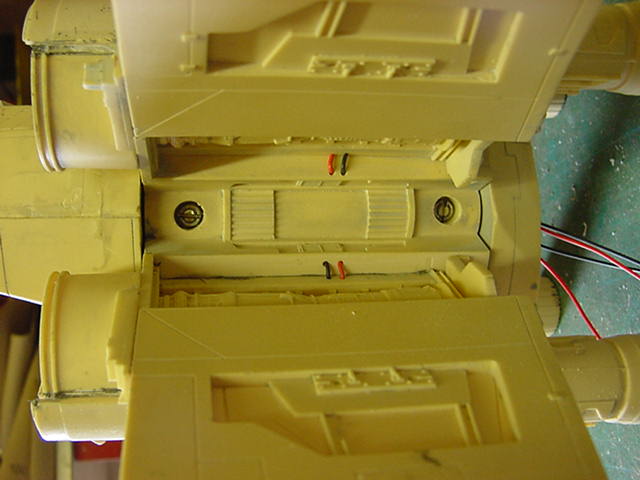
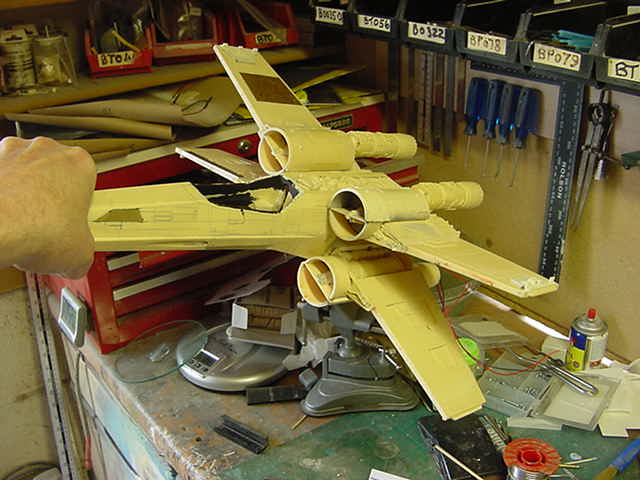
That'll do the trick methinks.
So some more glue gunk with brass wire and guns placed where they should be at.
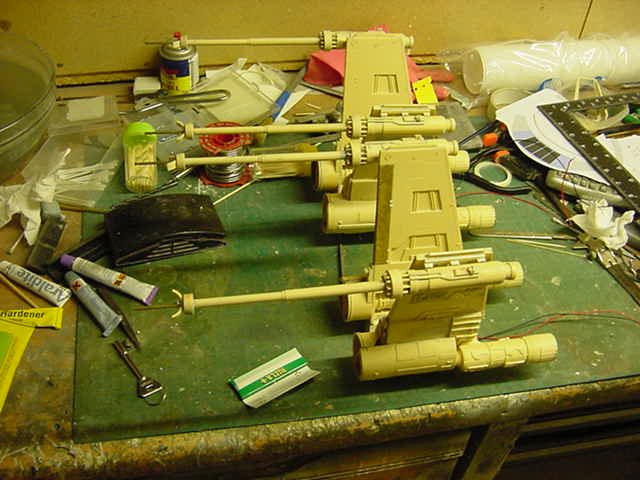
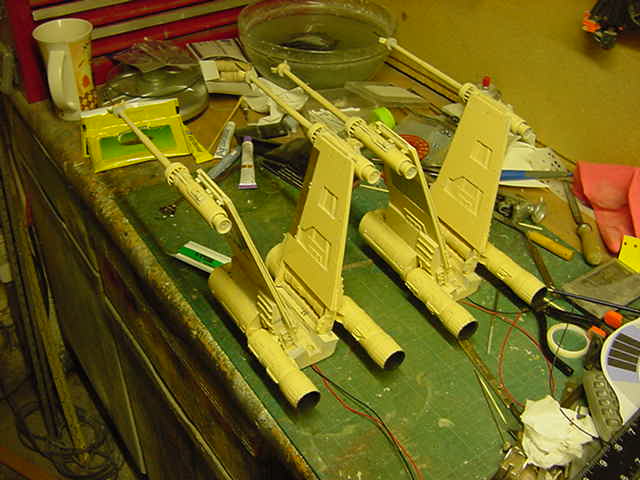
So to get the wings on but first, the battery thing.
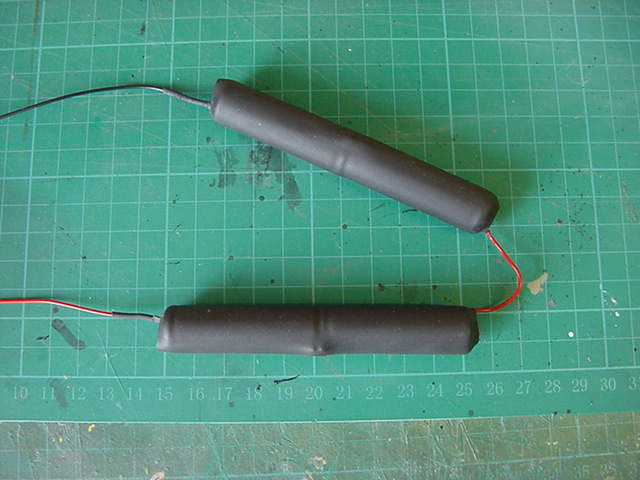
4 cells, NIMH type, 1.2v 1600 milliamp a piece to make up the 4.8 volts i'm after.
Made into two sticks via some soldering, wired up and a couple of bits o' heat shrink tubing.
Some hot glue slopped on and in place they go.
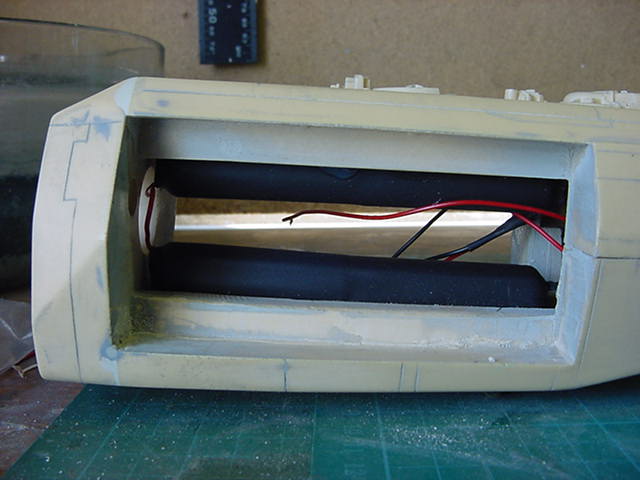
The recharge socket sorted out and wired up then the rest of the spaghetti soldered together and shoved in.
The wing blocks attached with the brass fixings and some 24hr epoxy liberally laid on.
While that was settling, the threaded inserts for the stand deal were driven in with some 5min epoxy stay put gunk.
Three positions chosen, one on the belly and one either side of the fuselage.
The parts to cover the recharge socket and side stand mounts were cleaned up and
sorted with some plastic pins and small magnets to ensure they don't go running off.
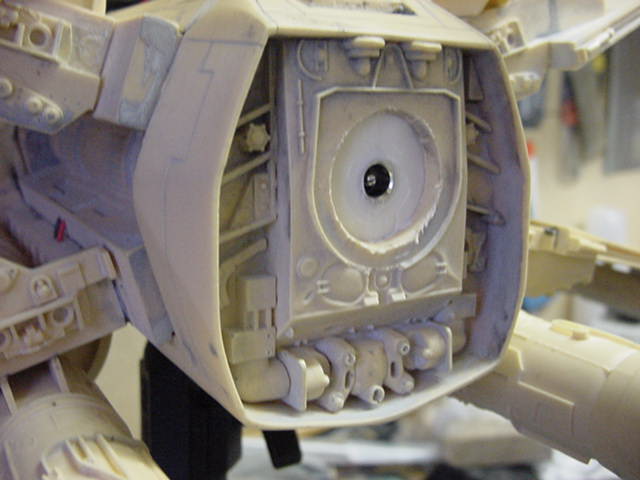
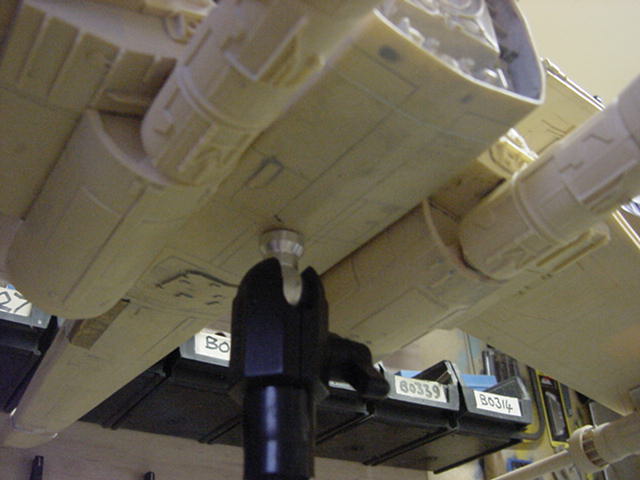
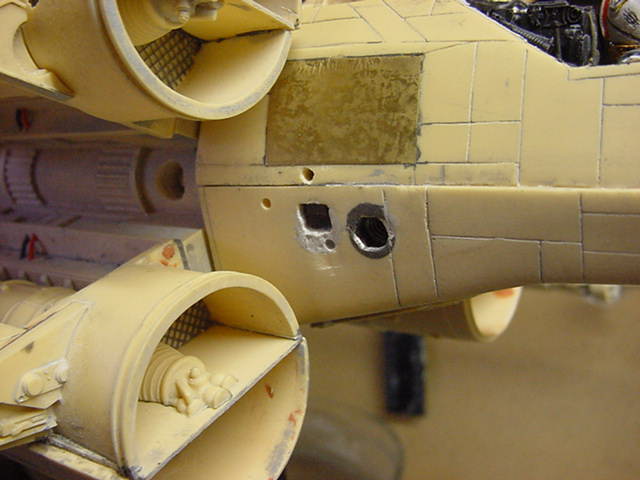
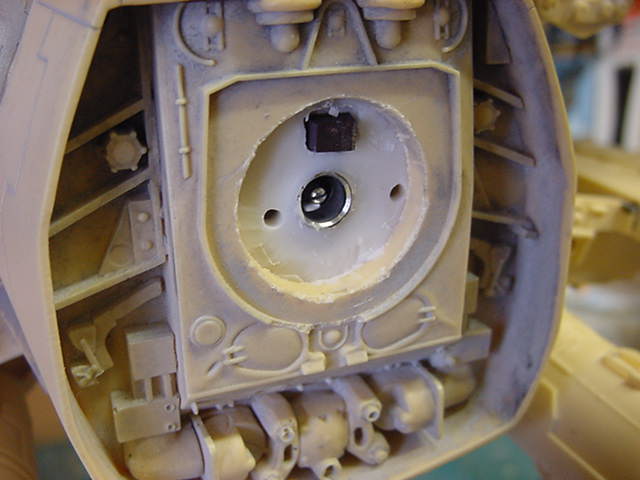
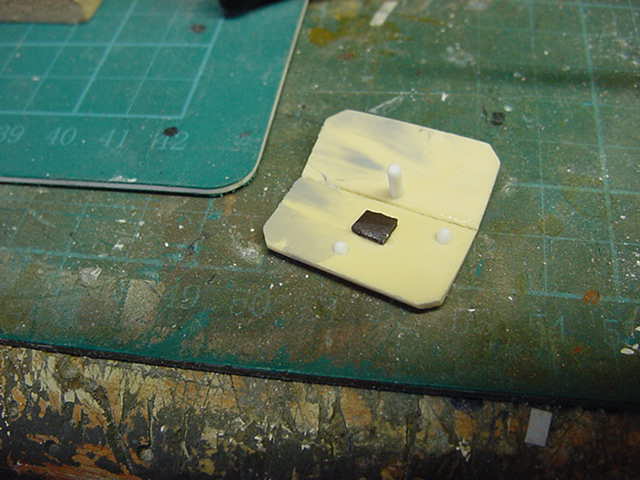
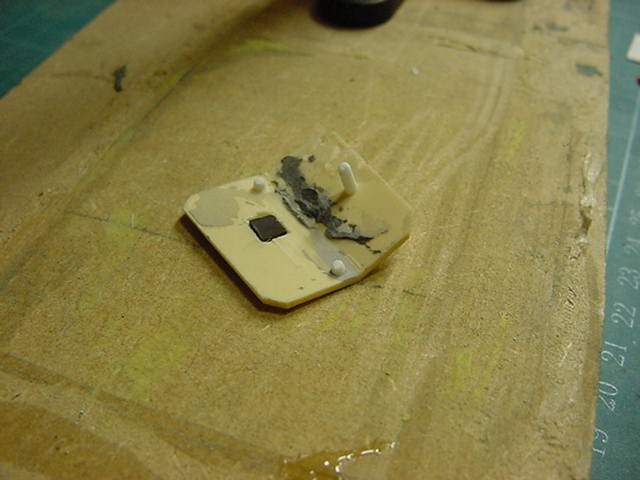
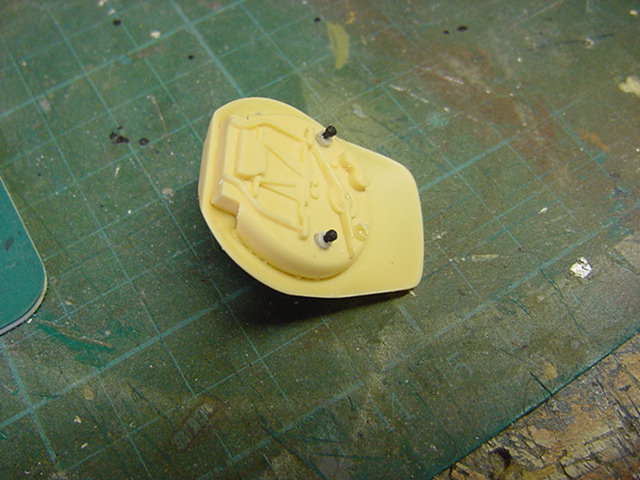
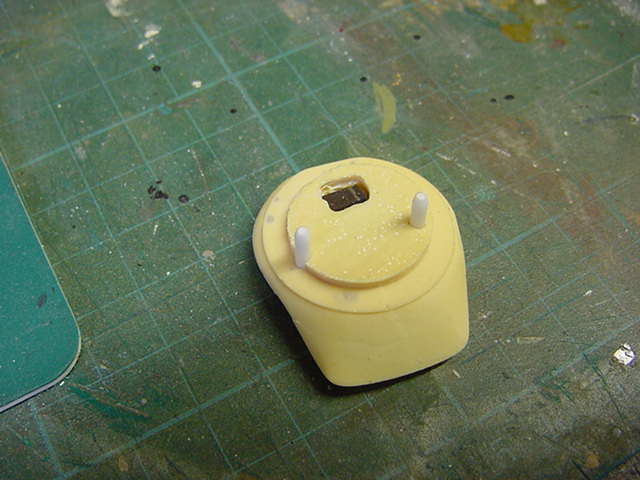
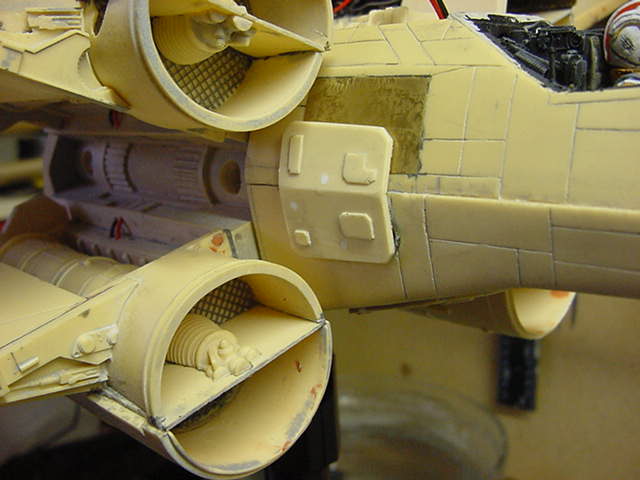
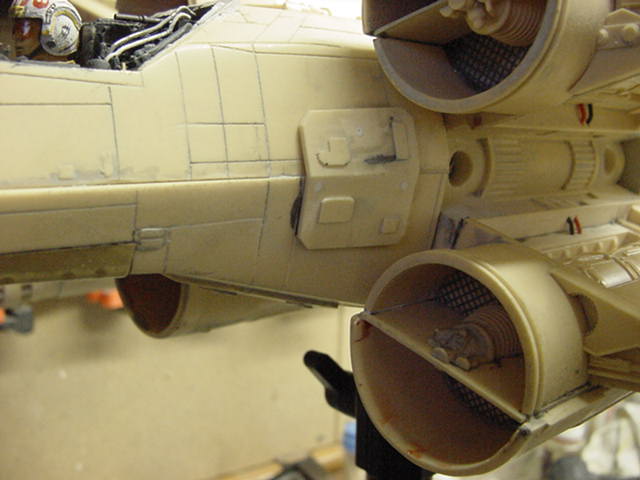
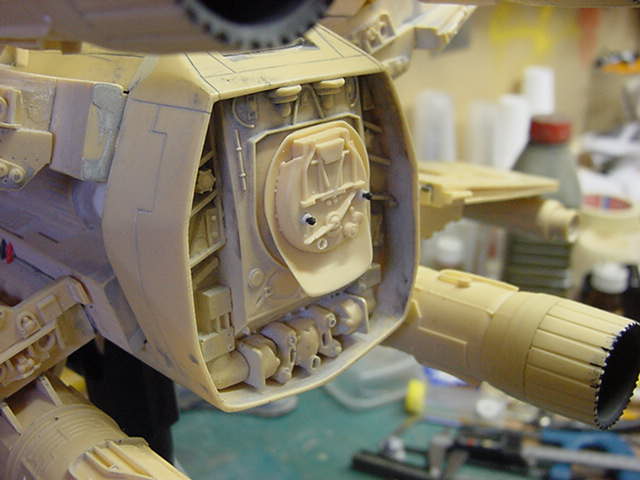
So main bits together and starting to look like an X-Wing...finally.
A couple of fly leads left sticking out the top to fit the LED for lighting up R2-D2.
Eventually.
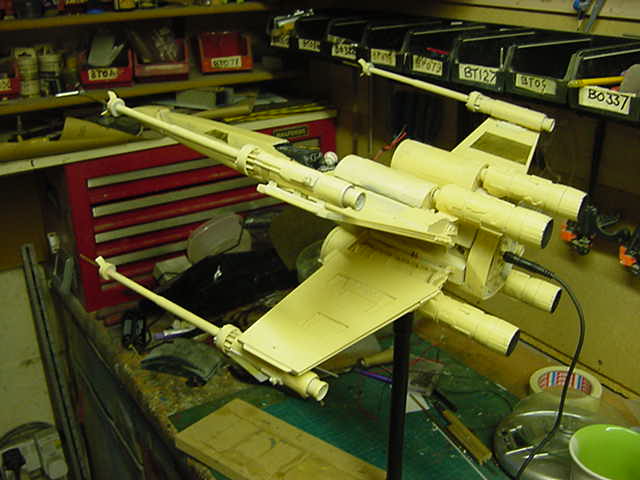
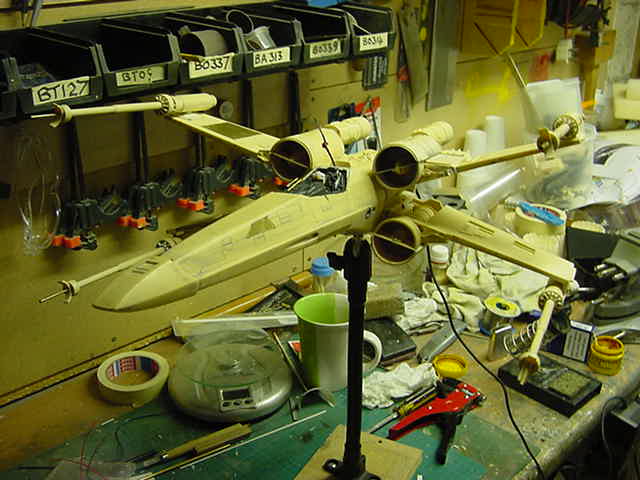
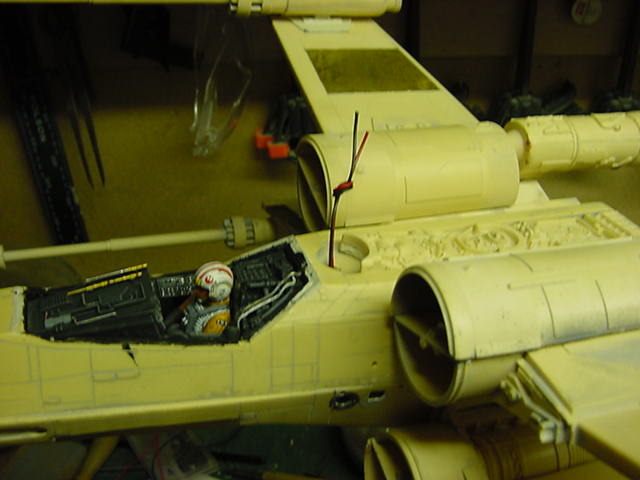
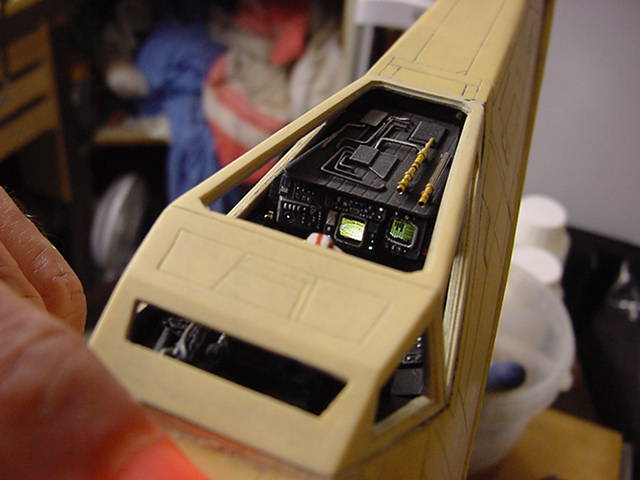
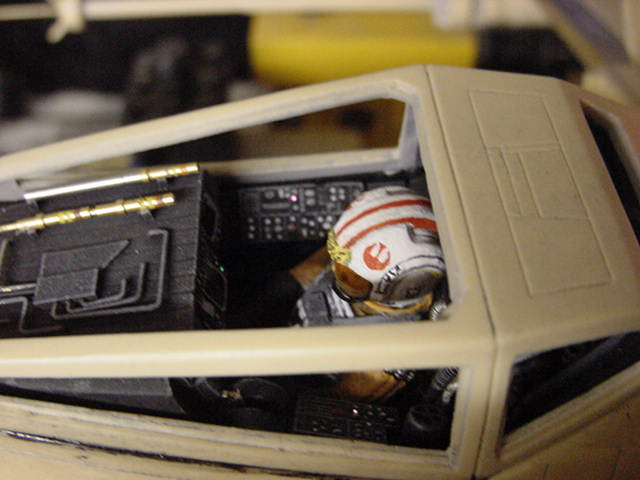
So last details for the cockpit, the targeting computer thingy
and the somewhat necessary curly wire.
Then canopy frame glued in place and done.
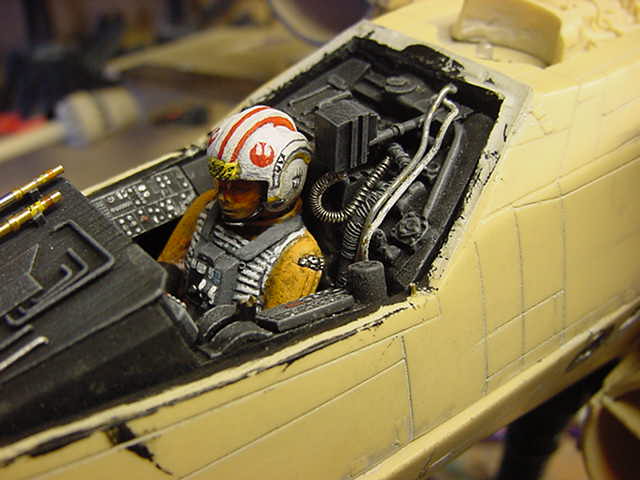
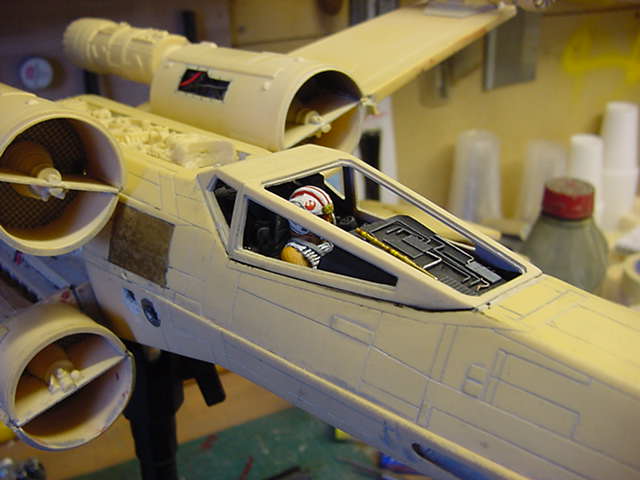
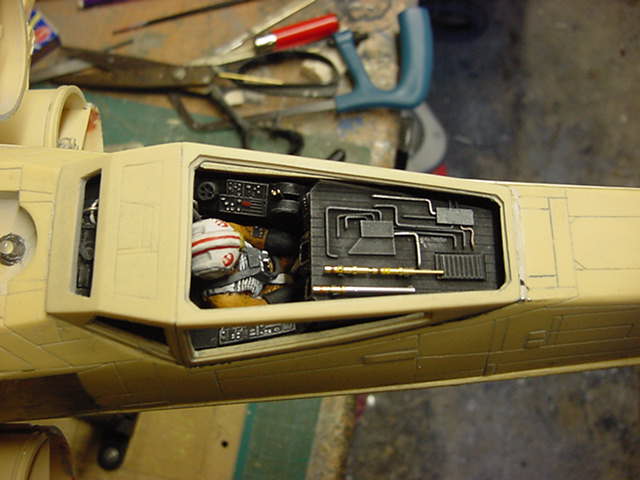
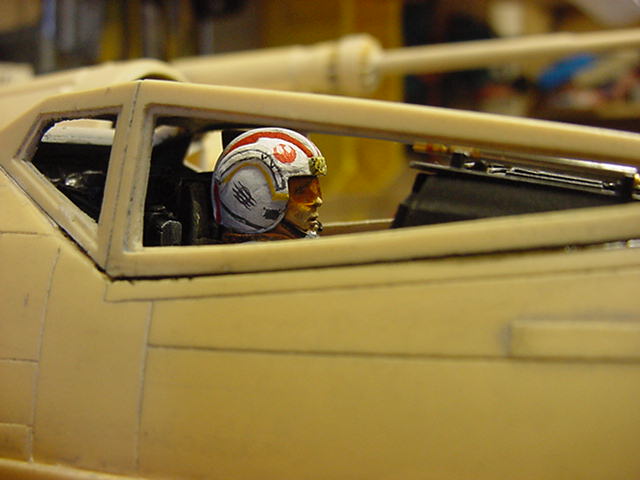
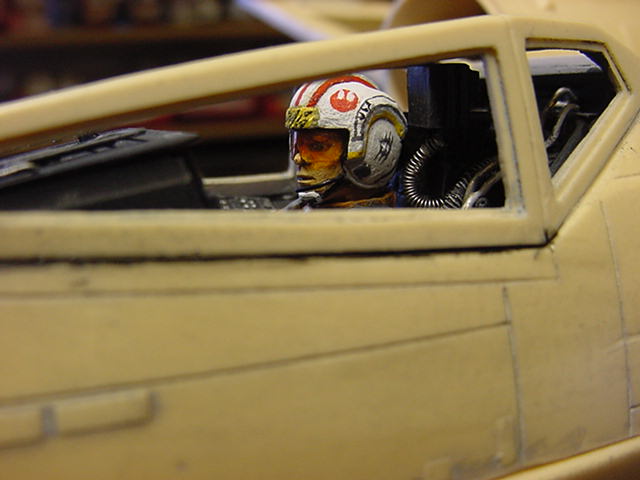
Looks about right at this stage methinks.
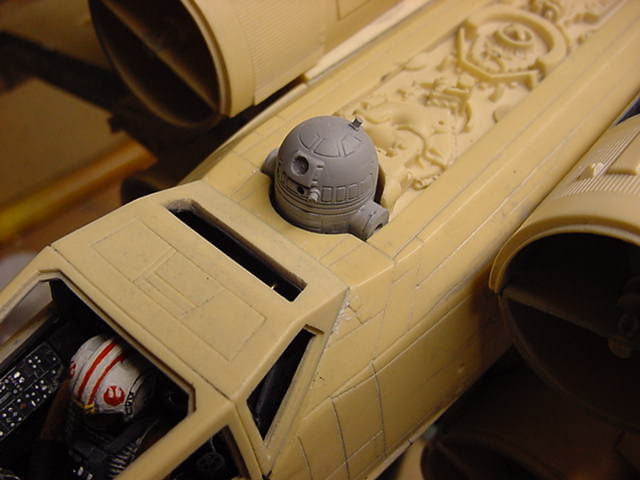
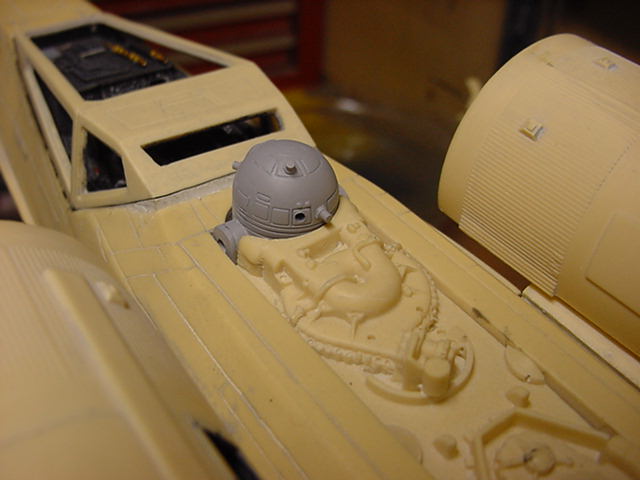
So last bit of main detail work prep, the R2 unit.
This was the one the client requested I use.
Swiped from the Naboo star fighter toy so I was told.
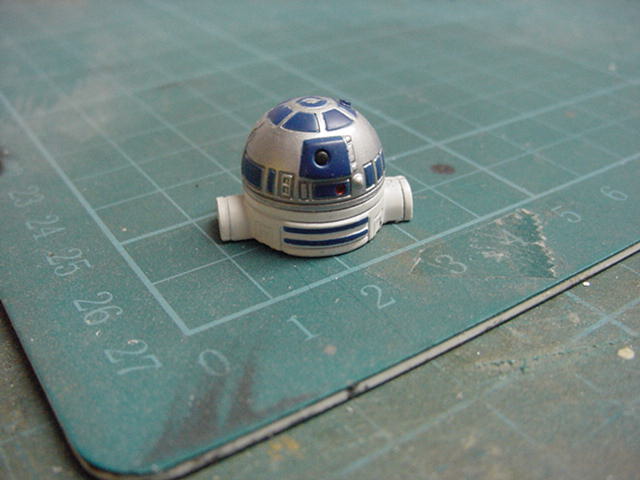
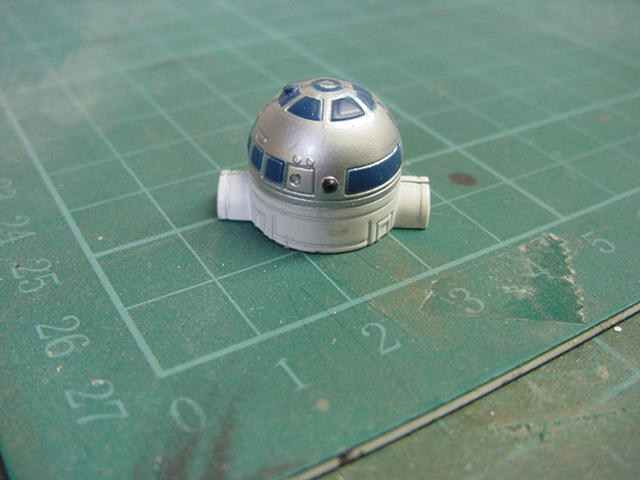
Okedoke then, first up some quick cure epoxy putty applied to the bottom to lift the wee fella up a bit.
Then some filler and a bit of sand/scribe action.
A few tiny bits of plastic rod turned in a drill chuck and needle file applied to shape.
These are for the three stick out bits on R2's dome.
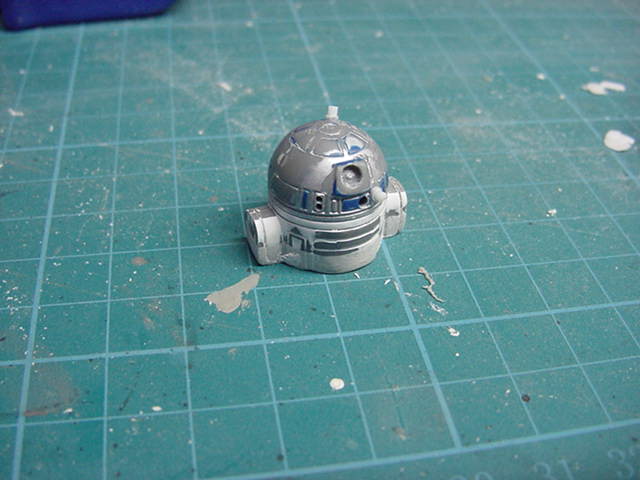
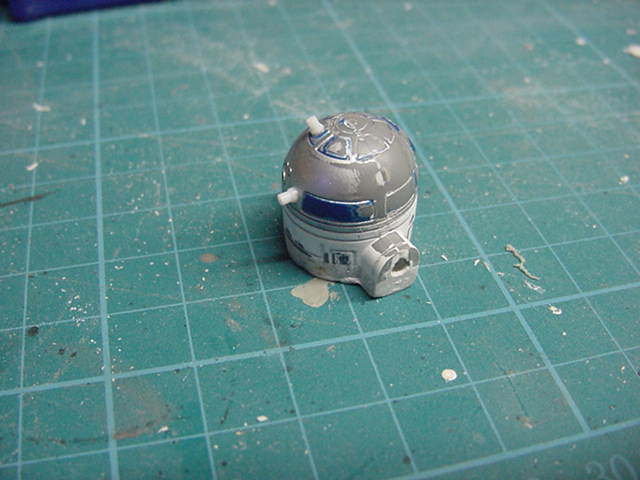
And not forgetting the inevitable but most needed lick of primer.
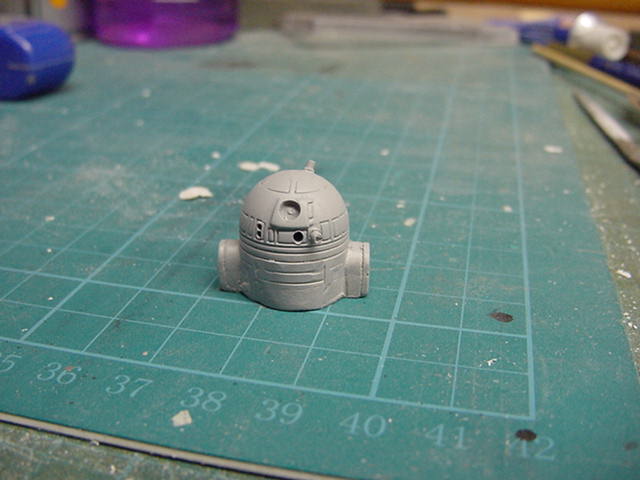
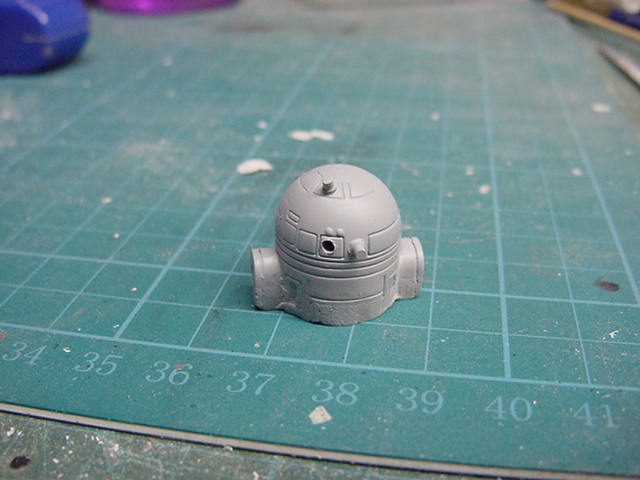
So done and done, time for the fit check and of course, the lighting check.
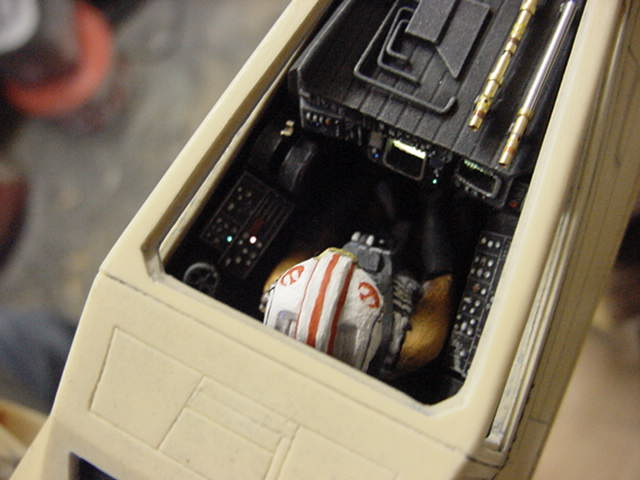
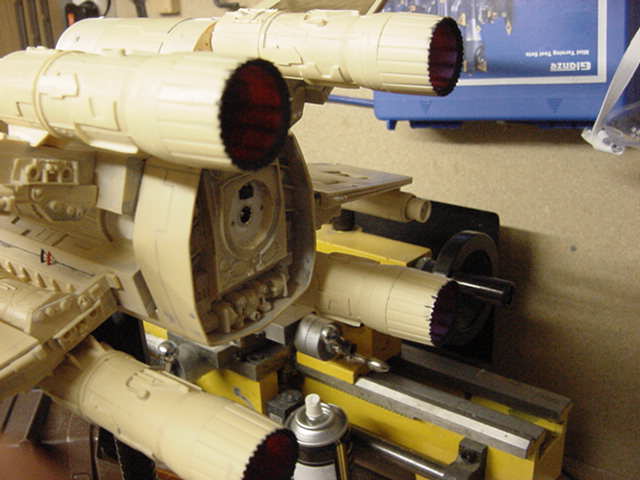
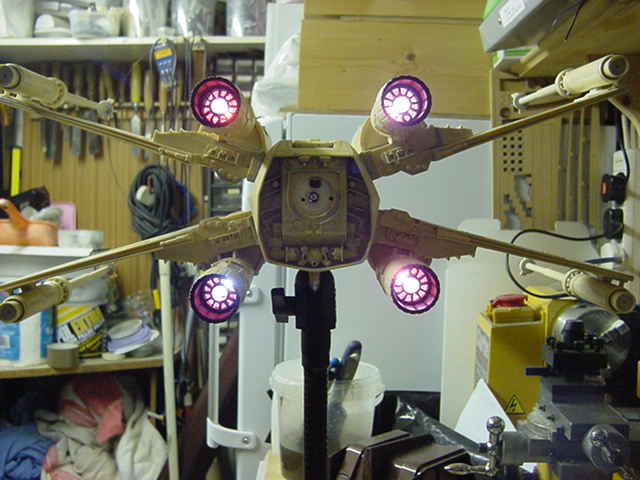
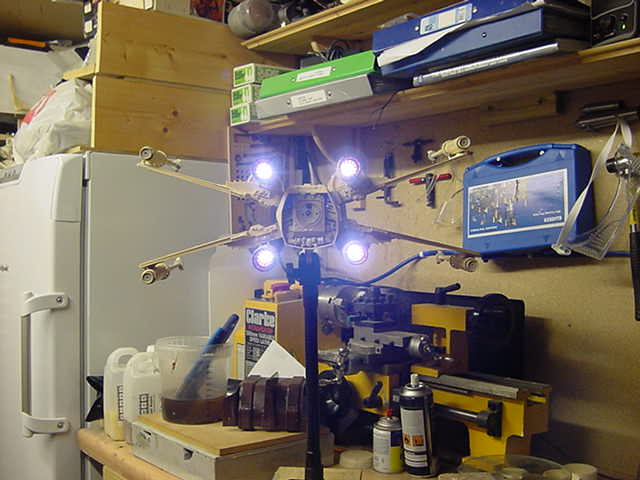
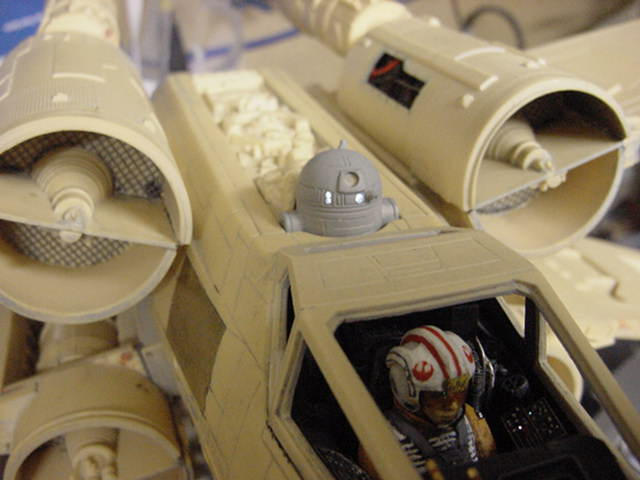
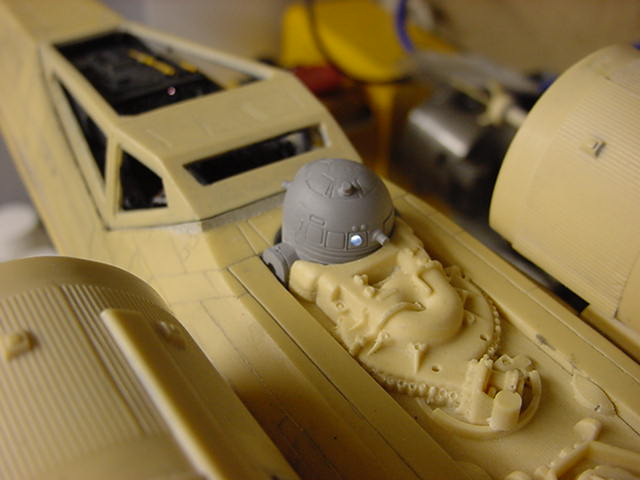
Well now, just a few minor bits to sort.
Then we be into the paint plastering pandemonium...
Oh yes, the fun stuff!!
That's for the next update so until then, you merry mob go easy out there!


 Page Number


