
Hasbro Star Wars Legacy
TIE Fighter Toy Conversion

 Page Number
Some bits and bobs...
Bits To Add On If You Will.
Whatho troops and troopettes!
Well now, last time we had this thing in bits and that hasn't really changed.
And I needed a break from the multiple sand/fill/scribe dance
that the Dropship is putting me through...
But now, time to give some thought to putting a few things on it.
I am talking a bit of corrective detail here and there...
And some other places as well.
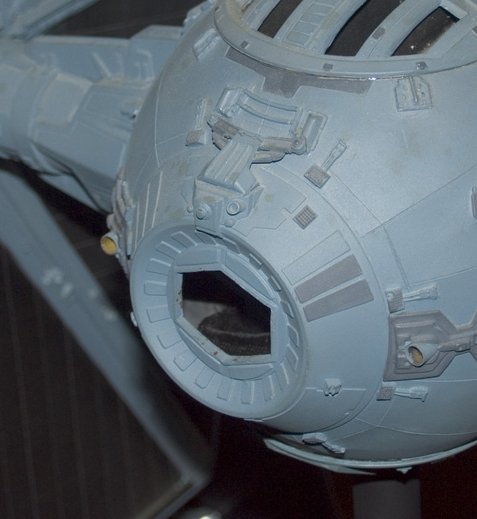
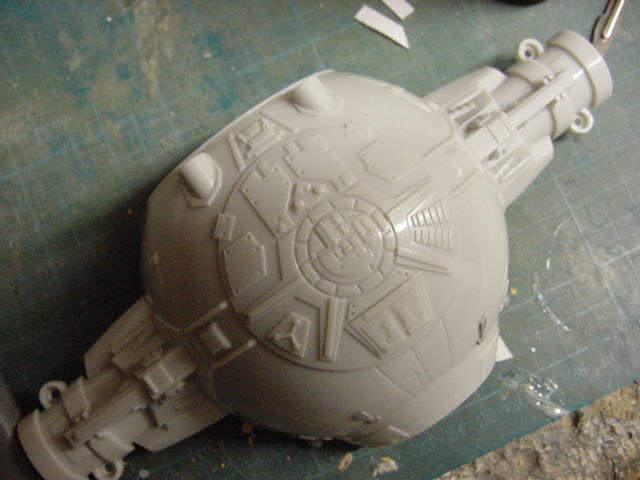
First on the chopping block so to speak is the back end of the body/fuselage.
The particular bit in question looks like this on the effects model.
And the toy looks like this.
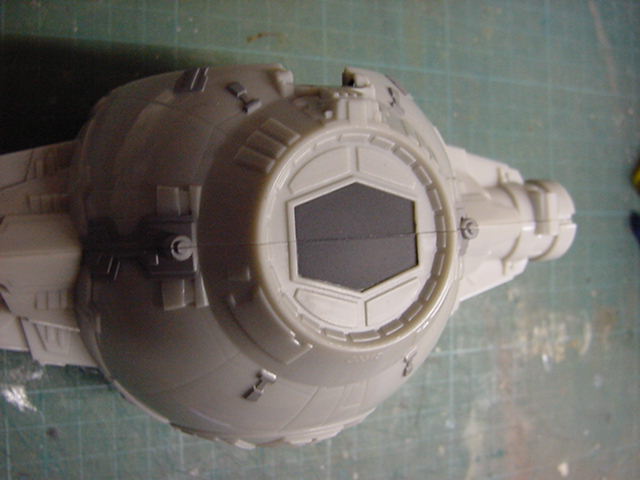
A tad of an extension and deepening of the center part required.
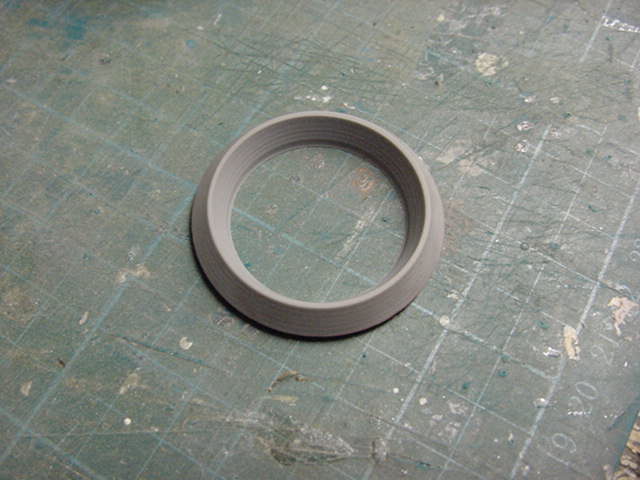
Step forward the resin nugget and into the lathe chuck with you!
So a bit of grinding out and it look a bit like this on the dry fit side.
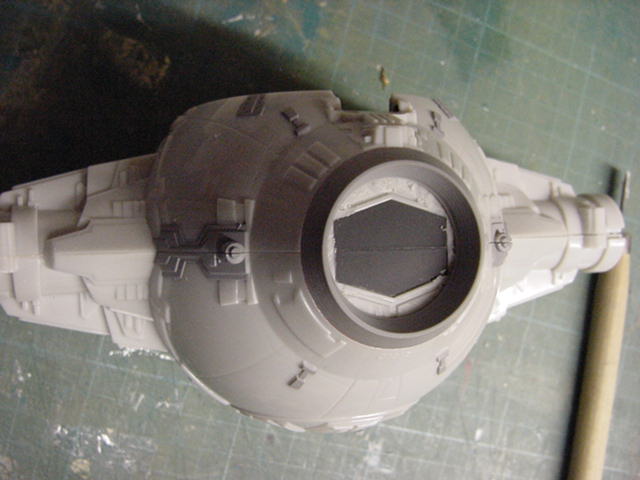
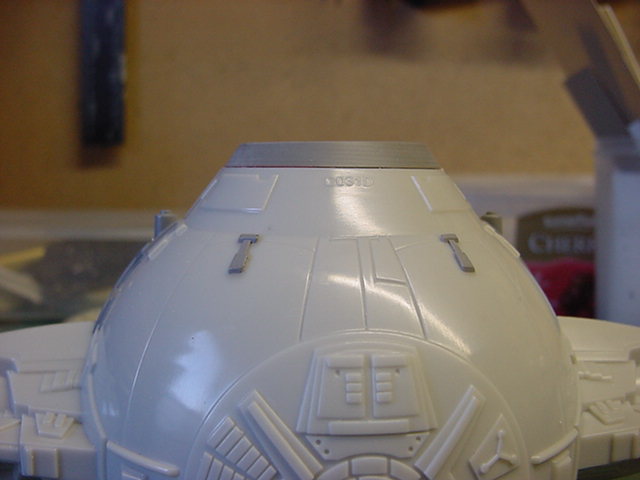
The black hexagon will be replaced along with the flat area to a more appropriate size.
Said black hexagonal area will be some black material separate from the body/fuselage.
Reason for this being that it will both hide and be the push plate for the lighting switch.
More on that as we go along.
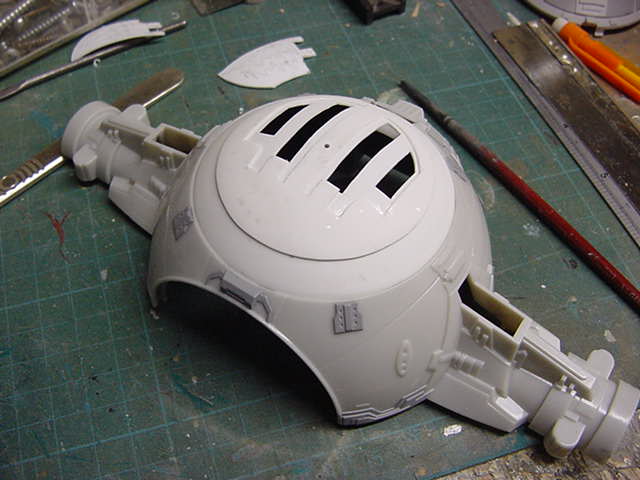
So a bit of fiddling about with the front canopy windows now then.
Thought I may give this a tryout to see how it will work.
So this be the bit in question.
Some drilling and several slightly dangerous sharp implements got waved at it and the clear bits were gone.
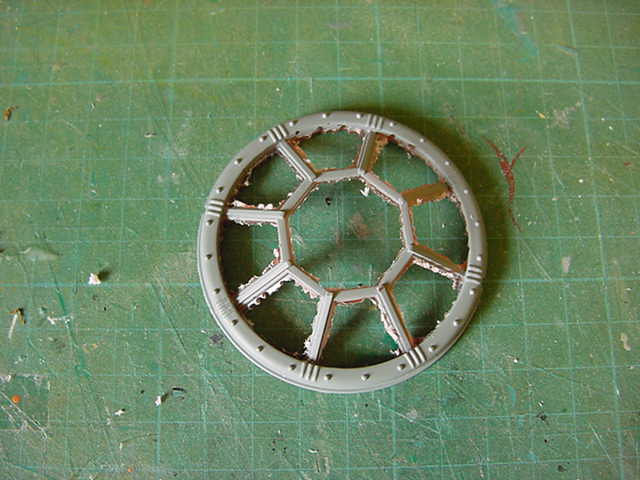
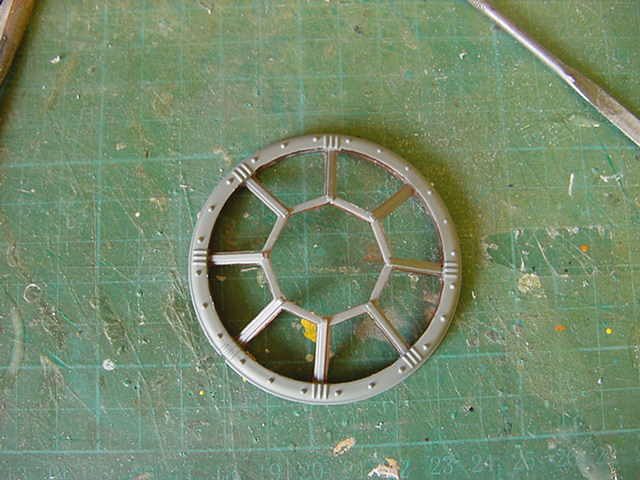
A smidgen of the scribing lark and some hole drilling along with some sliced plastic scrap gets us somewhere.
And of course the very required lick o' primer.
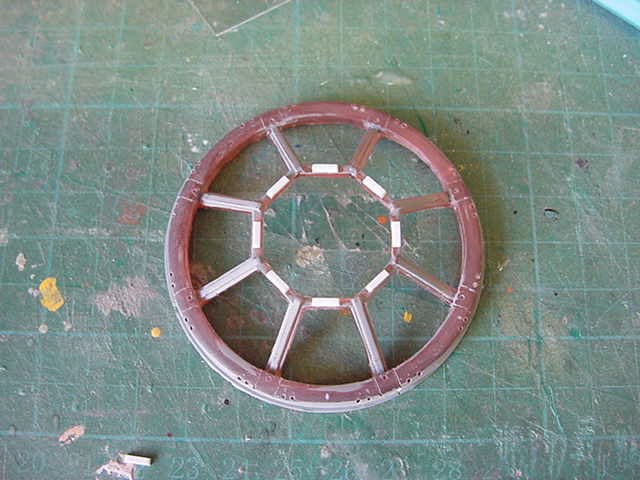
Well not bad, not great but not bad.
Now one thing of some small note here.
Very generally speaking, the front canopy, top hatch and a circular area of detail
on the bottom of body/fuselage all appear to be roughly the same size.
On the studio model that is so probably not a bad idea to stick to that to keep it all even like.
This means of course that the front canopy is now a spares box candidate...
Such is life...
So now then, to the bits required.
Well as noted, toy part canopy gone and new bits needed.
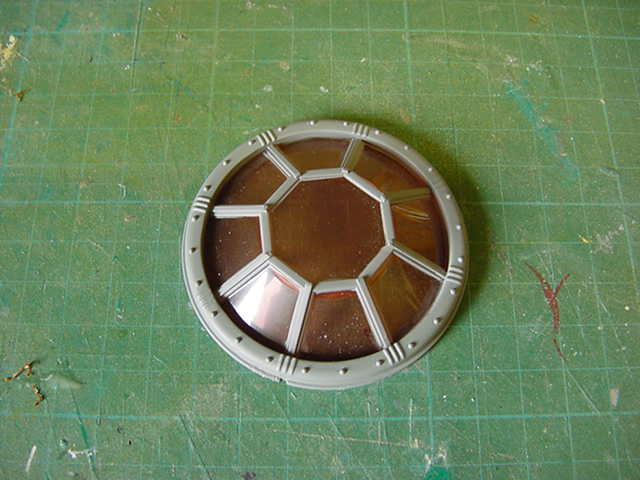
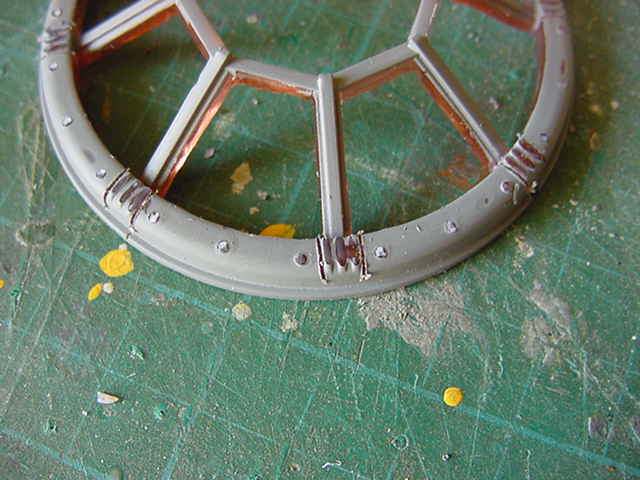
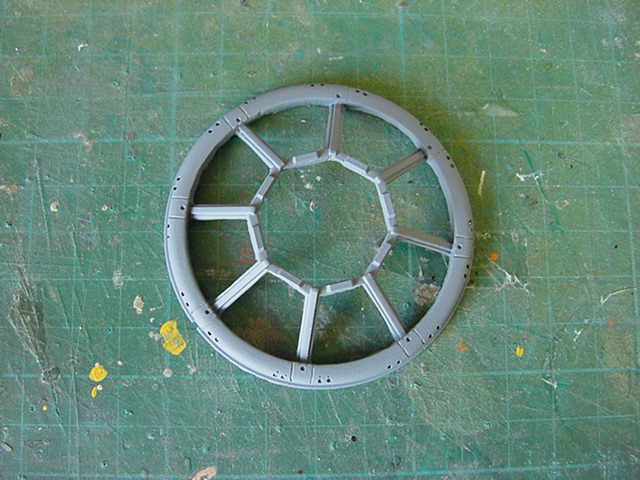
Now here's the bottom circular detail area on the toy.
So taking that as a size template, on to the next bit.
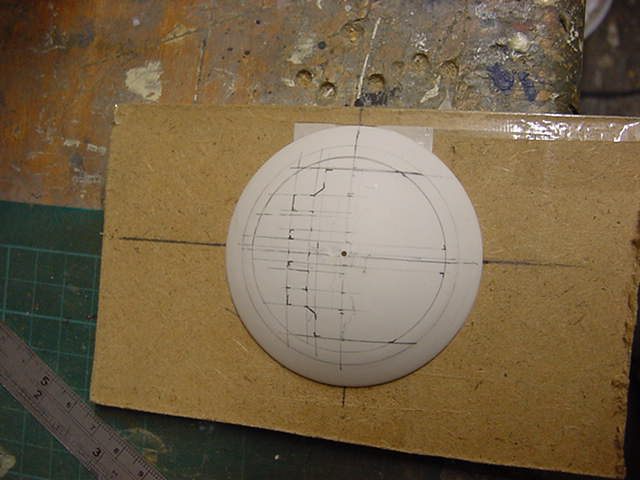
The top hatch.
Now the rather nice toy part is all well and good but way too big diameter wise.
Done as such obviously to make it easier to fit an action figure in there.
Nothing like that going on in this so onward!
So a resin lump chewed down to an appropriate sized dome
and some push moulding with styrene sheet happened.
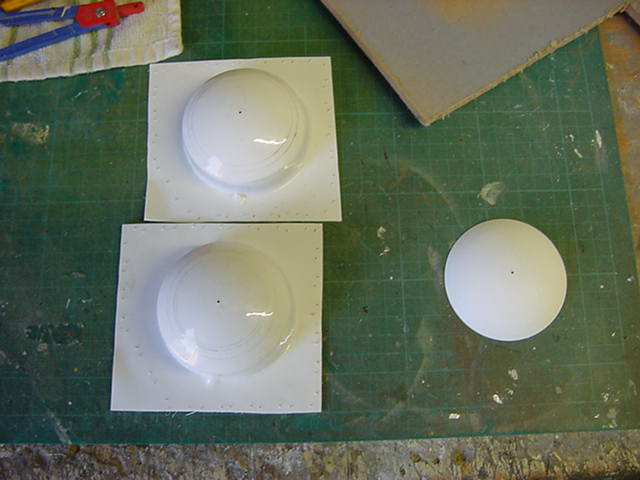
Now two of the shallow domes will make the top hatch.
Some trimming up and then much marking of lines did occur like.
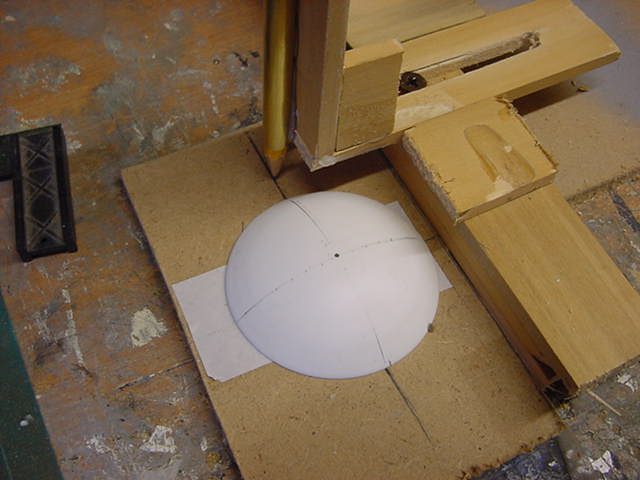
This will form the top of the body/fuselage and the base of the top hatch.
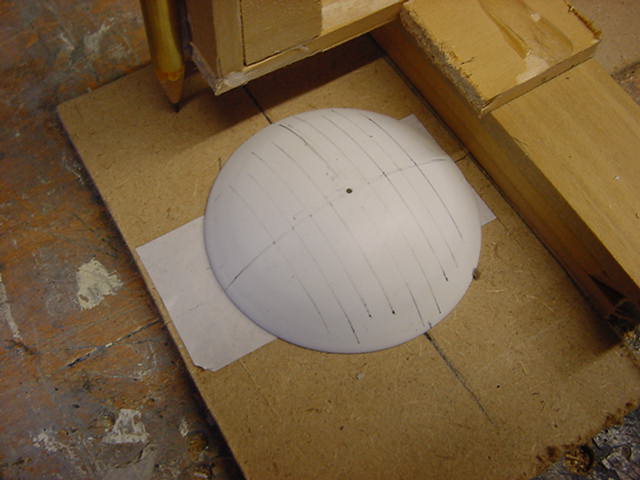
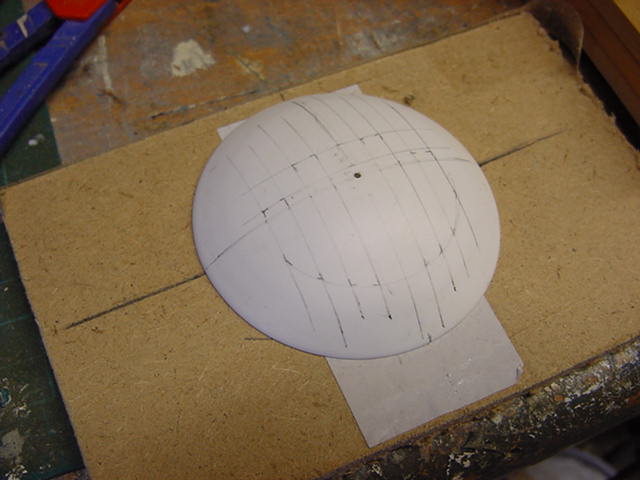
So taking the second dome and doing the line scribble thing again...
And then some slow and gentle slicing of parts rather than fingers did happen.
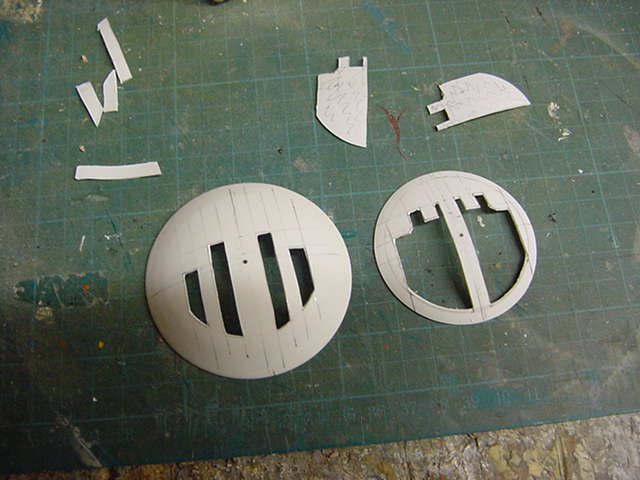
So a top hatch relief bit was brought into existence.
A bit of cleaning up and a test fit was in order here.
Not too bad,
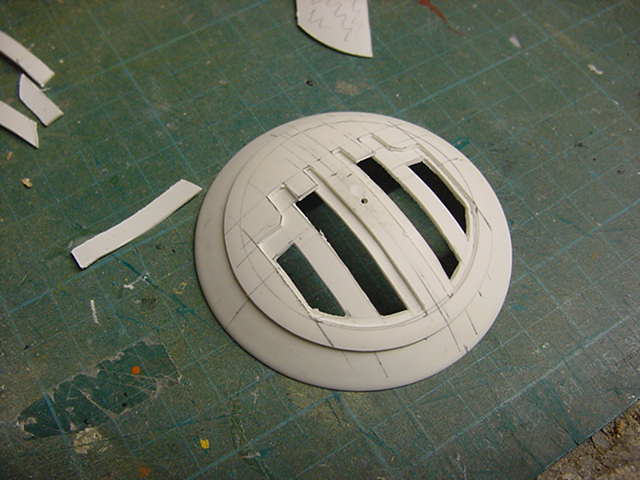
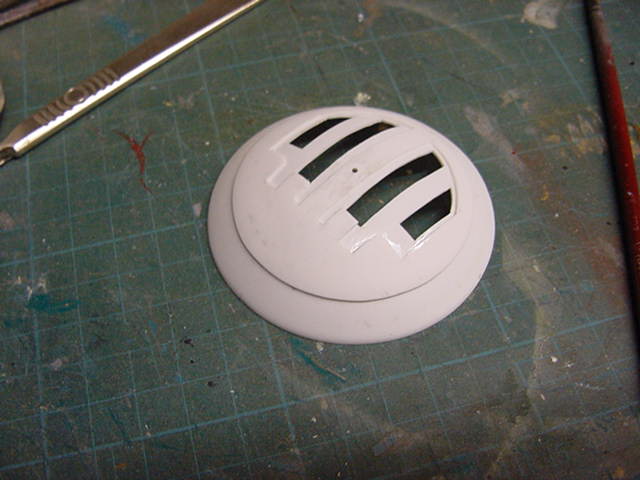
So a quick 'slap it all into place for a looksee' was in order.
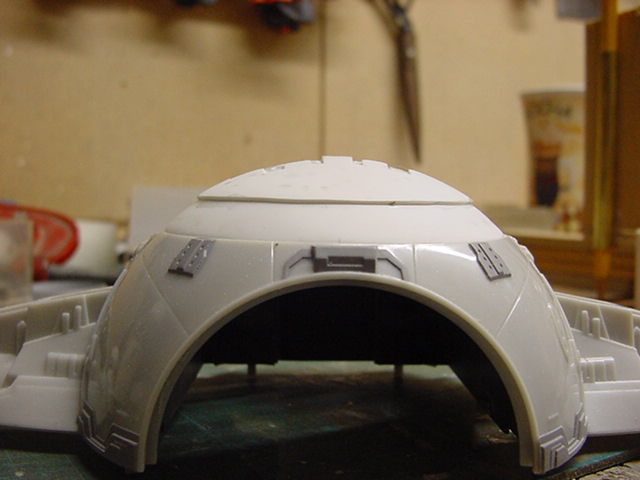
Well it's the start of the starting to look the part thing so no dramas...
Yet...
Something along the same lines for the front canopy doo-dad will happen.
But that's for next time so untill next update, you lot go easy.
Page Number