
Sideshow 1/6th Deluxe TaunTaun
And Commander Skywalker Rework


 Page Number
This should be an easy one for you he said...
Should only take you a few hours he said...
And I've Heard That One Before I Said
Welcome along for better or worse one and all!
Your guess is as good as mine as to how it will turn
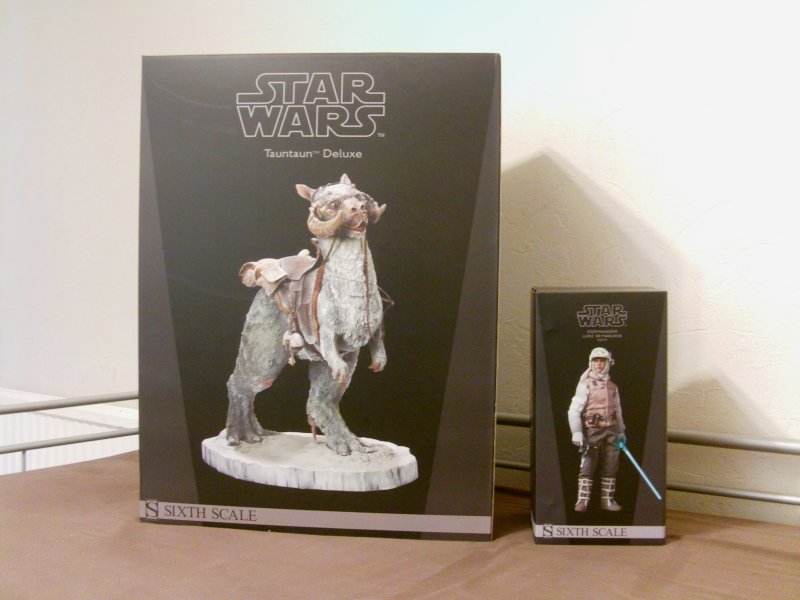
out so let's have a look see at the items in question...
The in no way small box and the slightly smaller one.
First things first, the unpacking for the biggie to see what lies within.
And it turns out to be this...
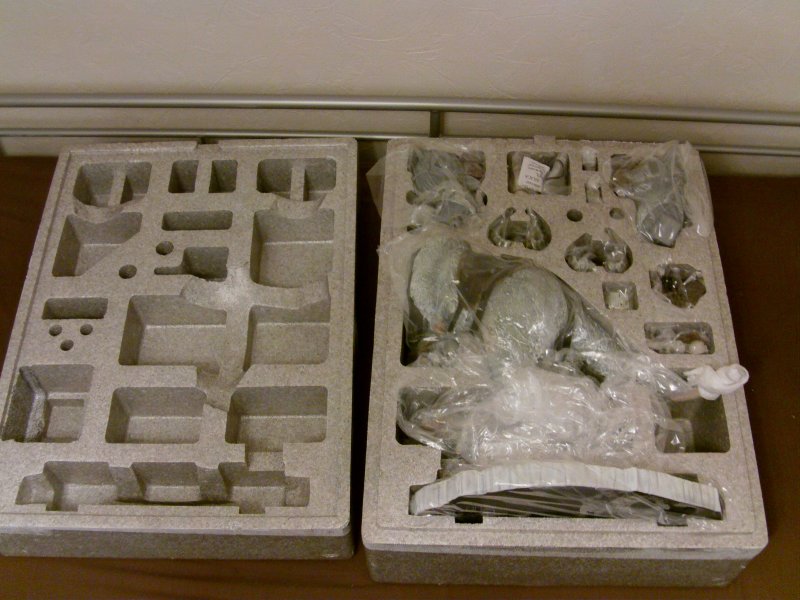
Polystone, fabric, faux leather and plastic a plenty hereabouts.
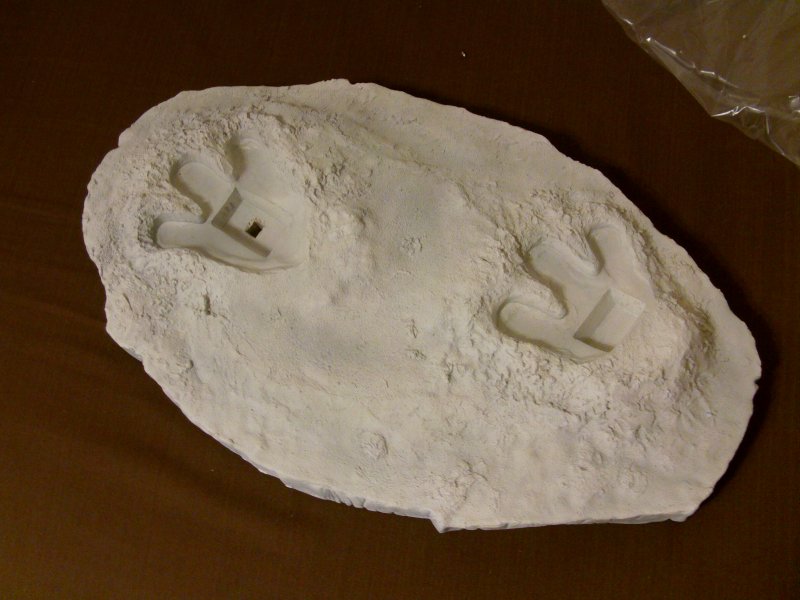
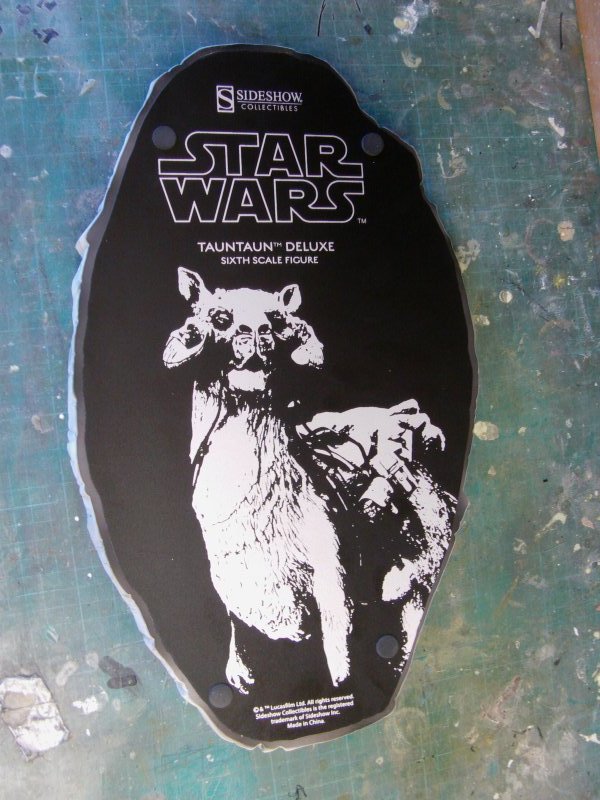
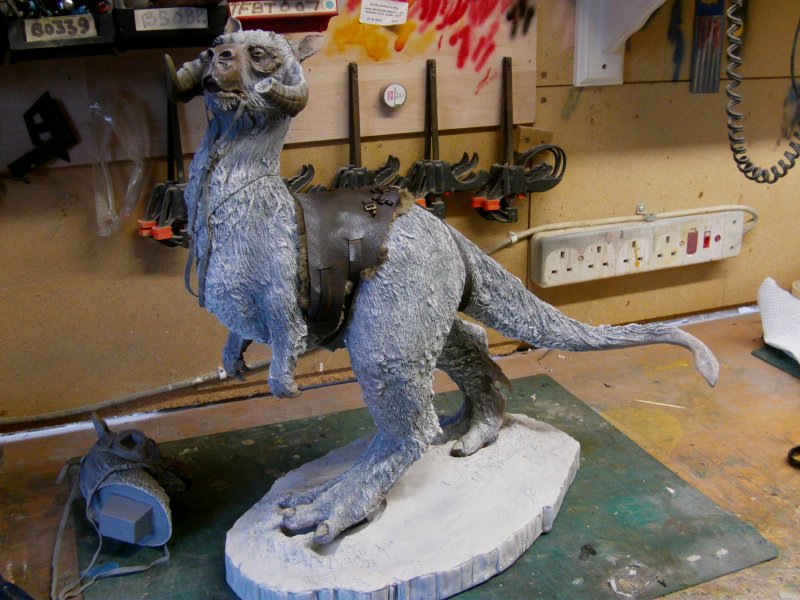
The requisite bits from the base up and the base is a nicely done thingy.
The main body with saddle base, also nicely done.
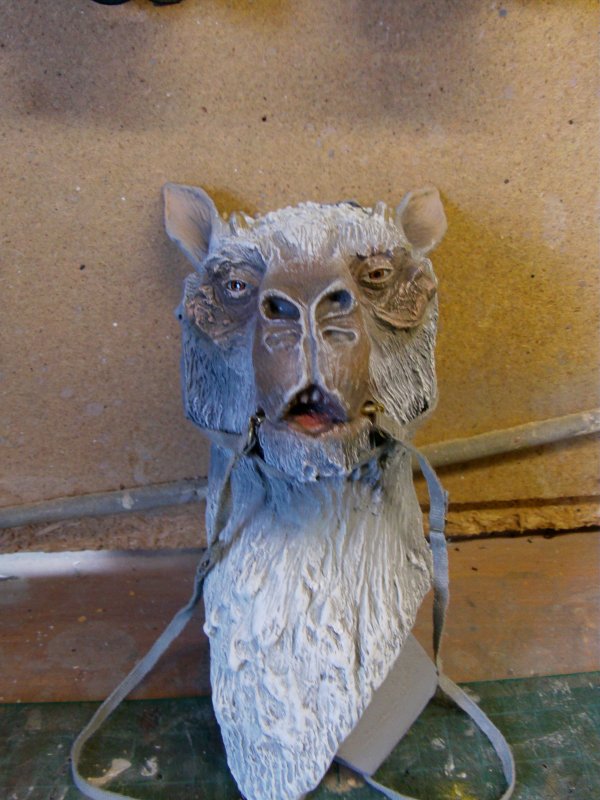
Two heads for the price of one so to speak with reins attached.
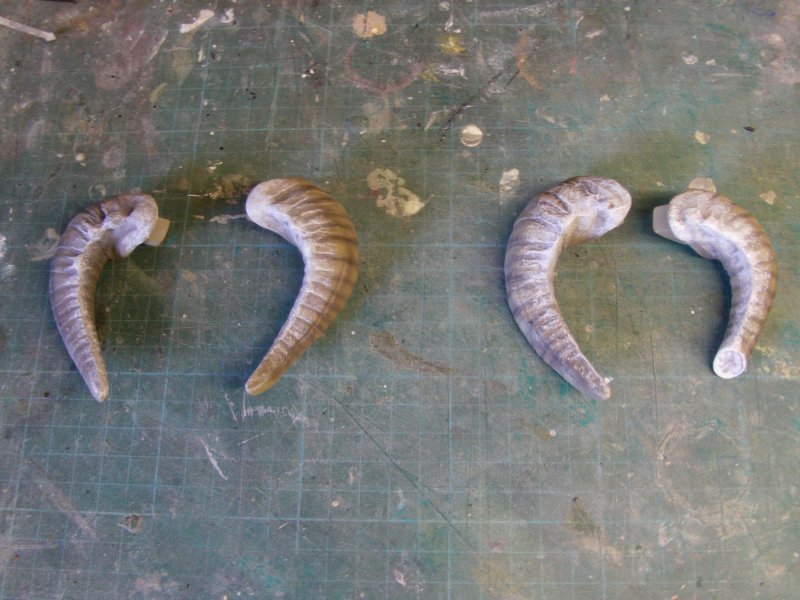
Two sets of horns.
I assume for those who want either the Skywalker or Solo version.
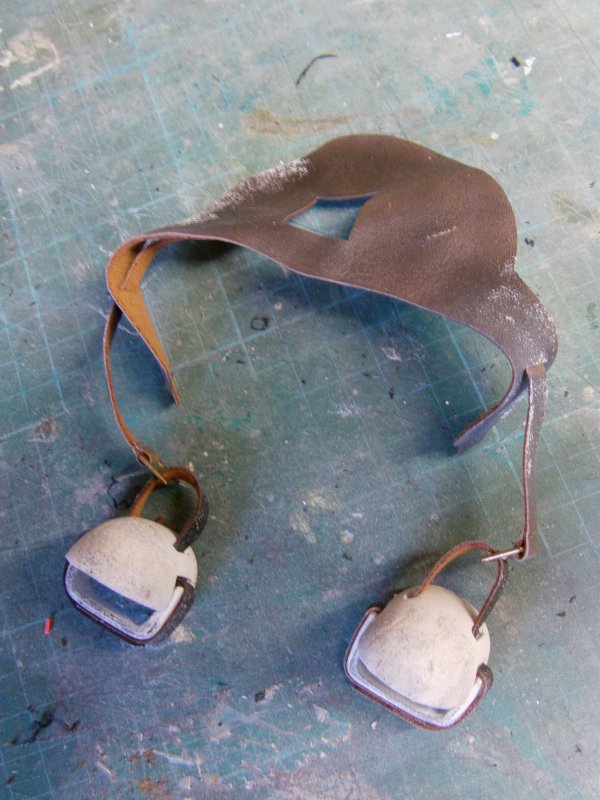
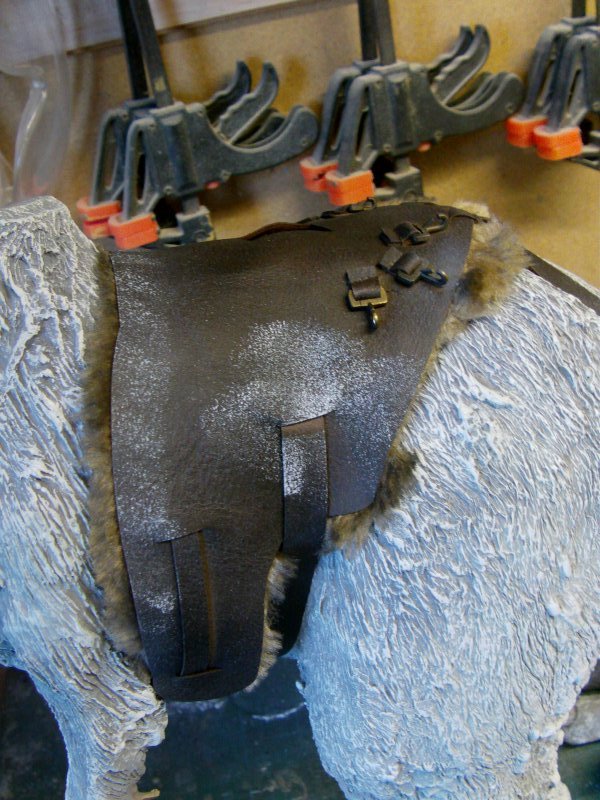
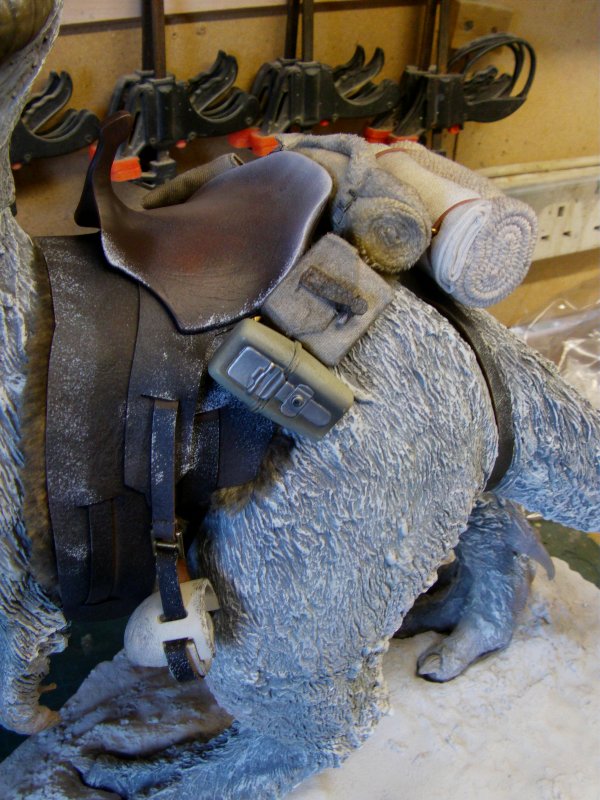
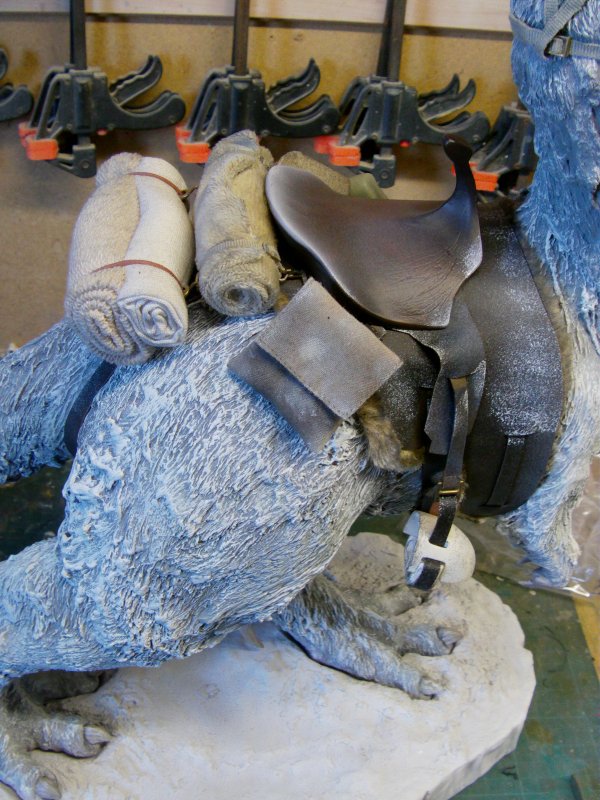
The saddle.

Under saddle bit with the stirrups attached.
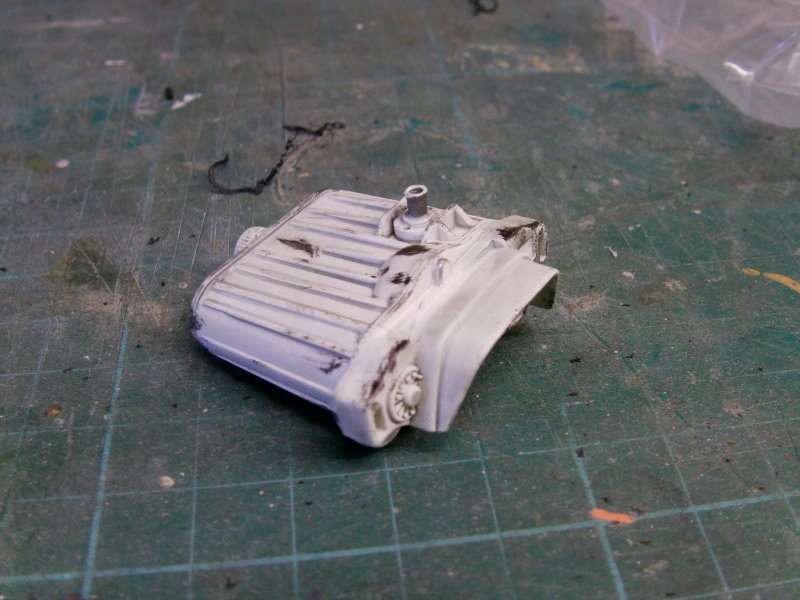
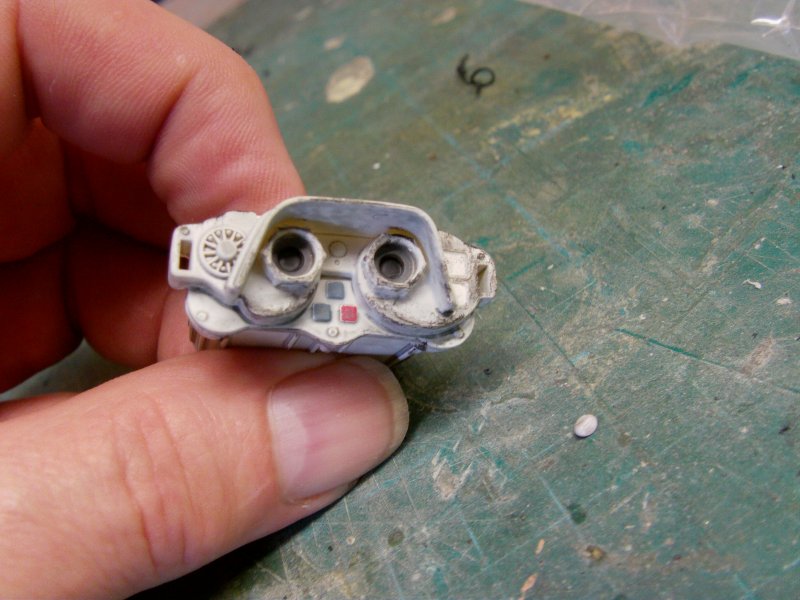
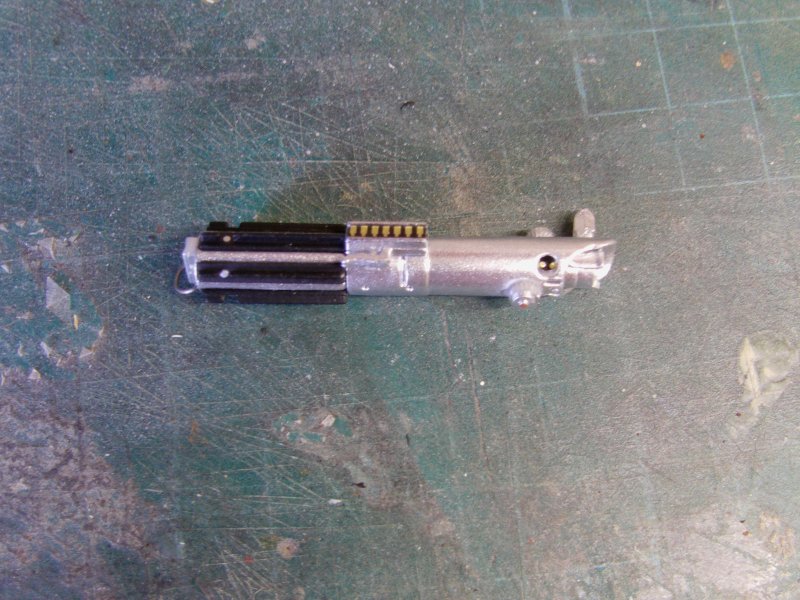
Macro binoculars and not skimping on the detail.
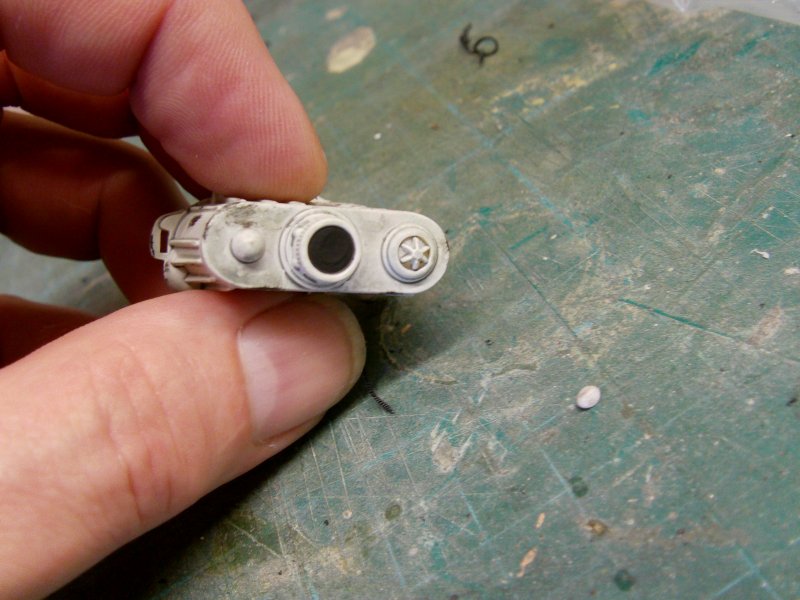
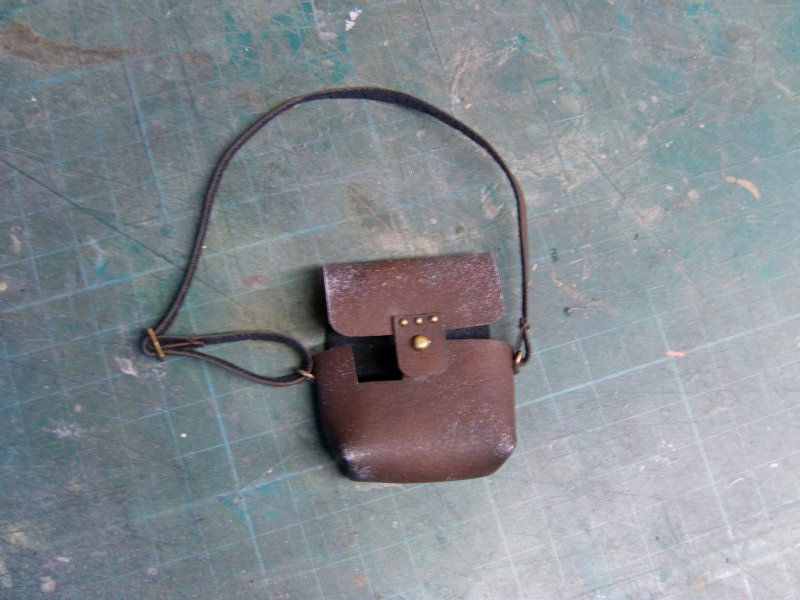
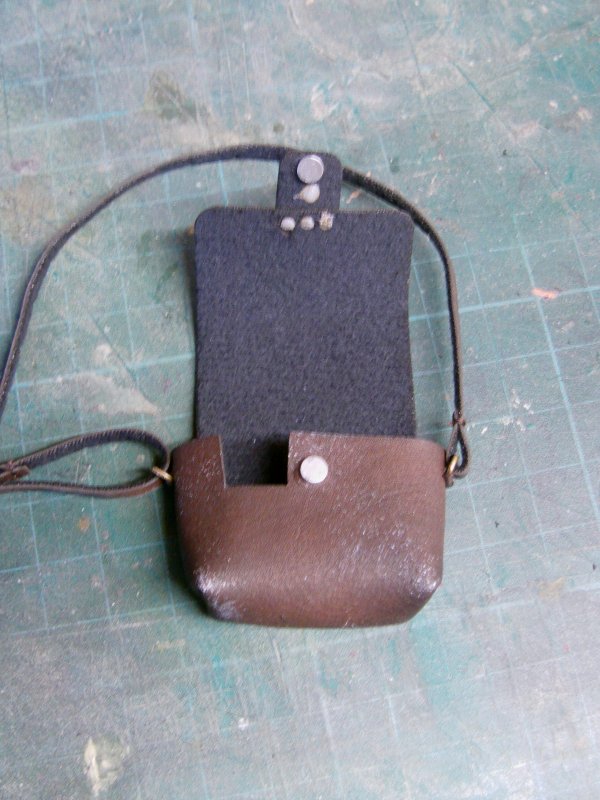
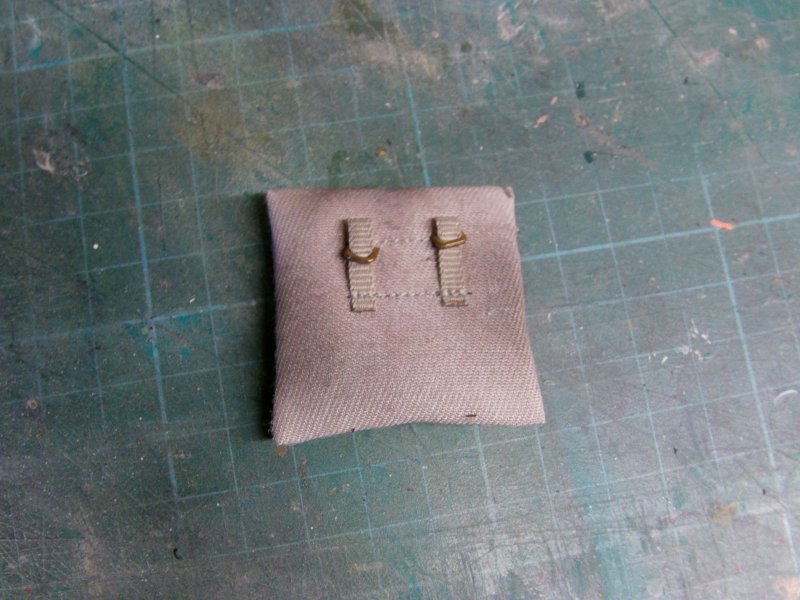
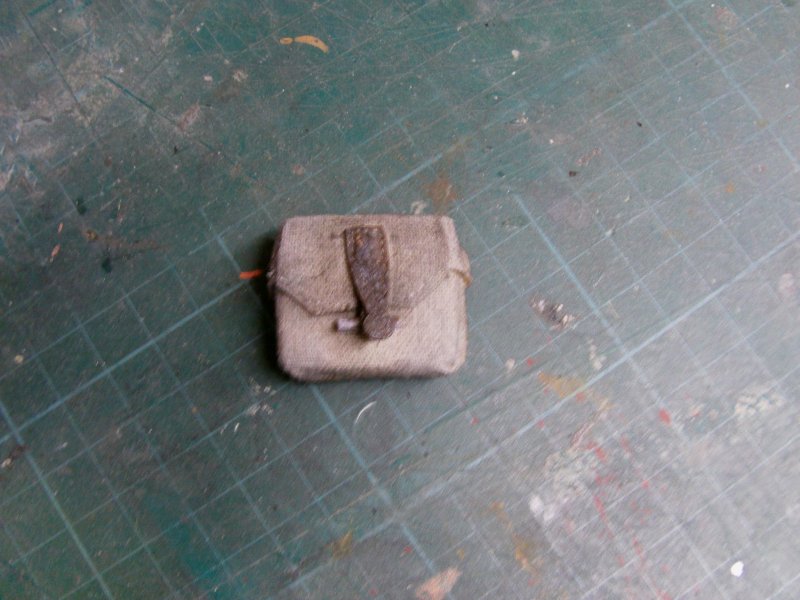
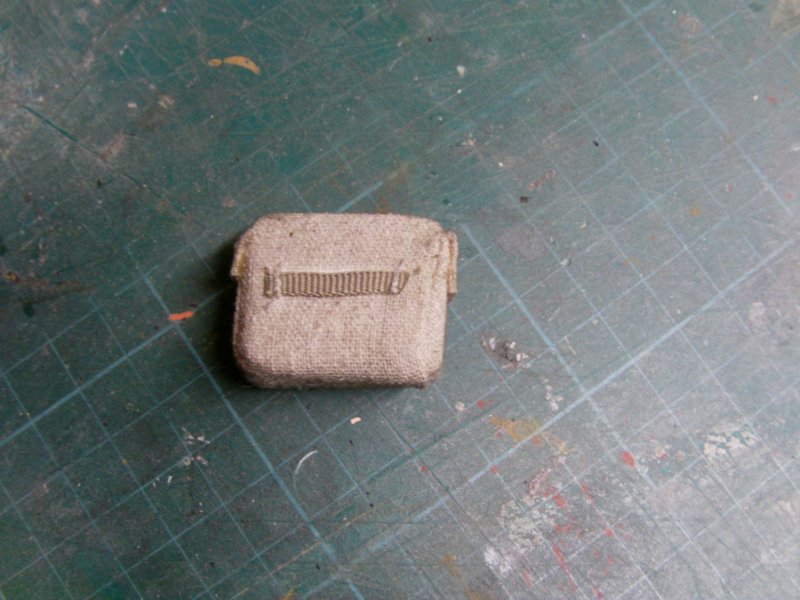
Pouch for the above with a handy magnetic catch.
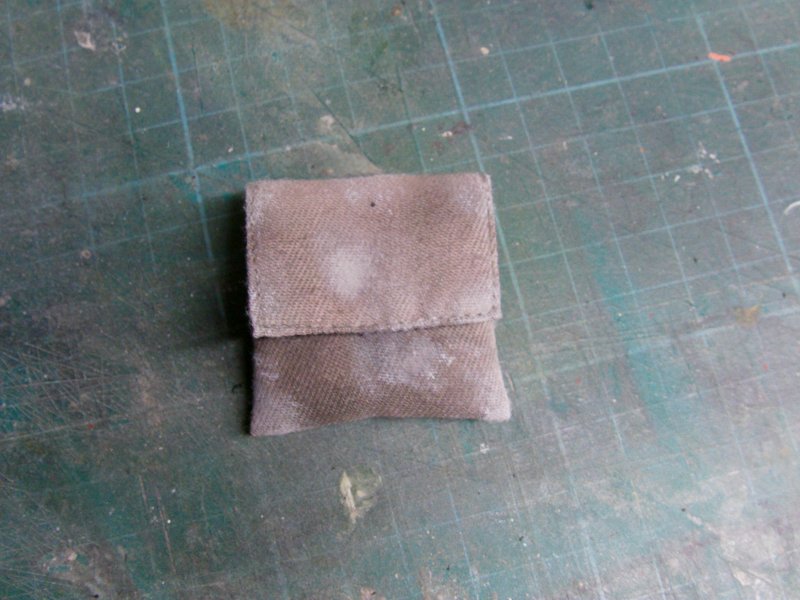
Saddle bag/pouches, front and back.
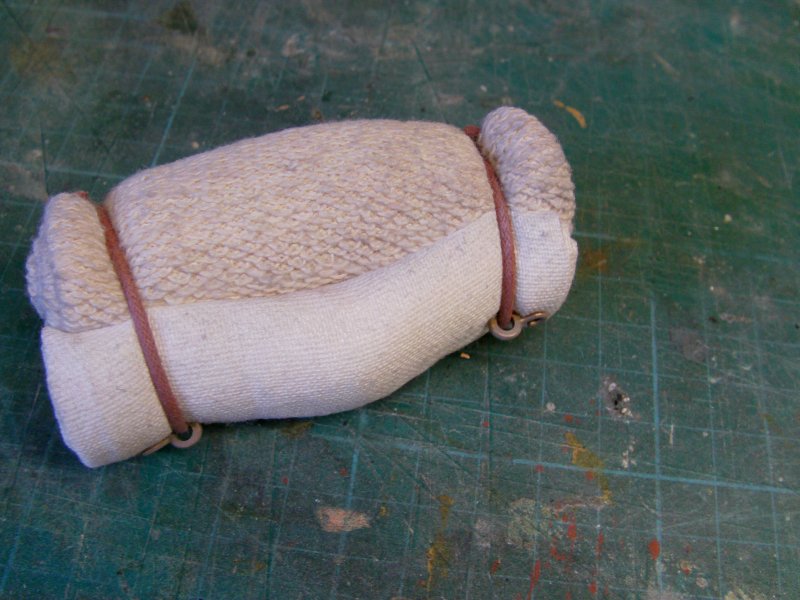
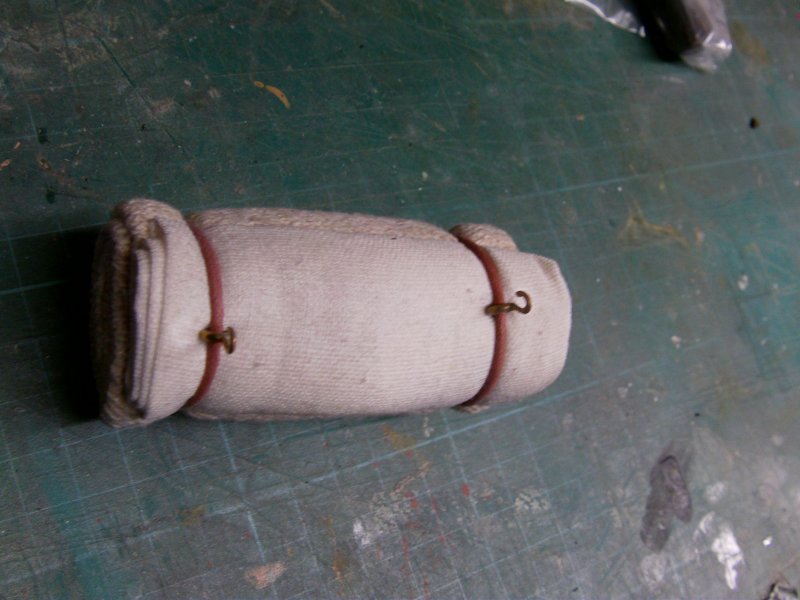
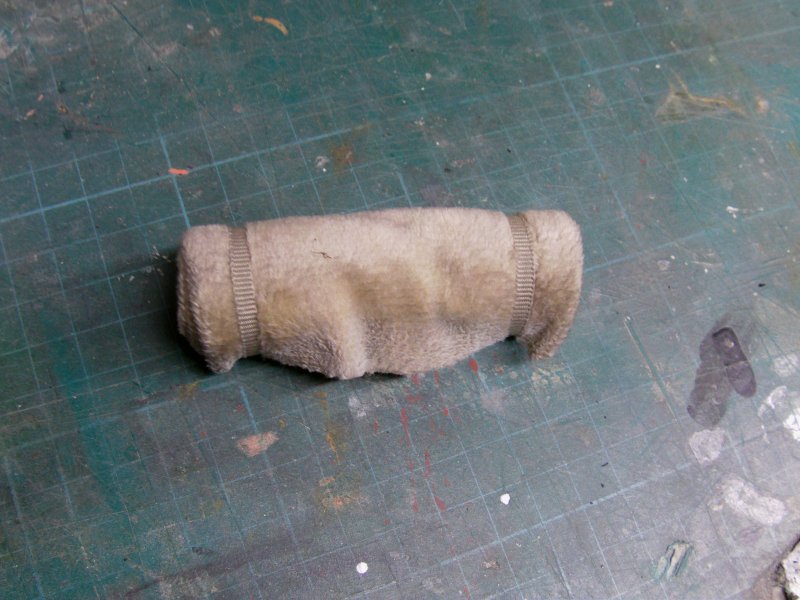
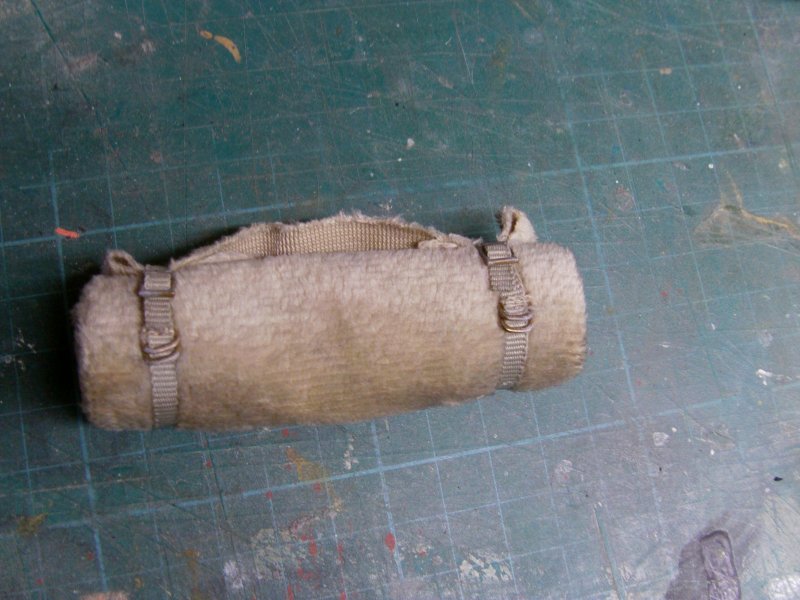
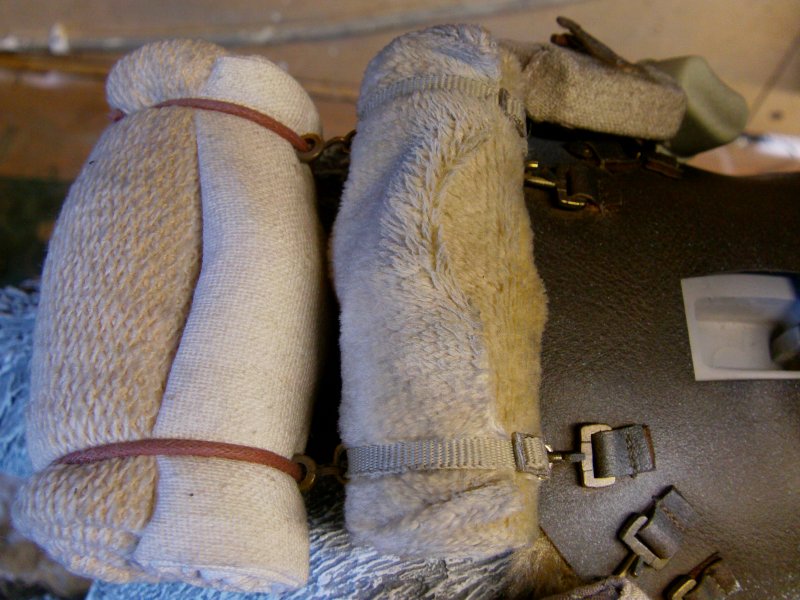
What appears to be a blanket/bedroll set up. Thoughtfully bundled with attachment rings.
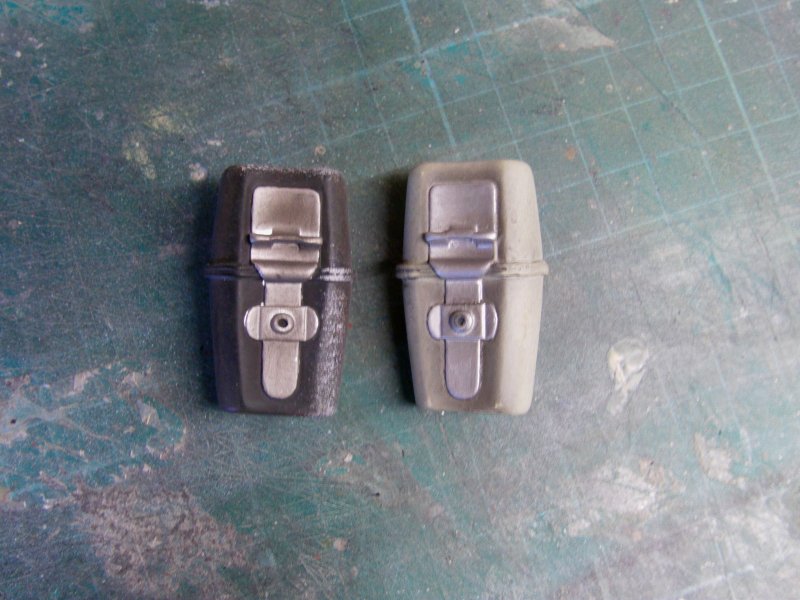
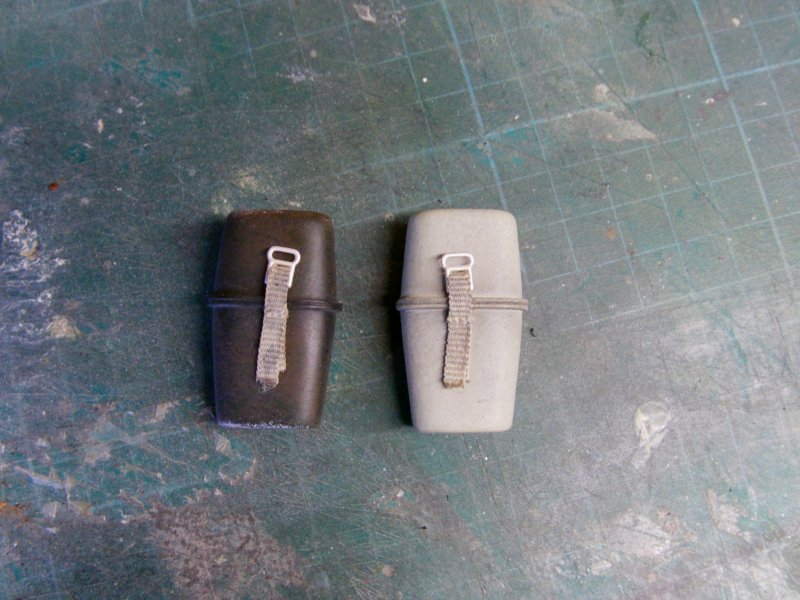
And a couple of canteen pouch like things.
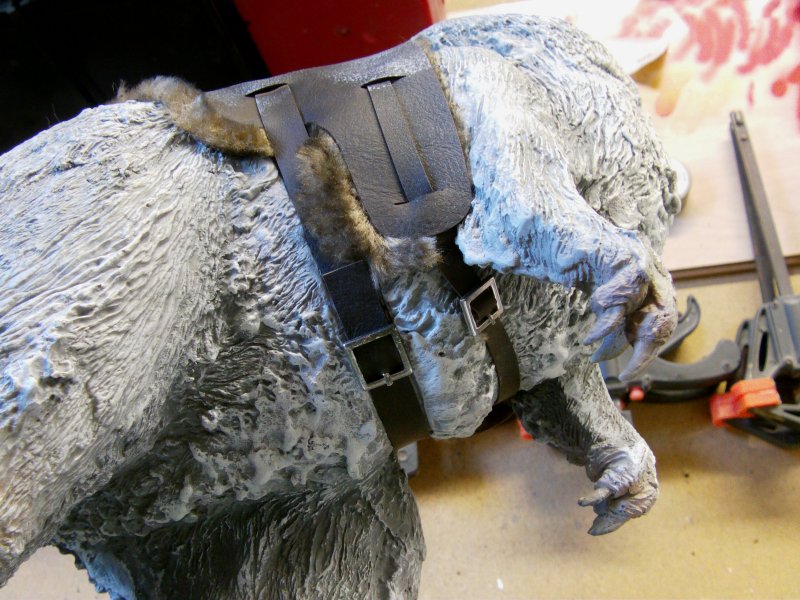
The saddle has all the attachment loops ready which is helpful.
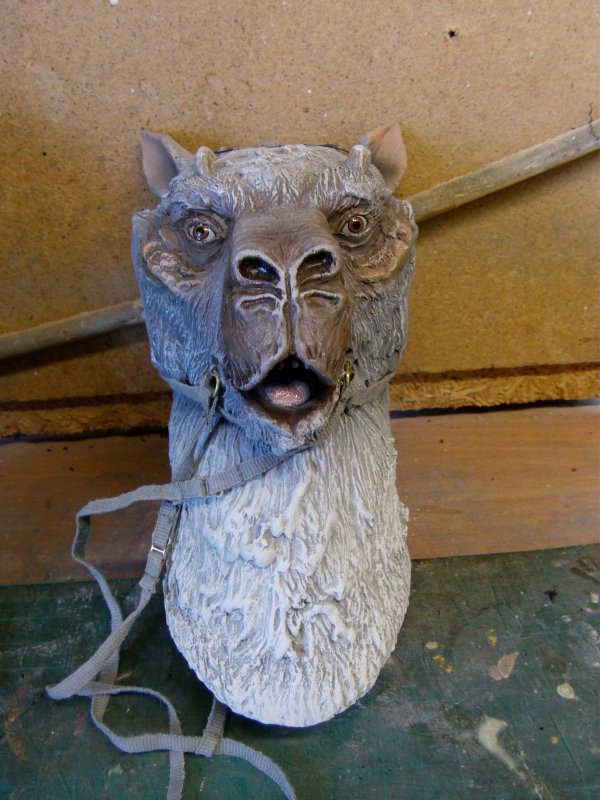
Now the head and horns are magnetic fixing which is a nice touch so all good there.
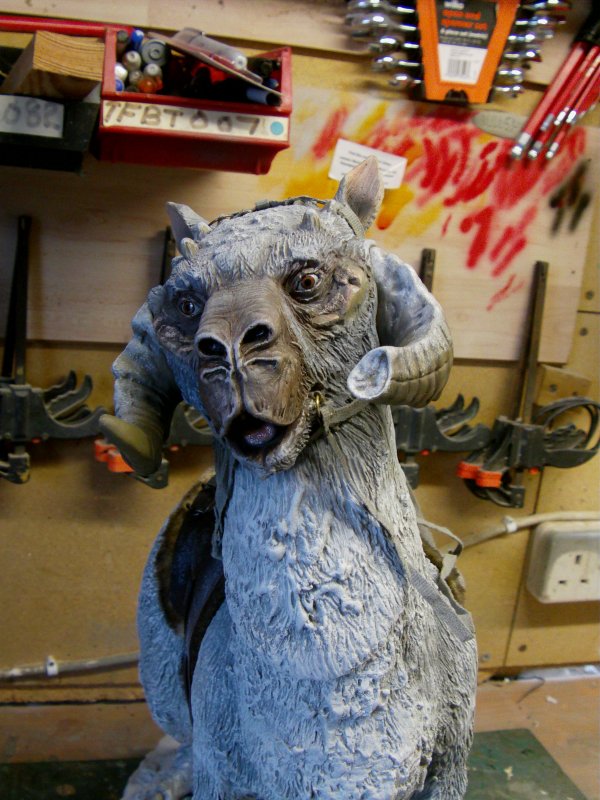
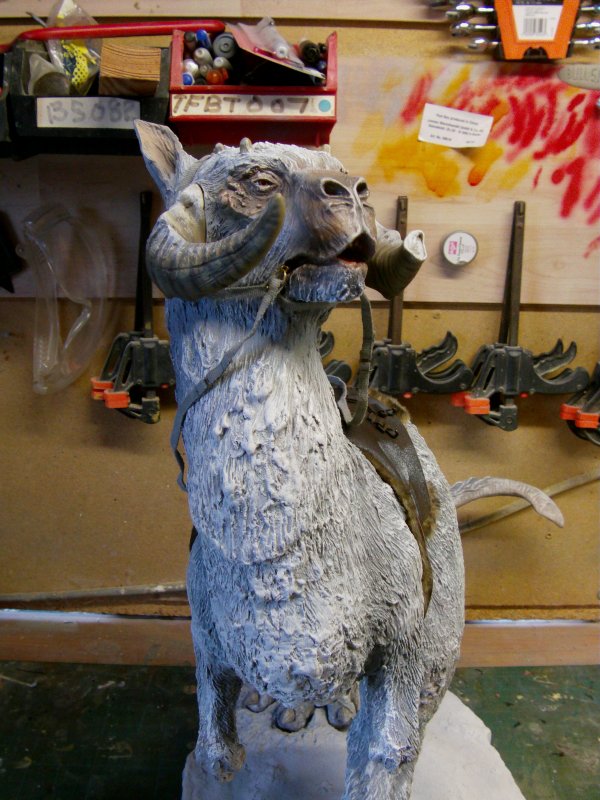
And a brief slot together of the head options with the beastie just semi-slotted in to the base.
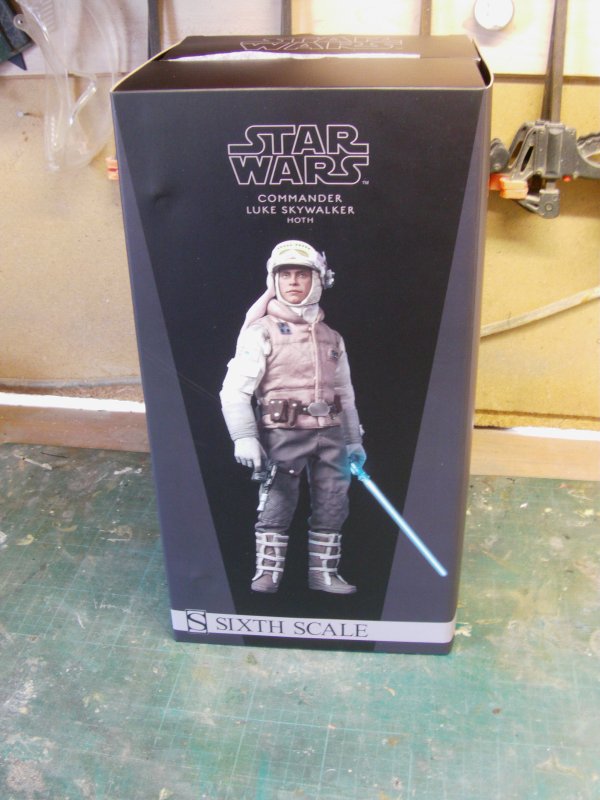
And now for the Commander Skywalker figure.
Box und contents as it were.
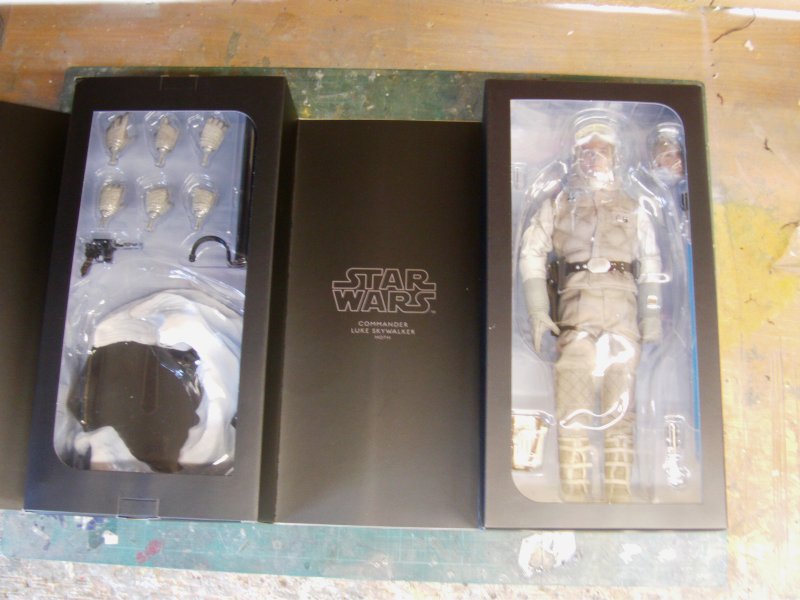
Necessary parts extracted from the packaging.
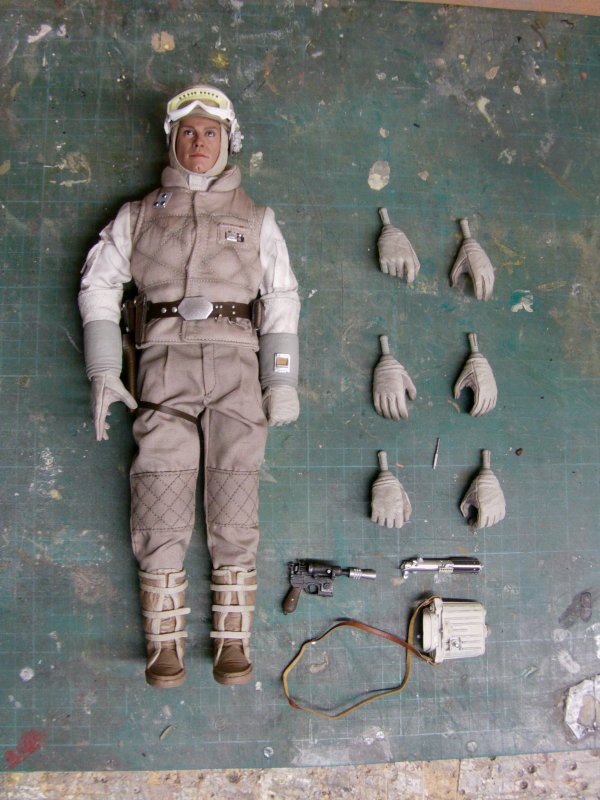
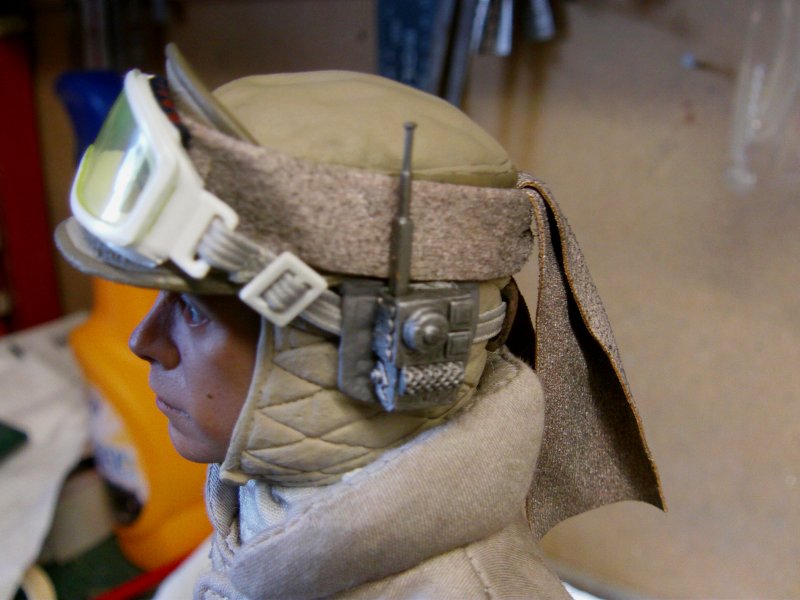
Face sculpt is none too shabby I have to say.
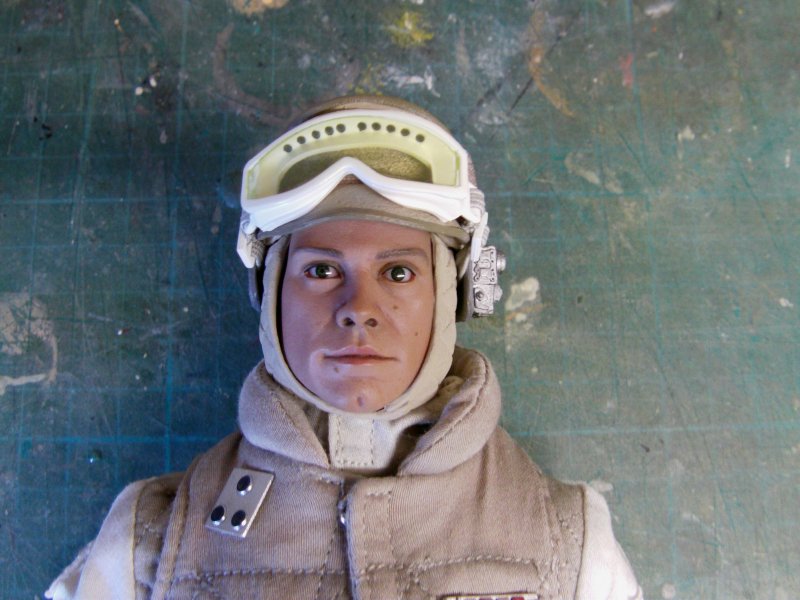
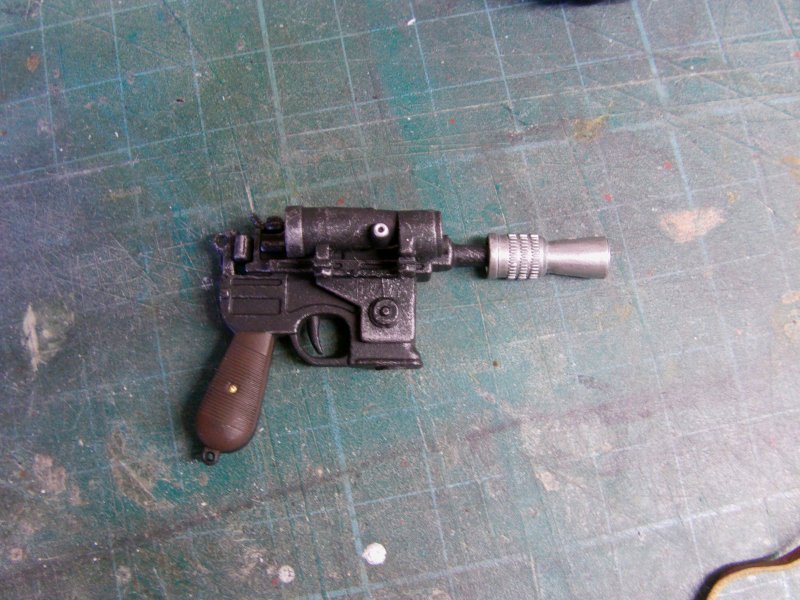
The detailing on the figure and parts is pretty damn nice to say the least.
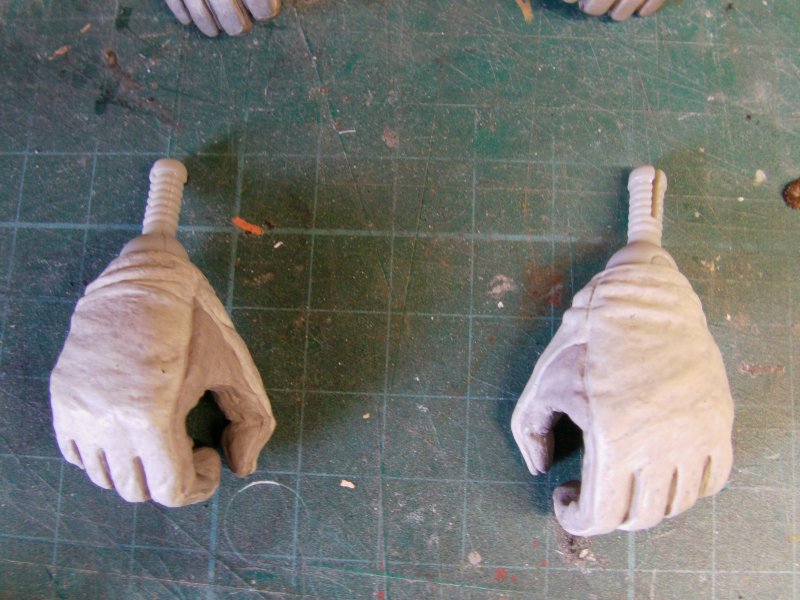
The hands are a simple push fit affair so plenty of options there for those that wish it.
Packs and the like selected, fitted with very little fuss.
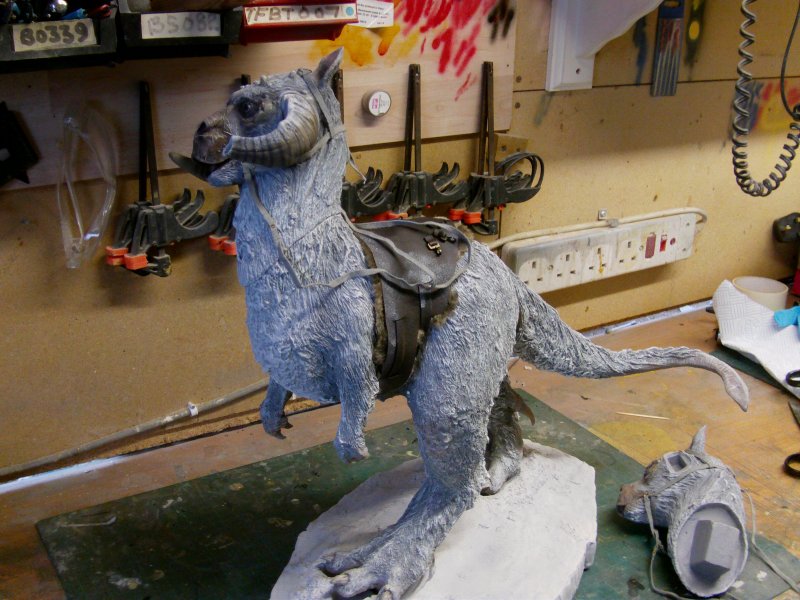
The stirrups and saddle in place.
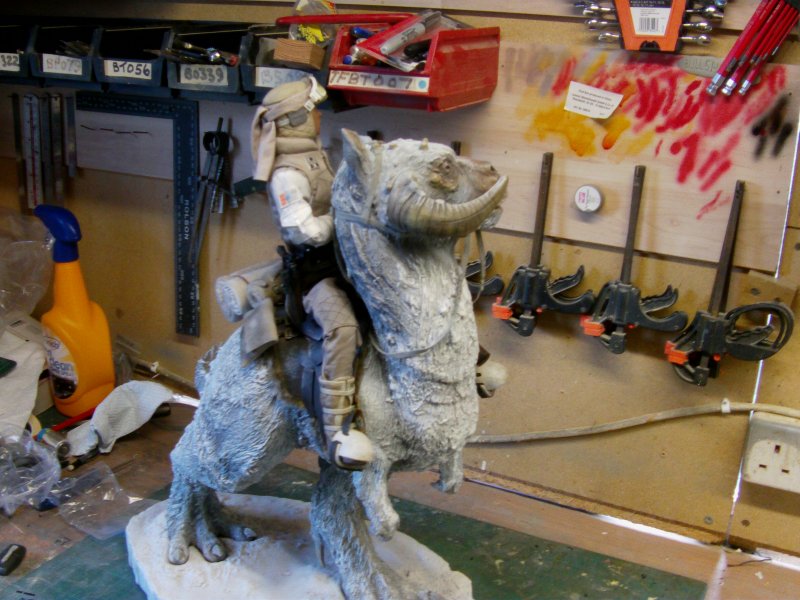
Some tinkering and bending of joints gets the figure in
the approx position and pose requested by the man and
using the head and horns preferred by the client fella, it was sorta put together.
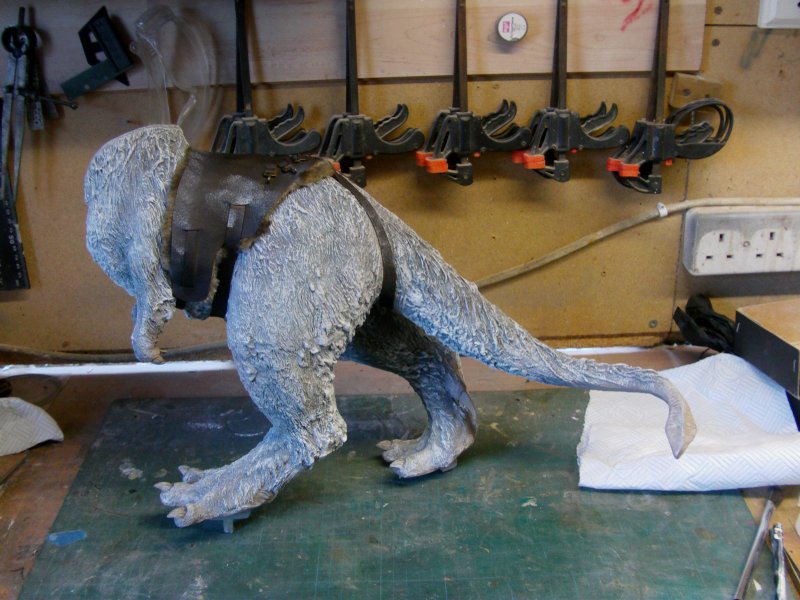
Now this is rather impressive to yours truly I have to say...
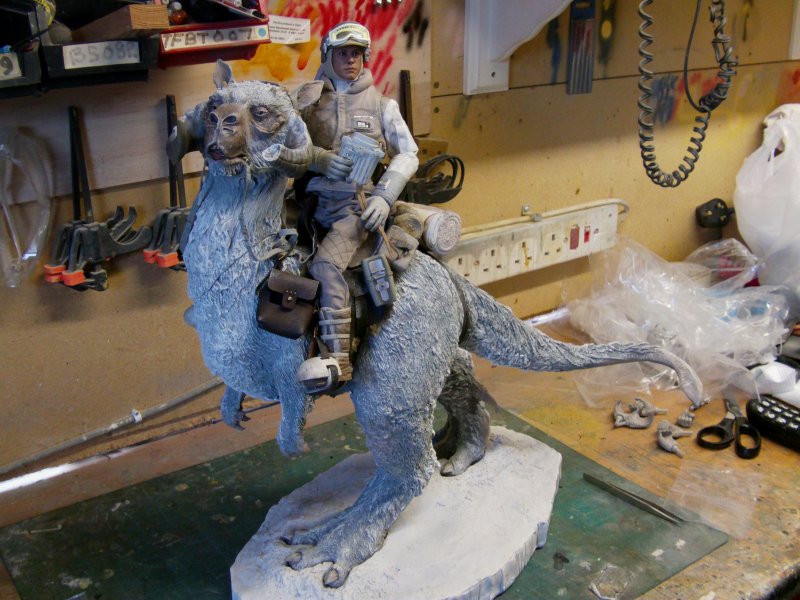
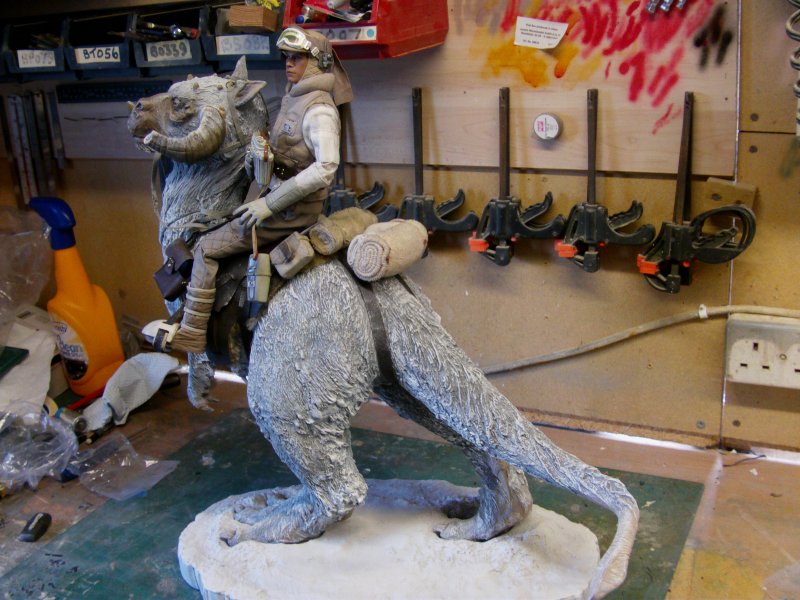
Comes out at some 17 & 1/2" long by about 19" tall and almost 12" wide overall.
Just as it is, I like it!
And i'm not that much of a Star Wars fan as it goes so make of that what you will.
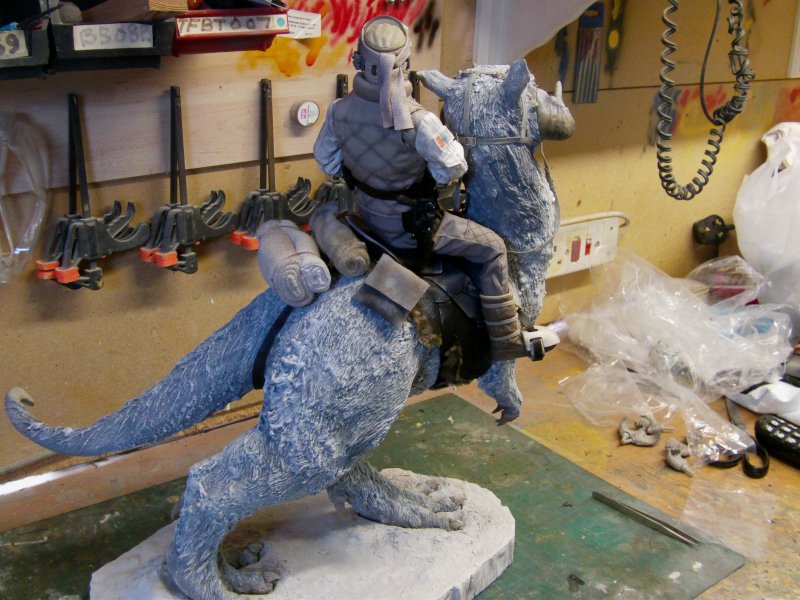
So what needs be done you may ask?
Well I asked the same question and here's the answer...
Get shot of the neck seam,
repaint the Tauntaun to change the colour just a smidgen from the overall grey to a sort of
a patchy grey going on light tawny polar bearish kinda thing,
make all the straps/packs/rolls hang and/or sit as they should,
shading where required to beastie and rider,
snow effects where required on both Tauntaun and Luke as that's where it's really lacking.
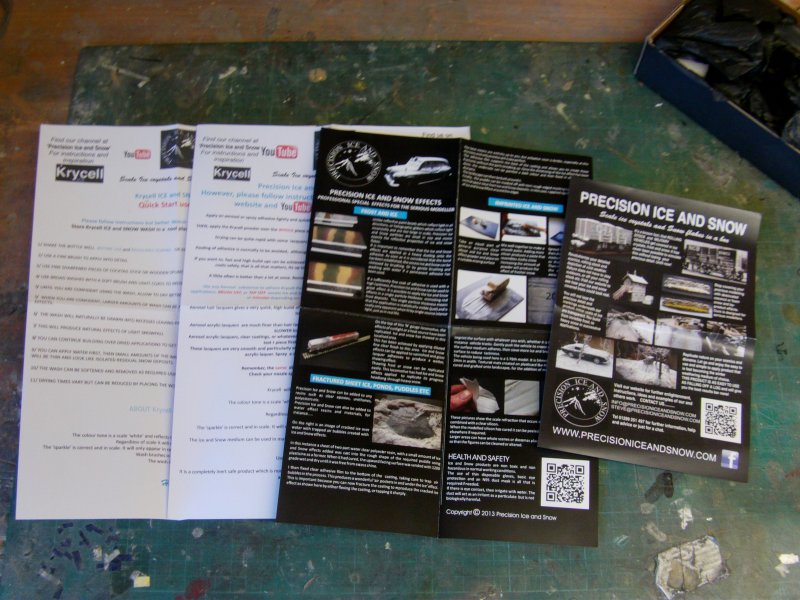
Speaking of snow...
I had a trawl about the net and this may well be old news to a lot of you but
I found A mob by the name of 'Precision Ice And Snow'.
Said outfit selling powder kit to make snow and ice effects in all scale modeling.
Here Be The Linky Thingy
More than a few vids on that site to explain it all.
Well, 22 UK beer tokens (otherwise known as money) plus postage shelled out and this box arrived at my door.
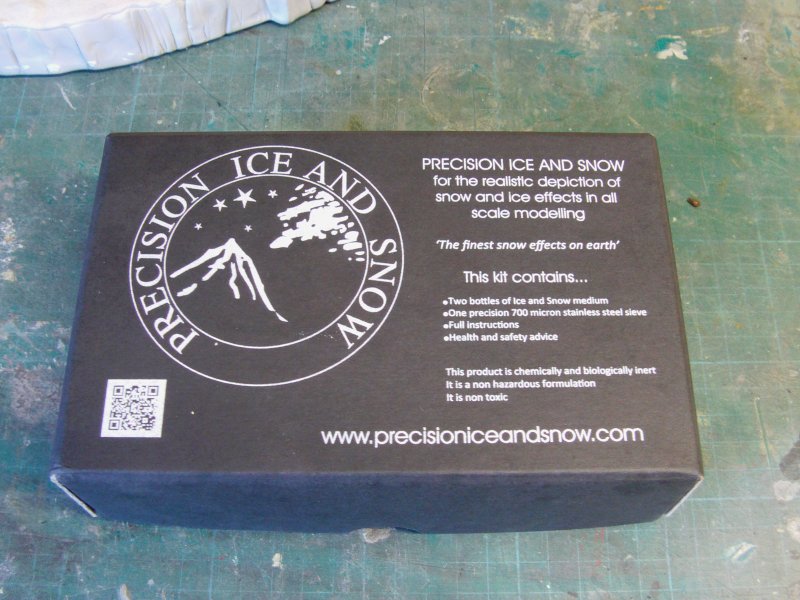
Inside was this little lot.

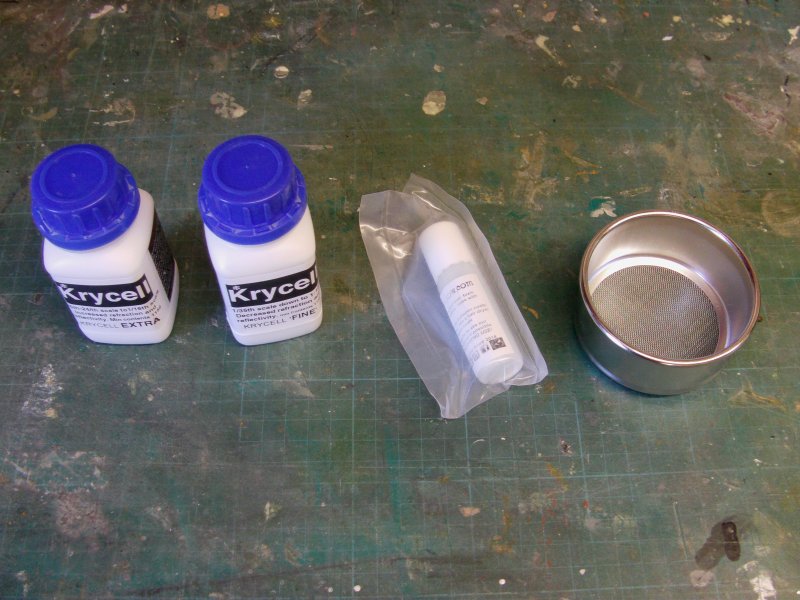
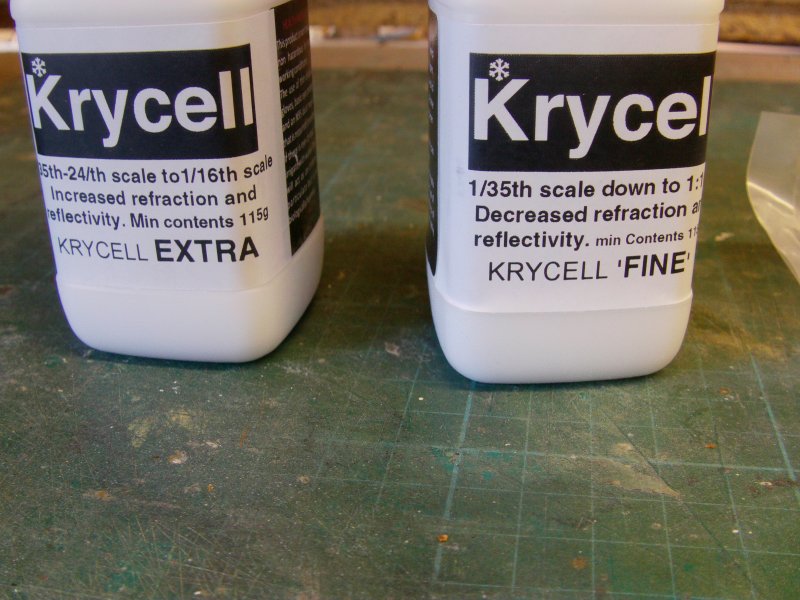
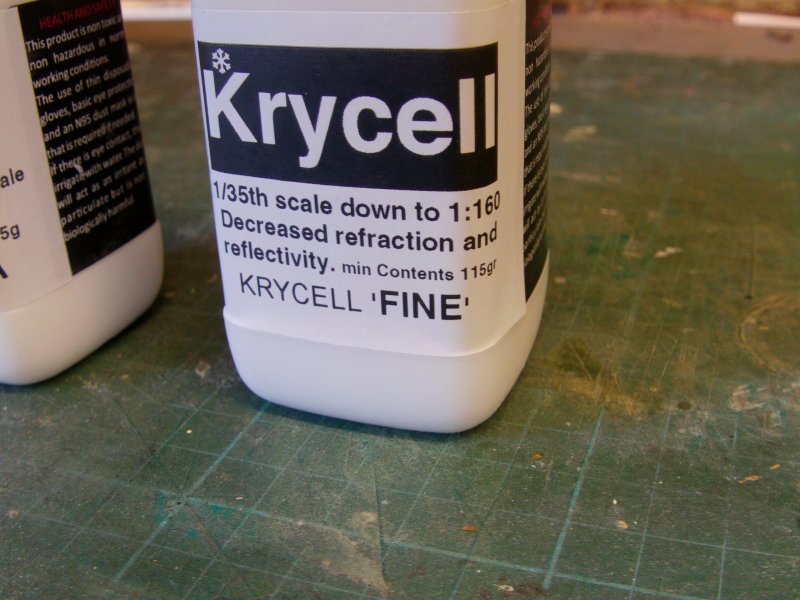
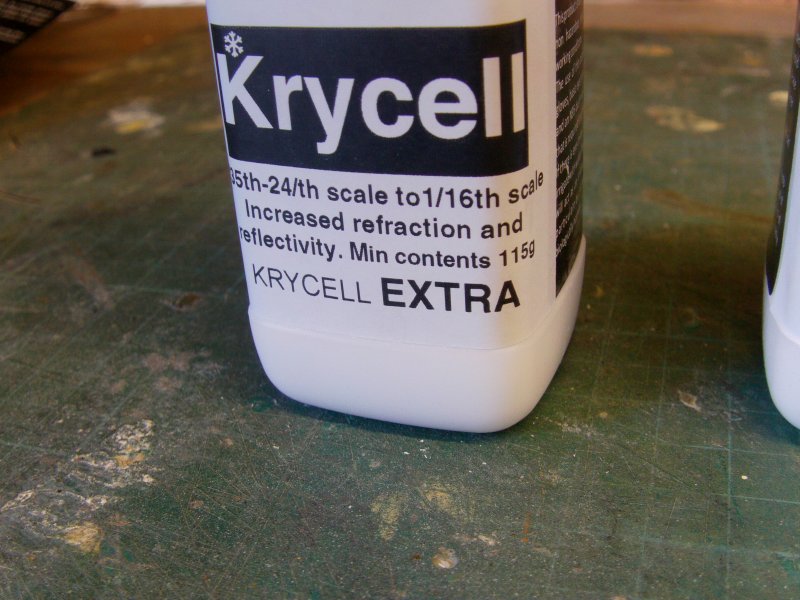
OK granted, this is supposed to be for 1/16th scale at it's largest but what the hell.
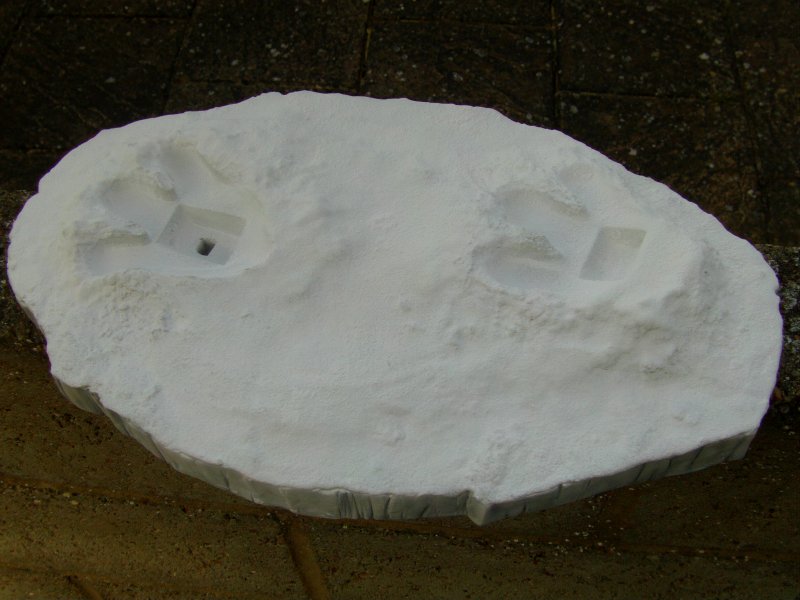
The base detail is nice but it's more a grey than white so to speak
and not totally snow like to my peepers for whatever that's worth.
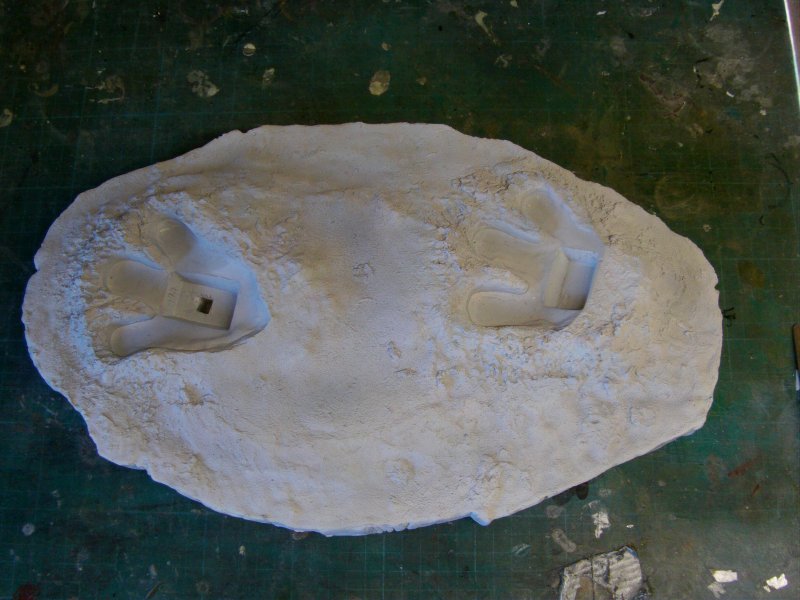

Going by the destructions, the snow powder can be fixed with clear spray varnish or hairspray.
The difference being that spay varnish builds up in thin coats and hairspray is for heavy coating.
Hairspray is my weapon of choice and it's easier to remove if I screw up...
not an unknown thing so better safe than sorry.
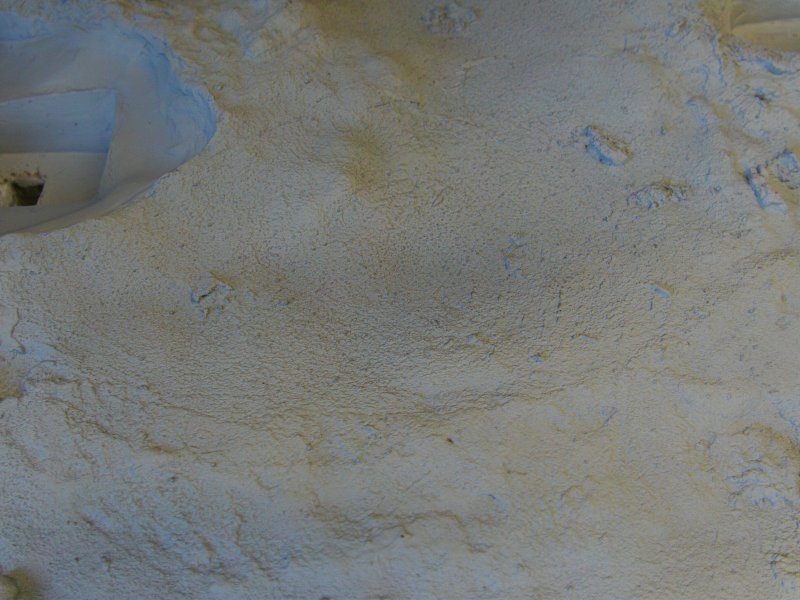
Coat of hairspray on and a single coat of the fine stuff.
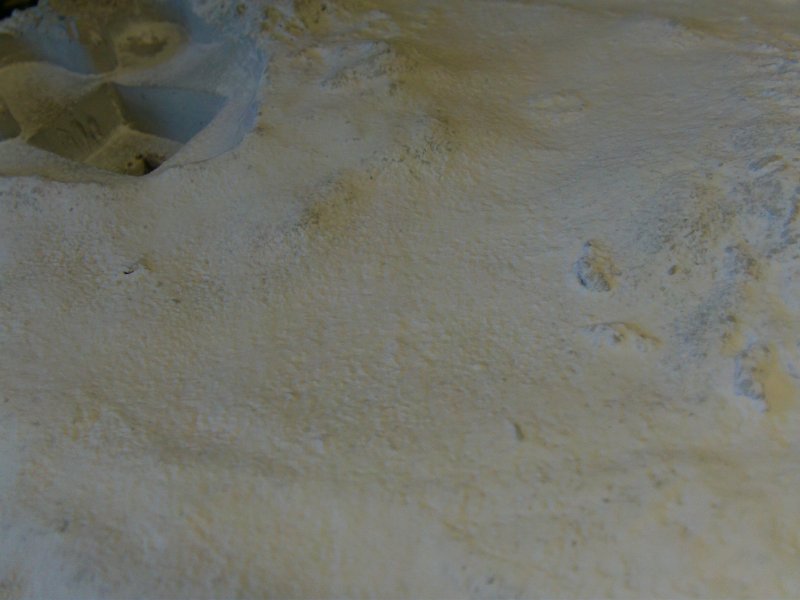
Starting to get somewhere.
Two coats of the Extra followed that and you can just about pick out the slight snowy sparkle.
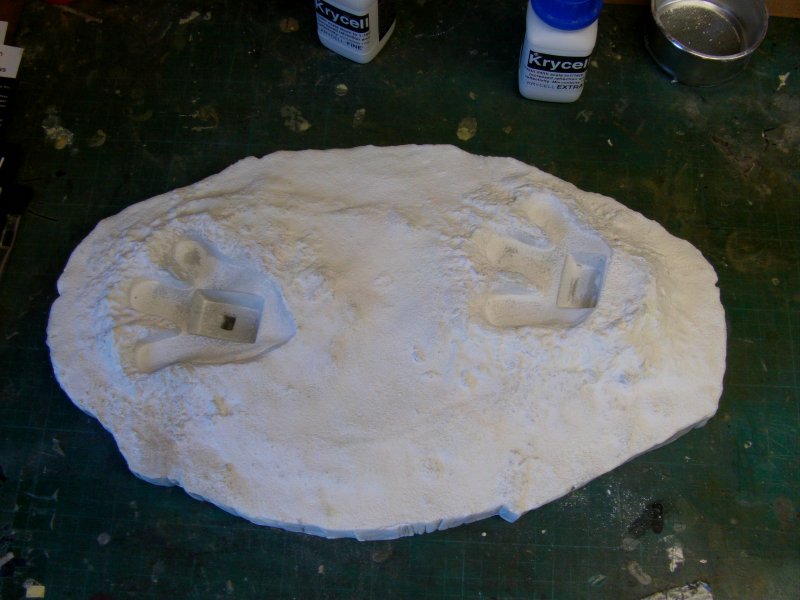
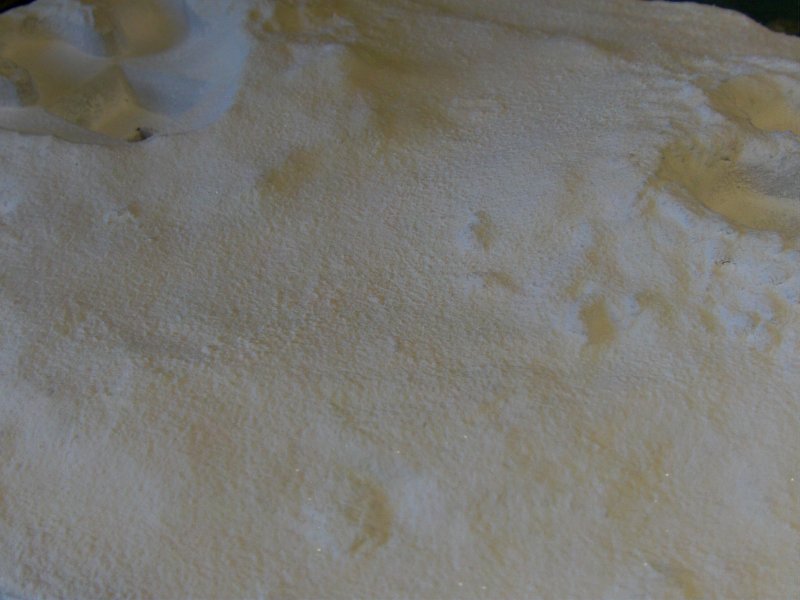
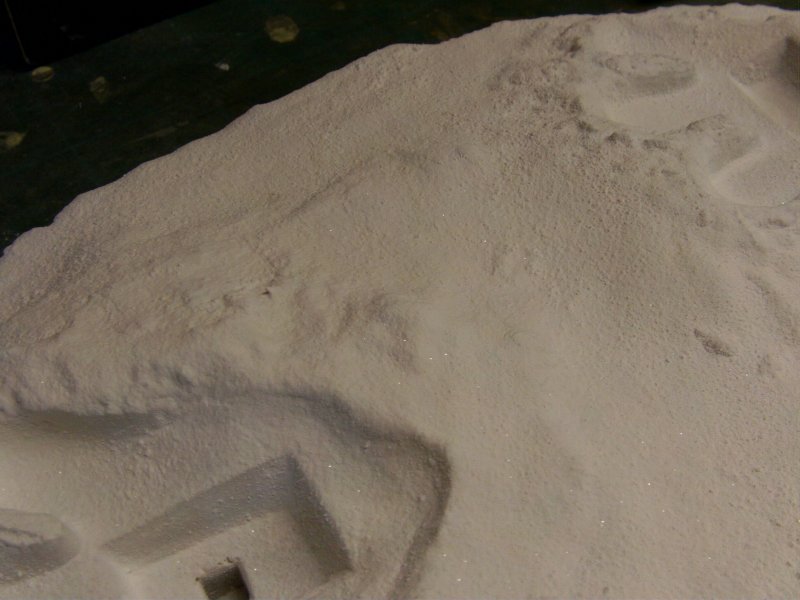
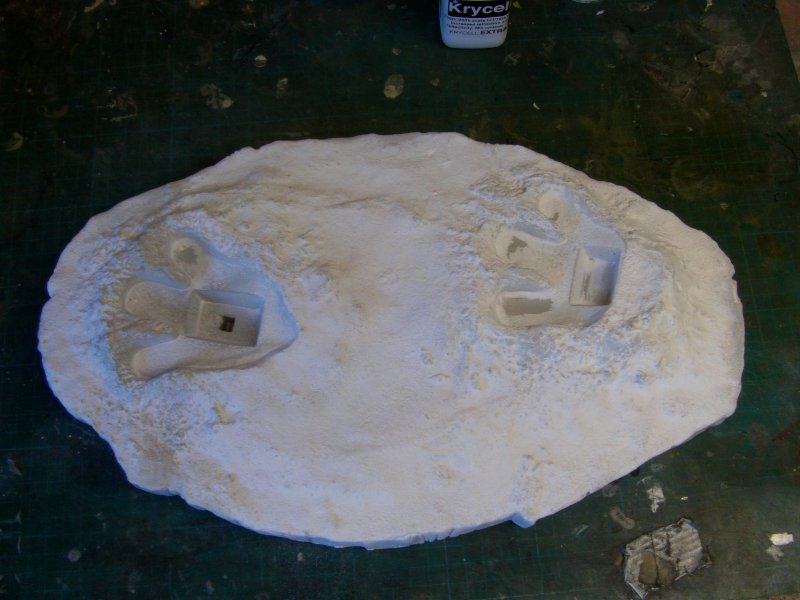
And in natural daylight.
And as a final, Tauntaun body slotted in to place for a look see as one does from time to time.
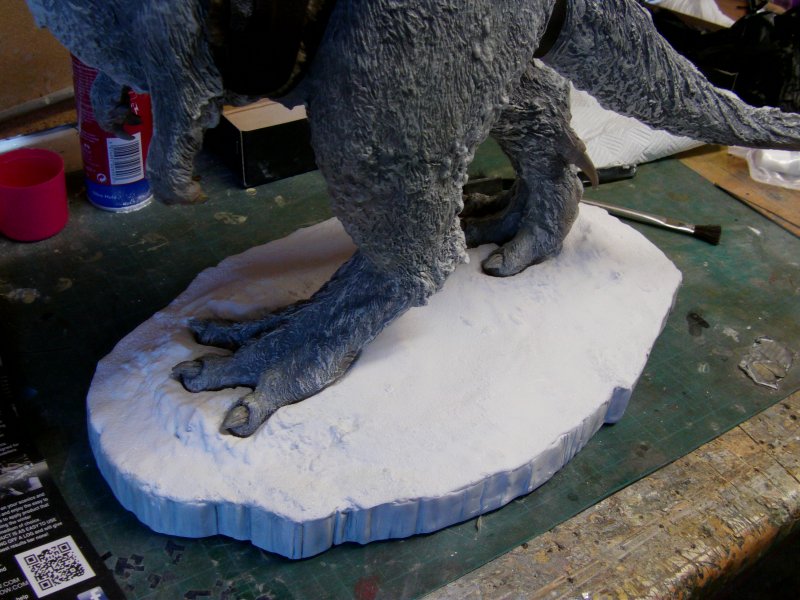
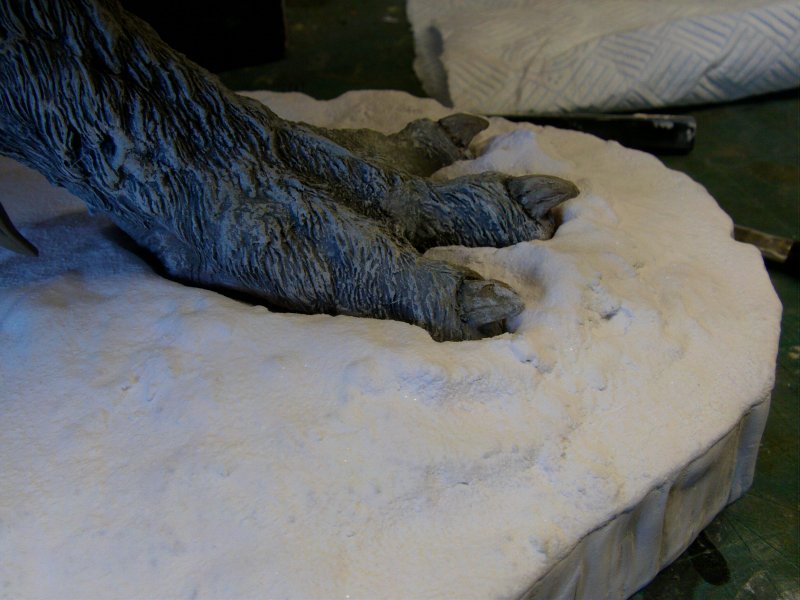
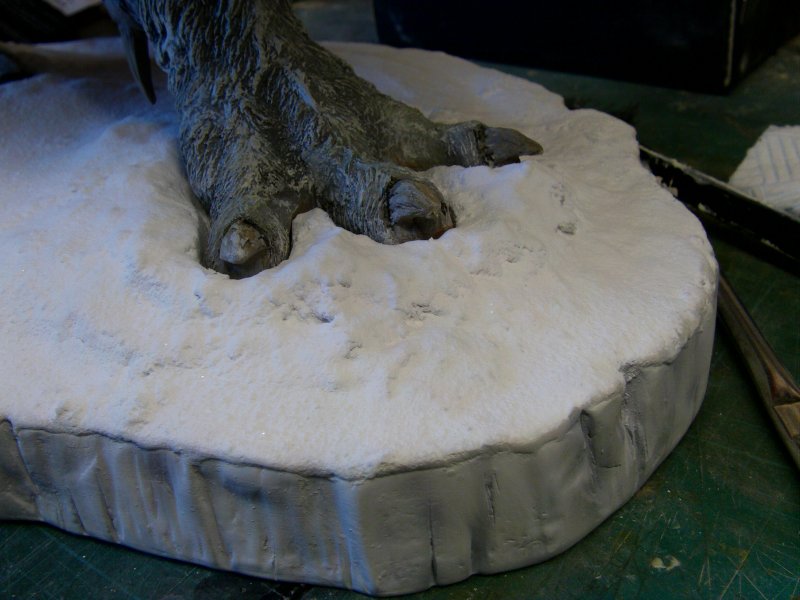
A smidgen more snow like methinks and that whole thing took a grand total of 15 mins.
Sorted!
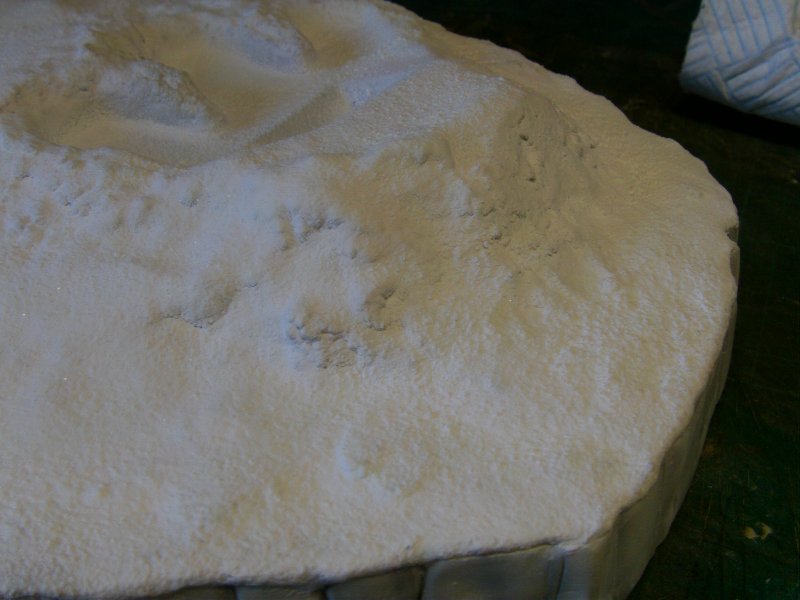
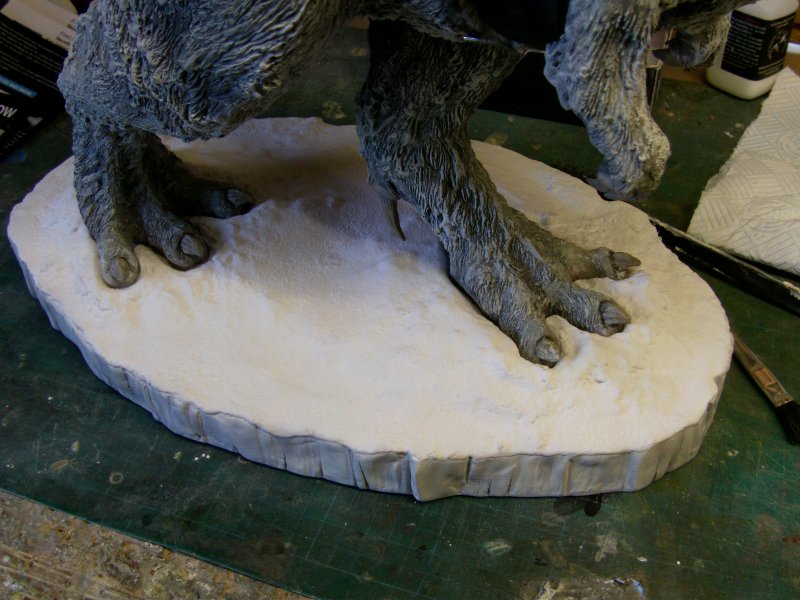
A bit of touching up here and there around the very edges but it's a start.
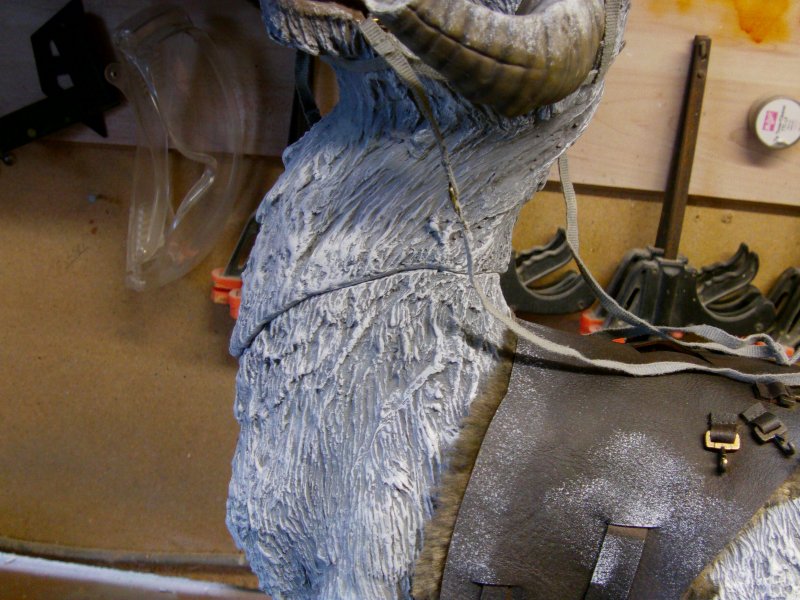
So the last bit for this turnout, getting shot of the neck seam.
This is how it looked before.
Saddle base removed, reins also and a dollop of epoxy stay put gunk applied.
Then came much Apoxie Sculpt which both before and after curing got some
tooling violence of the manual and motor driven kind done unto it.
The result after some primer got slung it's way...
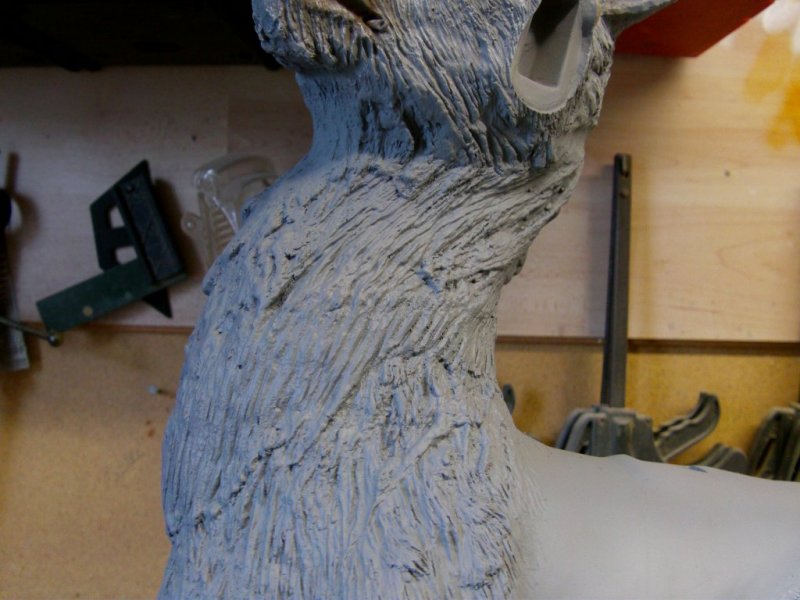
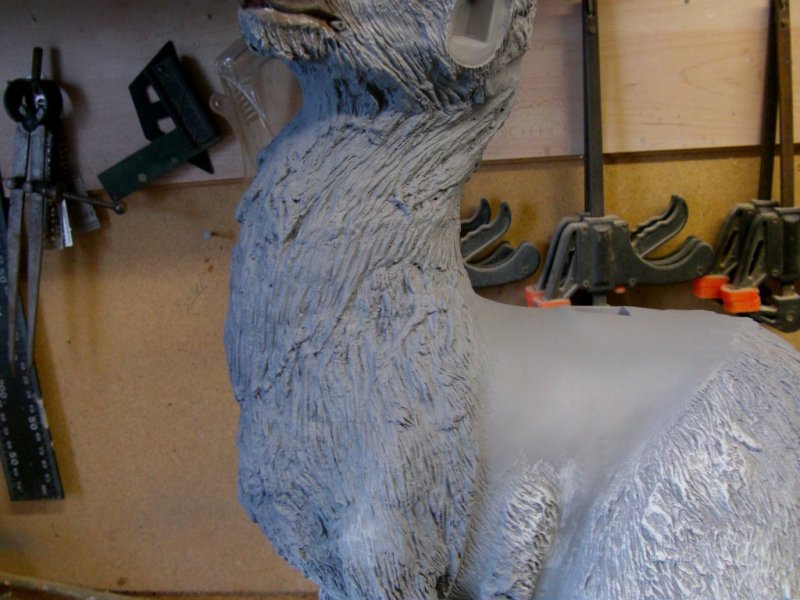
Better methinks!
That's it for the opener, more to come my friends so stay tuned!
Go seriously easy out there you merry mob.
Page Number