Polar Lights Original Series USS Enterprise 1/350th Scale
Page Number
Some LEDs and a quiet whirring sound...
It's Bussard Time!
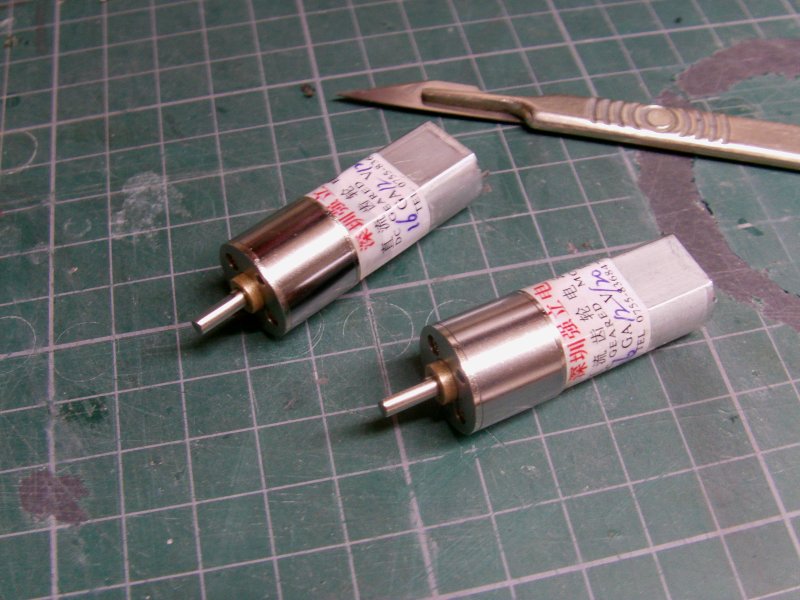
Welcome back all! Right, lets get stuck in then. Got me motor and gearbox thingies, thought it was going to take longer for them to come through but not so, so it's all good so far.
Rated for 12v and running at 120 rpm. The whole model is planned to run from a 9v mains converter so it'll knock the revs down a smidgen which will be just about right for what I have in mind. Sadly they don't fit in the parts proper but that's why some considerate souls invented drill and grinding bits along with the motorised spinning things for them to fit in to.
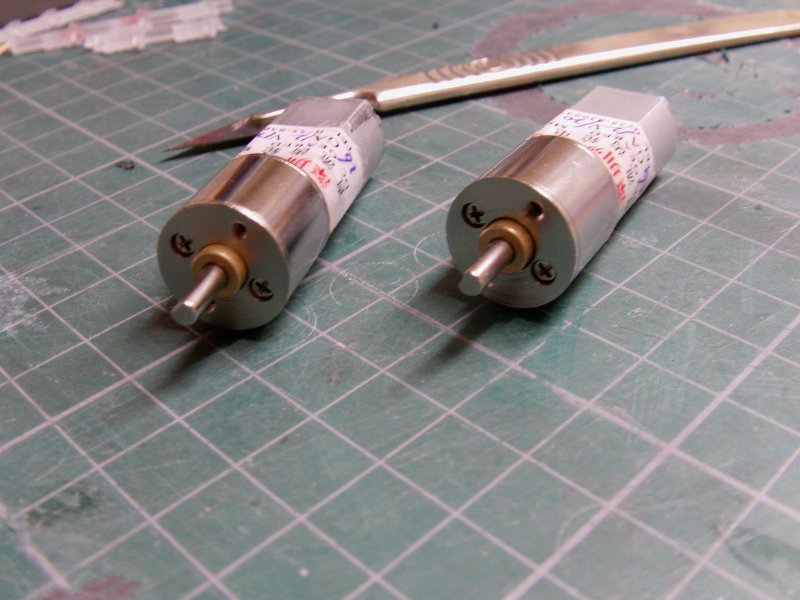
A bit of drill powered violence done unto them, after which the motor/gearbox bolted to a bit of plastic sheet and it was a done thing.
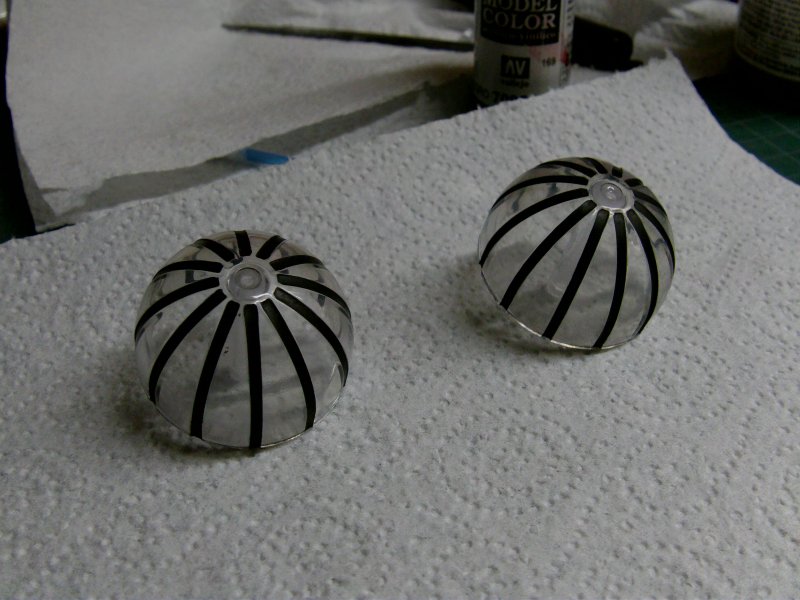
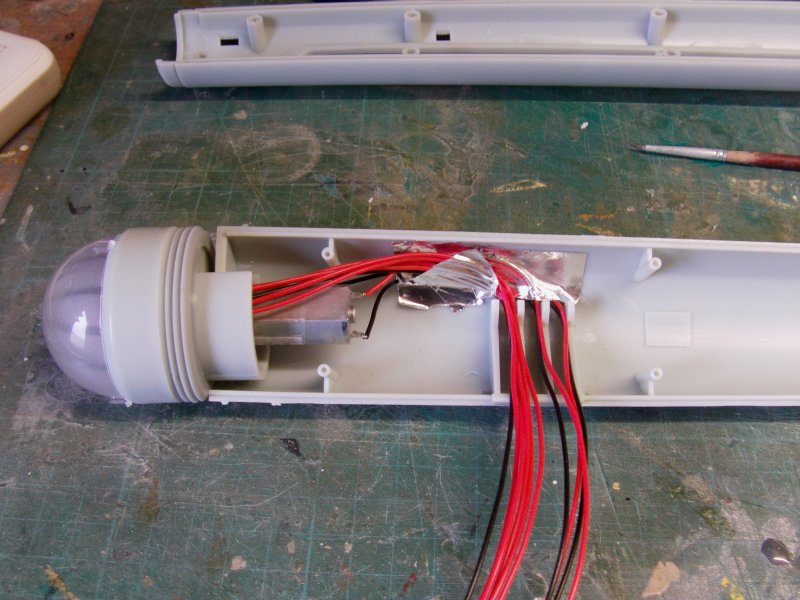
So to the bussard lighting lunacy. Out with the requisite parts and black paint
splurged on along with some reflective material.
Foil tape bits to be precise, and they probably wont make any difference but what the hell.
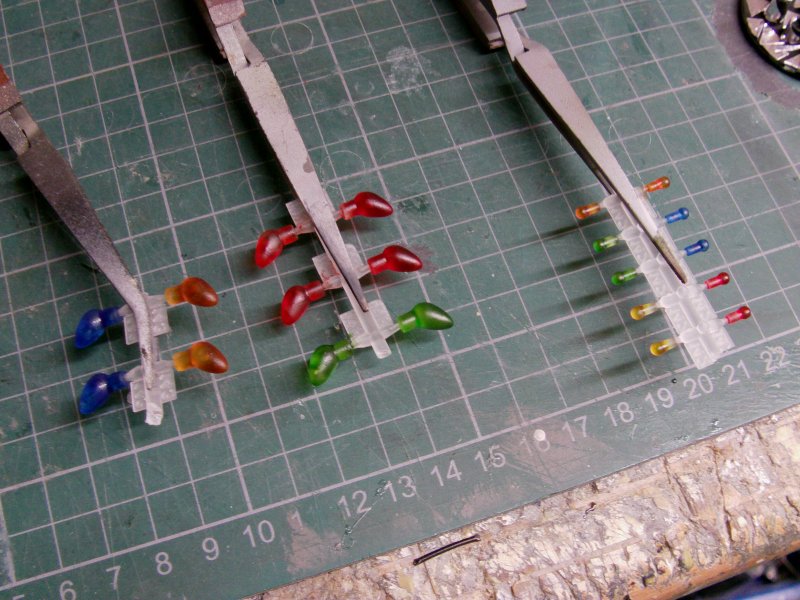
So to the clear parts that will represent the bulbs. Instructions say to paint all the large bits clear amber. Well change of brain there and just to be a contrary bugger, red, green, orange and blue.
A goodly scrub with some alcohol and Tamiya clear colour's
brought in to play.
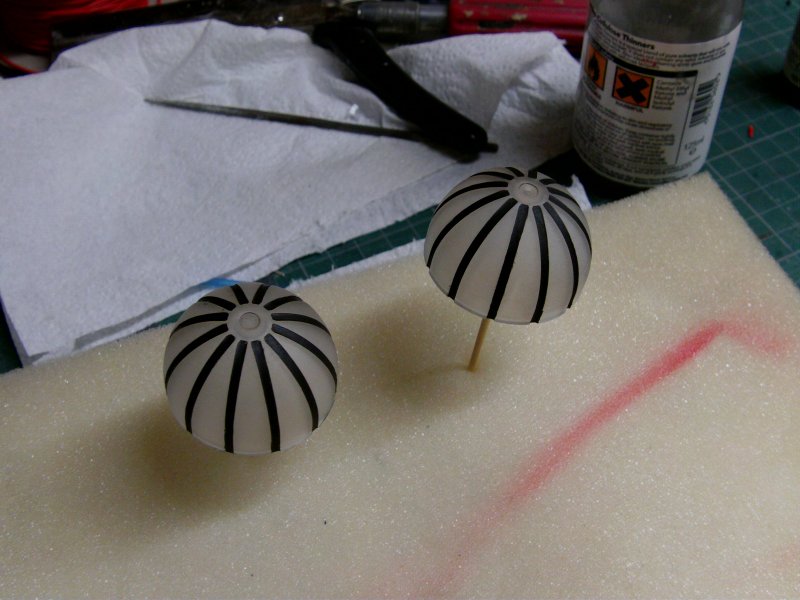
After all cured proper, some Plastikote glass frosting spray.
Removed from sprue, trimmed and glued in.
That'll do for a start.
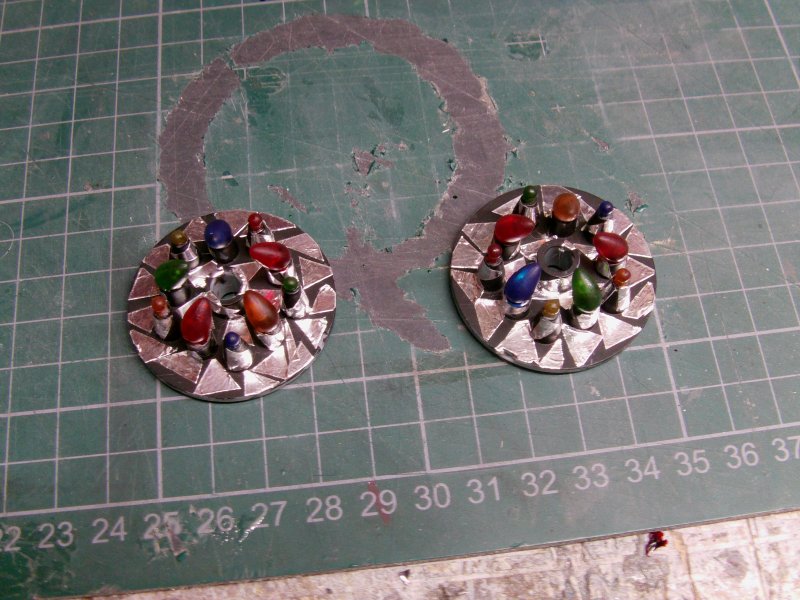
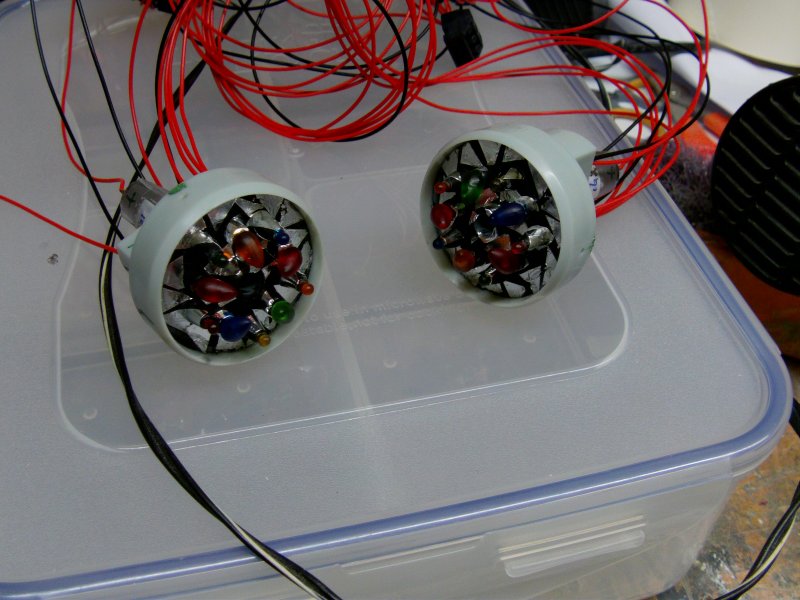
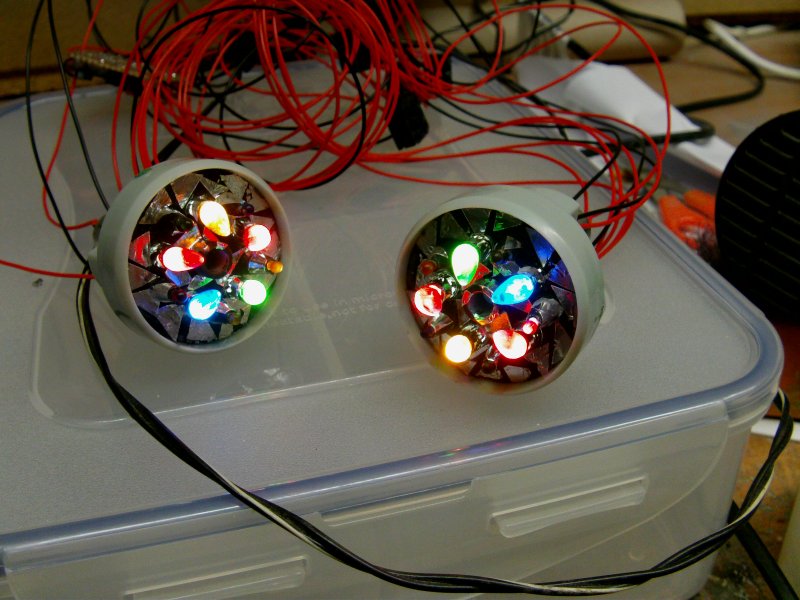
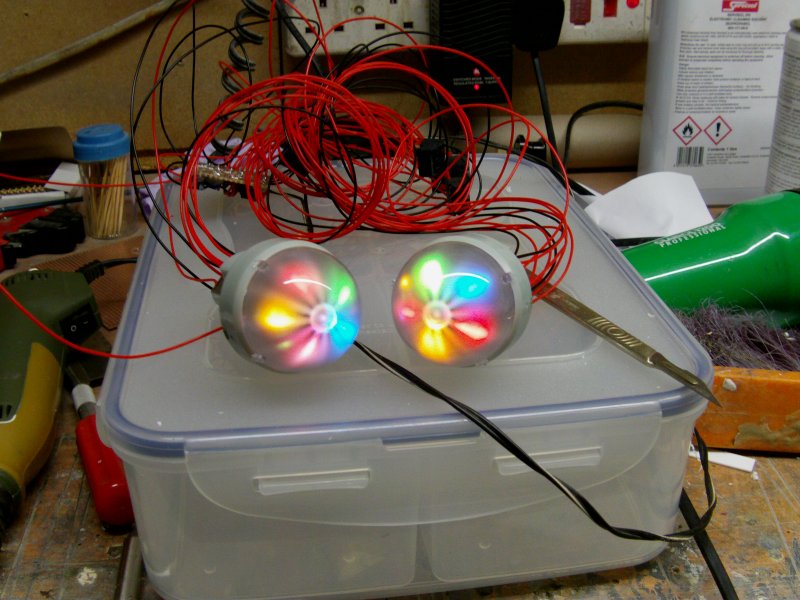
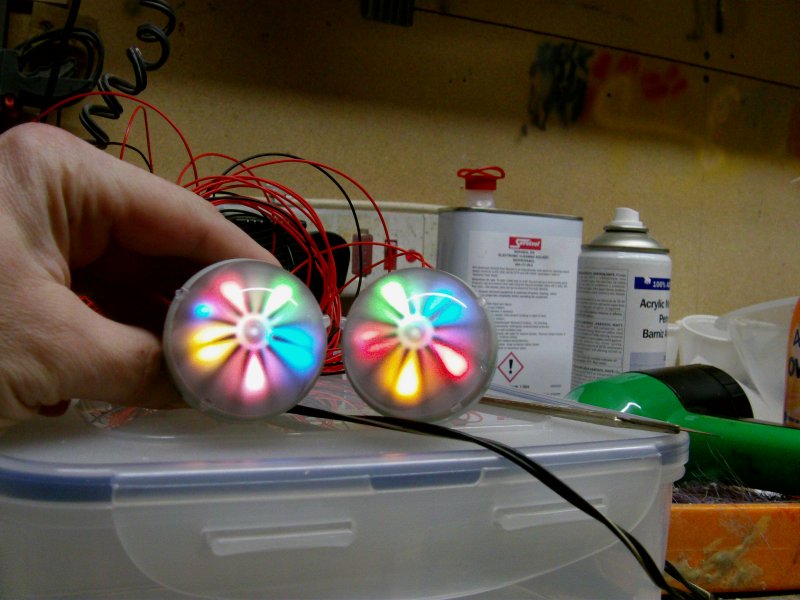
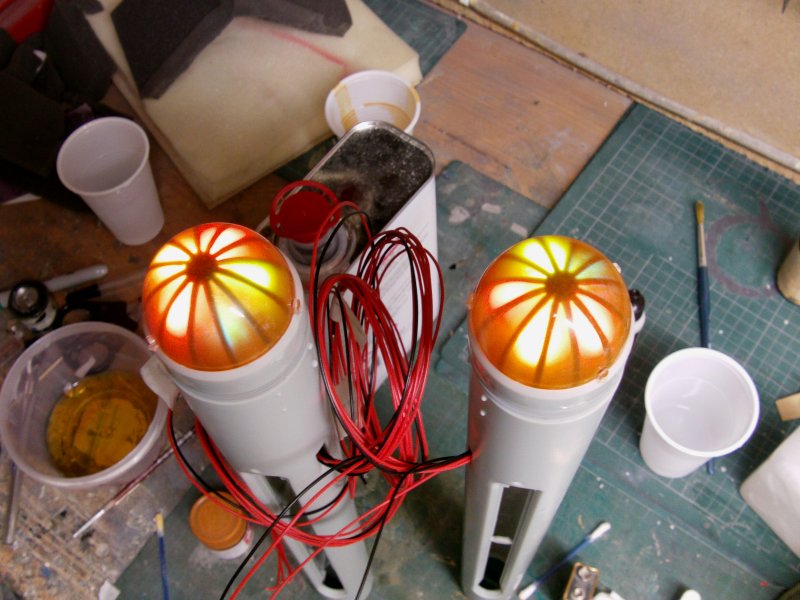
The larger clear parts had a warm white LEDs fitted to the back for the constant on lighting. Once in and wired up with resistors, then to the flashing ones. These were fitted with cool whites, without resistors as these will be hooked up to a chaser circuit and that will take care of the correct voltage feed.
So fit and test.
Not so called correct colour's but me likey so onward.
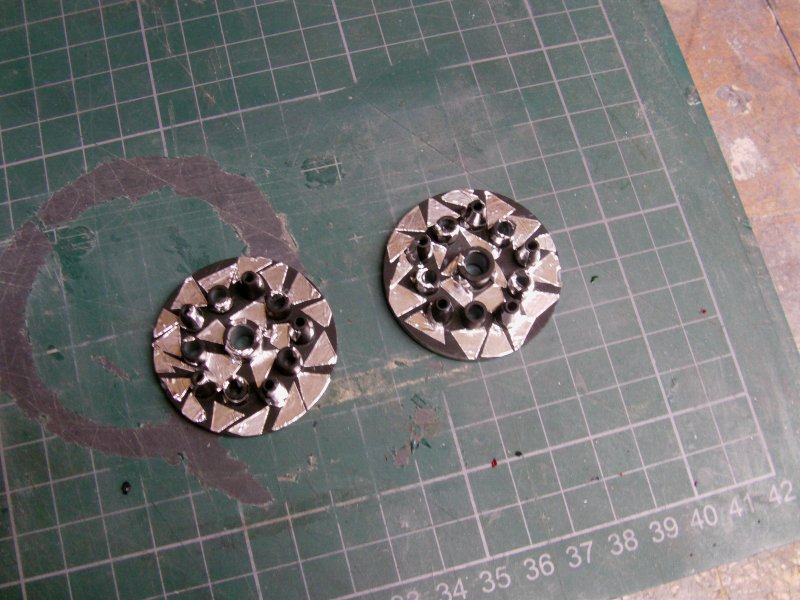
So to the clear 'fan blade' bits that with a little luck will rotate as they should do. Parts removed from sprue, cleaned up, alcohol scrubbed and when all settled, in with the matt black.
Once that has sorted itself out, the glass frosting spray!
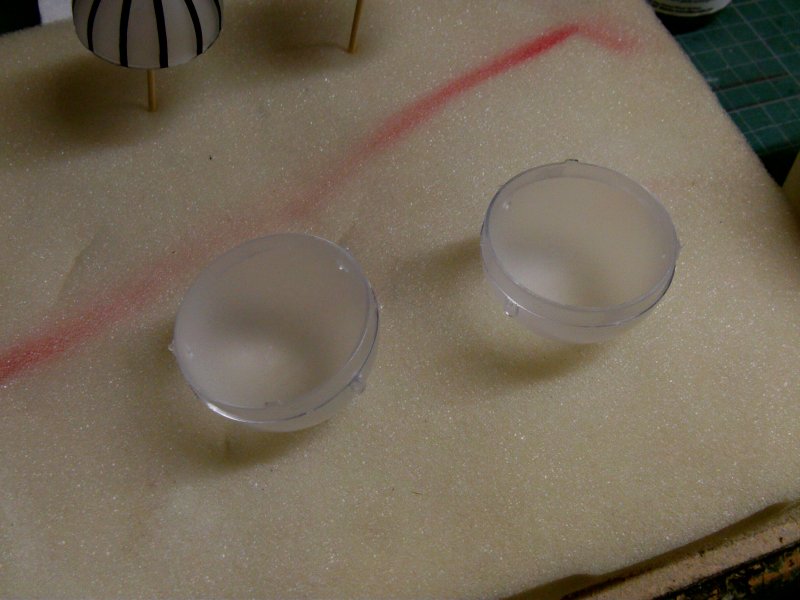
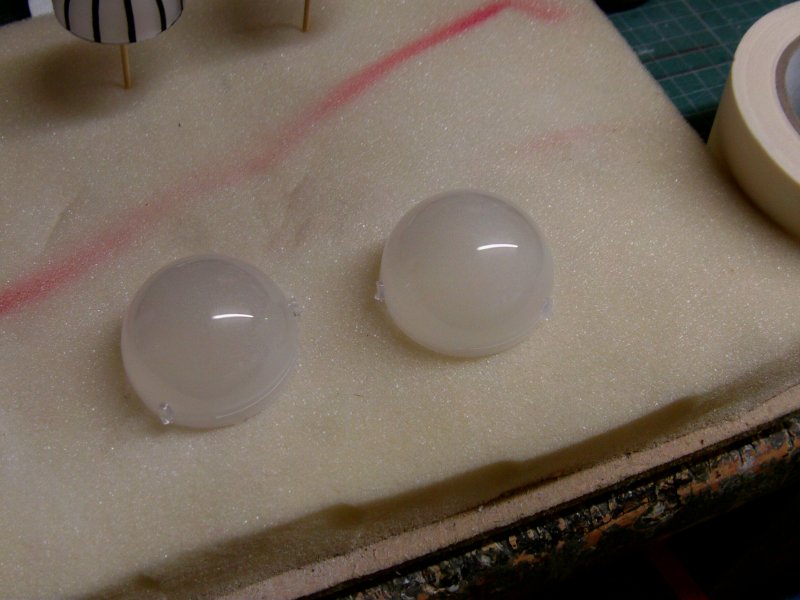
The large clear domes were given the same treatment but frosting spray on the insides only.
So after a quick test fit and a look see...
Now it was at this point that the domes got their spin up test
and the dreaded curse of the bent part, that has been spoken about on various modeling message boards reared it's none too pretty head. The other one was just fine and spun all nice and proper.
So why would one be perfect, one not and this problem seemed to be one that others had?
Well I took a look at the problem one from all angles and came to one conclusion.
Going from my measurements and in this instance, it didn't look like the
center spindle of the fan blade part was bent.
It looked more like the whole spindle was off center. Not by much but enough.
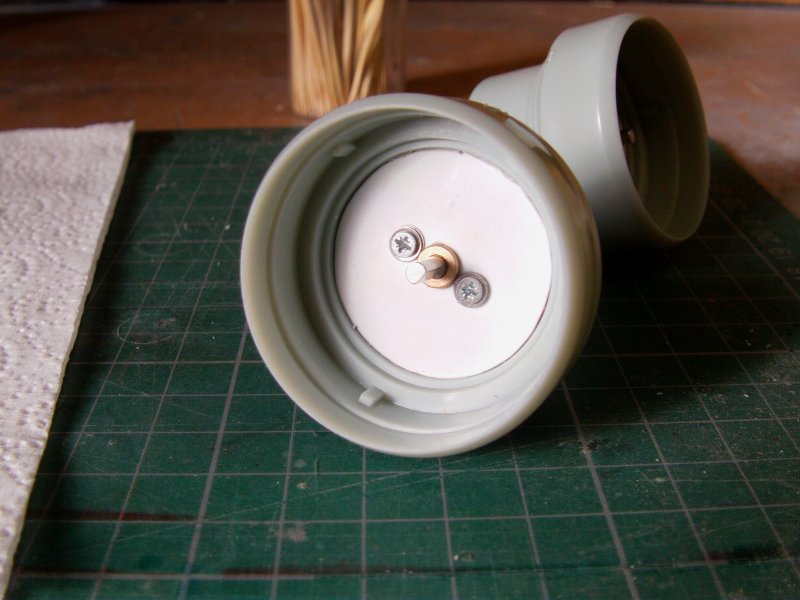
So a bit of hole reshaping at the bottom end where it slips on to the motor shaft, a bit of building up on one side to bring it back to circular so off setting it by a whisker and it was a done thing. Also just for my own tastes, the backlighting made the bit where the spindles of both meet the inside of the domes, just look a bit rough. A dab of black paint to the centers sorted that to my tastes and satisfaction.
How does it all look? The vid link below should show you.
By all means download it if you want by doing that right click and 'Save Target As...' thing, or whatever you do on your system to D/L a file, ON THIS HERE CAPS LOCKED TEXT LINK...THINGY. It's a 3.7MB file, movie lasts 39 seconds.
Or there's always the youtube option...
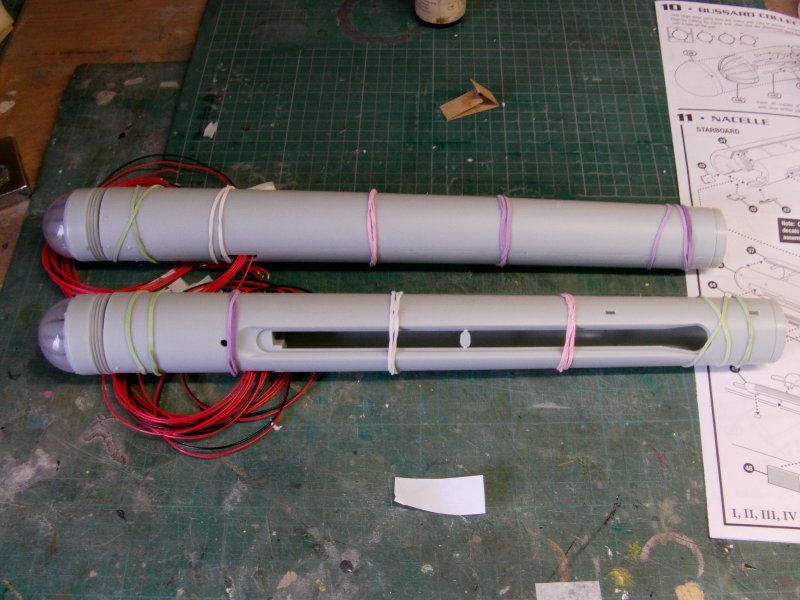
Not perfect and maybe not 'canon' but then I don't build for myself that way so it'll do nicely for me. Others might feel differently when I sell this off once finished but we'll see. So second to last bit for this update, The three rings behind the bussard doobrie firkin. Removed from sprues, tidied up, cleaned and glued on.
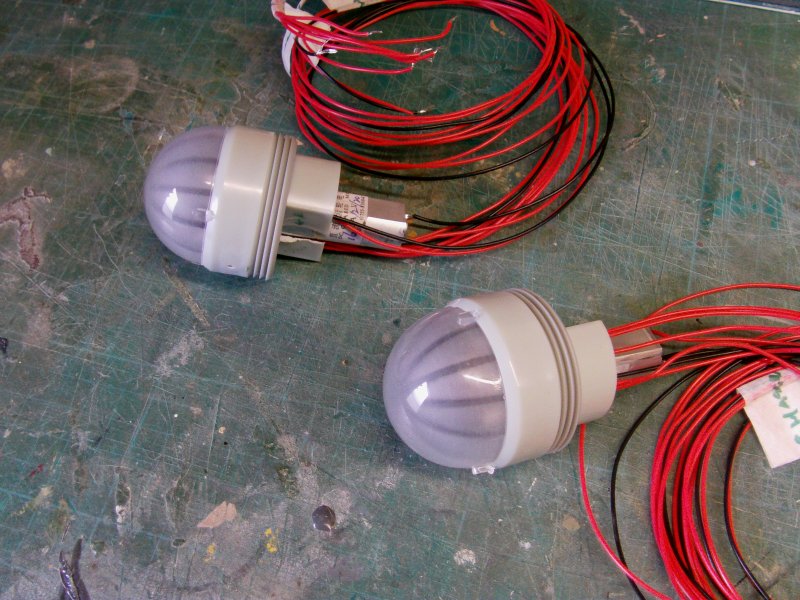
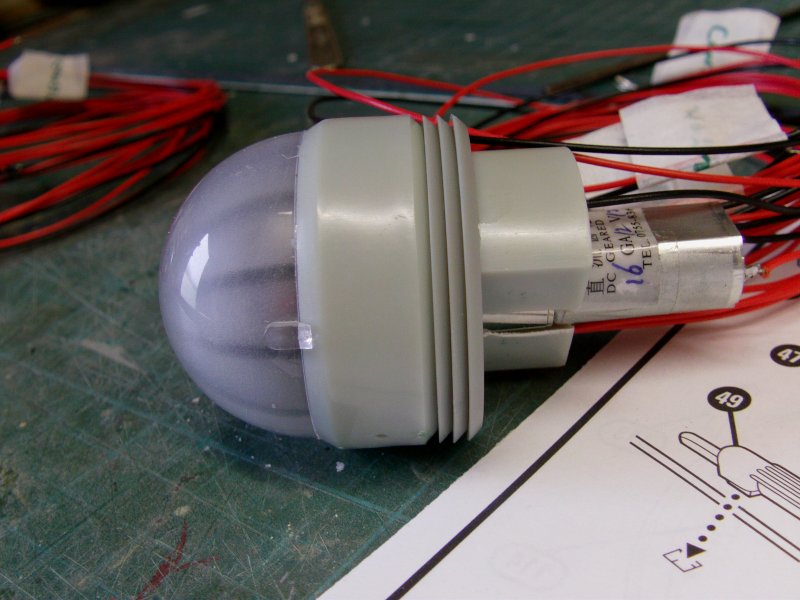
And lastly, a bit of wire taping up and the nacelle halves glued together. And there was much laying on of glue and rubber bands.
The bussard has been left loose for now so one can take care of the seams at the front but otherwise. that's it for now.
The motors and lighting were given a several hour run in, hooked up to a 9v switched mode mains converter before we got to this point and all is okedoke so far. Motors don't sound off too much so acceptable for yours truly.
And that's ya lot for now. More to come so stay tuned folks! You goodly gang go easy out there now.
Captain Slog...Additional...
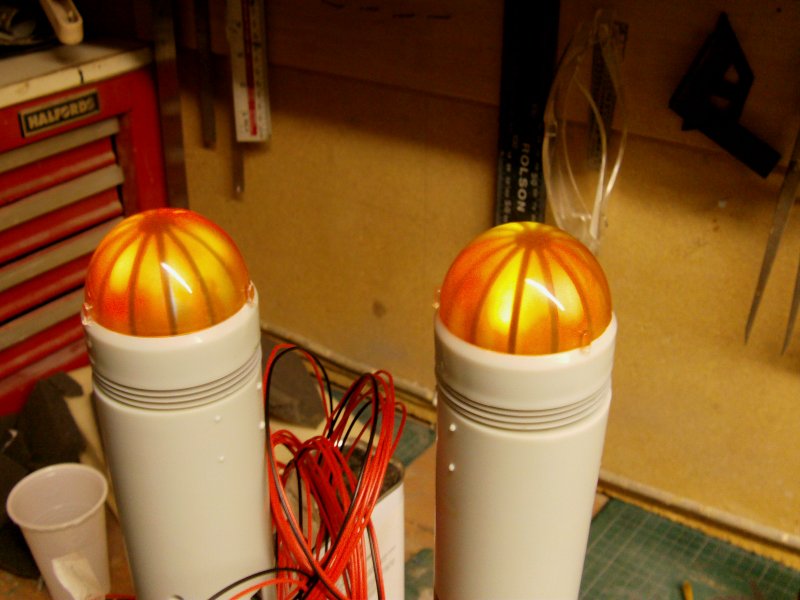
Just had a wee think to meself and decided that the
bussard's could use some toning and smoothing so to speak.
A bit of work back in the Hellhole mit der airbrush with Tamiya clear orange and matt varnish in that order applied to the inside of the domes which gets this...
Colours are still all there just a smidgen of subtlety added.
Me likey and that's now that proper for this update...Honest!