
Polar Lights Original Series USS Enterprise
1/350th Scale


 Page Number
And I thought 'going to be a for me build'...
Think Again On That One Fella !!
Welcome back all!
Right then, to explain the title exclamation.
Change of purpose and build spec to a degree
as this will now be going to someone ASAP when finished.
Ah, but all is not as simple as that...
Never is...
So the splendid fella taking this off me hands after the
glue/putty/paint palaver has been perpetrated by yours truly
has asked that the 'non-canon' theme be continued.
Fine and dandy by yours truly so here we go.
The overall paint scheme and some surface details are going to get done along
the same lines as an alternate TOS like Enterprise design.
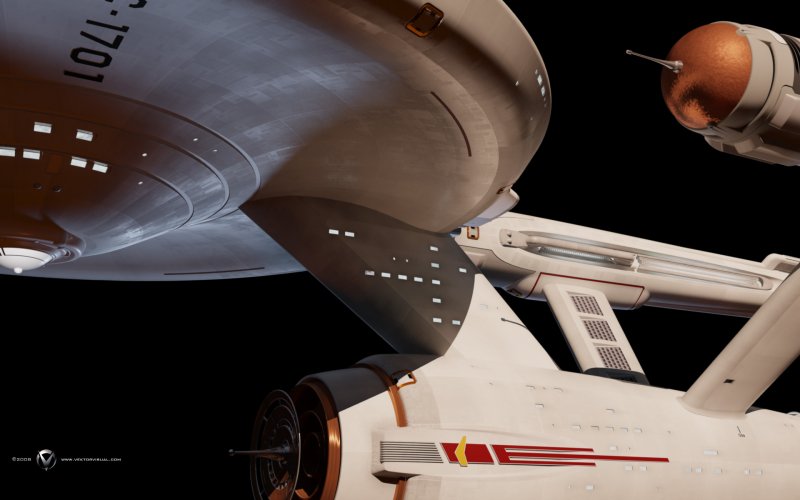
And with the gracious consent of Jason Lee who is responsible
for the following 3D renders of his seriously nice design and has
allowed me to post them in this here WIP log thingy.
Here is what his design looks like...


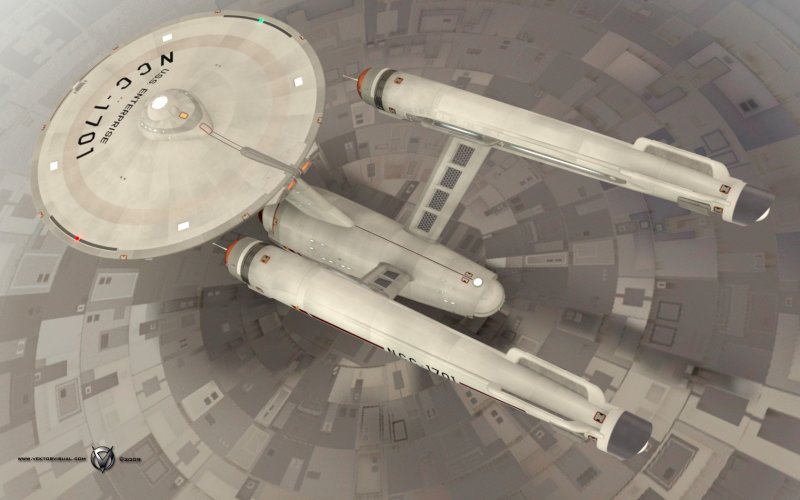
Nice eh?
Plan is to replicate the paint job and extra markings,
add the RCS thrusters,
phaser bumps,
photon torpedo launchers,
fairing around the nacelle pylon roots,
upper registry lighting and red outline to said registry numbers.


Additional stuff courtesy of Paragrafix and Polar Lights/Round 2.
These being a double hit of photo etch fun and games.
They look a bit like this...
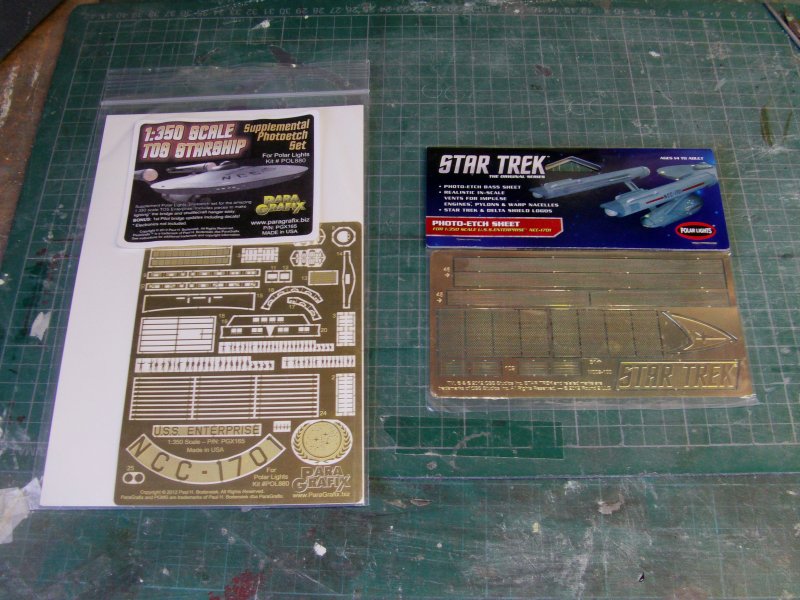
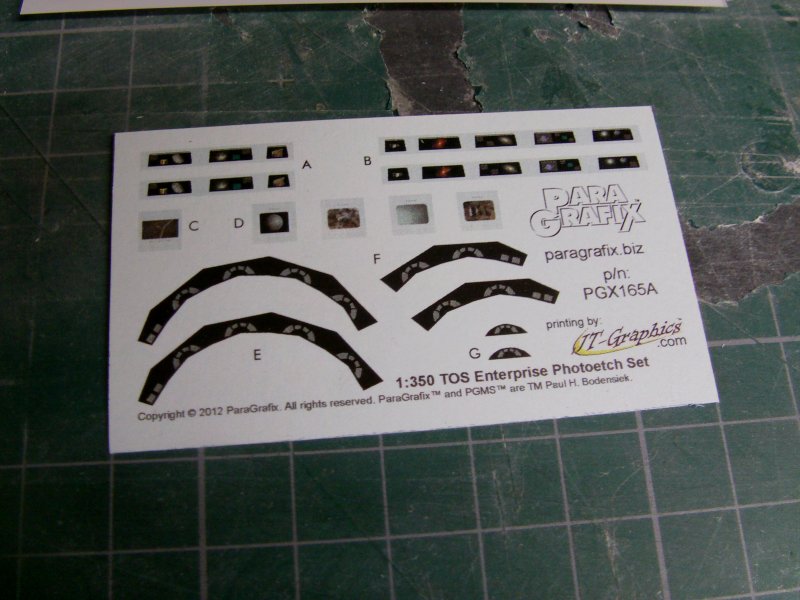
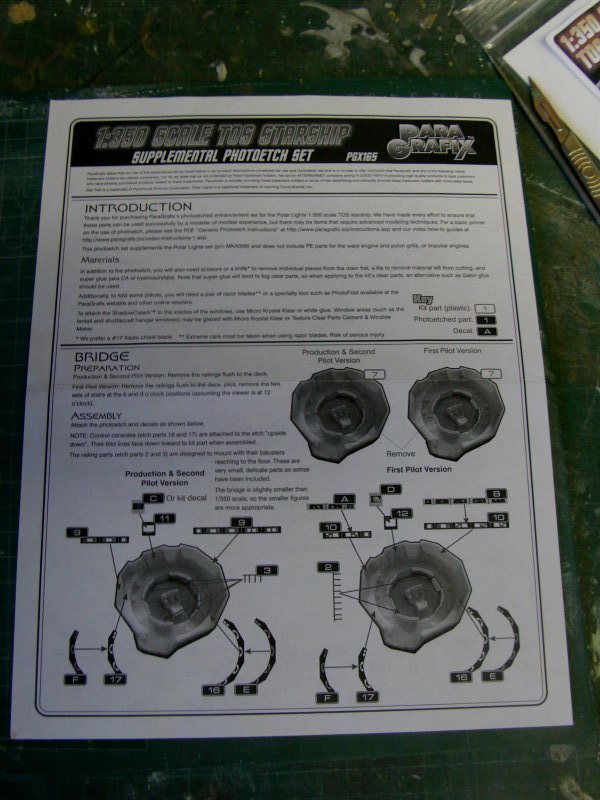
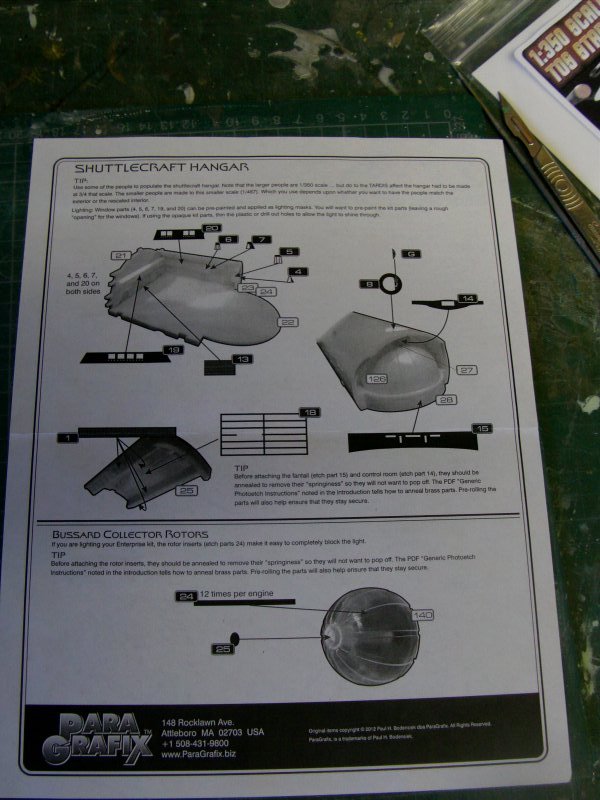
The Paragrafix goodies consist of detail upgrades for the
bridge and shuttle bay, along with decals for the bridge and shadow casters for the windows to at
least make it look like there's a crew on board.
Also included are strips for the bussard fans,
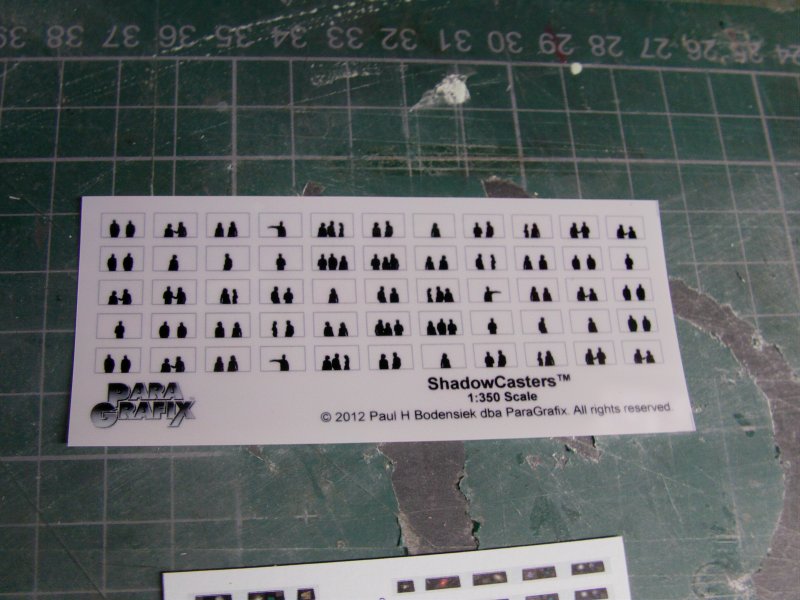
full figure silhouette like things in two different sizes
and some extra bits that will probably look rather nice on
the yet to be built display base.
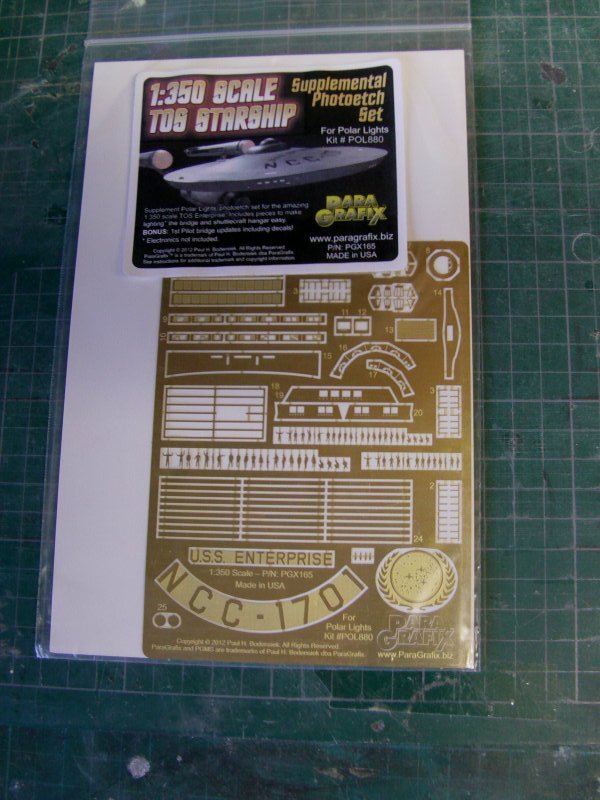
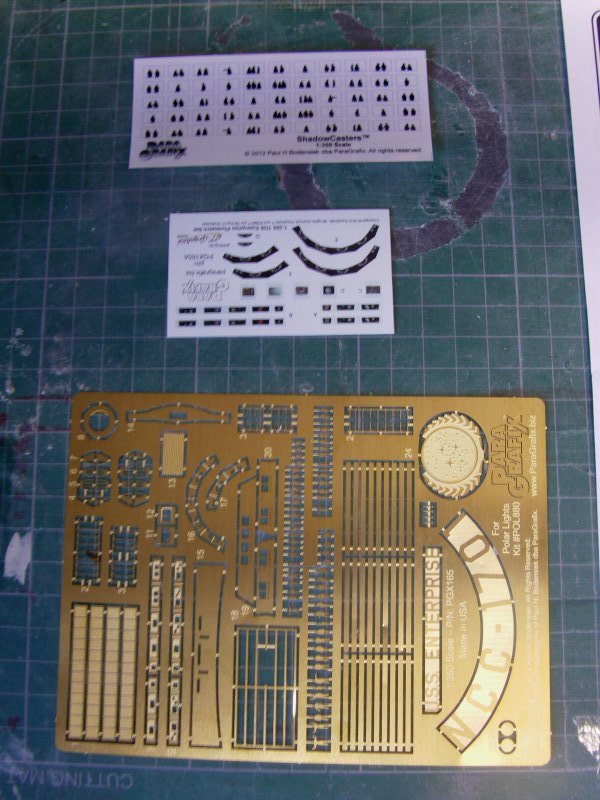
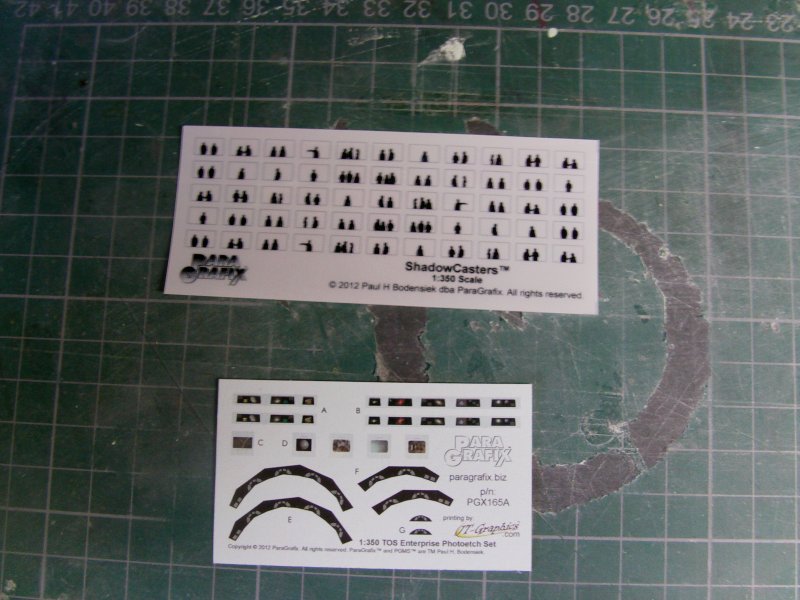
And the very handy destruction sheet on where it all goes.
The PL/Round 2 sheet is upgraded grilles for the side trench venting
on the warp nacelles and nacelle pylons
Along with two different grilles for the impulse engine.
And a bloody crisp piece of work it is too.
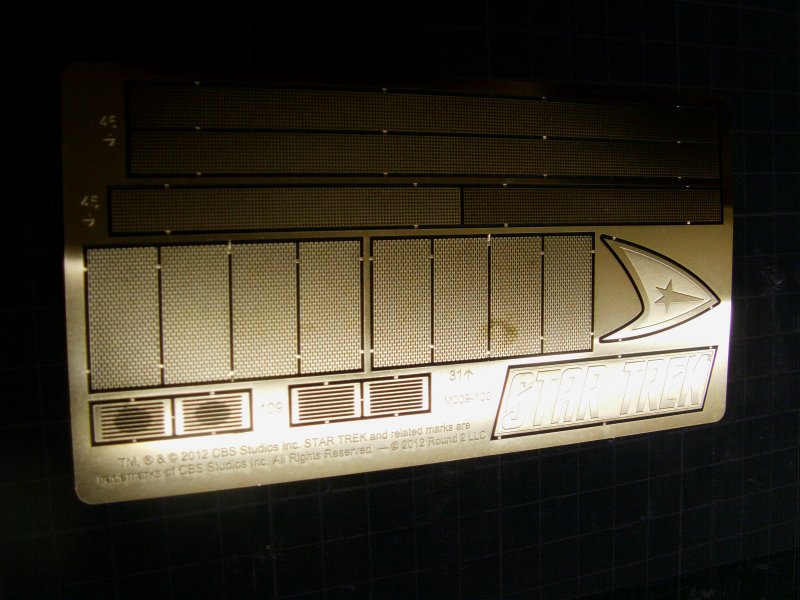
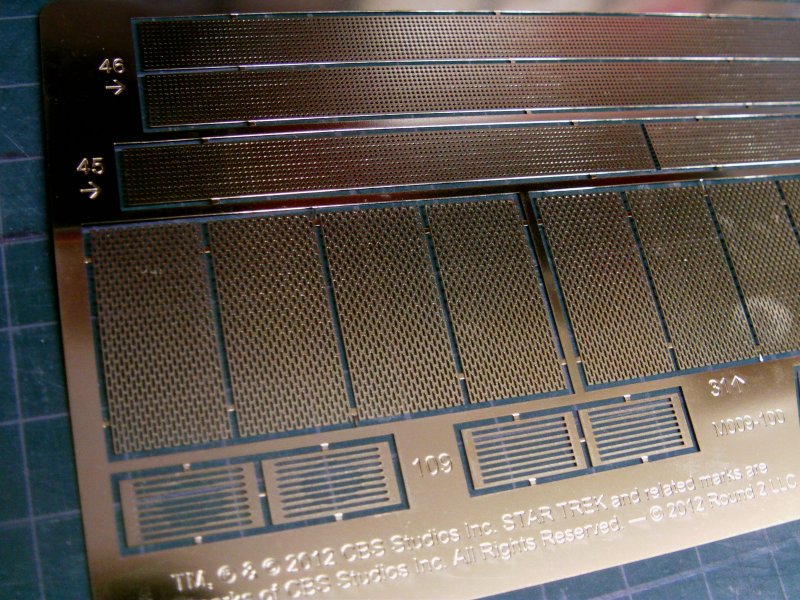
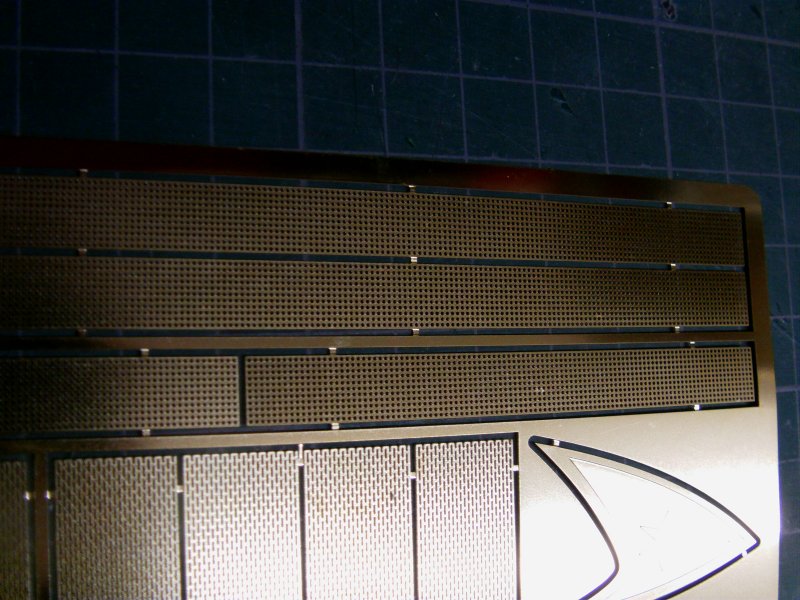
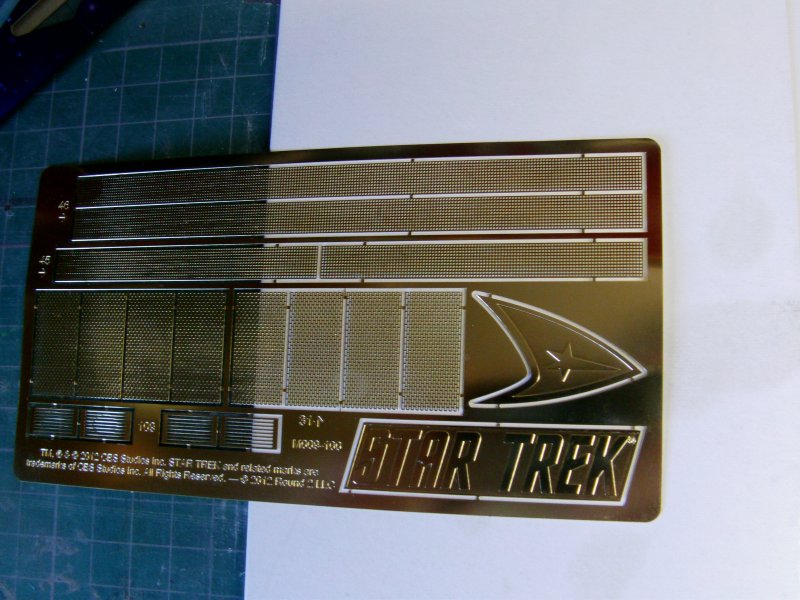
Sweet!
Now the bridge part in the stock kit looks a bit like this...
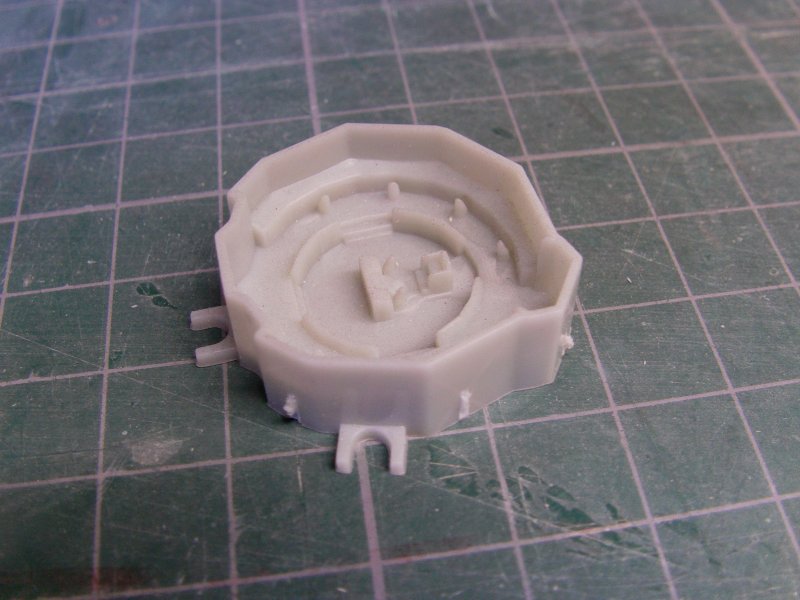
And it works out about 1/400th scale.
At least it stacks up to about that when I had a play about with
some 1/400th architectural figures.
Well that's sort of ok I s'pose.
But I do like having decent interiors so since I finally managed to get my
grubby mitts on some 1/350th L'arsenal resin figures,
intended for the 1/350th Refit i'm working on and this beastie...
It's only taken two bloody months to get 'em by the way,
so I can now get the interior parts finished for the Refit and
finally let the poor sod know i'm actually working on it!!
And breath in, breath out.
Anyway, this is they.

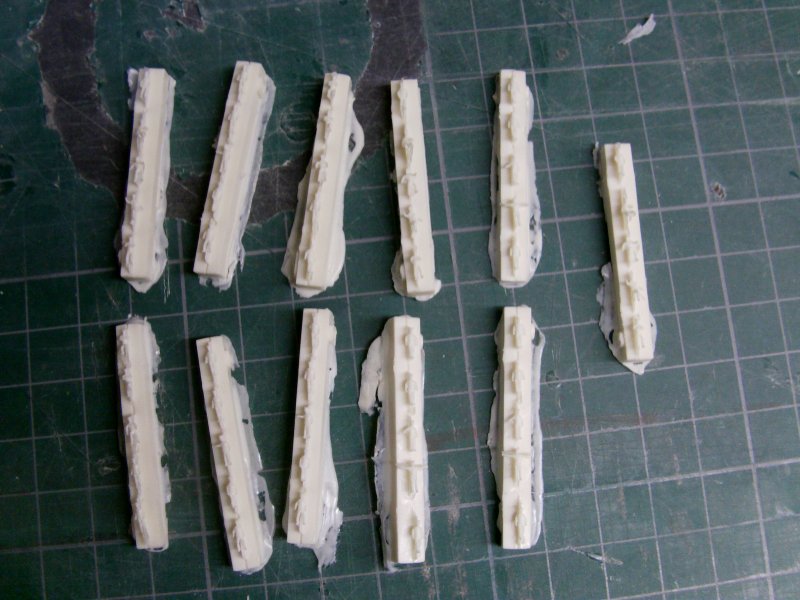
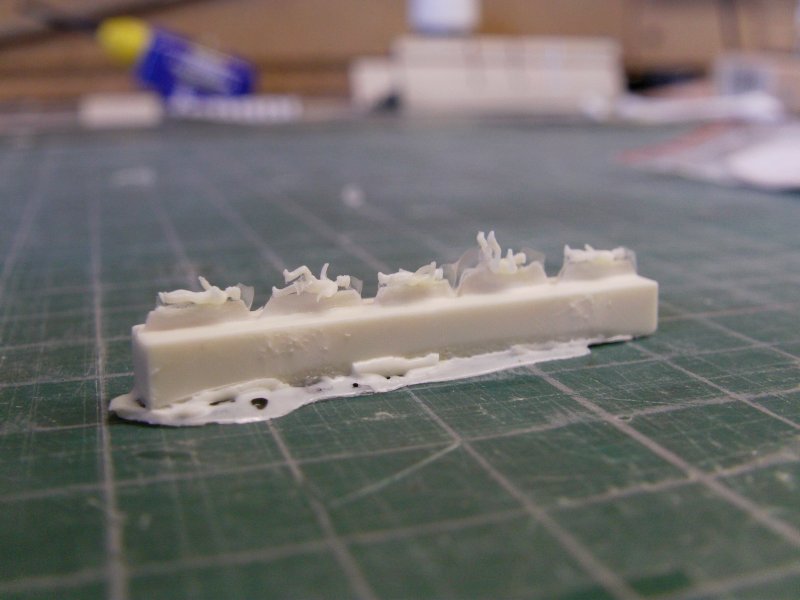
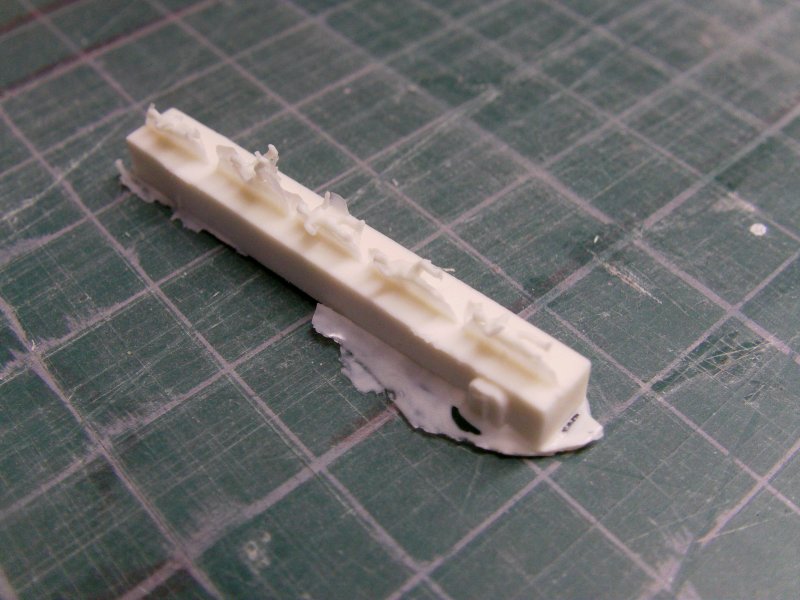
That sprue/pour stub is about 1 & 1/2" long by the way.
Fully three dimensional figures in resin!
My weapon of choice for Refits and this kind of gear.
Respect to the photo etch mob and the flattish injection moulded brigade
but these ones are just far better if ya really going
to put figures in something like this.
Others may disagree but that's just my view on things.
Onward now!
So the bridge part is going to get rebuilt to put it succinctly.
I've made a start with the walls...
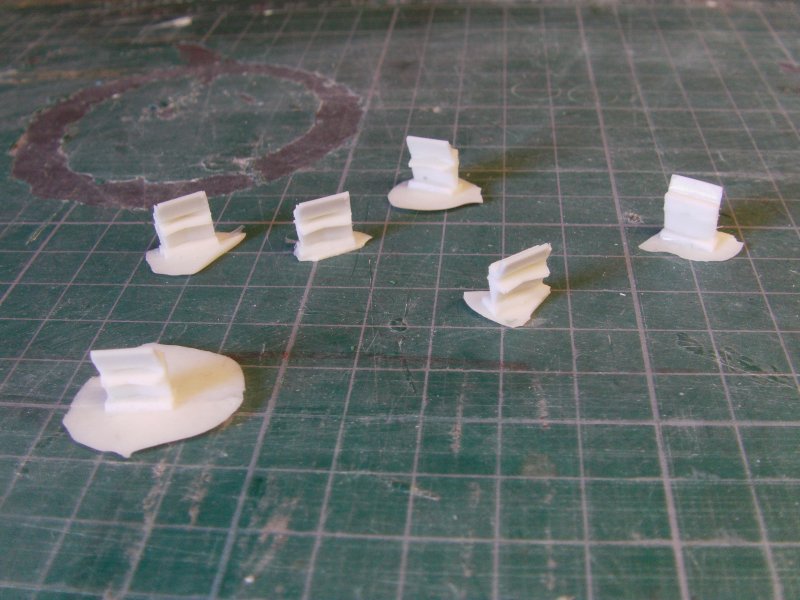
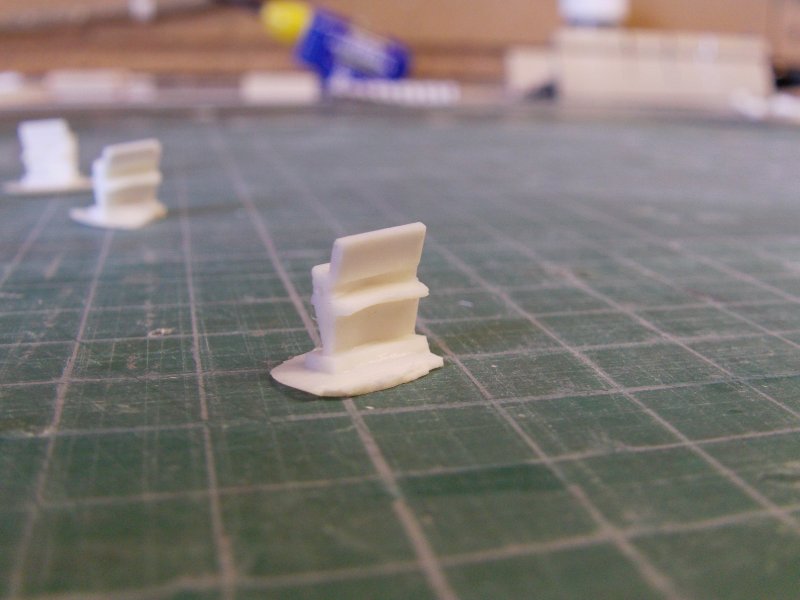
These will be assembled and cast in clear
but more on that in another update.
So jobs to be done!
The nacelle sides assembled and wiring run down the pylons.
Here's where one round of giggles happened.
With the way this is going to get lit up and the amount of wires,
there just isn't enough room for them down the pylon 'as is'.
These are they.
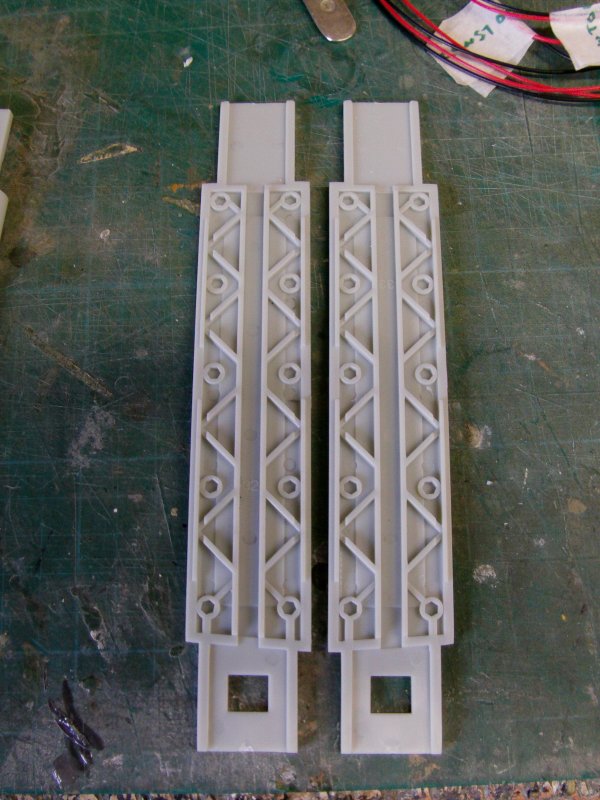
As you can see, the design makes it so the center ends up as hollow for the wires.
The wires of the Polar Lights/Round 2 lighting kit that is,
which i'm not using.
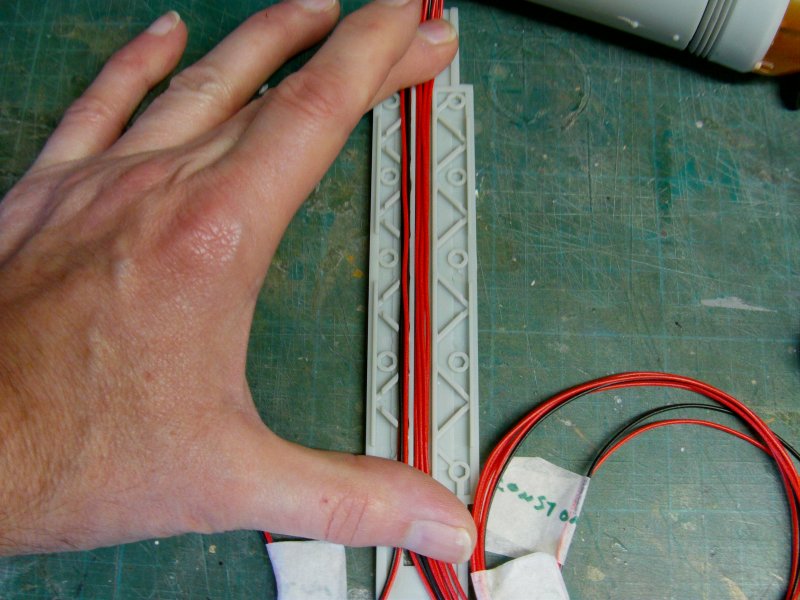
So then, 10 wires of 7/0.2 gauge and only space for 6.
Out with the mini drill,
slotted in it's stand,
router bit attached and silly speed of rotations selected.
A swift jig made up and a run back and forth and an extra bit
of space created alongside the original trench.

And would you believe it, the wires now fit!
Yeah, took me by surprise as well.
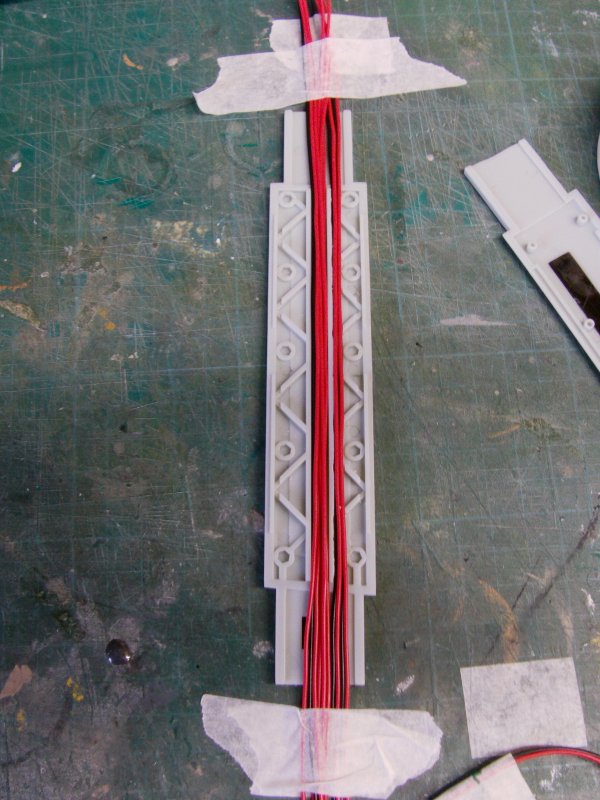
So long story short,
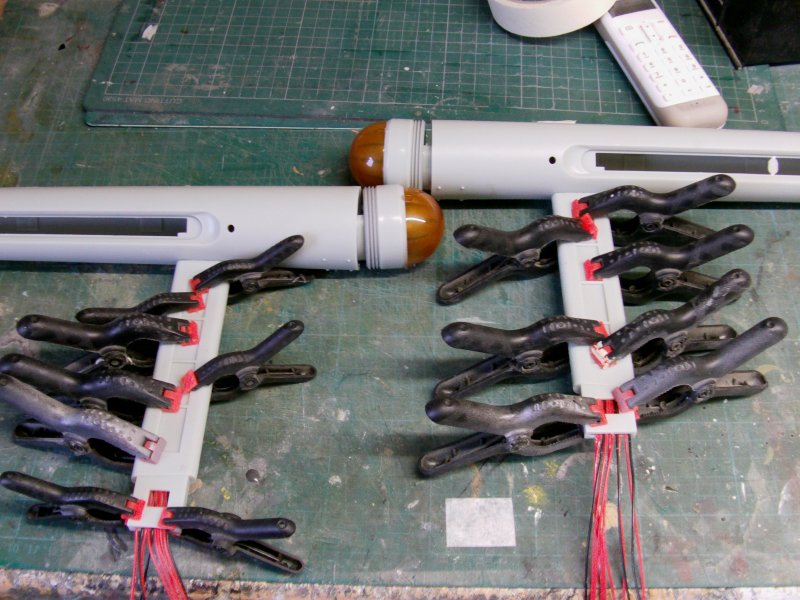
tape wires down to mat and assemble pylon around them.
Apply clamps to pylons and when ready,
slide pylon along wires and into place.
Glue pylons into nacelles
and leave the hell alone.
And so to the grid line larking about.
Before the change to a commission job.
i'd already decided to get rid of 'em so in the with the
blessed Aves and the top saucer lot were filled in and sanded.
likewise with the bottom saucer lot.
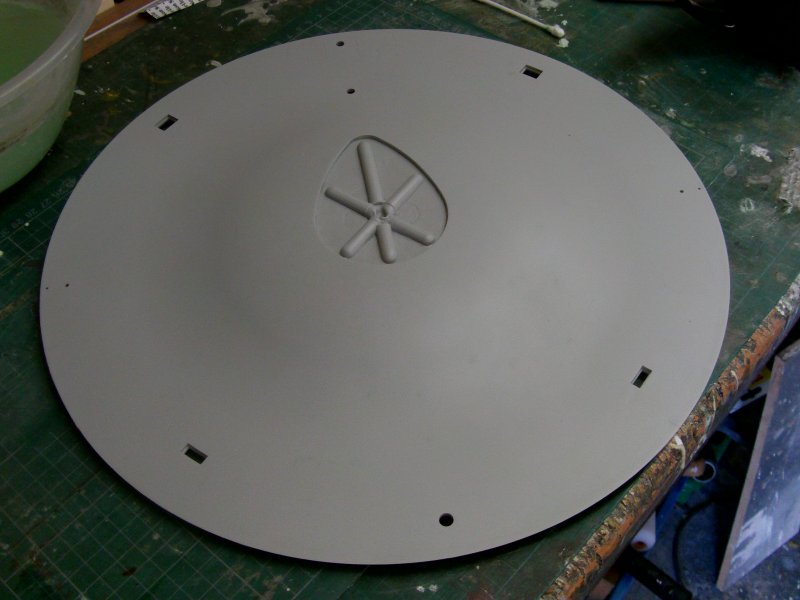
It's a start.
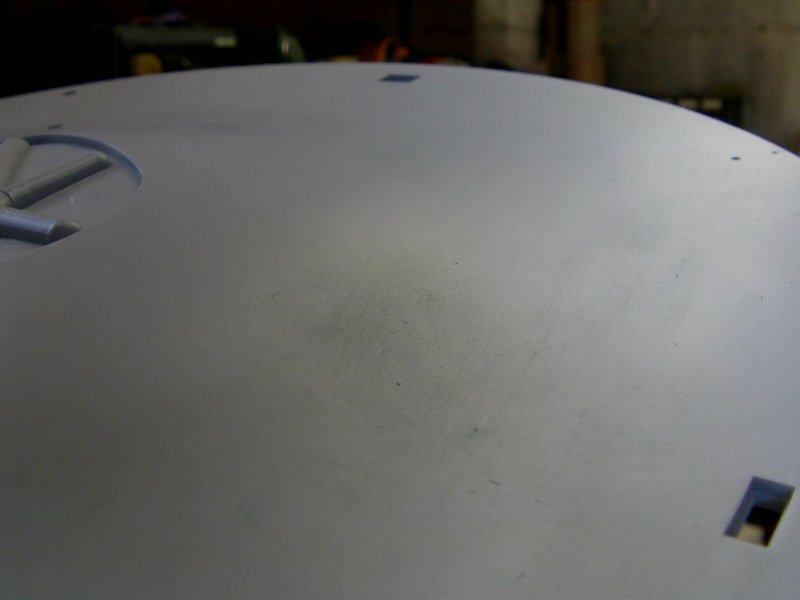
And the prime/check/fill/sand/prime again dance will probably happen about
three or so more times before i'm happy with the finish.
This and more next update folks so i'll see thee then!
You lot go easy out there now.
Page Number