
Polar Lights Original Series USS Enterprise
1/350th Scale


 Page Number
And I thought 'going to be a for a client build'...
Not So It Would Appear!
And we're back.
Well all change again, the client has expressed a wish for fully electronic bussard's
which I know some folks are doing even as I type.
Couldn't build them in to this as by the time that idea came up
I was way past the point that I could install them so that's out.
Consequently, this beast is mine again and that isn't going to change...
At least not untill she's finished and I sell her off anyways which will happen I assure you.
So back to the matter at hand!
Well been squeezin' little bits of this in between doing the Ghost Rider build
while waiting for things to dry/cure/sort themselves out etc and so on...
but here's the collective story so far.
The bussard's got a smidgen of a re-sort Vis some Tamiya clear orange
and matt varnish on the inside of the clear domes
and below is a Youtube based the vid of them with
the sound of the motors going and all the flashy/blinky gear fired up as well.
OK then, the revised (again) build brief thing...
Lighting as originally intended,
no bridge or shuttle bay,
no shadow things behind windows,
basic build and paint with markings still likely done as rubdowns.
May or may not do a bit of weathering on her,
just one of a few things undecided upon but we'll see as we go along.
Onward!
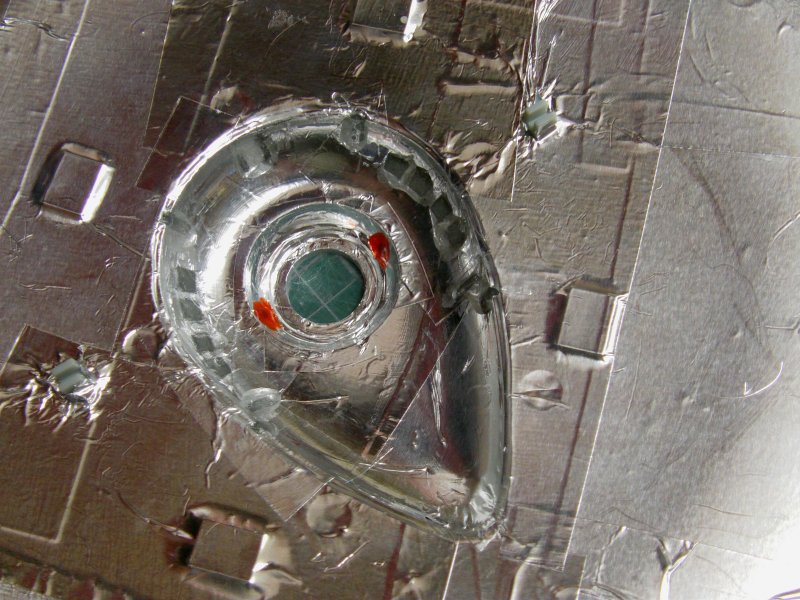
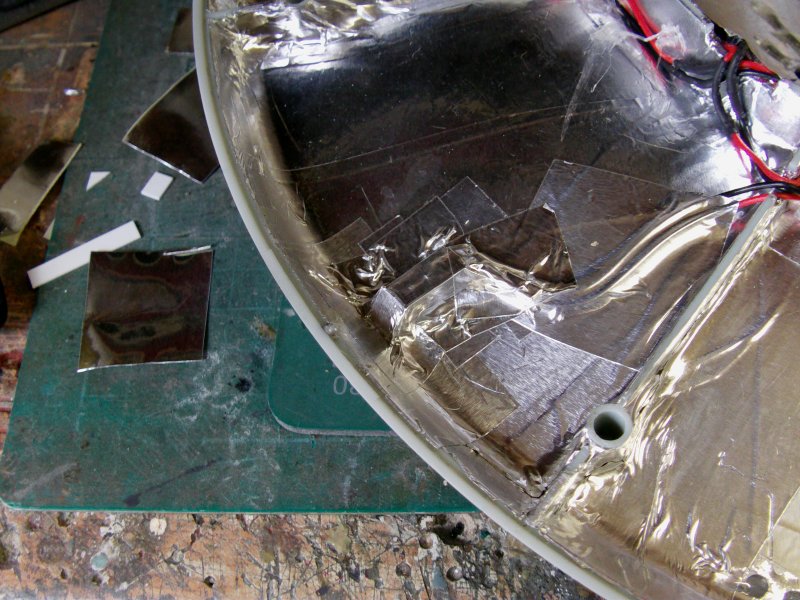
So to the window hoo-ha next then.
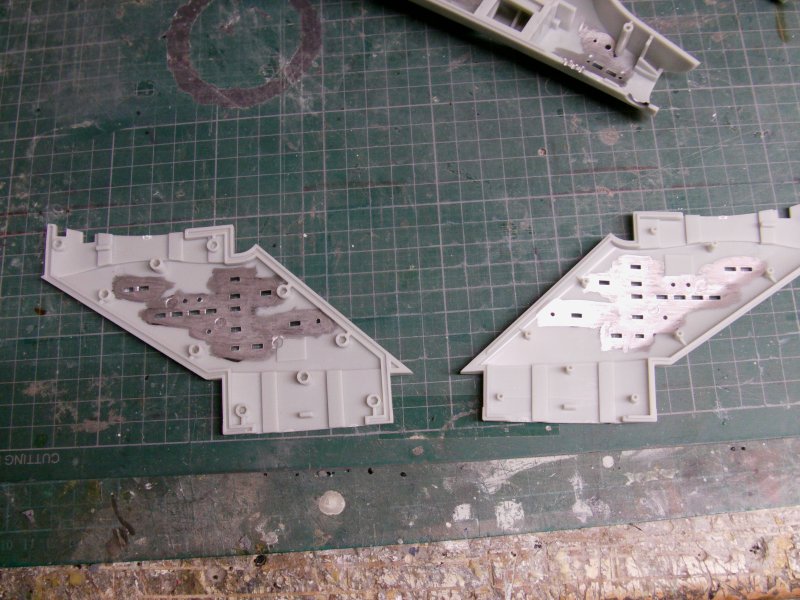
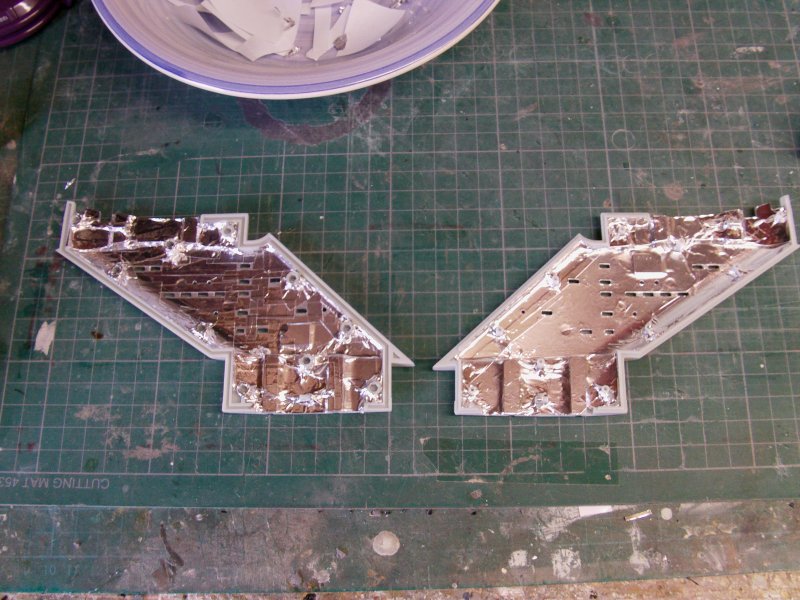
Same sort of deal as all past 350th Enterprise Refits got.
Matt black as a light stopper,
then silver for the reflective bit and
finally the aluminium tape for the light block/light reflecting combo.
Works a treat so i'll stick with it.
The neck got sorted first.
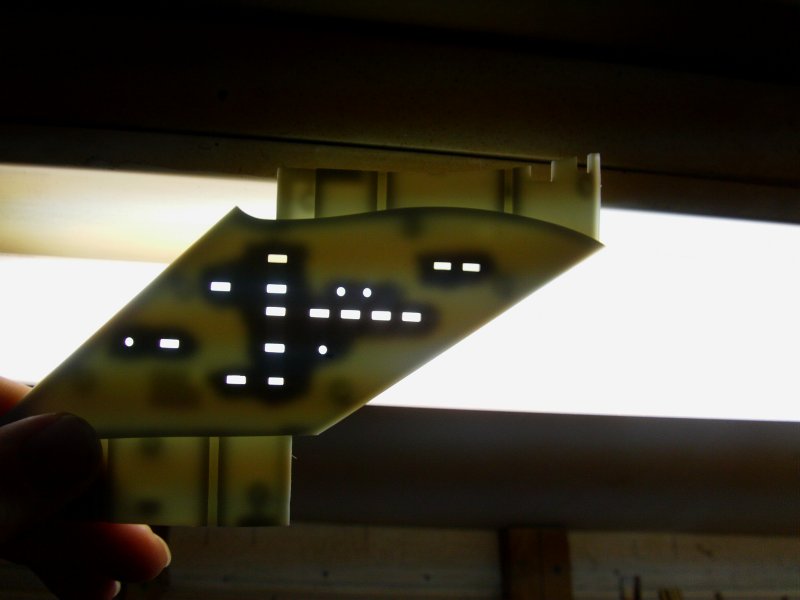

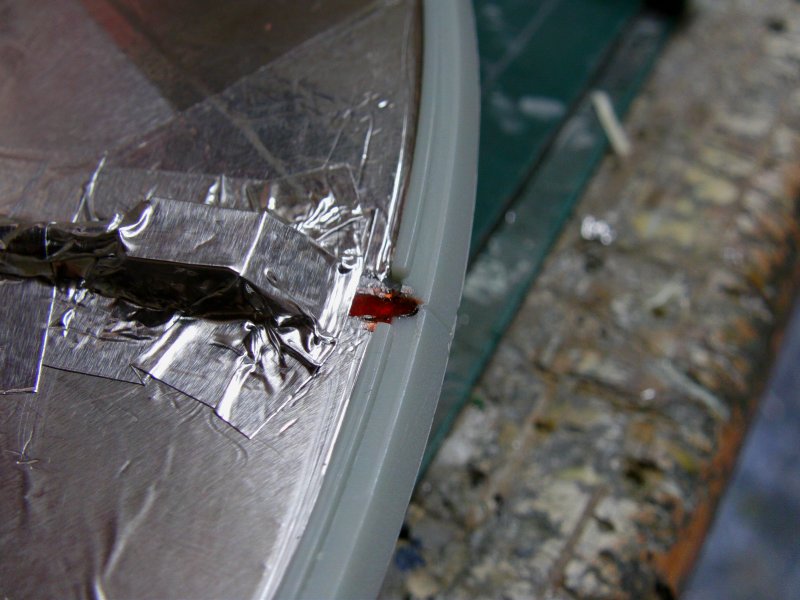
The we come to the filling in of the windows with resin.
Weapon of choice here is bog standard two part epoxy clear glue,
the 5 mins cure variety to be a bit more specific.
Not a named brand as for this purpose, an expensive one is simply not required.
Unless you want to of course but that's up to thee, my modeling friends.
So first lot got some black paint mixed in for the dark windows,
two on each side.
Second lot got some Tamiya clear red mixed in for one window each side,
the rest in clear.
Now the rectangular windows are quite large so surface tension is not going to hold it all in.
Took a while with the apply/turn back and forth/stop running ya bugger deal
but got there in the end.
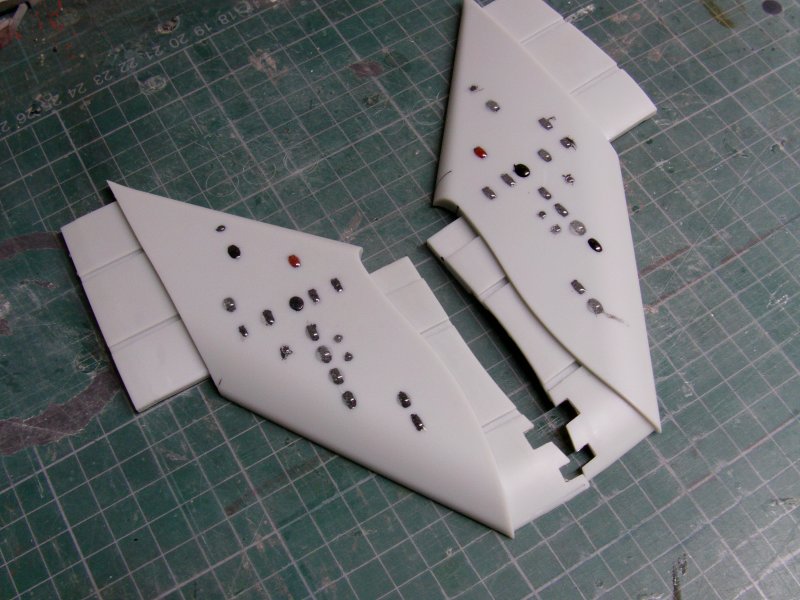
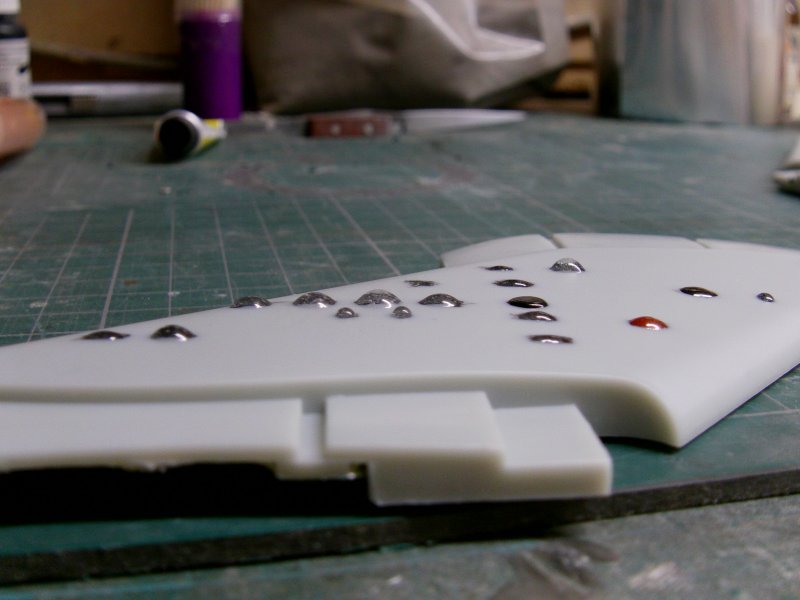
Any excess left proud of the surface will just get wet sanded back.
Done this more than a few times so no big deal.
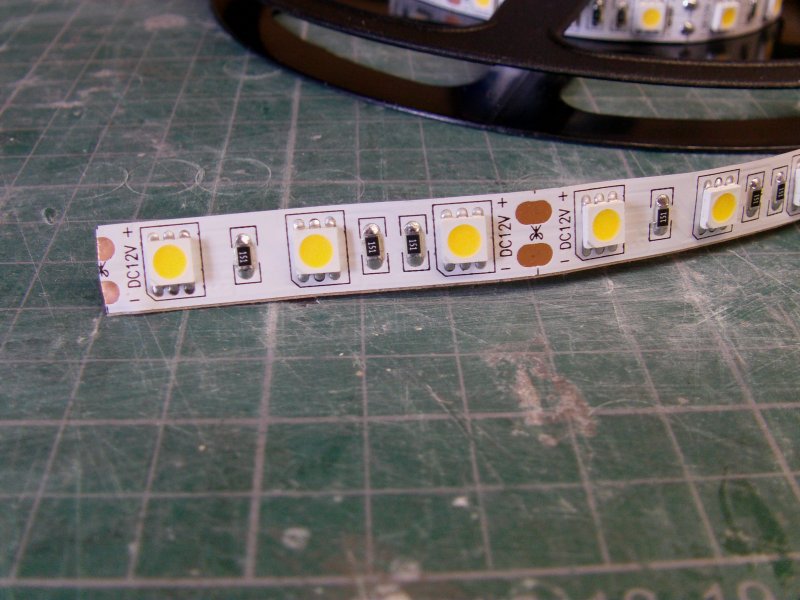
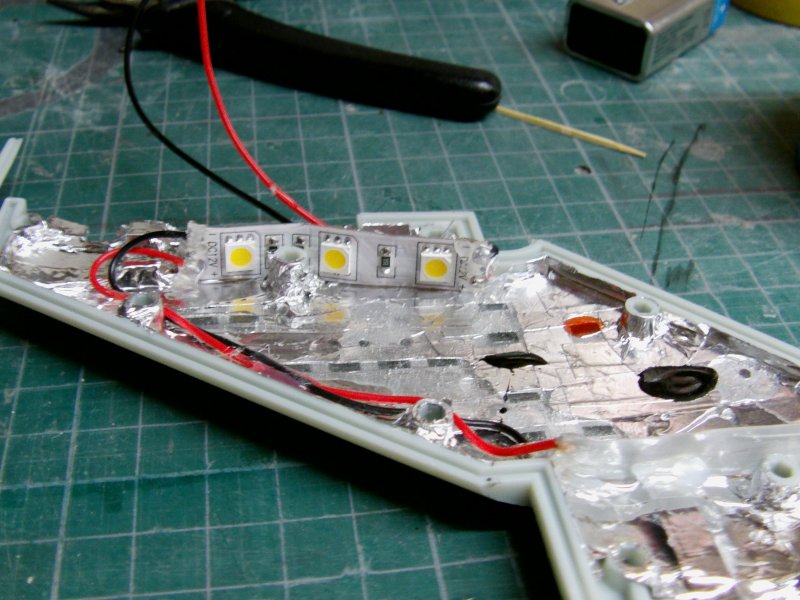
So to the lighting.
Two short strips of three warm white LEDs cut from the long strip
bought in for this turnout,
This be the stuff...
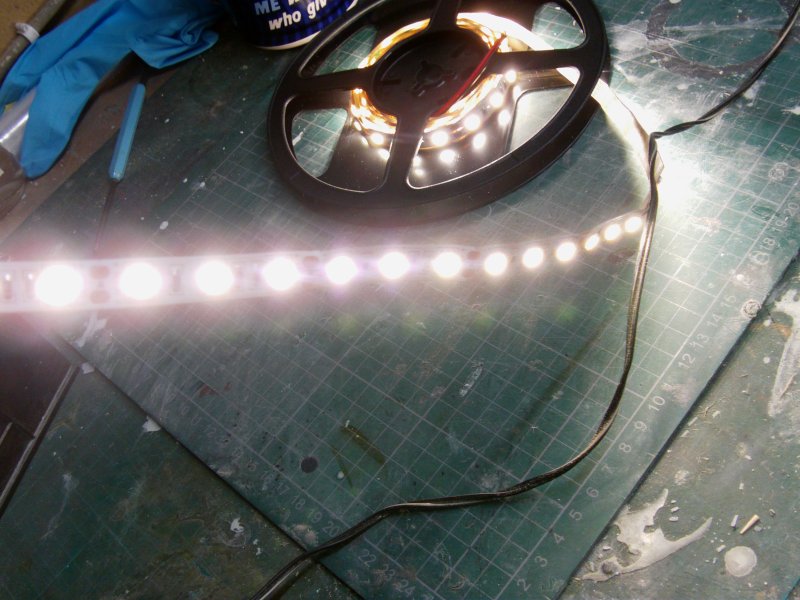
Pretty damn bright and this will be one of the test cases
to see how these things work out.
All warm white LEDs by the way.
Did pretty good for the flame ring on the Ghost Rider base so here's to it with this model.
So then, short bit of 3 LEDs installed.
Two short strips of three LEDs cut from the long strip
One lot to the top and one to the bottom,
facing down and up respectively.
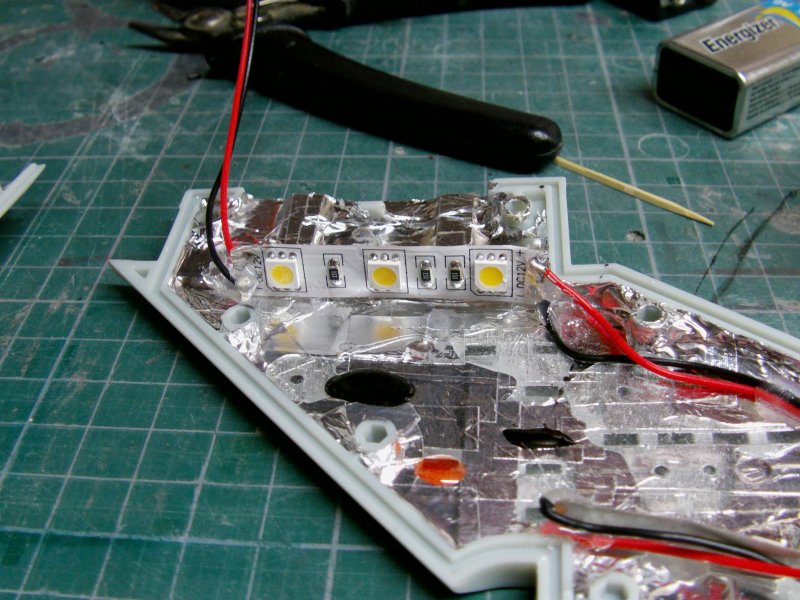
Assembled and the block of 9 volts connected up.
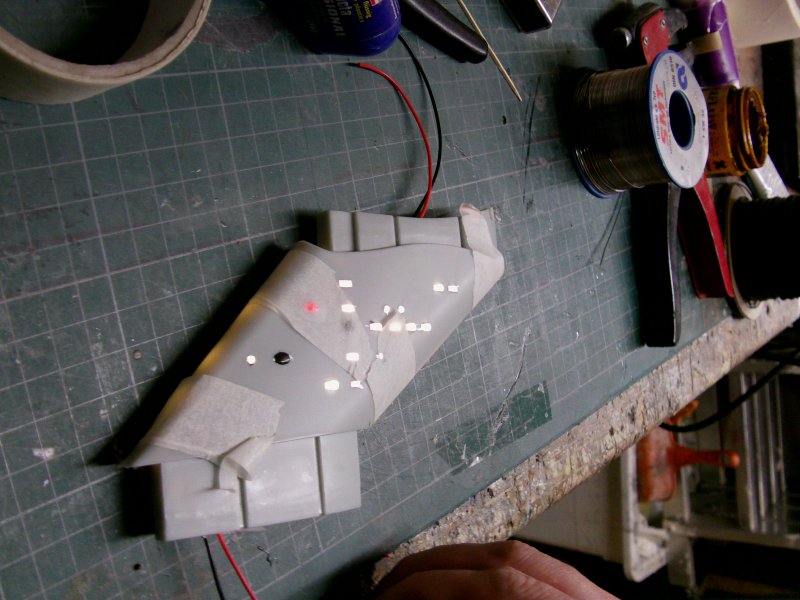
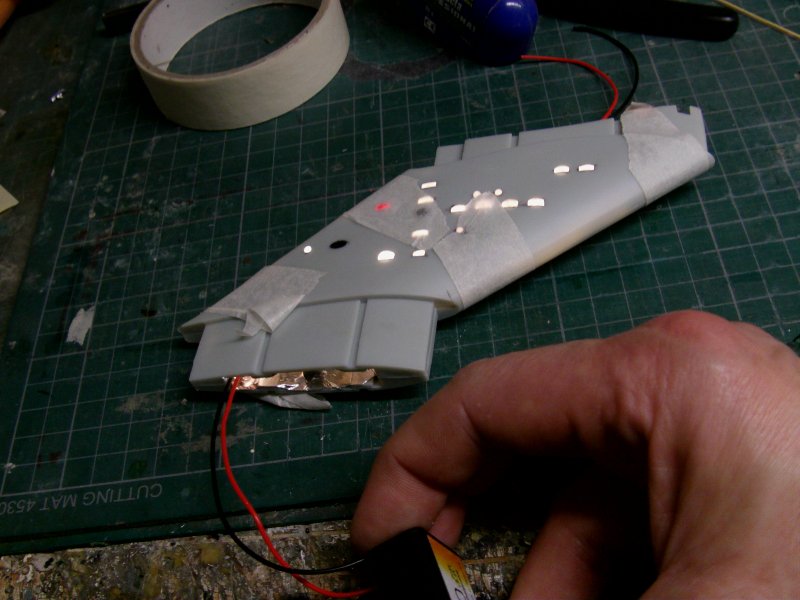

None too shabby methinks so onward!
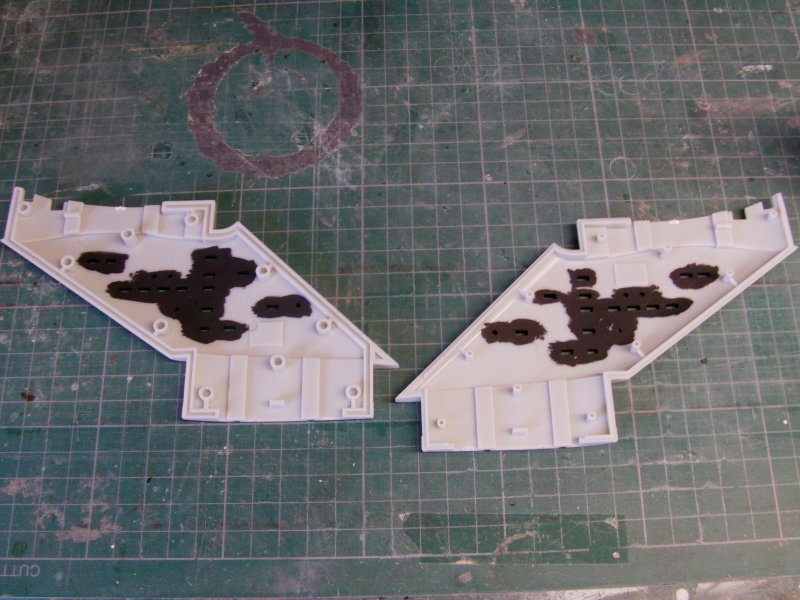
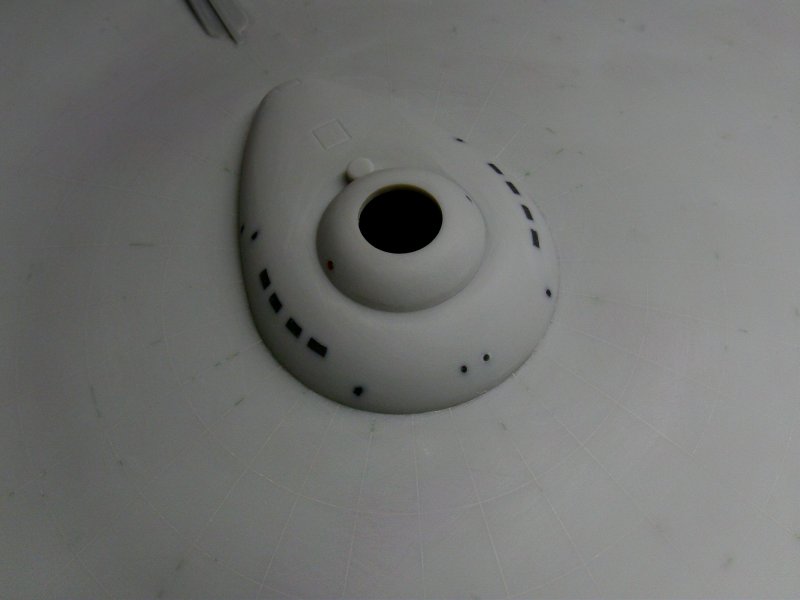
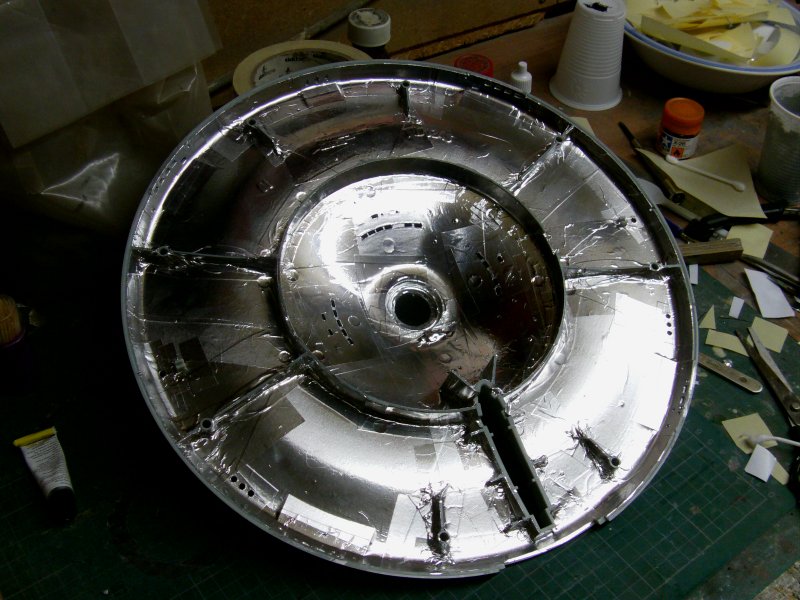
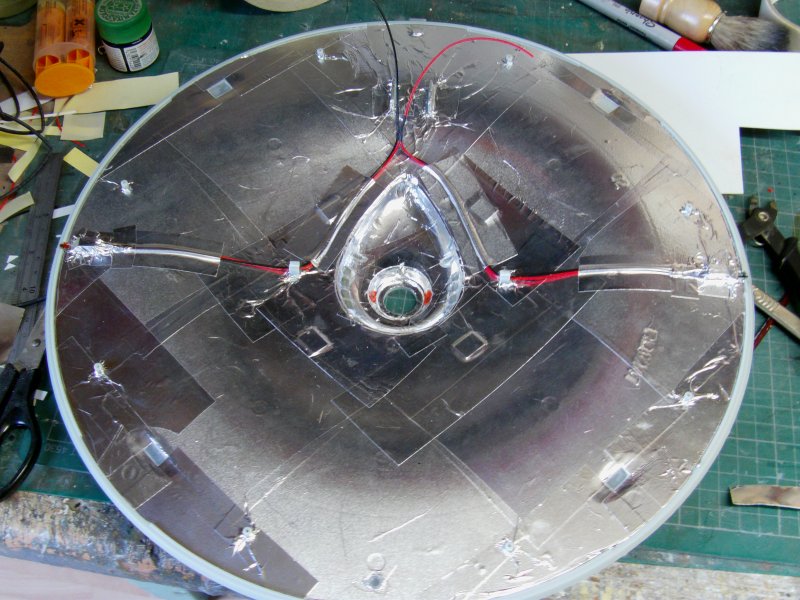
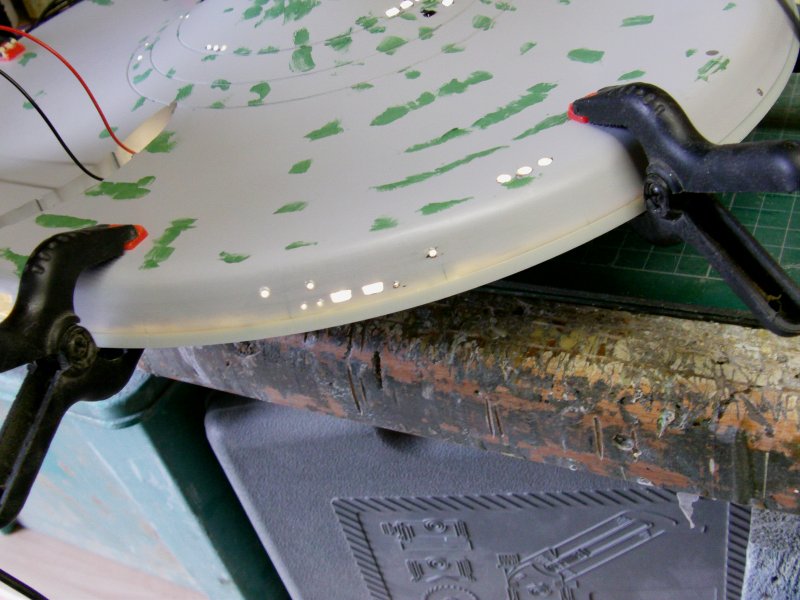
Top saucer windows given the same sort of treatment.
The large rectangular ones toward the outer edge of the saucer
are the stock clear parts just sanded flush with the outer surface.
The insides of said large windows got sanded away in prep for the foiling thing.
The finished deal looks like this.
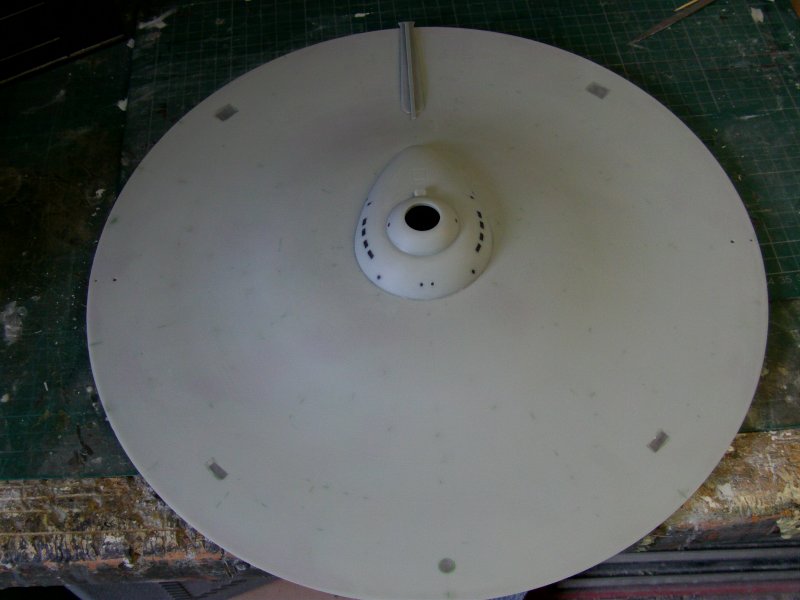
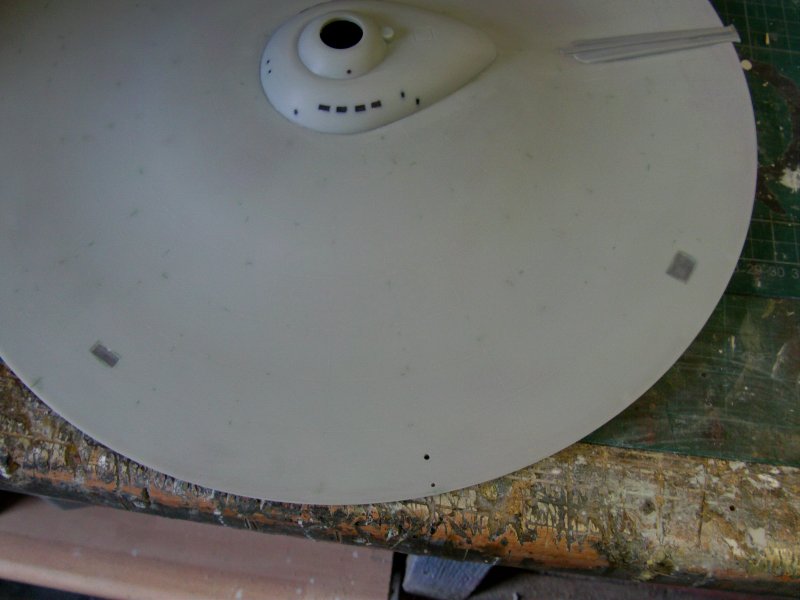


Done and dusted, same deal with the lower saucer.
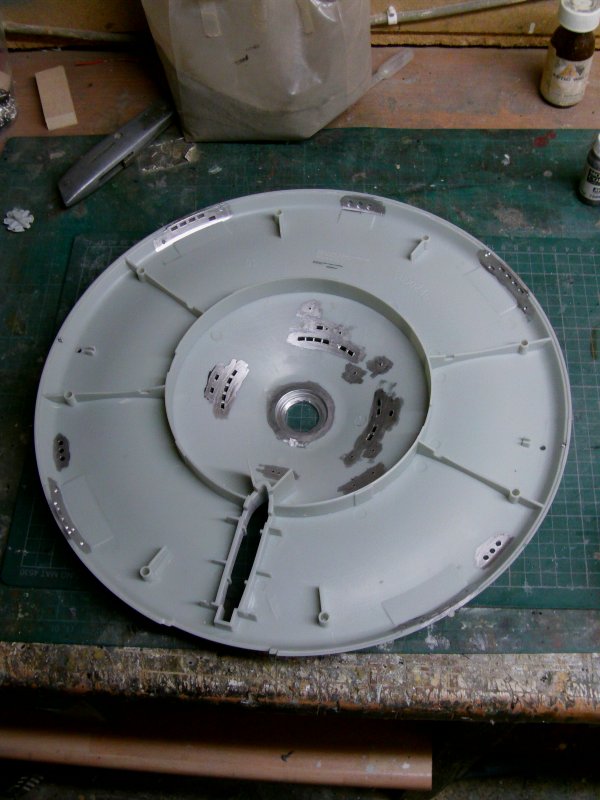
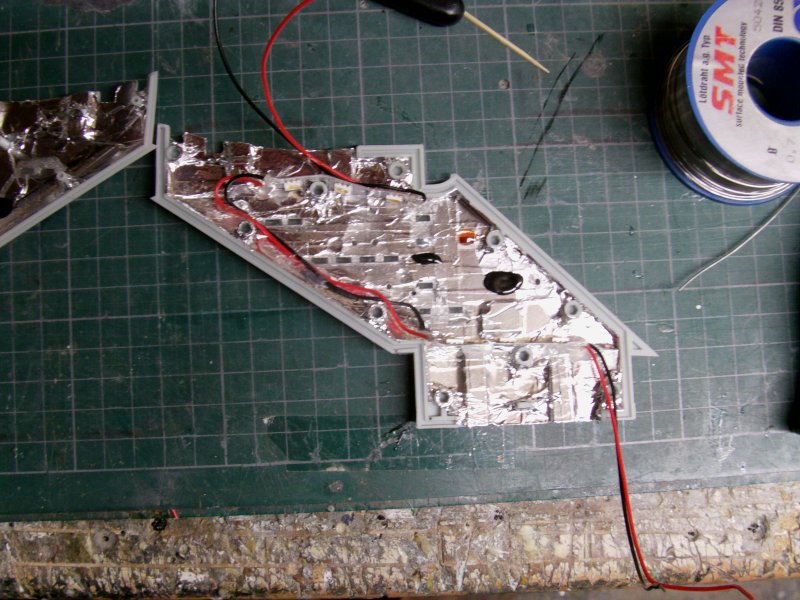
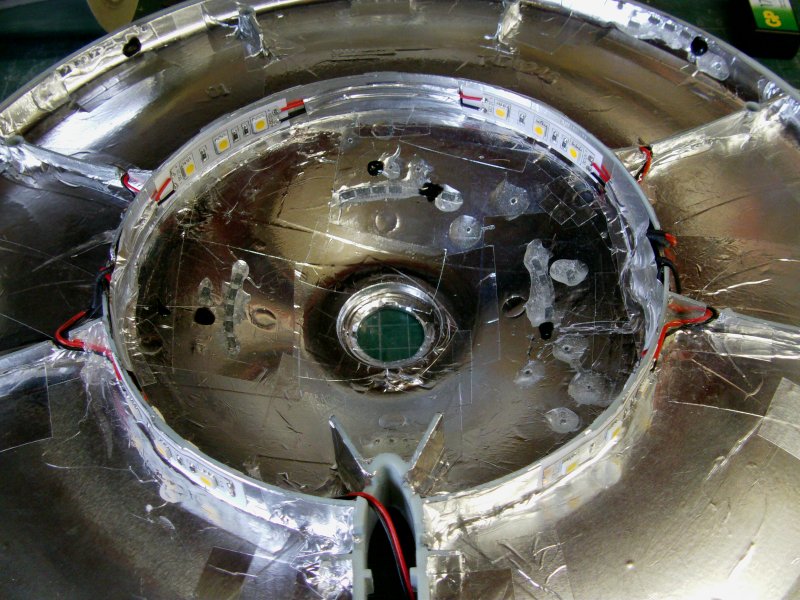
And then came the window resin and LED lighting lark.
Nine strips of three LEDS installed and hooked up.
Five on the outside of the ring center ring and four on the inside.
The LED strips have a self adhesive backing which helps
but to make sure they are insulated the areas first had a piece of paper,
secured with double sided tape with a little bit extra on the ends where the wires would be soldered on and then the LED strips attached to that.
And then,
mucho wiring wrangling and soldering iron swinging about did happen.
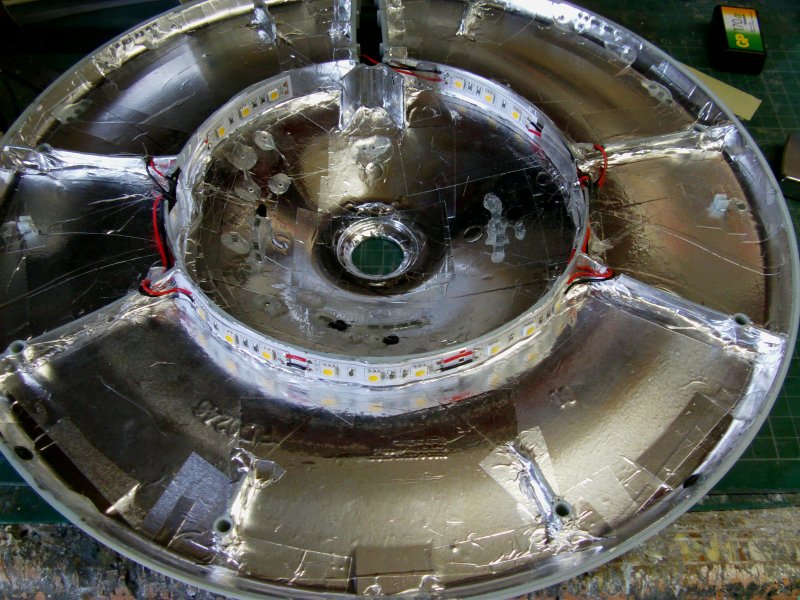
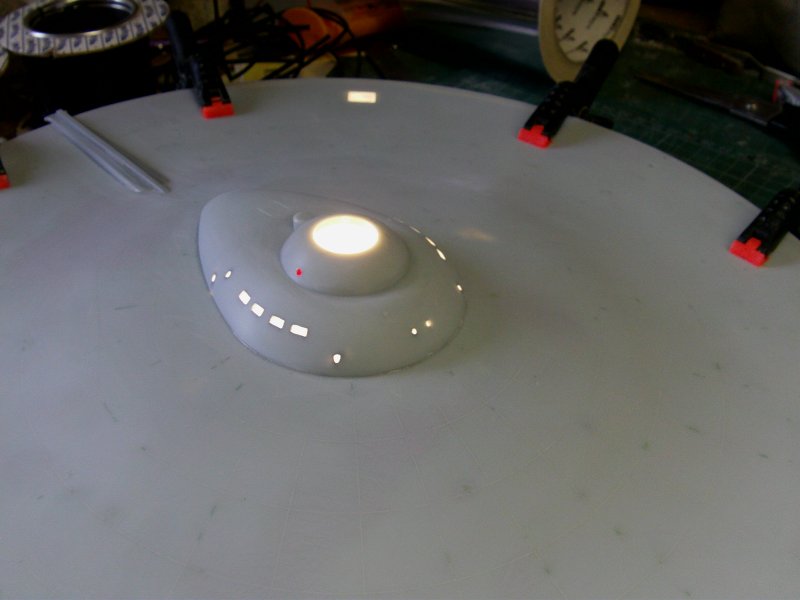
Tested and found to be goodly, then to the nav lights.
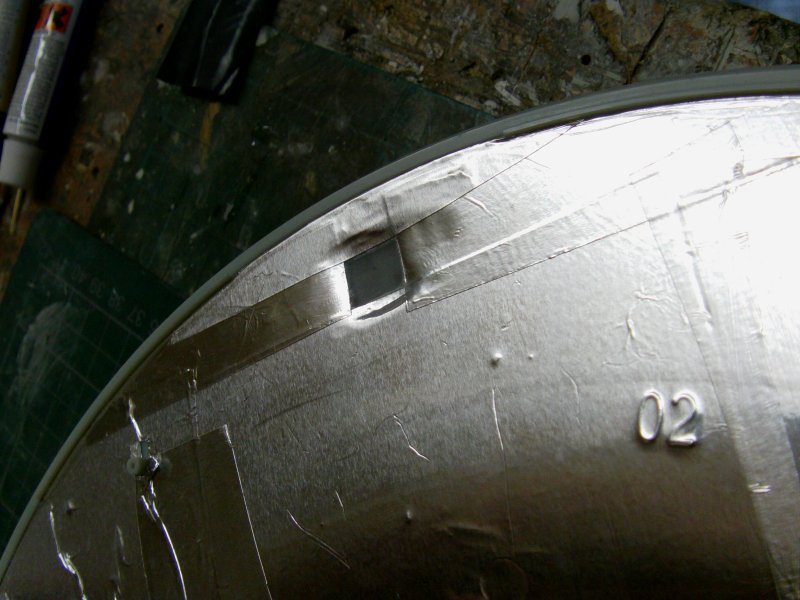
Simple plasticard and foil tape enclosures made up and installed.
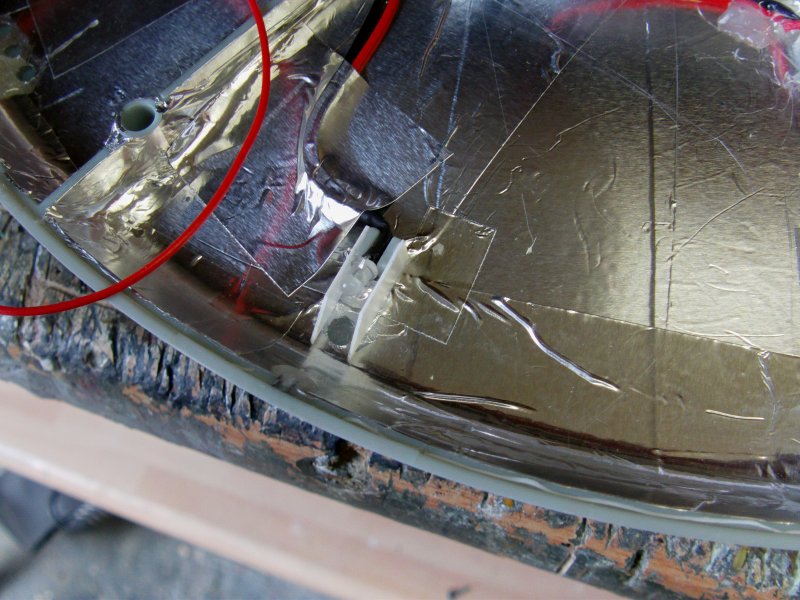
Likewise with the top saucer.
Only difference here is that the top saucer nav lights are red and green.
Well the clear red and green tinted clear epoxy came in to use here.
Now the thing is that the nav lights are a pair.
Meaning that you have a large one blinking and a
smaller constant on, right on the saucer edge.
Ditto with the white ones on the underside.
The underside small one was not a problem but the top one
would have been blocked off when attached to the lower saucer part.
A workaround was done by grinding out a small trench and filling it with tinted resin.
Like so and done.
Now both the white and coloured small nav lights will have a constant on LED
at the back of 'em but that will be fitted in the lower saucer.
But before we get to that and the saucer/neck assembly antics,
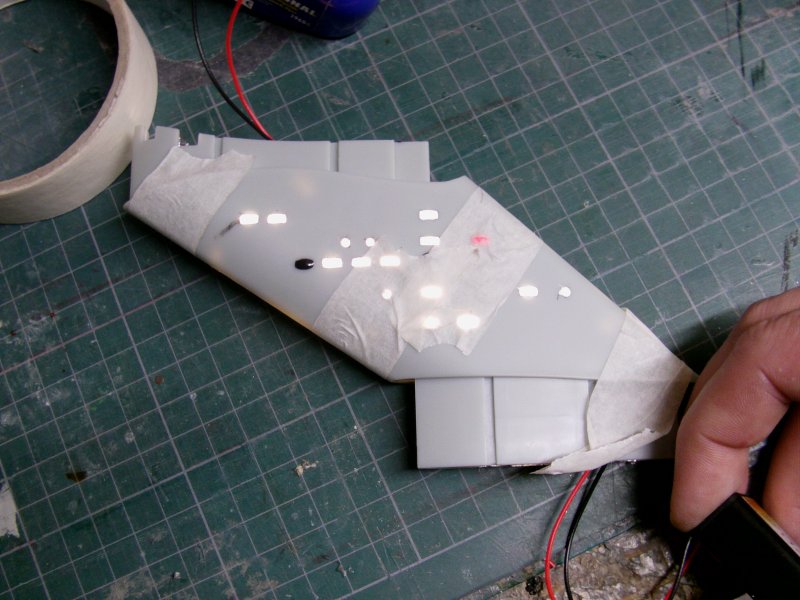
time for a lighting test methinks!
Top and bottom unceremoniously clamped together and 12v mains converter brick plugged in.

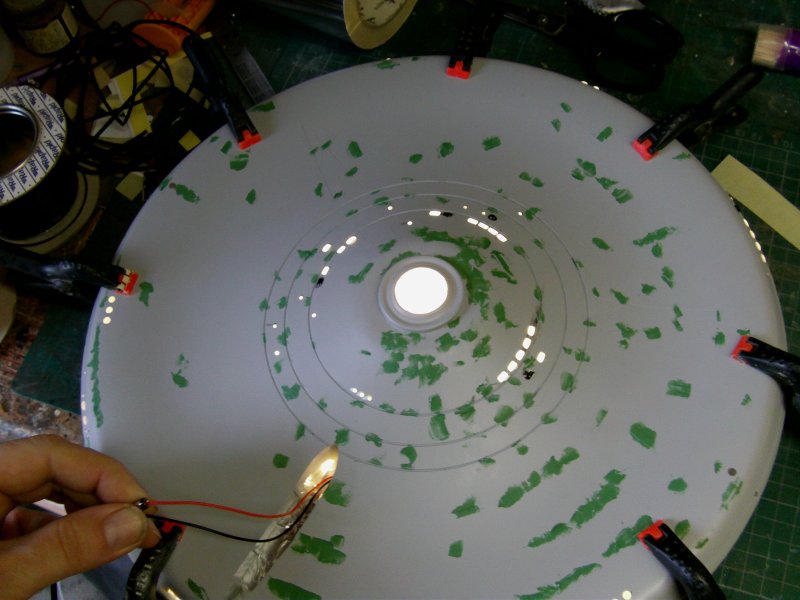
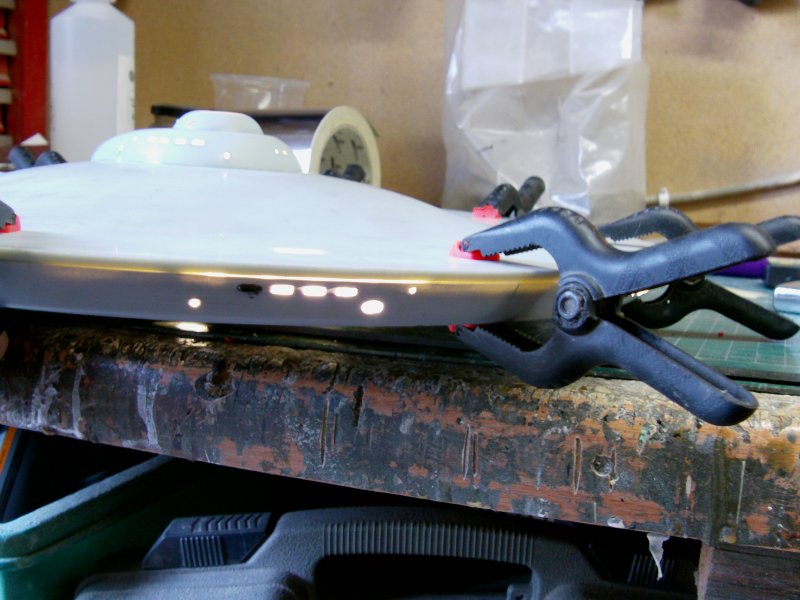
And me likey what me see so more than good enough.
There will be some light leaks to sort out here and there but no biggie.
Well that's it for now, saucer wiring up has been completed and neck installed.
All seams glued up and clamped the hell out of but more on that next update.
You merry lot go easy out there now!
Page Number