
Polar Lights Original Series USS Enterprise
1/350th Scale


 Page Number
There was much polishing, laying on of blue stuff with the lights off and the smell of rotten eggs...
Just Doing Some Brass Photo Etching.
Honest!
Welcome back gang!
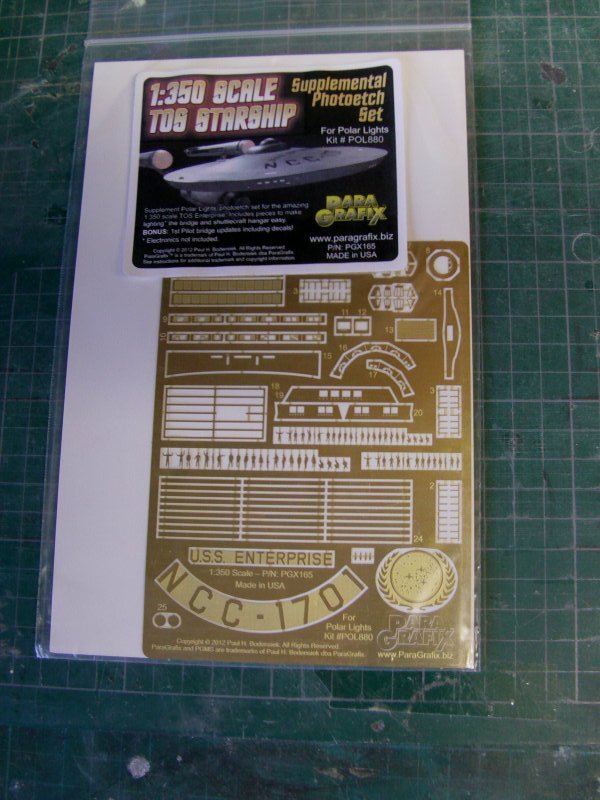
Right then, some brass work buggering about as it were.
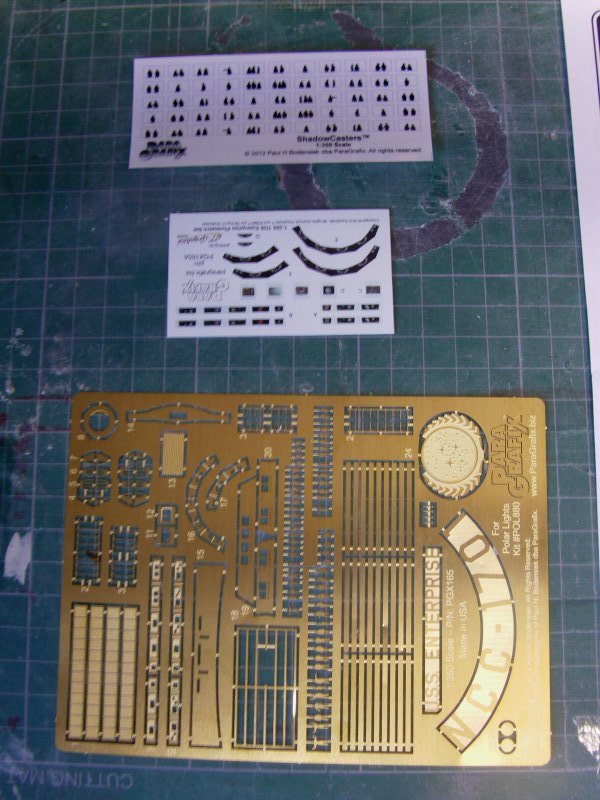
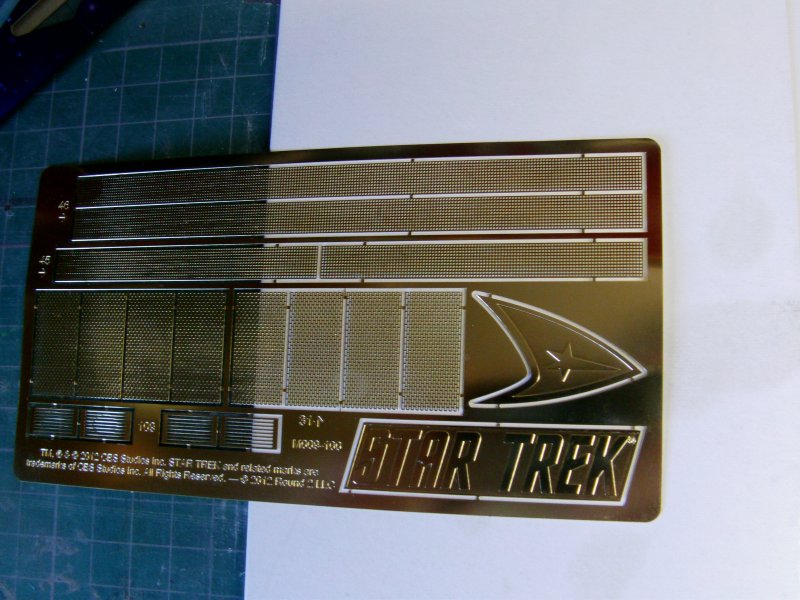
Now the photo etch stuff as displayed on page 3...
To save those who have come straight here
the trouble of trudging back a couple of pages,
this stuff...
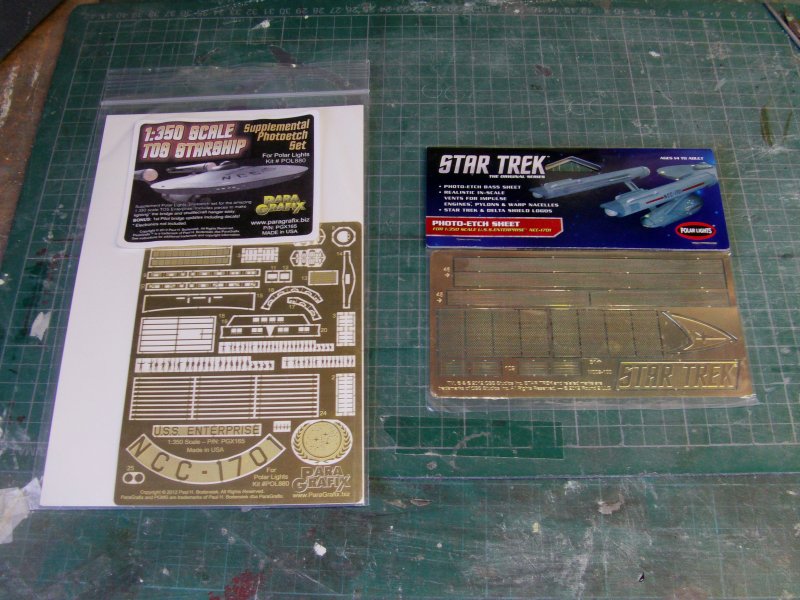
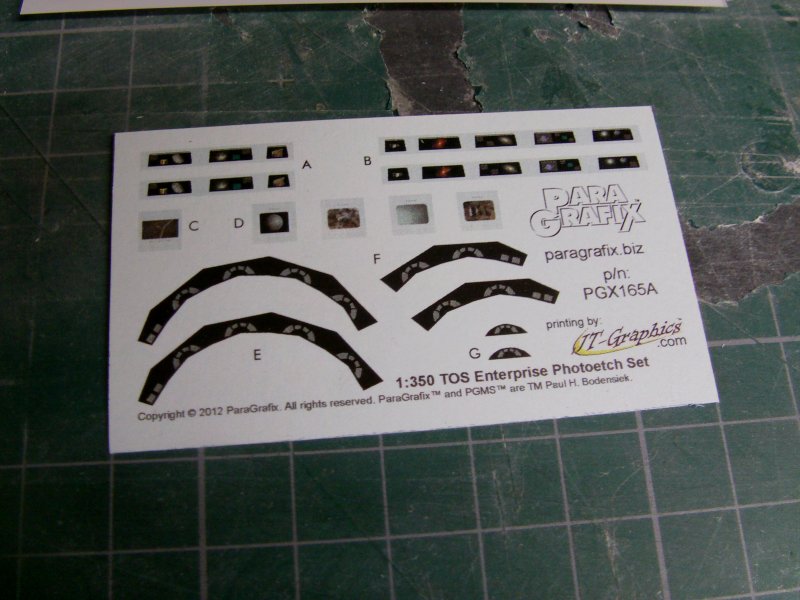
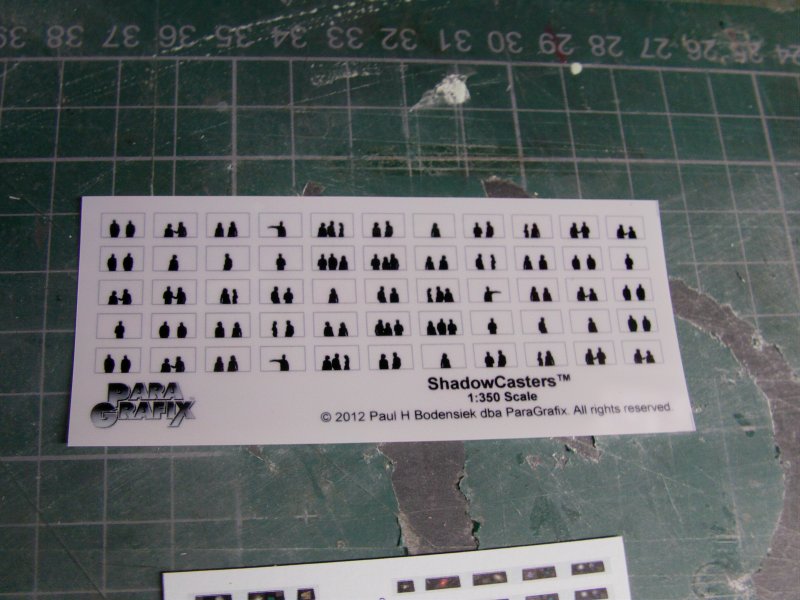
OK, now we've trudged through that lot, on with the show.
The client that was still appears to want a TOS Enterprise,
just not this one.
Fair enough and told me to hang on to the PE stuff for now.
Well an idea occurred that some of this PE would look nice on mine
but with a twist of sorts.
Well can't use the stuff so decided to copy and adapt to my purposes.
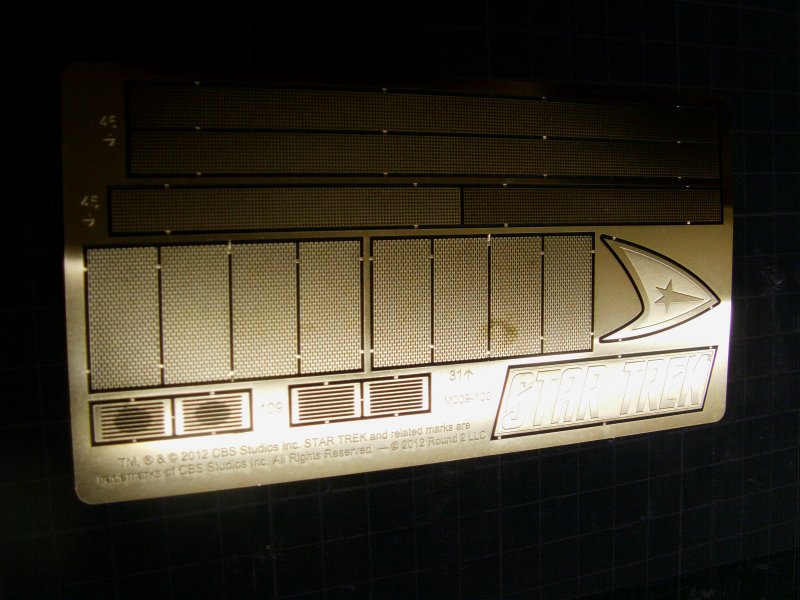
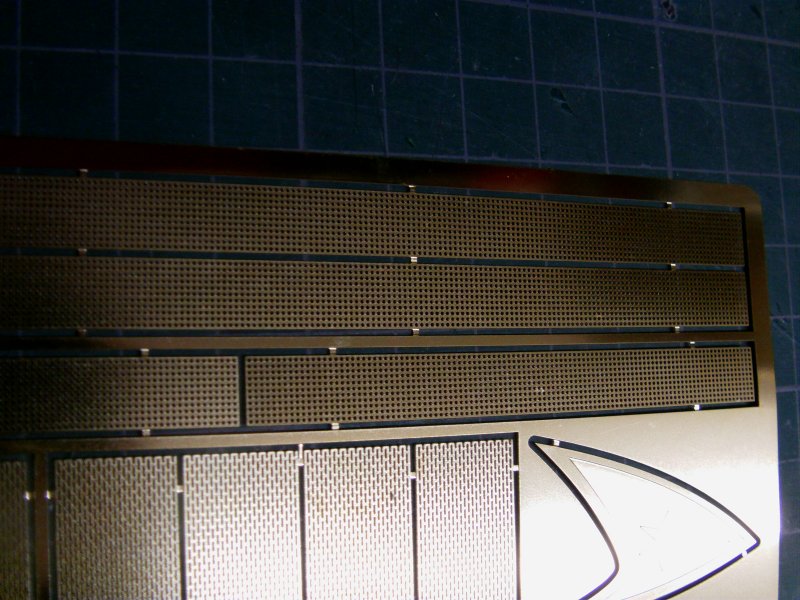
The Round 2 sheet specifically for the pylon and warp engine grilles.
A scan, redraw and modified bit of artwork later,
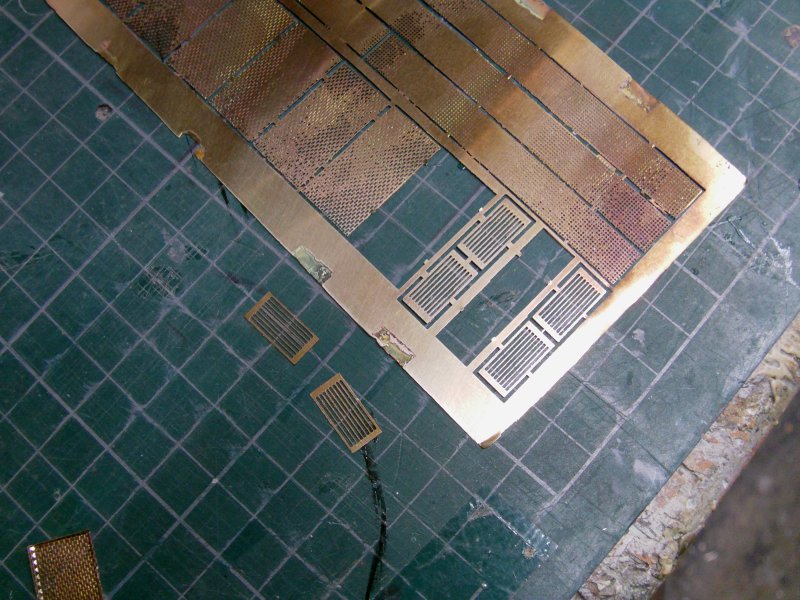
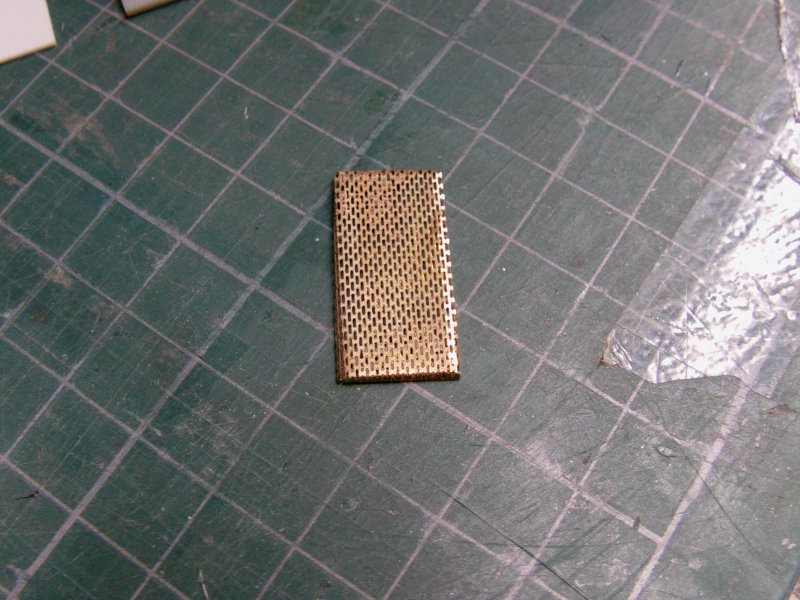
along with some 5thou" brass sheet and a very rough etch session happened.
Well I wanted the impulse engine grilles as well and they came out acceptable.
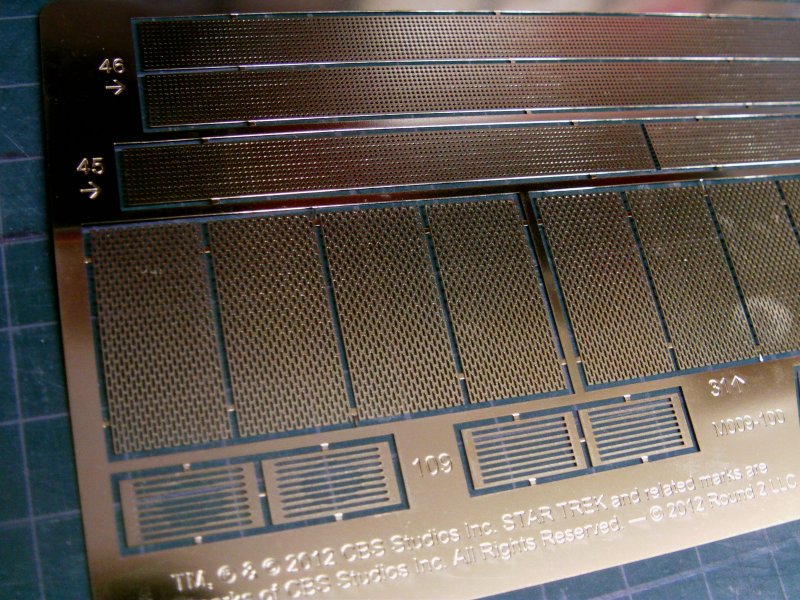
That done, then came the real idea test out bit.
The pylon and engine grilles were redrawn to make then slightly larger than the original fret.
The idea with the Round 2 stuff is that you lay the PE part over the
stock kit one and there you have it.
Well I decided to change that just a wee bit.
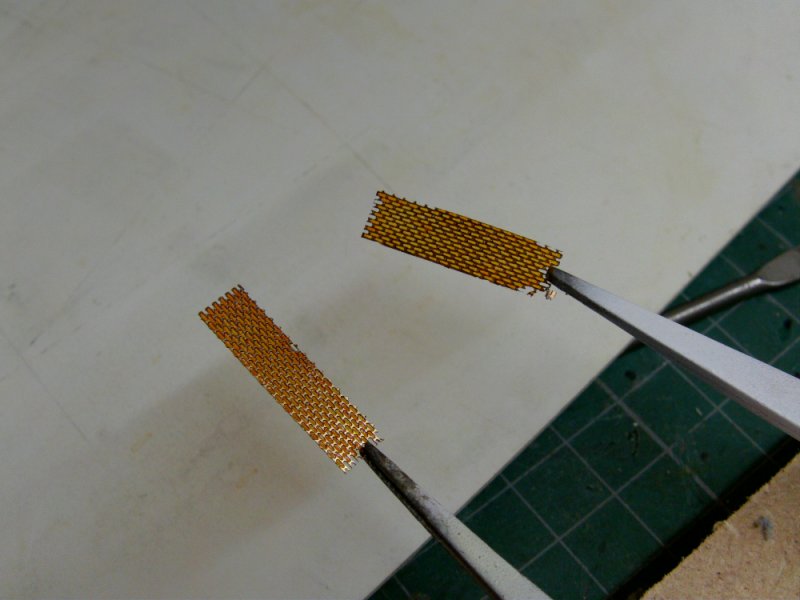
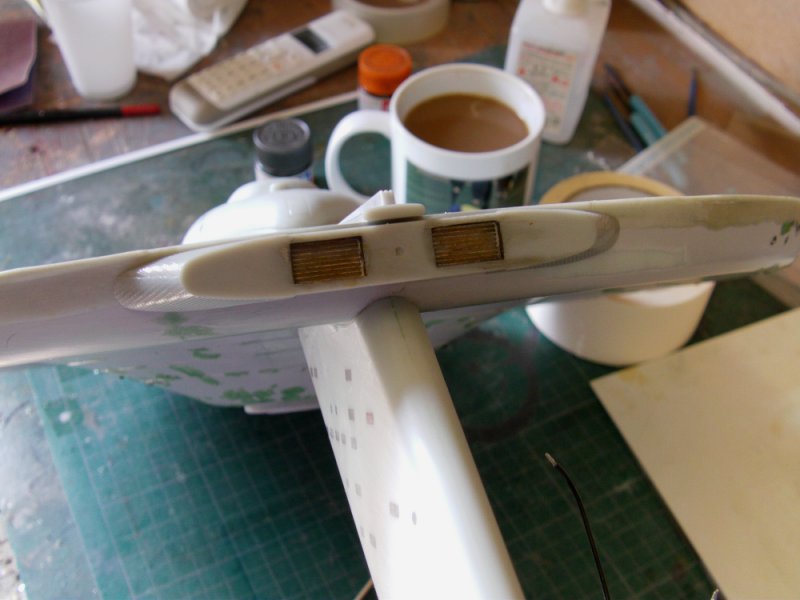
A pic of one the kit pylon grilles on my rough etch sheet.
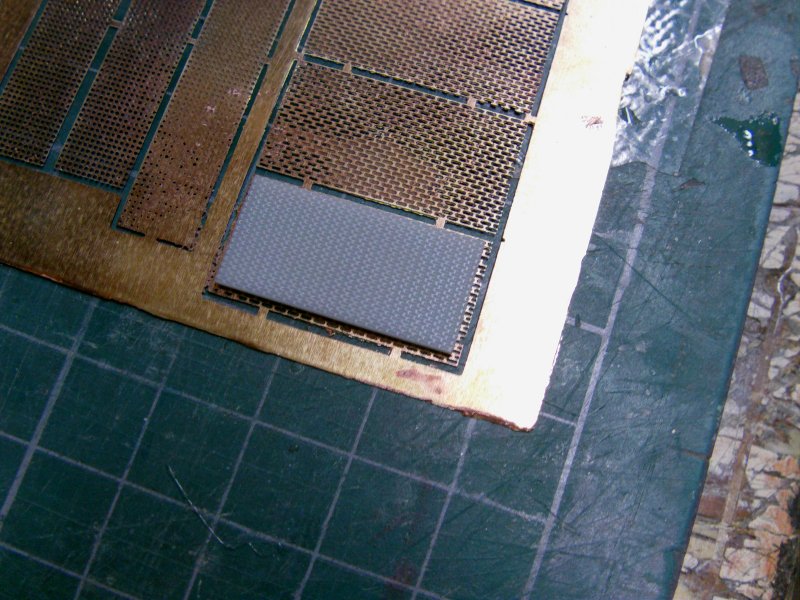
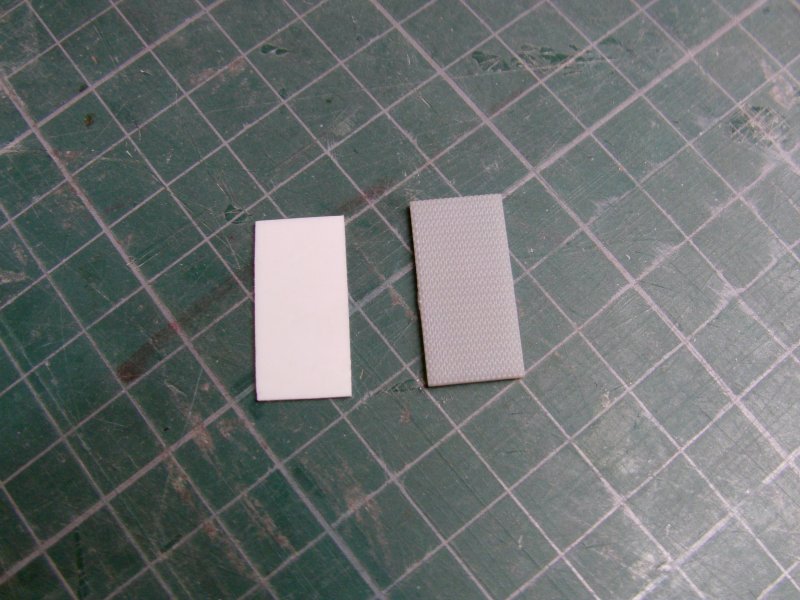
So then, cut the best grille part from my fret and then got a small piece of plasticard
and cut that to the dimensions of the stock kit pylon grille with 10thou" off the length and width.
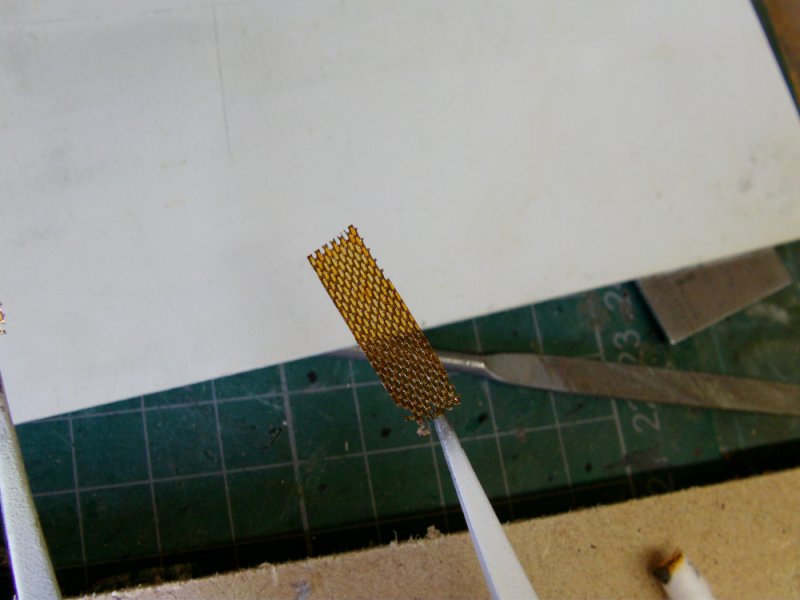
Then folded the edges of my PE bit around said plasticard part
and removed plasticard when done.
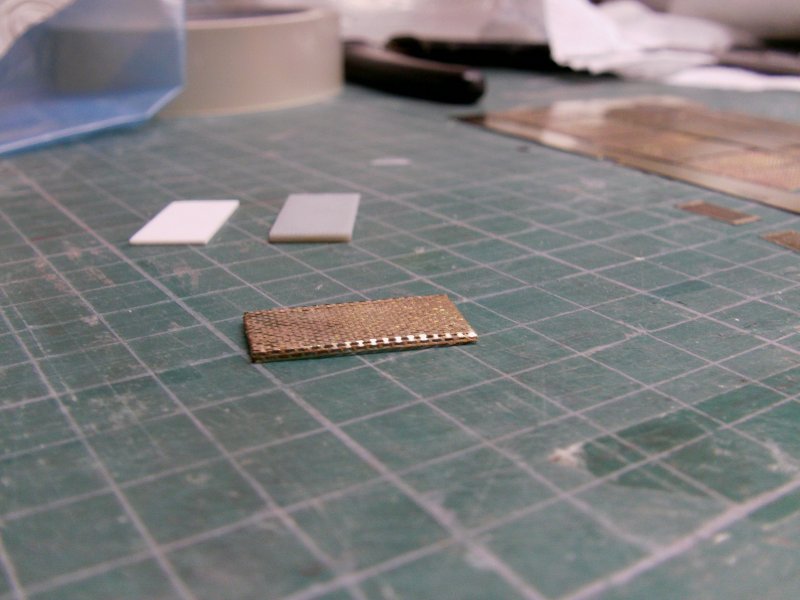

Not perfect but it'll do for this test out.
Speaking of test outs, the new grille in place with stock part just for a comparison look see.

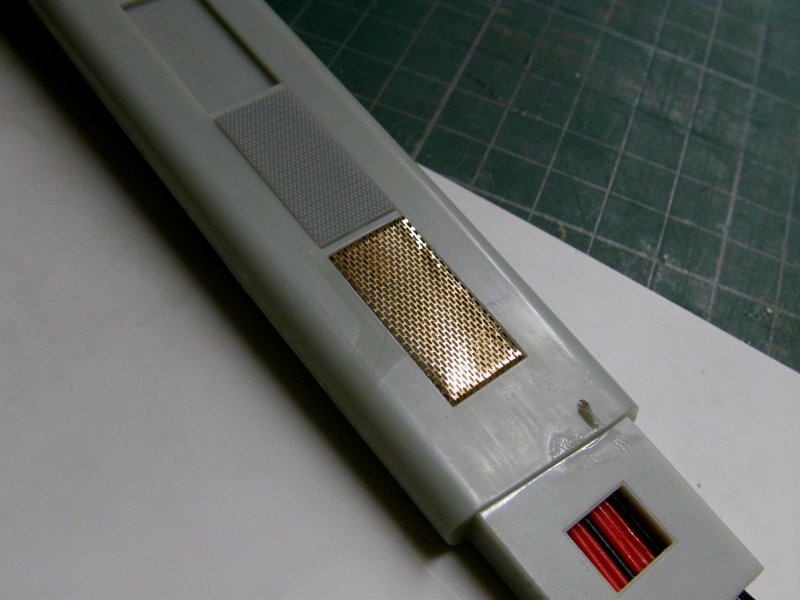
OK, I think I may be on to something here...
Thing is the brass is a bit flimsy at this thickness
and prone to buckling so i'll do this again but in 5thou" steel sheet
which is on it's way as I type.
We'll see how that works out but for now,
onward!
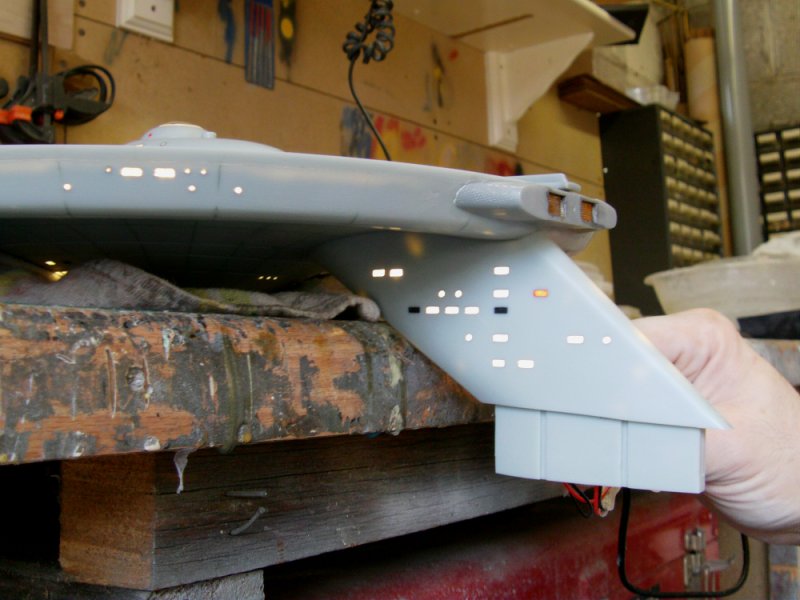
Time for the impulse drive to get a run through the Hellhole.
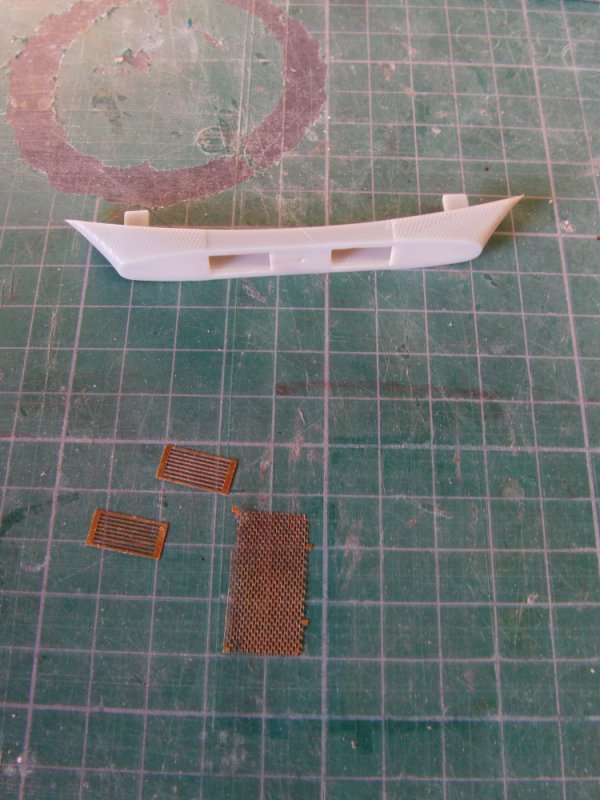
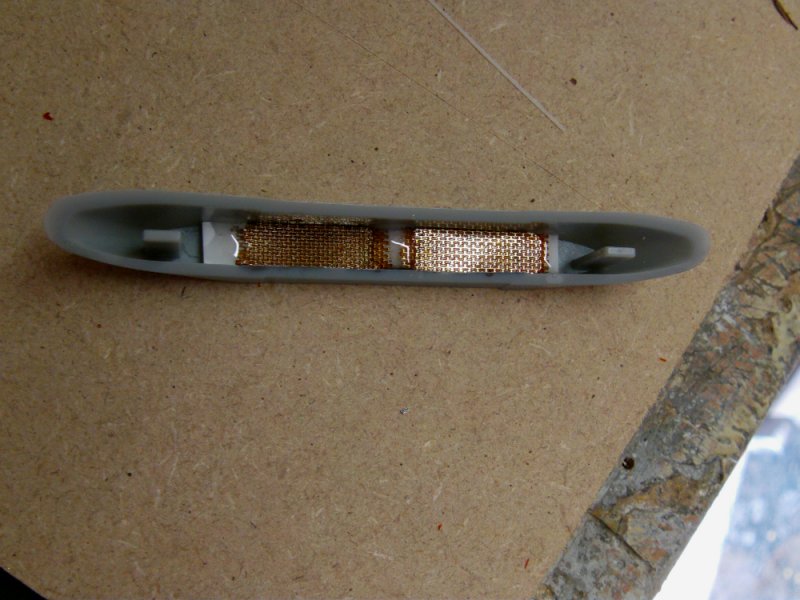
Here is said part duly cleaned up and some DIY PE bits.
Namely the exhaust grilles things proper and a scrap pylon grille from the last etching session.
So proper exhaust bits fitted, given a lick of Tamiya metallic grey,
then some chips of 20thou" plasticard laid in,
a small strip of plastic diffuser sheet
and another three plasticard chips laid in.
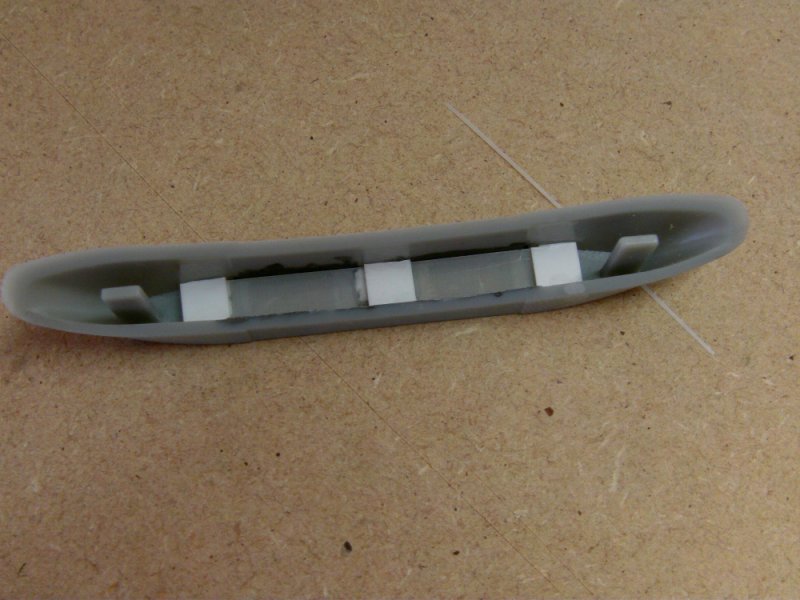
The scrap pylon grille was sliced up and dipped in Tamiya clear orange.
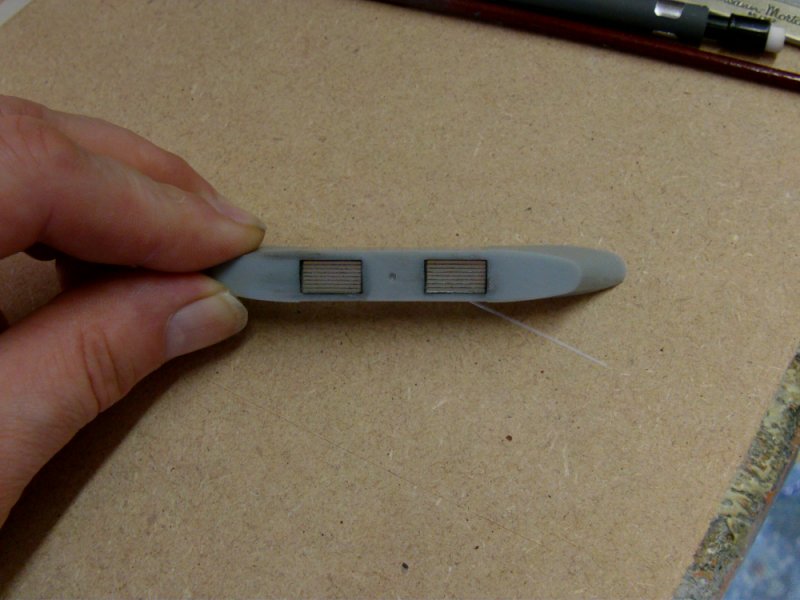
Once the clear orange had cured,
they got shoved in the appropriate position and a look see had.
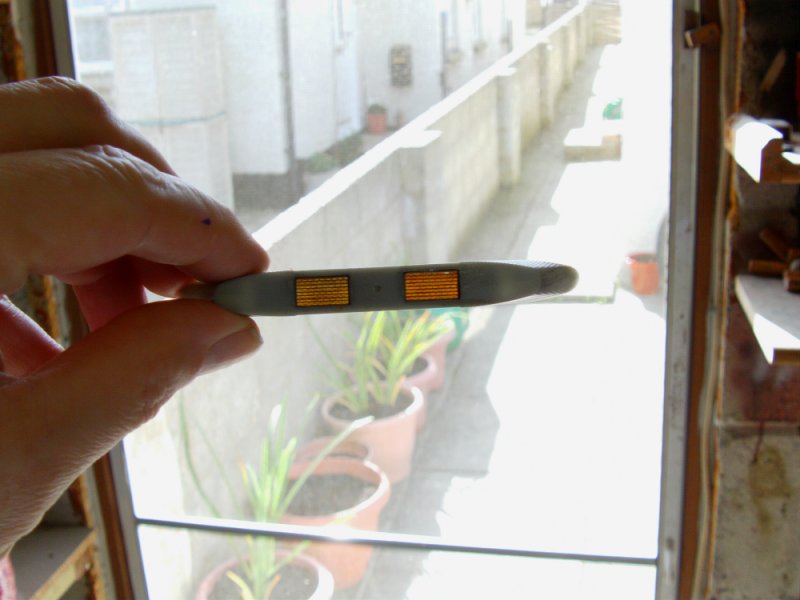
I know,
why all this bother if i'm not going to light them?
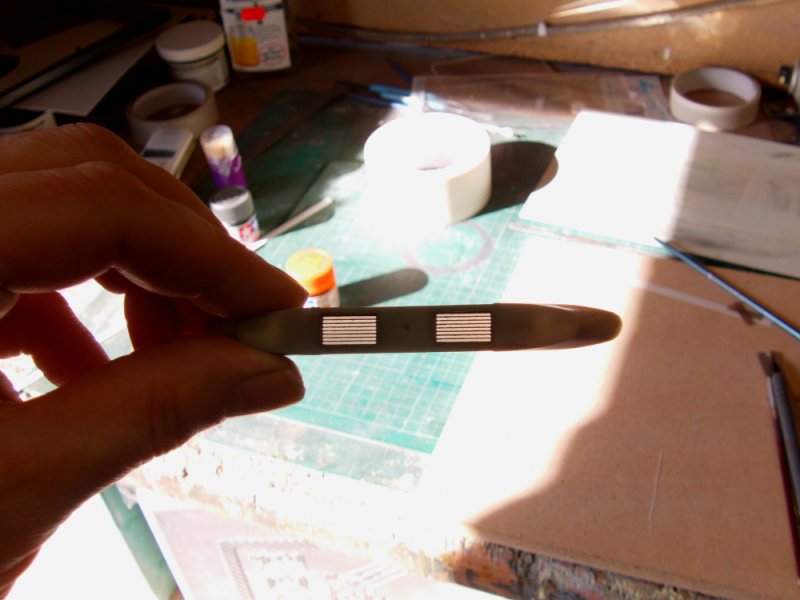
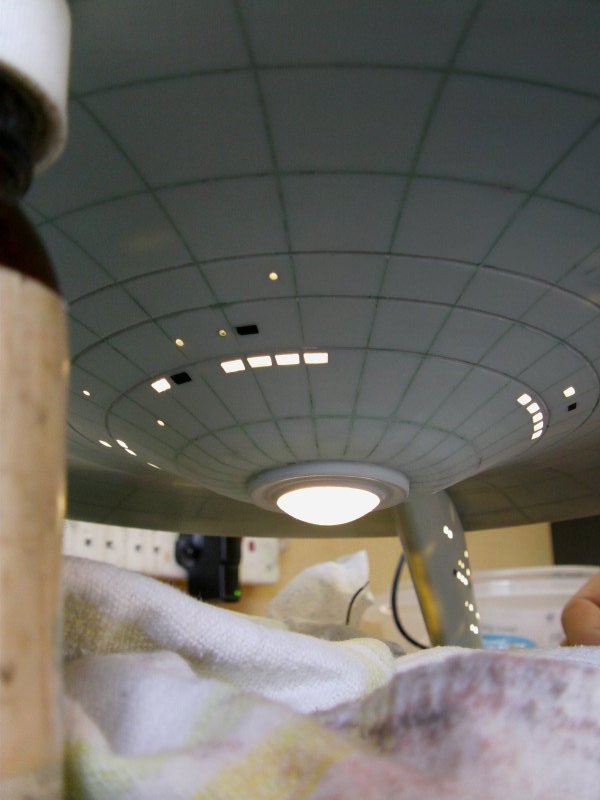
Well it turns out there's more than enough ambient light flying
about the inside of the saucer to give the impulse engines a slight glow.
Like so in the lights off/on pics below...
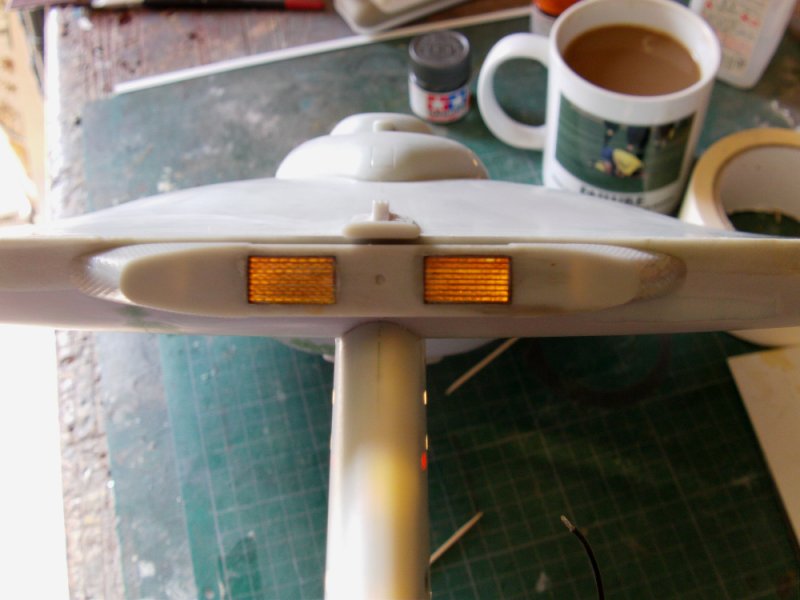
Aye, that'll about do it!.
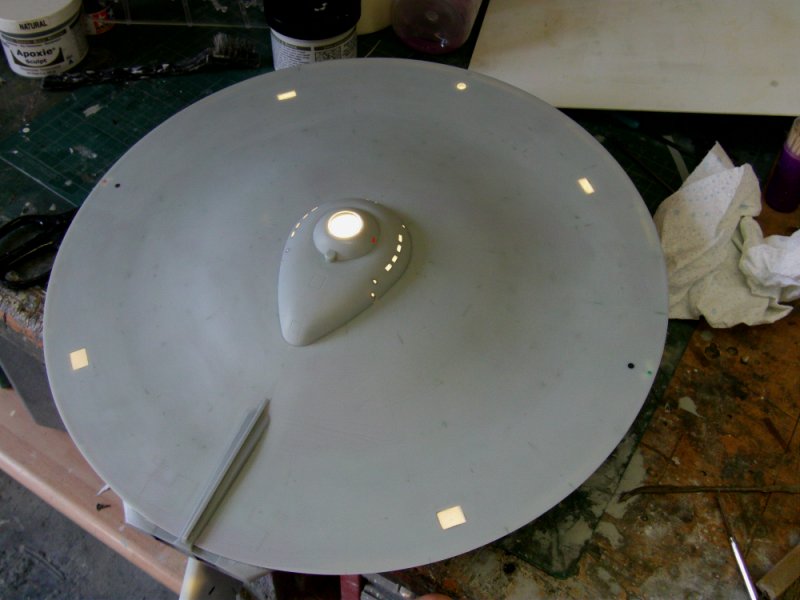
So the Aves around the saucer edge had cured nicely as it always seems to,
fitted the top and bottom clear domes on the saucer and once they had settled,
in with the wet sand deal over that and the cured epoxy windows and the like.
The 'gird lines be gone' deal was a done thing on the bottom of the saucer at last.
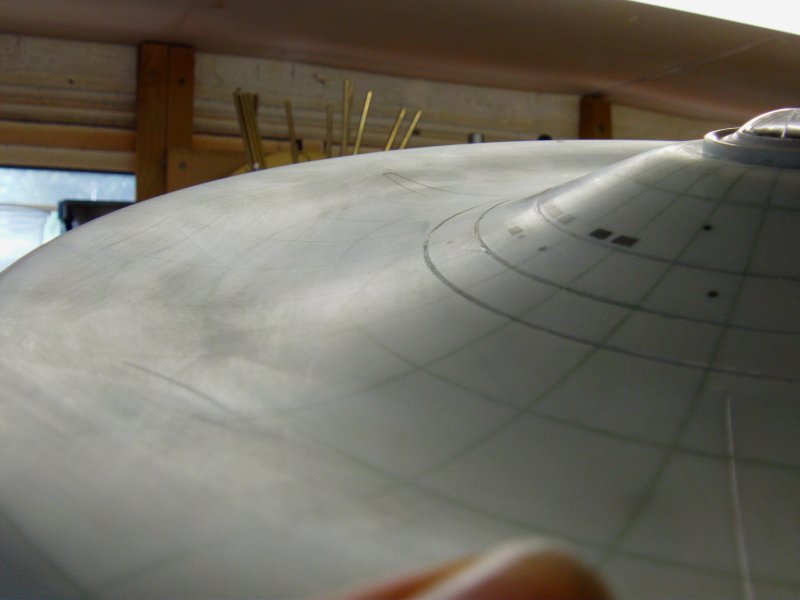
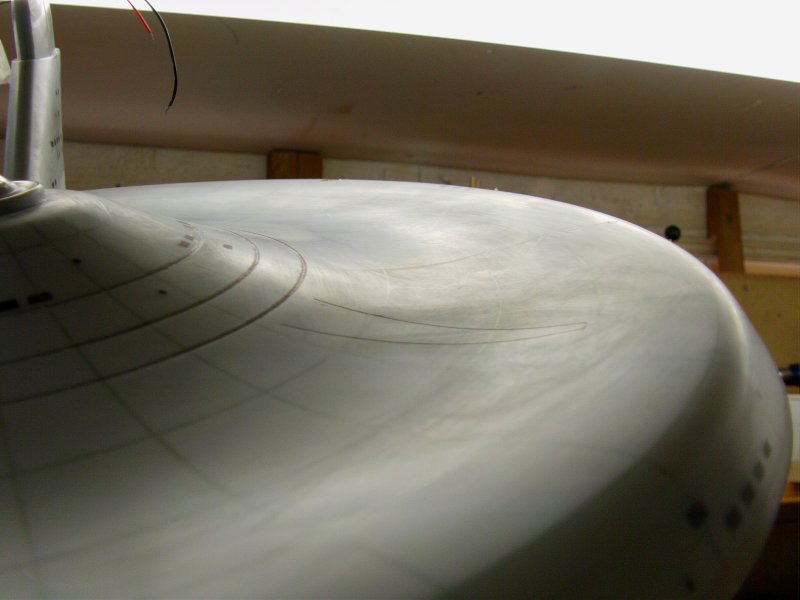
So time for a lighting check as it were.

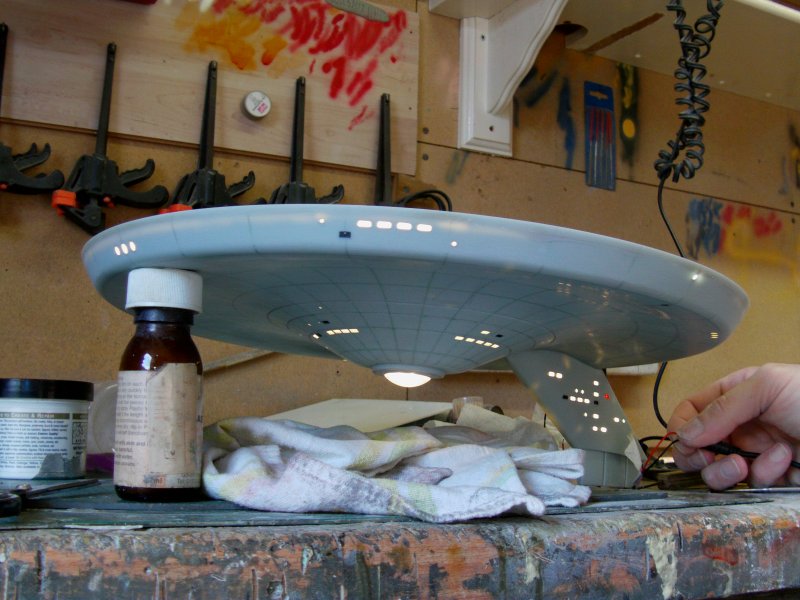
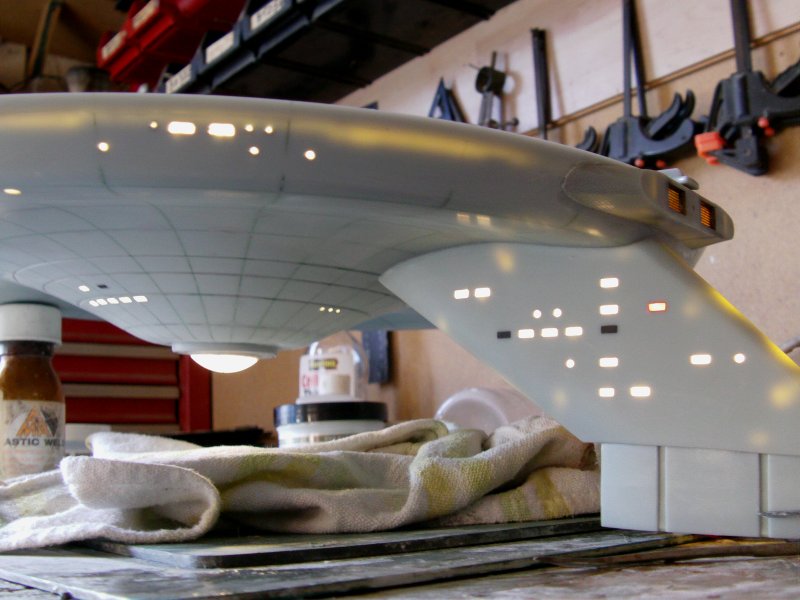

More than a few light leaks but nothing that can't be taken care of with
exterior paintwork so winnin' and grinnin at this stage.
Looks like this will be going elsewhere on completion with some certainty,
someone has already called dibs on being first in line
so deffo good from this locale.
More to come at some later date so untill then,
you merry mob go easy out there as always!
Page Number