
Battlestar Galactica Viper MkII
1/10th Scale.


 Page Number
White with red stripes...
And Just A Bit On The Large Side.
Greetings you merry lot and welcome aboard the questionable sanity express.
Well my sanity will be after this.
This little tale is also being played out at the Resin Illuminati Board
and The Modelermagic.com site in the tutorial section.
Because the owner asked me to, wild impetuous and likeable maniac that he is.
He did ask for the tutorial version, which to me means as many bells and whistles as needed.
This is simply a repeat of that.
So a bit long on the waffle.
It's here as well for the client to view specifically but what the hell...
So to begin at the beginning...
Got this not so wee task lobbed my way by a client.
Simply put, Galactica Viper MkII and make it in scale with the Diamond Select series 1 action figures.
And like a bloody fool I said okedoke.
Now these figures work out to a close approximation of 1/10th scale.
A simple enough scale to arrive at by use of a small but very useful tool called Scalemaster.exe.
Said small bit of software can be found at the following clickable URL thingy:
Clicketh Here Why Don't Ya!
You will find it about halfway down the page.
Now then, taking the action figure, this one:
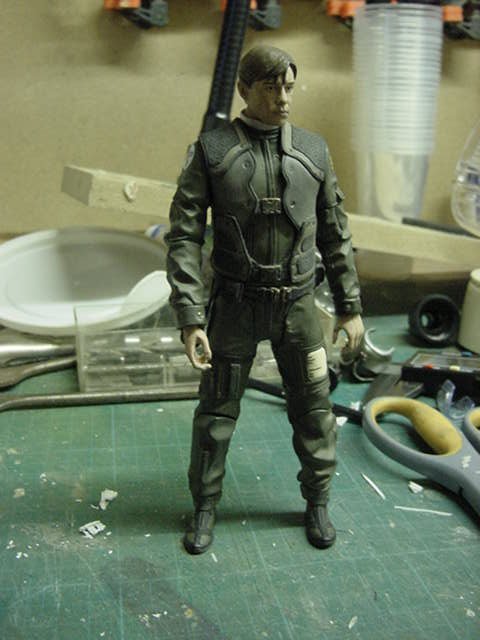
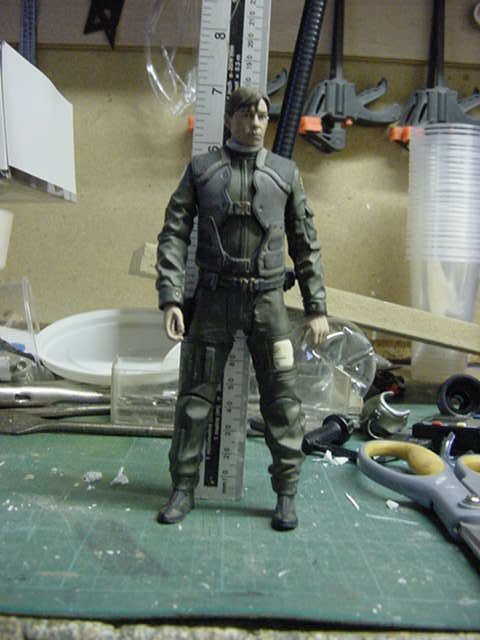
And standing him within the vicinity of an ordinary ruler or your preferred measuring device,
you get a rough read off of height.
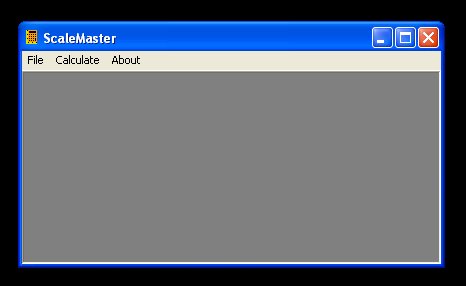
So then open the Scalemaster program and you’ll see something like this:
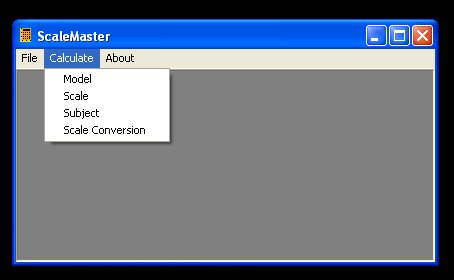
Select the ‘Calculate’ bit and a handy drop down menu will appear.
Clicketh thee on the ‘Model’ bit and you should see this:
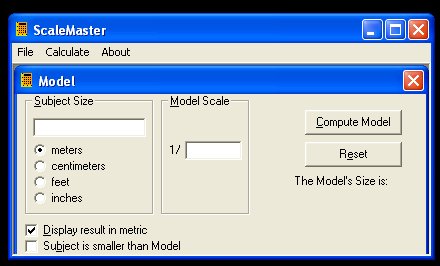
So, let’s assume for the heck of it that our heroic pilot fella here is 6 feet tall.
Input that in the ‘Subject Size’ and then click the ‘feet’ thing.
Where it says ‘Display result in metric’ you can leave that or uncheck it to see the results in Imperial.
Or ‘real money’ as I call it.
Lastly, in the ‘Model Scale’, input the desired scale.
In this case, the number ‘10’ is entered.
Then simply click the ‘Compute Model’ button and you should get this:
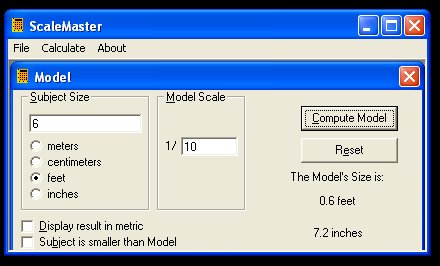
It says our man in the cockpit should be some 7.2” tall if he’s in the 6 footer dept.

Close enough for me.
So then, that sorted and a scale arrived at, some skimming around the net is in order.
Making my merry way around and eventually arriving at the Battlestar Wiki pages,
we find the info required on the ship in question.
This Page Linky Thing
Now this info says its 8.4 meters (27.6 feet) in length.
So back to the Scalemaster, input all the required info
and the length comes out at around 84cms (33.12 inches)
Close enough to work with.
So now we have a scale and length of model in said scale.
All very handy but, now to translate the figures into something a bit more tangible.
The Plan...
Well the Cylons had one so I'd better have one too I s'pose
Granted, theirs involved grand scale genocide, computer
hacking and thermonuclear weapons for starters.
Mine involves some paper, lots of head scratching and a calculator to begin with.
Close enough.
So then, some pretty pictures of the Viper required to start with
and pretty much the best damn all-in-one source is this page:
CGI Viper Photo Reference Page
Top, bottom, side, front and back views required
and after some right click and save picture as action,
the relevant pics duly secured on the hard drive.
First off, taking the top/side/bottom views and resizing
the pictures so they are the same in one measurement,
in this case 1824 pixels width.
The front and back views resized going by the height in pixels of the top/bottom views.
Bear with me here, it will all become apparent as to why.
So now we have the views required, time to print.
Now not everyone has the same kind of printer so I can only show what I do with my beastie.
It works like this:
There is a setting that allows poster and multi page printing in my Epson printer settings thingy.
Bottom line is that any picture can be printed using standard A4 size except it gets enlarged grid fashion.
So you can print the picture on a single sheet or 2x2, 3x3 or 4x4.
So in essence you get a pretty damn big jigsaw puzzle com
buzzing out of the printer. So to begin with, the picture:

And as it shows in the print preview thing.
You can see the grid and what will be shown on each page of the printout.
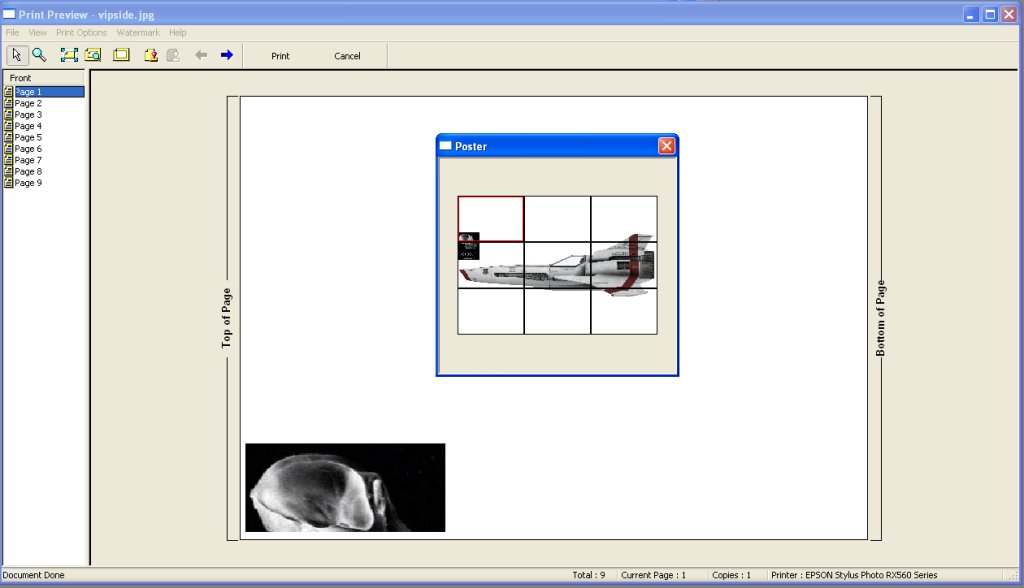
So that all set up, 9 pages duly printed. On the ones I did,
I scrubbed out the ZOIC logo as it was not needed for the purpose and saved on ink.
Now at the settings and picture resolution as noted above,
what ya get is some large pics of the Viper in all the views that matter.
After trimming each sheet as required as it does not print all the way to the papers edge,
some bog standard sticky tape brought into play and the large pics made up.
Like so.


So sorted and everything the approximate size the model will be, time for a measurement check.
An ultimately necessary thing so at least you will know all your pics are in register with each other,
or at least close with as small a margin of error as can be got that you can live with.
For this, it’s a fairly straightforward process.
First off, pick a single detail and measure it.
For the purposes here, it’s the forward part of the gun,
which is clearly visible in the top/side/bottom pictures.
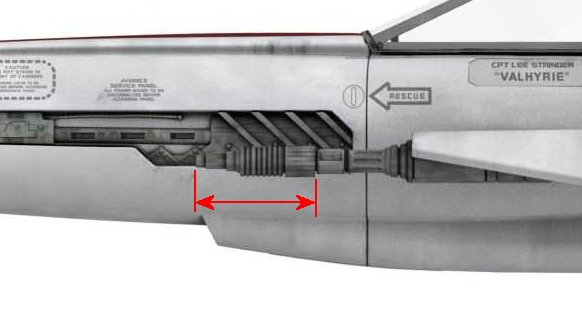
After going across all three pictures, this came out at:
Side 56.81mm (2.236”)
Top 56.61mm (2.228”)
Bottom 56.90mm (2.240”)
So a differential max of 0.29mm (0.012”)
For the size of beastie we are talking here, that’s well within acceptable to me so onward.
While not exacting as such, for a decent idea of three-dimensional shape,
can’t go far wrong with the Moebius Viper MkII 1/32nd kit.
One of which has been got for just this purpose.
Incidentally, for another size check, measuring the plastic kit and multiplying that by 3.258,
or thereabouts gets you in the ‘right size’ ballpark so a double use.
Well that’s it for the opening salvo so to speak.
Some lathe machining mucking about to follow so stay tuned folks!
You merry lot go easy now.


 Page Number


