
Battlestar Galactica Viper MkII
1/10th Scale.


 Page Number
Guns, cans...
And Assorted Bits.
Greetings all and welcome back to the next round of hoo-ha in the hellhole.
So to begin the build proper, rather than go with doing the
main bulk, I decided to start with the detail bits and pieces.
Namely the master patterns from which the guns and engine cans will be cast.
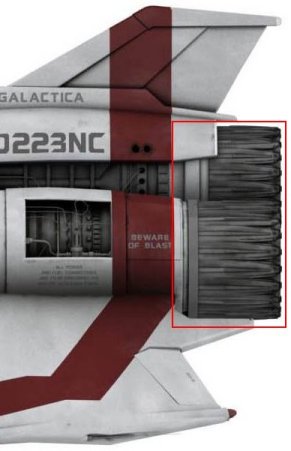
Starting with the engine cans, the bits outlined in red:
Now taking a look at the drawings, a measuring thing was brought in to play, this being the said thing:
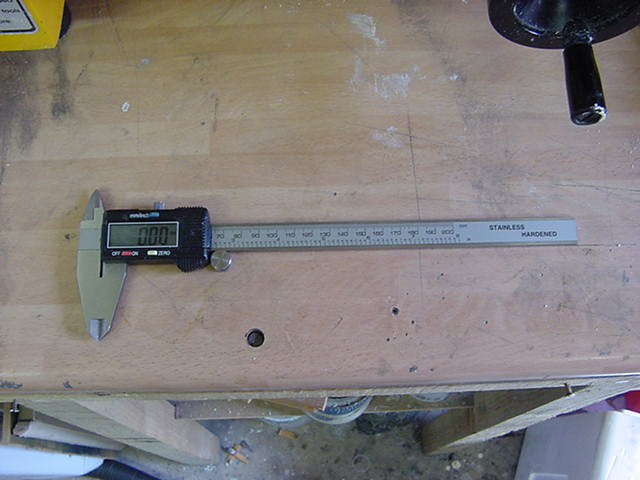
200mm (8”) digital calipers, very useful for this sort of mucking about.
What we have, measurement wise, for the large and small cans respectively, max length and width:
Big can, L: 61.48mm (2.420") D: 76.73mm (3.020")
Sml can, L: 61.97mm (2.439") D: 72.16mm (2.840")
Now just to be a nuisance, getting rather short lengths of
pipe in said sizes was a bit of a non-starter idea wise.
Well time to dust off the lathe then.
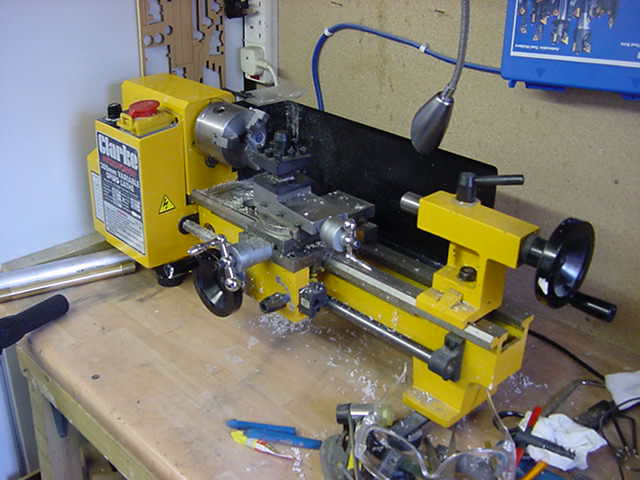
Not the most technically whoopee bit of kit ever but does what I need so okedoke.
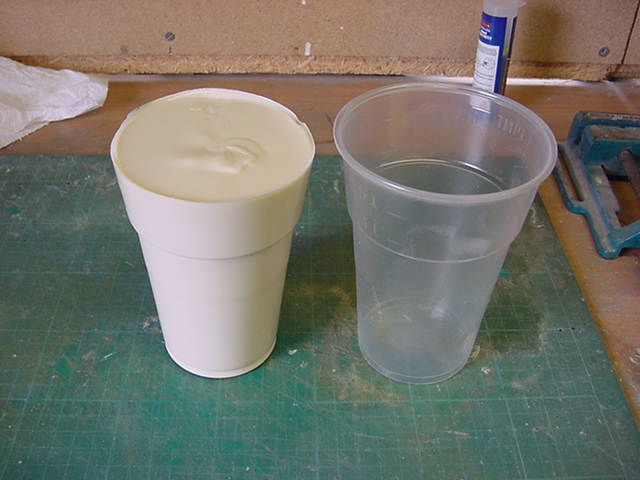
So need something to shove in it.
Mine's a pint...of resin that is.
Simple enough deal, plastic pint pot, a pint of urethane resin thrown in and left to cure.
Presto, one base lump ready for hacking up.
Two of cast out, one for the big can, one for the smaller one.
So a good idea to get a center on each end seeing as
how this lump would be rotating at no small rate of revs.
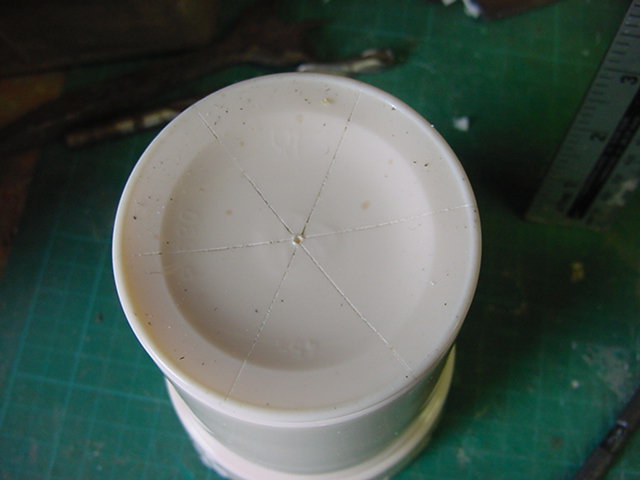
One nice little quirk of geometry is that the radius of any circle,
straight-line fashion will almost precisely go into the circumference of a circle six times.
So measure the diameter, halve that and set a pair of dividers
accordingly then mark off round the circumference of the wide end.
Some point to pint scribing and center marked.
Same thing for the not so wide end.
Now the thing is, this lump is just a smidgen under the
max diameter for my lathe to handle rotation wise.
Normally it is certainly over size for the jaws to get
a grip of if I want to turn down the whole length,
which I need to for this gig.
So the current jaw set-up looks like this:
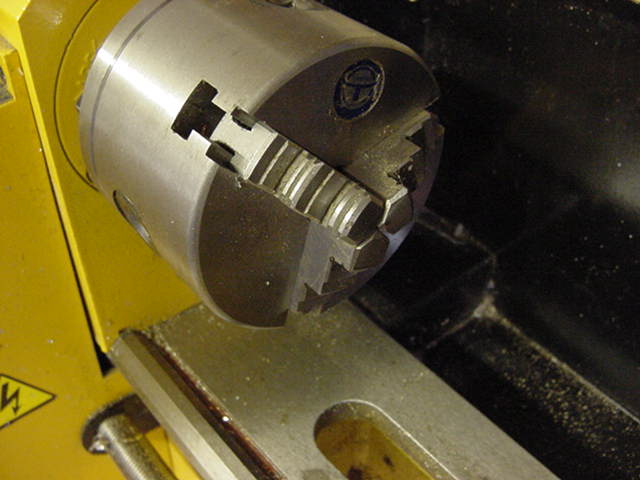
Made for center and internal diameter holding.
So best give these resin lumps an internal diameter thing.
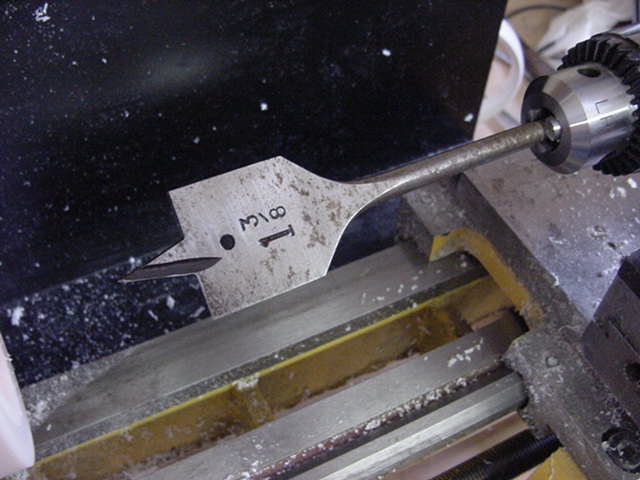
Cue one large bore spade bit.
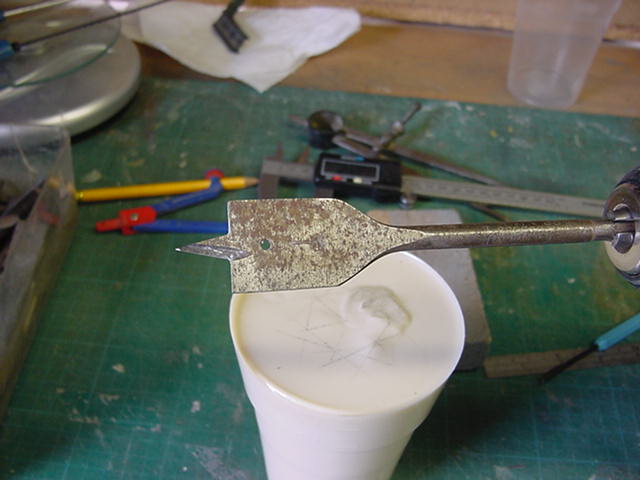
A bit of cordless drill action and one end set.
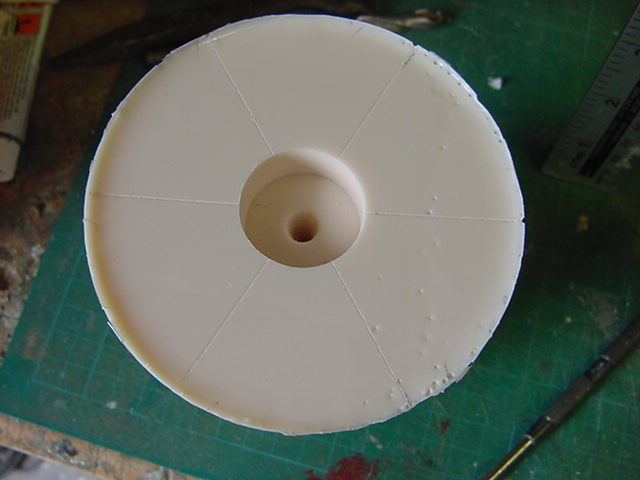
More than good enough for the jaws to get a grip of.
On the narrow end, just a small hole as such provided by an auto center punch.
So holes at the ends set, time to put the beastie in place.
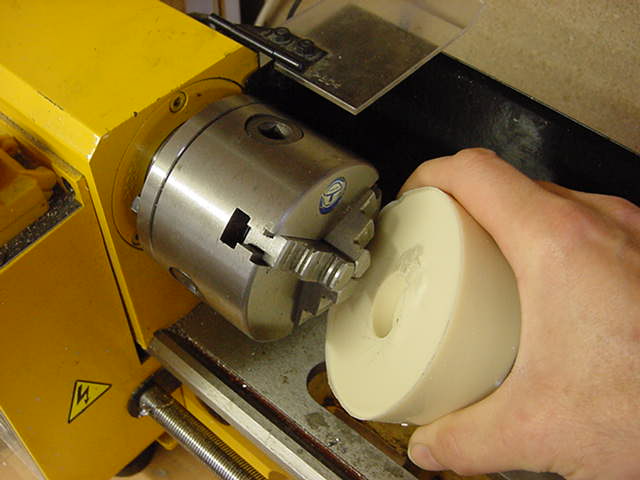
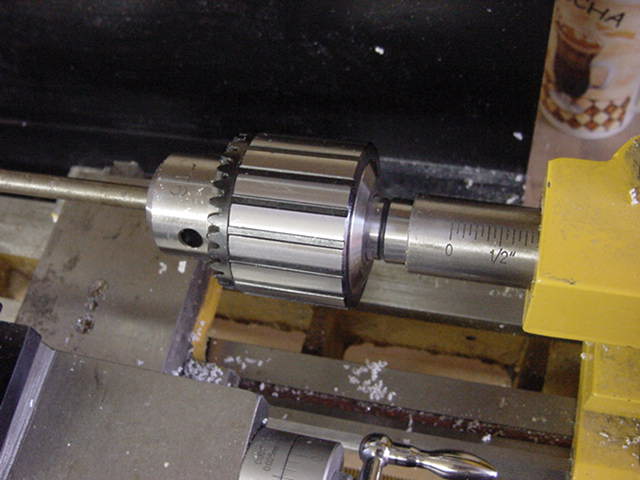
The back end is supported by one of these:
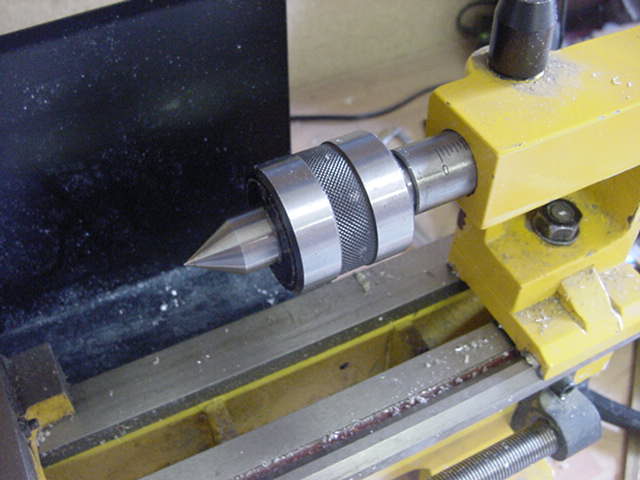
Given name is a 'live center'
That somewhat nasty looking spike is mounted on bearings
allowing it to rotate so holds the work piece and spins with it.
So mounted and set, tool post positioned and almost ready to go.
If I may be so bold to make mention of a couple of things.
First off, turning tools.
Now not every over enthusiastic tinkerer like myself has
a lathe I know but if your considering getting one,
may I be so bold as to impart some advice.
Now my one when bought, came with the bog standard set of turning tools.
Now looking a bit well used but still serviceable.
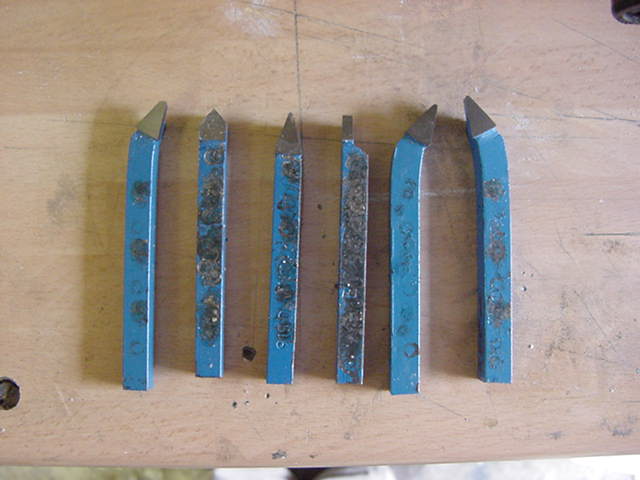
Now more than good enough for roughing out and
getting rid of excess material but for a final finish,
may I recommend you get a good set of turning tools.
These ones are my personal weapon of choice.
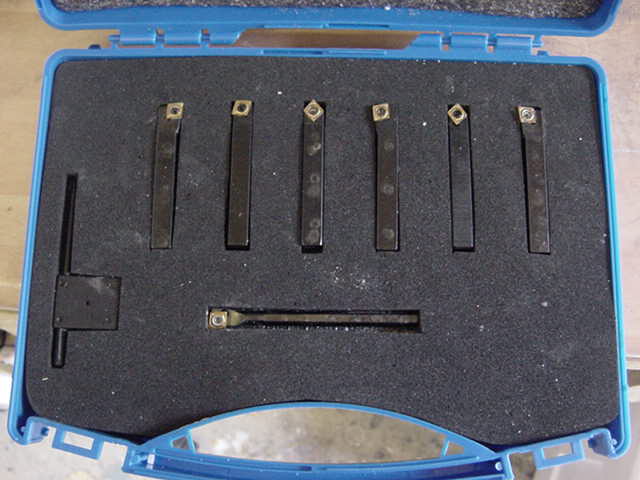
Glanze indexable turning tools.
Down side, expensive.
What you see there cost the better part of 75 Quid,
over a hundred bucks to my American associates.
Upside, damn good turning tools with replaceable cutting heads.
When the head is worn down, just undo the screw,
turn around 180 degrees, do up and continue.
When worn again, extract, throw away and replace with new.
Simples!

More than a bit durable and have lasted me VERY well thus far.
There are cheaper indexable turning tools out there but,
the weak point for the cheaper type is the screw that holds the head on.
A small and sharp bit of metal ricocheting about the place
is not normally a good idea one would think.
Which leads me to the second thing, safety in use.
Yeah I know, yawn and all that but hear me out on this if your going
to get something like a lathe and have never really used one before.
These bits of kit have no brain, they do not know when to start and stop.
They just do as told the moment you flip the switch/push the button.
If you have long hair, tie it back.
Loose long sleeved clothing, pull them up and keep them there.
Read the manuals, get bloody well acquainted with
the location of the off switch/emergency stop.
Any gloves other than close fitting latex/nitrile type, take them off.
I have seen the result of an experienced machinist having a lapse of attention
and getting a long shirt sleeve caught in the turning chuck of a drill press.
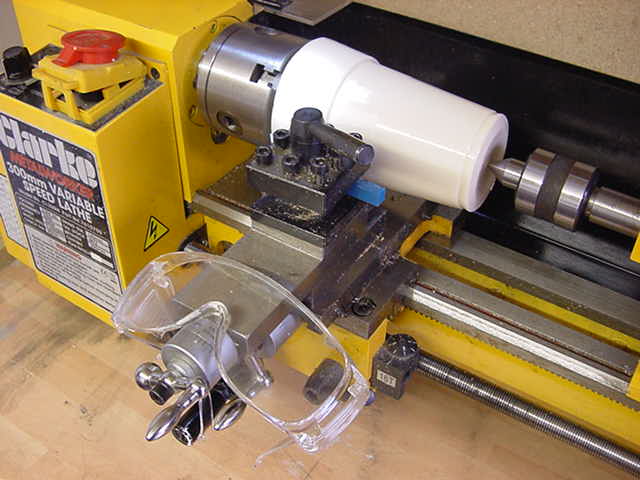
Safety goggles are called so for a reason, get good ones and wear them.
Lecture over, onward.
So then, setting the rotation revs and time to go to work.
On material like this, a single cut depth of 1mm (0.039") is the max on the roughing out stage.
Any more than that will be pushing it for the tool and lathe.
So back and forth we go.
A possibly time consuming process but impatience will not pay off on this gig.
Also stopping after about two to three passes
and having at it with the hoover does no harm.
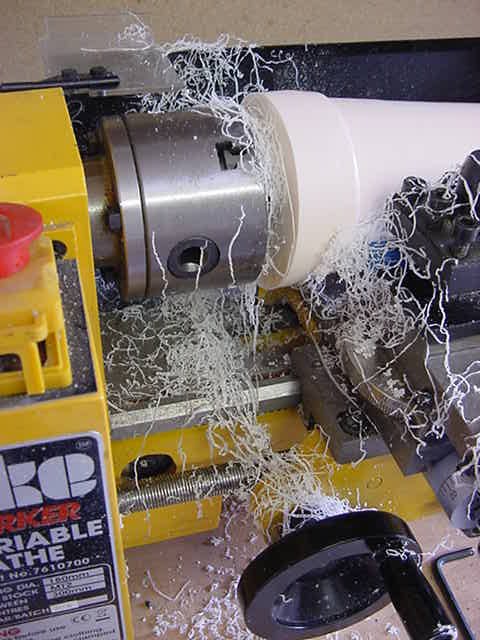
And continue until getting close to the mark.
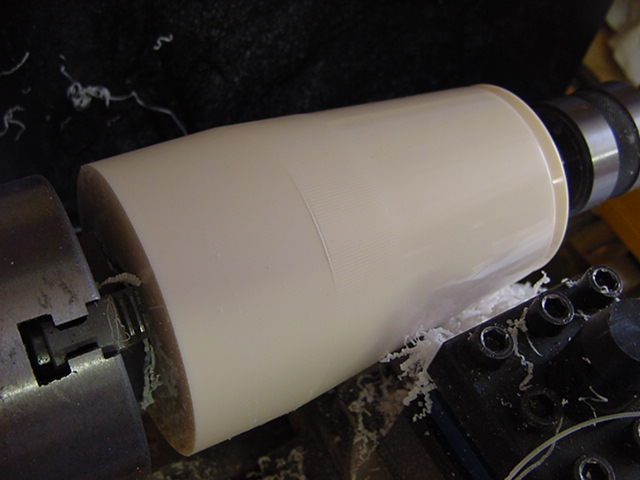
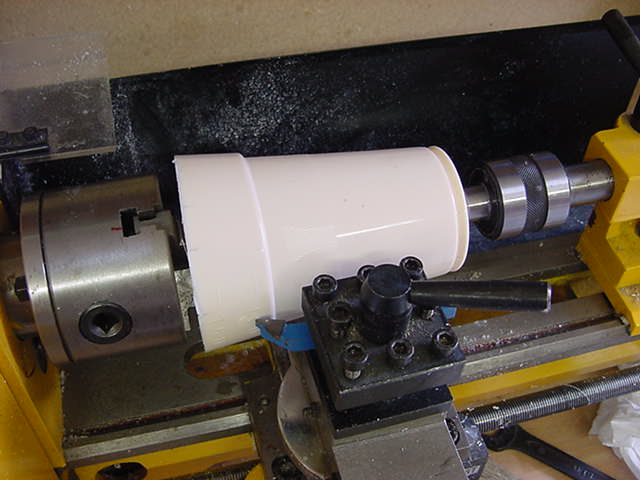
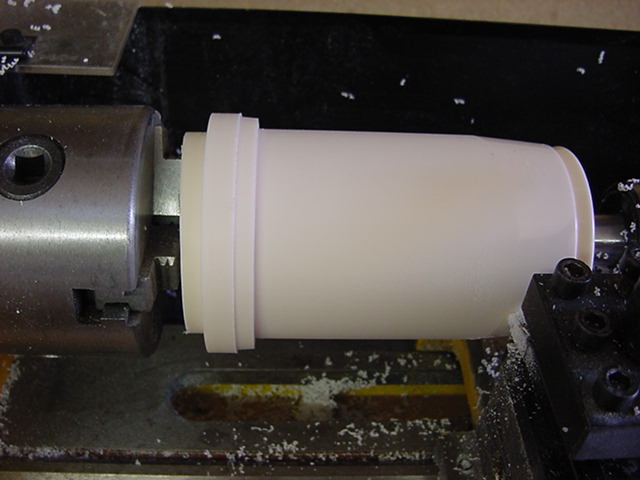
So then, taking the widest intended diameter and setting the calipers
accordingly with an extra smidgen to allow for later surface finishing.
In this pic, the set-up for the smaller engine can.

Finding the point on the material where the calipers fit and marking with standard pencil.
Then continue until that point is reached.
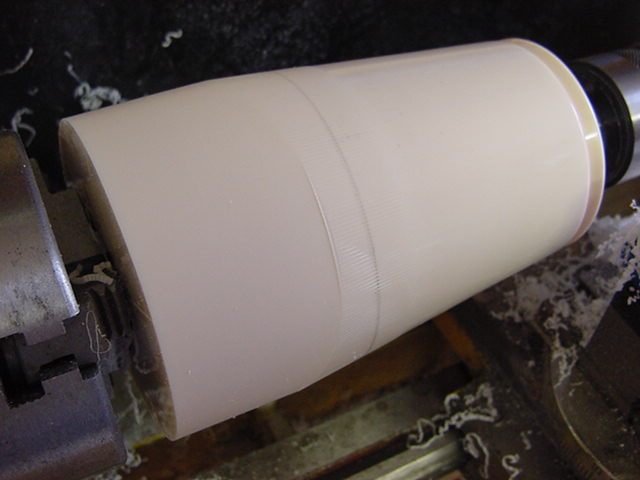
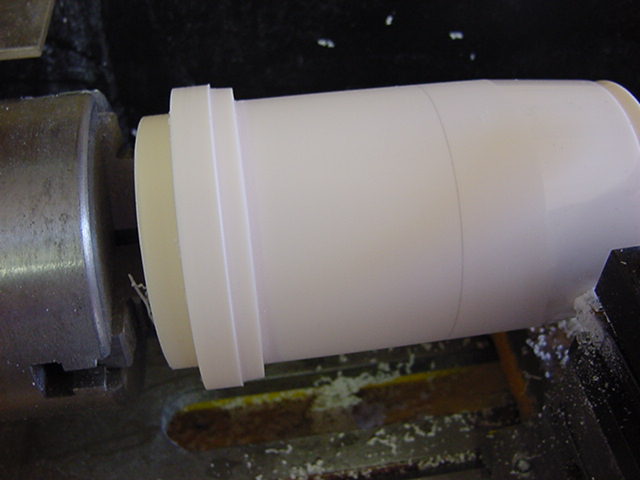
So at this point, time to cut in the back end of the can.
The pictured on is the small one.
Switching to the Glanze tools, a back shoulder cut.
Also the back ring and the four-degree taper of the next ring in.
Then cutting in to the diameter of the can proper without the turkey feather detail.
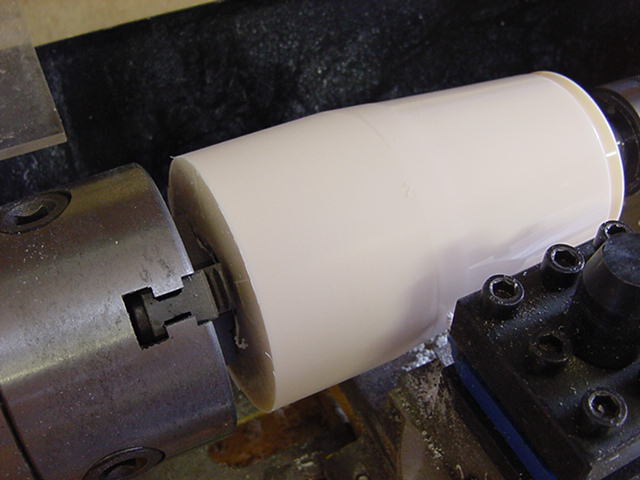
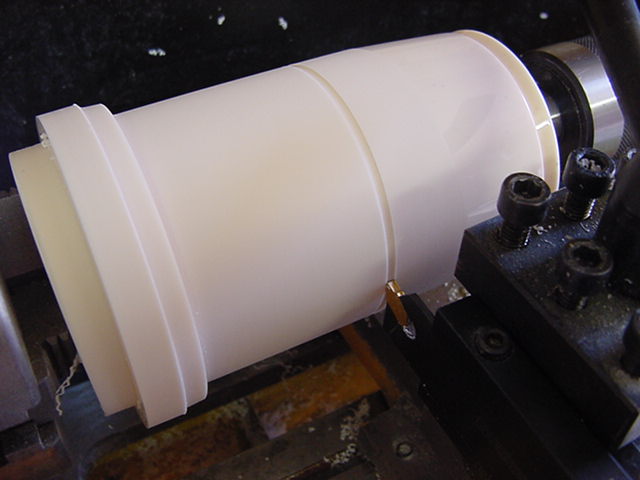
Measure for length and add a little bit for finishing purposes.
Marked in pencil then the parting tool brought in and secured in the tool post.
Final cutting off.
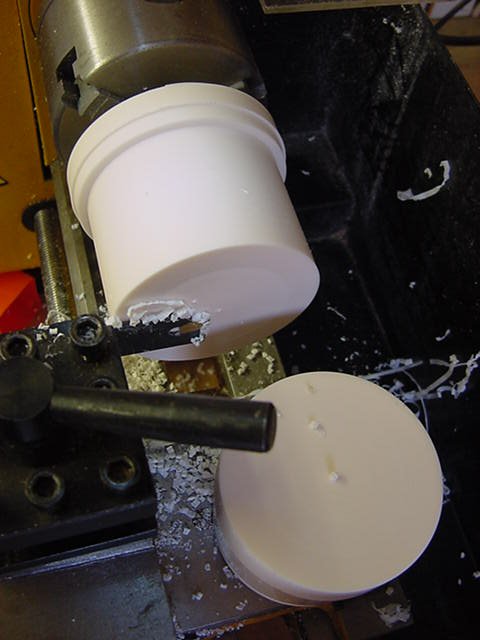
That excess lump like the one off the big can turning will have a use.
Which I’ll get to later in this diabolical debacle.
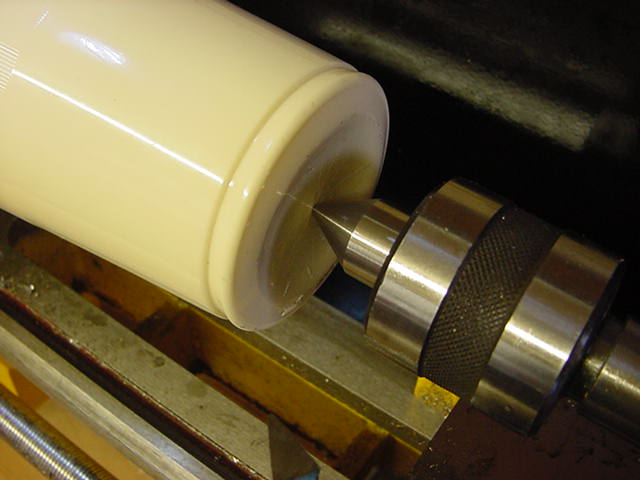
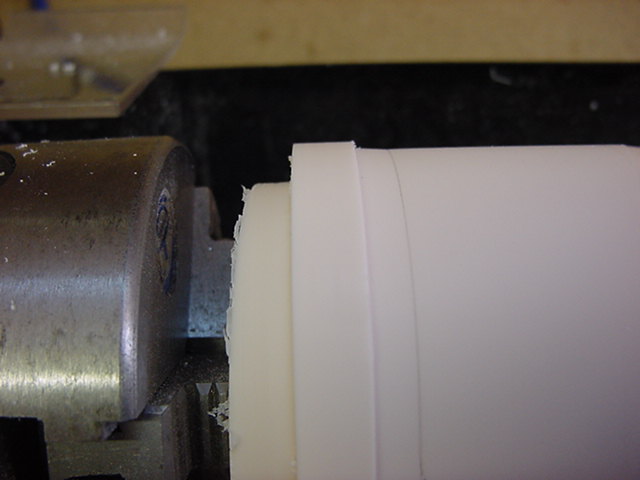
So time to get shot of unwanted material inside this thing.
Switching out the live center for a drill chuck unit and fitting a 'zero screwing about' spade bit.
Simple matter of slowly advancing the bit into the turning material
The result of this and much more on the next page so off ya go and i'll see ya there.
Page Number