
Battlestar Galactica Viper MkII
1/10th Scale.


 Page Number
Rubber, resin...
And Some Bits O' Brass Tube Time.
Goodly greetings gang and welcome back.
So last time the casting of the turkey feathers and inside ribbing was taking place.
Here's some of them.
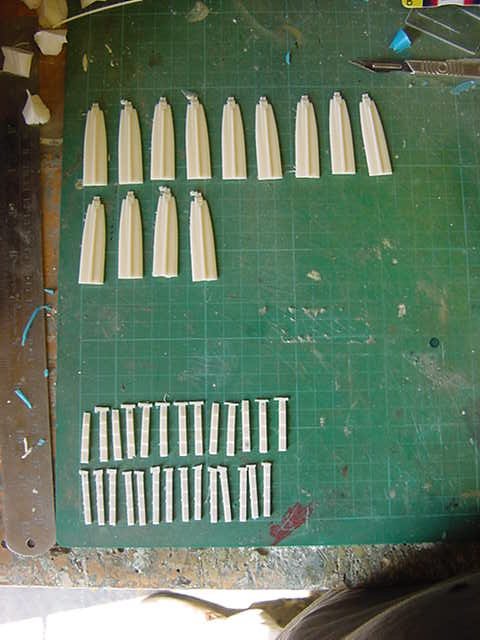
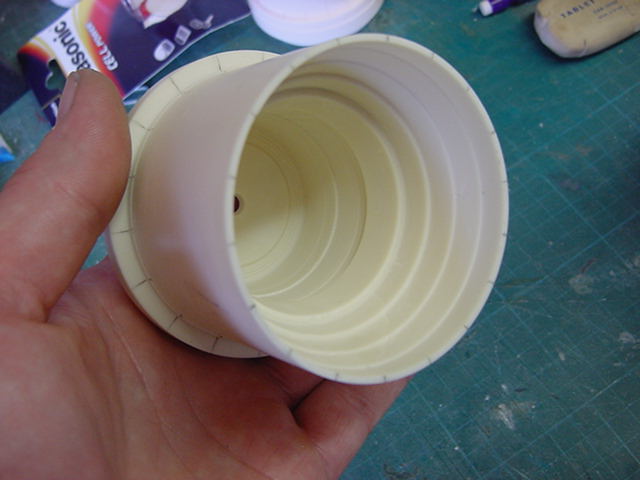
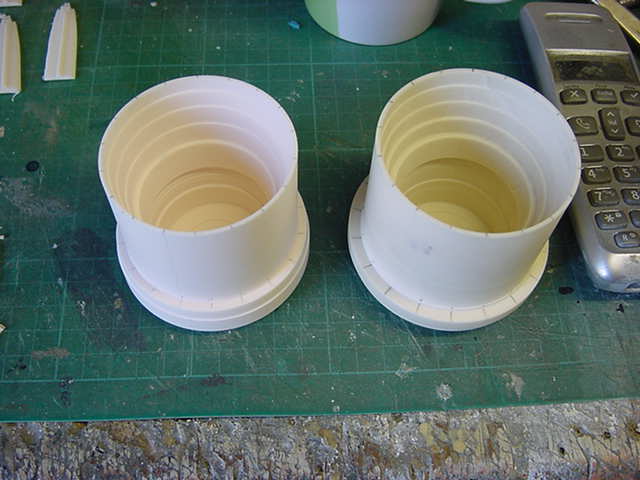
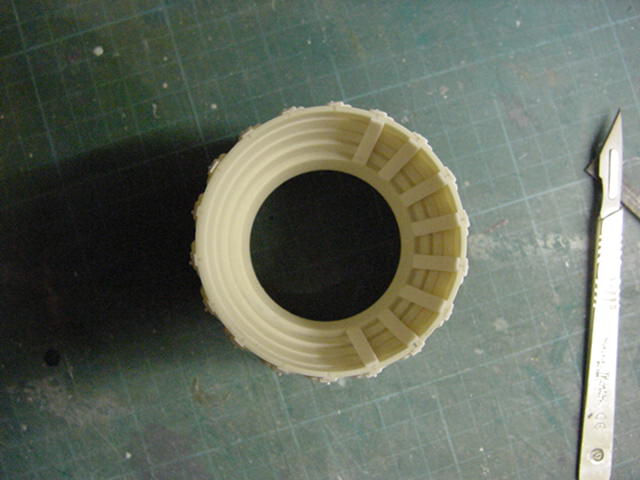
This wee task now complete for the large can so with a few things to take care of, let's have at it!
First up was a bit of marking off to at least try to keep it all as straight and in order as possible.
The large can required divisions marking so after a bit of bead sliding on the abacus,
this came out at 11.64mm (0.458") center to center.
The small can measured out at 11.03mm (0.434") between feather centers.
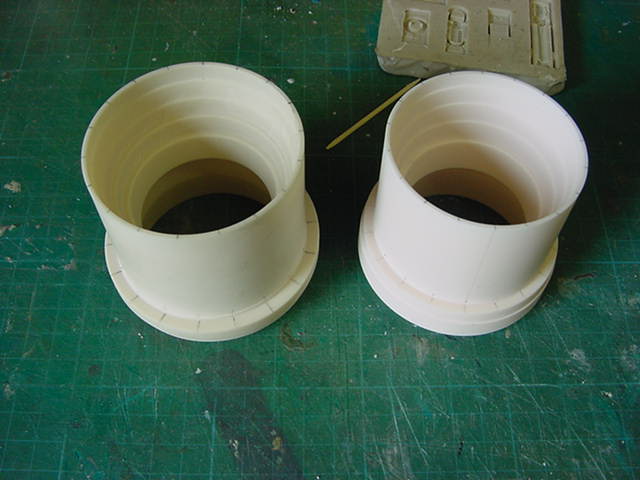
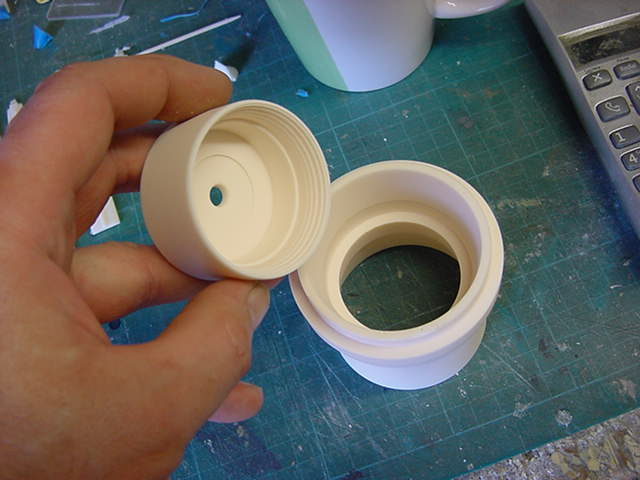
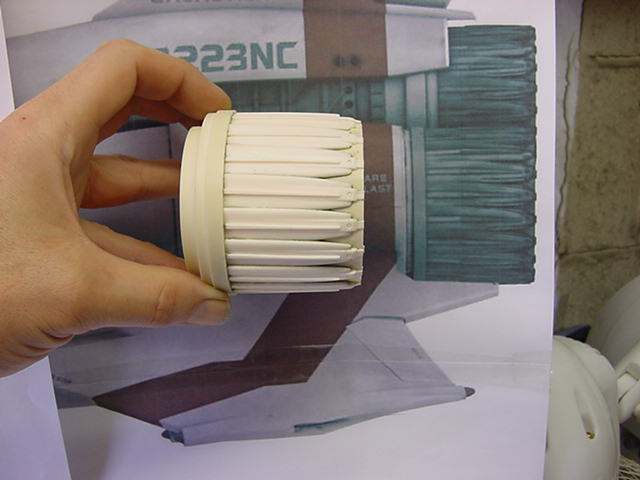
So then, before we get to the glue and teeth gritting bit, time for some back can action.
Using pretty much the same technique for turning out the cans proper,
the resin cut-offs got a good spin in the lathe.
Reason for this is partly detailing but also as a ready made place to drill out and
mount lights if required...and they most likely will be.
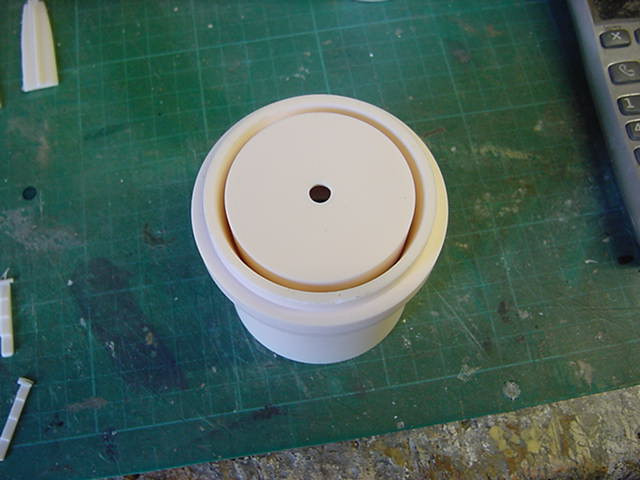
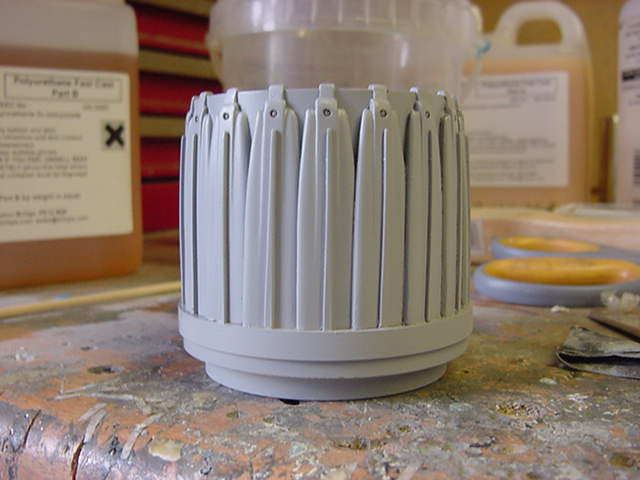
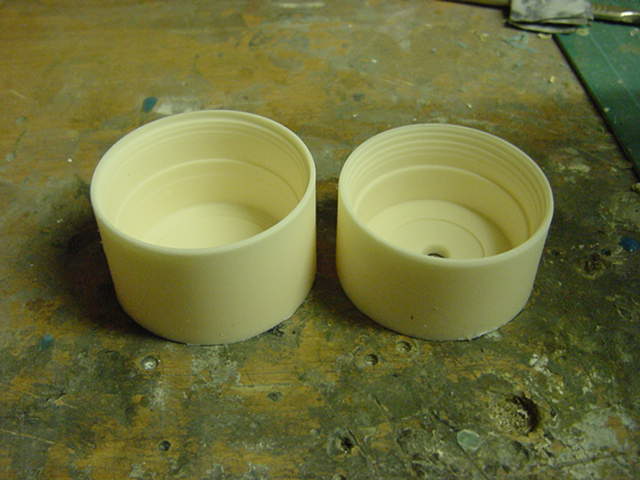
The large can back.

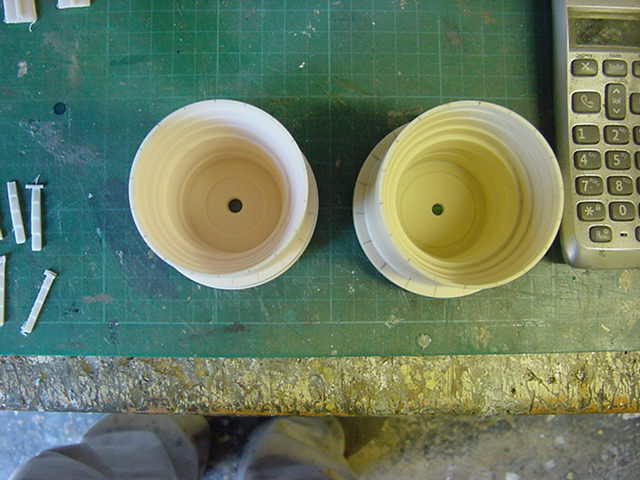
Likewise sort of nonsense with the small can back.

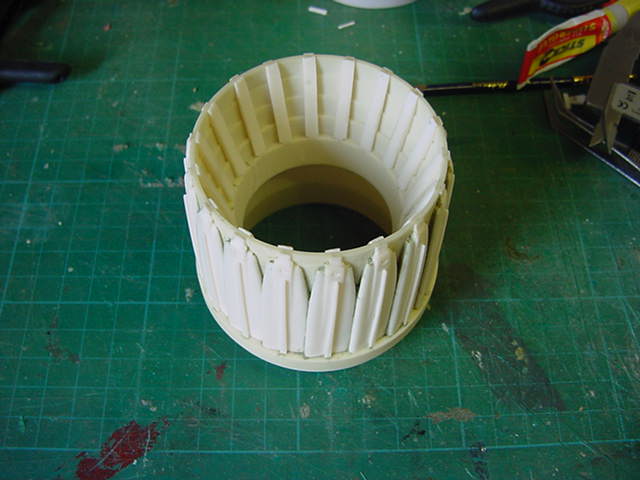
So then, out with the 5 min epoxy and there was much
laying on of the goodly stay put ya bugger gunk
With a few spring clamps thrown in of course.
Working through the feathers four at a time, finally got there.
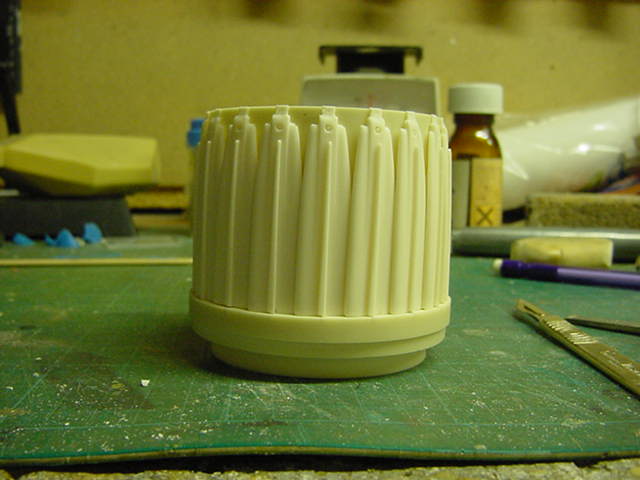
So them not going anywhere.
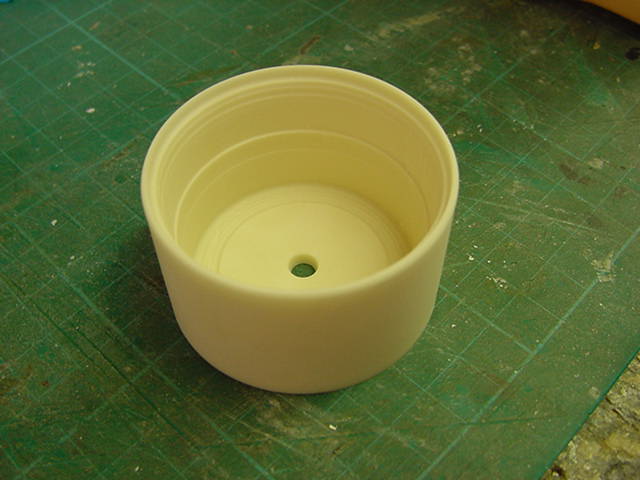
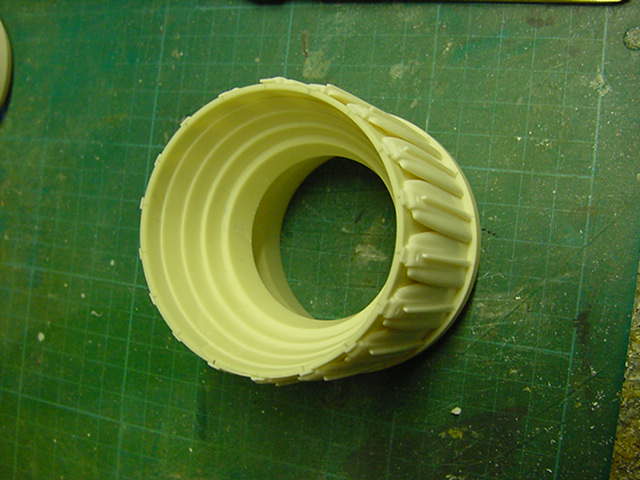
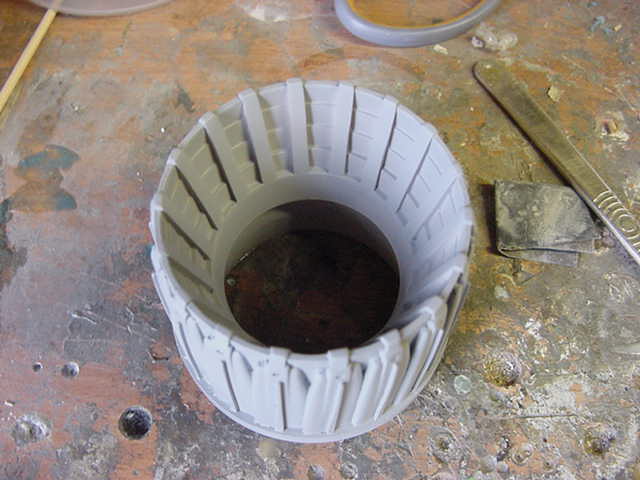
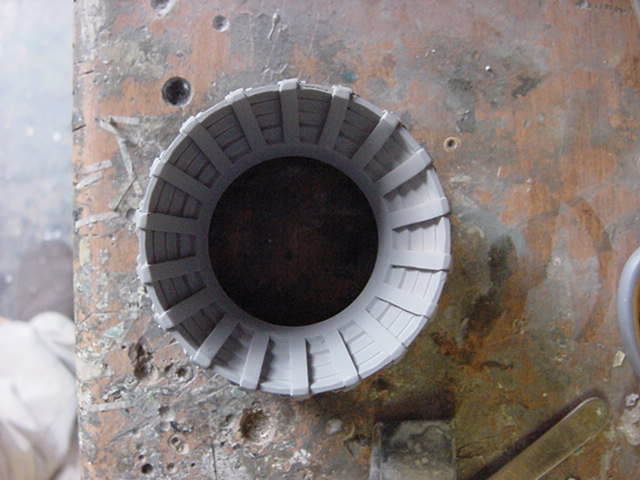
Time for a quick dry fit of the inner ribs.
Yep, about right.
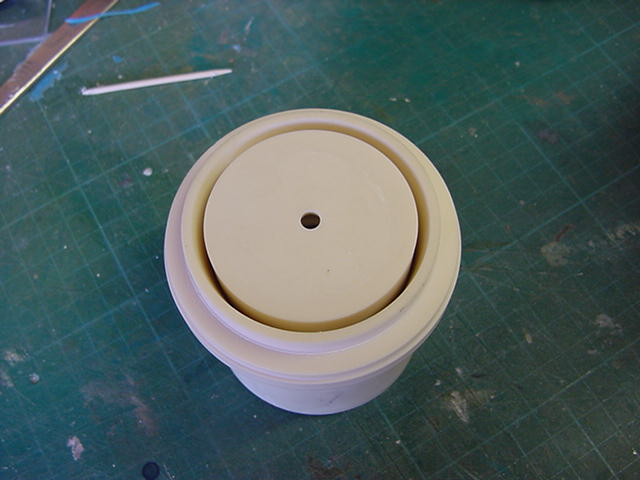
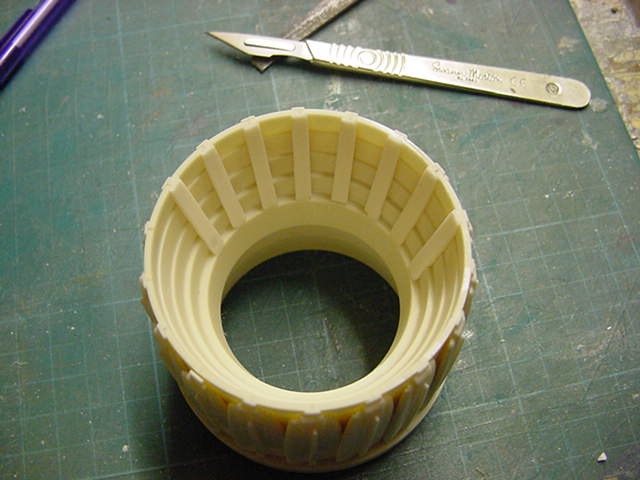
Some milliput applied to do a bit of gap and small air bubble
defect sorting out and that was all straightened up.
The inside ribs, a tube of cyano, some careful placing,
a gentle squeeze a piece and it's a done thing.
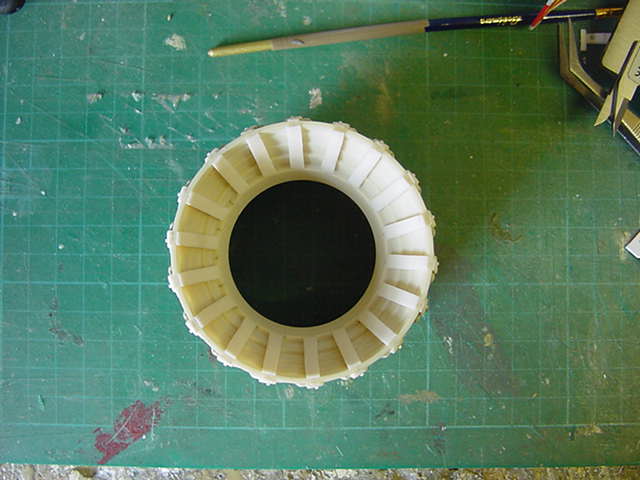
Getting there after a fashion.
So then, some milliput mixed up and applied to the ends where the feather and inside ribs join.
This is to create a sort of wrap over as seen on the full size and CGI Vipers.
Once all shaped proper and sorted, time for a lick of primer and a looksee.
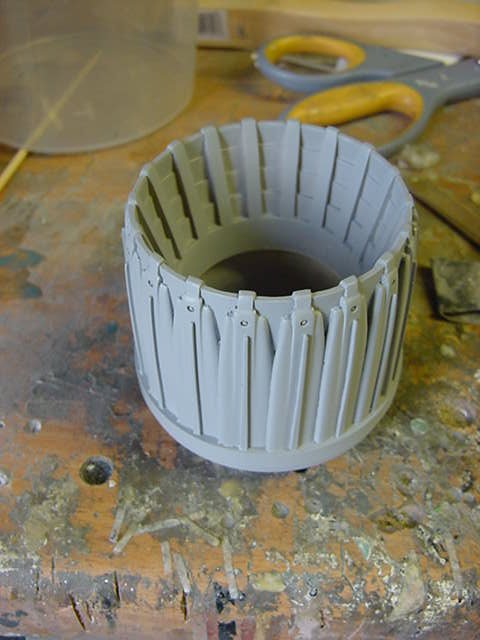
Me likey!
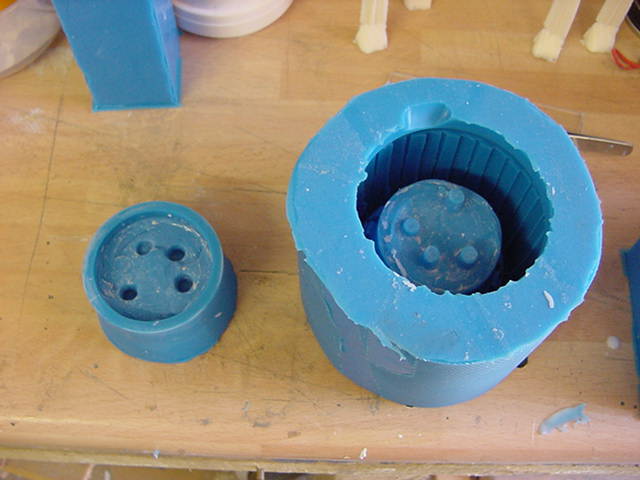
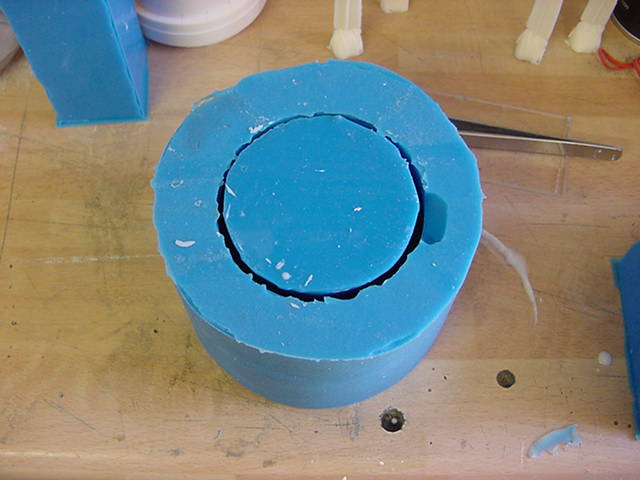
So time for the rubber treatment, simple two part mould.
Shove the small plug into place, fill with resin.
A quick degas, wait for 30mins and pull.
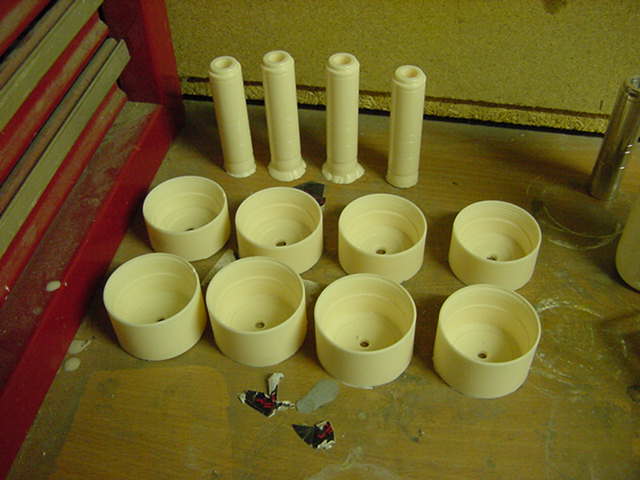
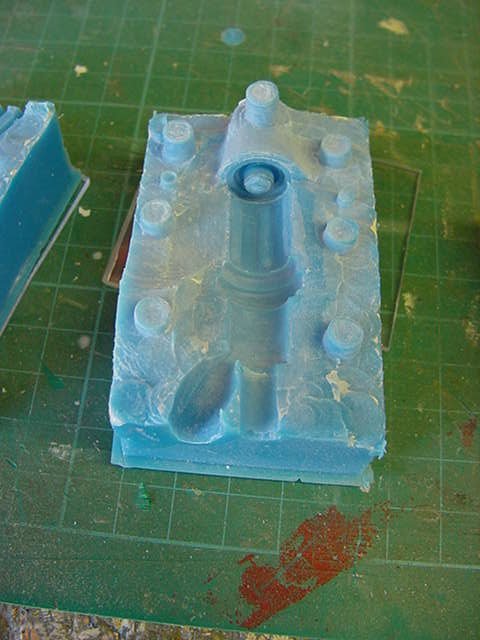
So that underway, time for the engine back cans and gun body moulds.
Again, simply done with one sided moulds.
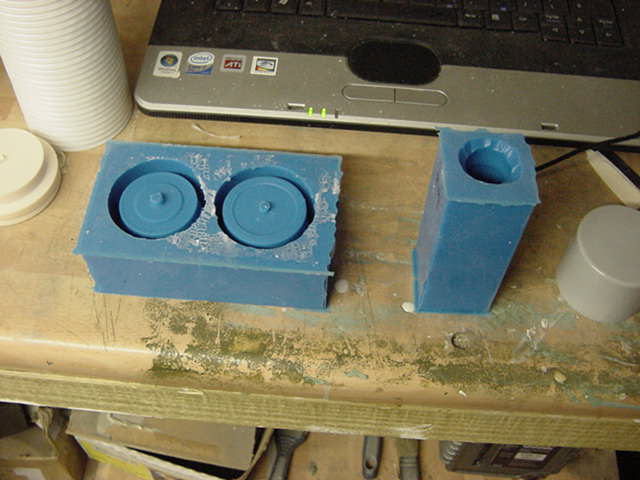
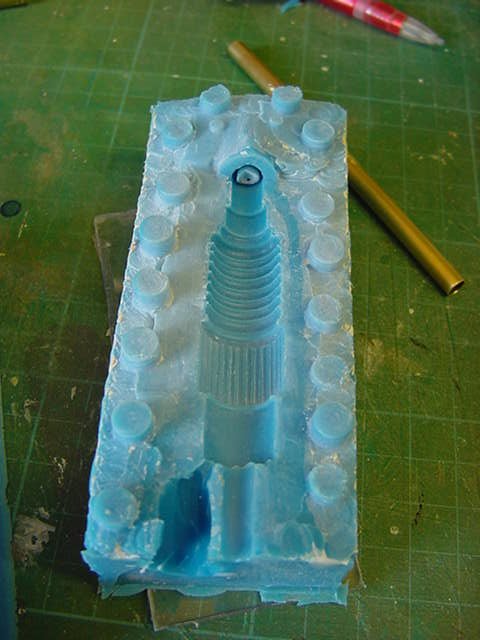
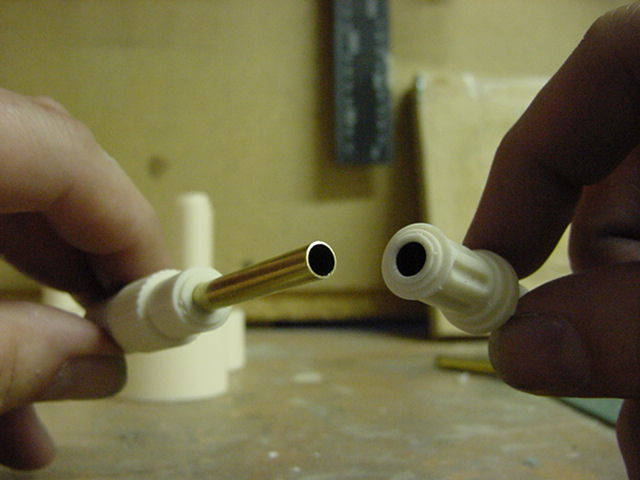
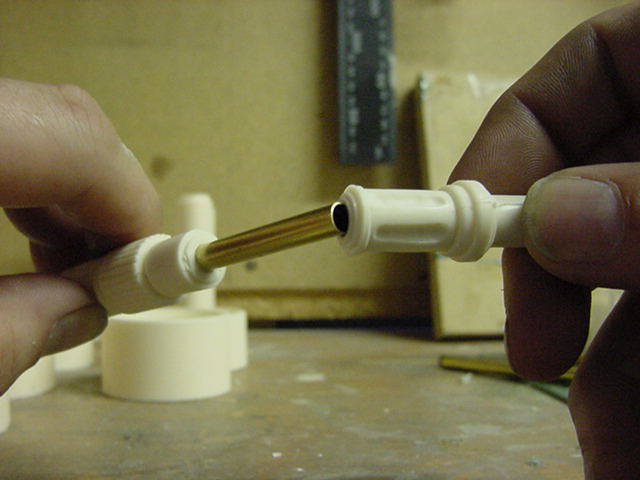
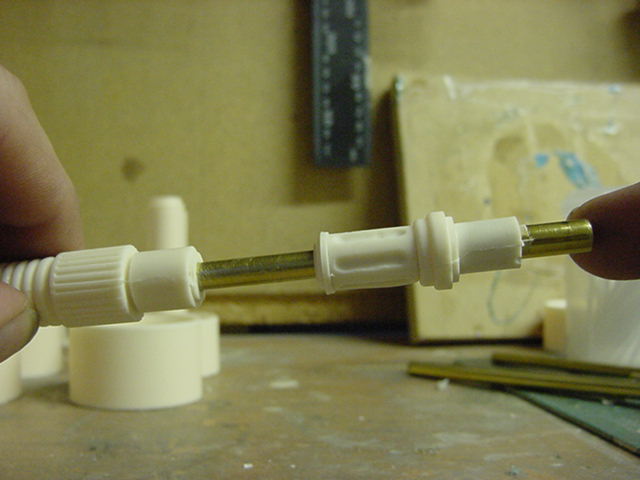
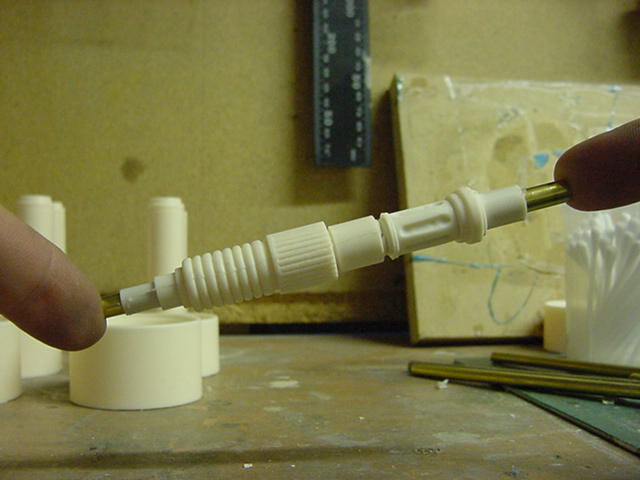
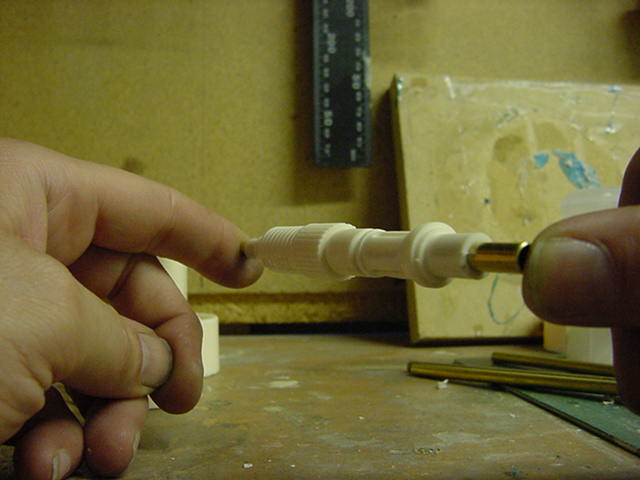
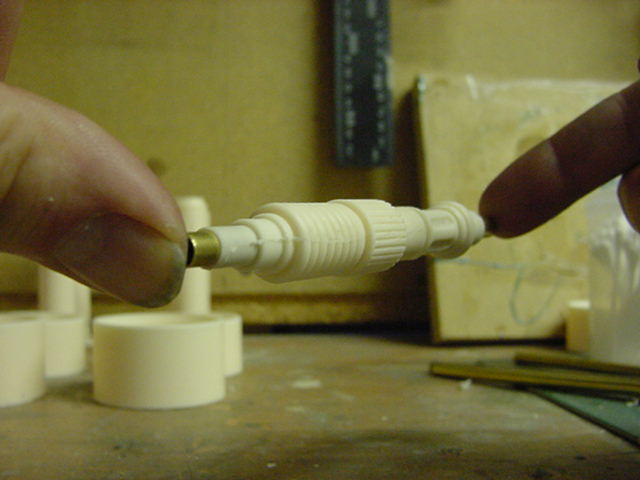
And onward with the gun barrel moulds.
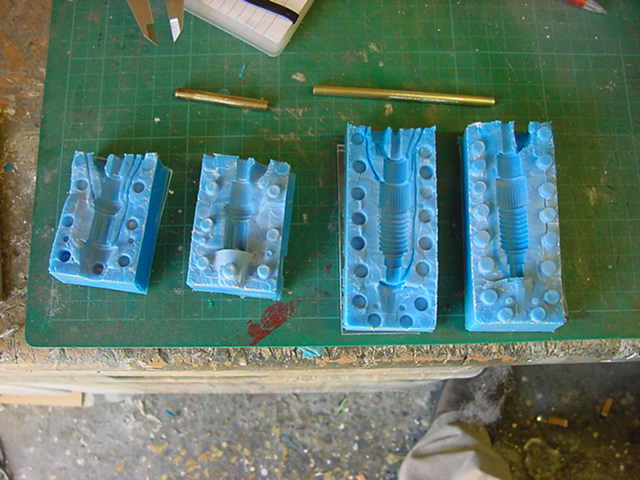
The moulds had the placing for the brass tube in them of course since it was on the masters.
Nothing more complex than some sprue runs cut in, brass tube to length installed,
Close and pour the resin stuff.
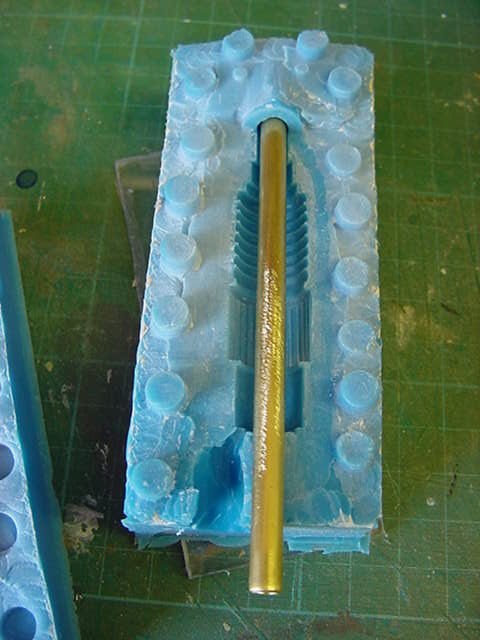
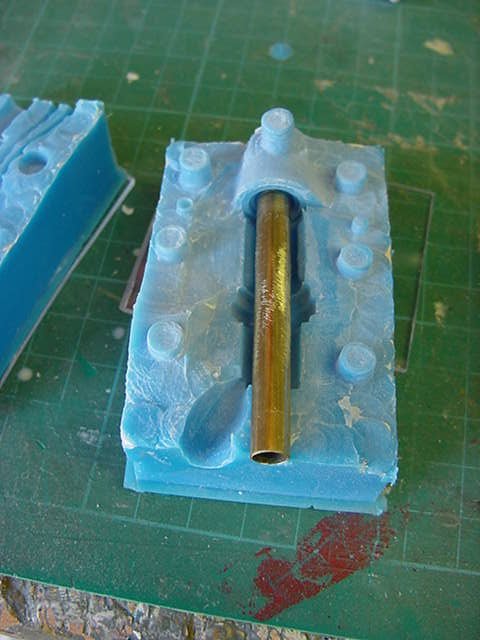
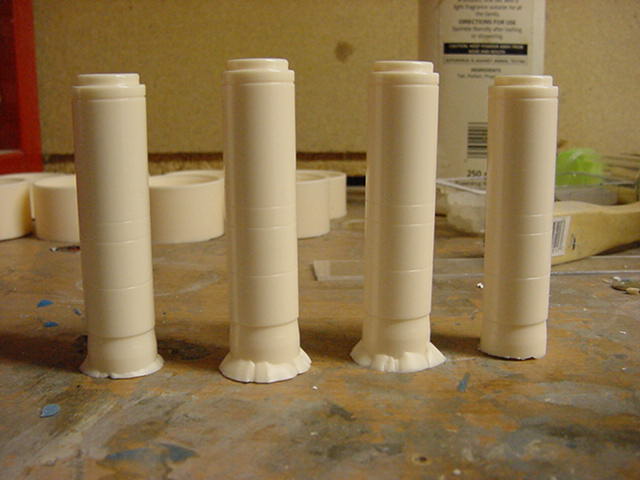
Removed from moulds once cured and a quick trim up for test fitting purposes.
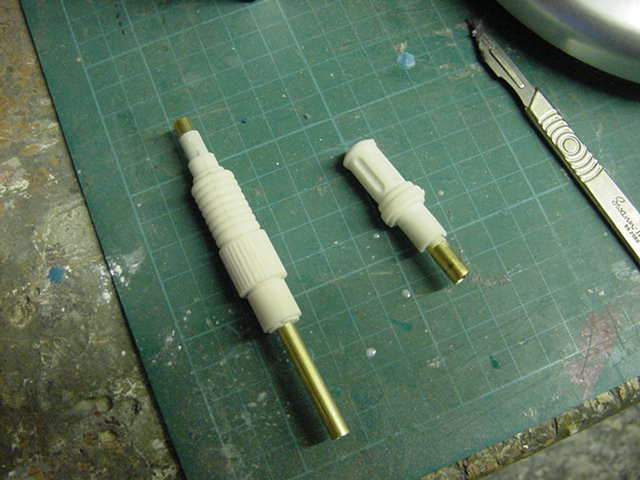
And there was much casting goings on going on...

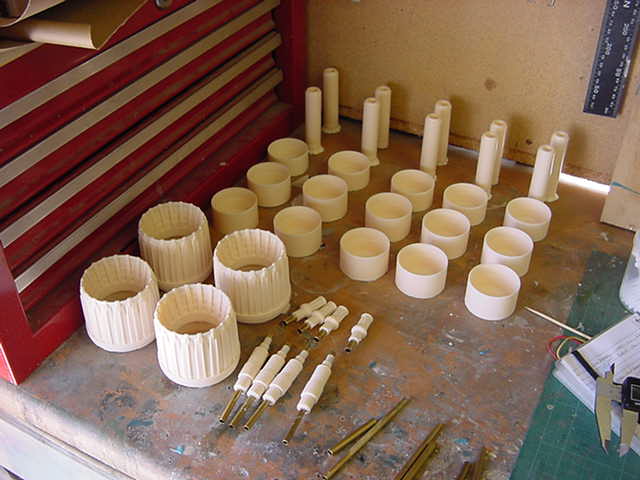
Just going to knock out enough bits for five Vipers.
One lot for the primary build, one lot for the original client, one set of parts for
someone assisting me with something special I hope and two for later.
All good clean teeth gnashing fun in a masochistic sorta way methinks!
That's all for now gang, see thee for the next update at a later date.
Go easy out there all of ya.
Page Number