
Battlestar Galactica Viper MkII
1/10th Scale.


 Page Number
It's not about pretty photos...
But It Is About Photo-Etch...
Brass That Is.
Hearty greetings gang and welcome back for another bit of hellhole happenings.
Now it's all a part of the plan and this part involves some photo-etch brass work.
I always wondered about doing this kind of thing but never had the gear to do it...untill now.
A short while ago during one of my search the net for goodies sessions,
I came across this here page:
Micro Mark Home Photo-Etch System
Should open in a new window.
Now I had to get the export version since i'm in the UK rather than USA.
Only things it didn't come with are the chemicals but that's no big deal and these were got without fuss.
Also needed a voltage converter to run the gear it comes with.
Also easily got on this side of the pond.
Now by all means have a look over the MicroMark page as it contains info,
plus a link to all the basic info for how to use this goodly piece of gear.
Well the parts I have in mind are the discs to go on the guns and some engine can rings...
At least for starters.
So going by the destruction booklet that came with this gear, it sayeth that some artwork for the back and front of the metal sheet to be etched is required.
Here's mine...
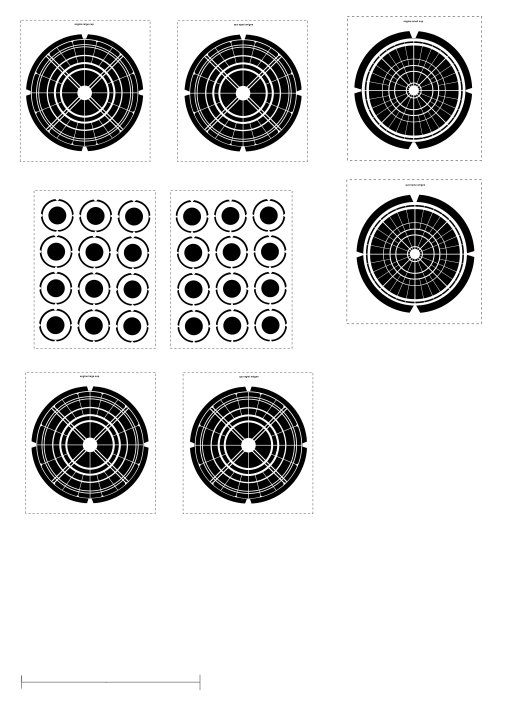
This pic is reduced to about 10% of original size just to get it on the page you're looking at by the way.
So then, simply put:
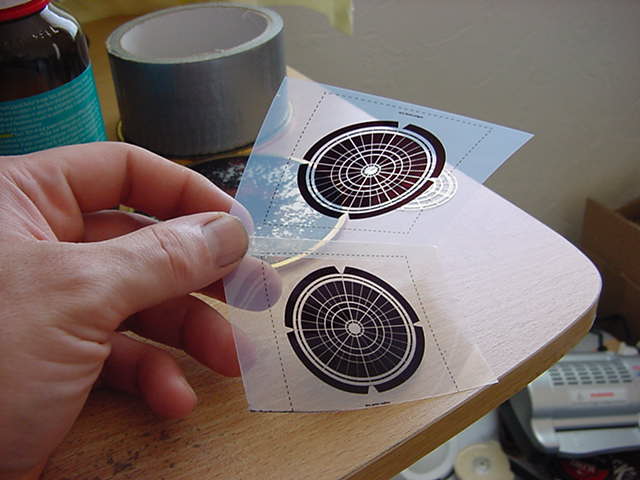
Print via an inkjet printer on to the special clear film in the kit.
Some trimming and make each pair of images into one that will go on the brass sheet.
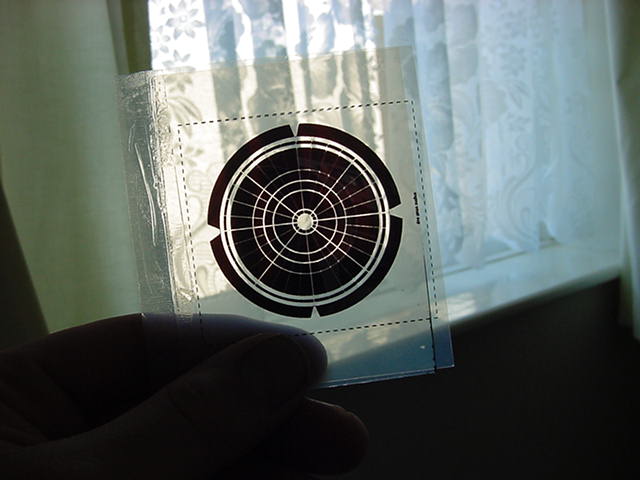
As per instructions, tape one to a window, align second over it untill in perfect (or near as dammit) register.
Tape together and done, ready for use.
Looks a bit like this:
Next stage was to apply the photo resist to the brass sheet.
Cutting the film supplied and placing on to the metal which was pre-polished with the supplied abrasive pad.
Film on both sides sorted and then fed through the supplied laminator.
After all that, place the printed film over it and sandwich between two squares of supplied plexiglass and expose each side to the noonday sun for 15 seconds or so.
Decided to do it in the way the instructions say before going about building a UV light exposure box just to see if it all goes as is reckoned by the destructions.
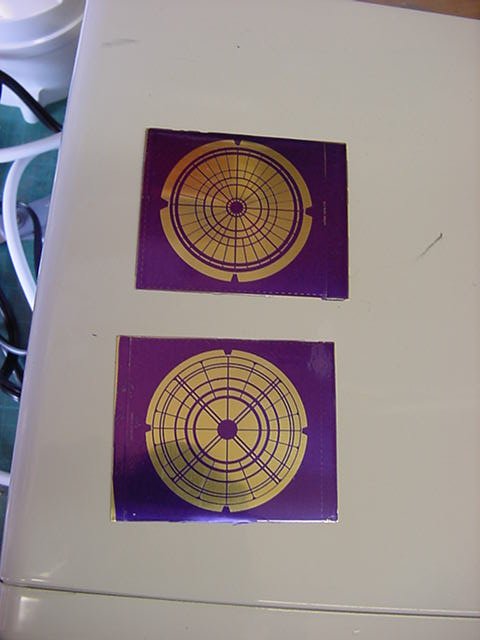
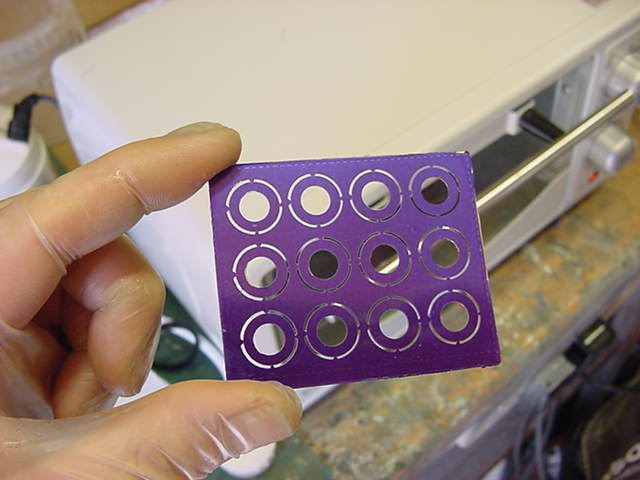
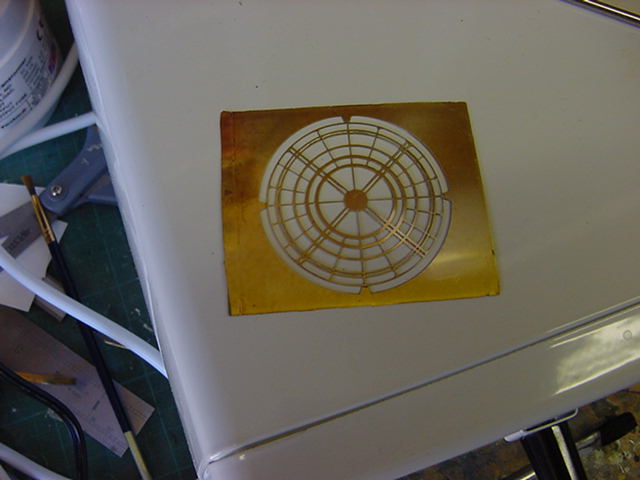
Well after much mucking about, exposure done, sheet removed from plexiglass and black printed matter put away for future use,
This is what ya get...
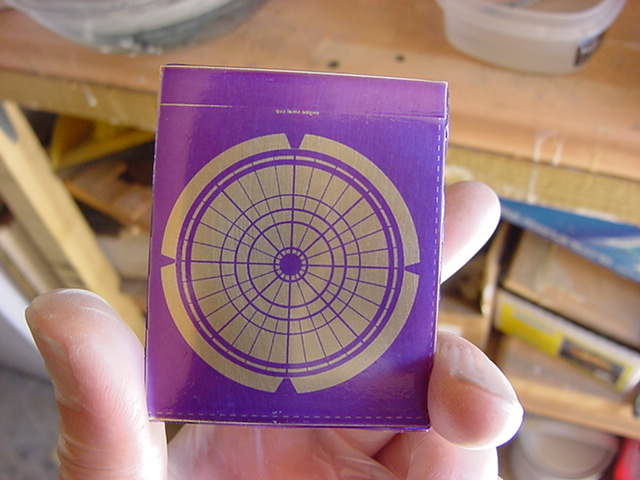
Now this gets a bath in some weak sodium hydroxide (caustic soda like stuff) solution.
Reason being is that the purple areas are the photo resist that has been hardened by exposure to UV light.
The clear parts are soft so that has to be stripped away leaving only the hard covering.
In this way, the brass you want to keep is protected and the exposed metal is the stuff you wanna get shot of.
So bits set and sorted.

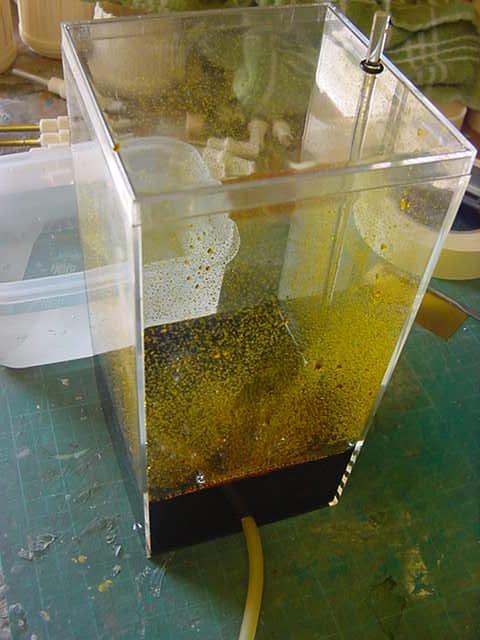
So with the kit you get ya etching tank and a nice wee airater pump...
Think home aquarium sort of thing...
With a lid and holder for the brass sheet.
Instructions say that 10thou" max sheet thickness is okedoke.
Much thicker will not fit through the laminator.
Brass is the first choice here but it can handle steel, some of which will be tried later.
So the magic etching fluid being ferric chloride.
Evil smelling stuff and of course more than a little corrosive
so as with all potentially hazardous chemicals,
And always best assume they all are...
TAKE GREAT CARE AND READ THE SAFETY DATA SHEETS!!
Not forgetting the personal protective wear, always use it if ya got it gang.
And if you ain't, then damn well go get some!
So for the etching chemical to work at it's best, it needs to be warmed up.
About 50 degrees C according to the MSDS/usage info.
One of these and an old glass casserole dish with lid suits the deal.
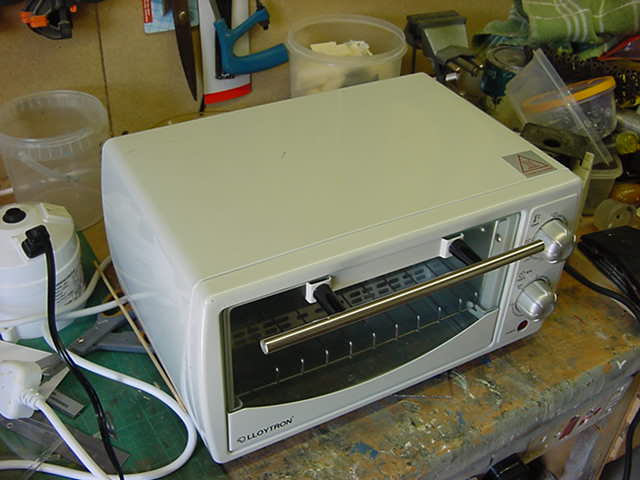
Just a small oven/toaster setup.
Also good for sculpy curing.
Now useless for food of course...
Which is good news for the frozen pies in the freezer
and curtails any midnight snack inclinations of mine...
Dammit!
Onward!
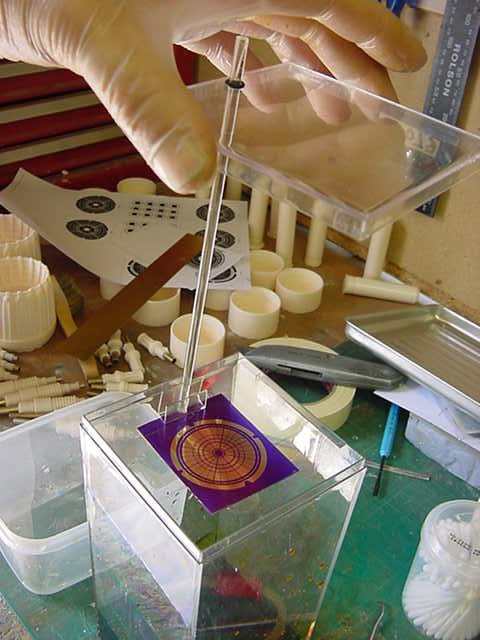
So after warming the ferric chloride, tank/pump set up and metal clipped into holder.
Lowered in, pump on and timer set for 5 mins as per destructions.
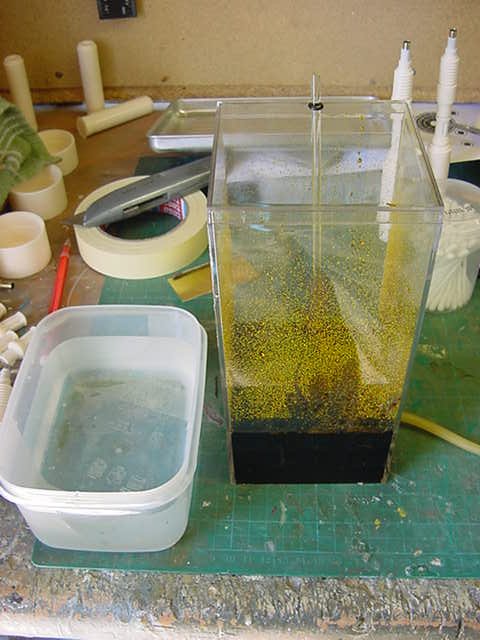
Method is:
Let run for 5 mins,
Turn lid and part holder 90 degrees and run for another 5 mins.
Pump off, remove and rinse part,
Turn 180 and put back in holder,
Repeat as above, examine part every so often to see how etching is going.
It's all about getting used to what happens and the time it takes but no big deal.
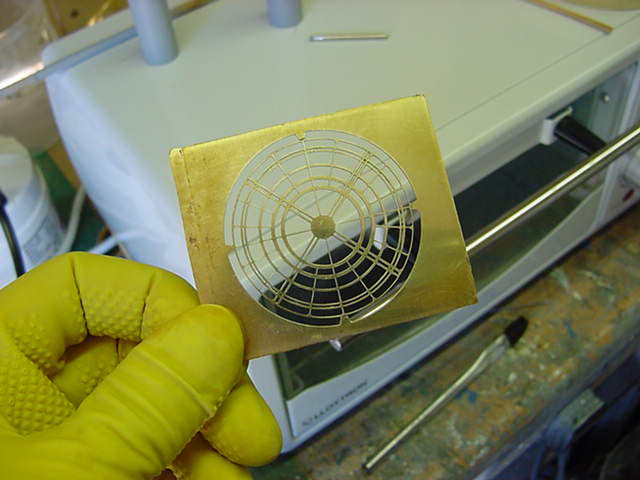
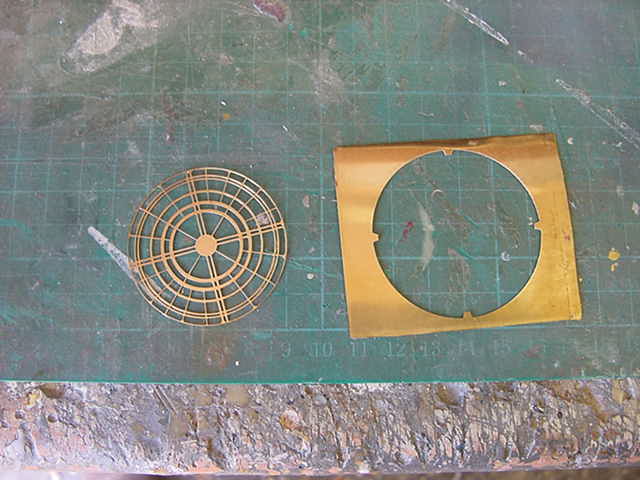
Well the first this I needed was the discs for the guns.
After some trial and error but not that much, we have this.
So from here, the sheet was given a bath in a stronger solution
of sodium hydroxide to strip all the hardened photo resist.
This is what came out of that hoo-ha.
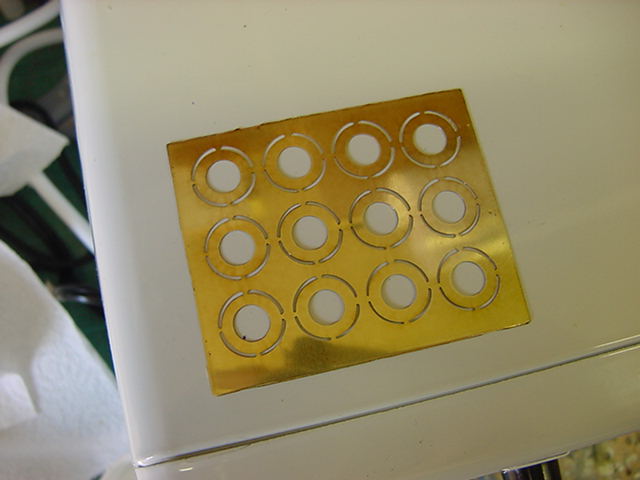
Nice!
So then, to get to work on these.
Two discs were cut from the sheet and the gun parts given a basic clean up.
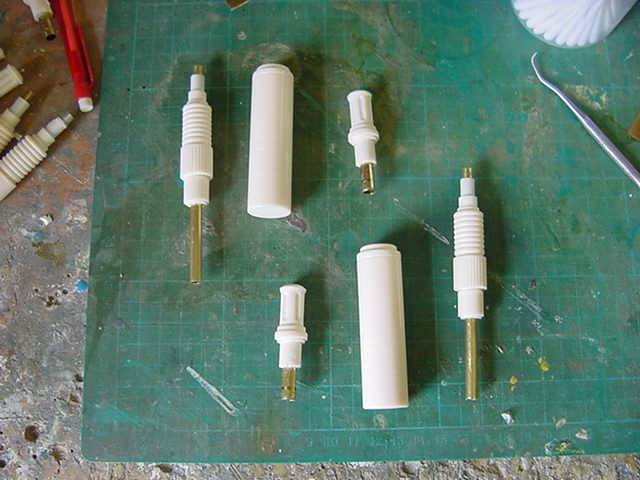
The discs placed where they should be and the gun parts got some epoxy stay put gunk applied.
Followed by the inevitable but most necessary primer going over.

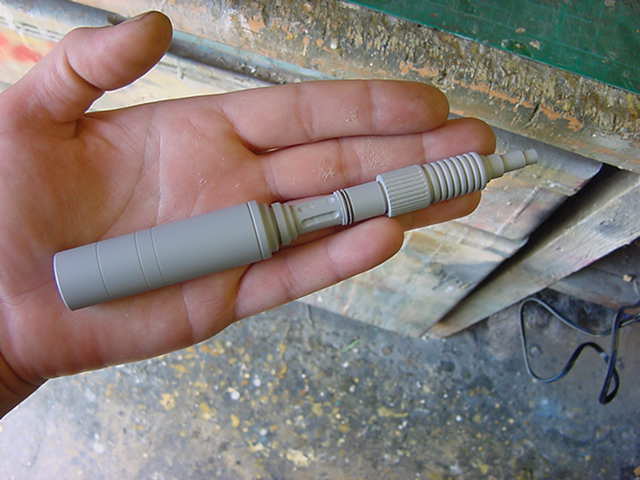
Looks about righteous to me.
So the rings were given pretty much the same treatment.
Now to back step for just a sec.
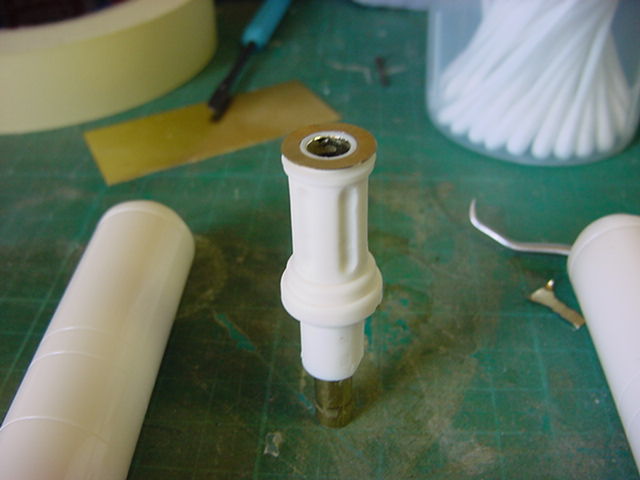
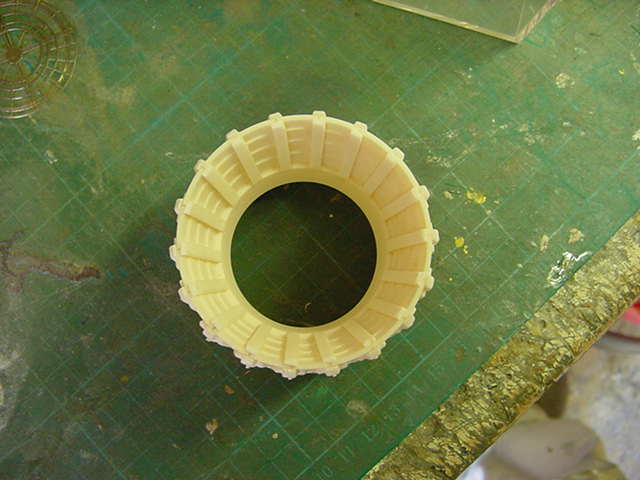
You may recall the engine back cups I made and cast?
Well now for at least one fulfillment of purpose.
Here's one and note the step about half way down the inside.
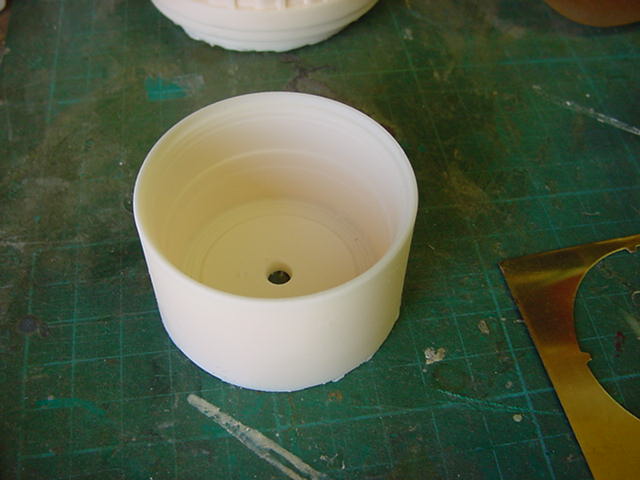
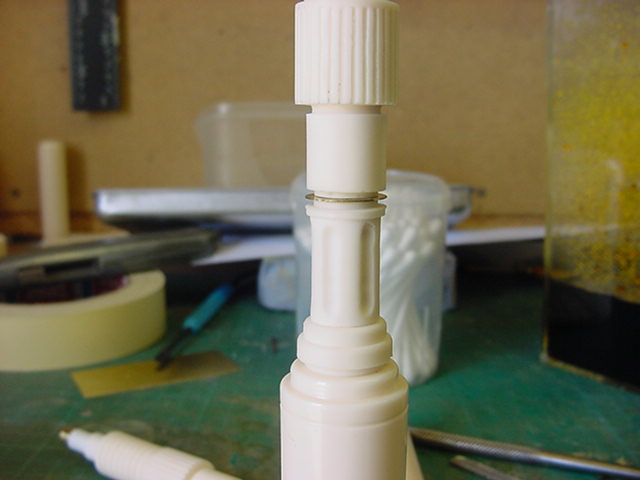
Ring removed from sheet and trimmed.
Put where it was intended to go and for once, my measurements were on the money...
Makes a nice change.
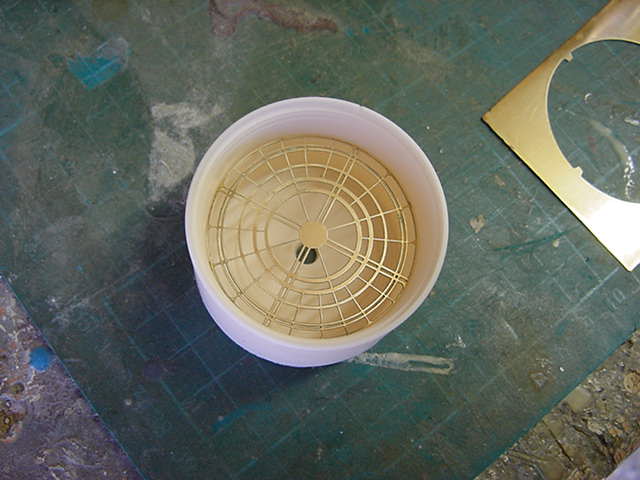
That will do just bleedin' nicely for the inner engine exhaust ta muchly.
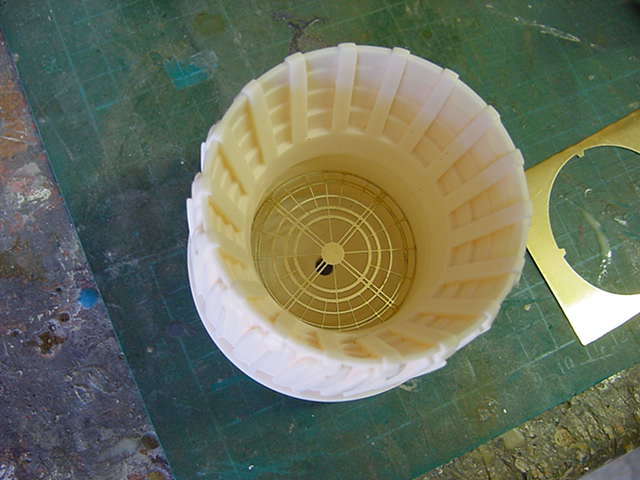
I'll make up the final exhaust plate as time goes on.
Idea is to have the lighting (or not depending on build) then the inner ring,
And finally the yet to be built exhaust part proper just to make it look a bit nicer.
A bit of depth rather than just the back end and that's it sort of deal.
It will all become clearer as time goes on I promise.
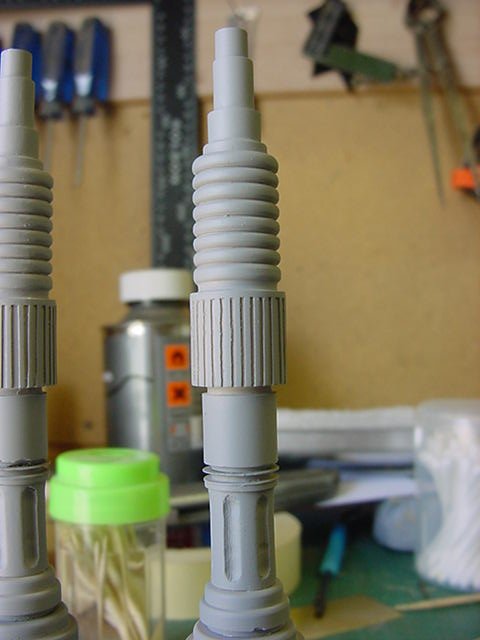
So just one last bit of business for this update.
The feathers for the high engine all cast and glued on, likewise the inner ribbing.
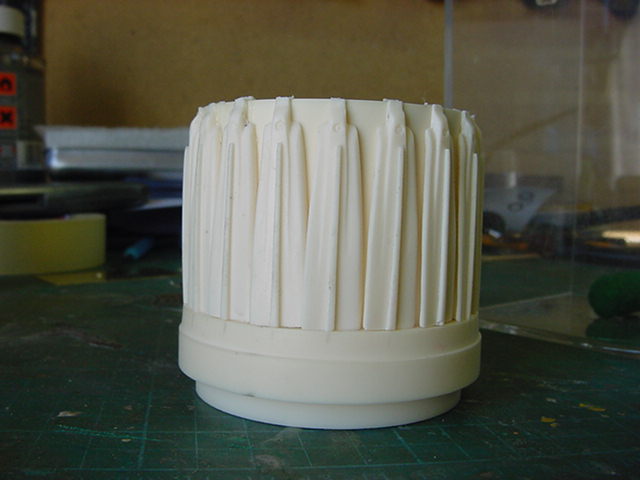
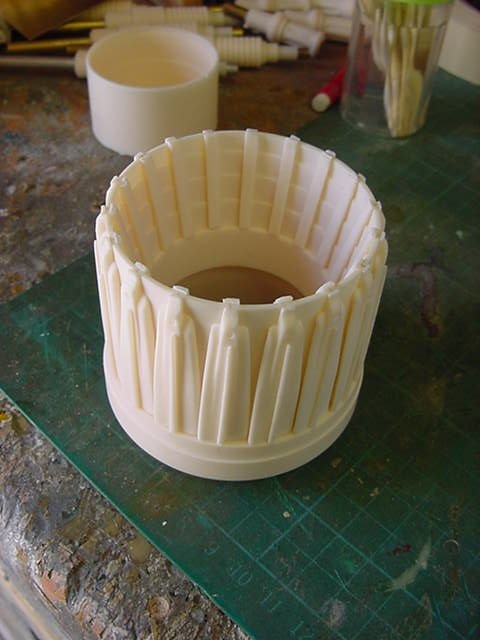
Looks a wee bit different than the side engines and that's what one was aiming for.
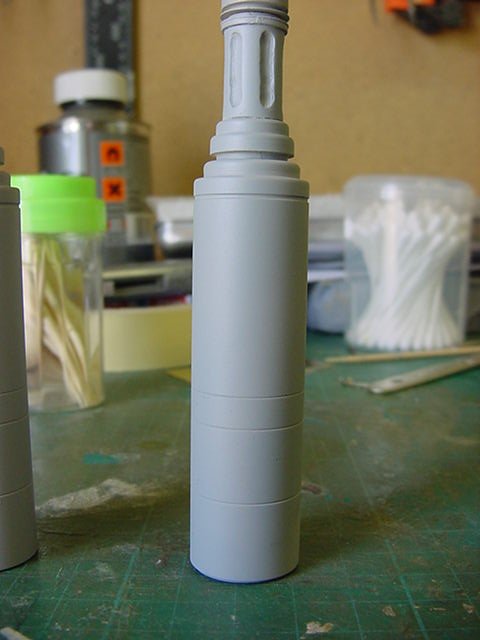
So that to be sorted with final detailing and got under rubber.
But that and more for next time.
Untill the next silly saunter about the hellhole, you marvelous mob go easy out there.
Page Number