
Monogram Space Shuttle
1/72nd Scale


 Page Number
Normally I hate tiling...
Thankfully, I Got Some Help With This One!
Welcome along one and all, for this little round of Hellhole happenings.
OK then, this idea came up due to a 'Monogram March Group Build' on the
Resin Illuminati Facebook page so here we do bloody well go.
Now to get it out the way,
this is not intended to be a specific orbiter regardless of what name I end up plastering on it.
So not going for
Shuttle *insert name here*
on STS-*insert number here*
with the correct markings etc. and so on.
Onward!
After a think and a bit of faffing about as to what to do, the result will hopefully be as follows:
No landing gear,
Crew figures with one floating (excellent suggestion Mr J. C. Brown!),
Cockpit detailing and lighting,
Resin replacement engine bells,
No detailed payload bay,
A whole rake of aftermarket decals,
Whatever else comes to mind.
There are plenty of online reviews for this kit out there so I will not be bothering with that.
A quick run through of where I stand on the parts...
The kit...
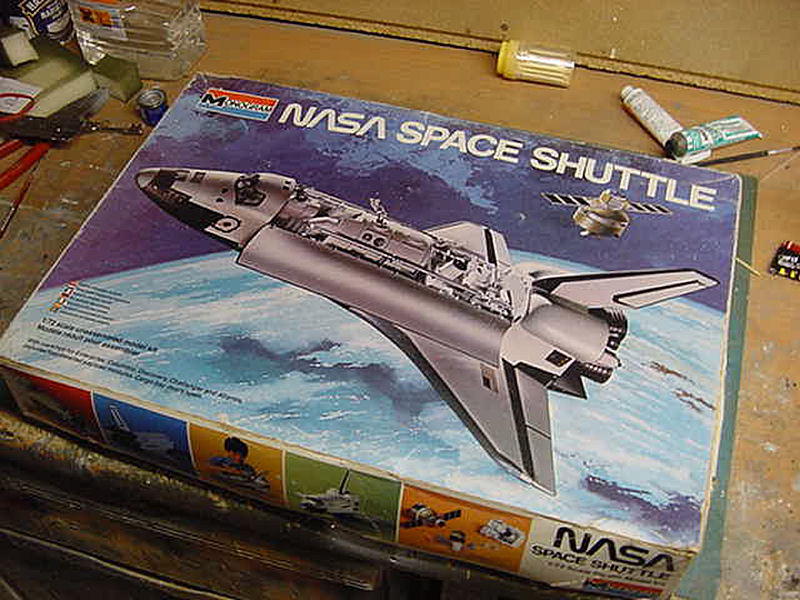
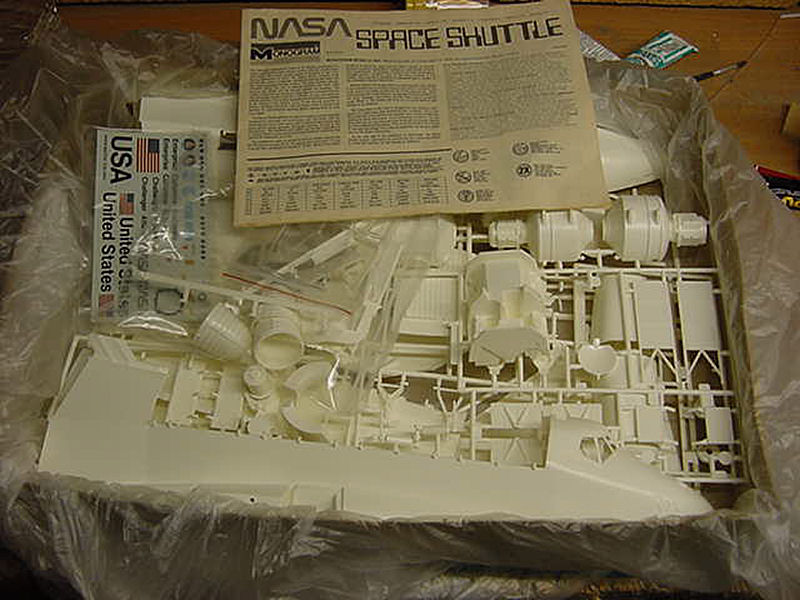
A fair amount of that will get shoved to the spares/greeblie pile.
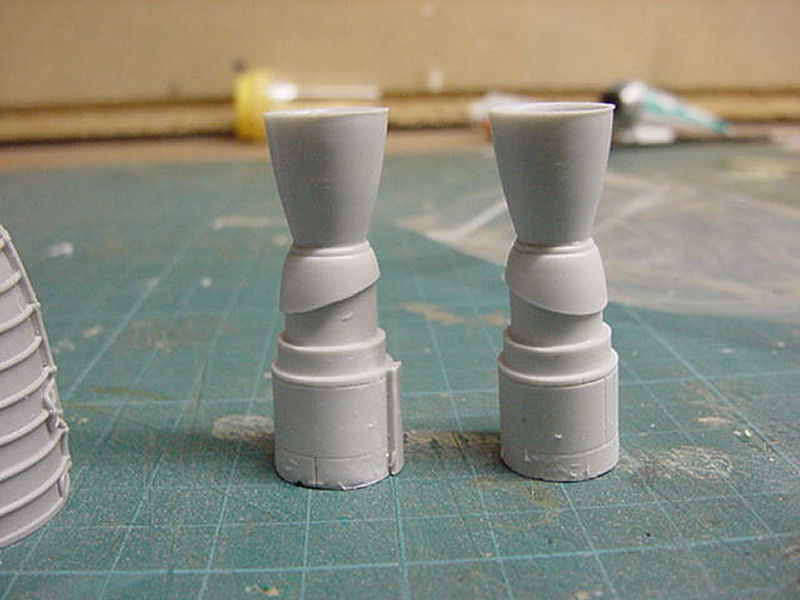
The Cutting Edge resin engine bells...
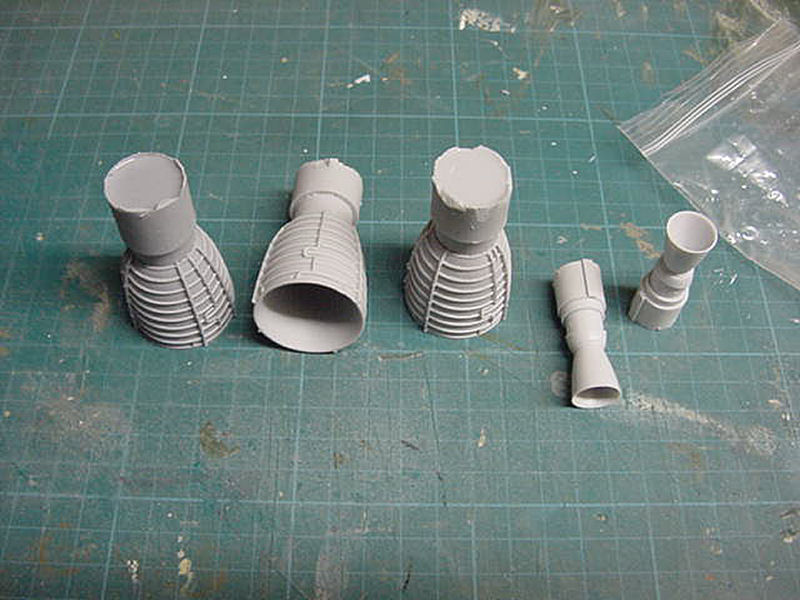
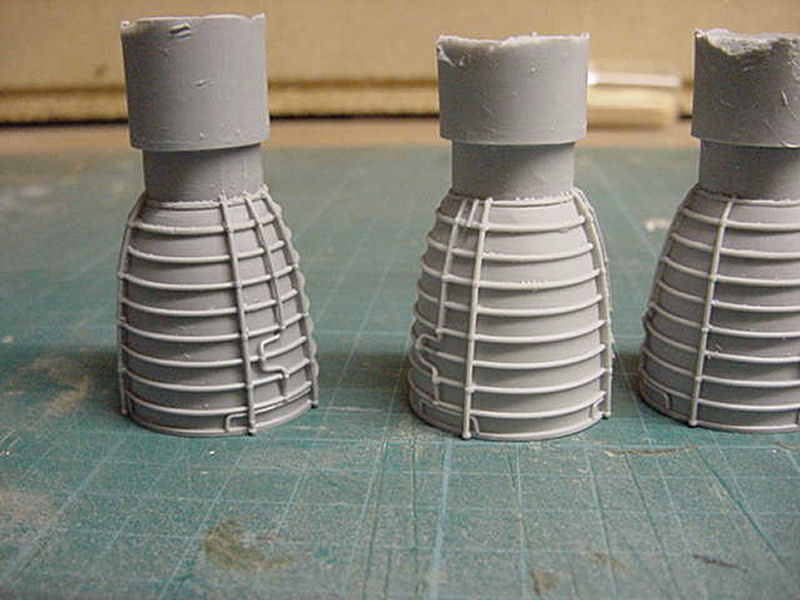
One pilot and two mission specialist figures from Shapeways...
Gave them a lick of grey primer otherwise they are
impossible to photograph and show details.
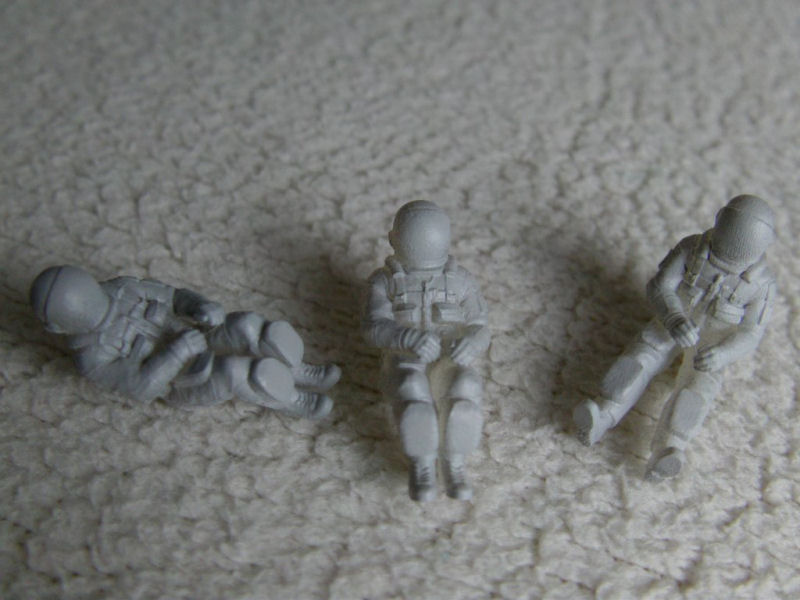
The pilot will remain pretty much as is, the two MS figures will be converted to give me the one figure i'm after.
And now...
Decal fun!
And I got more than a few bits...
The ones below the box in this photo...
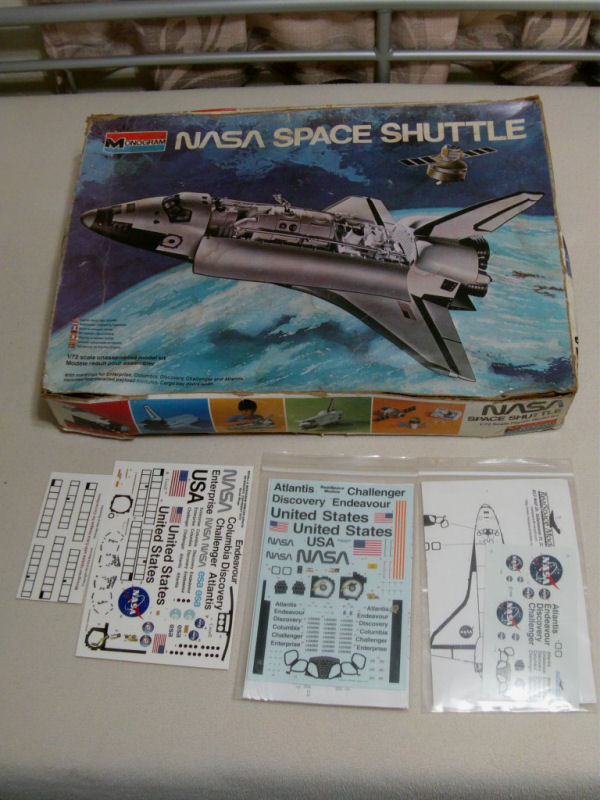
On top of that, we got the tiling decal set from Warbird Decals.
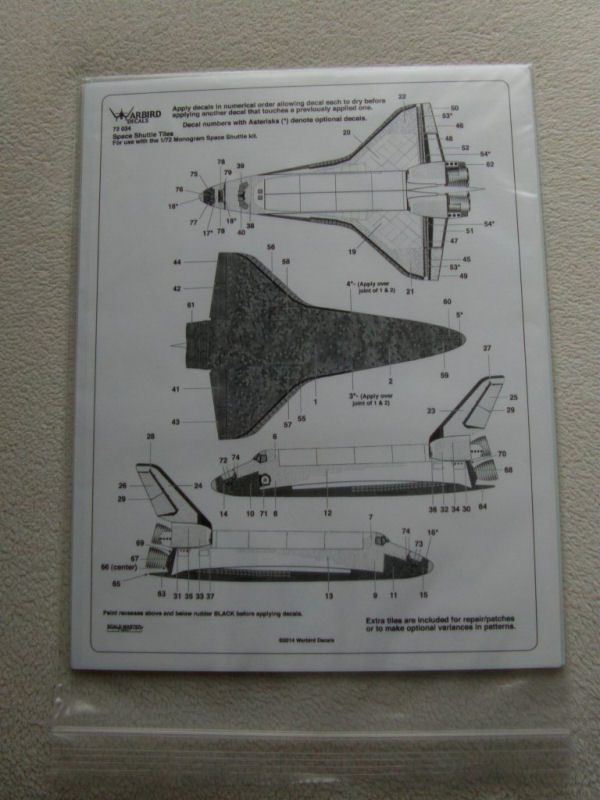
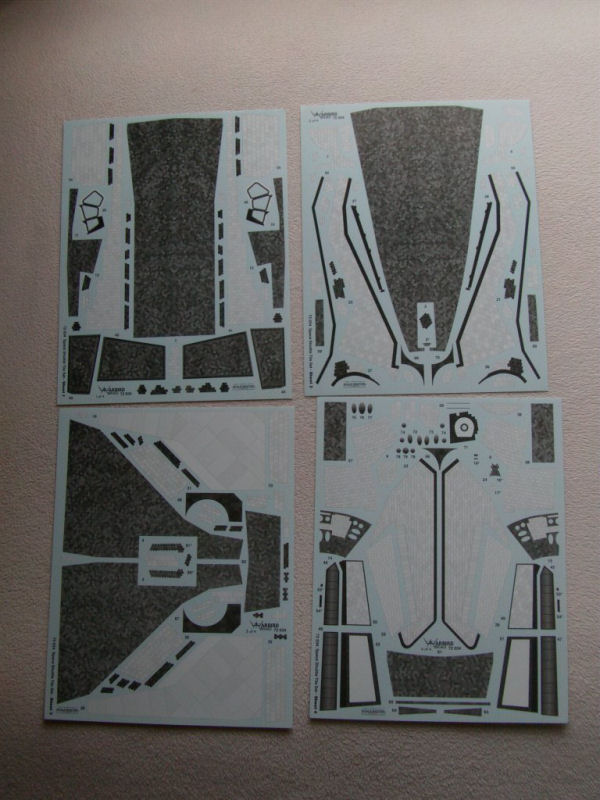
Chuck in some supplemental decals also from Warbird...
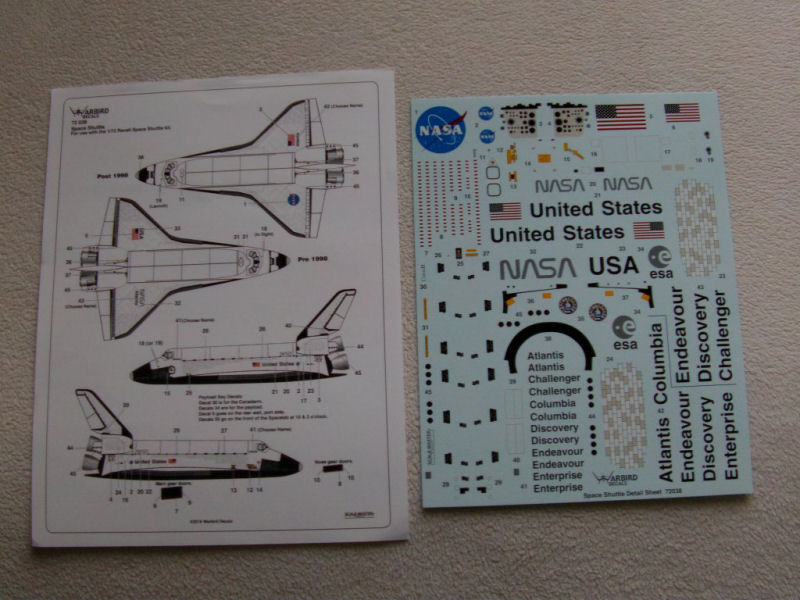
And though they may not get used, shuttle tile code decals,
again from Warbird...
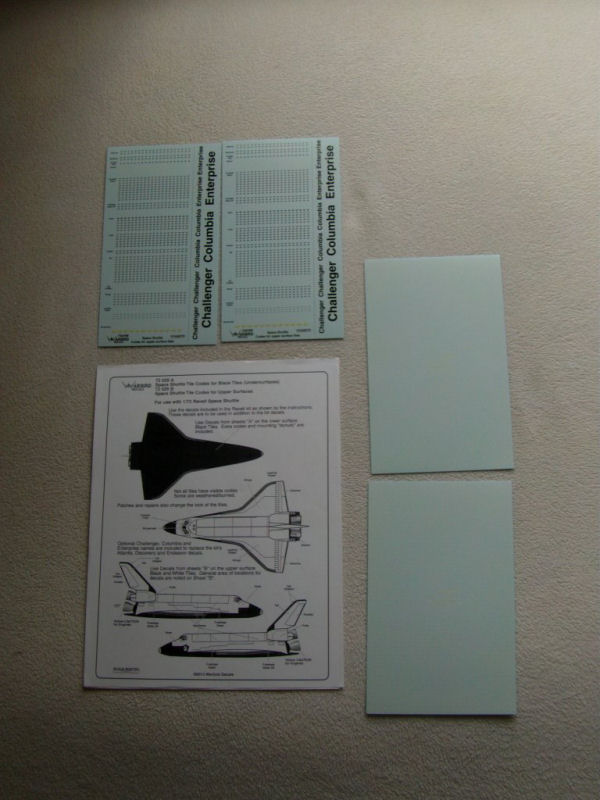
They are really for the Revell on me with the oversized tiles moulded on but if
I don't use 'em, my bro Chris has the Revell kit so he can make use of them.
All good here abouts!
Now one thing among many things to note,
the Warbird set is for the Monogram Shuttle and assumes unmodified as one would expect.
Then it comes to maniacs like me...
Who do the unexpected.
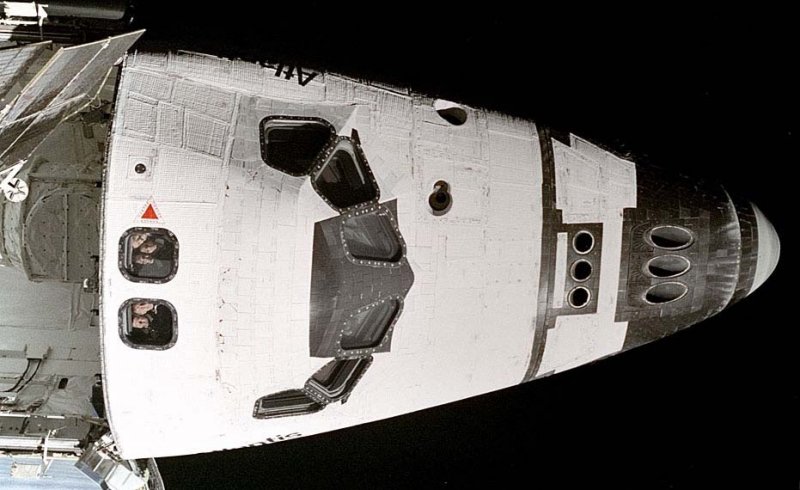
The front top nose RCS on the decal sheet is correctly sized for the kit which has the
center holes of the top of the nose cluster slightly larger than the others.
One half of the decal looks like this..
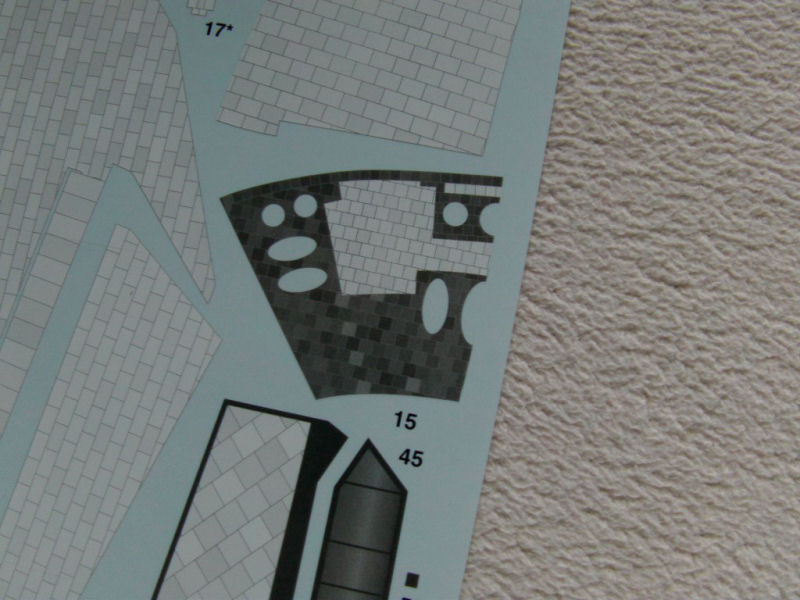
Now on mine this will change, as the holes are pretty much the same size on the real deal.
Like so...
Not a problem one would think untill I get me mitts on the kit and we will get to that in a bit.
So first up, a bit of gluing for the main bits.
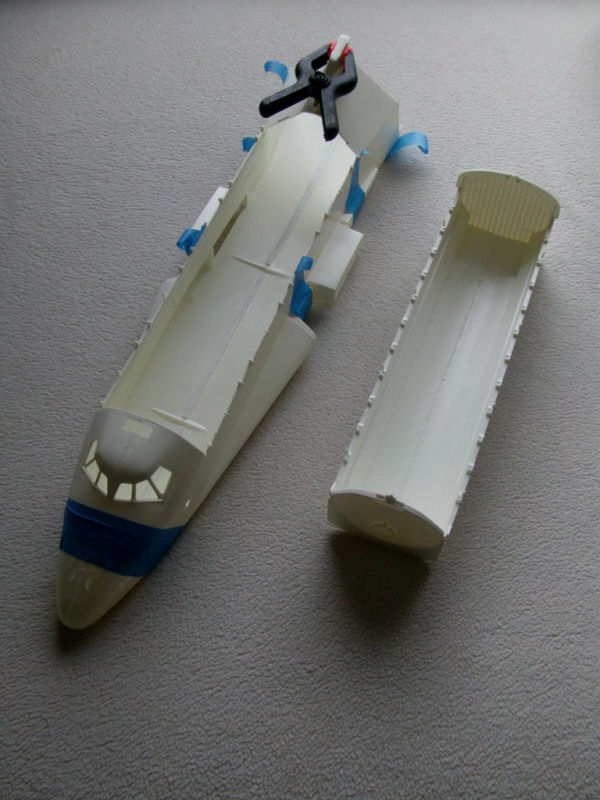
I'll be using the payload bay to strengthen it up and take out
a slight bit of warpage to the fuselage sides.
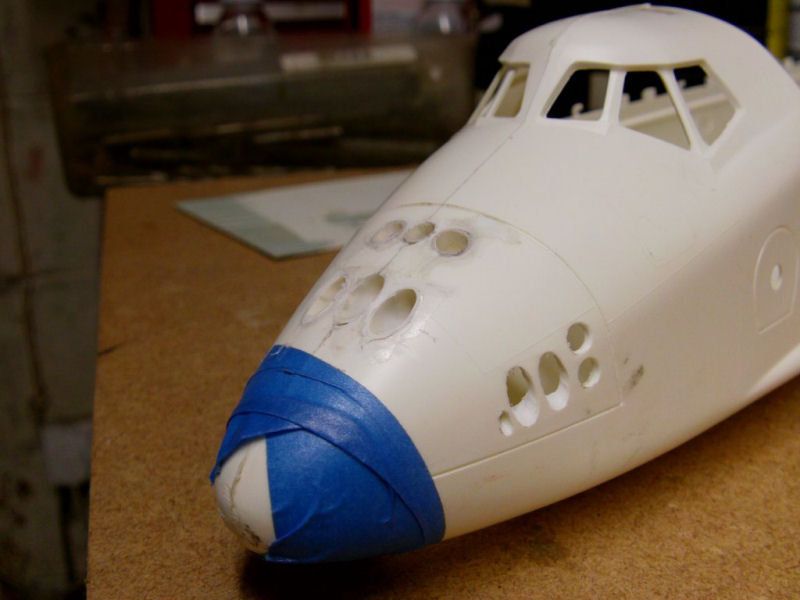
Now for the nose RCS.
Much drill, grind and file violence was done unto the said areas!
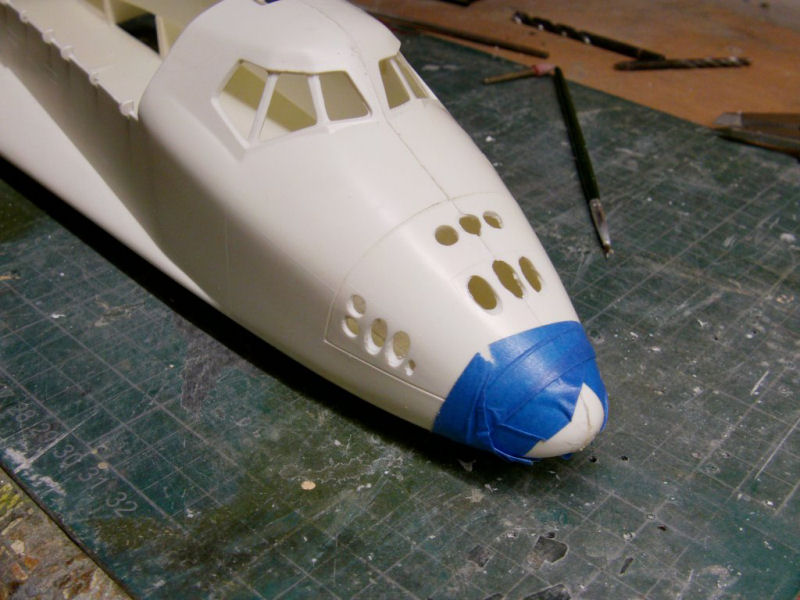
The lump of tape was there to stop the seam splitting.
Didn't work but some re-gluing and reinforcement later later and it was sorted.
So how to sort the RCS thrusters you may ask?
Welcome to the School Of Sledgehammer Scale Modeling method here!
Short order solution, three old biro nib ends fitted in to a lump of wood,
then some thin styrene sheet nailed over three holes drilled in a lump of MDF.
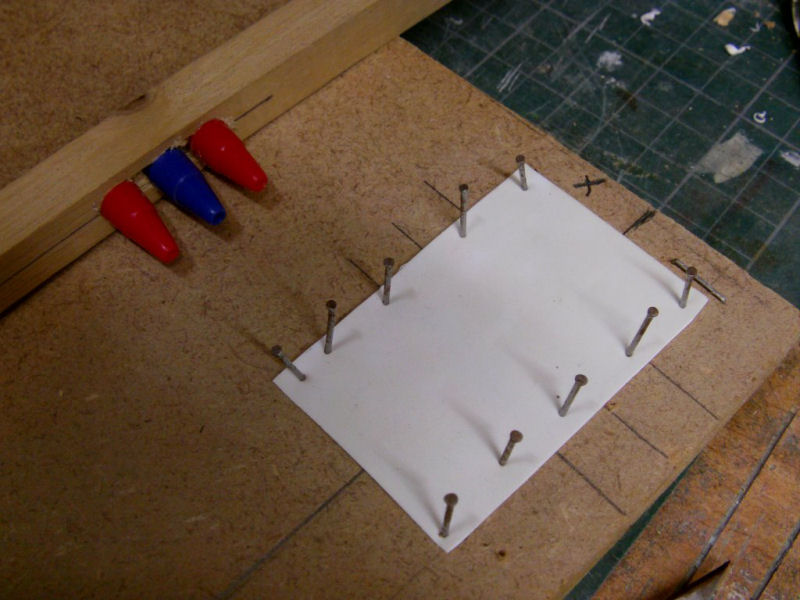
One paint stripping electric heat gun waved in the vicinity of said styrene untill soft,
then pen ends in the wood shoved down on the hot plastic
in the same manner one would try to flatten an over filled sandwich.
The result.
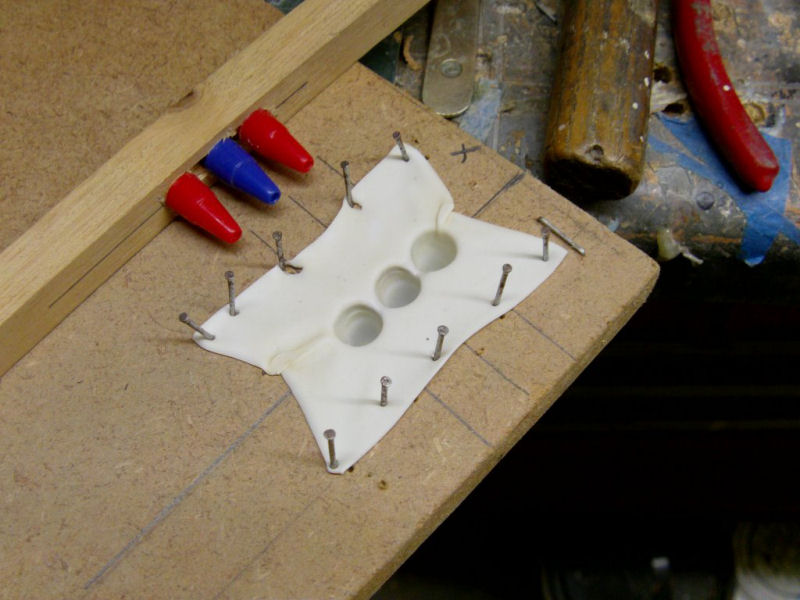
Attempt to remove nails...
Switch to using pliers when discovering that nails are in fact bloody hot...
Dip singed fingers in the wet sanding water bowl for a tick...
Continue...
Remove plastic sheet and we have...
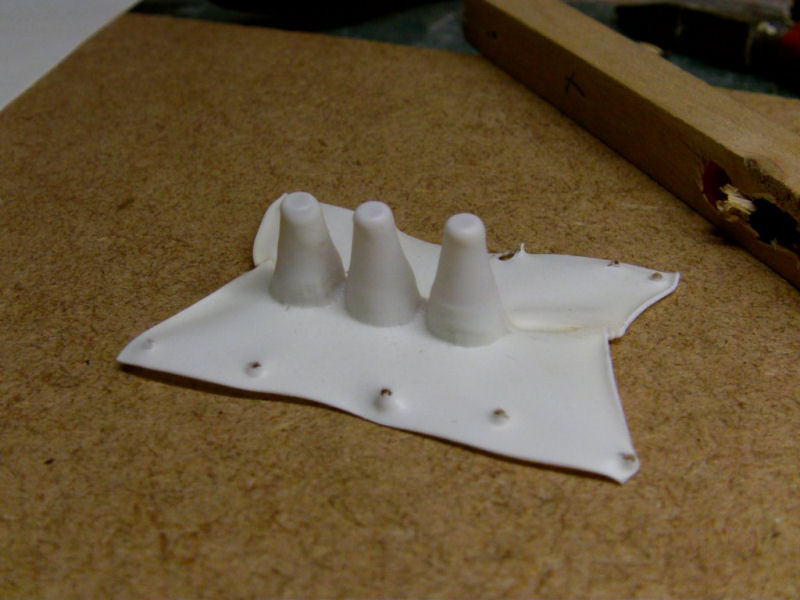
Repeat several times.
Slice the truncated cones from the sheet with all the technical precision of a runaway bulldozer.
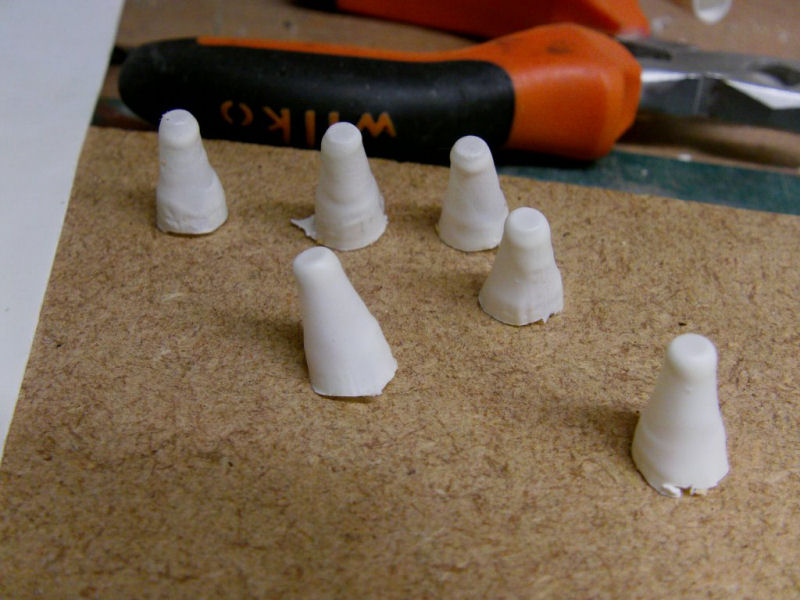
Shove selected cones in holes and apply the plastic melting stuff of choice.
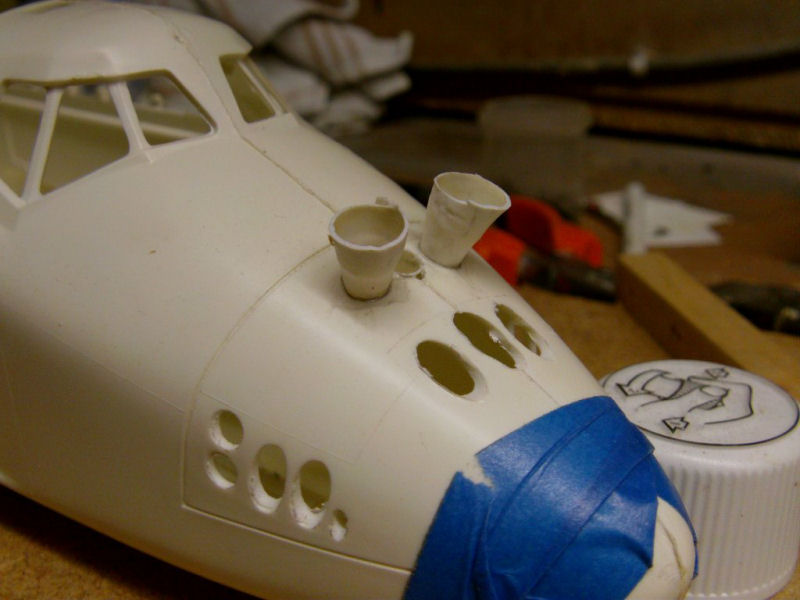
Keep going untill all holes that require filling on the top lot are done,
then trim up with one slice of a fresh scalpel blade!
Repeat this nonsense untill you got 'em all and a light sand down for a look see.
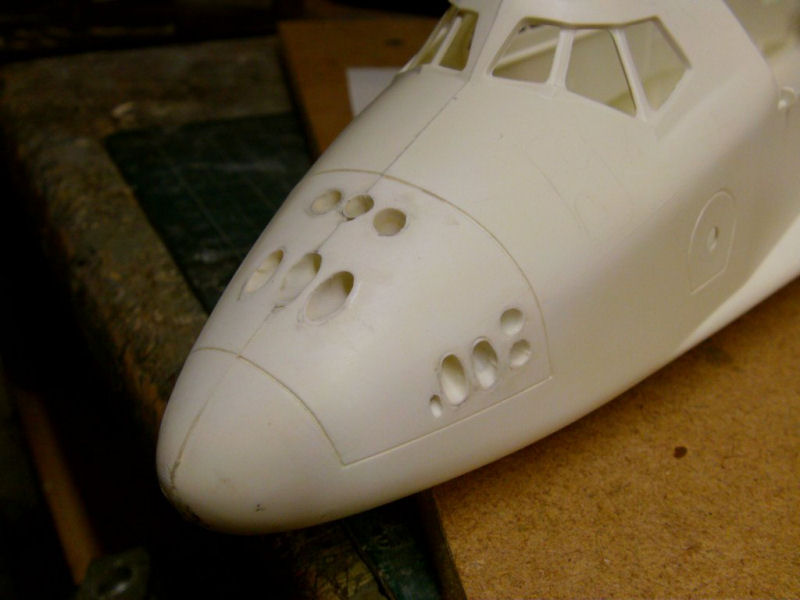
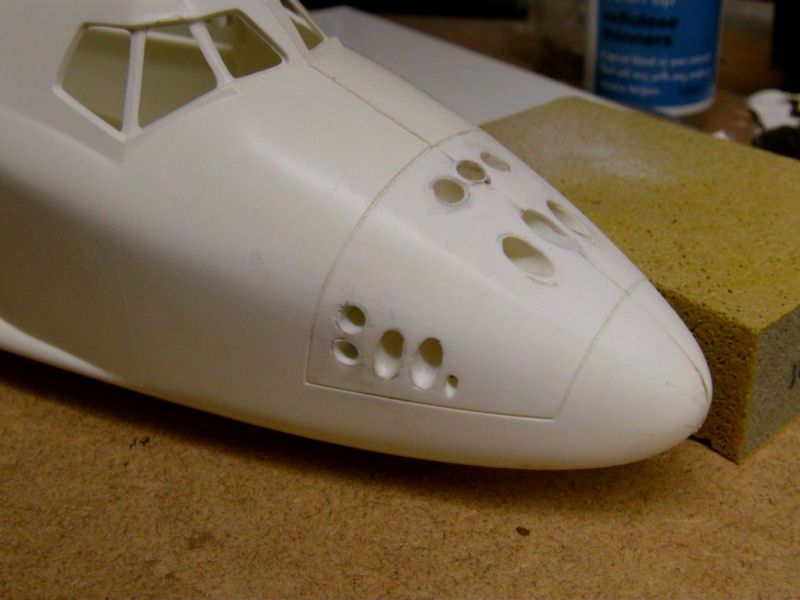
Lastly, ground out the antenna depressions and back with sheet styrene chips.
Now then, since this is going to be covered in decals, best try to make the surface smooth.
Much putty and a brisk sanding later, then came the primer paint!
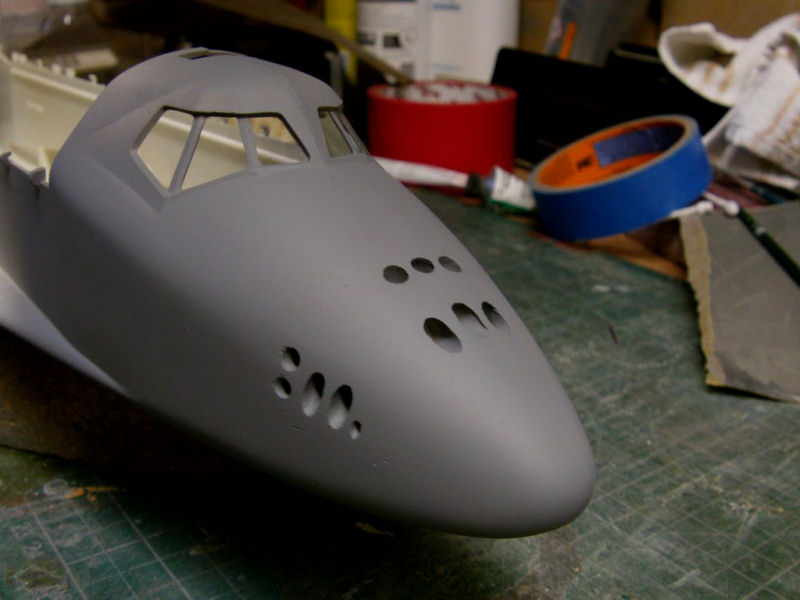
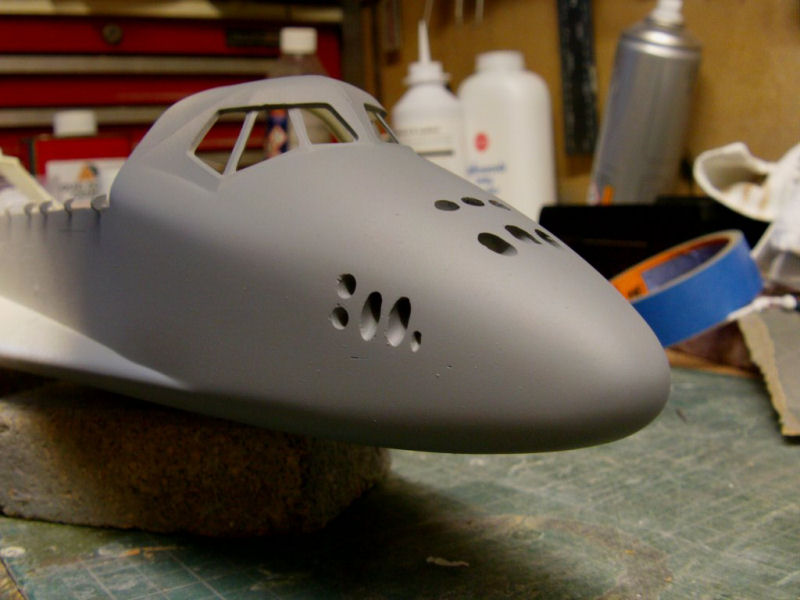
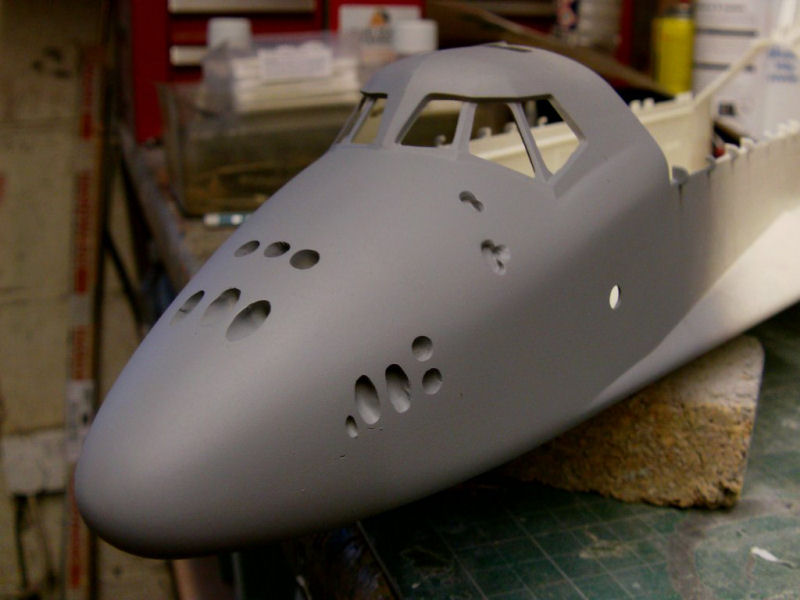
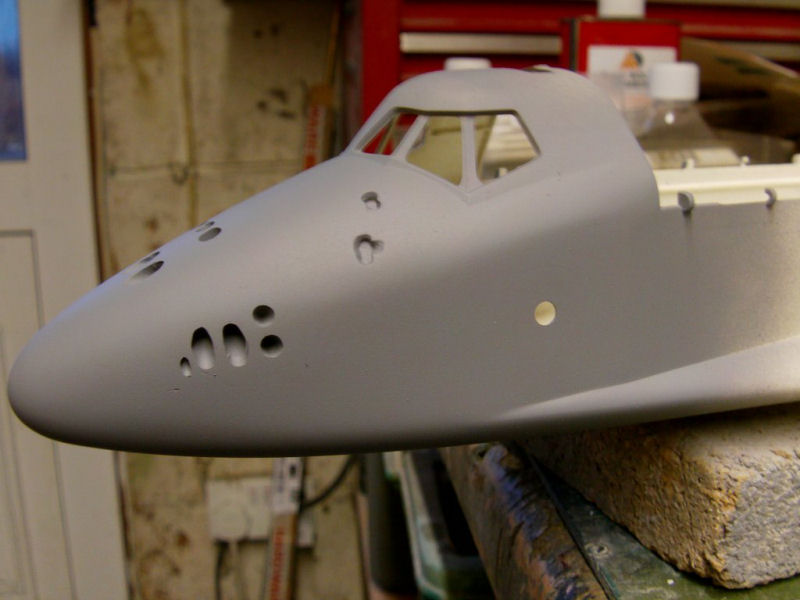
Some surface pits to sort but it's a start!
Same deal on the nose gear doors.
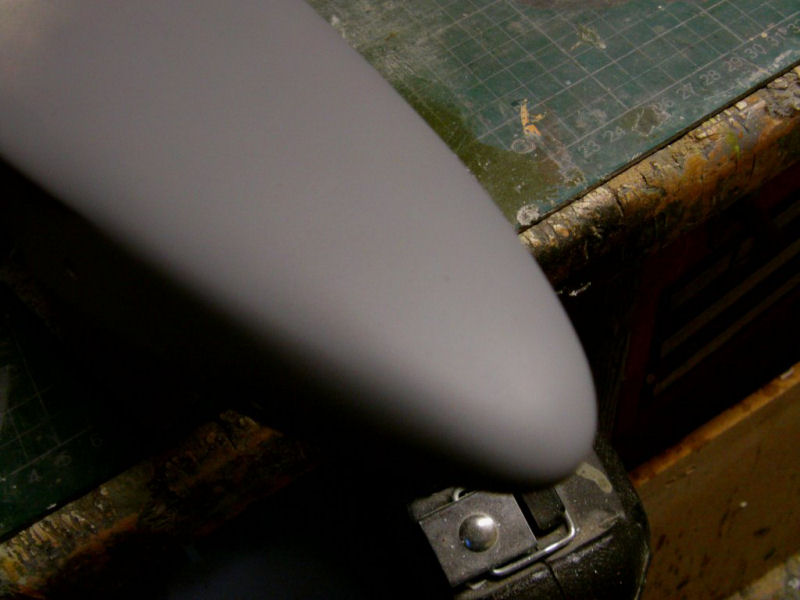
The aforementioned nose decals will get slapped on the scanner for resizing
of the holes and so on, so much mucking about still to be done...
And it will be but that's the lot for now.
More later so you merry mob go easy out there now!


 Page Number


